Browse Tag by Home Decor
Blog, DIY Projects, Home Decor, Party Decor, The Home

DIY Gold Unicorn Memo Holder


Happy Wednesday, y’all! We are halfway through the week, so officially almost to the weekend (Woo!) Today’s DIY is SO fun for many different reasons – it can be used for holding pictures, encouraging notes, a to-do list, or even as someone’s placeholder in a themed party, the options you have out of this simple 3-step DIY are endless 🙂

To get started you’ll need:

Supplies 

Rust-Oleum Gold Spray Paint

Hot Glue Gun & Glue

Gold Paperclips 

Unicorns


Step 1: Get out your paperclips and plug in your hot glue gun! For this part, you can choose to either straighten out one side of the paperclip or leave as it is depending on where on the unicorn you want your clip to be. Once you’ve decided, glue it into place. Repeat this step with as many as desired.


Step 2: In a well-ventilated location (preferably outside if possible) begin spray painting your unicorn memo holders. Lightly spray the first layer, letting it set for about 10 minutes or so before continuing. Repeat until desired coverage is reached – after which wait about 40 minutes before handling.


Step 3: Decide what you will use your new gold note/memo/photo/place holders for! I’ve included some ideas below:


(Marble & Gold vanity tray DIY linked here)

Getting ready to complete this DIY? Don’t forget your supplies!


& if you liked this post – sharing is caring  🙂 – please feel free to pin/tweet/text/share the image below: 

SaveSave

SaveSave

SaveSave

SaveSave

SaveSave

SaveSave

SaveSave

SaveSave

SaveSave

SaveSave

SaveSave

SaveSave

SaveSave

SaveSave

SaveSave

SaveSave

SaveSave

SaveSave

SaveSave

SaveSave

Post, Pin, Share:
Blog, DIY Projects, Home Decor, The Home

Dreamy Lace Teepee DIY

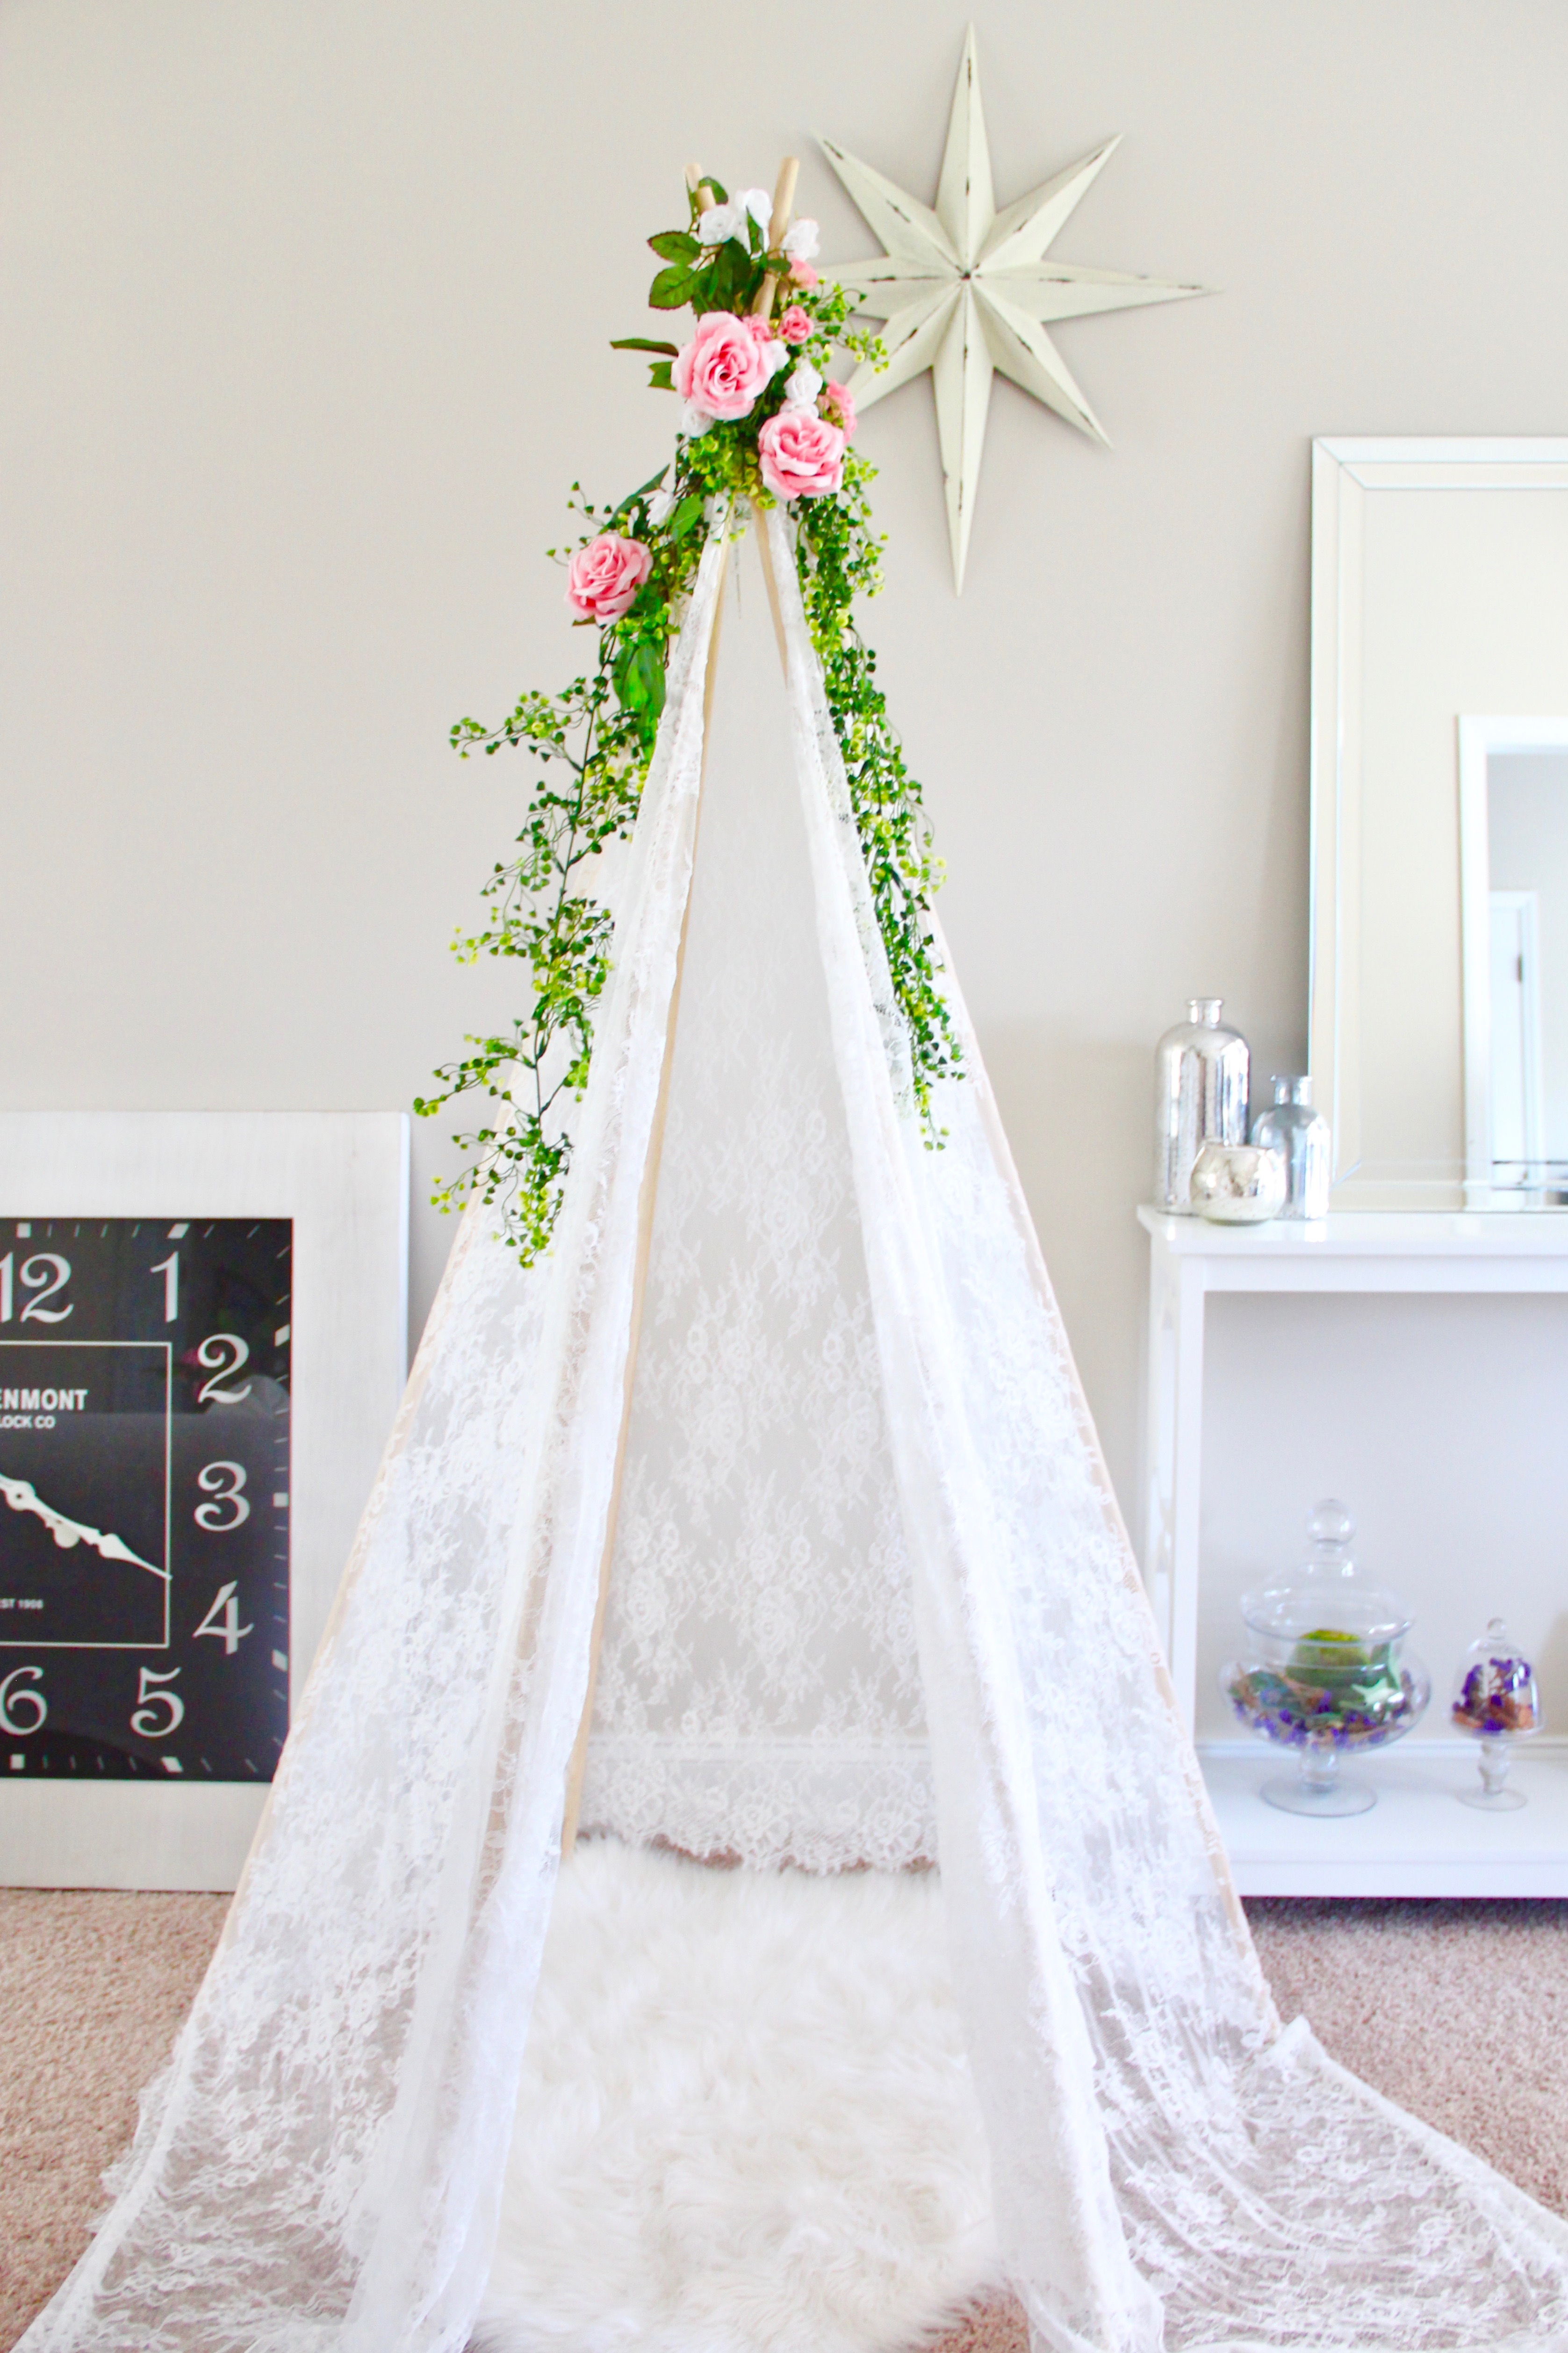
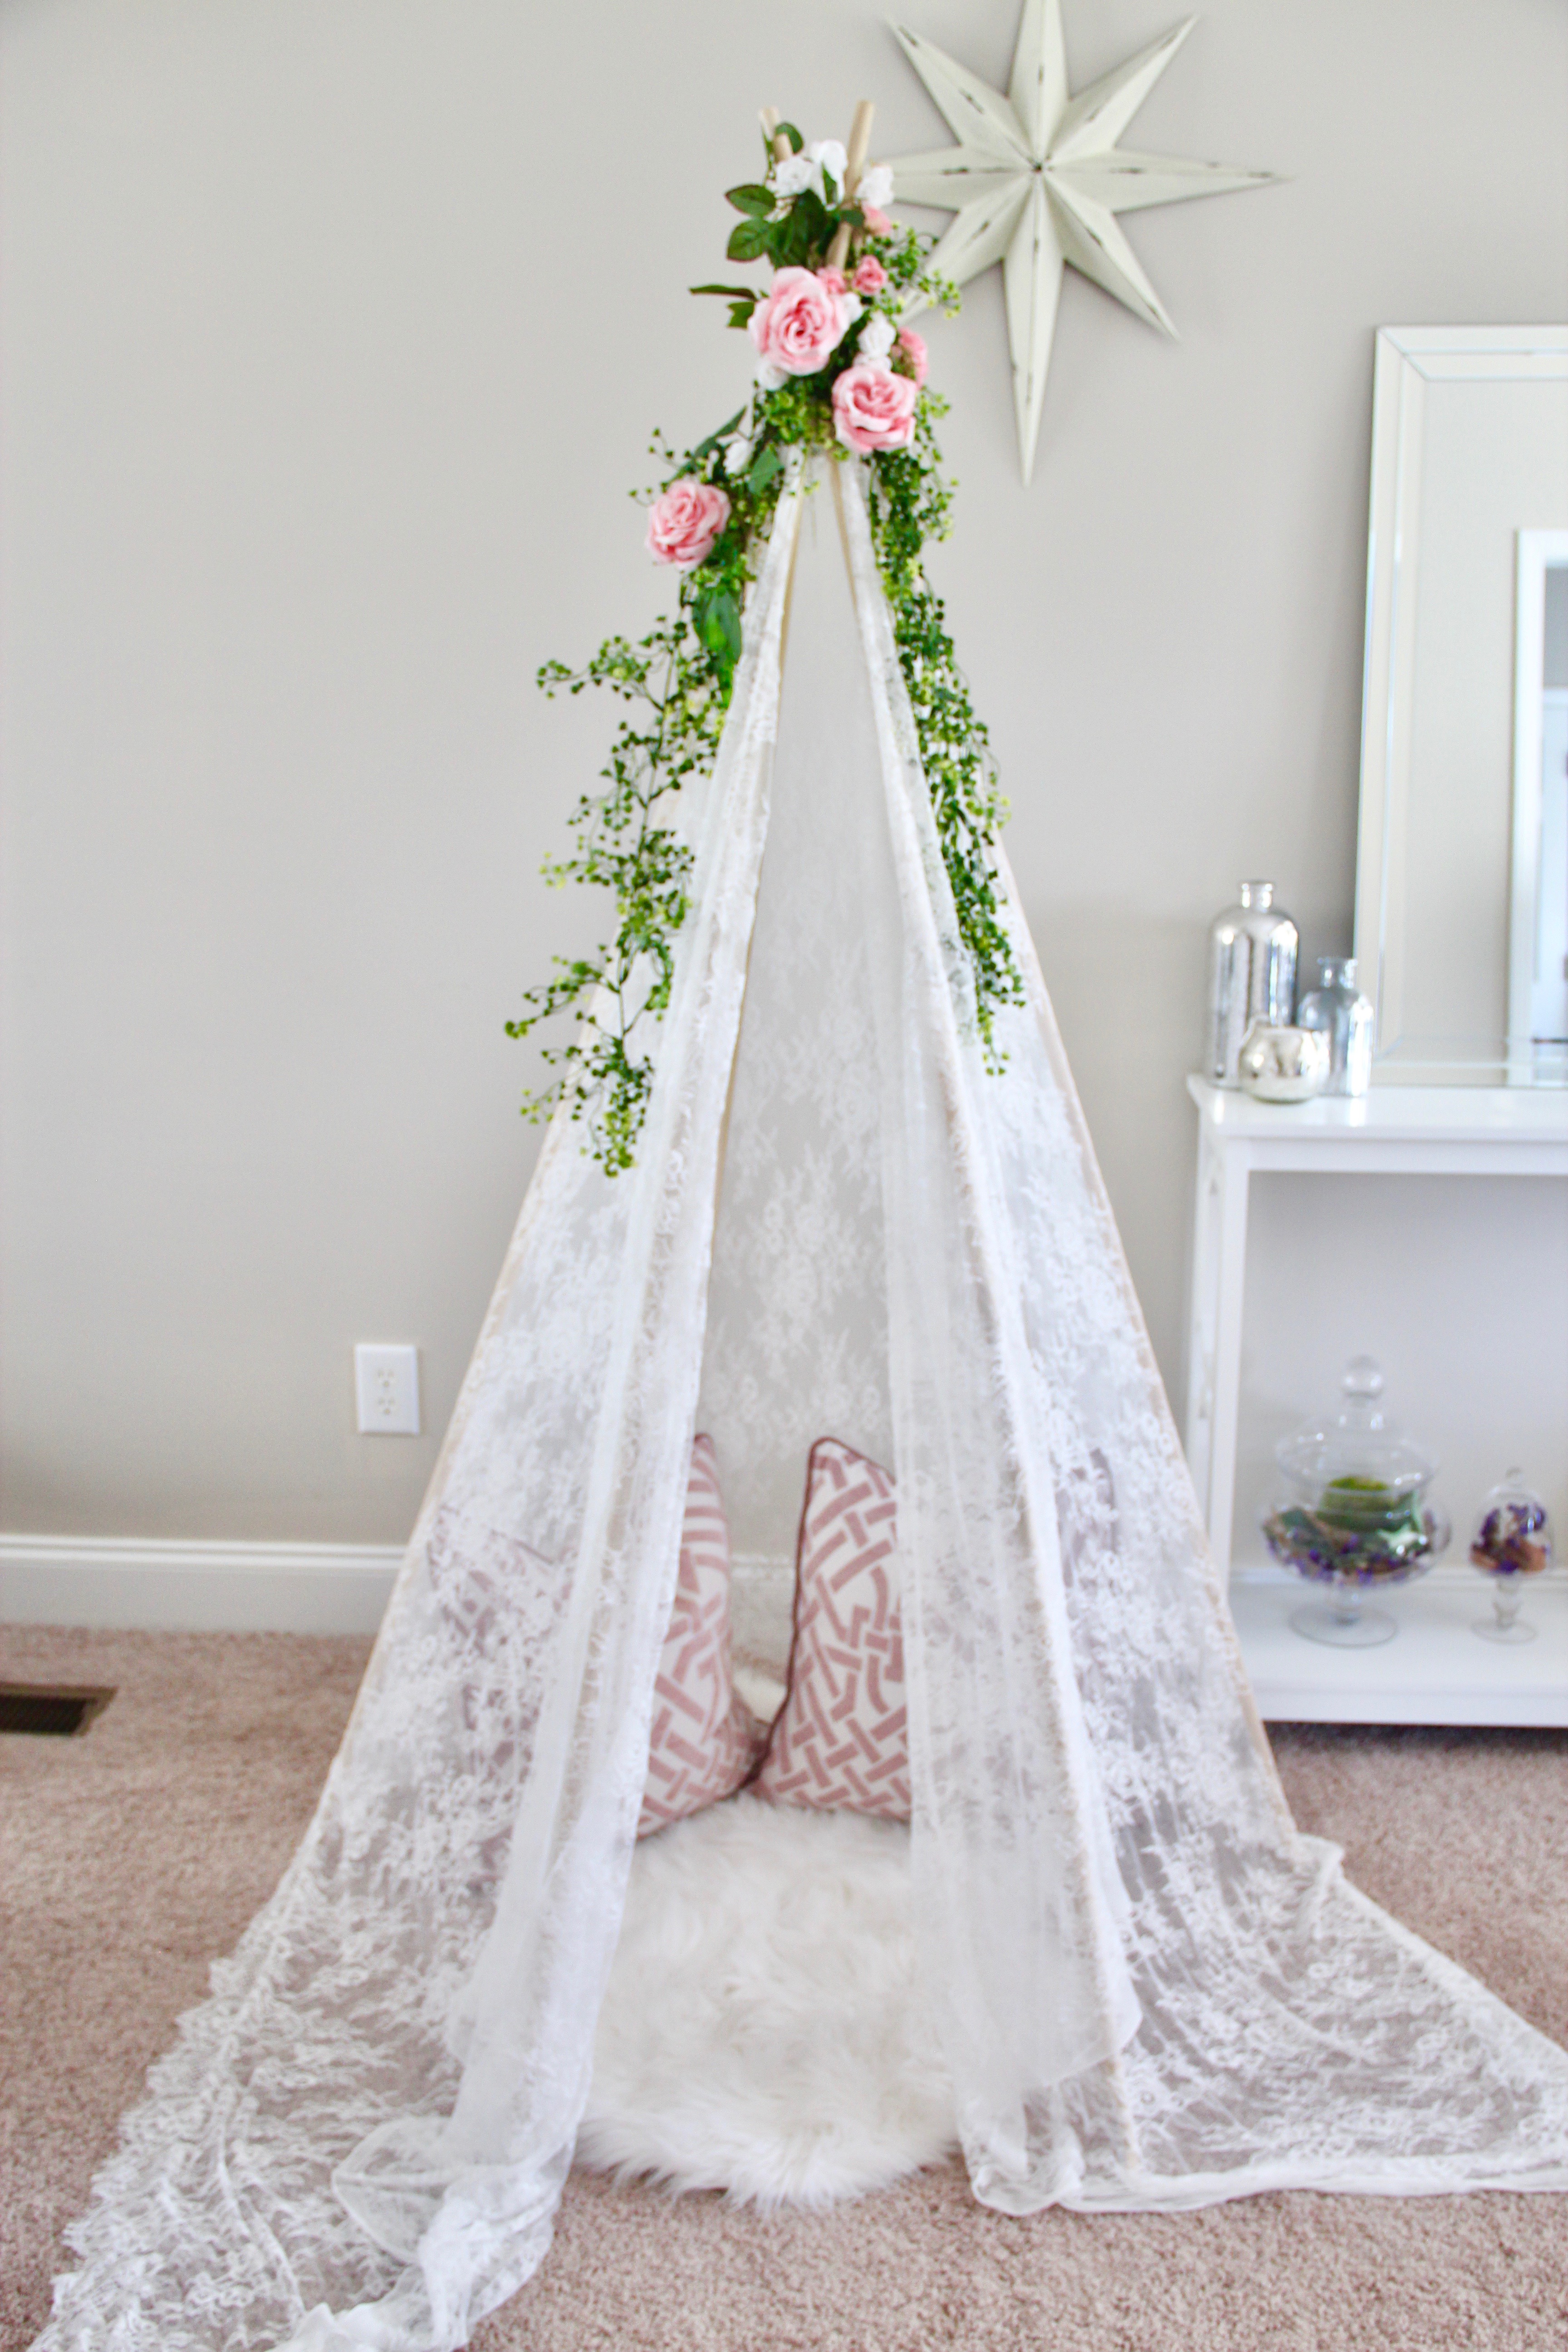
Oh my goodness y’all, today’s DIY is SO easy and fun & I’m super pumped with how it turned out in only 8 steps! The best thing about these trending little teepees is how versatile and customizable they are for almost any event or purpose. This one in particular is perfect for bridal showers, baby showers, reading nooks, pet corners, or even just for looking super cute in your living room or home office – priorities, right? This DIY teepee is super stable and requires no sewing and zero hardware. As J and I do not have children, and Toby is pretty small, I chose not to secure the wooden dowels with additional hardware. However, if you do have children in your home, I definitely recommend using a drill and adding hardware to ensure additional stability of the teepee. Ready to get started? Me too!

Supplies: 

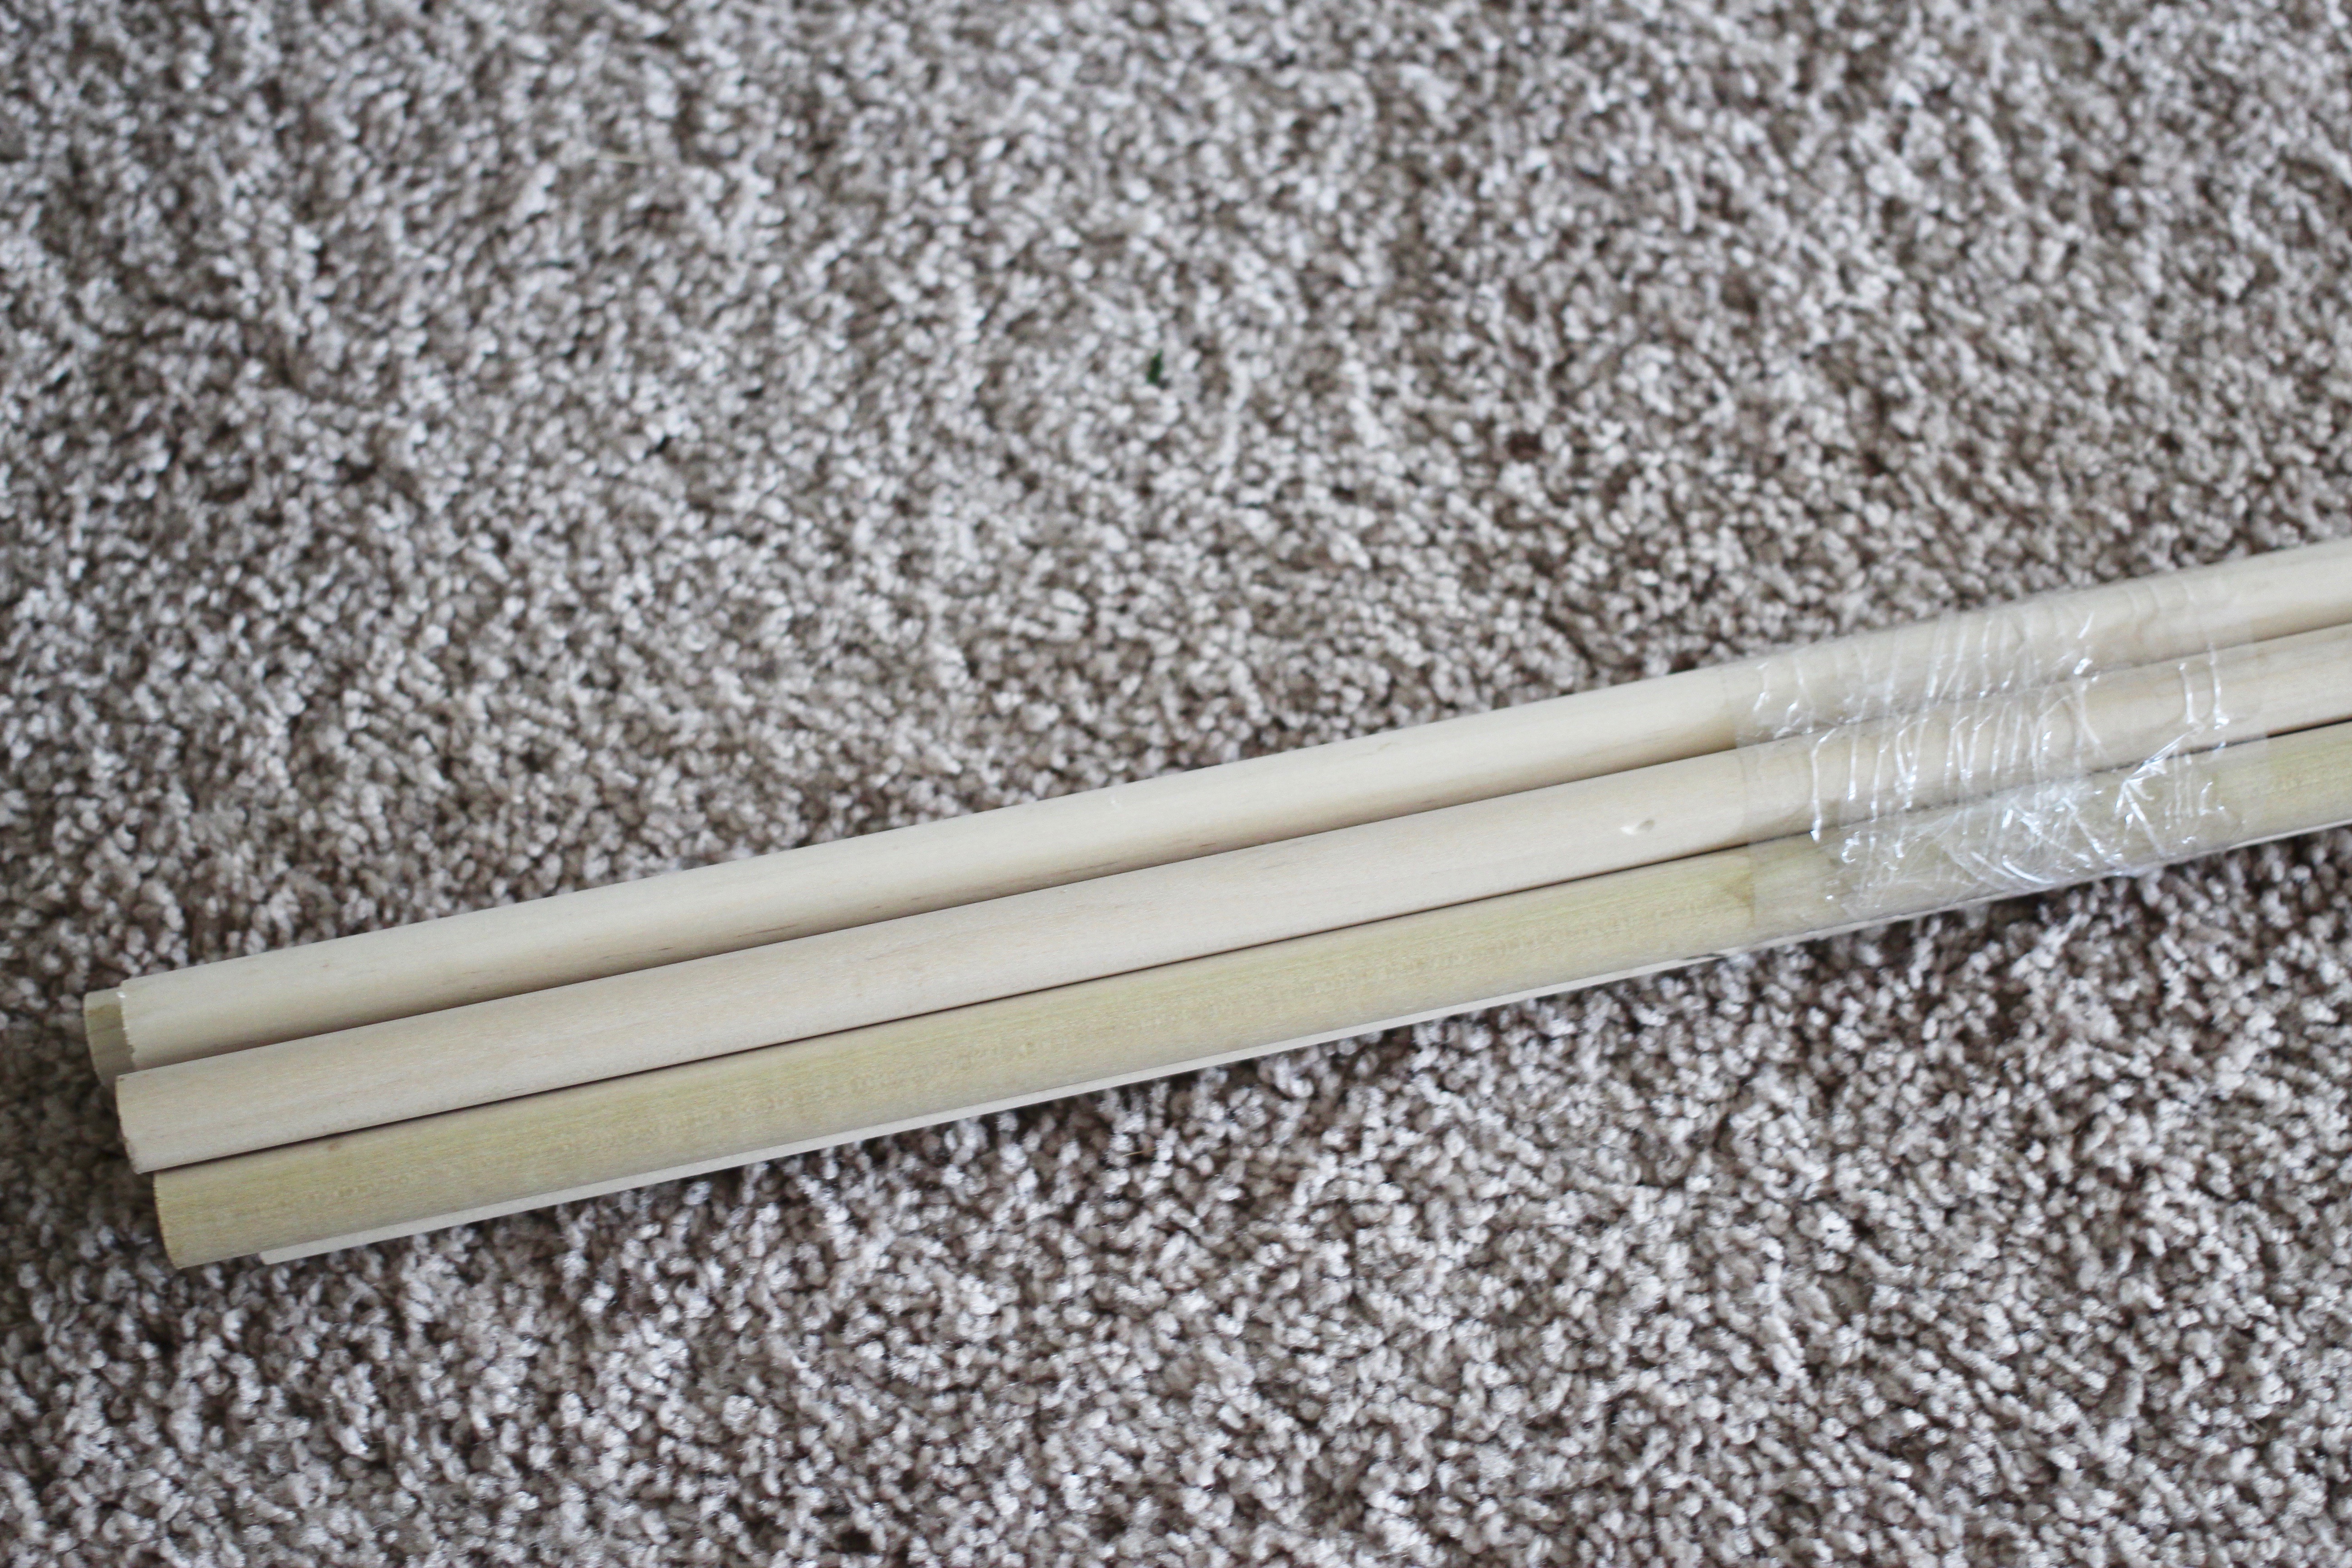
Wooden Dowels  5/8″X72″ (4-6 dowels depending on preference – Can use 48″ height instead if preferred)

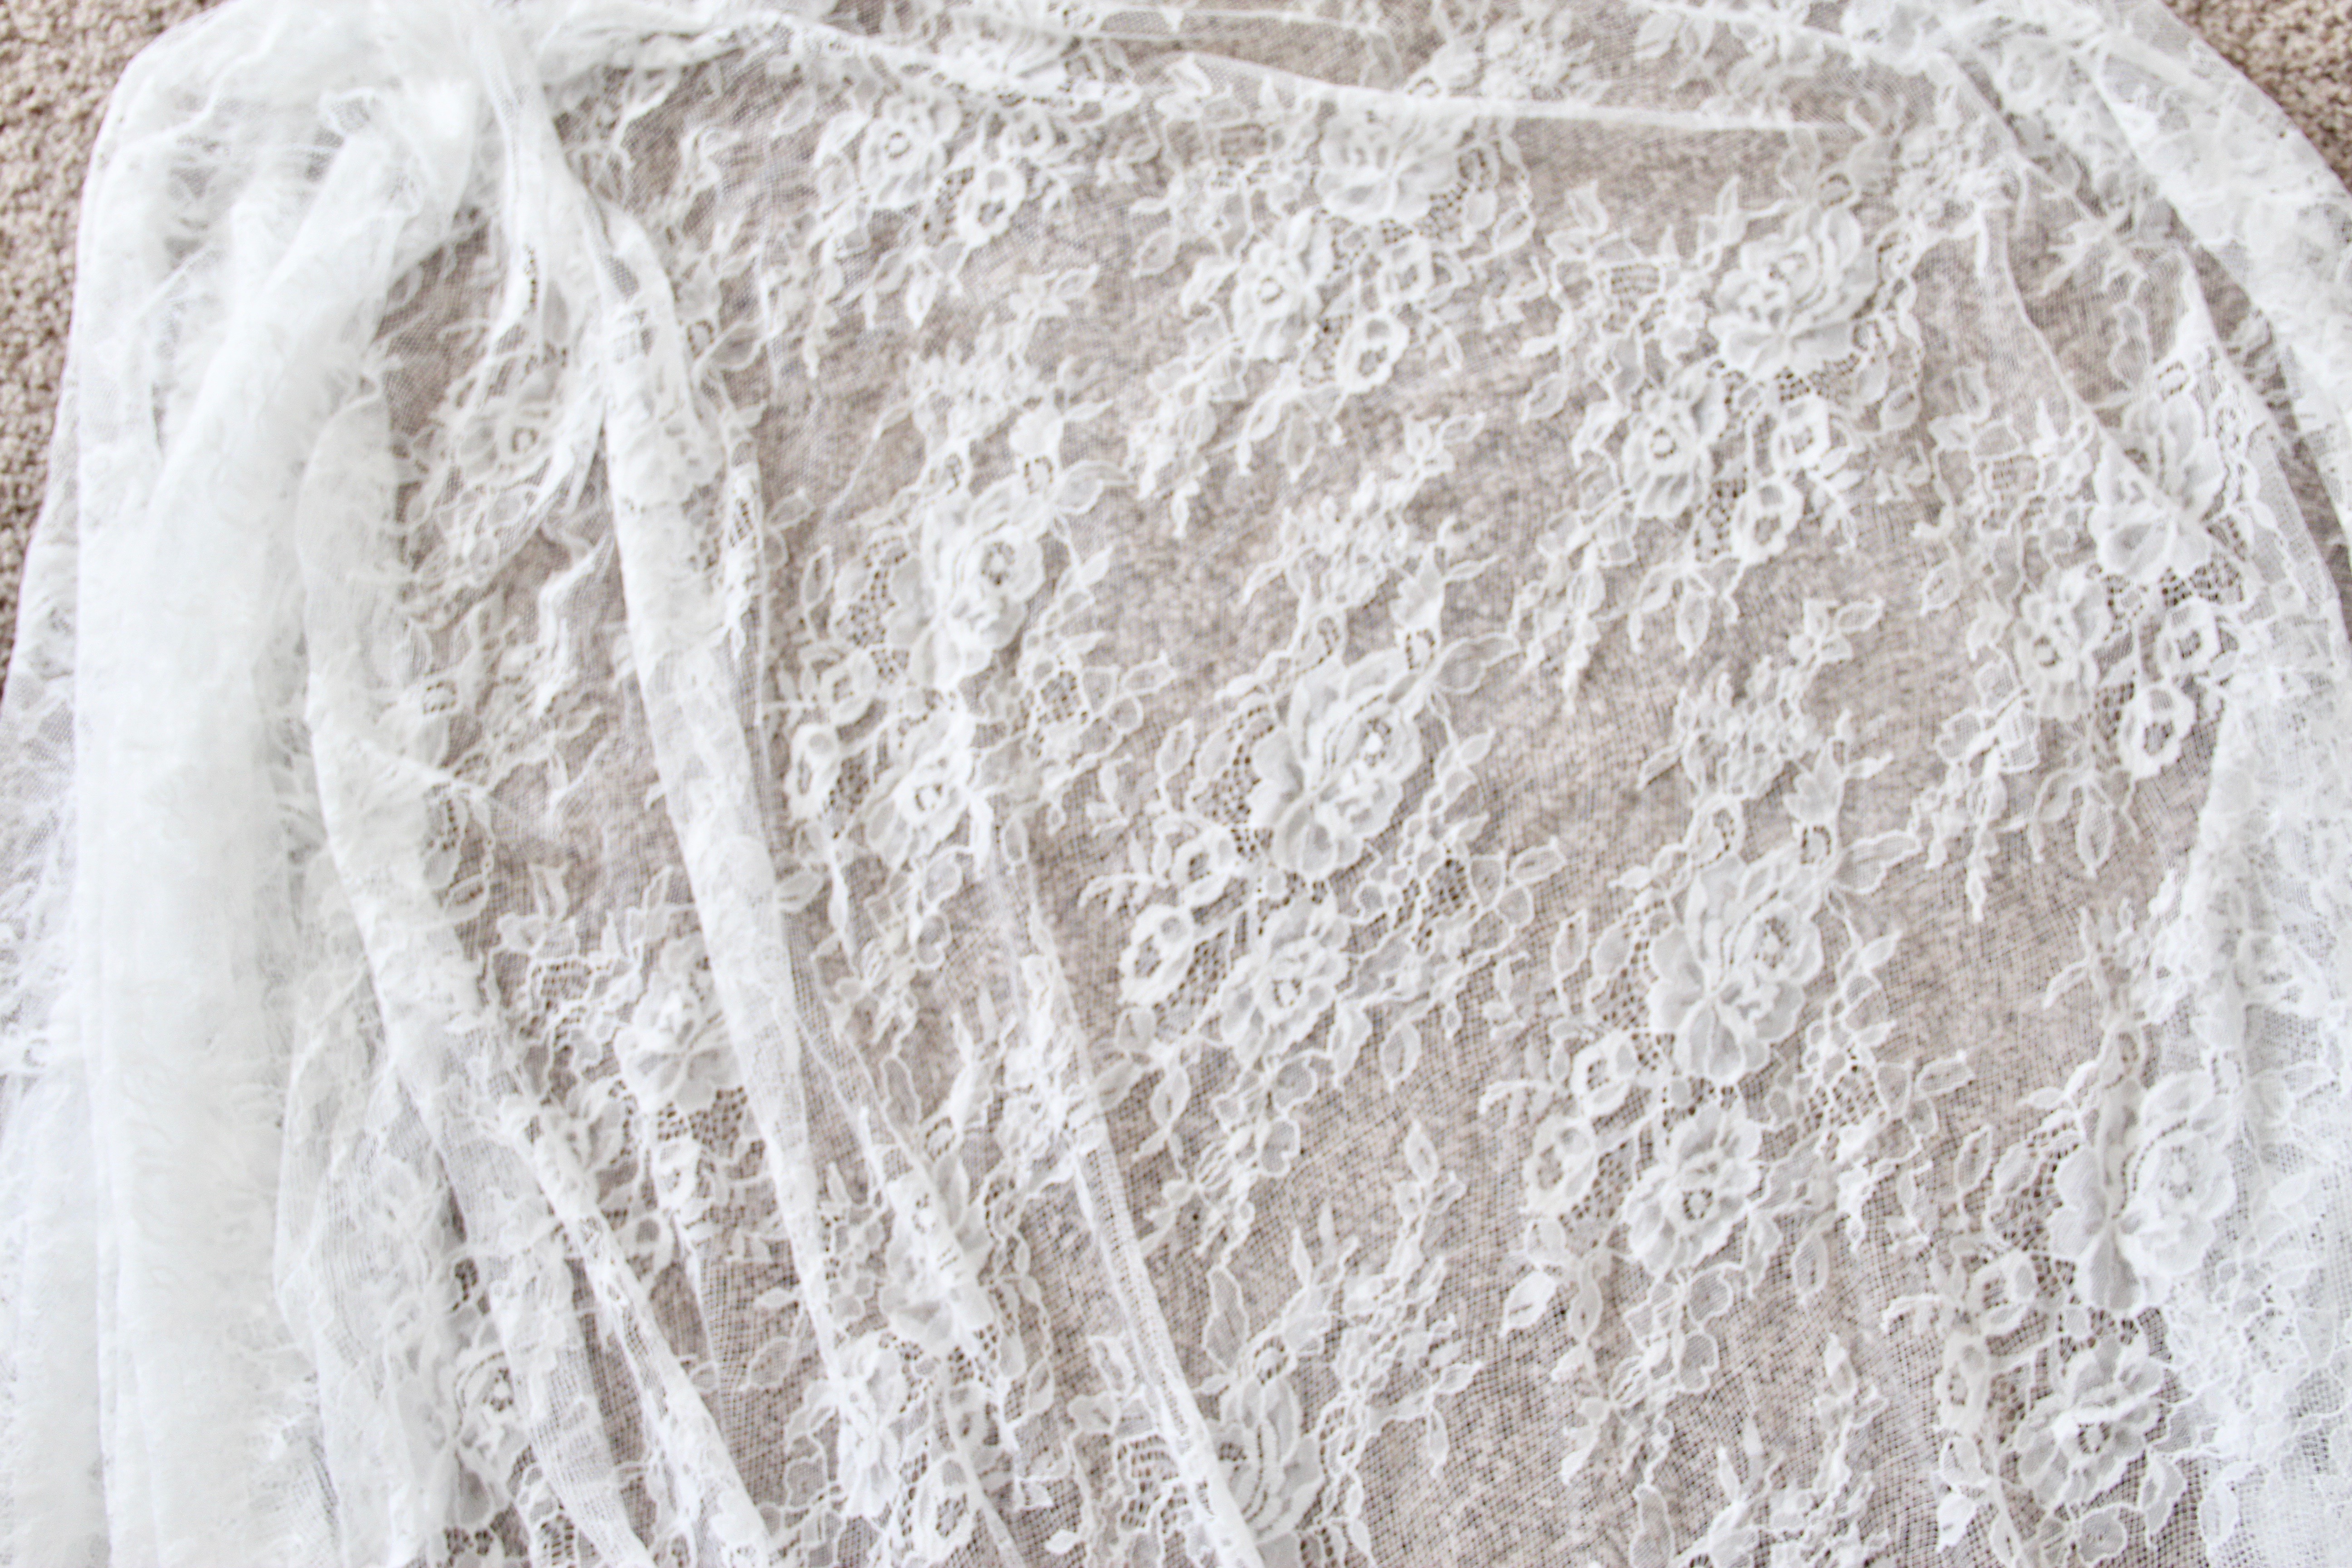
Lace Tablecloth 60″x120″
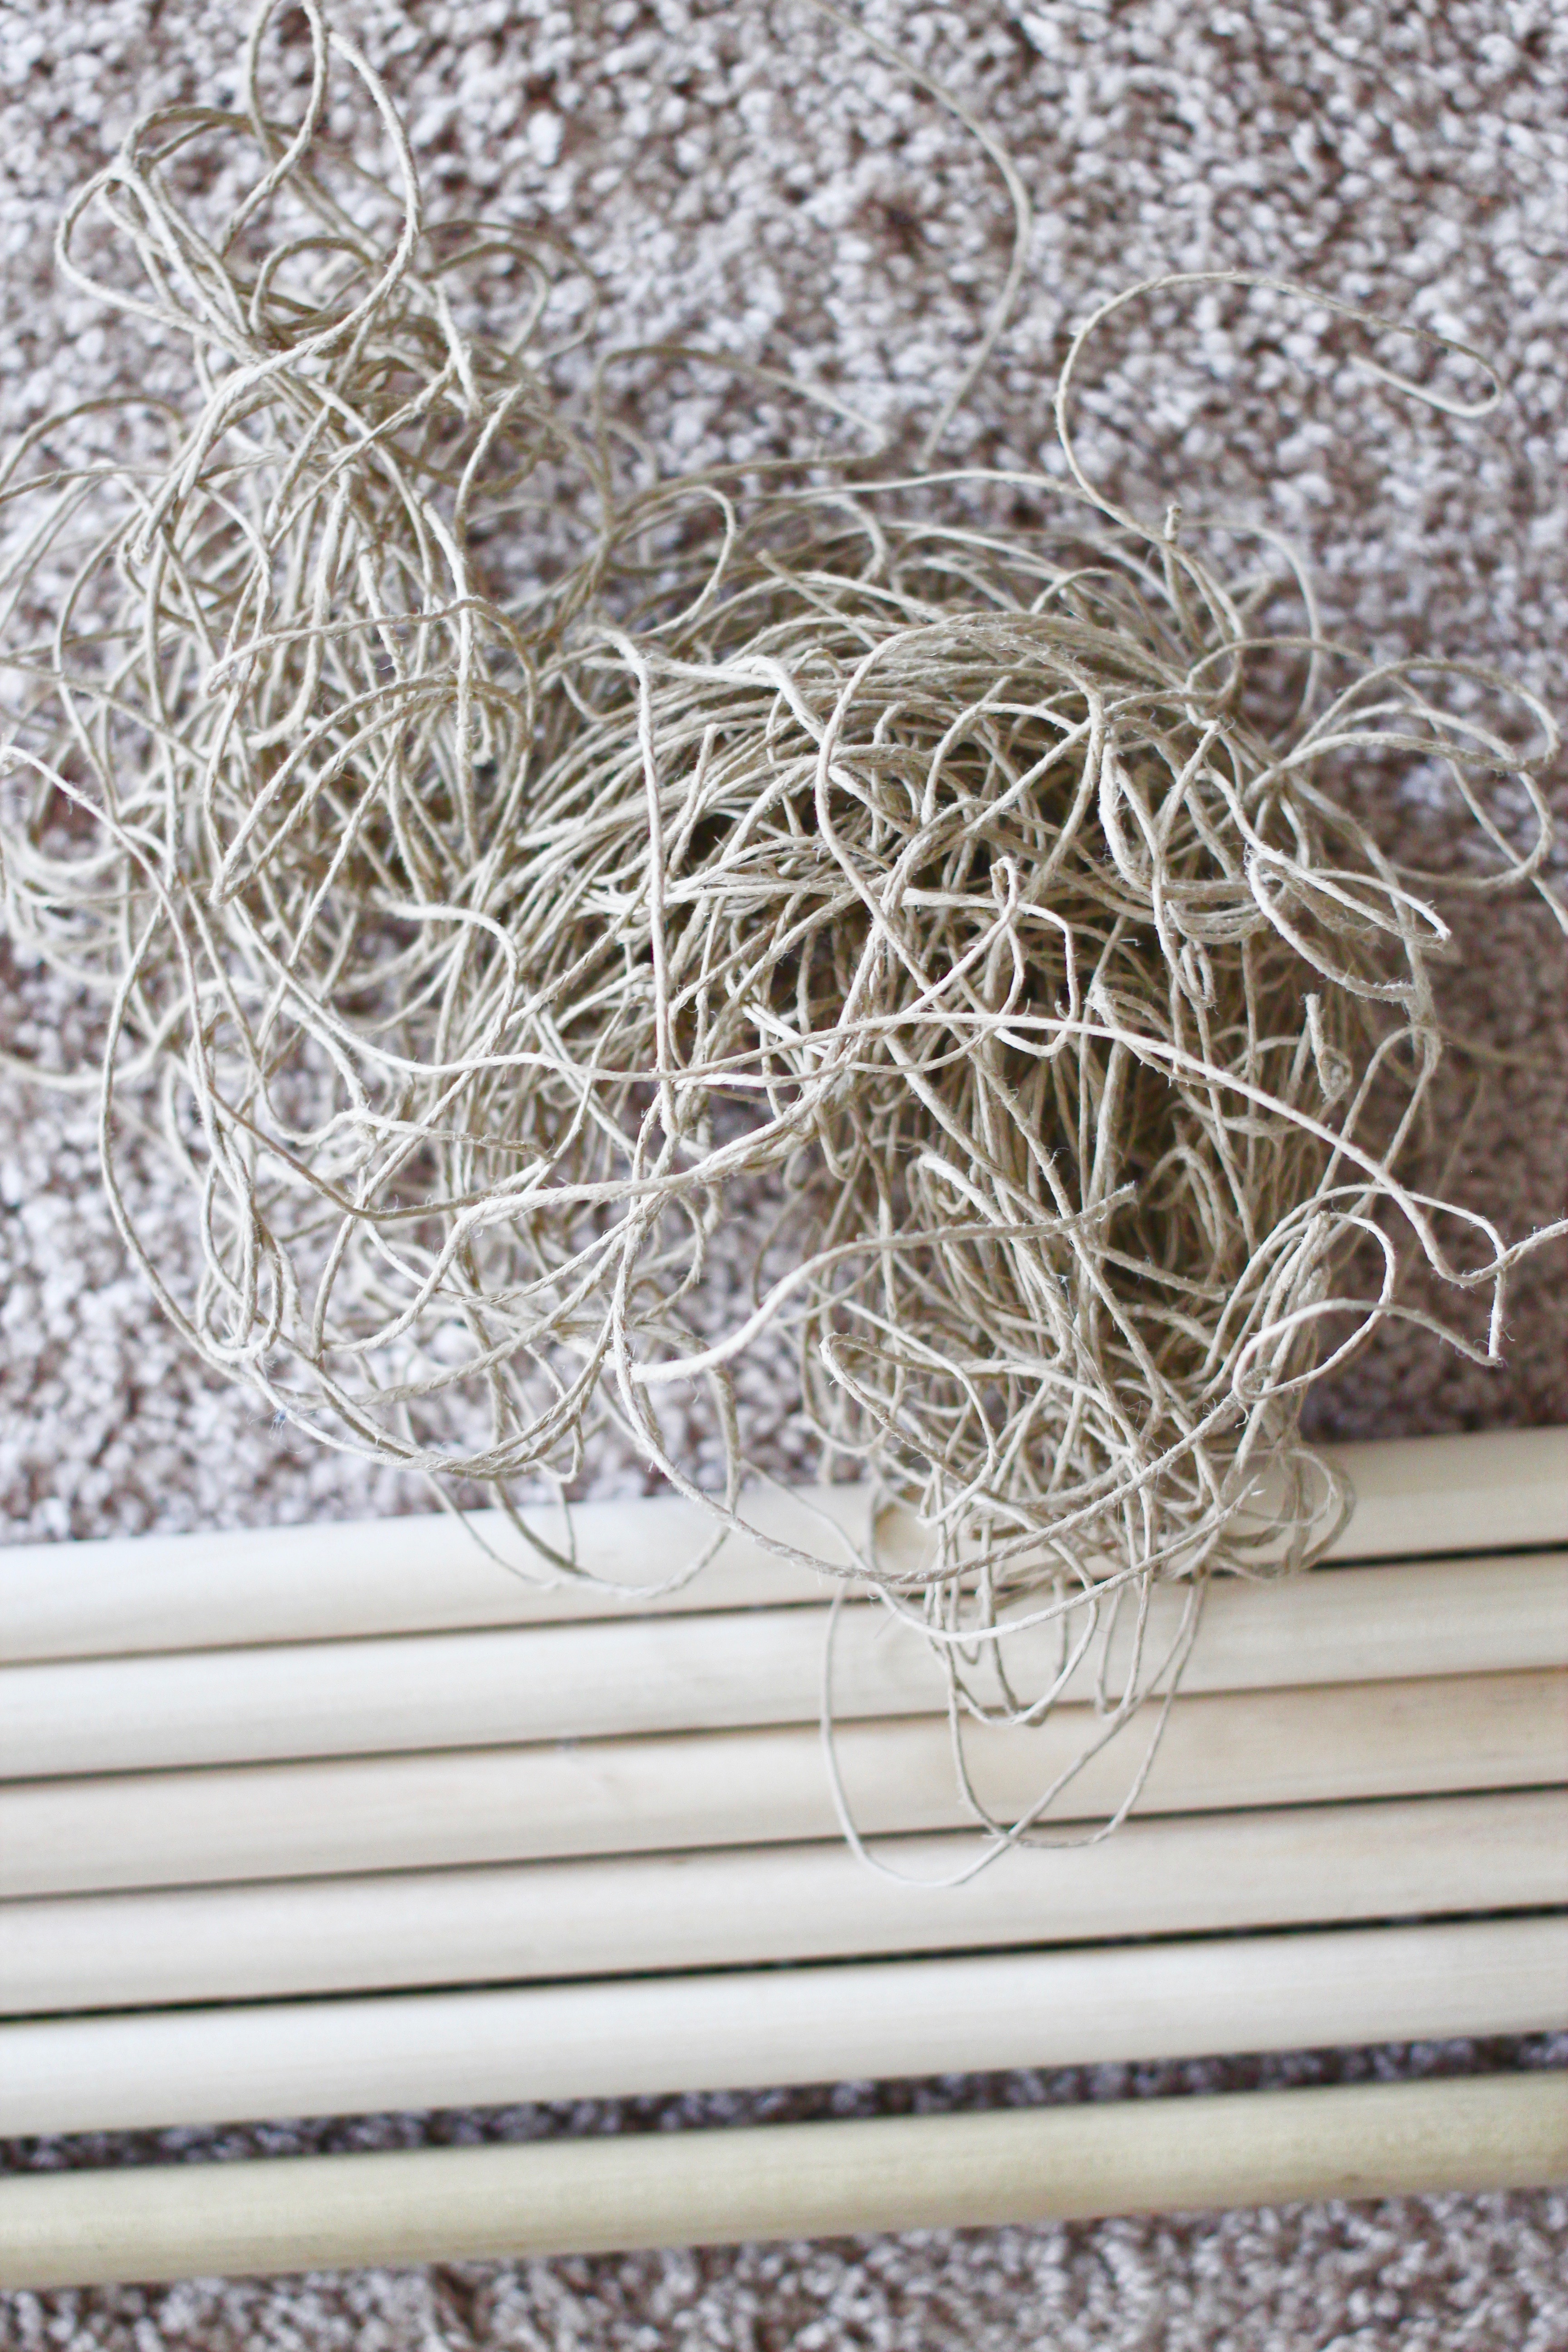
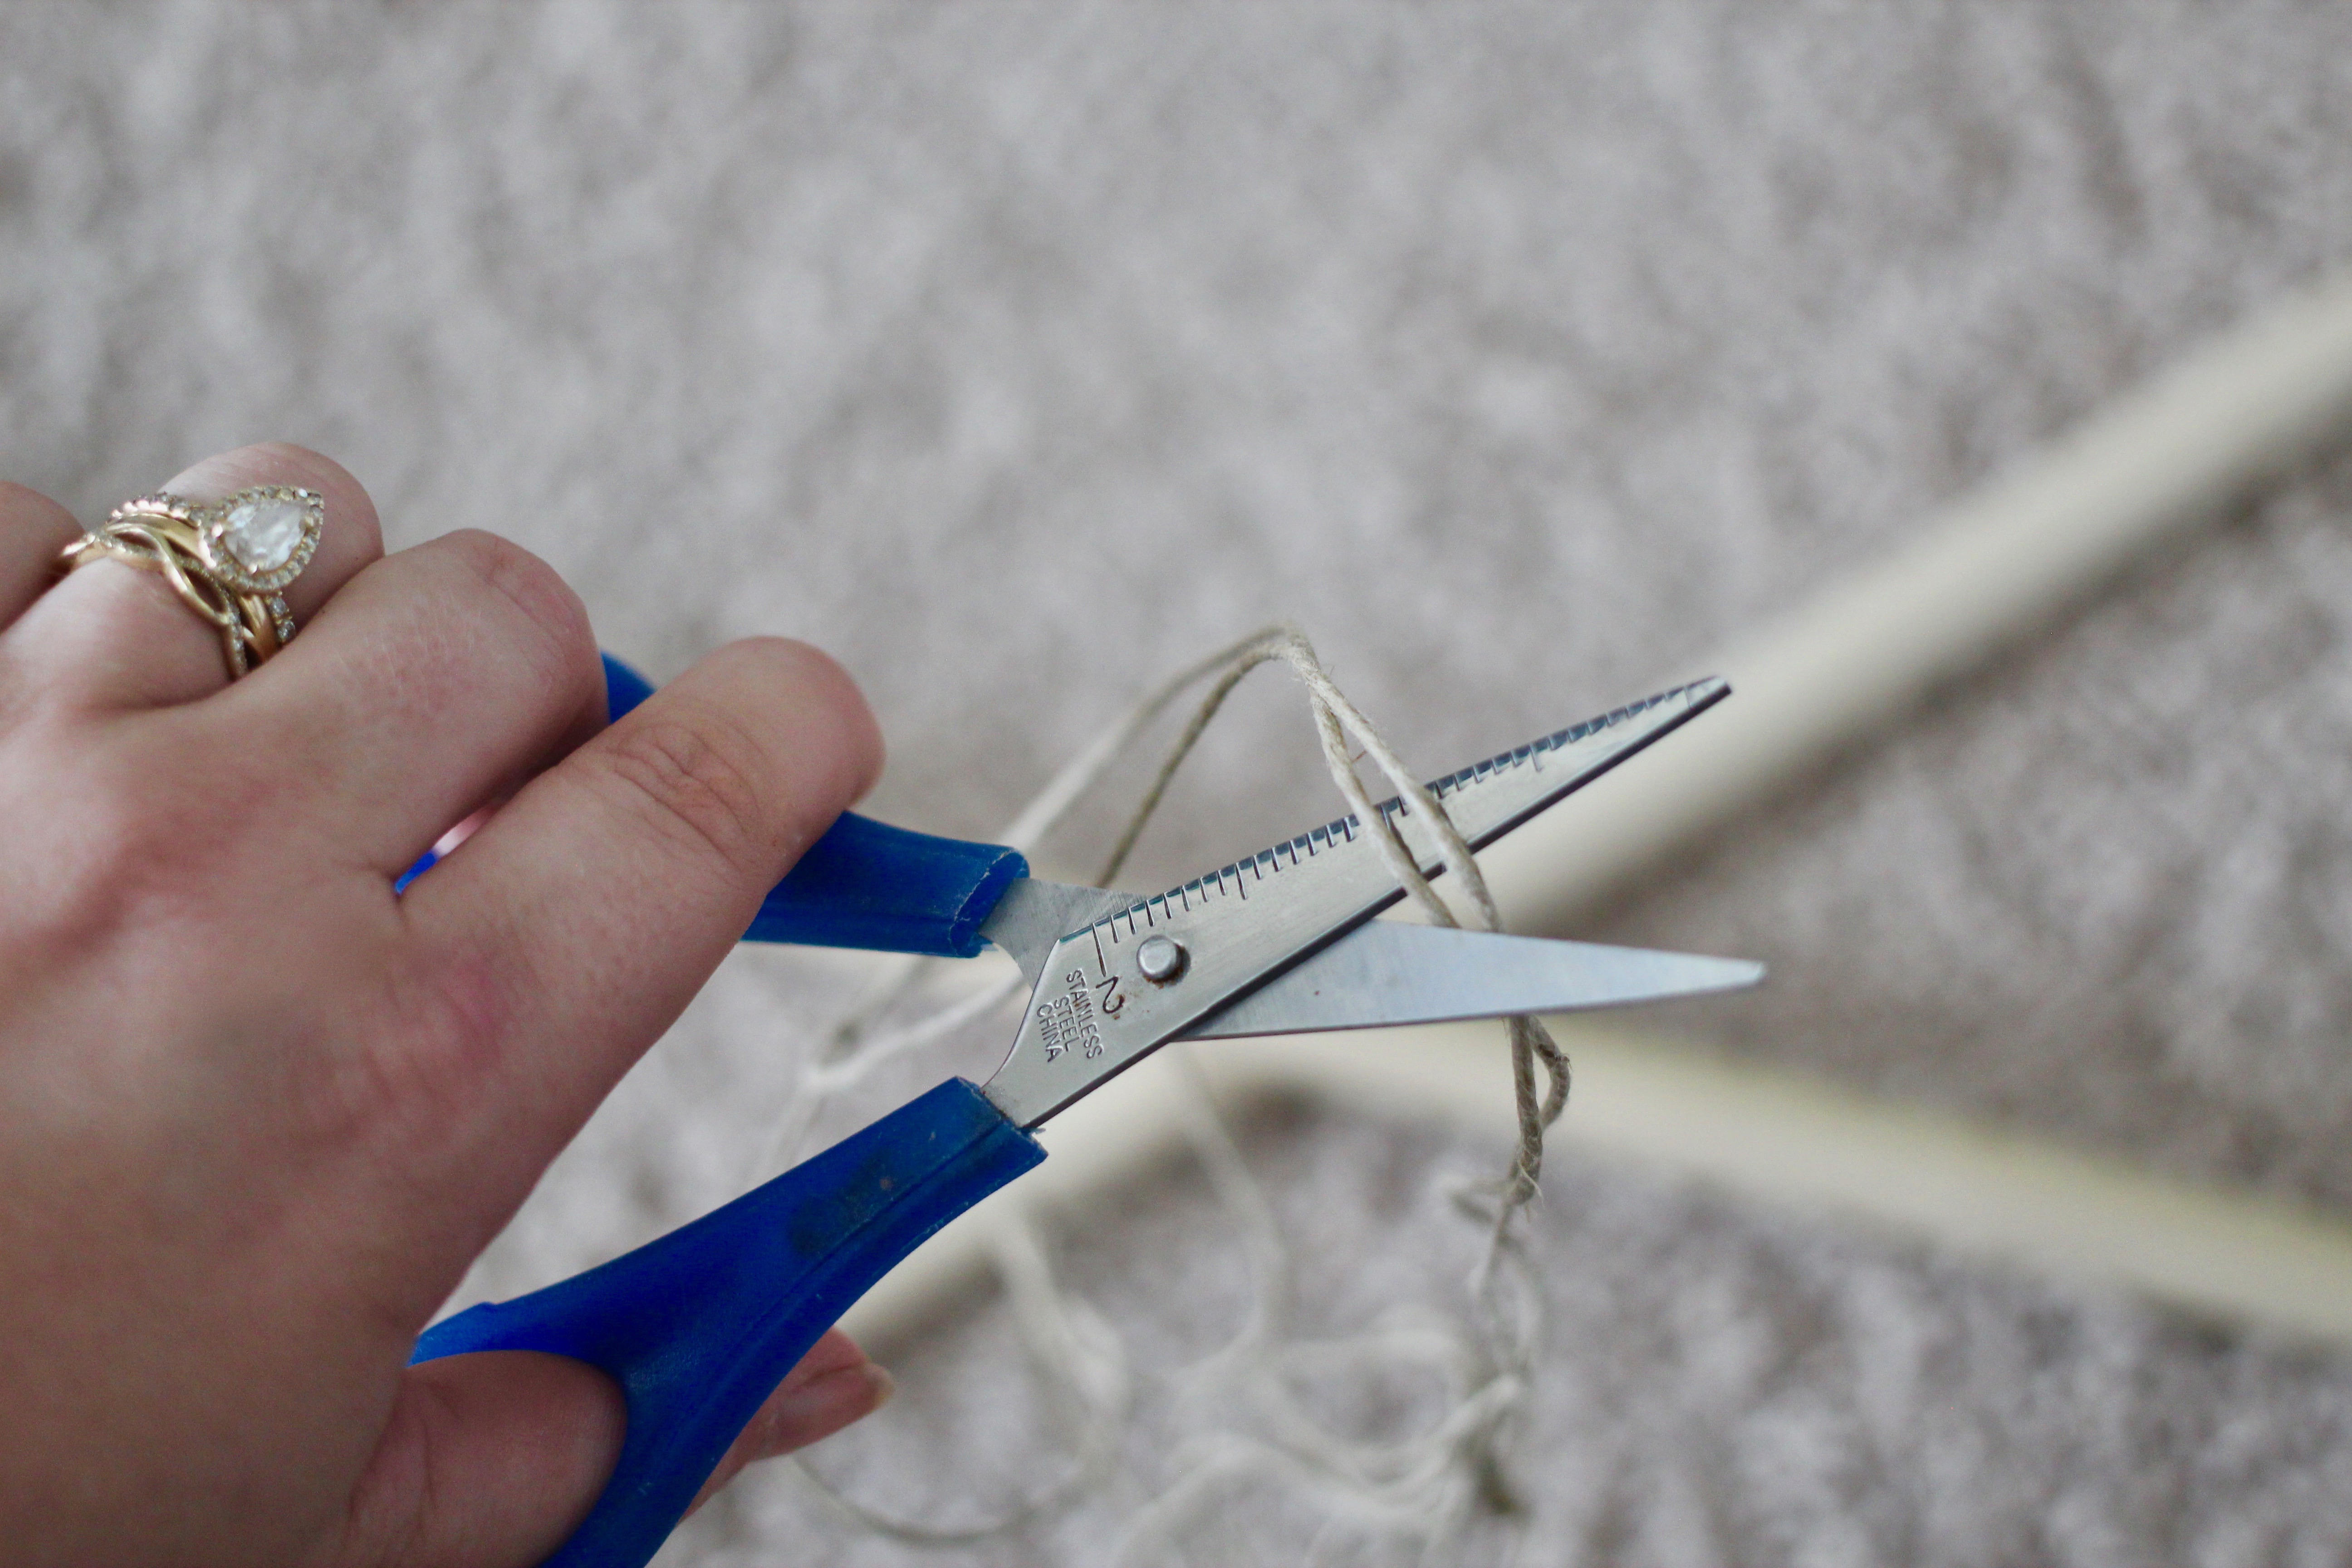
Twine & Scissors

Hot Glue Gun with Glue Sticks

Faux Roses, Leaves, & 6′ Garland
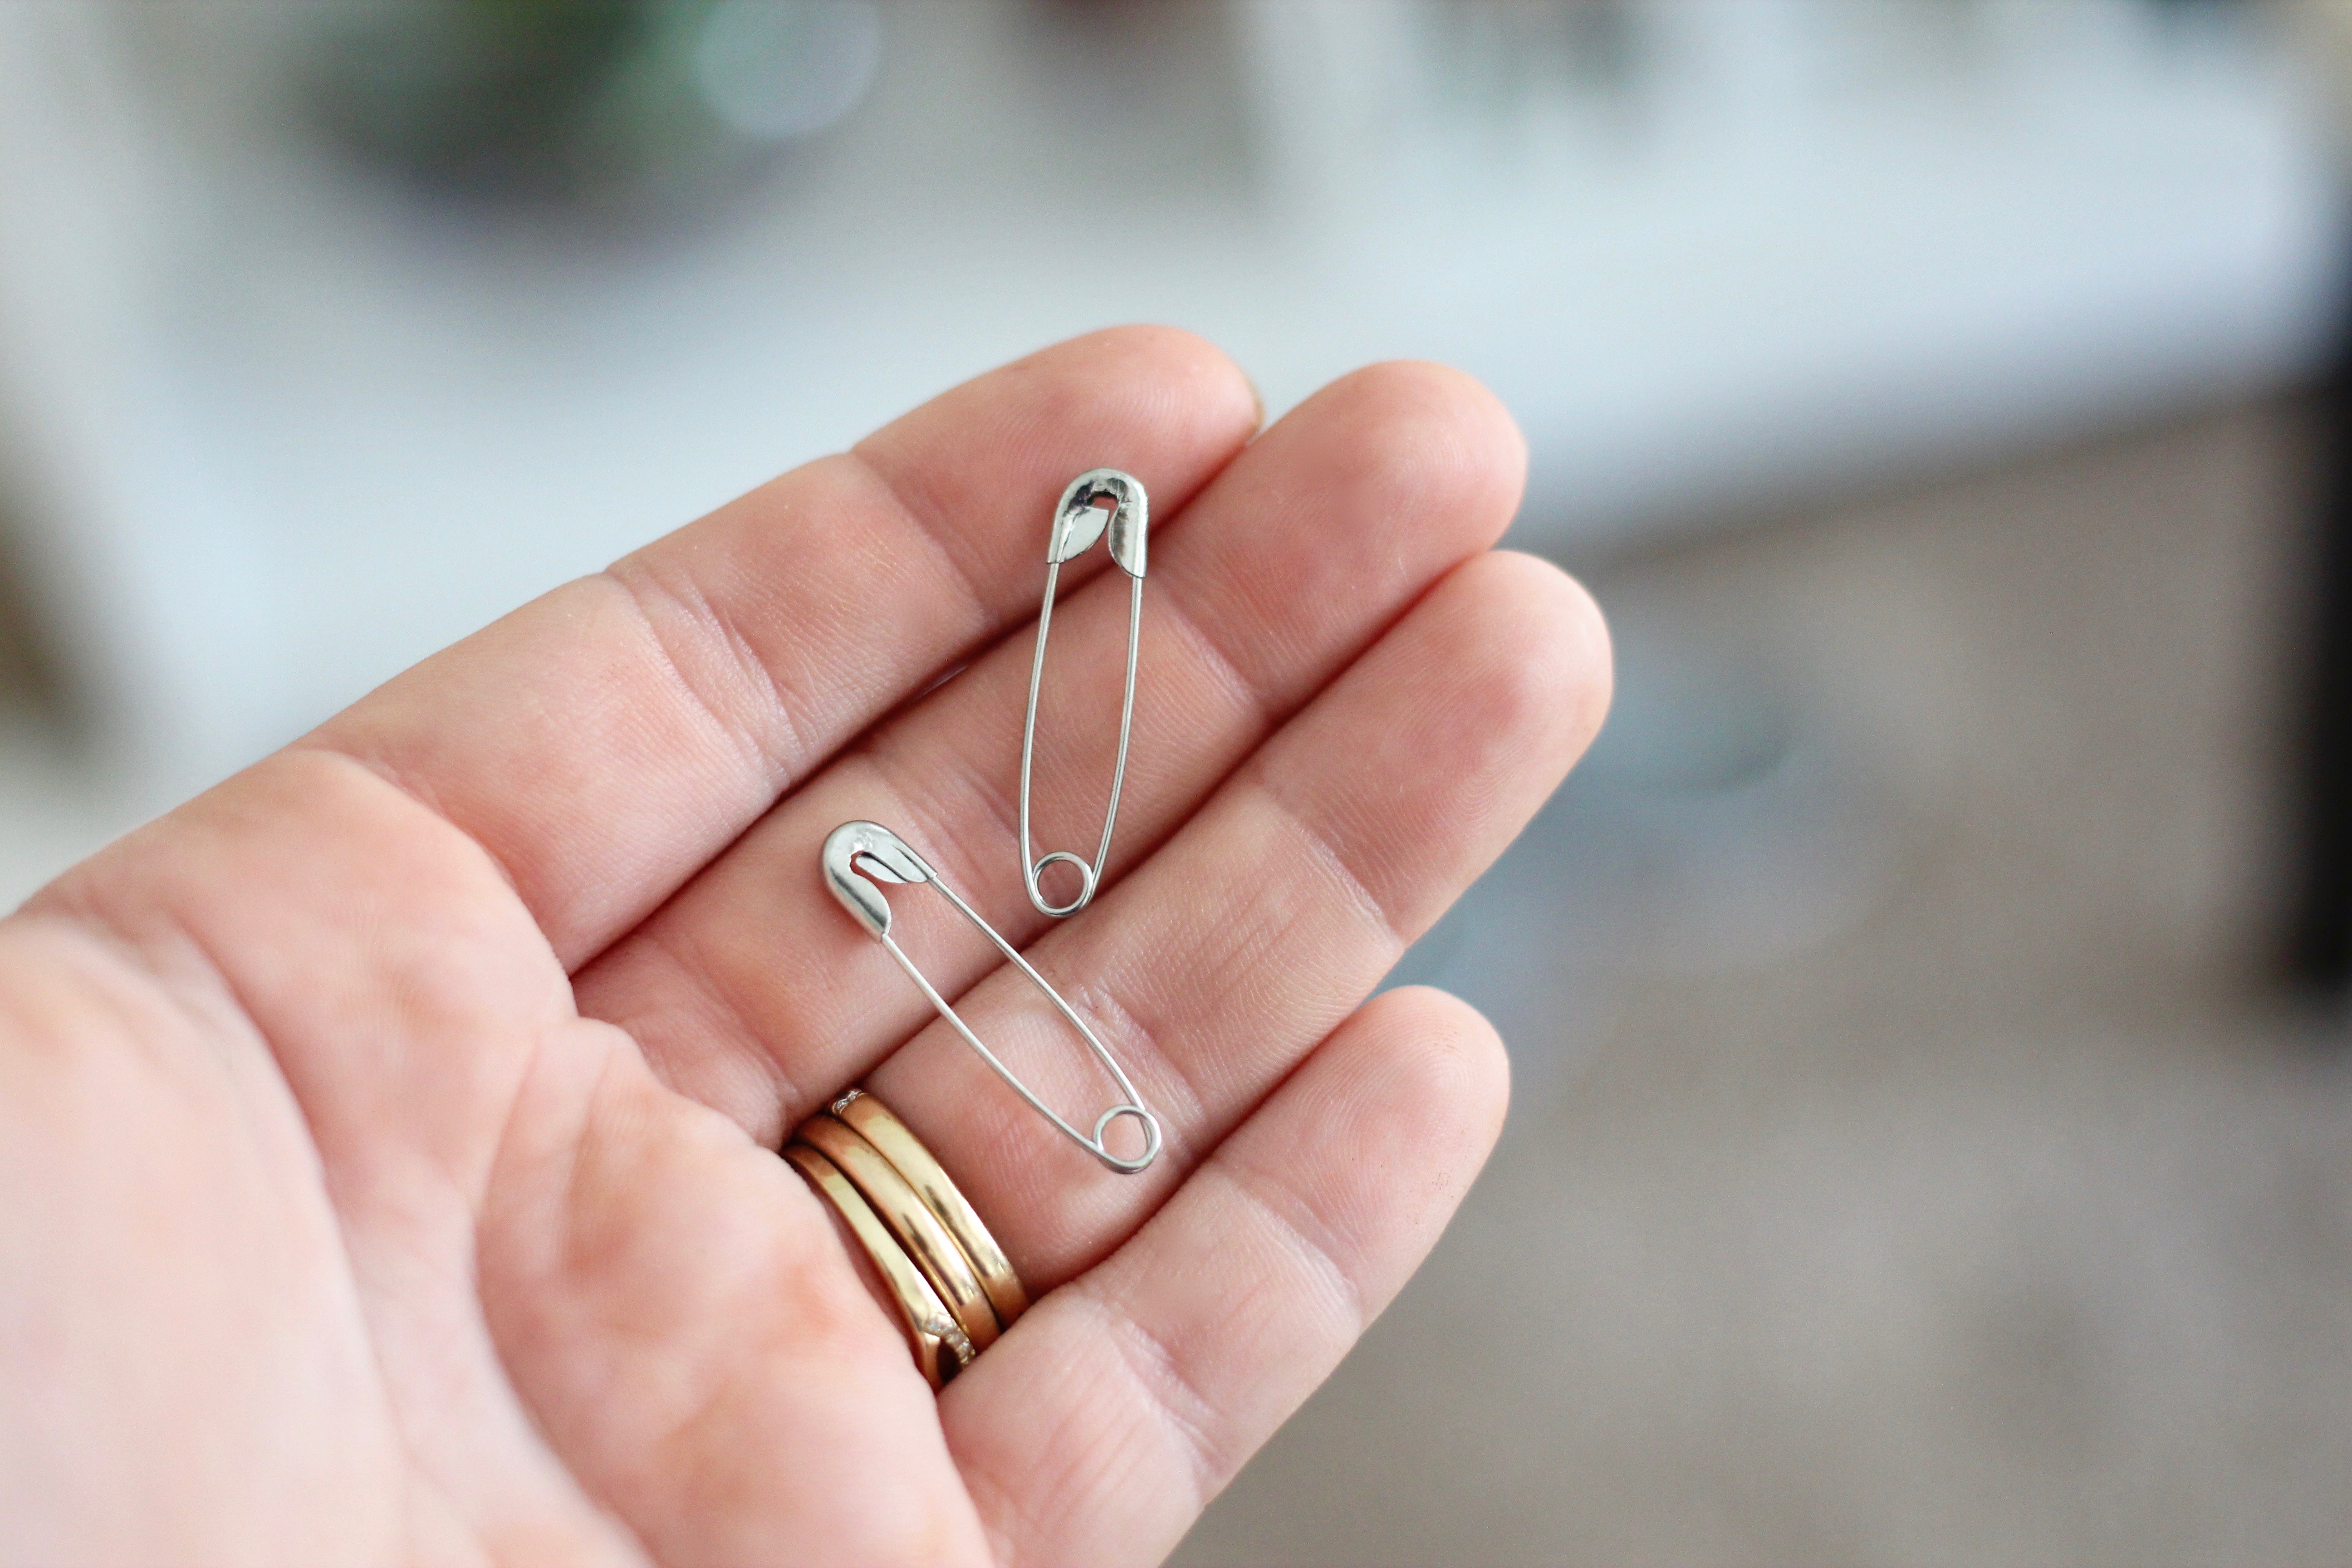
Safety Pins x 2


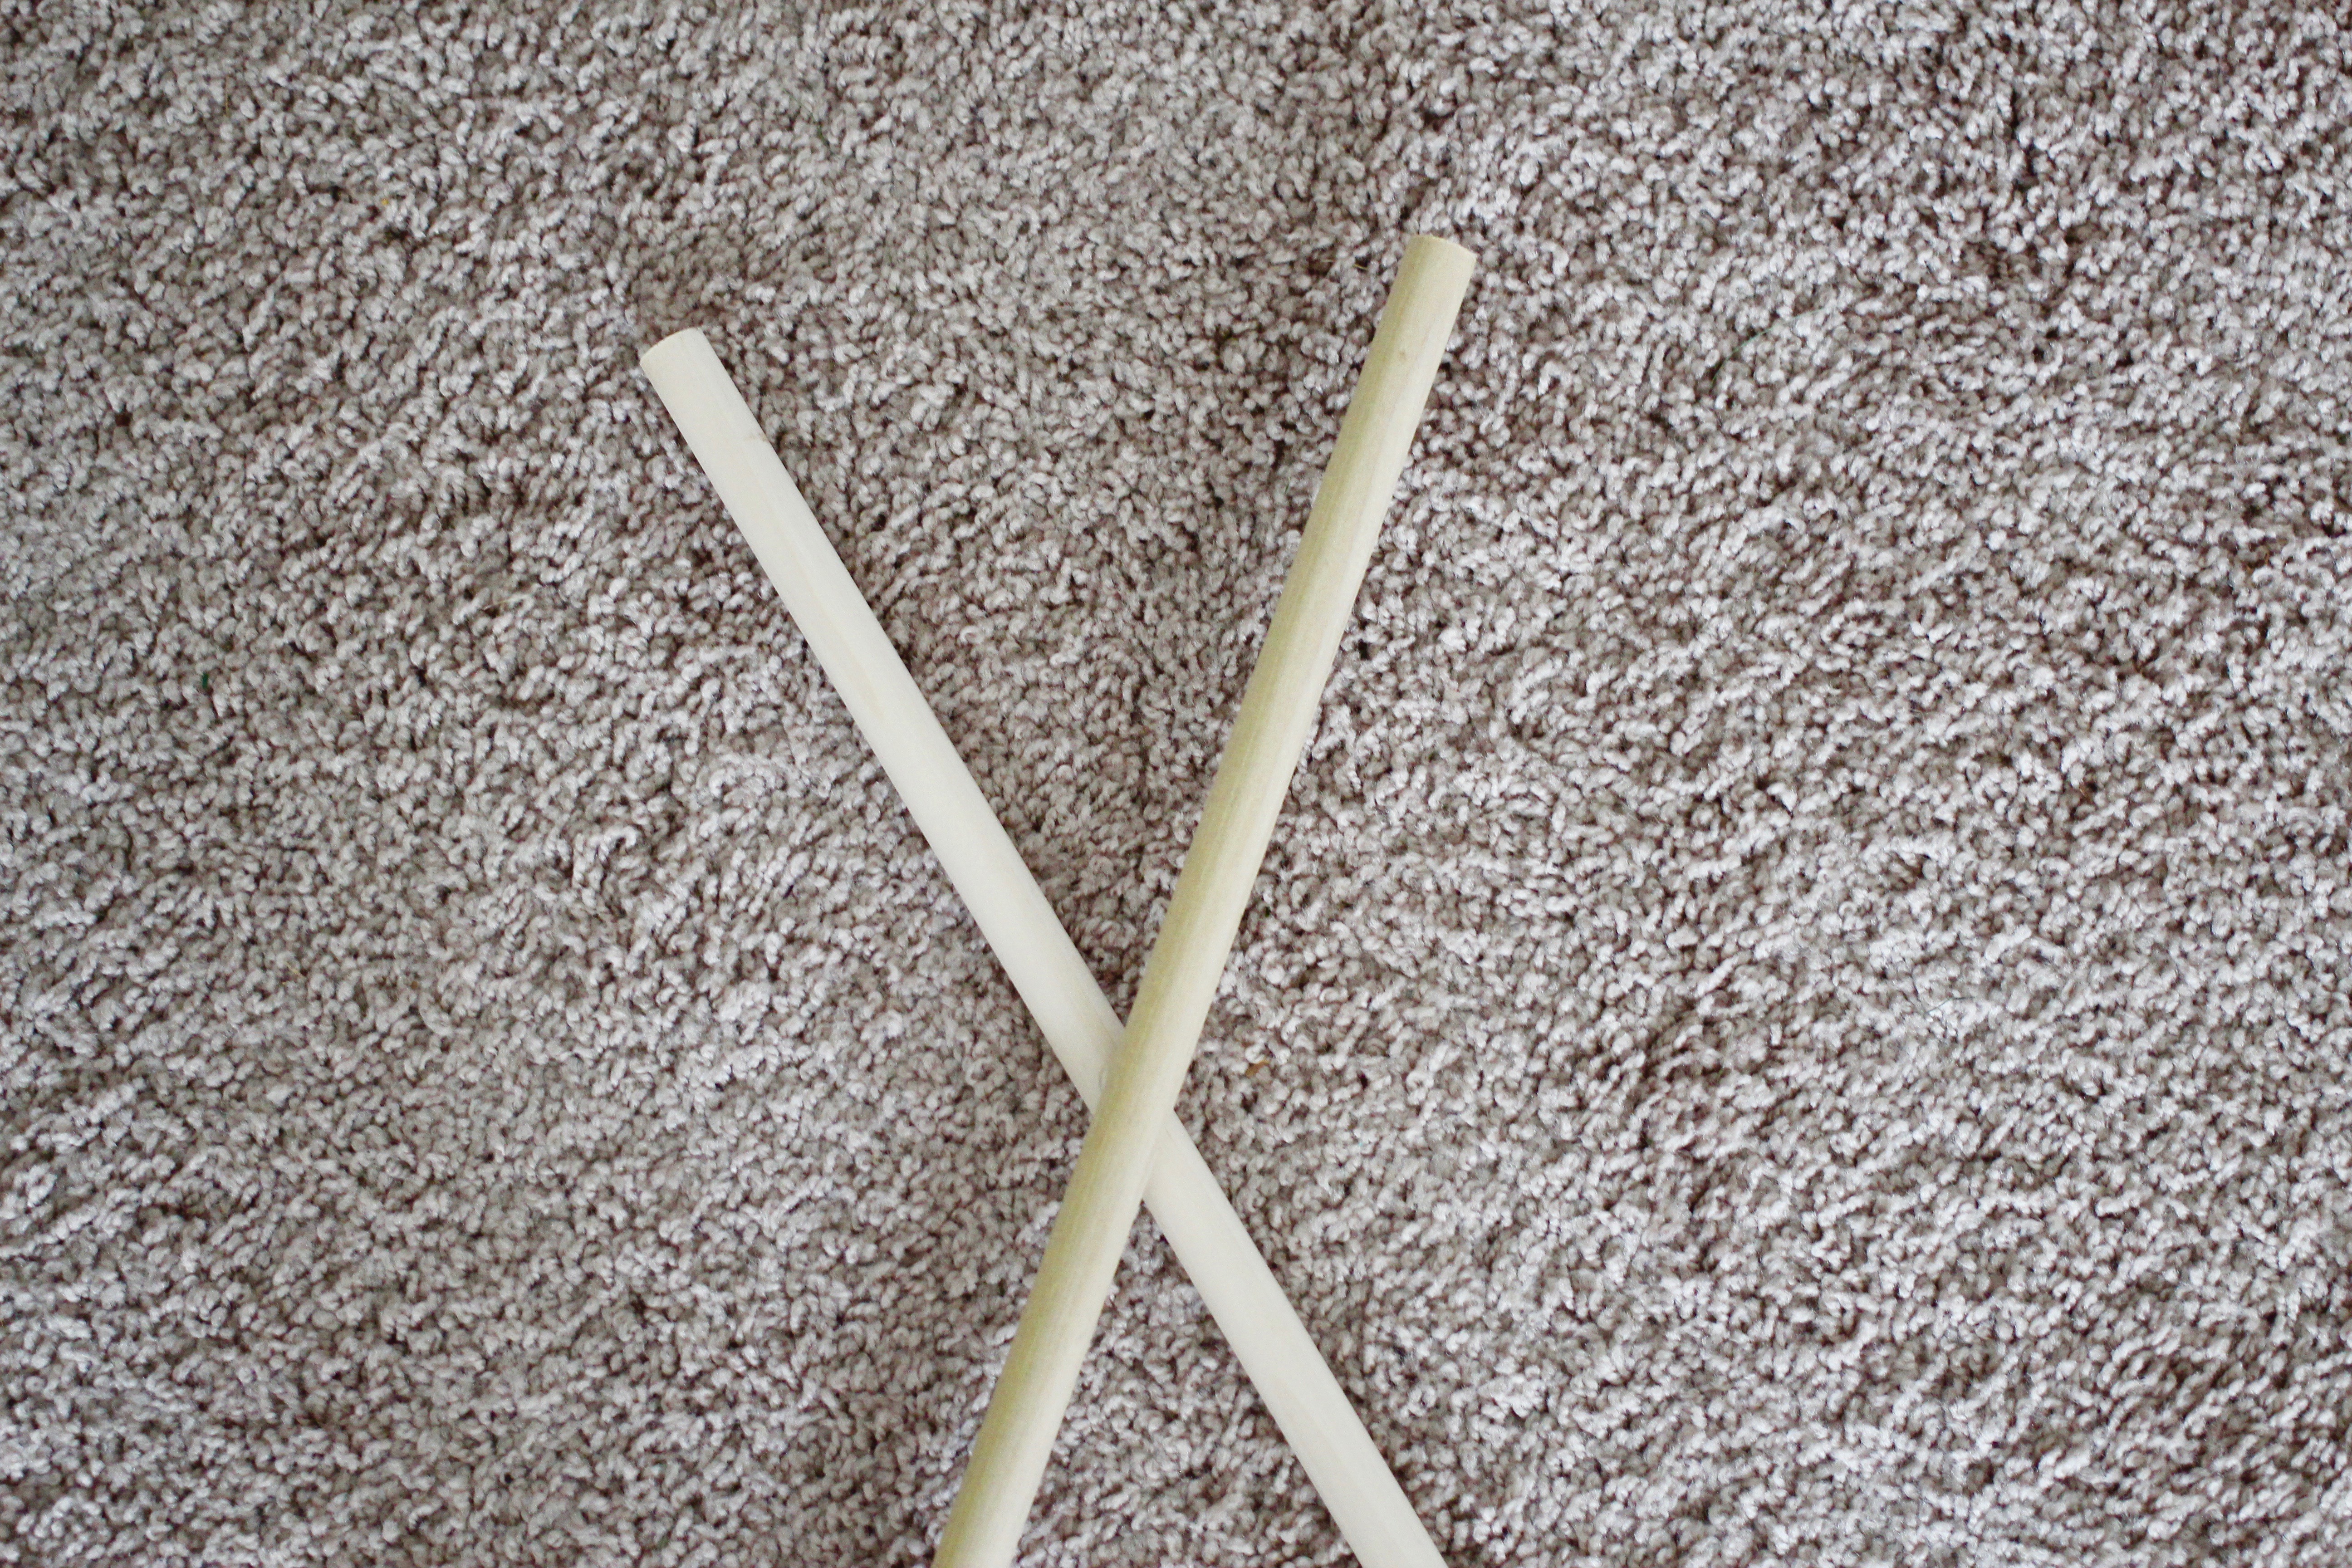
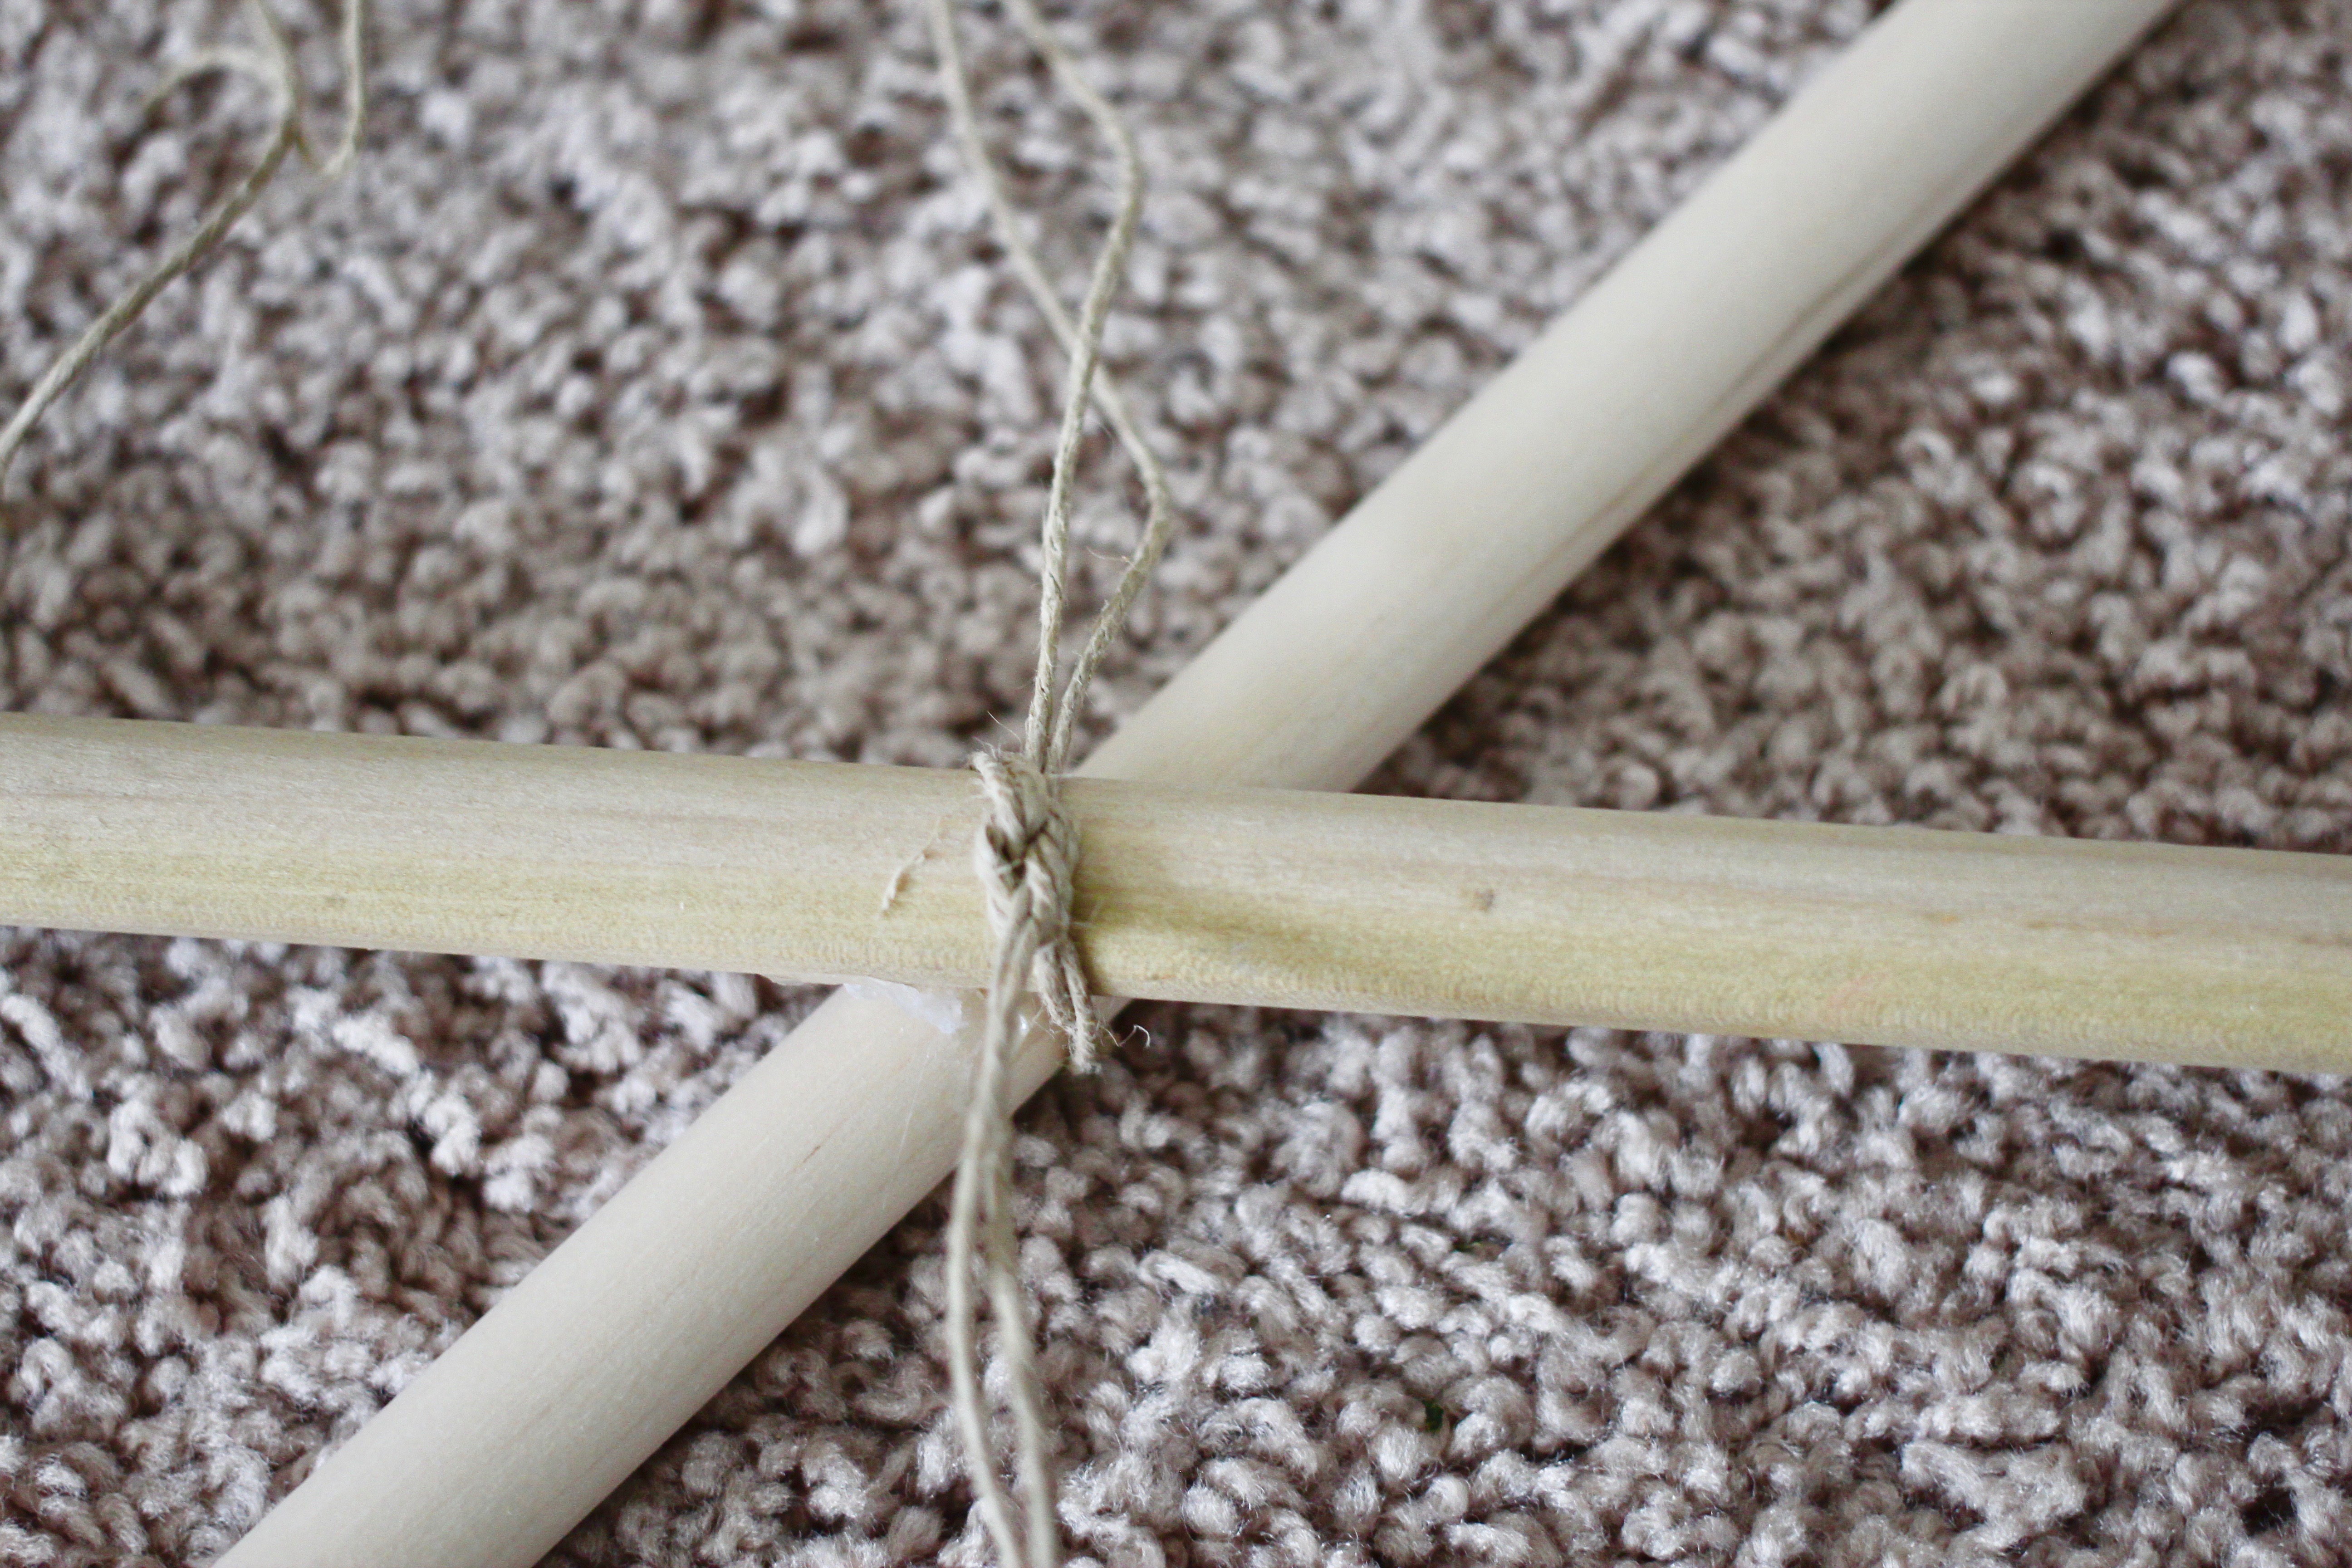
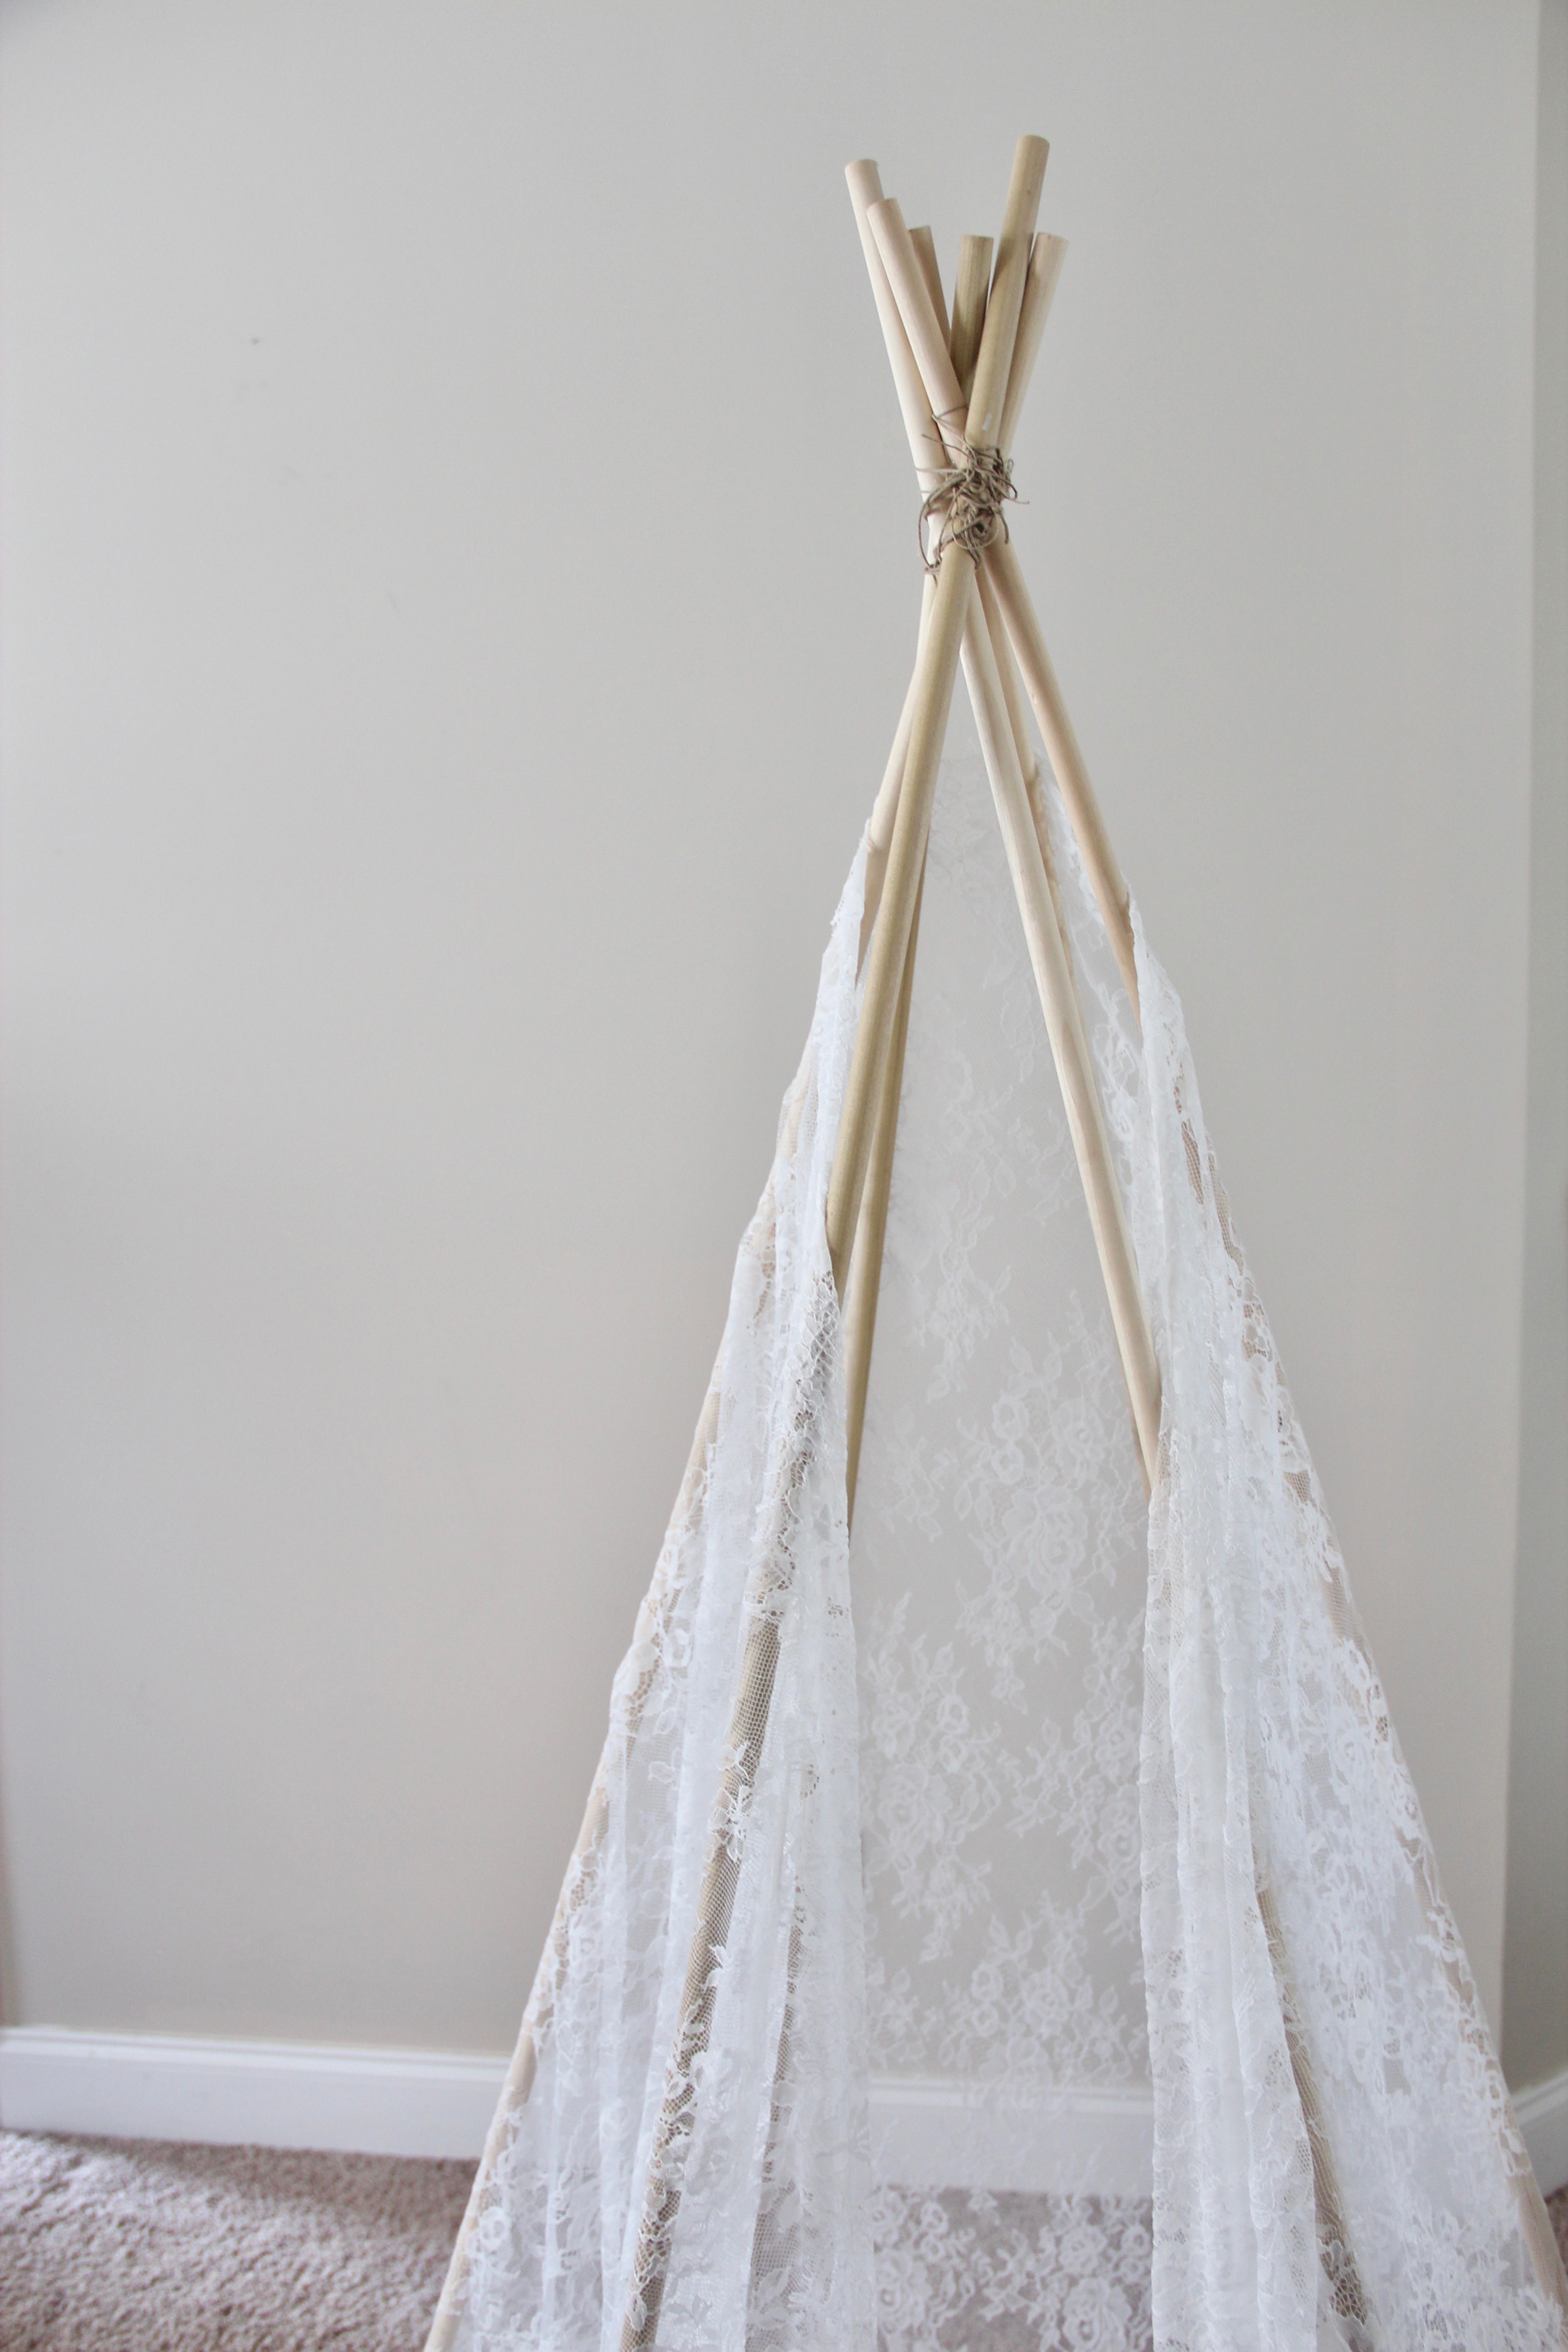
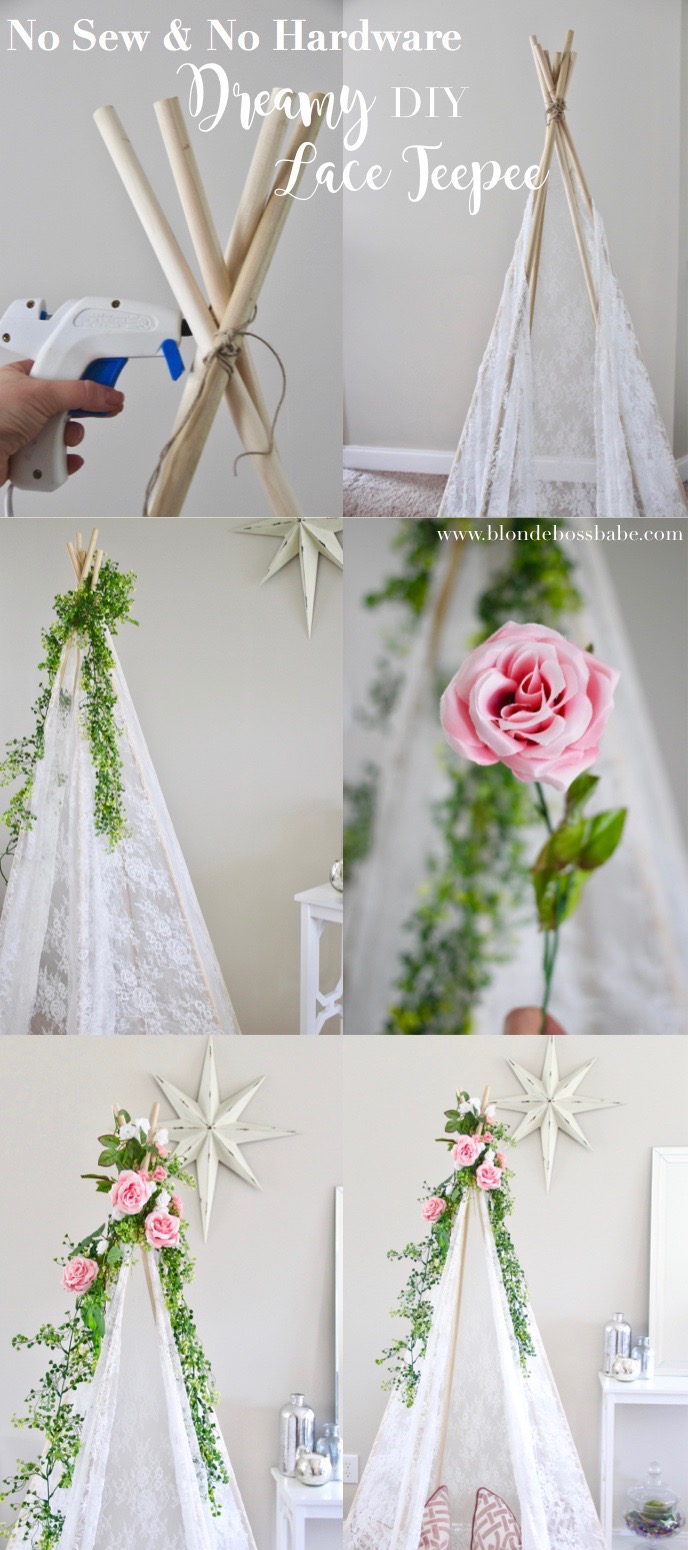
Step 1: Get out two of your dowels, and make an “X” toward the top. Wrap your twine around and in between the dowels, then tie a knot to secure them together. (If you aren’t sure the height you want your teepee to be, stand the dowels up and adjust the X before tying the twine around them)


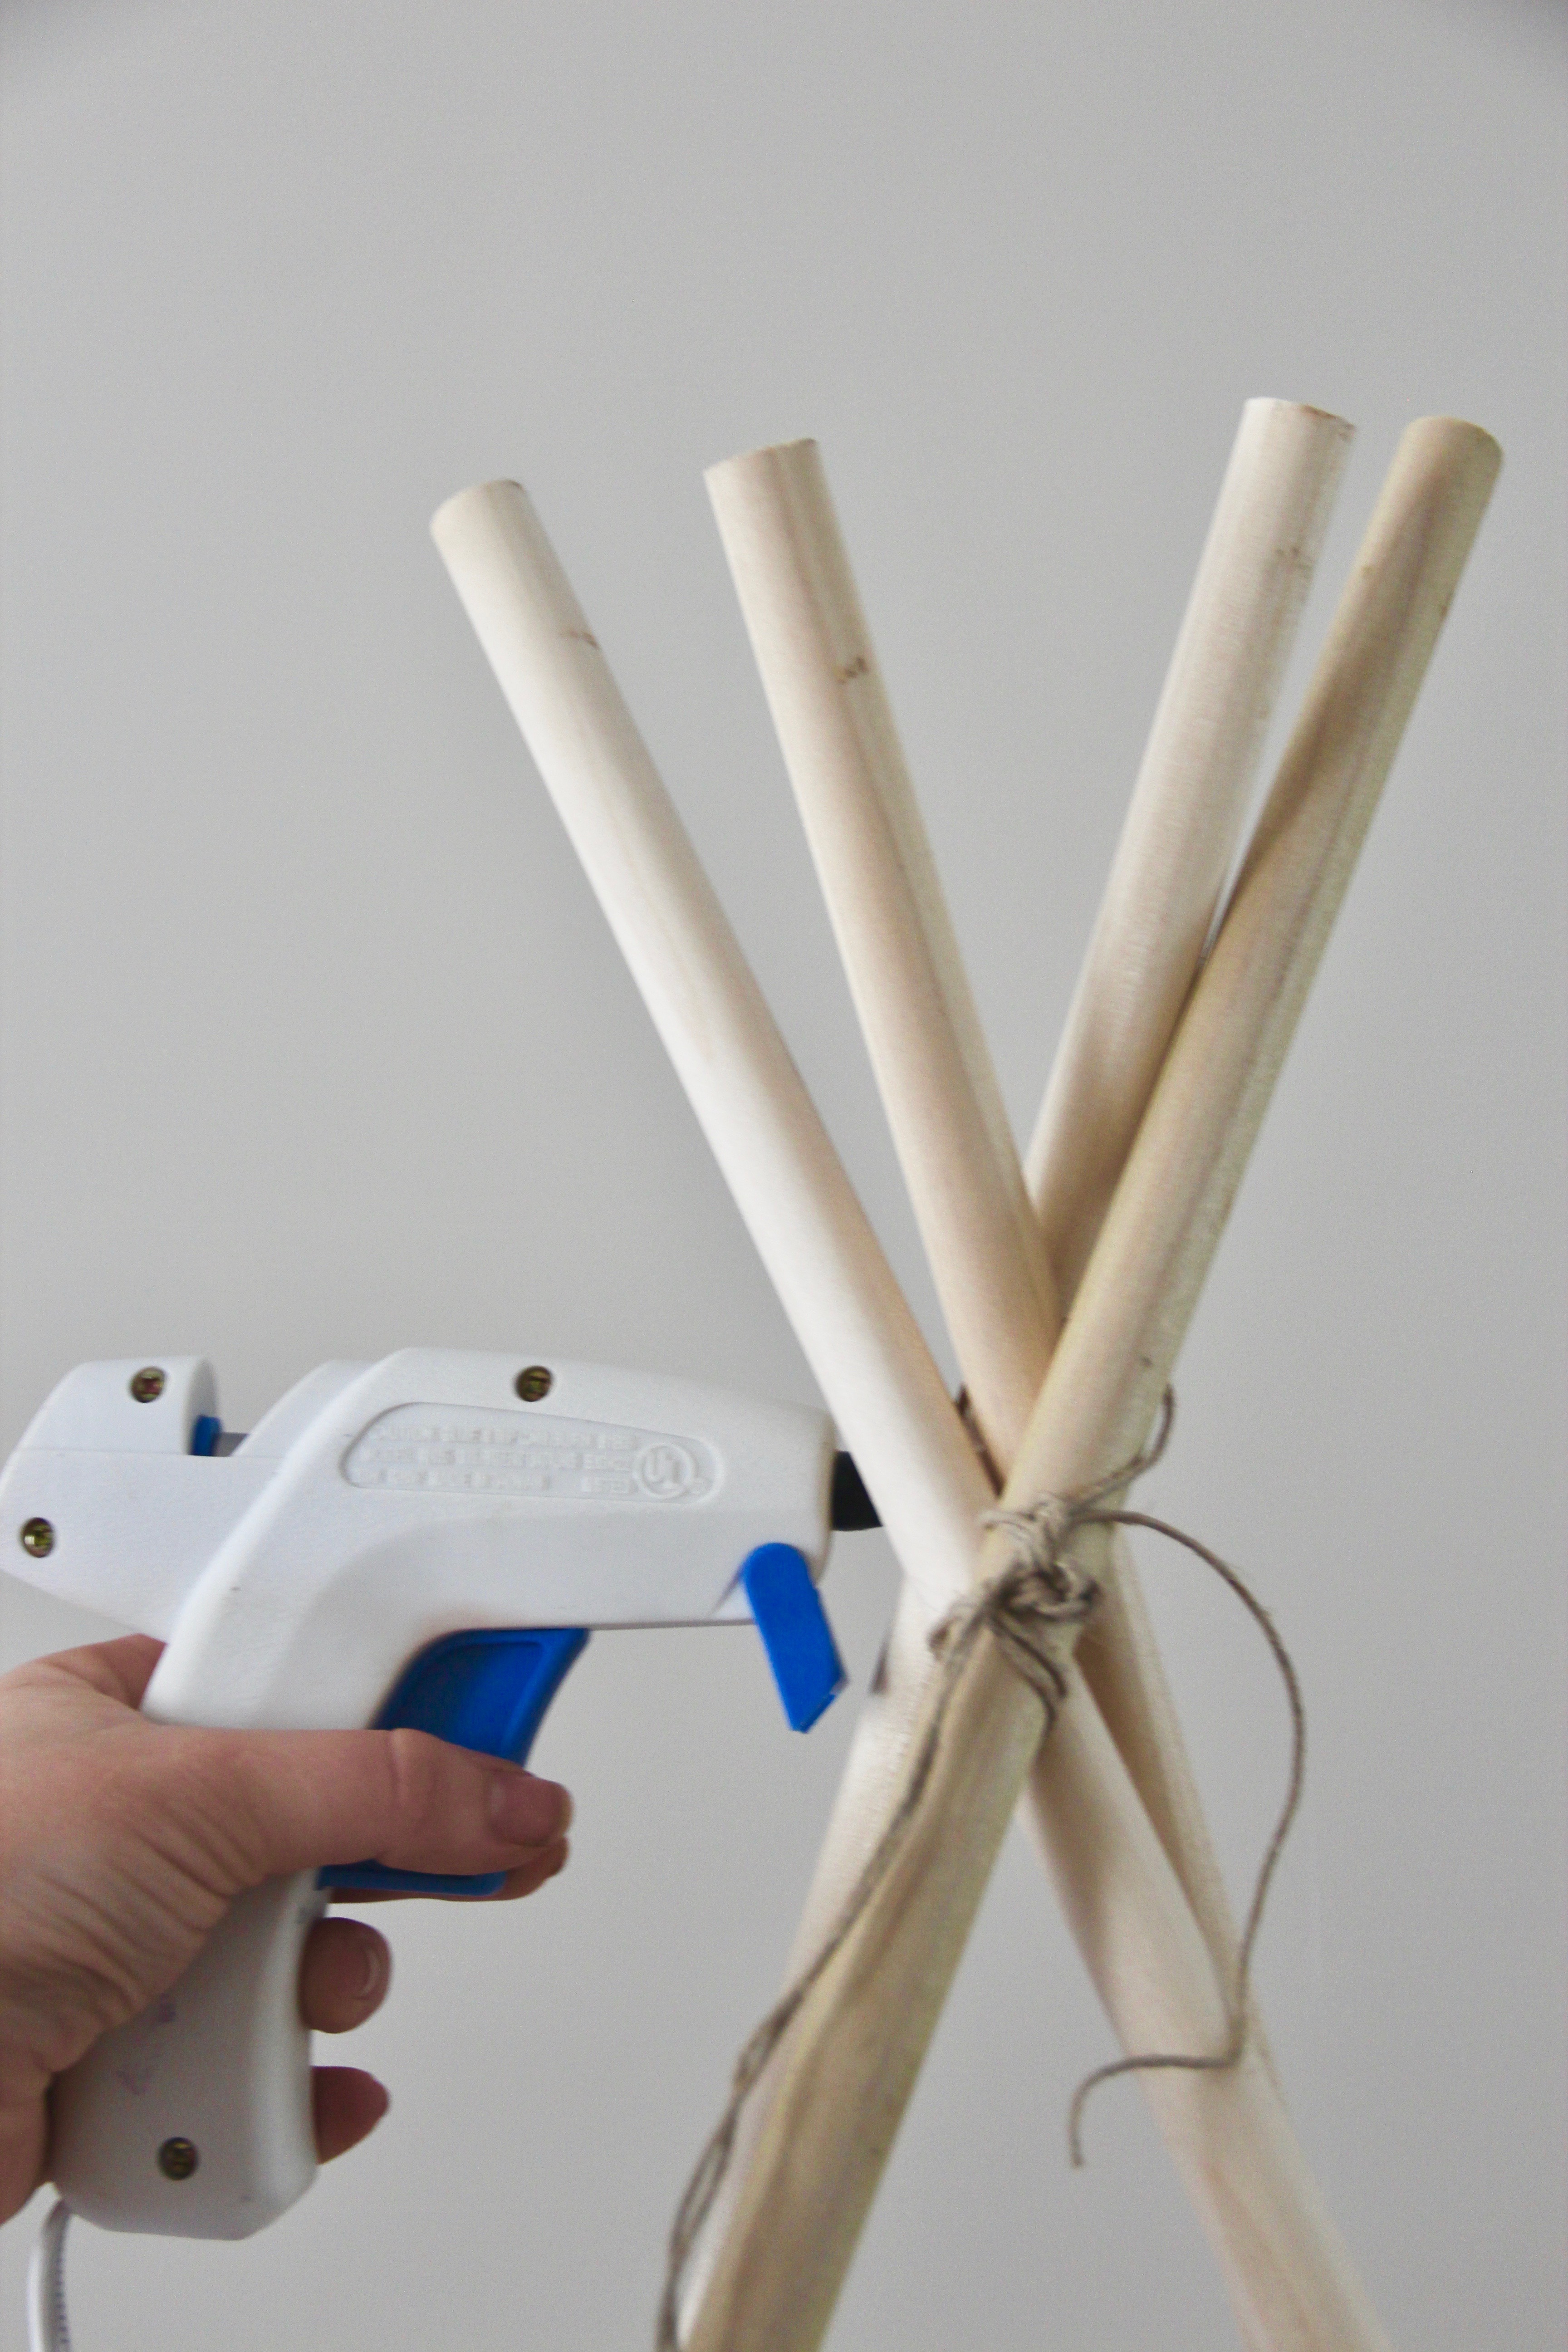
Step 2: Plug in your hot glue gun (be sure to put a piece of cardboard or a couple paper plates under the nozzle so that glue doesn’t drip everywhere!) Dab a couple dots of hot glue underneath the twine on the “X” to secure the knot.

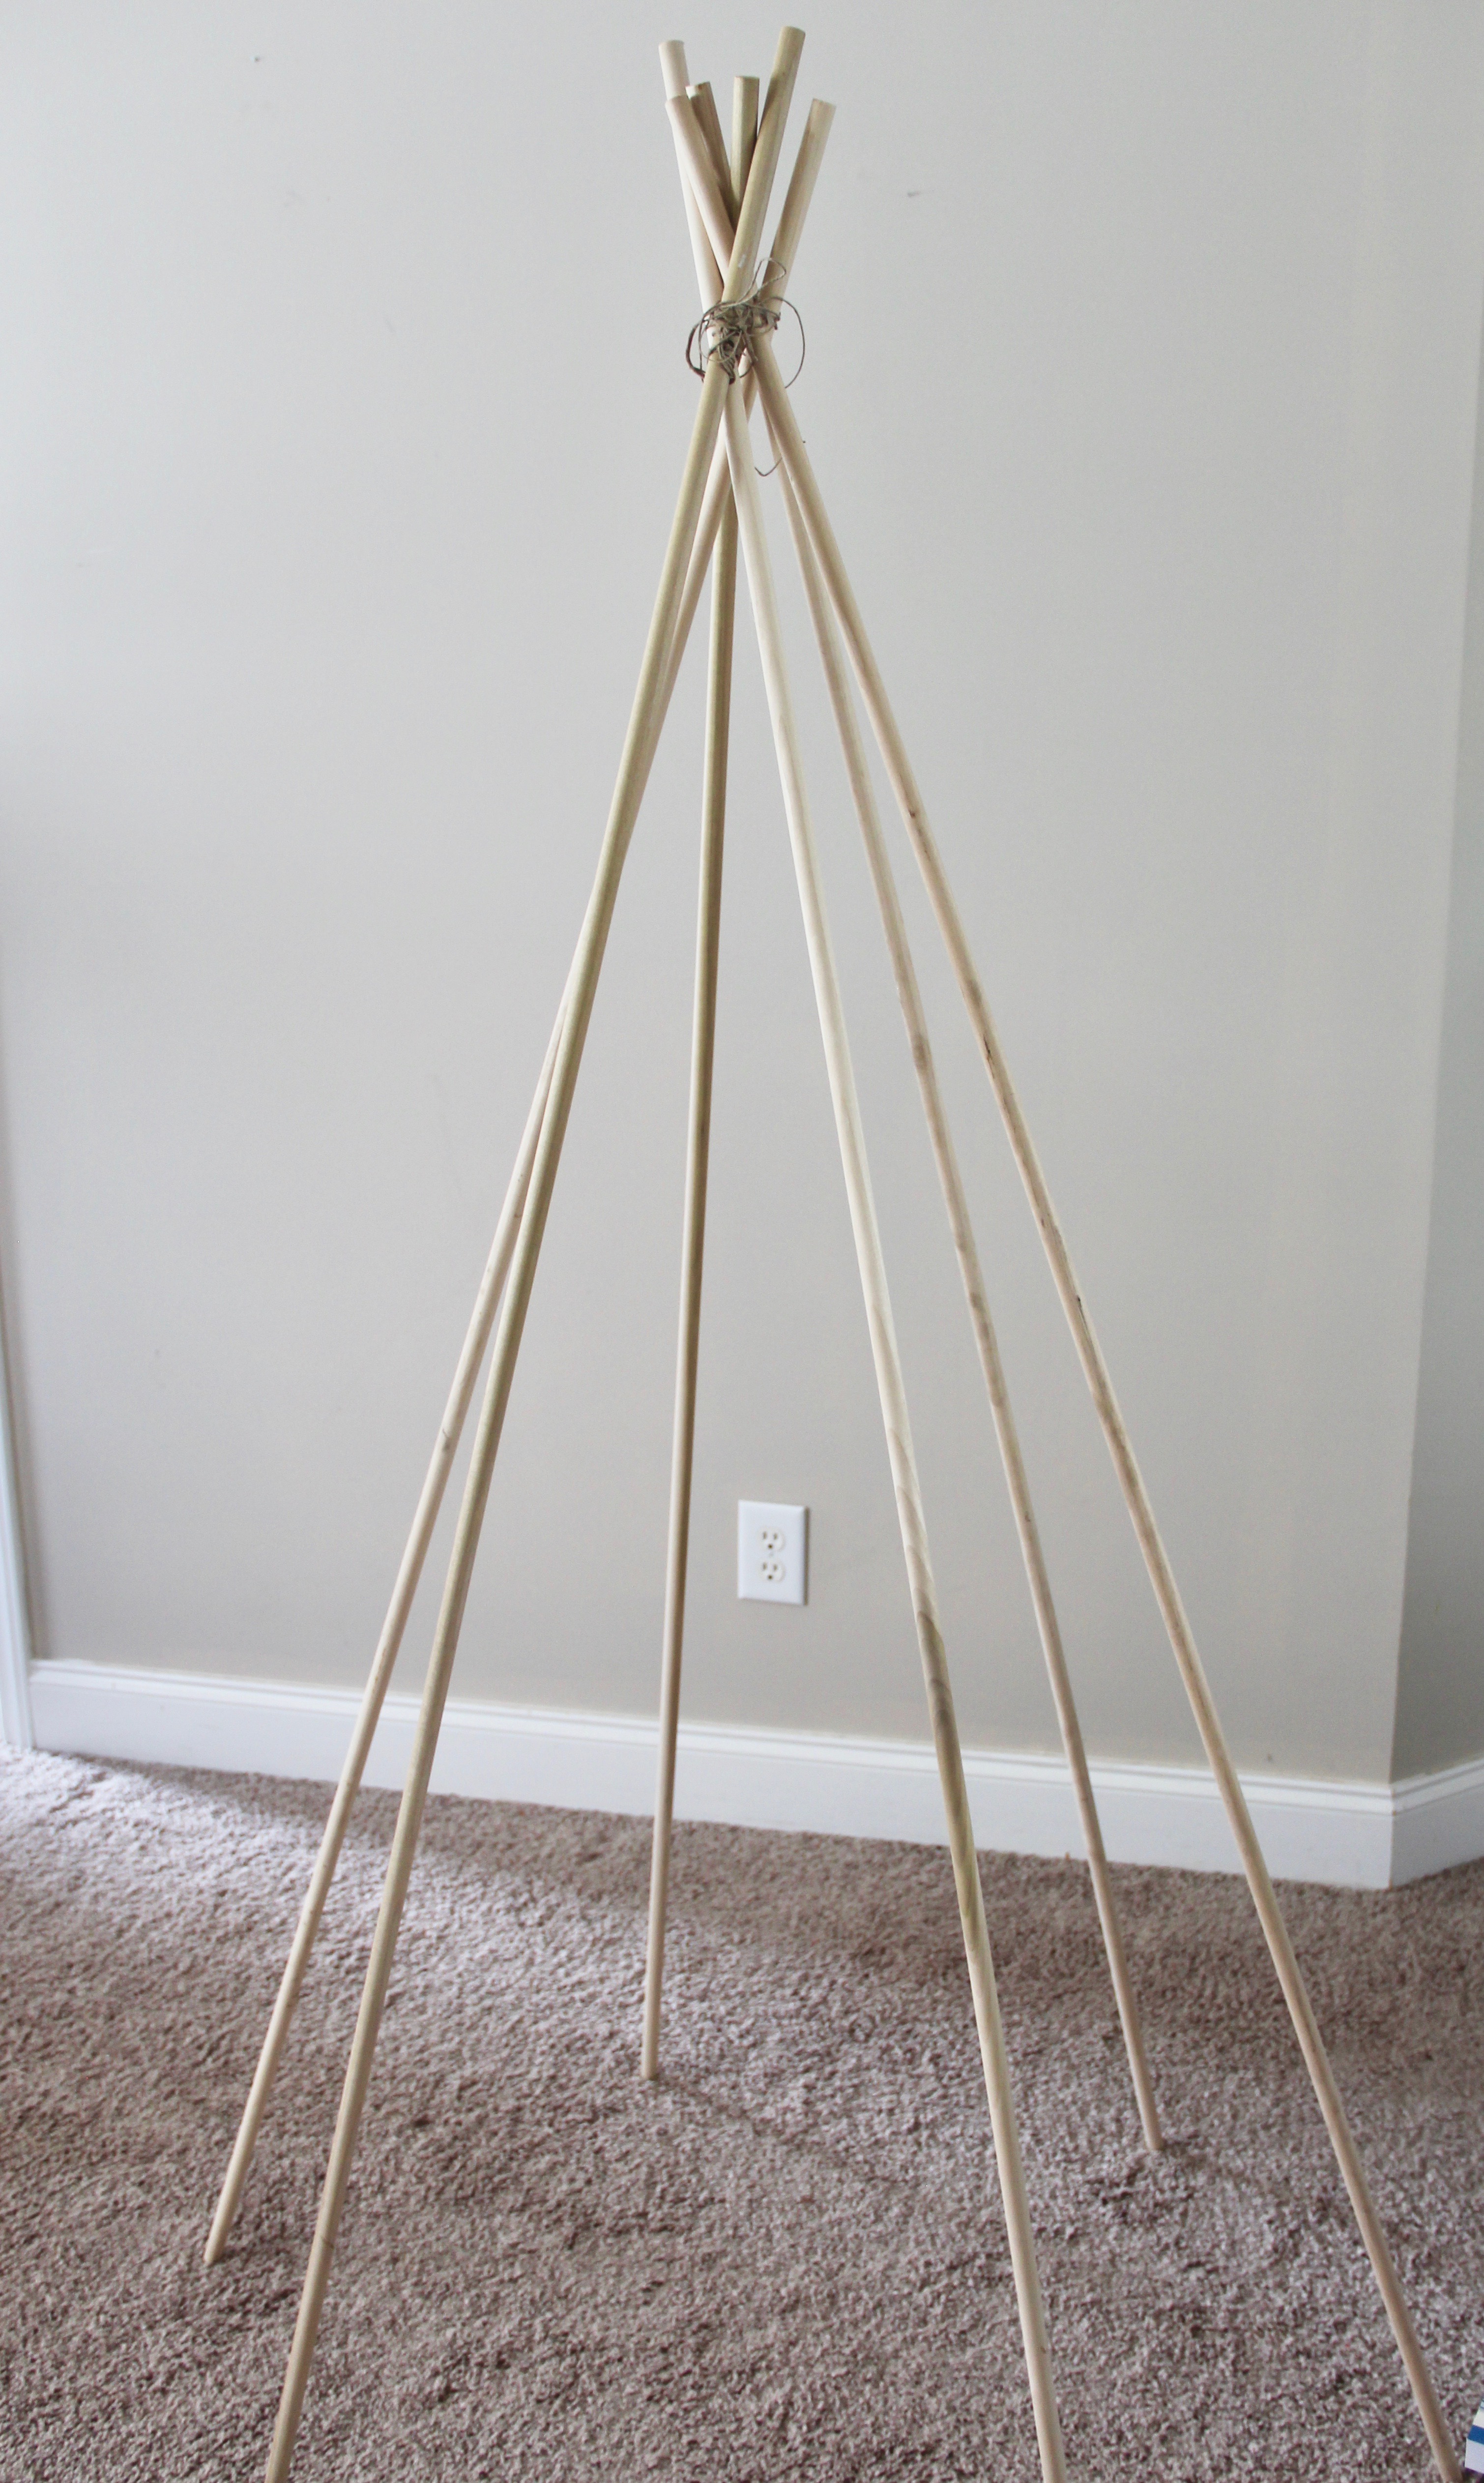
Steps 3 & 4: Stand up the dowels and add in the third and fourth dowel. Before securing, make sure the angles are what you prefer – then repeat steps 1 & 2 for each additional dowel. Add in dowels 5 & 6 following the same steps. Once all have been added, wrap twine around all of the dowels and secure with hot glue.

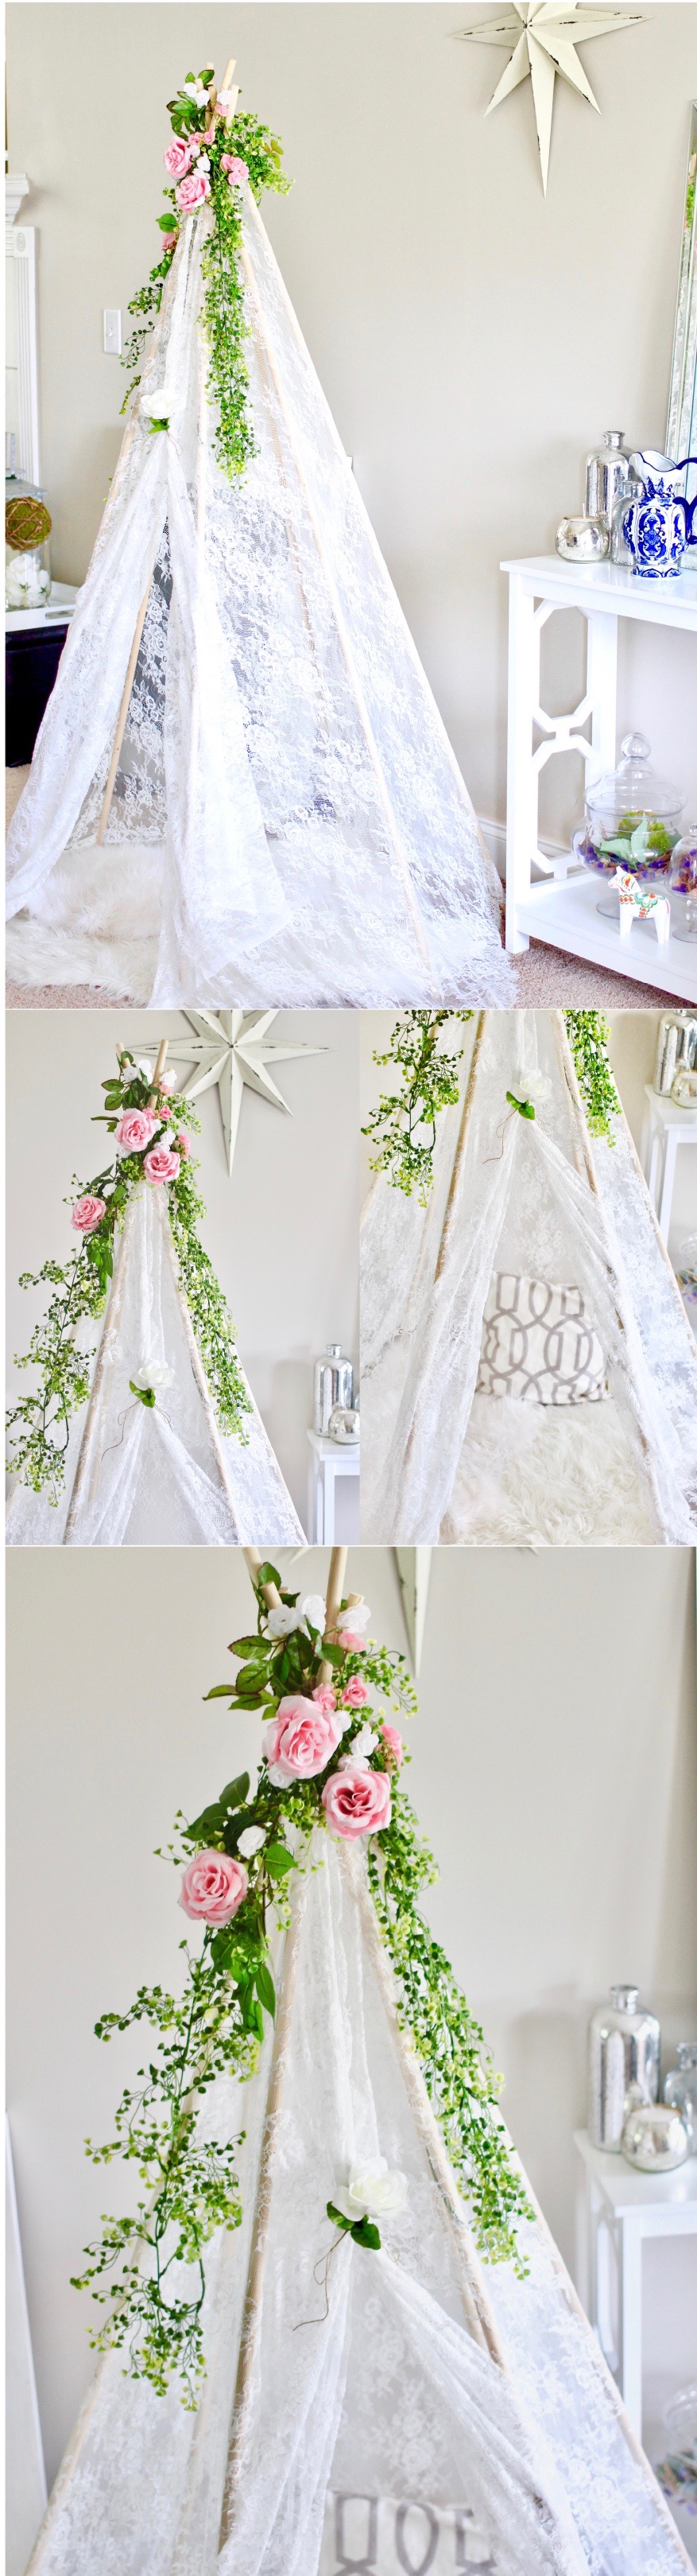
Step 5: Get out your lace tablecloth. Holding opposite parallel corners, begin draping the lace around the teepee frame. (One benefit of unfinished poplar dowels that is particularly awesome for this is that the lace will lightly catch on the wood – making it a lot easier to drape it around the teepee by without extra help!)

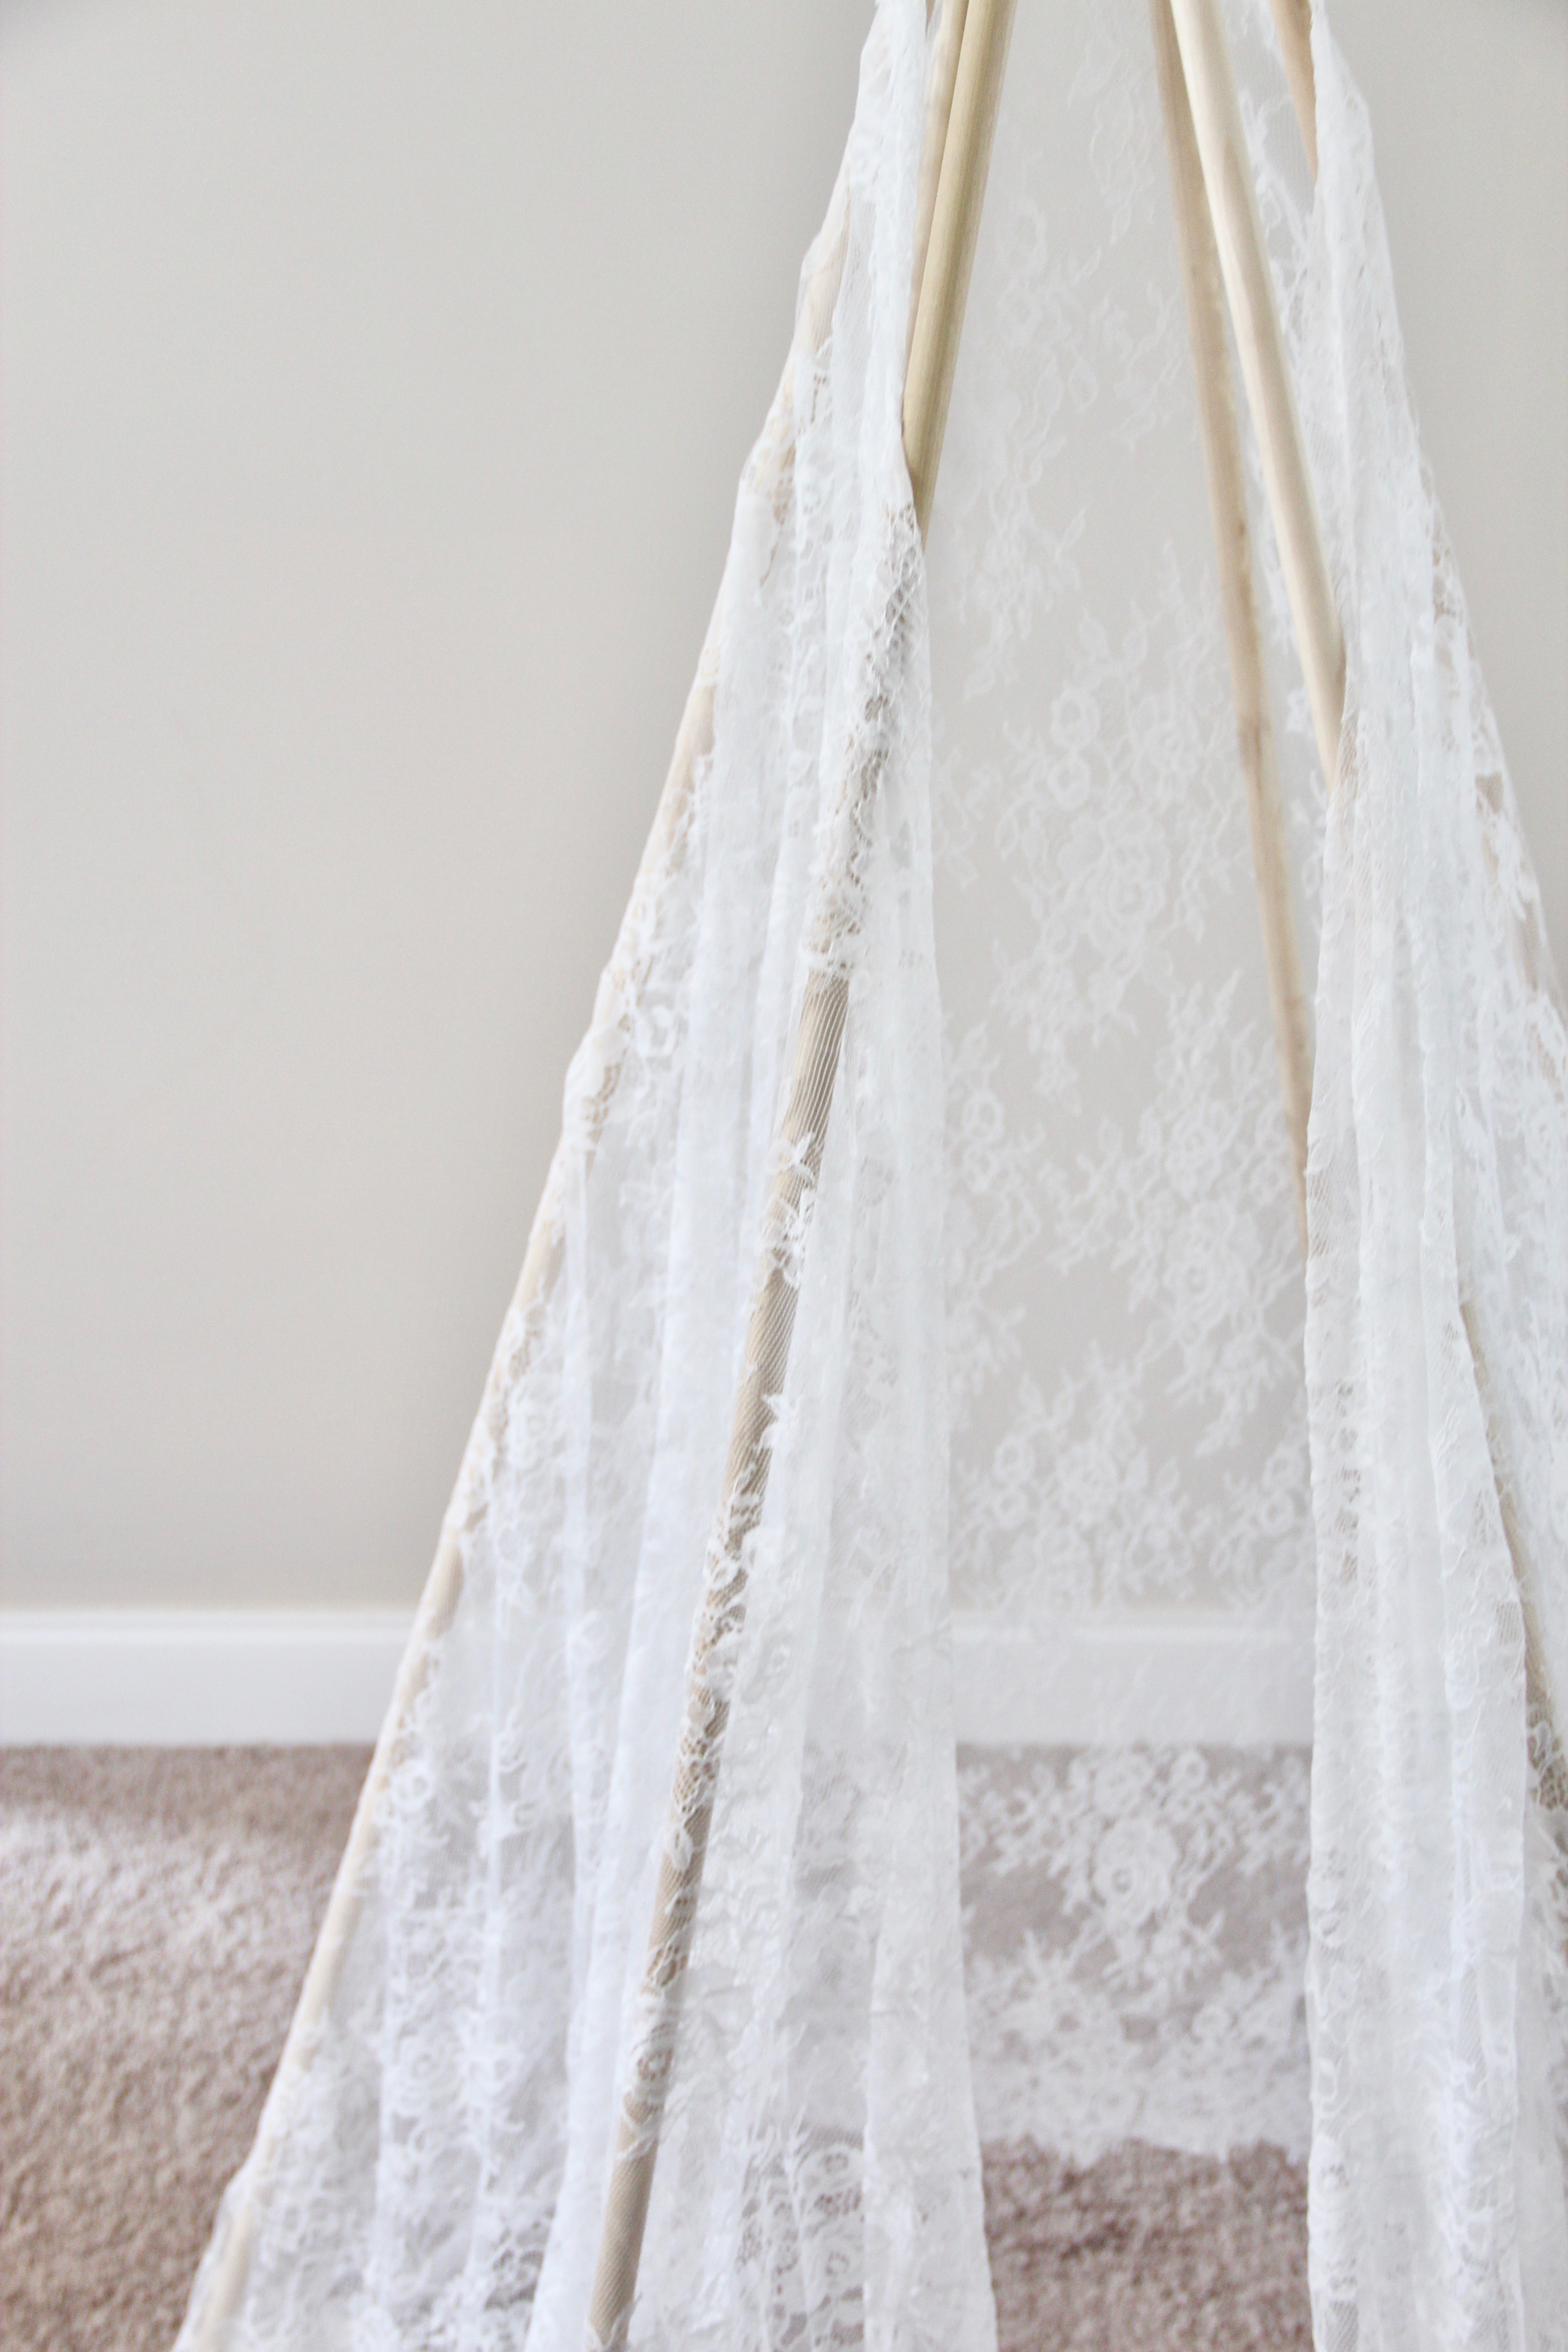
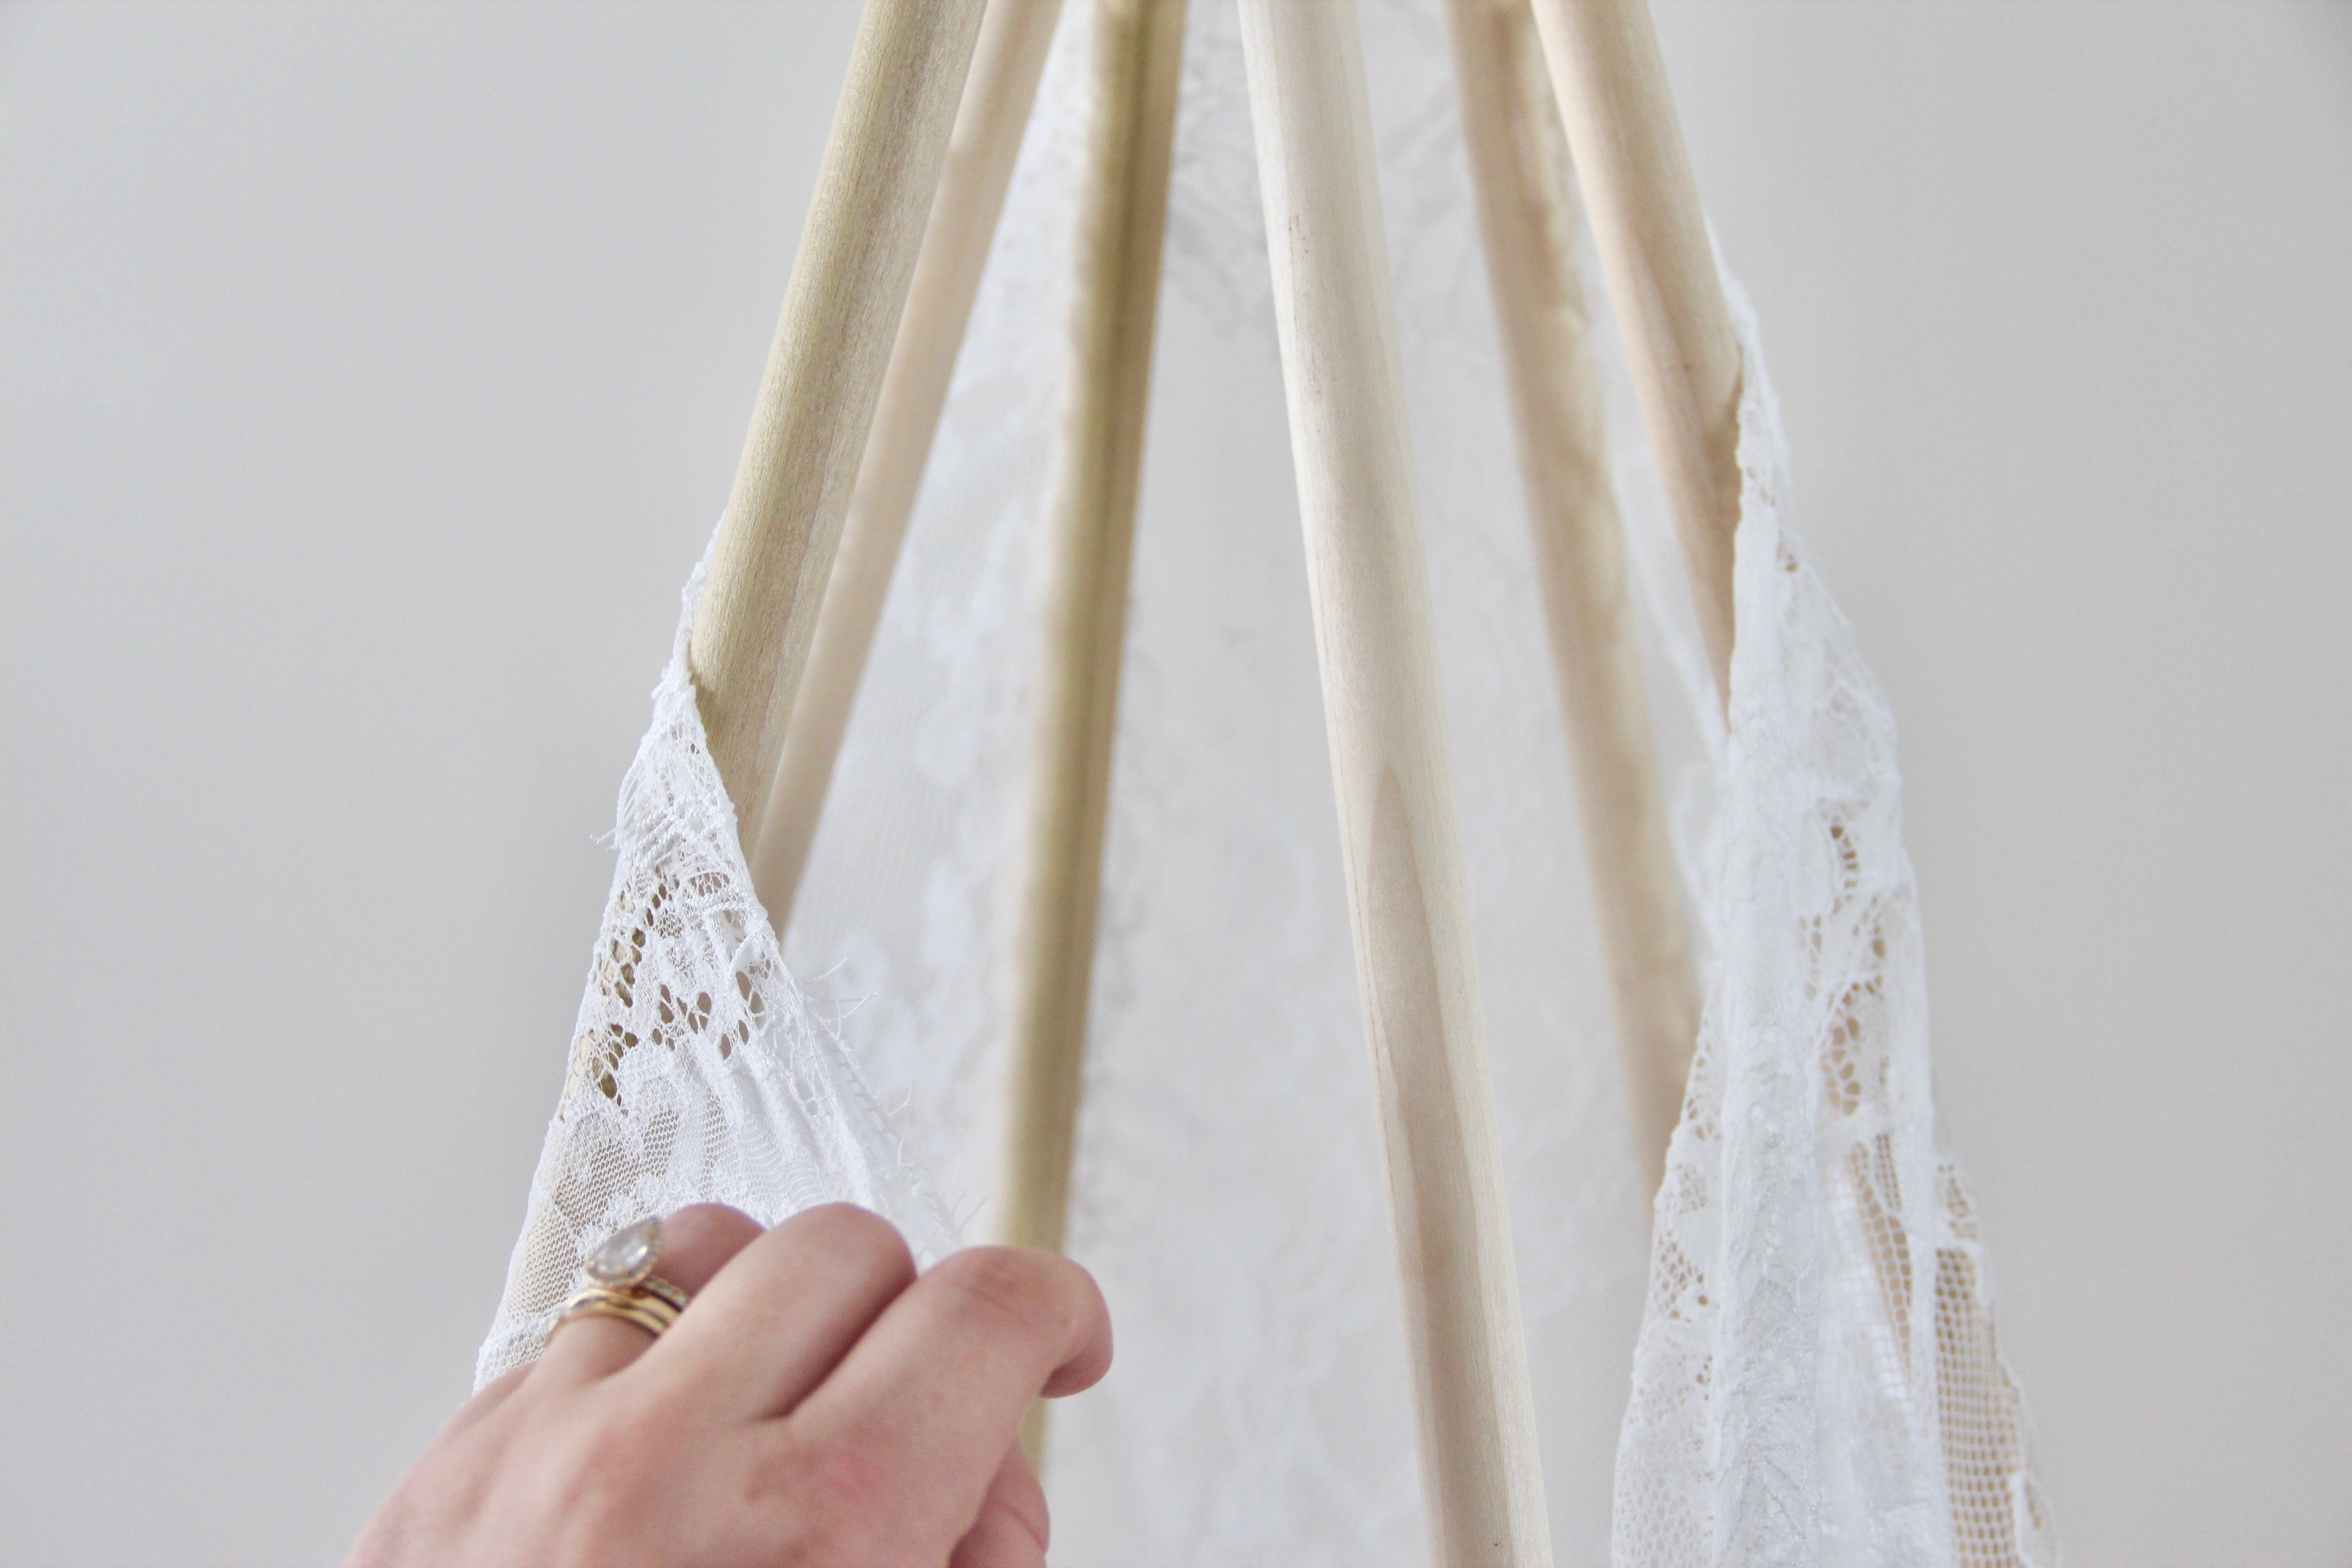
Step 6: Taking the two safety pins, secure the ends of the tablecloth together a few inches below where the teepee frame was tied off with twine. Don’t worry about the pins affecting the look of the teepee – they won’t show when you begin adding your garland and flowers.

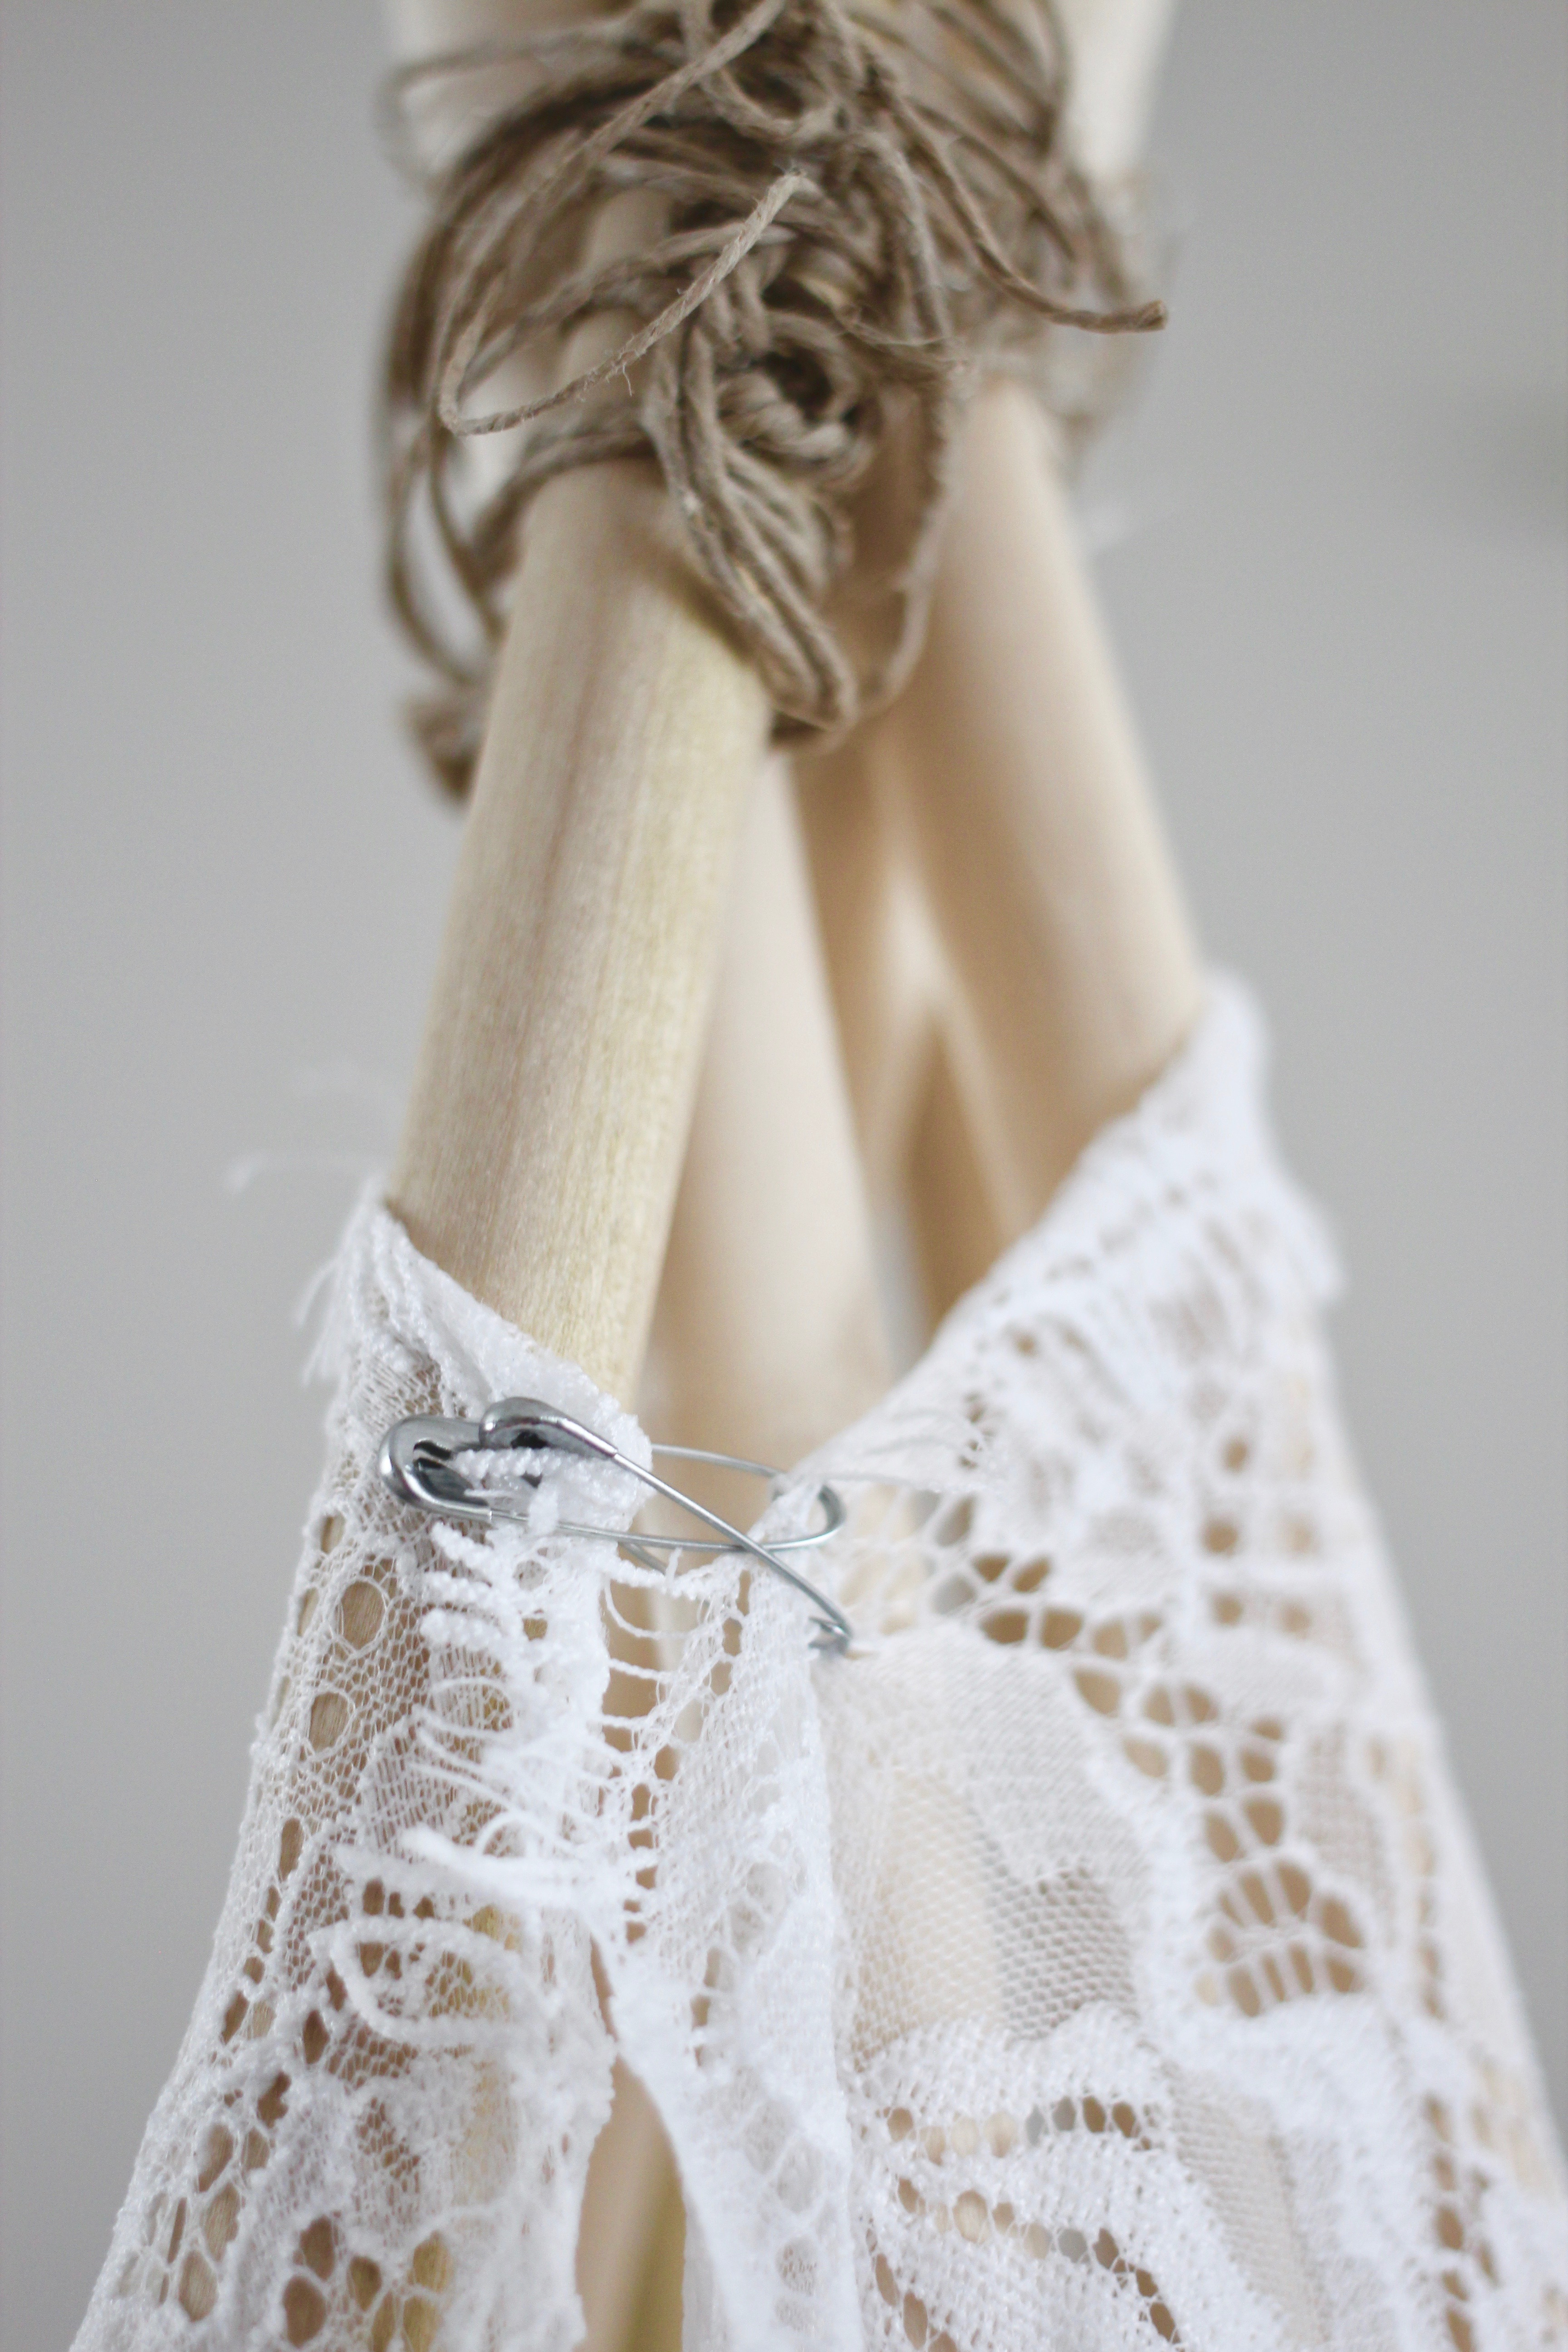
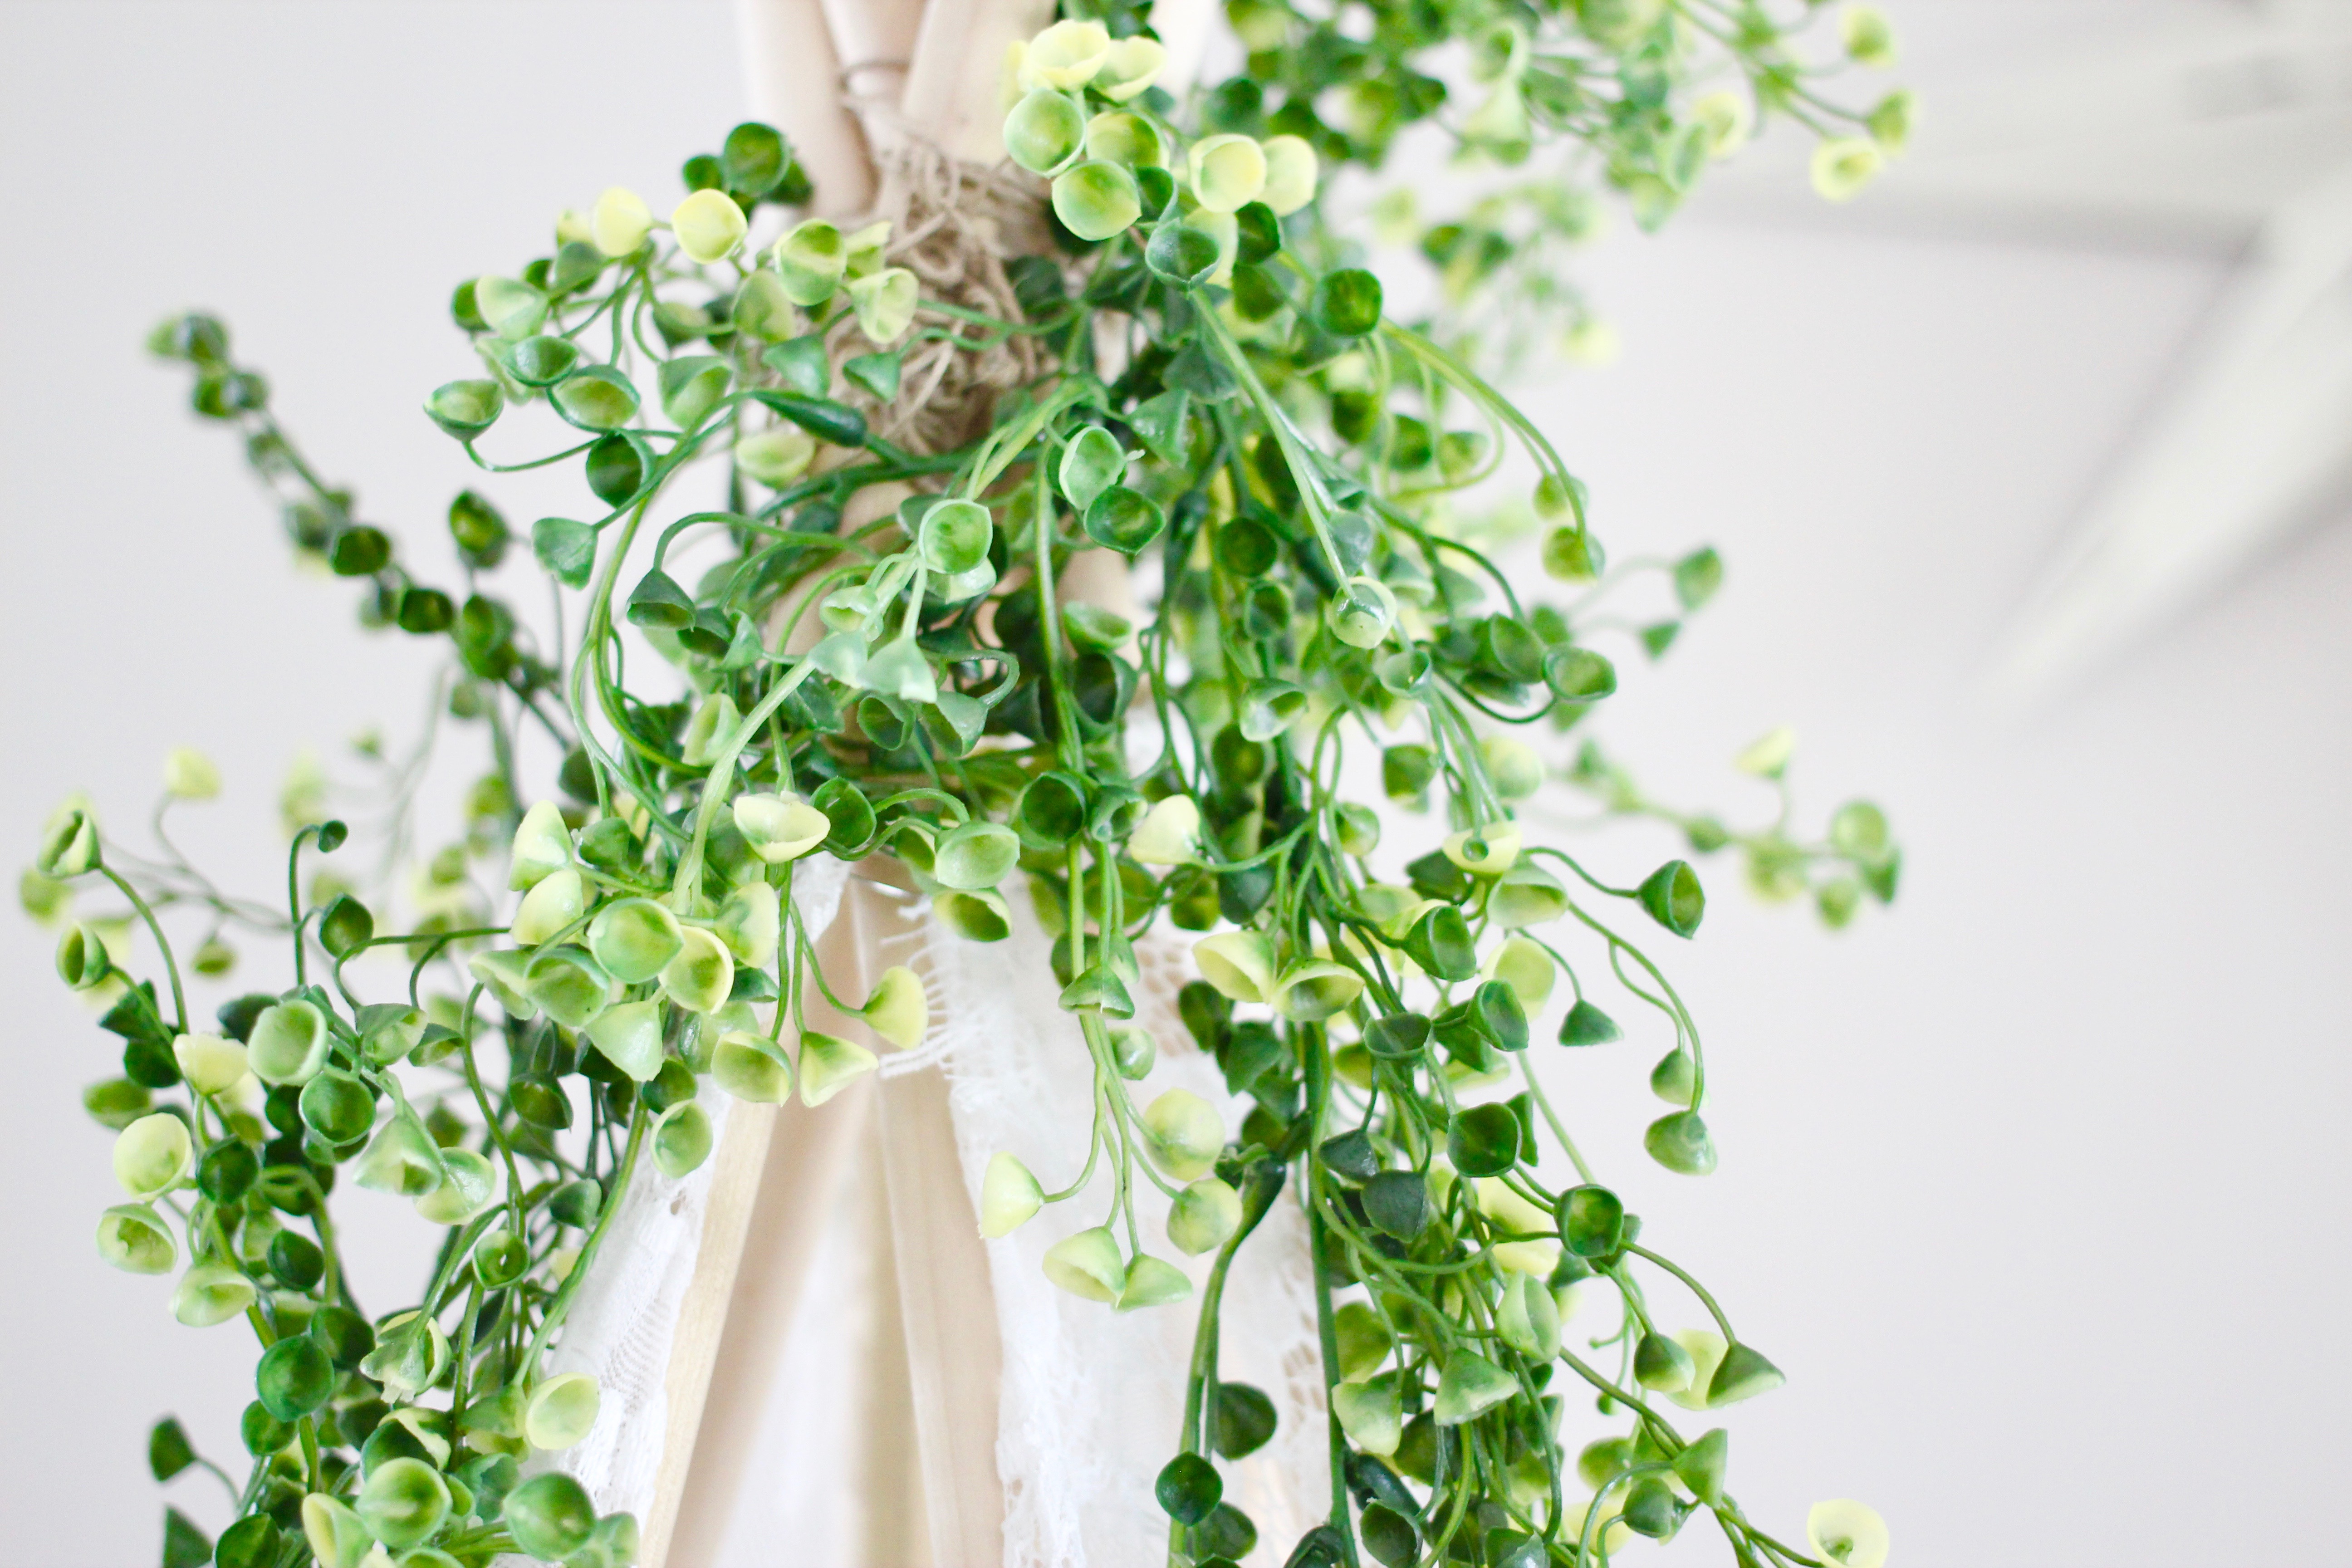
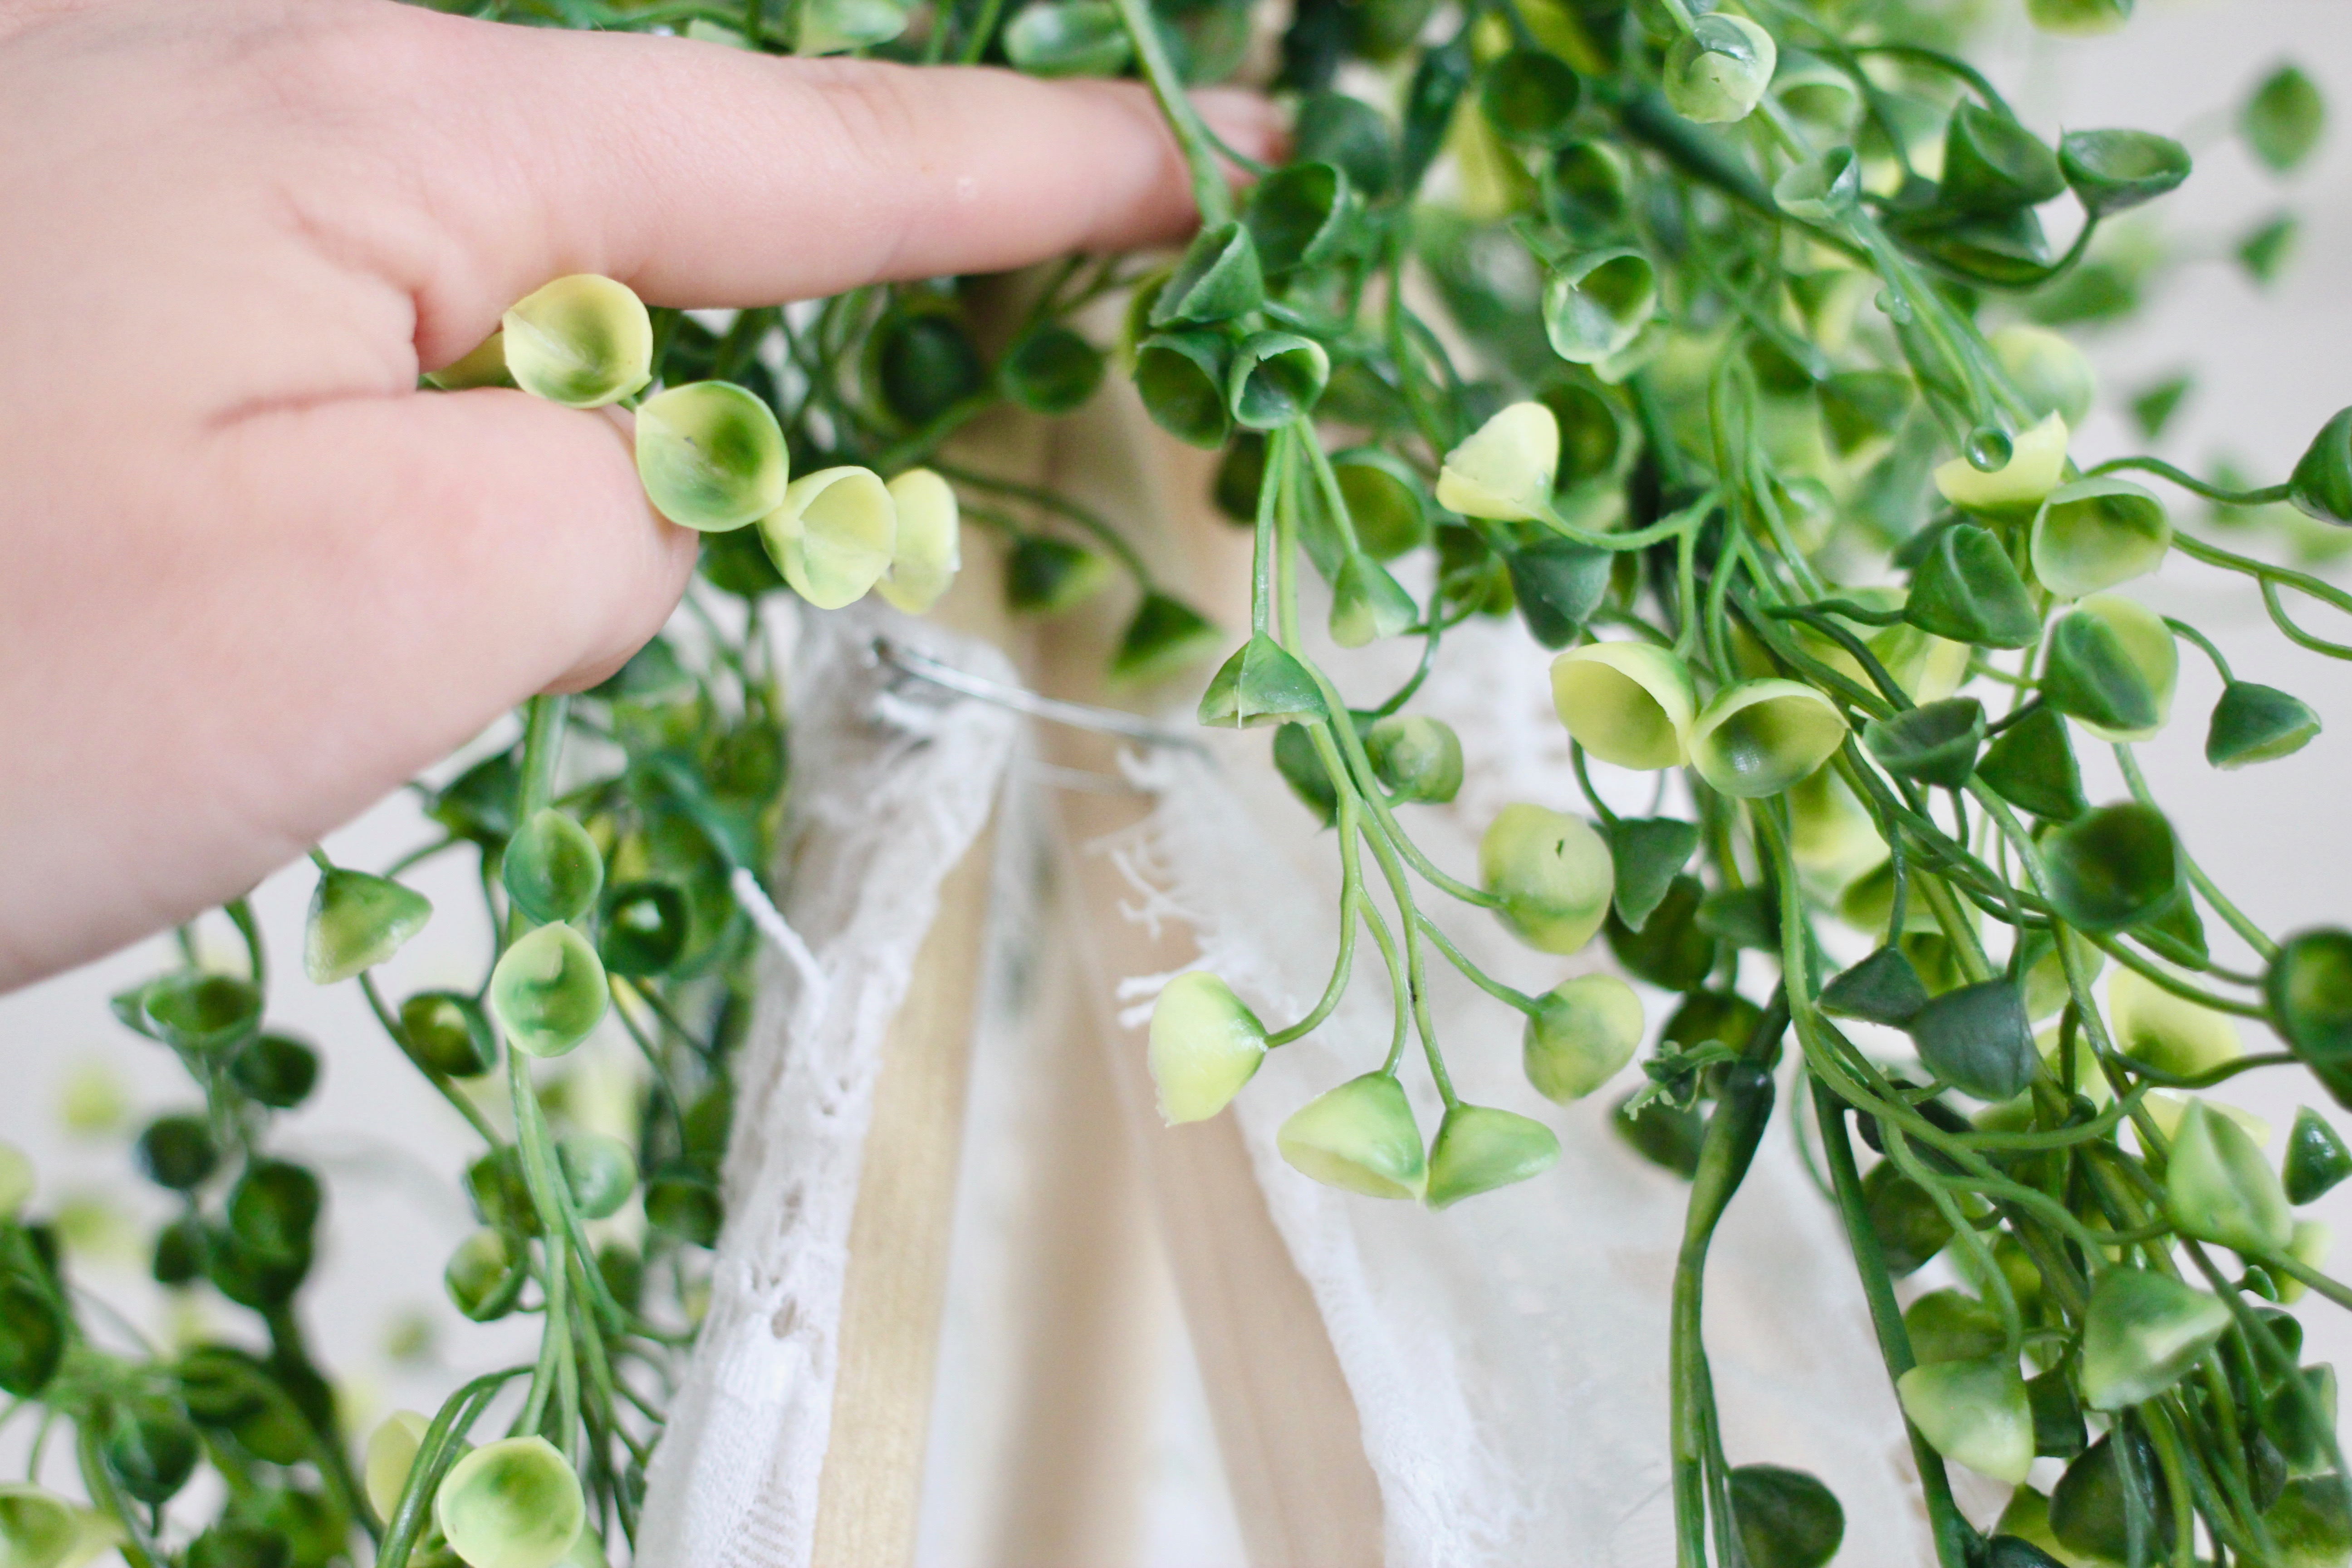
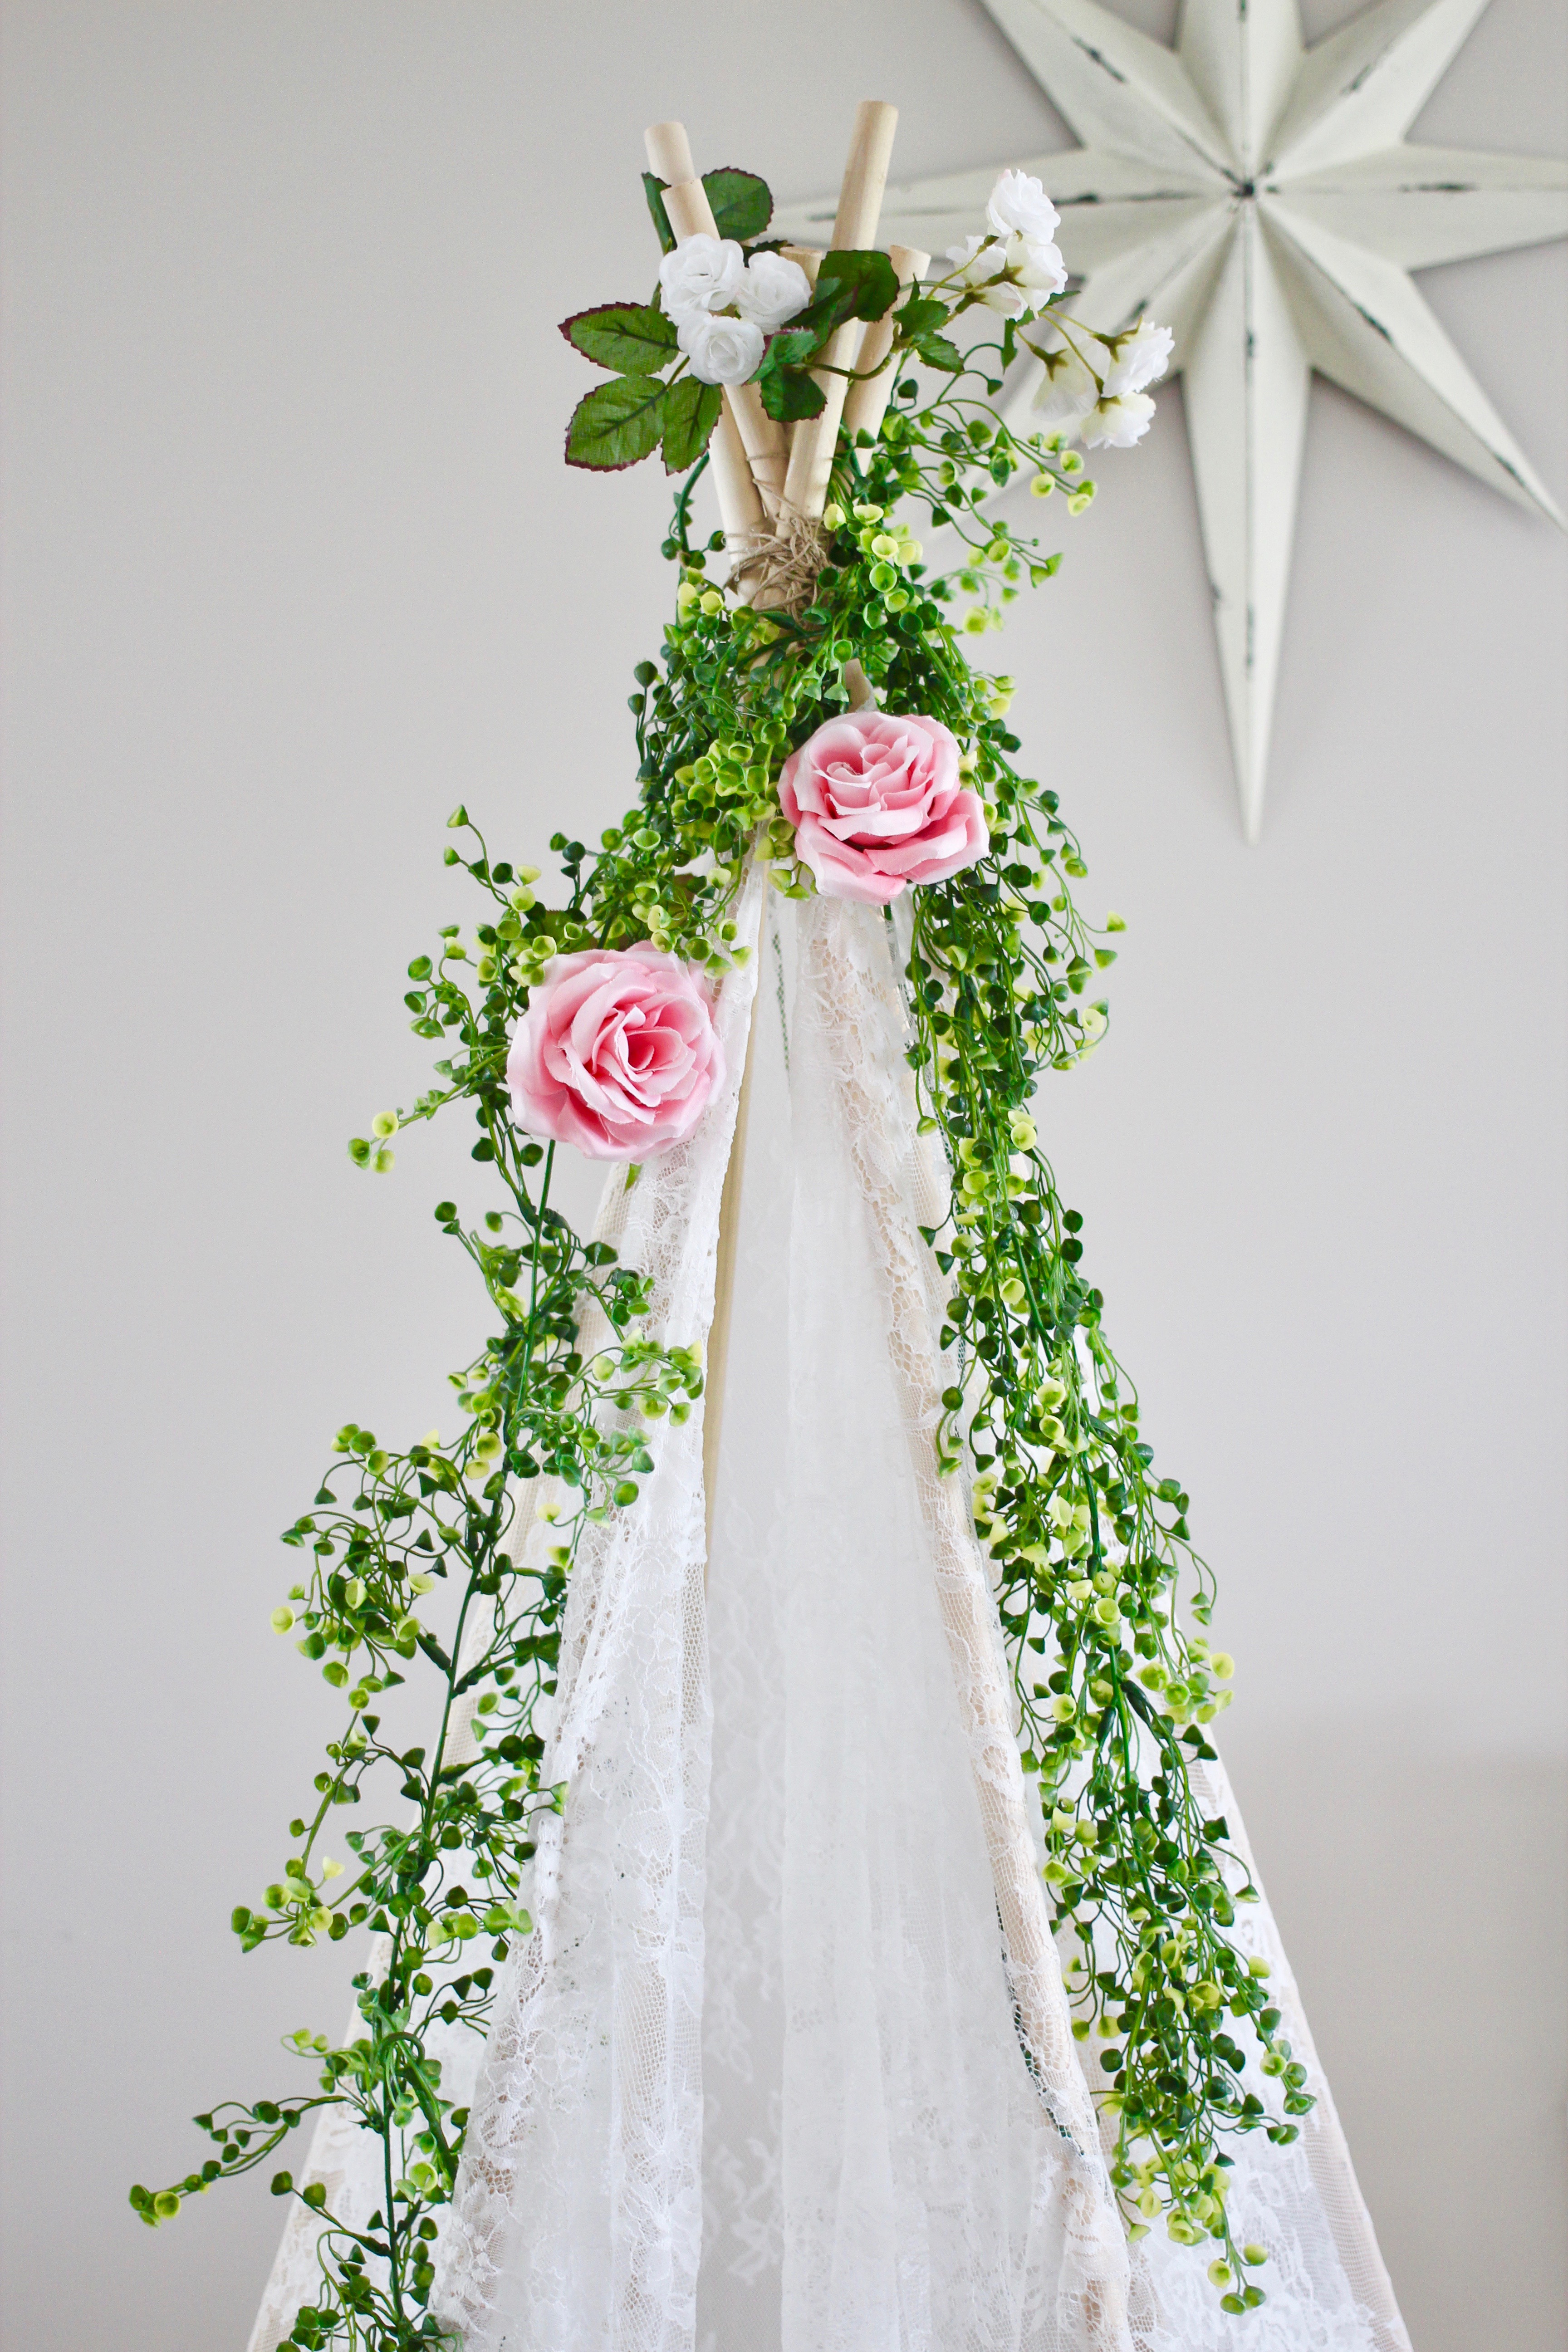
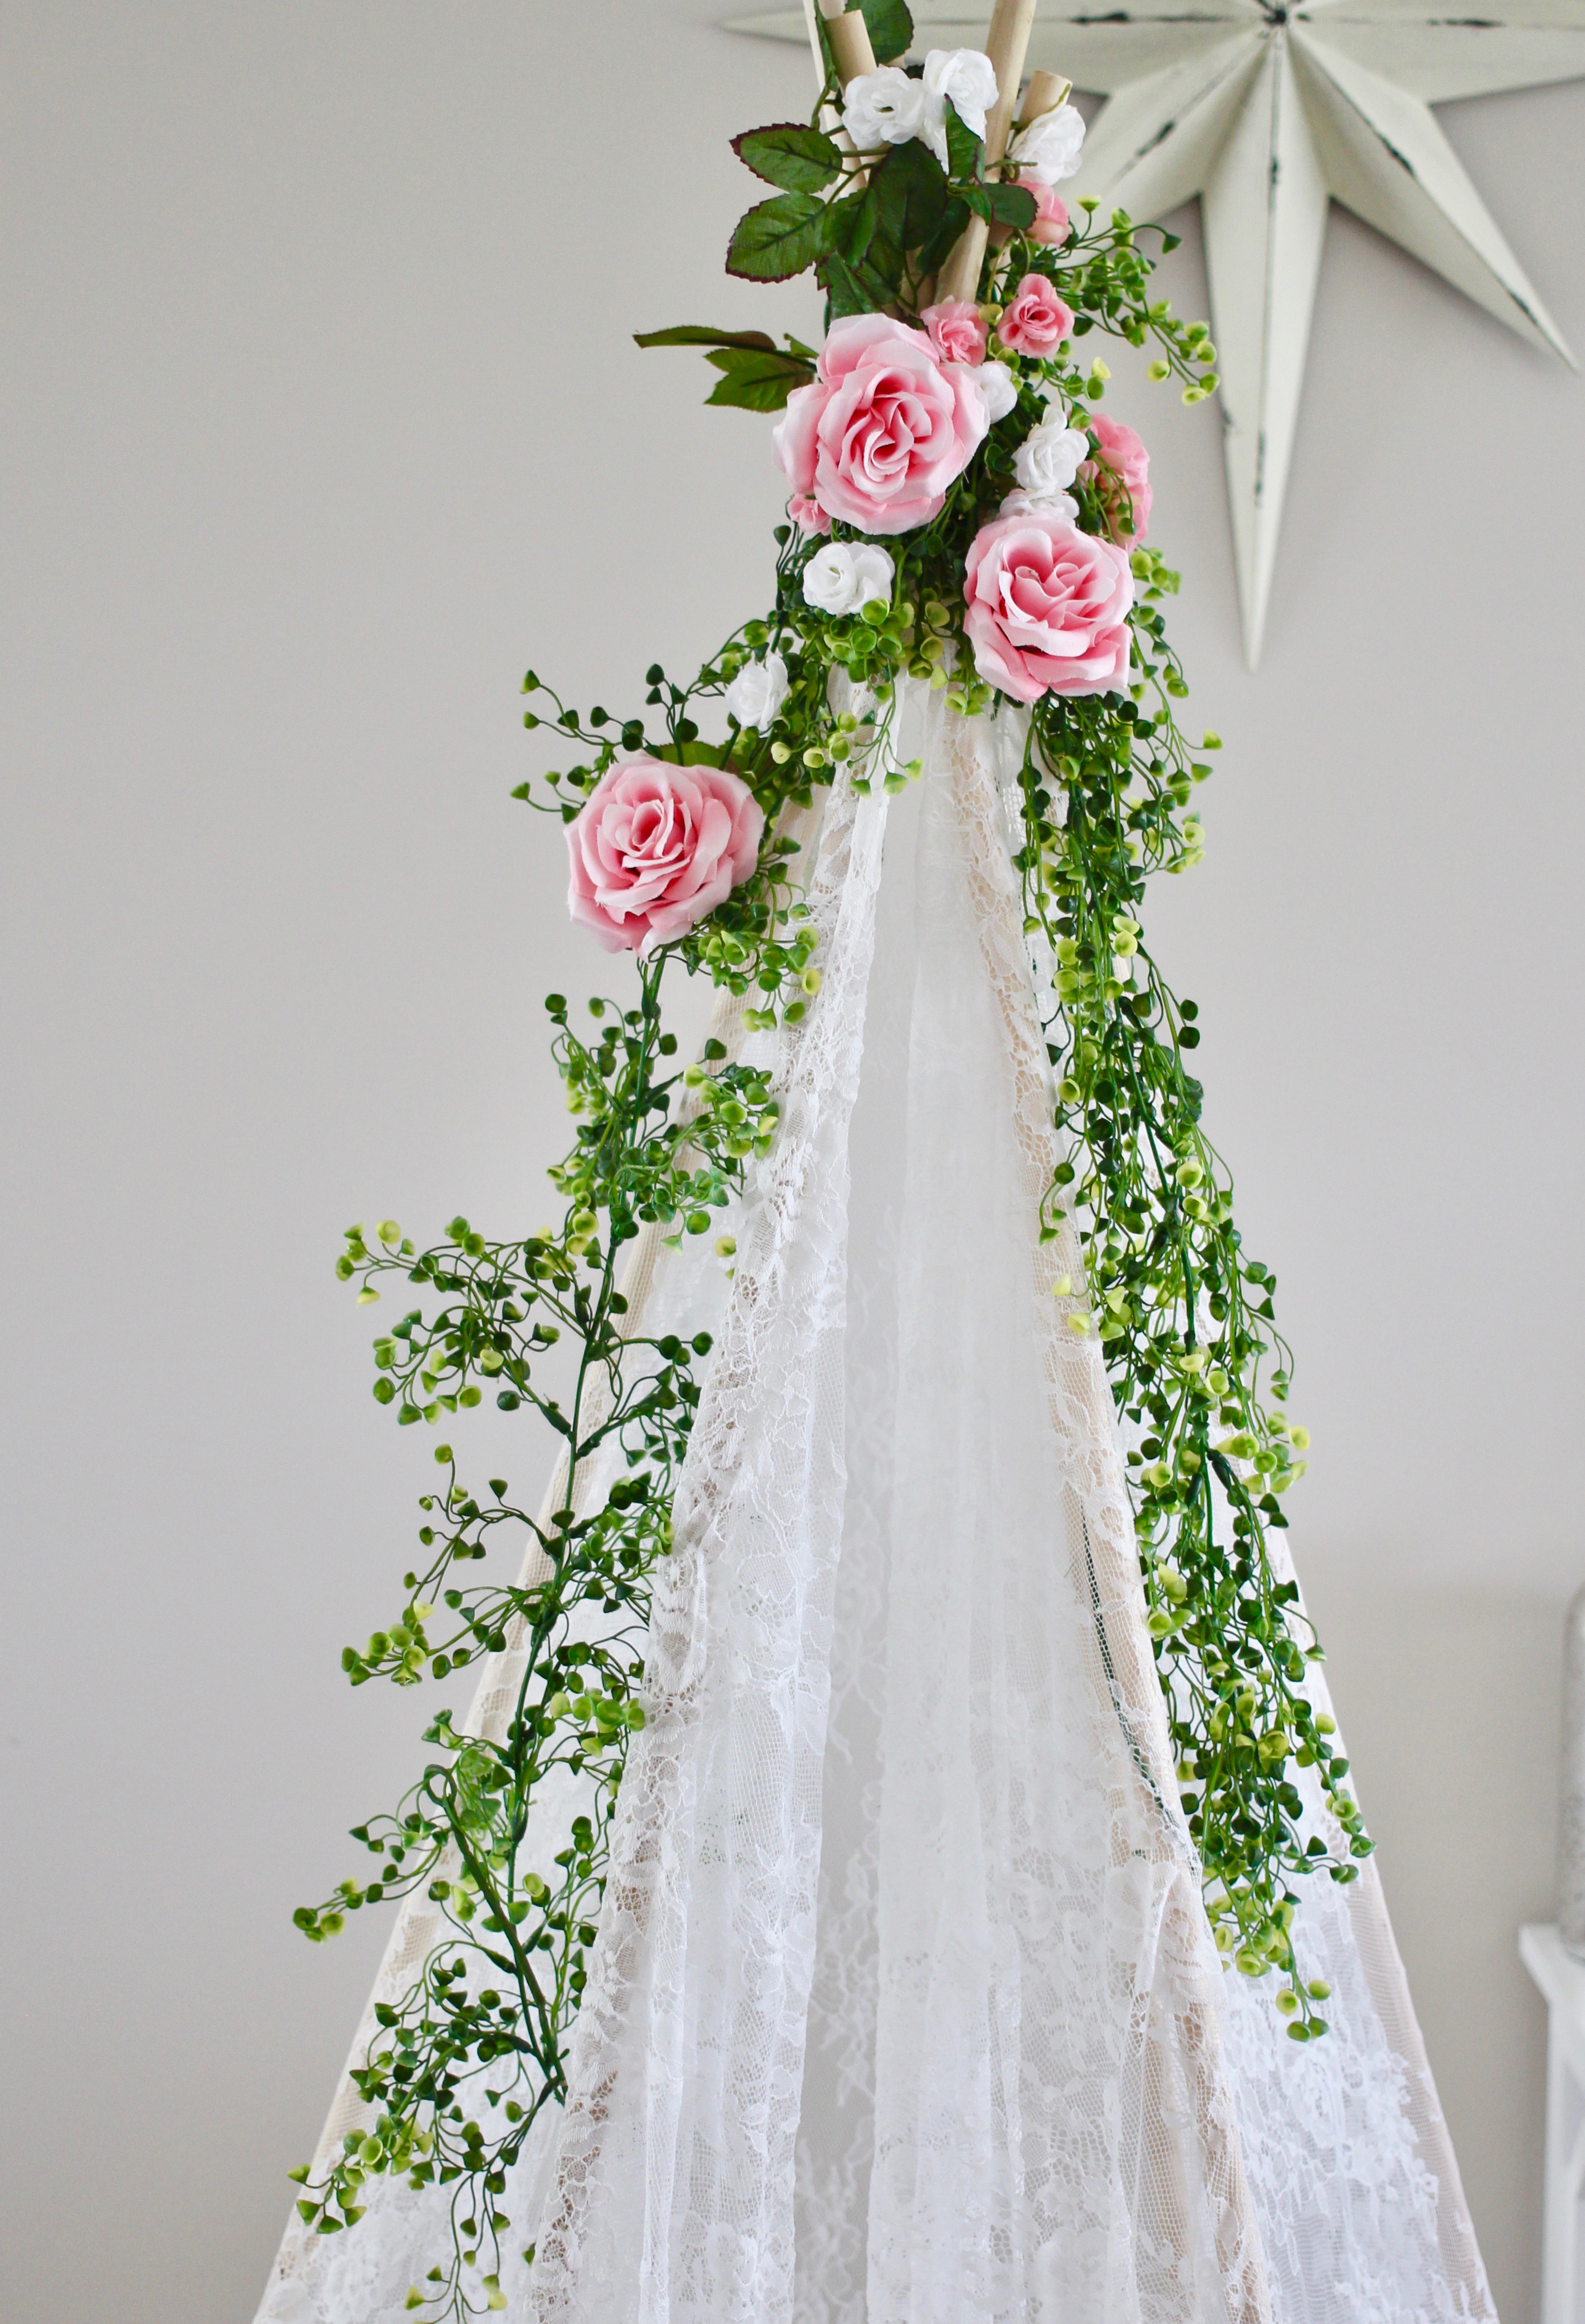
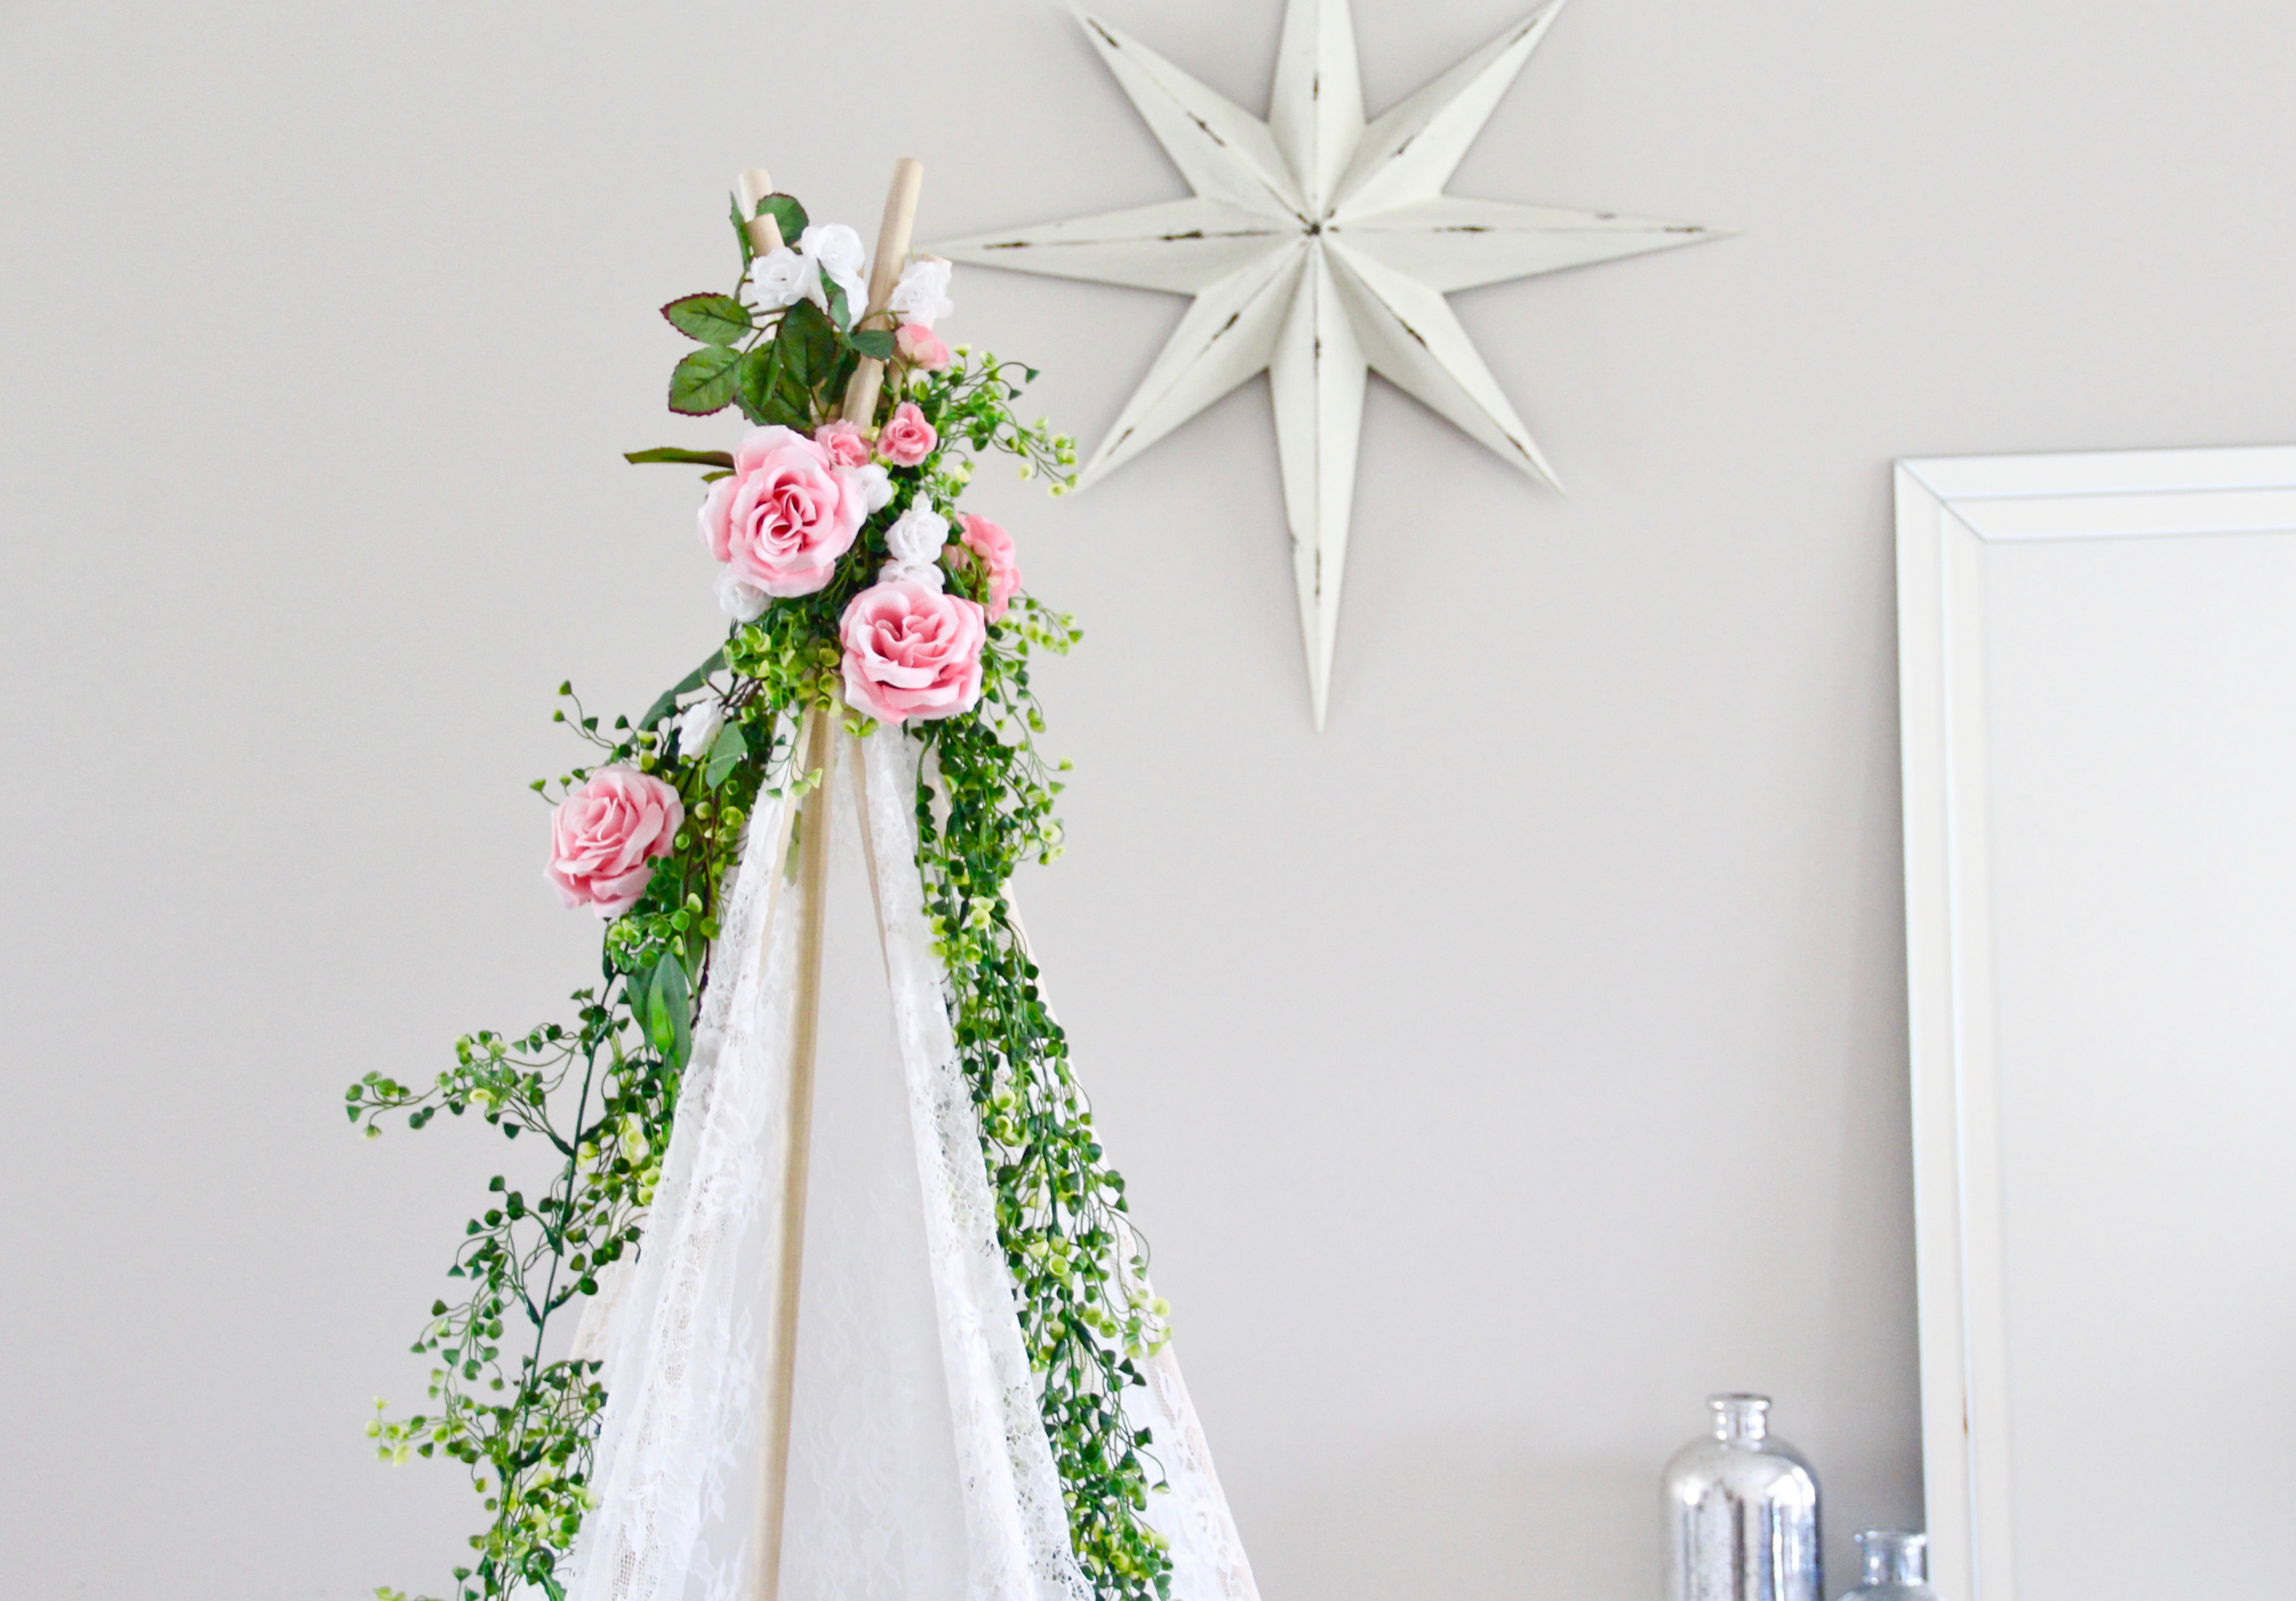
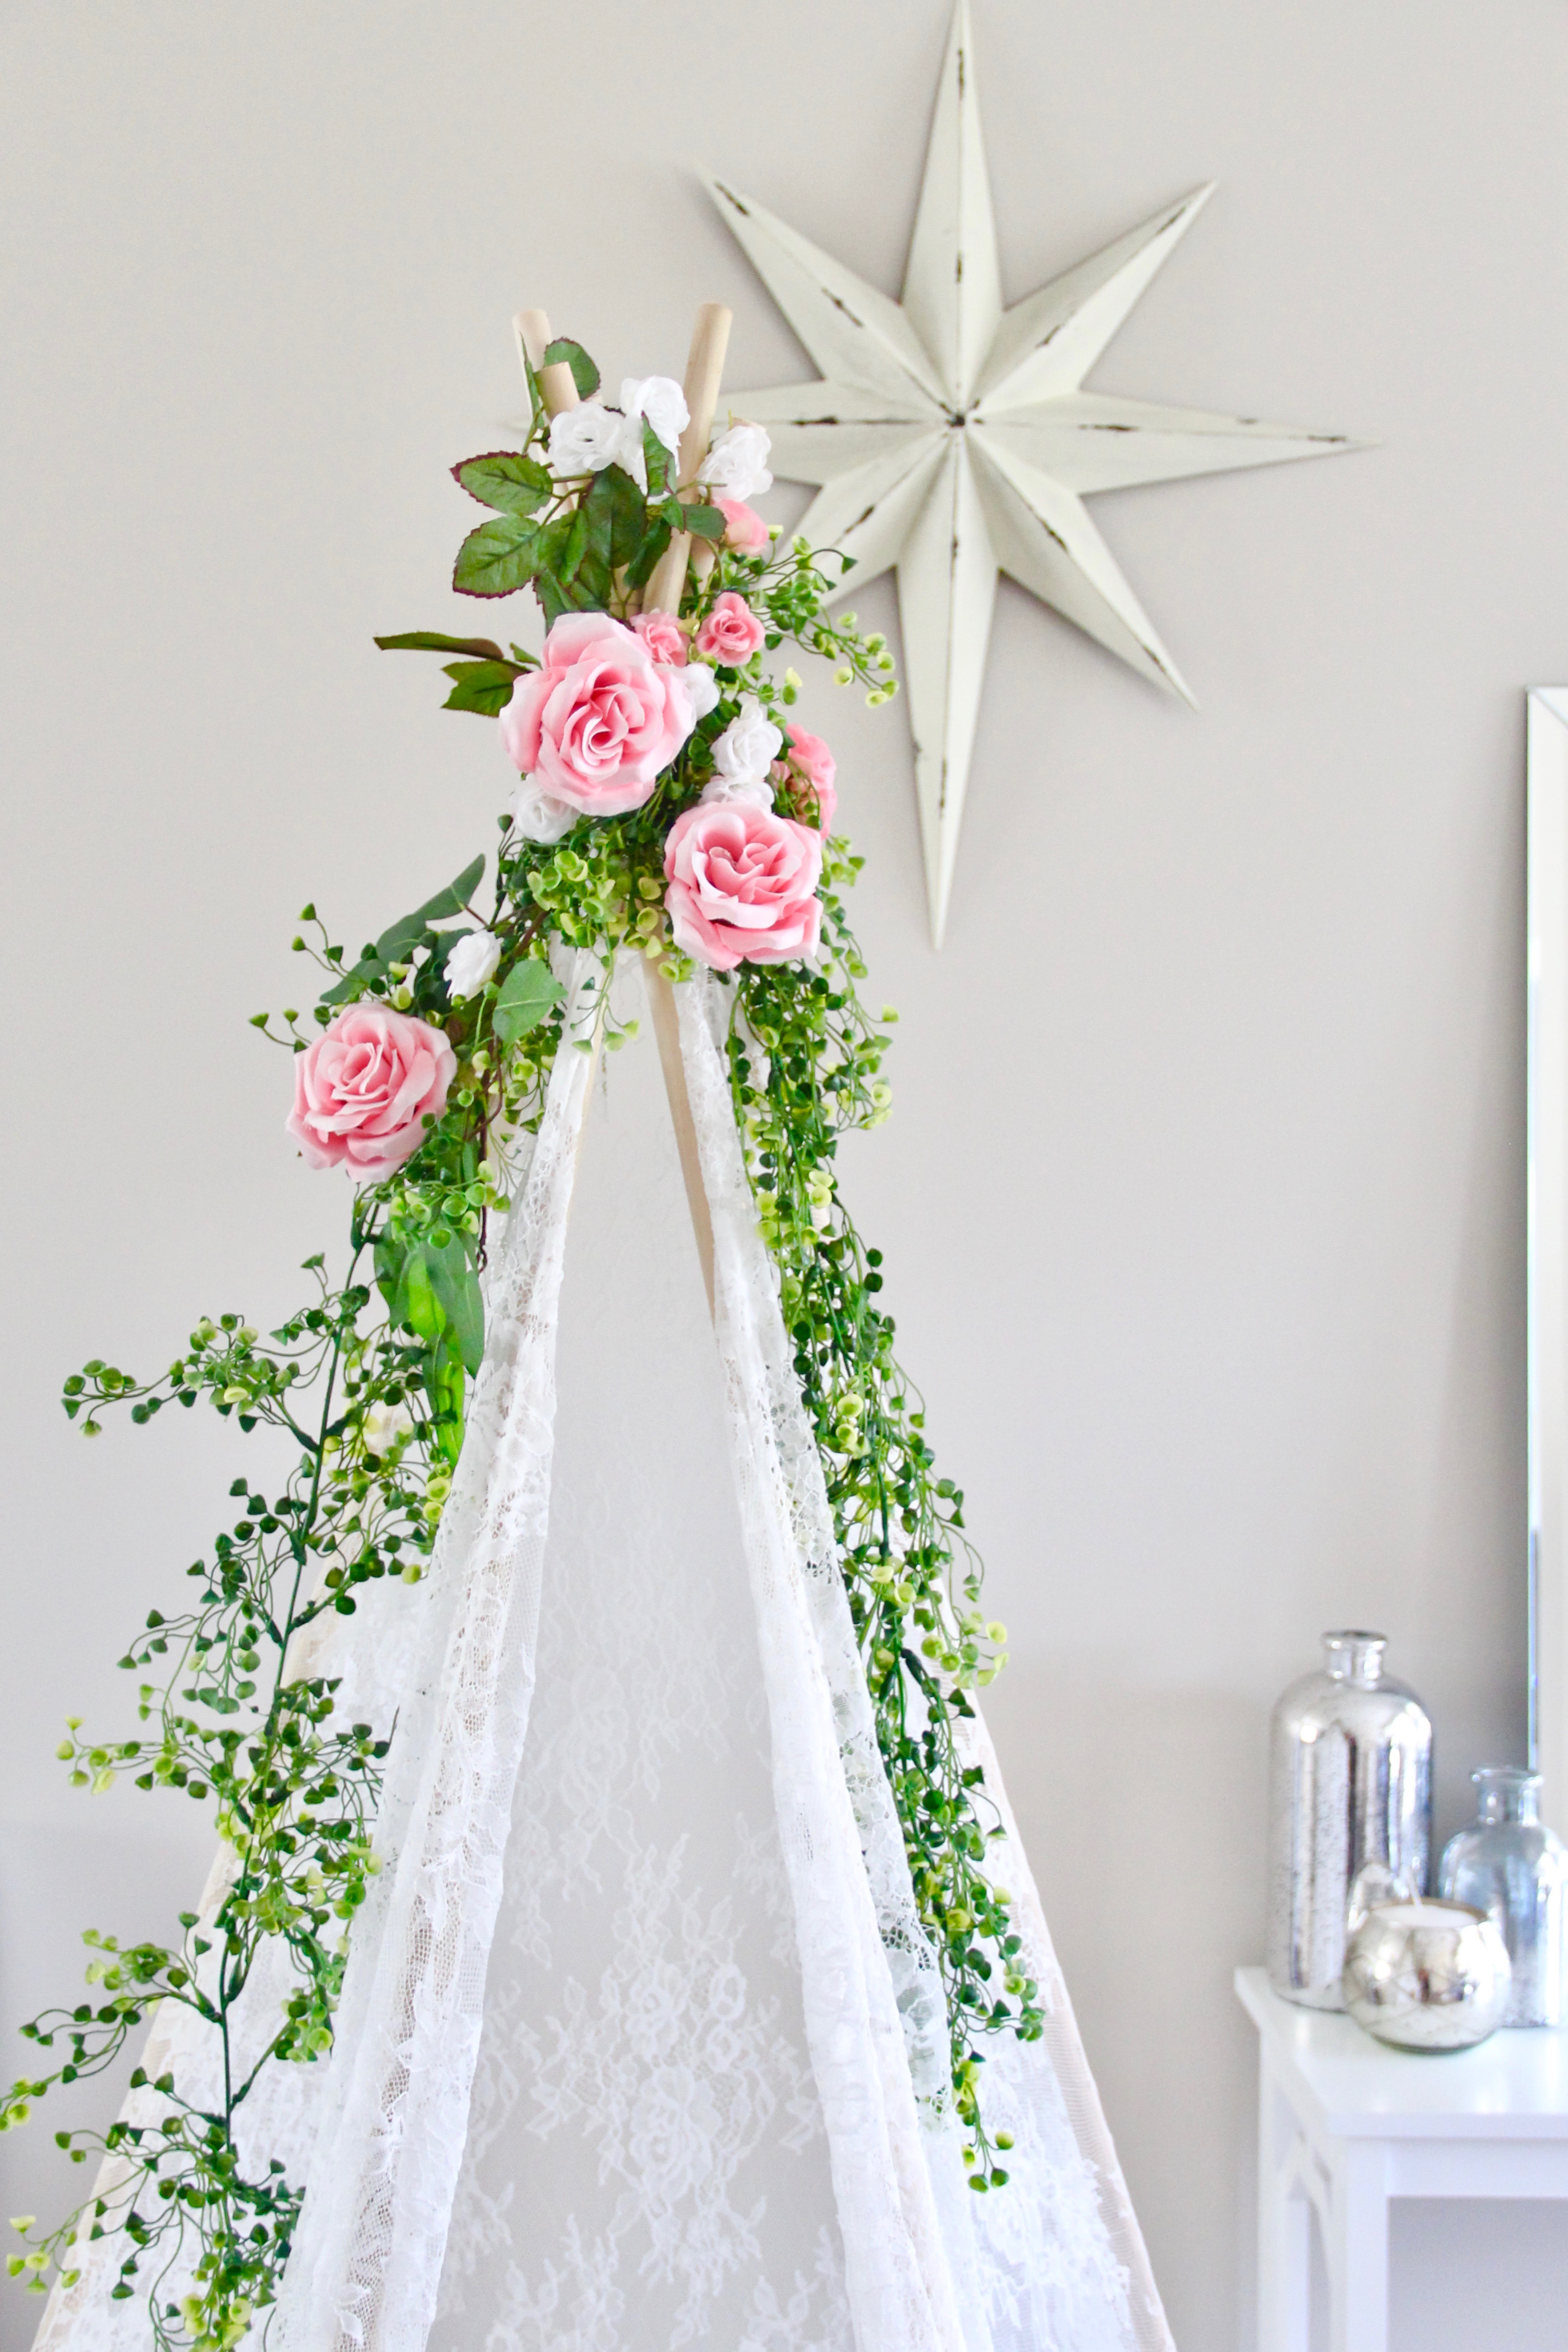
Step 7: It’s garland and flower time – but first garland time! This is the really fun part, because there are soooo many different options here, from what colors you choose to use to what types of flowers/leaves you want to use, the possibilities are endless. Wrap the garland around the frame first before adding flowers. Slide one strand of it in between the dowels and allow each end to drape down the front of the teepee opening. Your safety pins should now be covered completely by the garland.

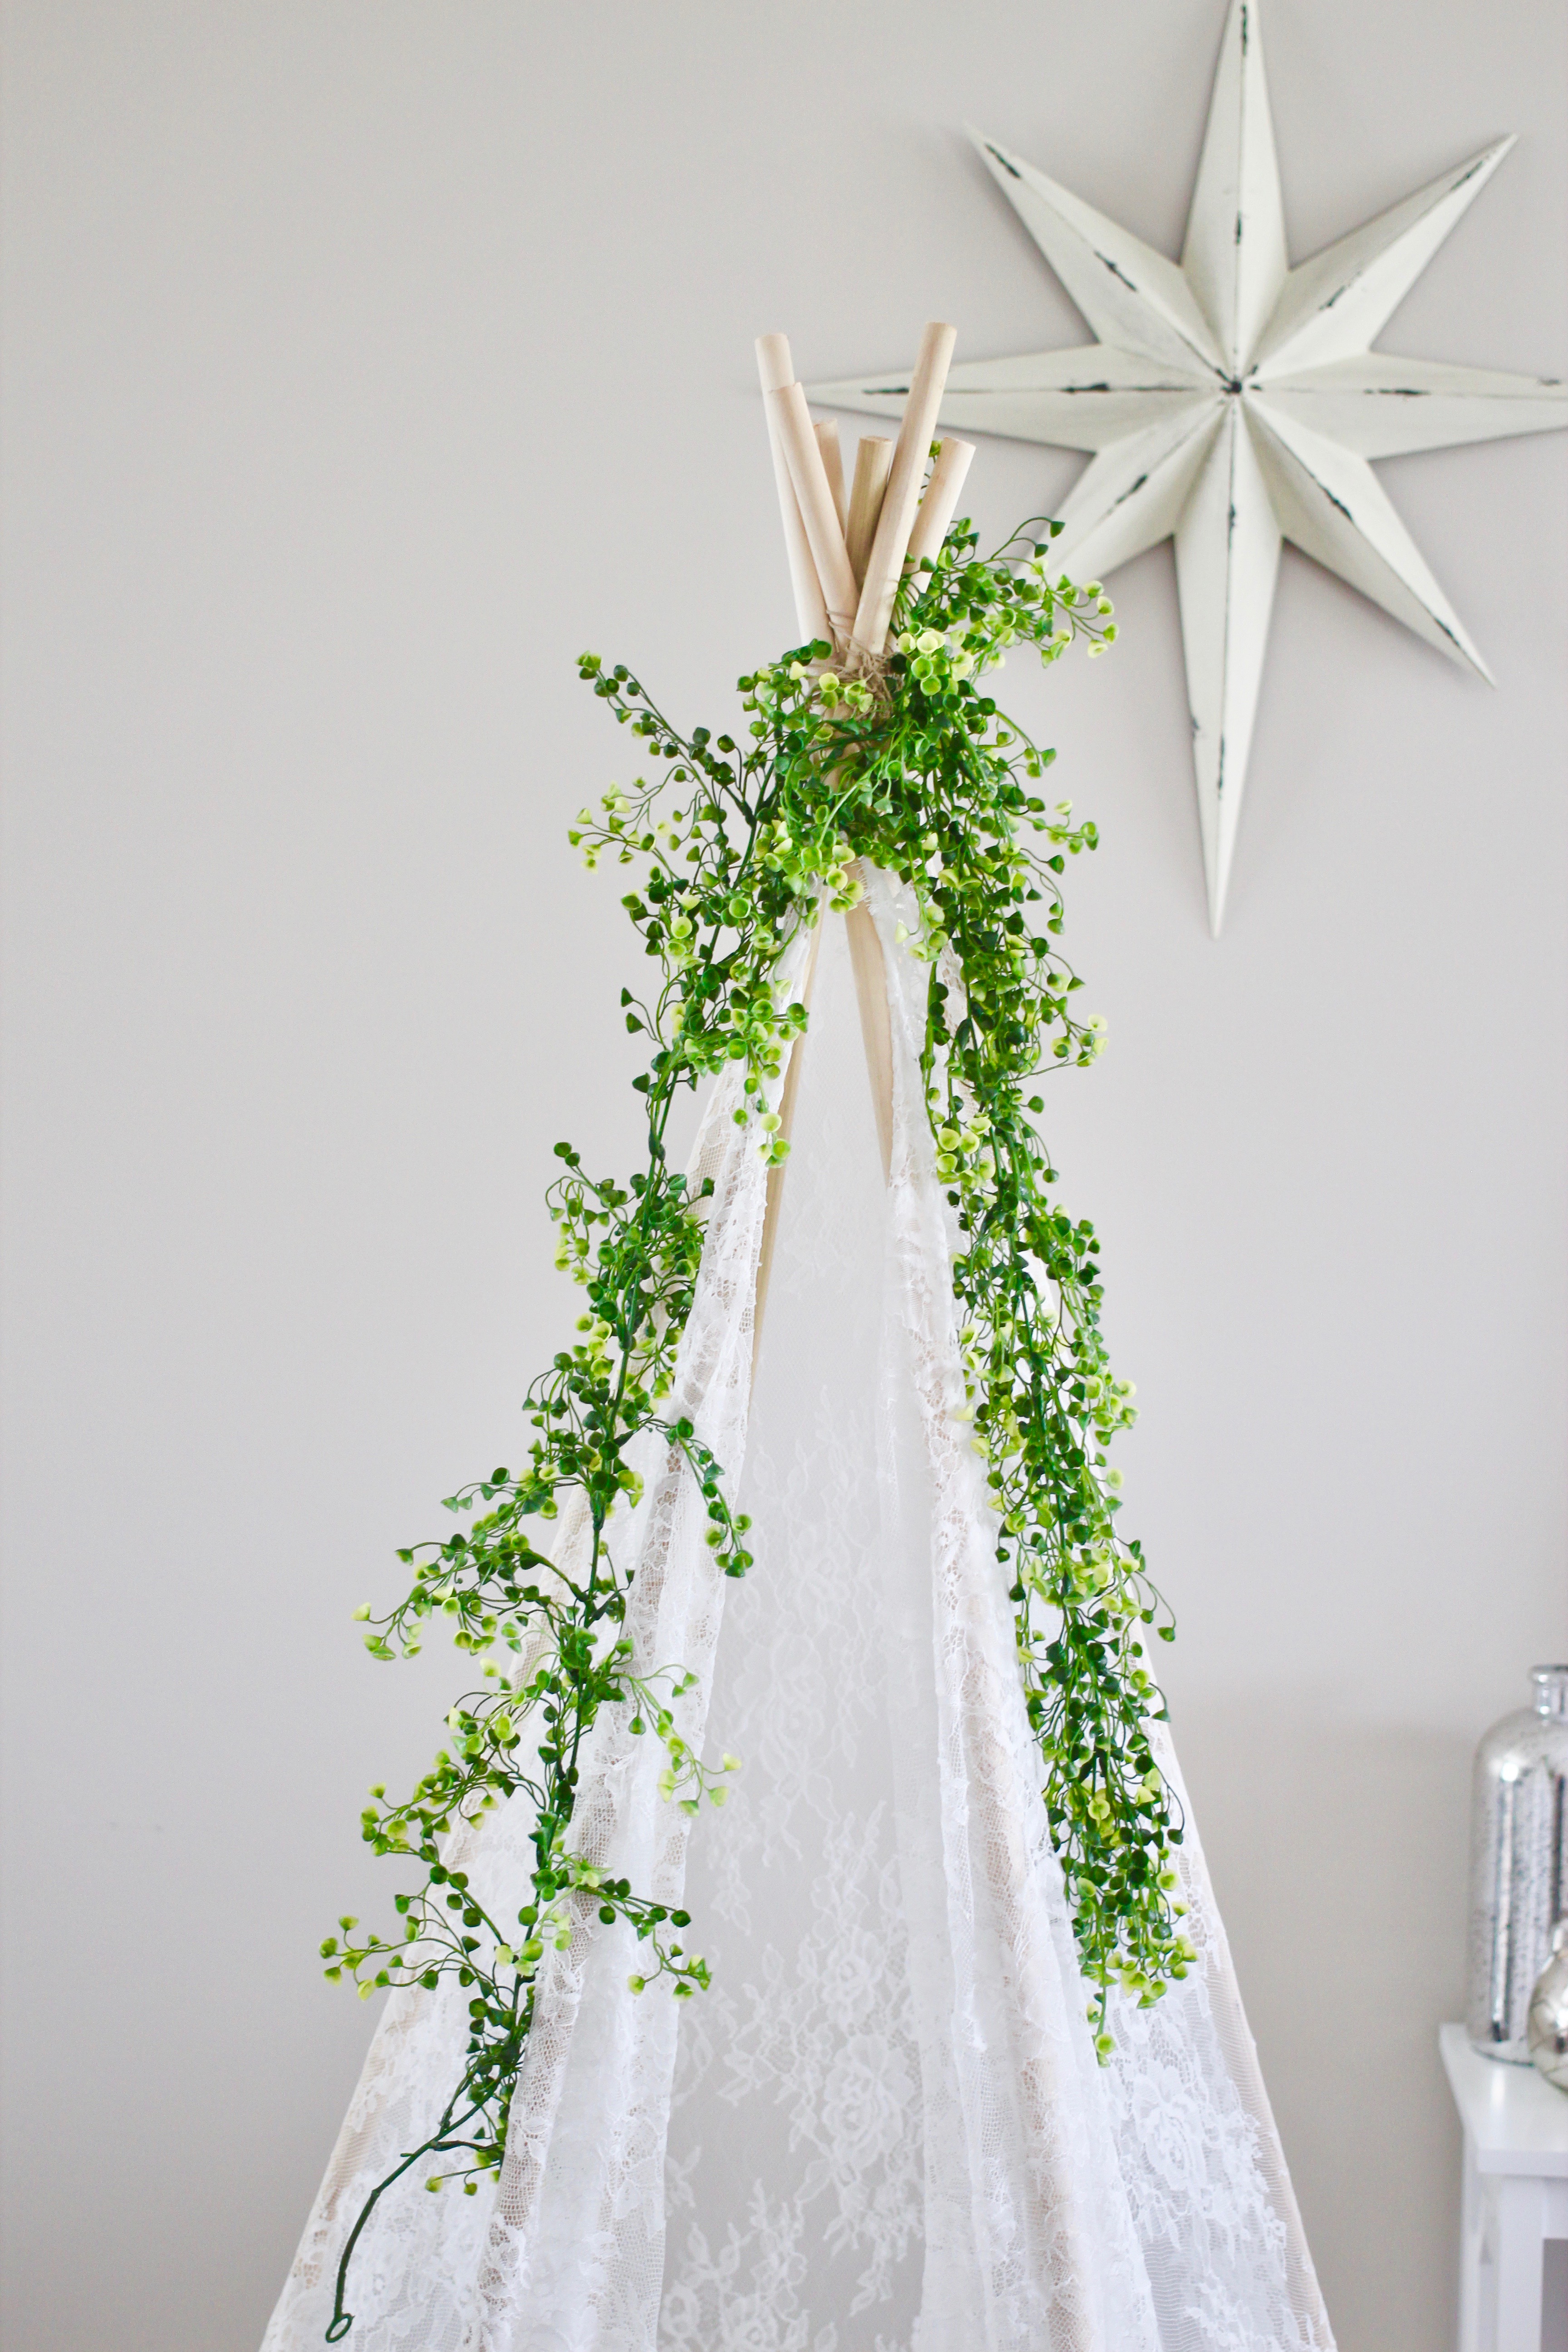
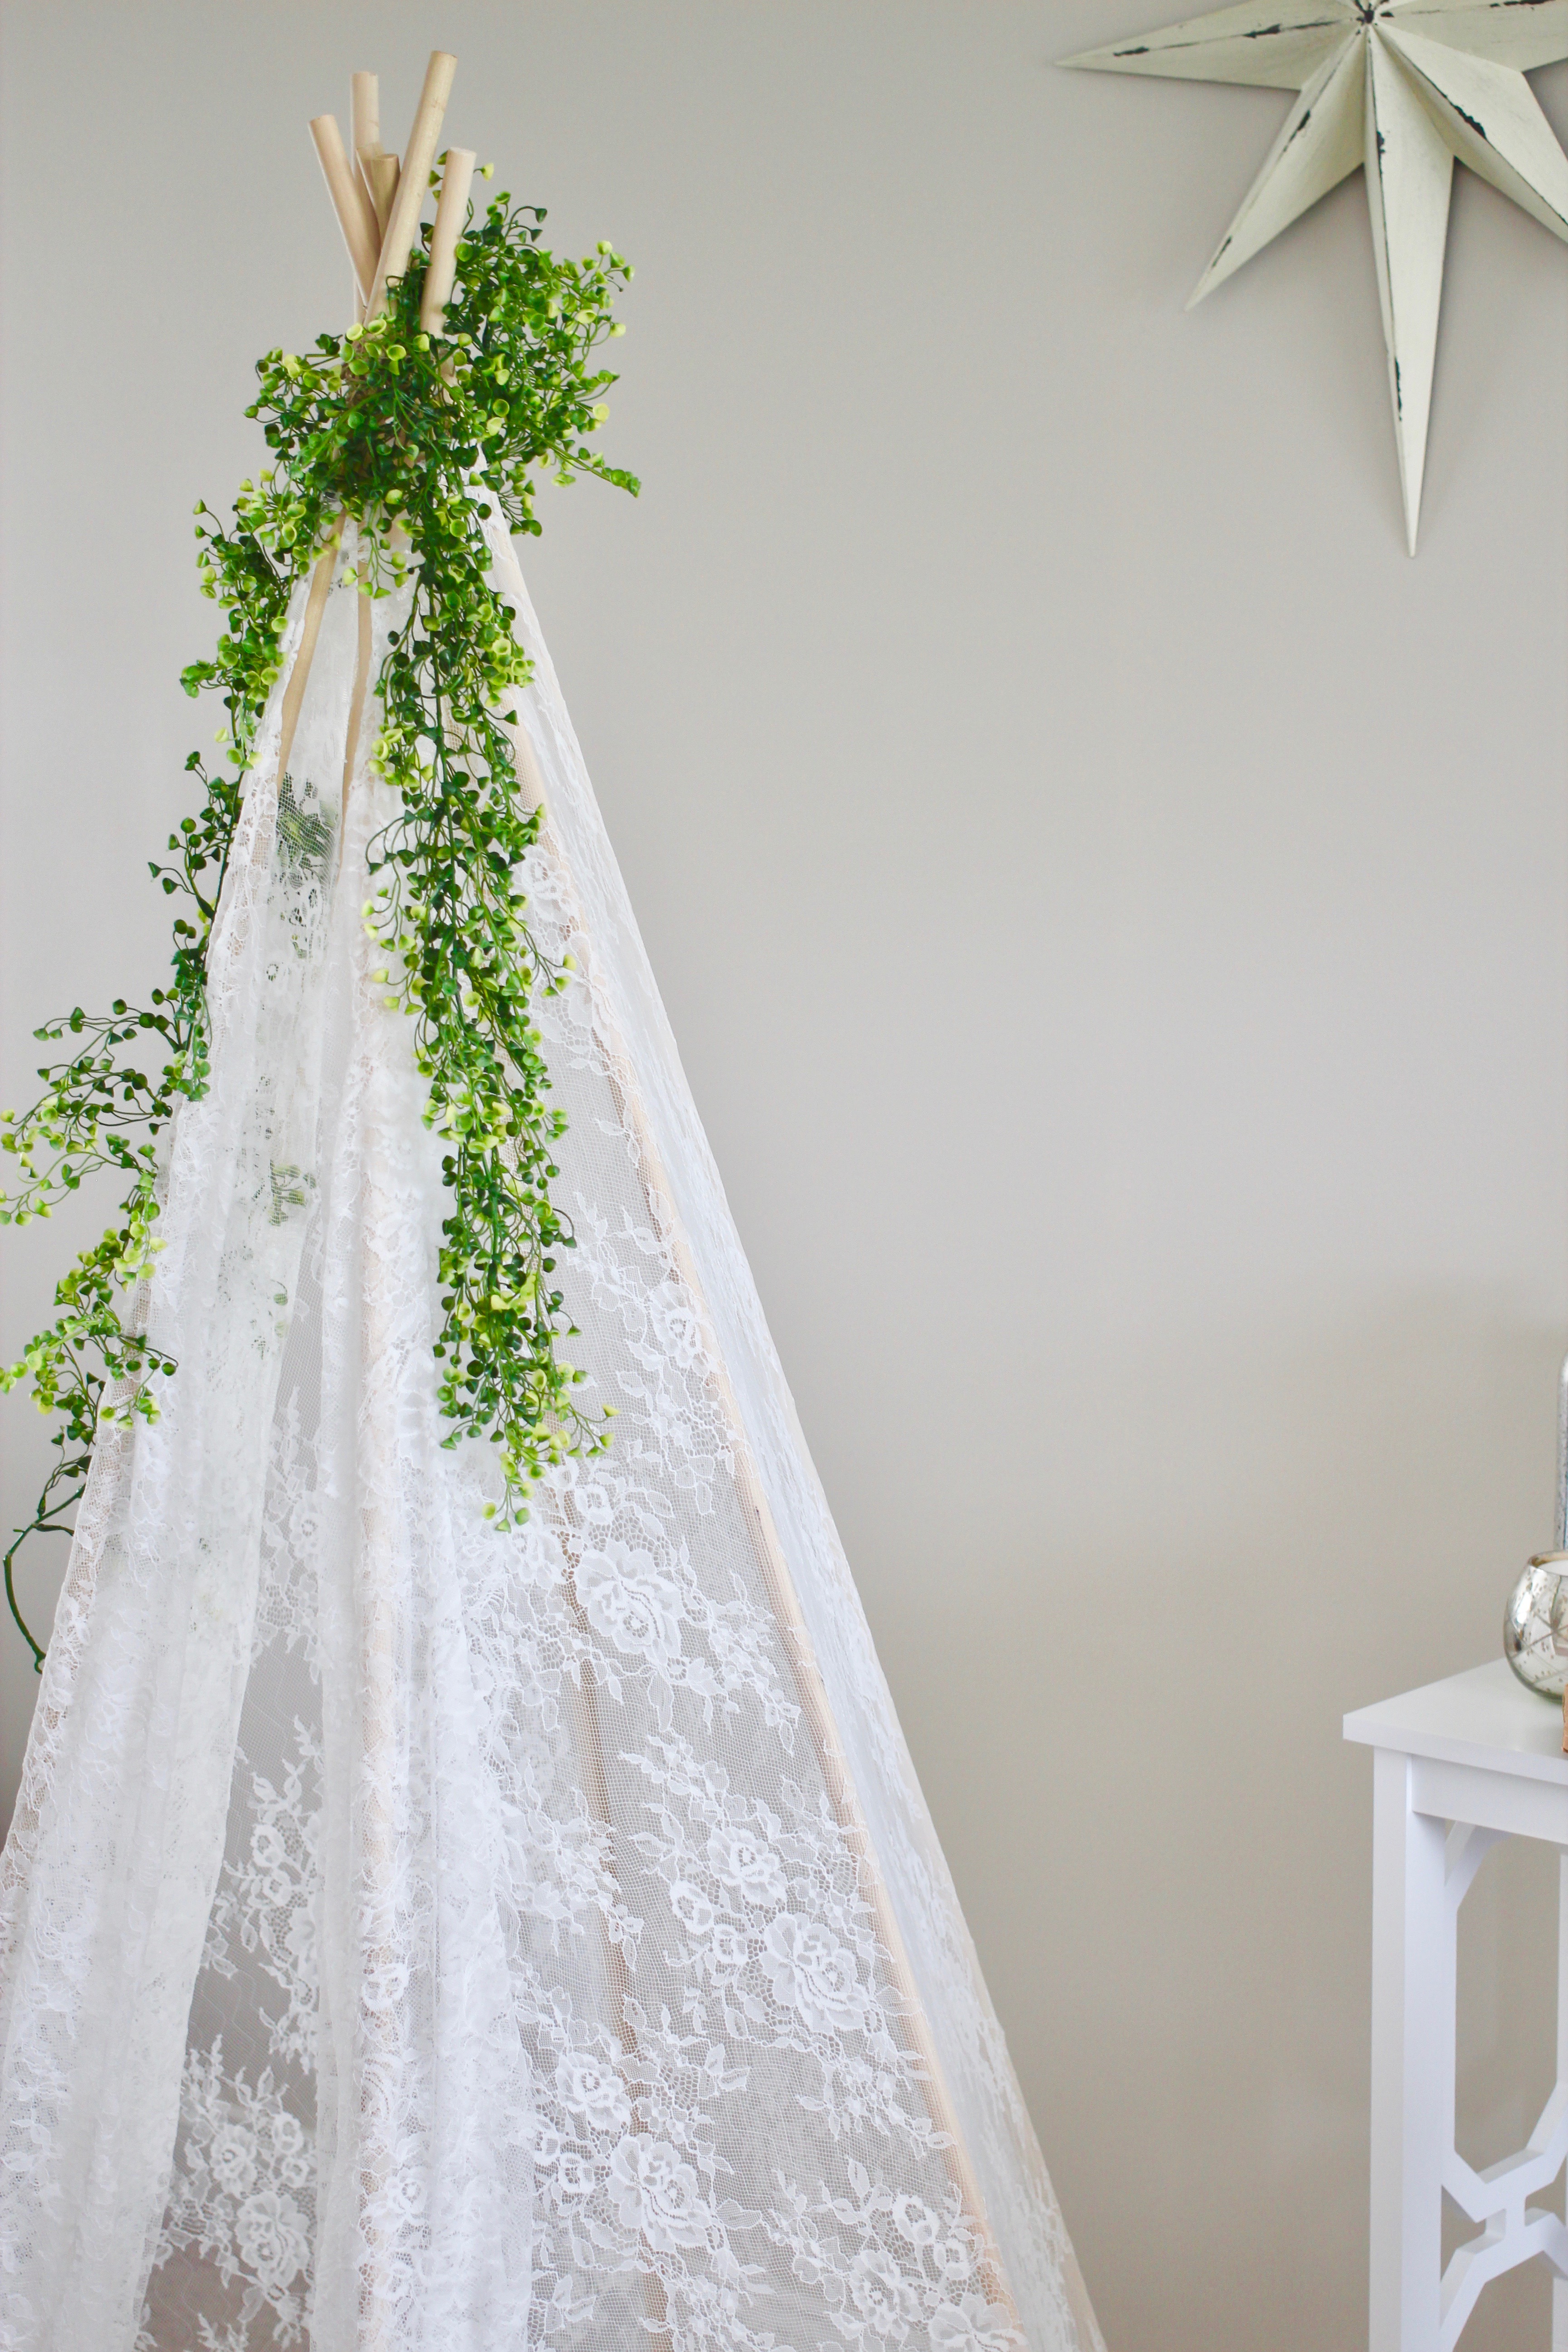
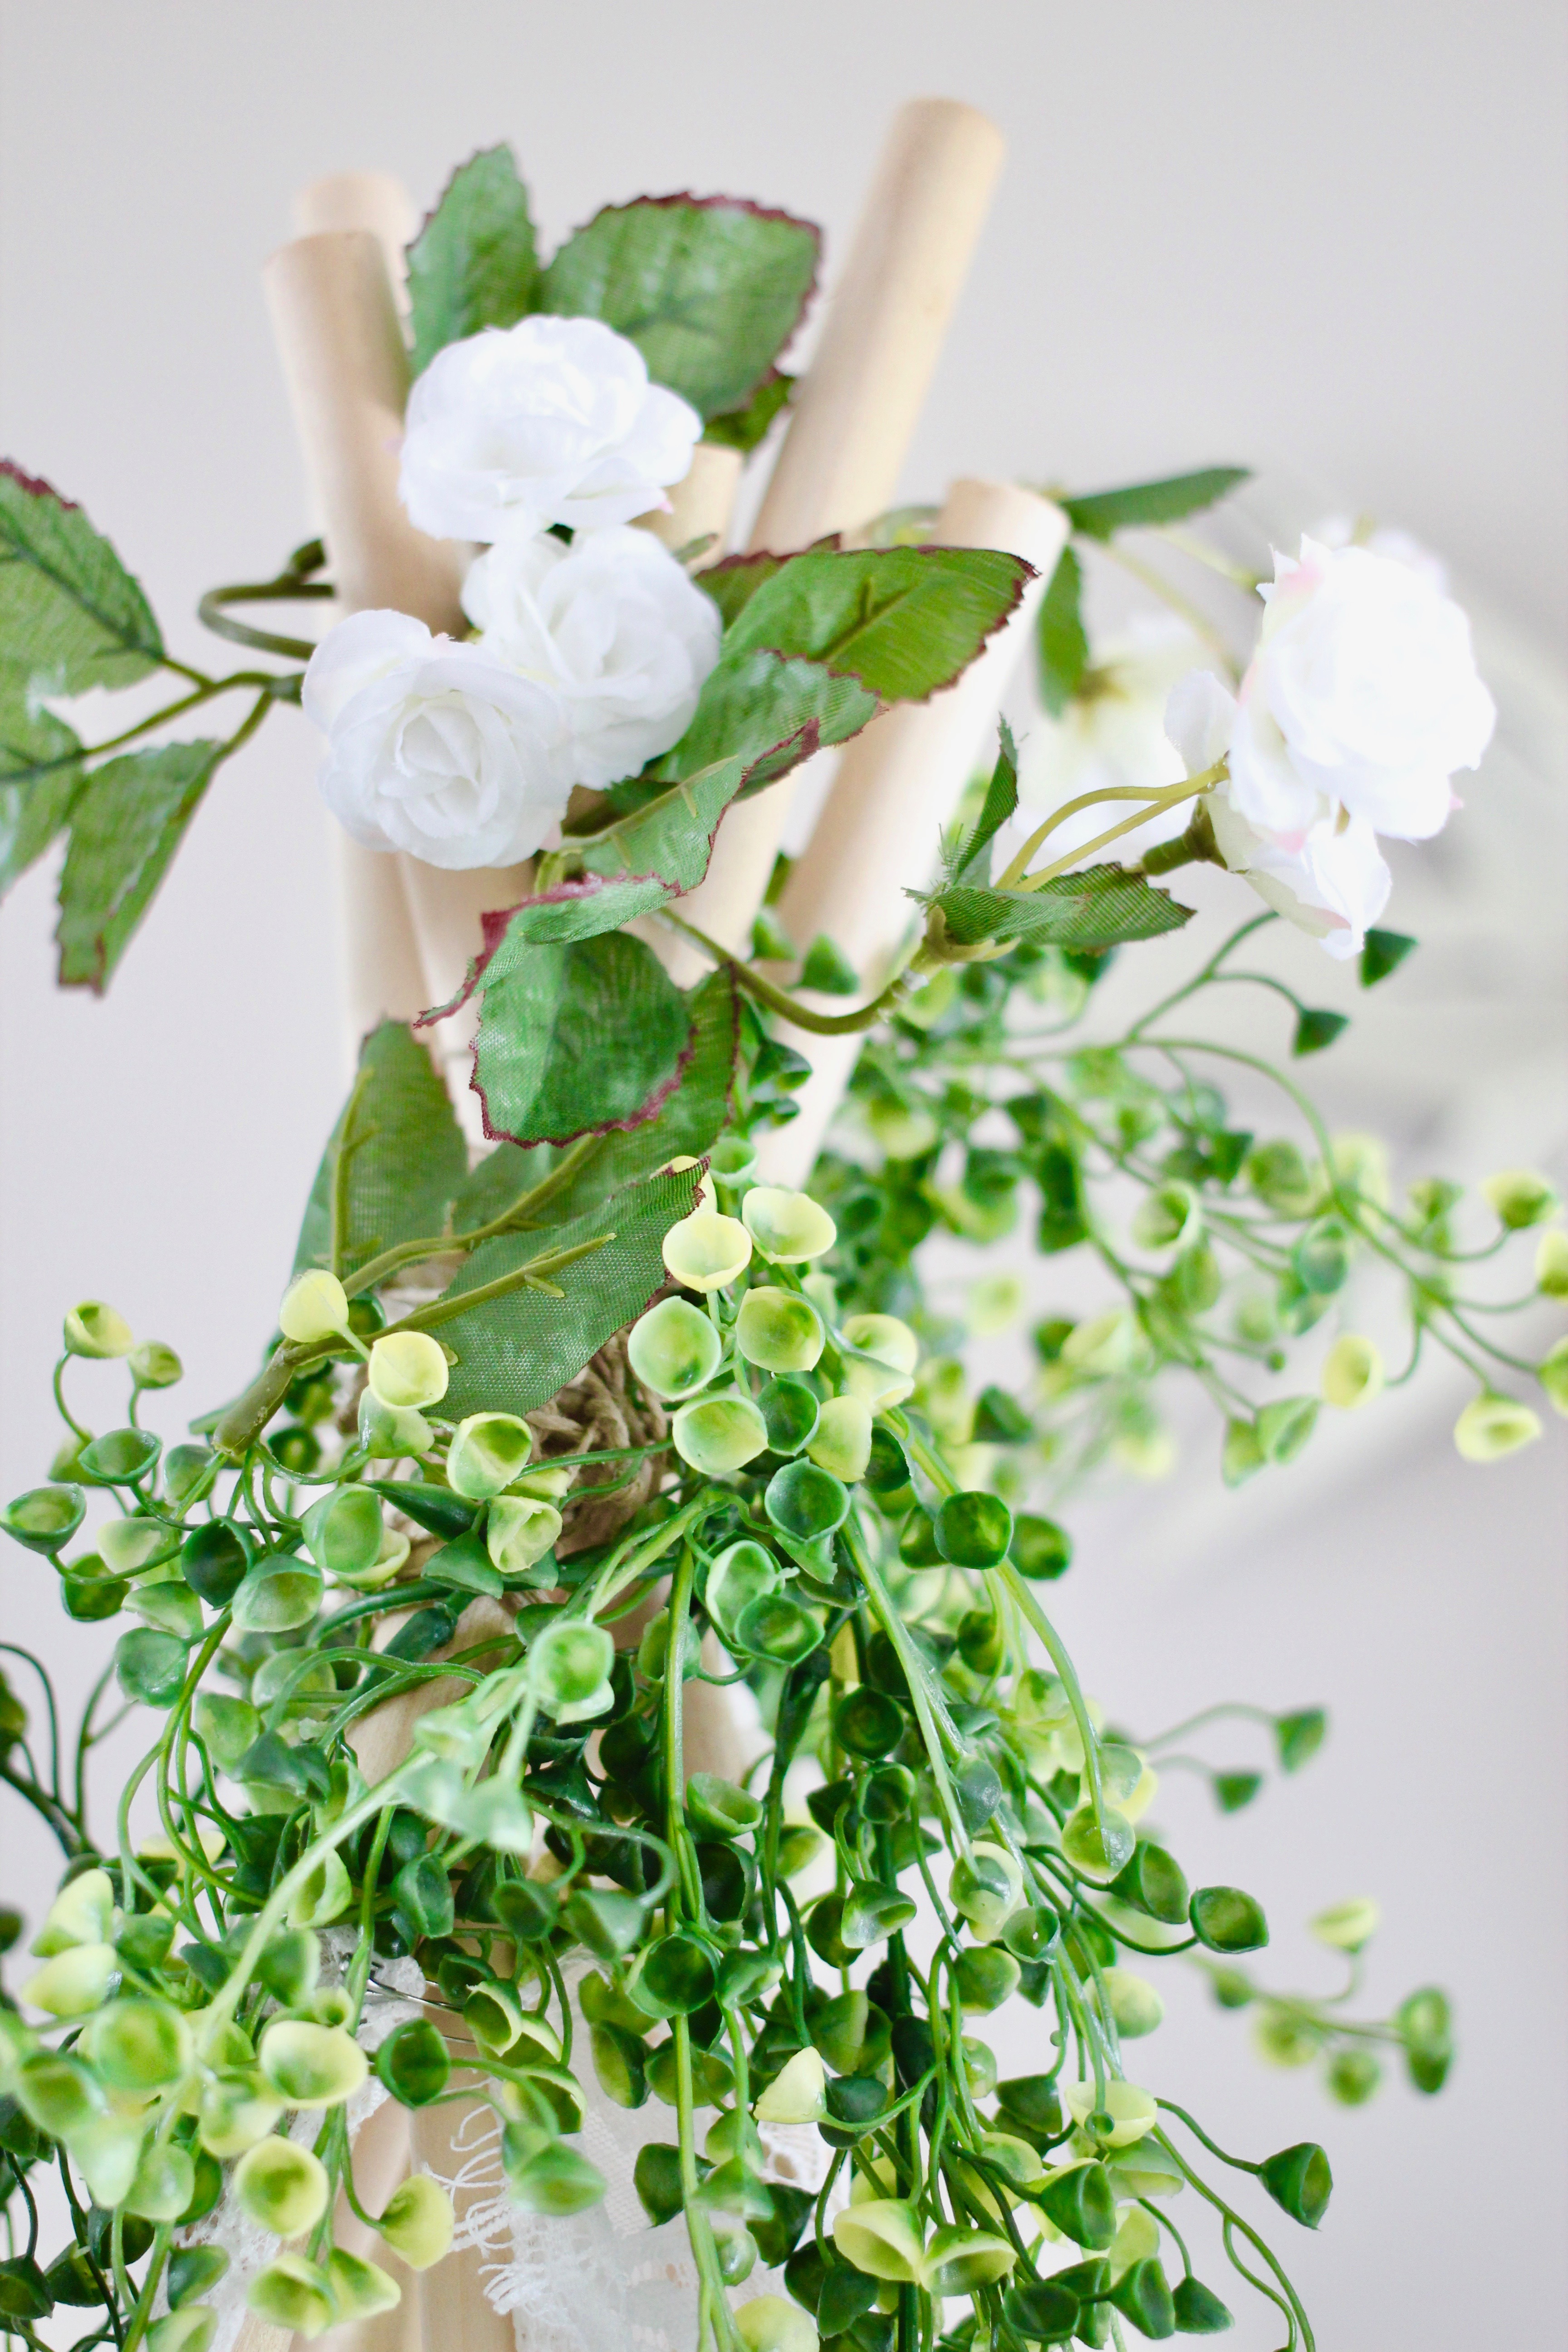
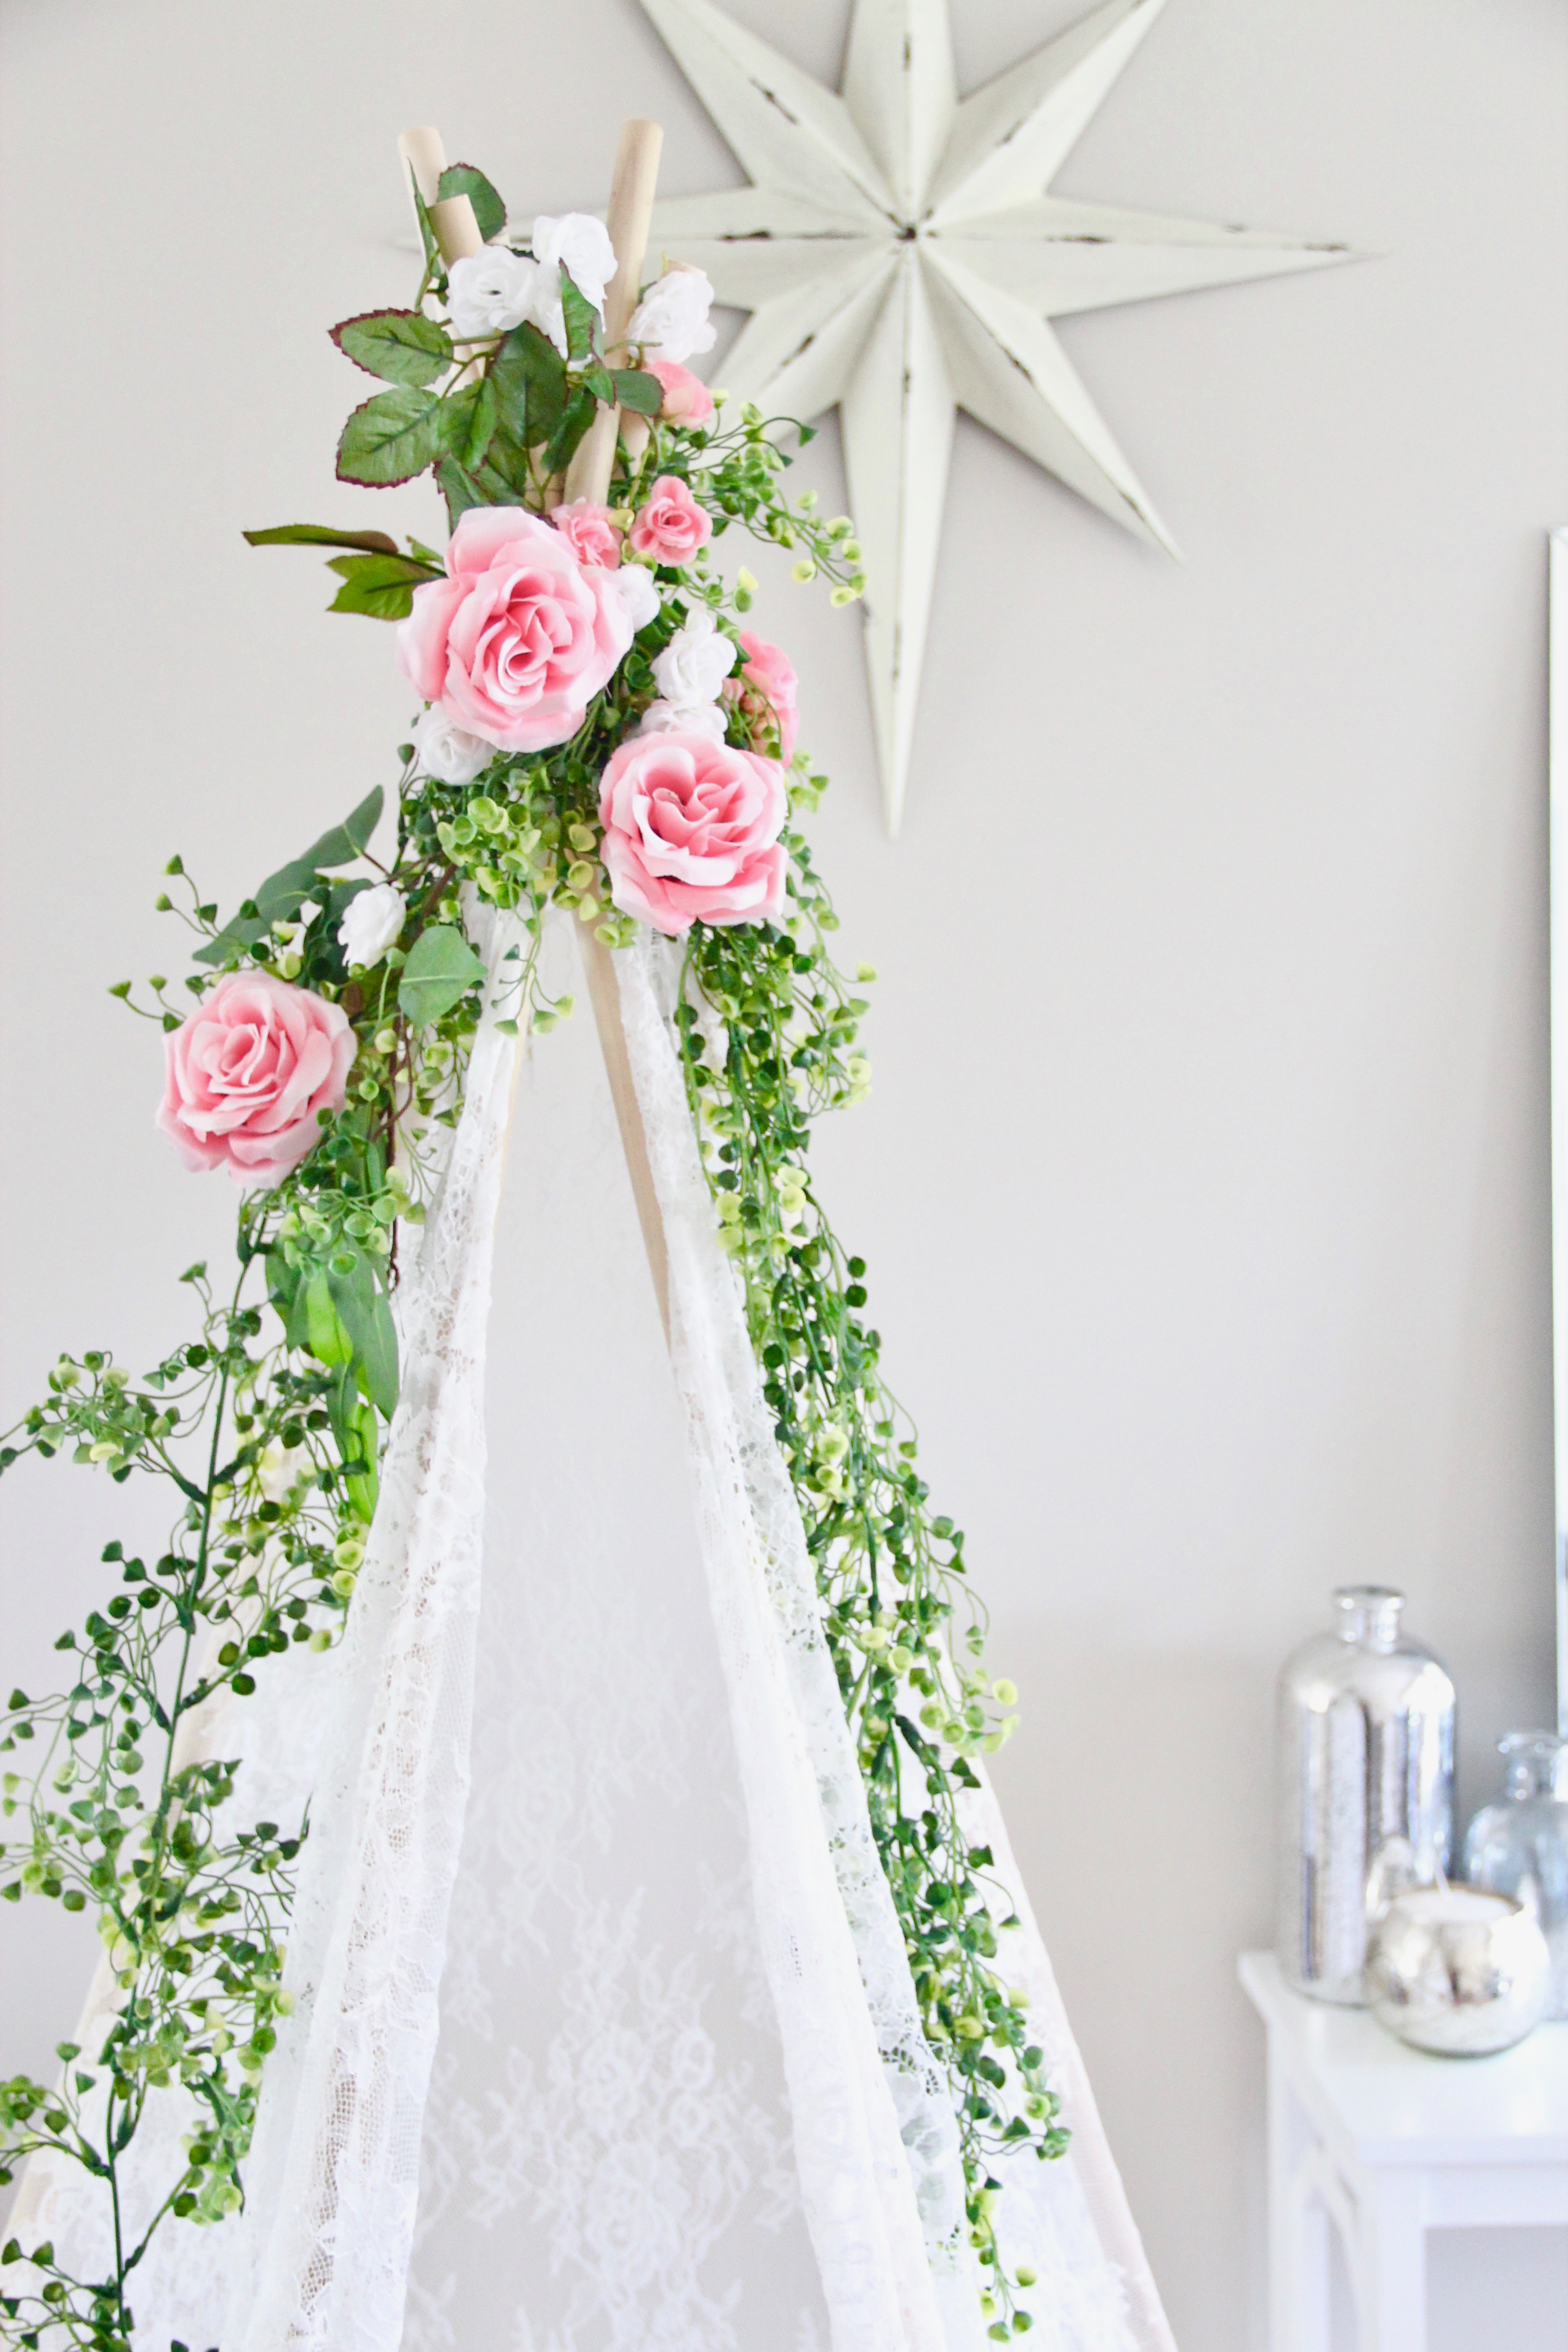
Step 8: Begin adding your flowers in! I used a couple of these sprays from Hobby Lobby, and then these long stem roses – which were so easy to secure thanks to tiny openings in the lace! Just take the stem and poke it through where you want the rose to be, then bend the stem so that the rose will stay in place. Continue with leaves and flowers until desired look is reached.


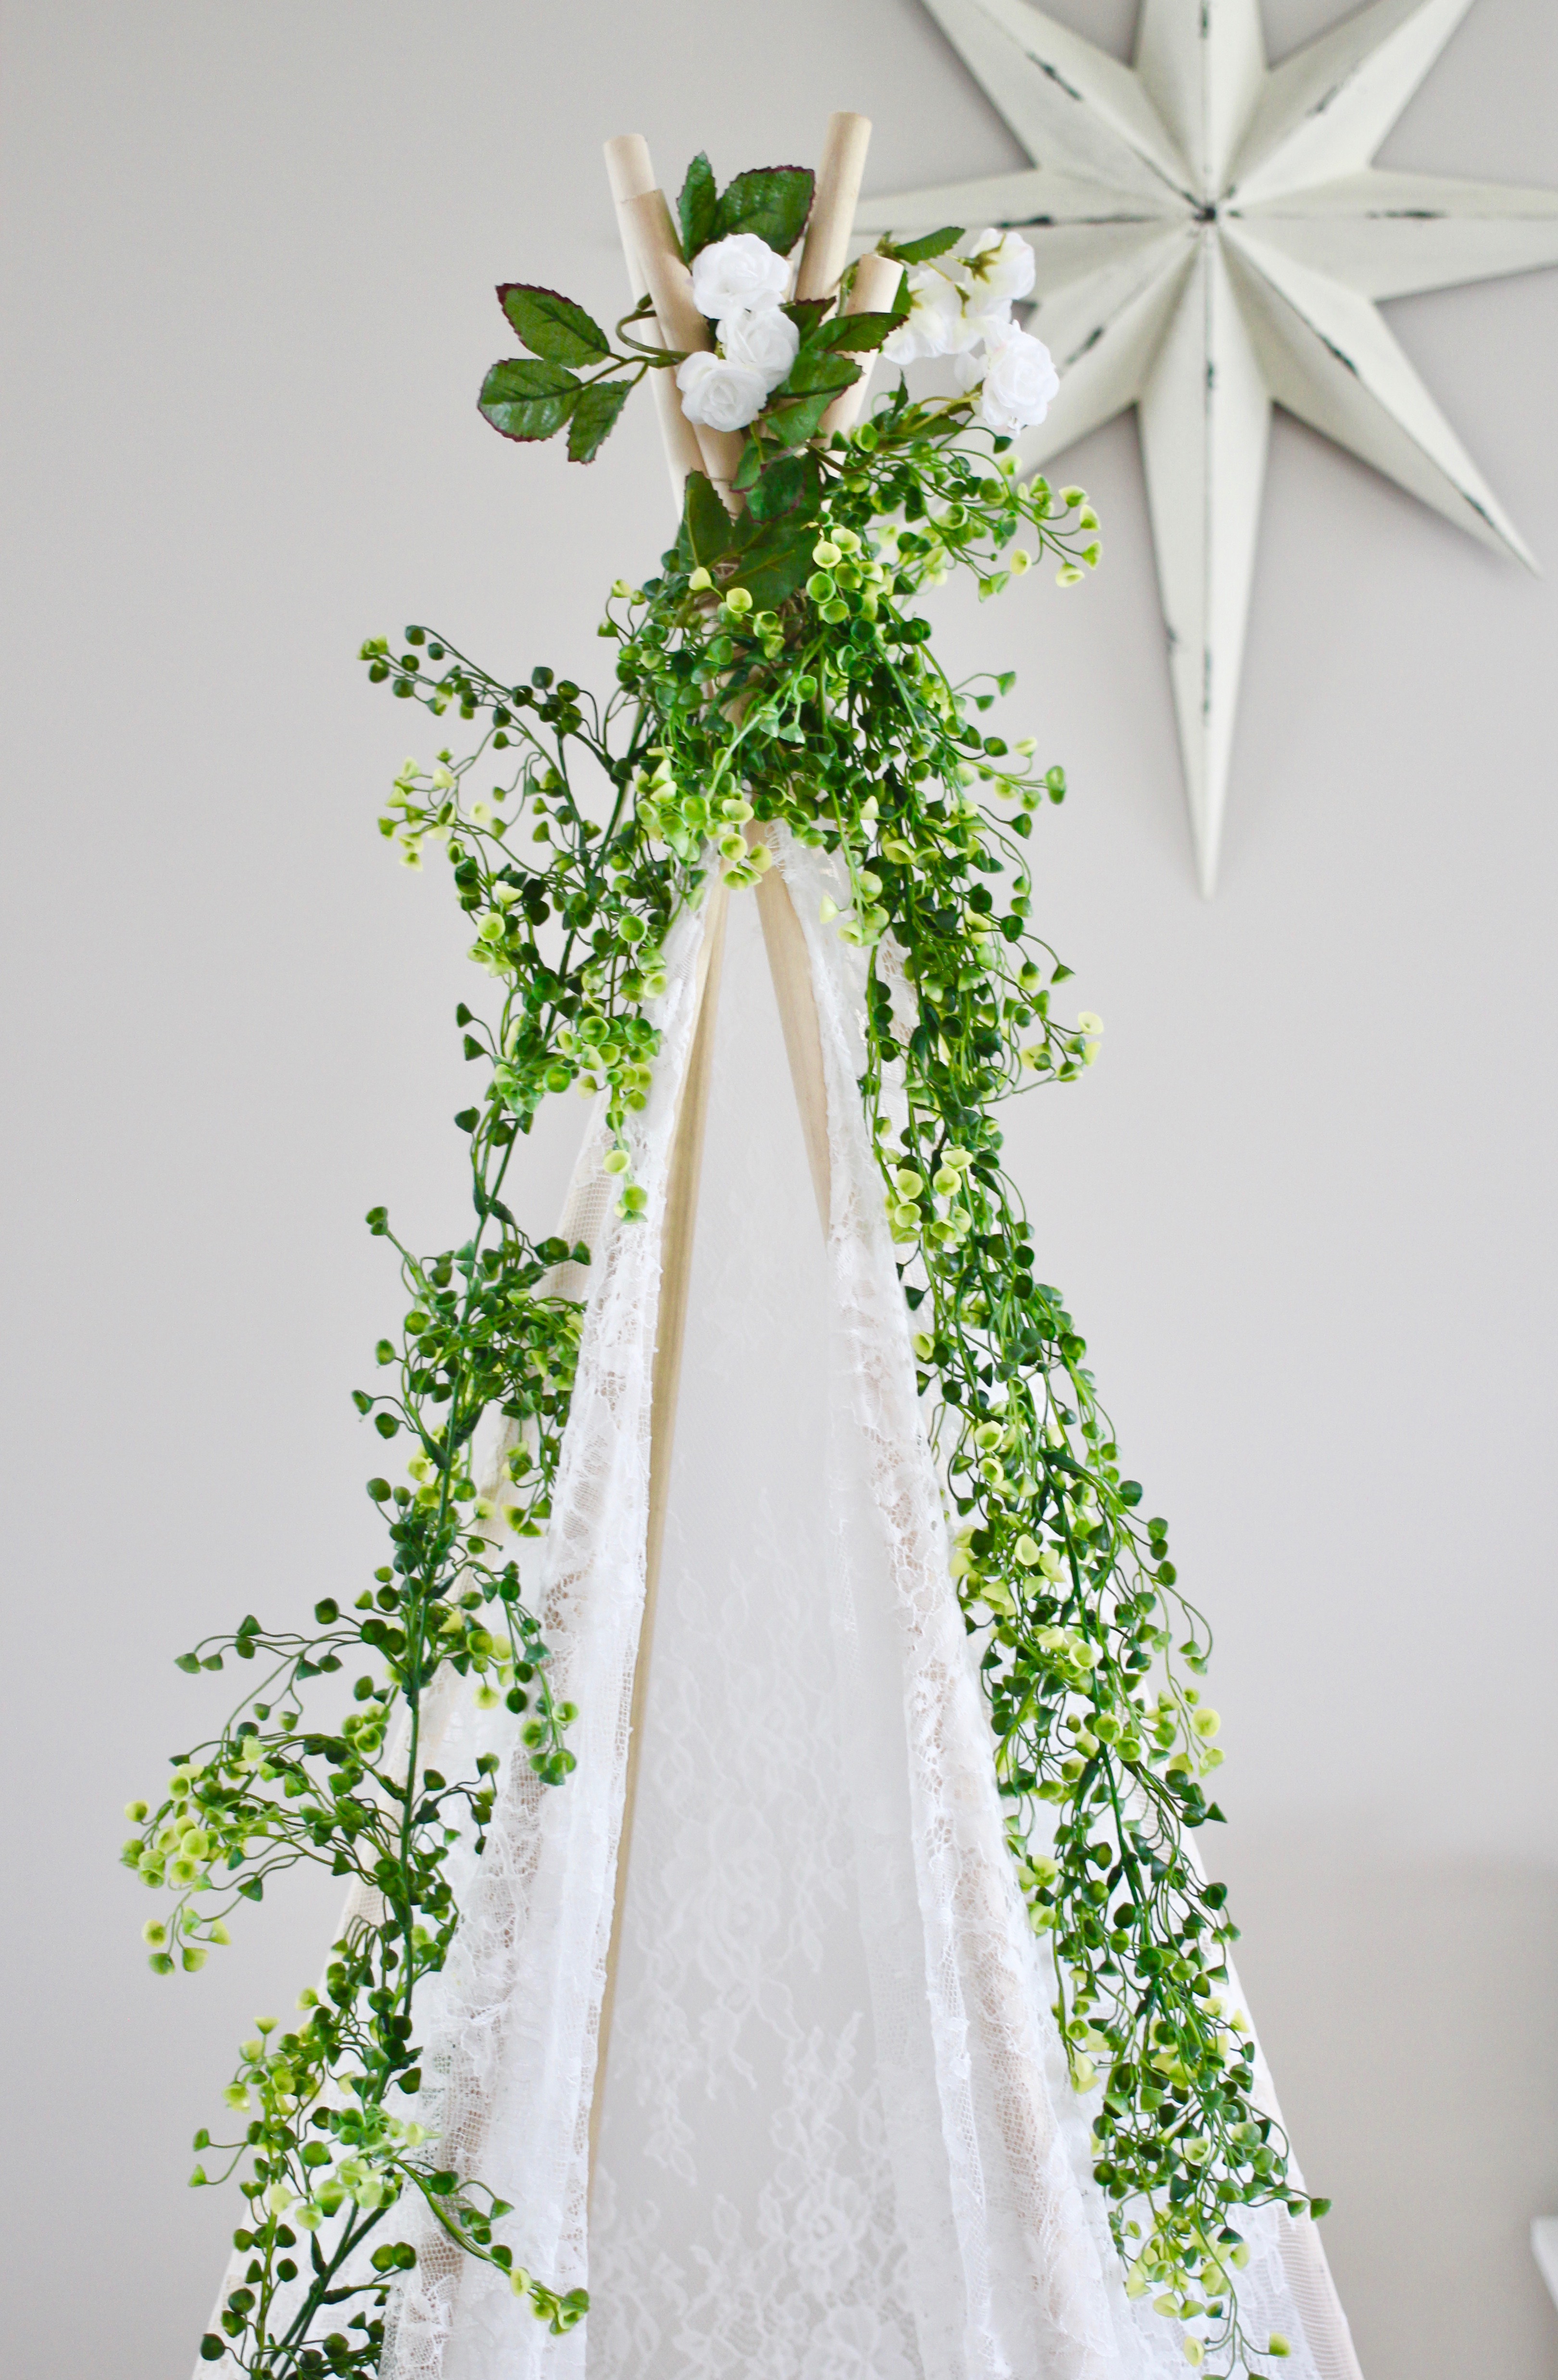
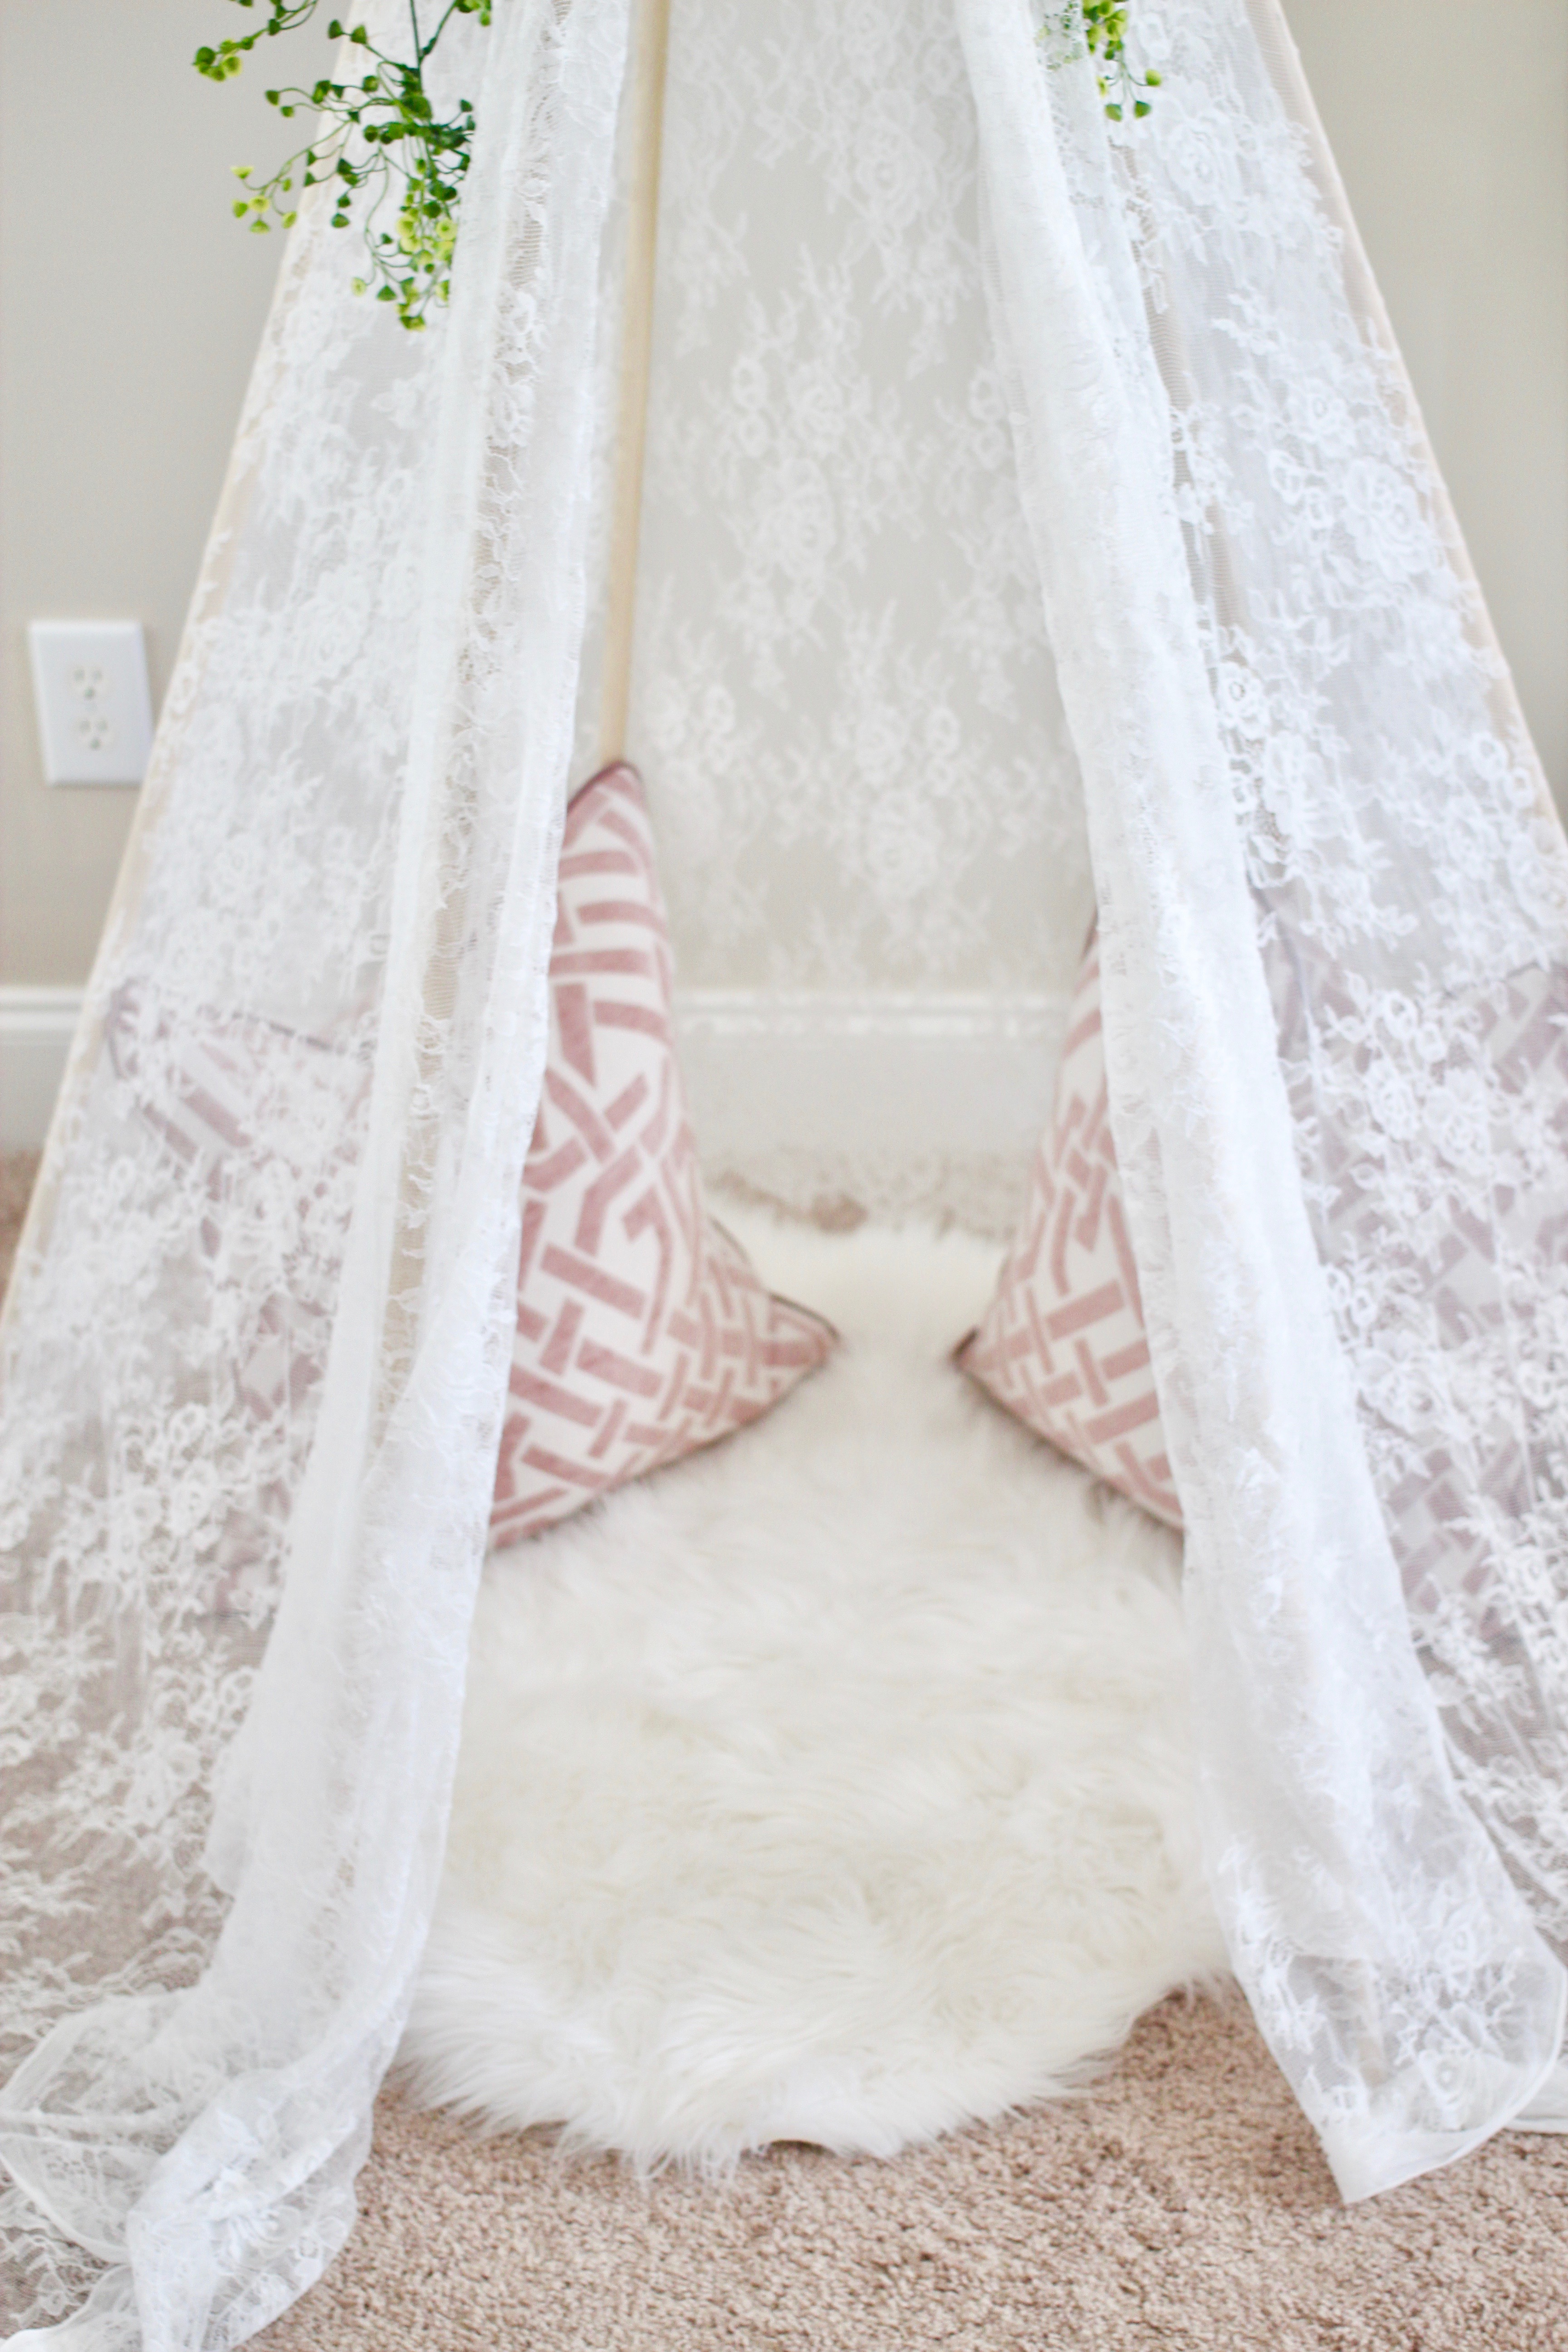
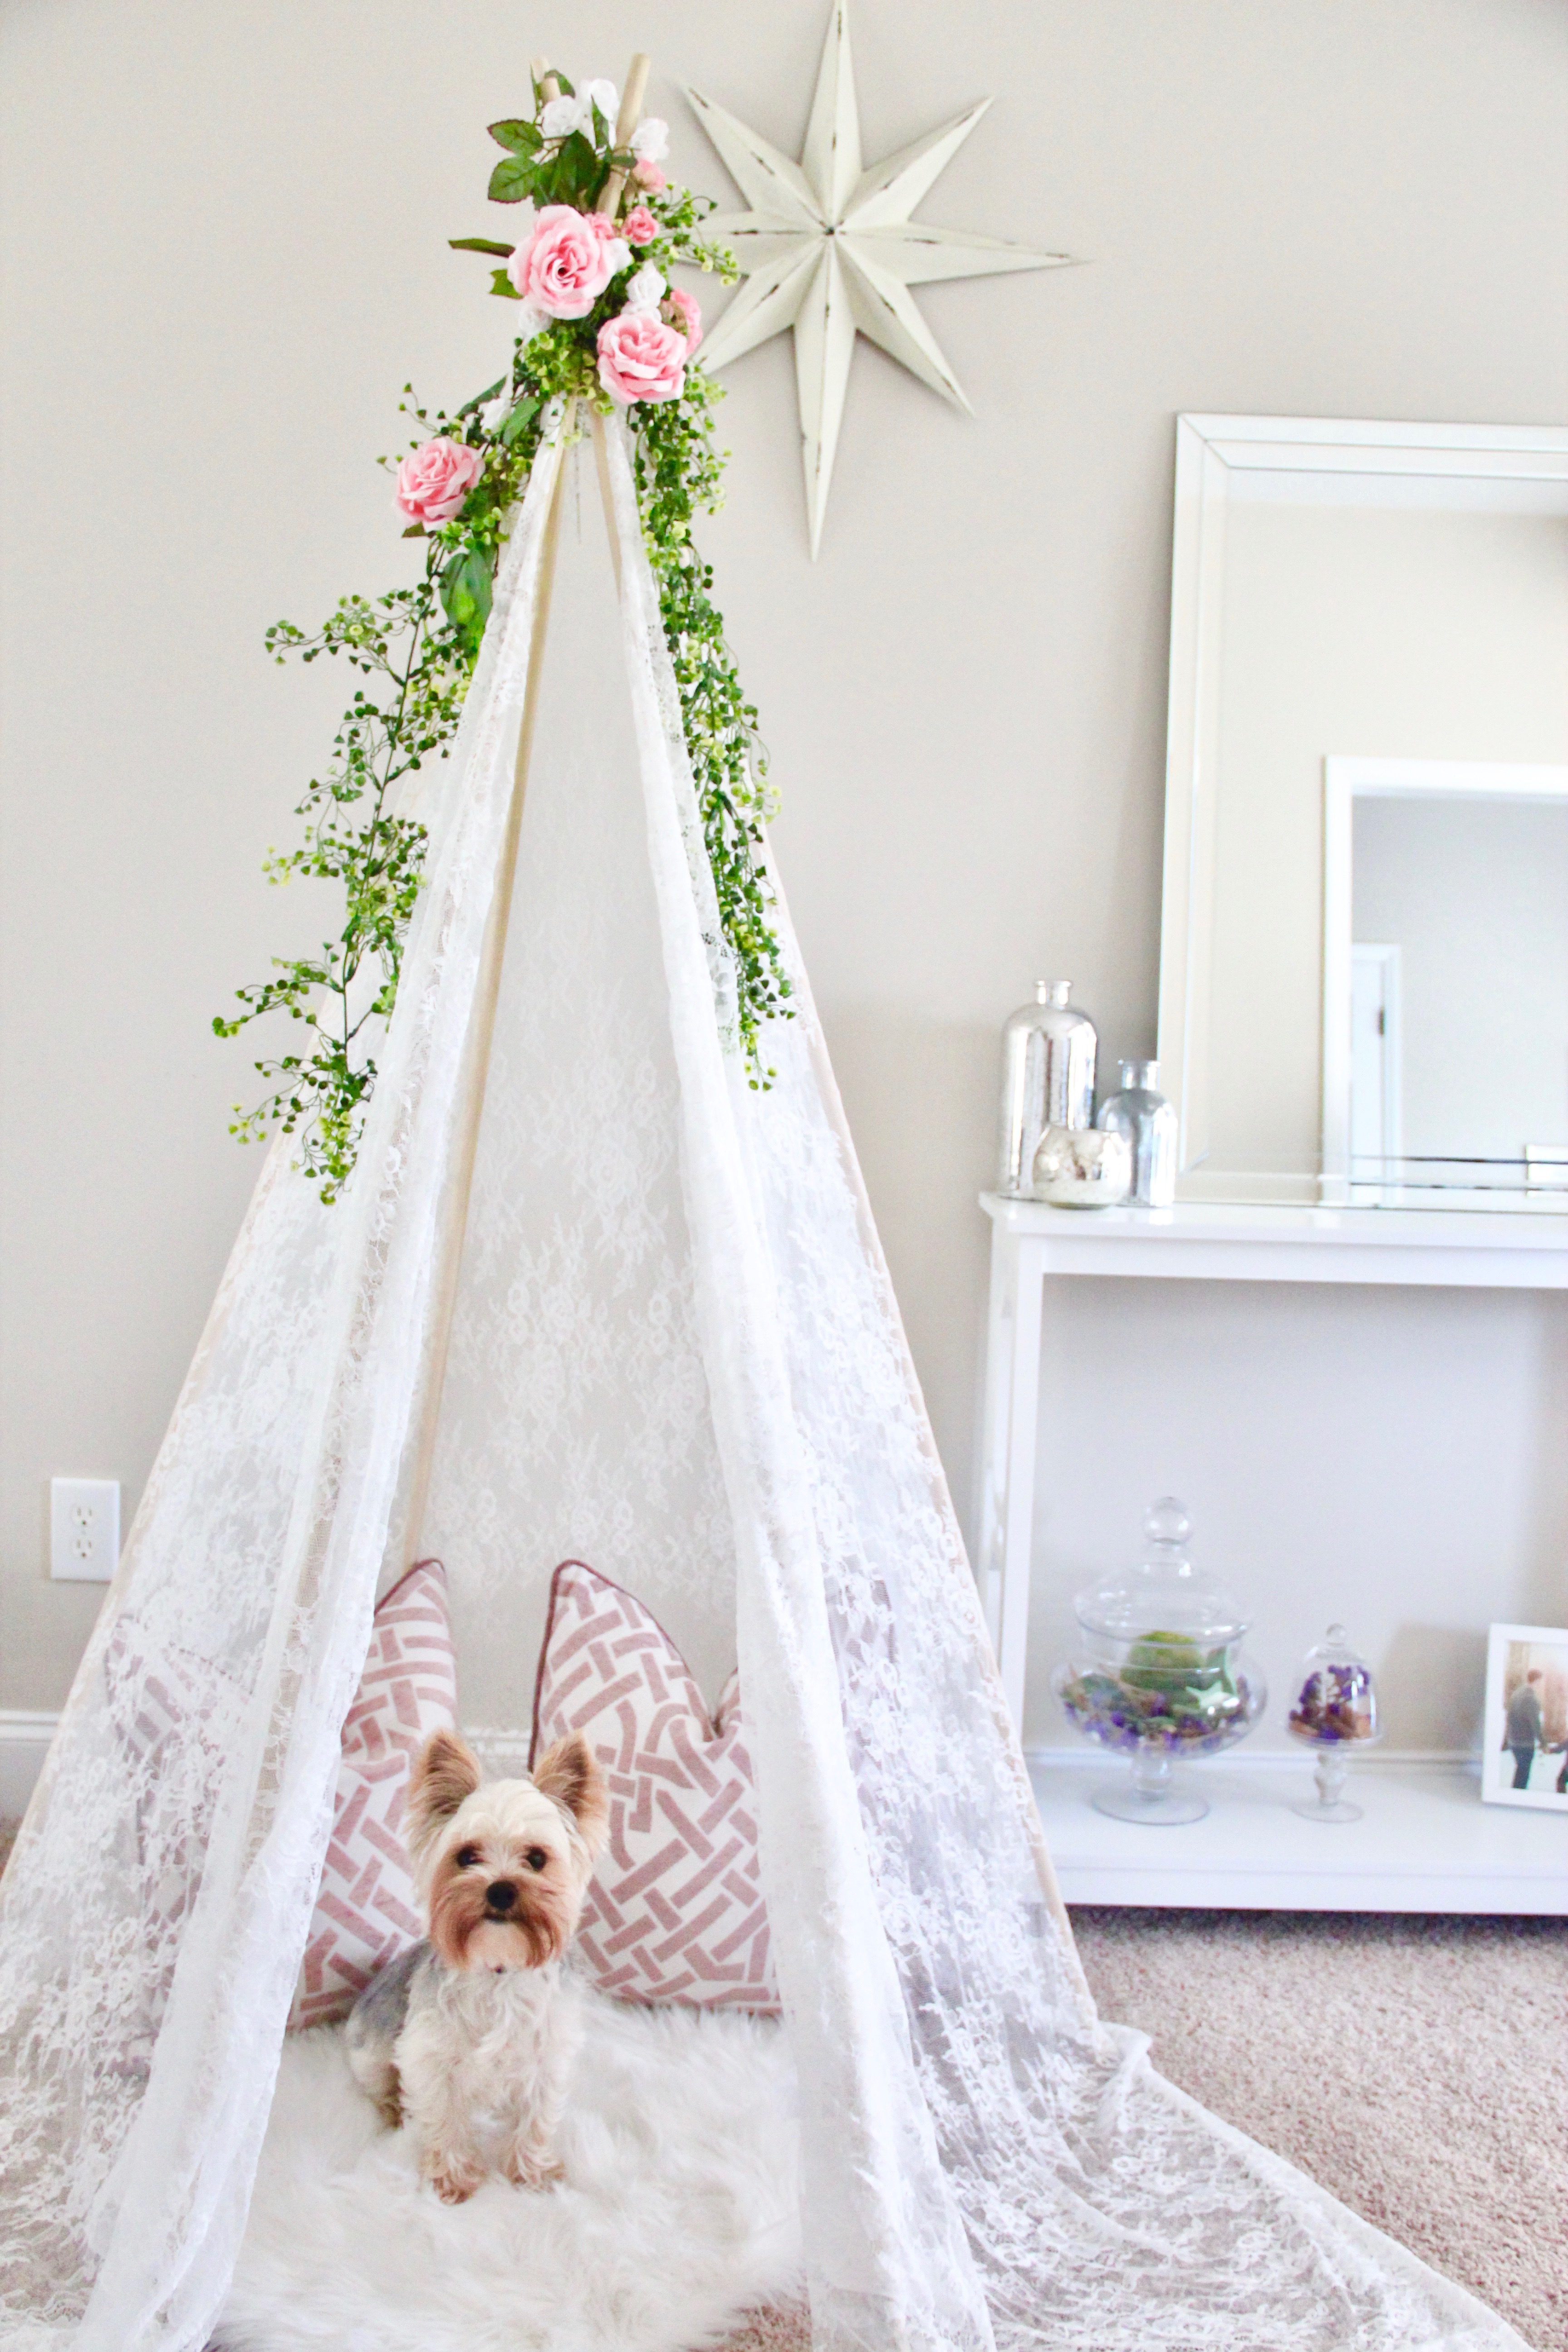
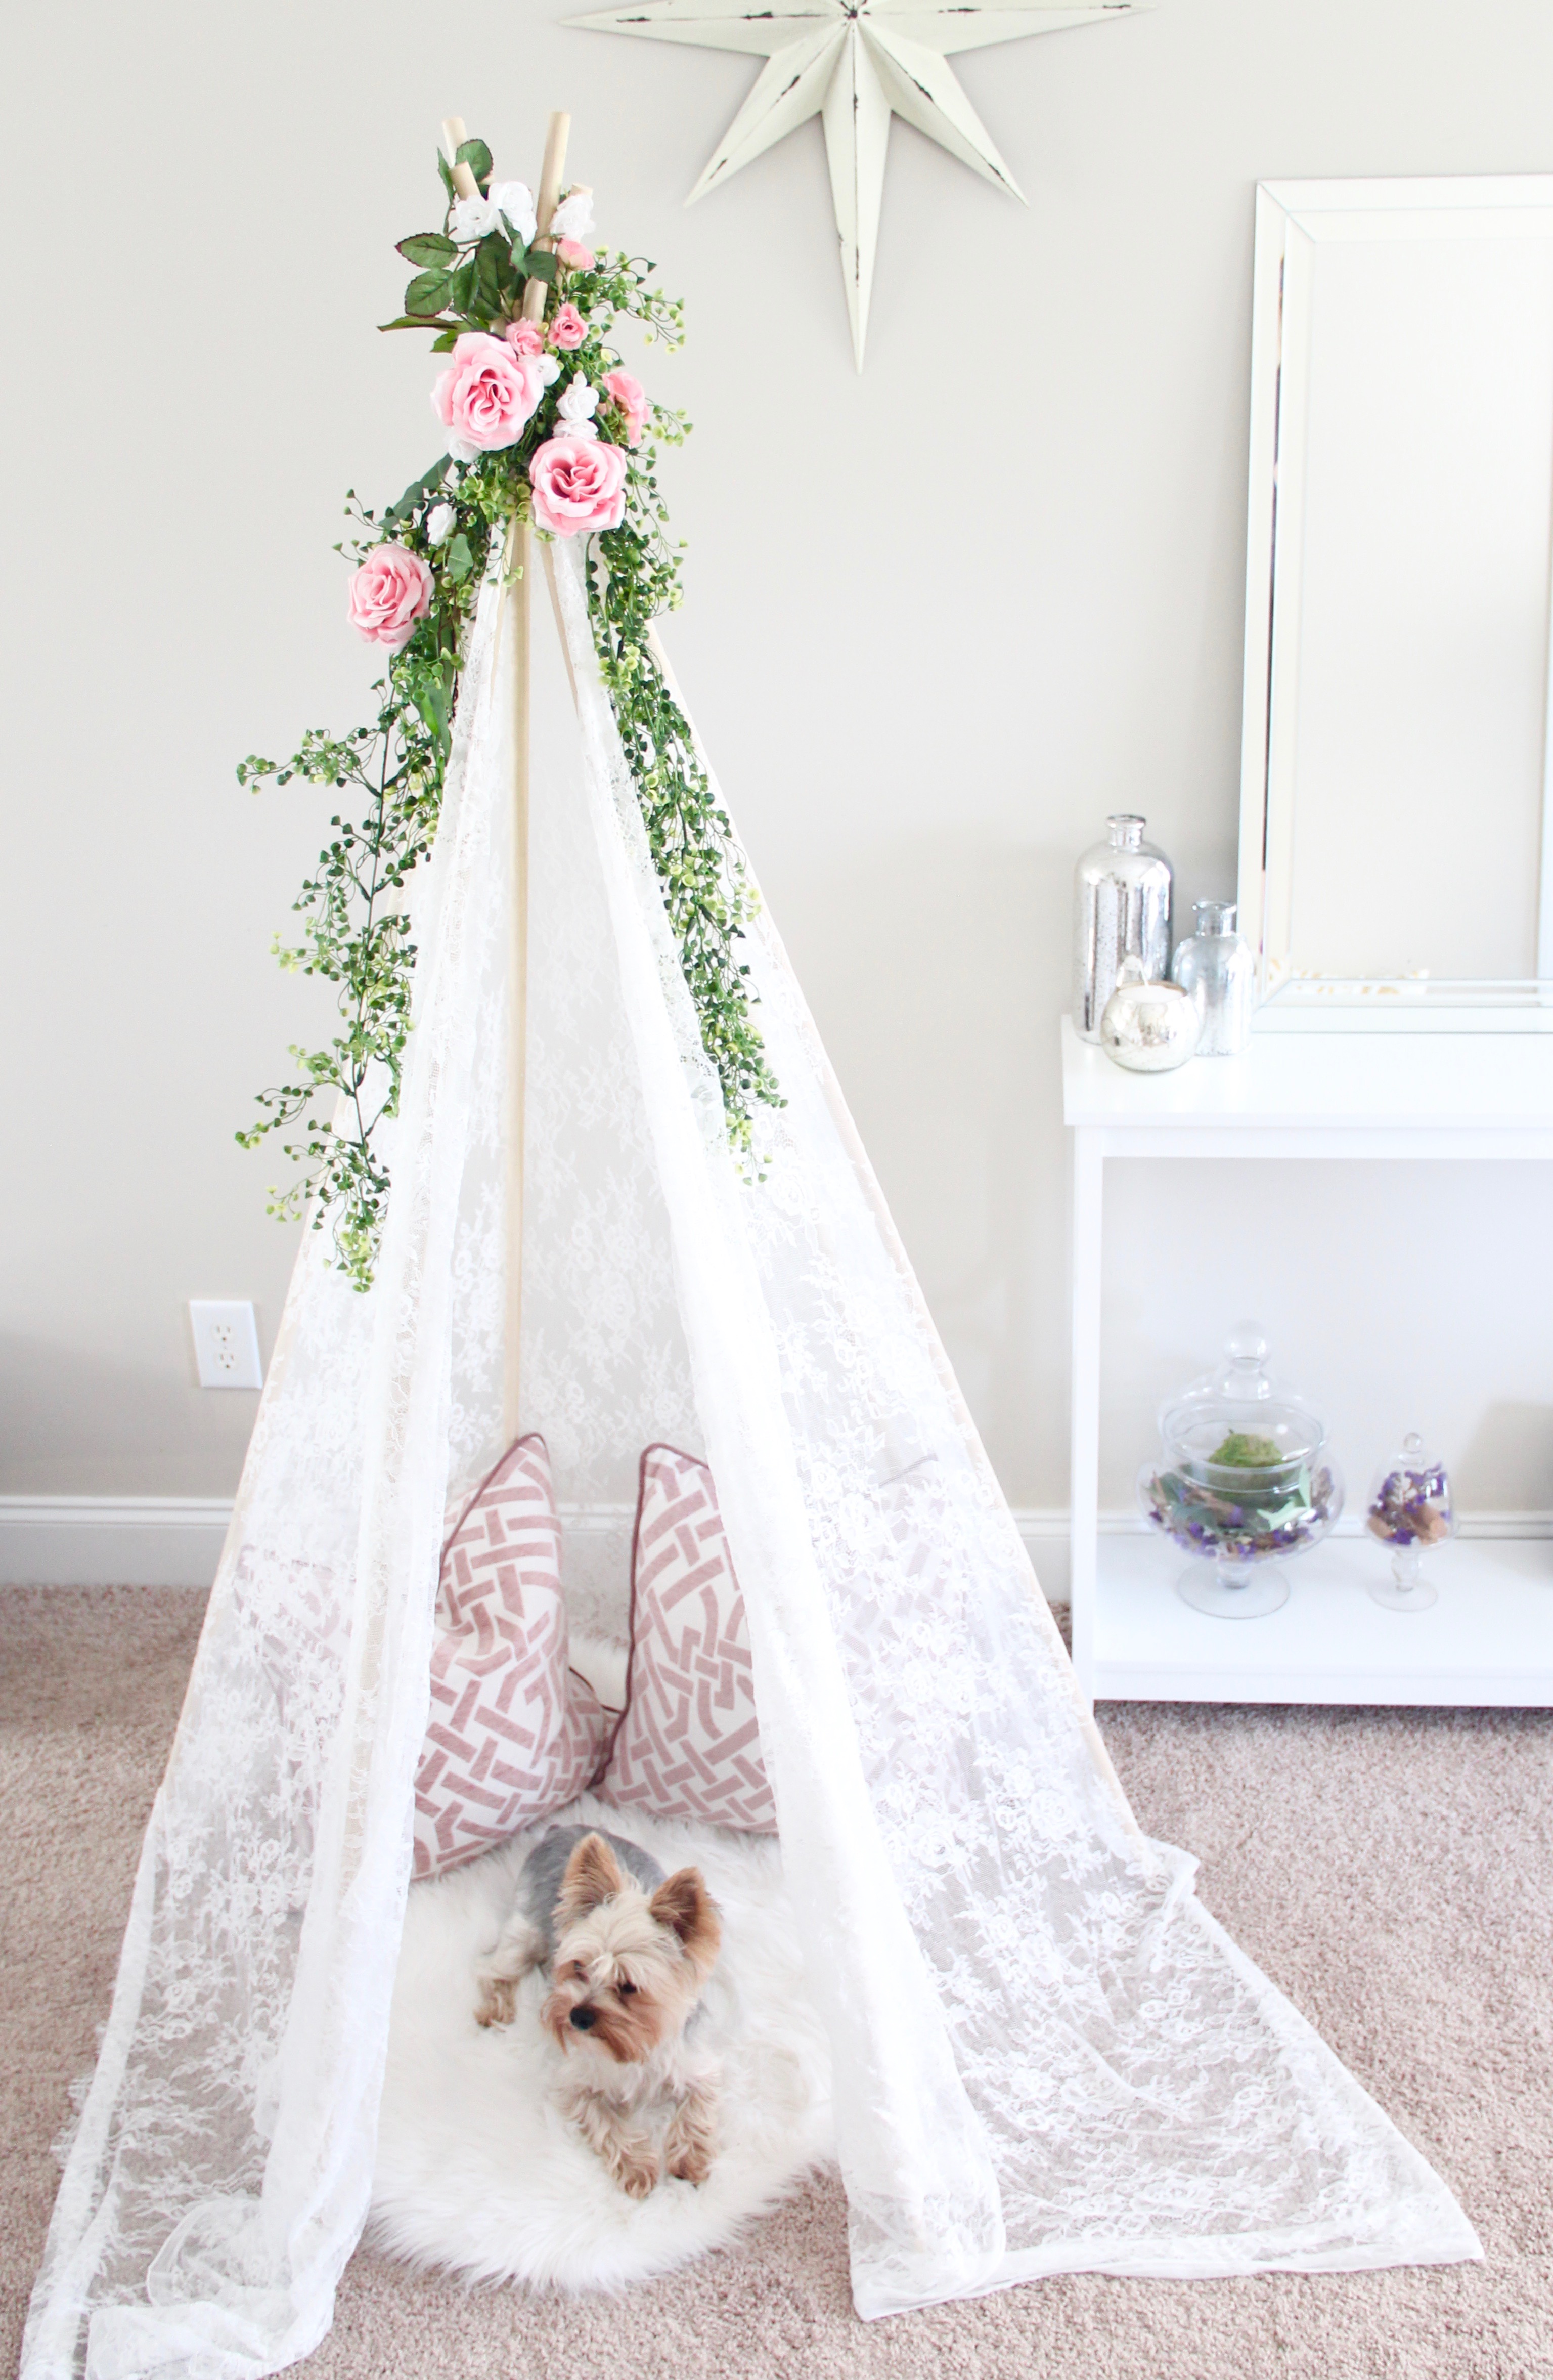
That’s it! Now you can stage and set up the inside of the teepee for whatever you choose! If using it as a reading or pet nook, some faux fur rugs (I love these) and a couple soft pillows are perfect to finish the look! If you’re using it for a shower or similar event, this teepee will be the perfect touch of rustic glam for photos, or even a very sweet spot to have guests place their gifts for the bride or mom-to-be 🙂


If you want to make the teepee opening a bit smaller, you can tie the lace off about a foot down from where you put the safety pin. Then add a flower or some extra twine to keep the rustic vibe going. Here’s what it will look like if you decide to do that:


By the way, Toby is loving this spot. Seriously, I can’t even handle this little nugget sometimes, he makes my heart so full – keep scrolling to see what I mean 🙂


Ugh all the heart eyes for that little pup. Are you completing this DIY with your own twist? I would seriously love to see! Please comment below or tag me in the completed project so I can see your dreamy new DIY teepee!

SaveSave

SaveSave

SaveSave

SaveSave

SaveSave

SaveSave

SaveSave

SaveSave

SaveSave

SaveSave

SaveSave

SaveSave

SaveSave

SaveSave

SaveSave

SaveSave

SaveSave

SaveSave

SaveSave

SaveSaveSaveSave

SaveSave

Post, Pin, Share:
Blog, The Home

Spring Update Home Office Tour

| Marble & Gold Tray | Glass Pineapple | Laptop Stand | Laptop Case | Wireless Keyboard, Mouse & Pad | Linen Office Chair |  Lamp Dupes | Chalk-Painted Desk Tutorial |

| Linen Storage Bench |  Gold Leopard Pillows | Slay Girl Pillow |


 | Mirror Dupe | Louboutin PumpsSunnies Organizer |Valentino Flats  |

| Marble & Gold Tray | Glass Pineapple | Laptop Stand | Laptop Case | Wireless Keyboard, Mouse & Pad | Linen Office Chair |  Lamp Dupes | Chalk-Painted Desk Tutorial | Mirror Dupe | Louboutin PumpsSunnies Organizer |Valentino Flats  | Linen Storage Bench |  Gold Leopard Pillows | Slay Girl Pillow | Blue-Gray Tufted Pouf | Sheepskin Rug |

I am constantly updating and restyling the DIY Marble and Gold Ikea Hyllis Shelves  & love how versatile they’ve been in this space. One of my favorite things to do when seasons change is to move furniture and decor around to freshen up the room. Since I spend the majority (only 98%) of my day in my home office, that’s usually the place that gets the spring treatment first 🙂


Do you have any favorite traditions for the start of Spring and Summer seasons? I would love to hear them!


Post, Pin, Share:
Blog, DIY Projects, Home Decor, The Home

Easy DIY Bulletin Board

Lately, I’ve been a bit amazed at how much “extra” we have in the way of home decor pieces. One particular category of which is frames. I didn’t realize until we started the packing process, before our move this past summer (more on that here & here), how many extra frames we had stored. The two featured below are such good (and semi-embarrassing) examples. Both of these were purchased my junior year of undergrad at Michael’s, yet neither were ever hung. I loved the shape and style of them too much though to get rid of them, so they have survived not one, but now three moves (hence the blue tape protecting the glass) without ever being used.

Well, taste and style preferences change, and mine certainly have since my junior year at Carolina. I didn’t want to waste these frames though, so instead I decided to make one into a gold cheetah bulletin board, and the other into a matching frame for my favorite Charlotte print.

For this project you’ll need the following supplies:

1 yard of your choice fabric (I used metallic cheetah in gold)

Spray Paint & Grip

Cork Board Roll & Scissors

Staple Gun

*If you don’t have any extra frames available, you can skip the spray paint portion by snagging one already in the style/color you like. I’ve linked some similar ones herehere.

Step 1: Remove the cardboard backing and glass from the frame. Don’t throw away the backing, we will be using it in a later step. Also, when you lift up the little tabs, try to keep them from touching any part of the frame (other than where they’re connected of course). This will help prevent them from sticking to the frame when its spray painted.

Step 2: In a well-ventilated area, preferably outside, begin spraying your frame with the first coat of paint. Use smooth even strokes, covering the entire outer piece. Allow this first layer to set completely before spraying again. You may need be extra patient if your frame is plastic, as it takes a few extra rounds for the paint to appear as though it’s adhering to the piece. (One of the reasons I chose to use the chalk spray paint was that I hoped it would make these plastic frames look like wood – it totally worked!)

Step 3: Once your desired coverage is reached, set aside the frame to fully dry. It’s time to grab your frame’s cardboard backing and cork board roll! Unroll the cork board, and line it up with the cardboard backing. Be sure to keep it taut and flat. Cut the cork to fit your backing.

Step 4: Using your staple gun, staple down the edges of the cork to the cardboard backing. (As you can see, my backing needed extra strips of cork board, so it looks a little messy, but the fabric will cover this so don’t worry if yours looks similar to mine at this point in the project.)

Step 5: Get out your fabric, and lay the backing cork-side down. Cut the fabric to fit, leaving extra along the edges so that you can fold it down on the back. *Depending on how wrinkly your fabric is, you may want to steam it before securing it to the cork board.

Step 6: Grab your staple gun again and gently staple the edges of the fabric down to the cardboard side of the  frame backing. Take your time with this step so that you don’t end up with a massive crinkle down the middle of your new cork board.

Step 7: Flip it back over, and check to make sure everything is smooth and secure. Now you’re ready to put your new bulletin board into your freshly painted frame!

Step 8: All you have to do now is figure out where you want it displayed 🙂 I put mine in my home office. I’m a huge fan of symmetry in interior design so both frames are to the right and left of the main window in this space.


Supplies for this Project:


Have you just completed this, or any of the other projects featured on Blonde Boss Babe? If so, tag me! I would love to see your version!

Post, Pin, Share: