
Hi everyone! Today’s DIY I had been putting off forever, mainly due to fear of not knowing how to use/seal chalk paint. I’m pretty comfortable with the spray paint version, which is what I used for our DIY nightstands but hadn’t yet tried the good old bucket version. Well, I’m pretty pumped that it’s super easy to work with, and now I understand everyone else’s obsession with this ish. It’s great.
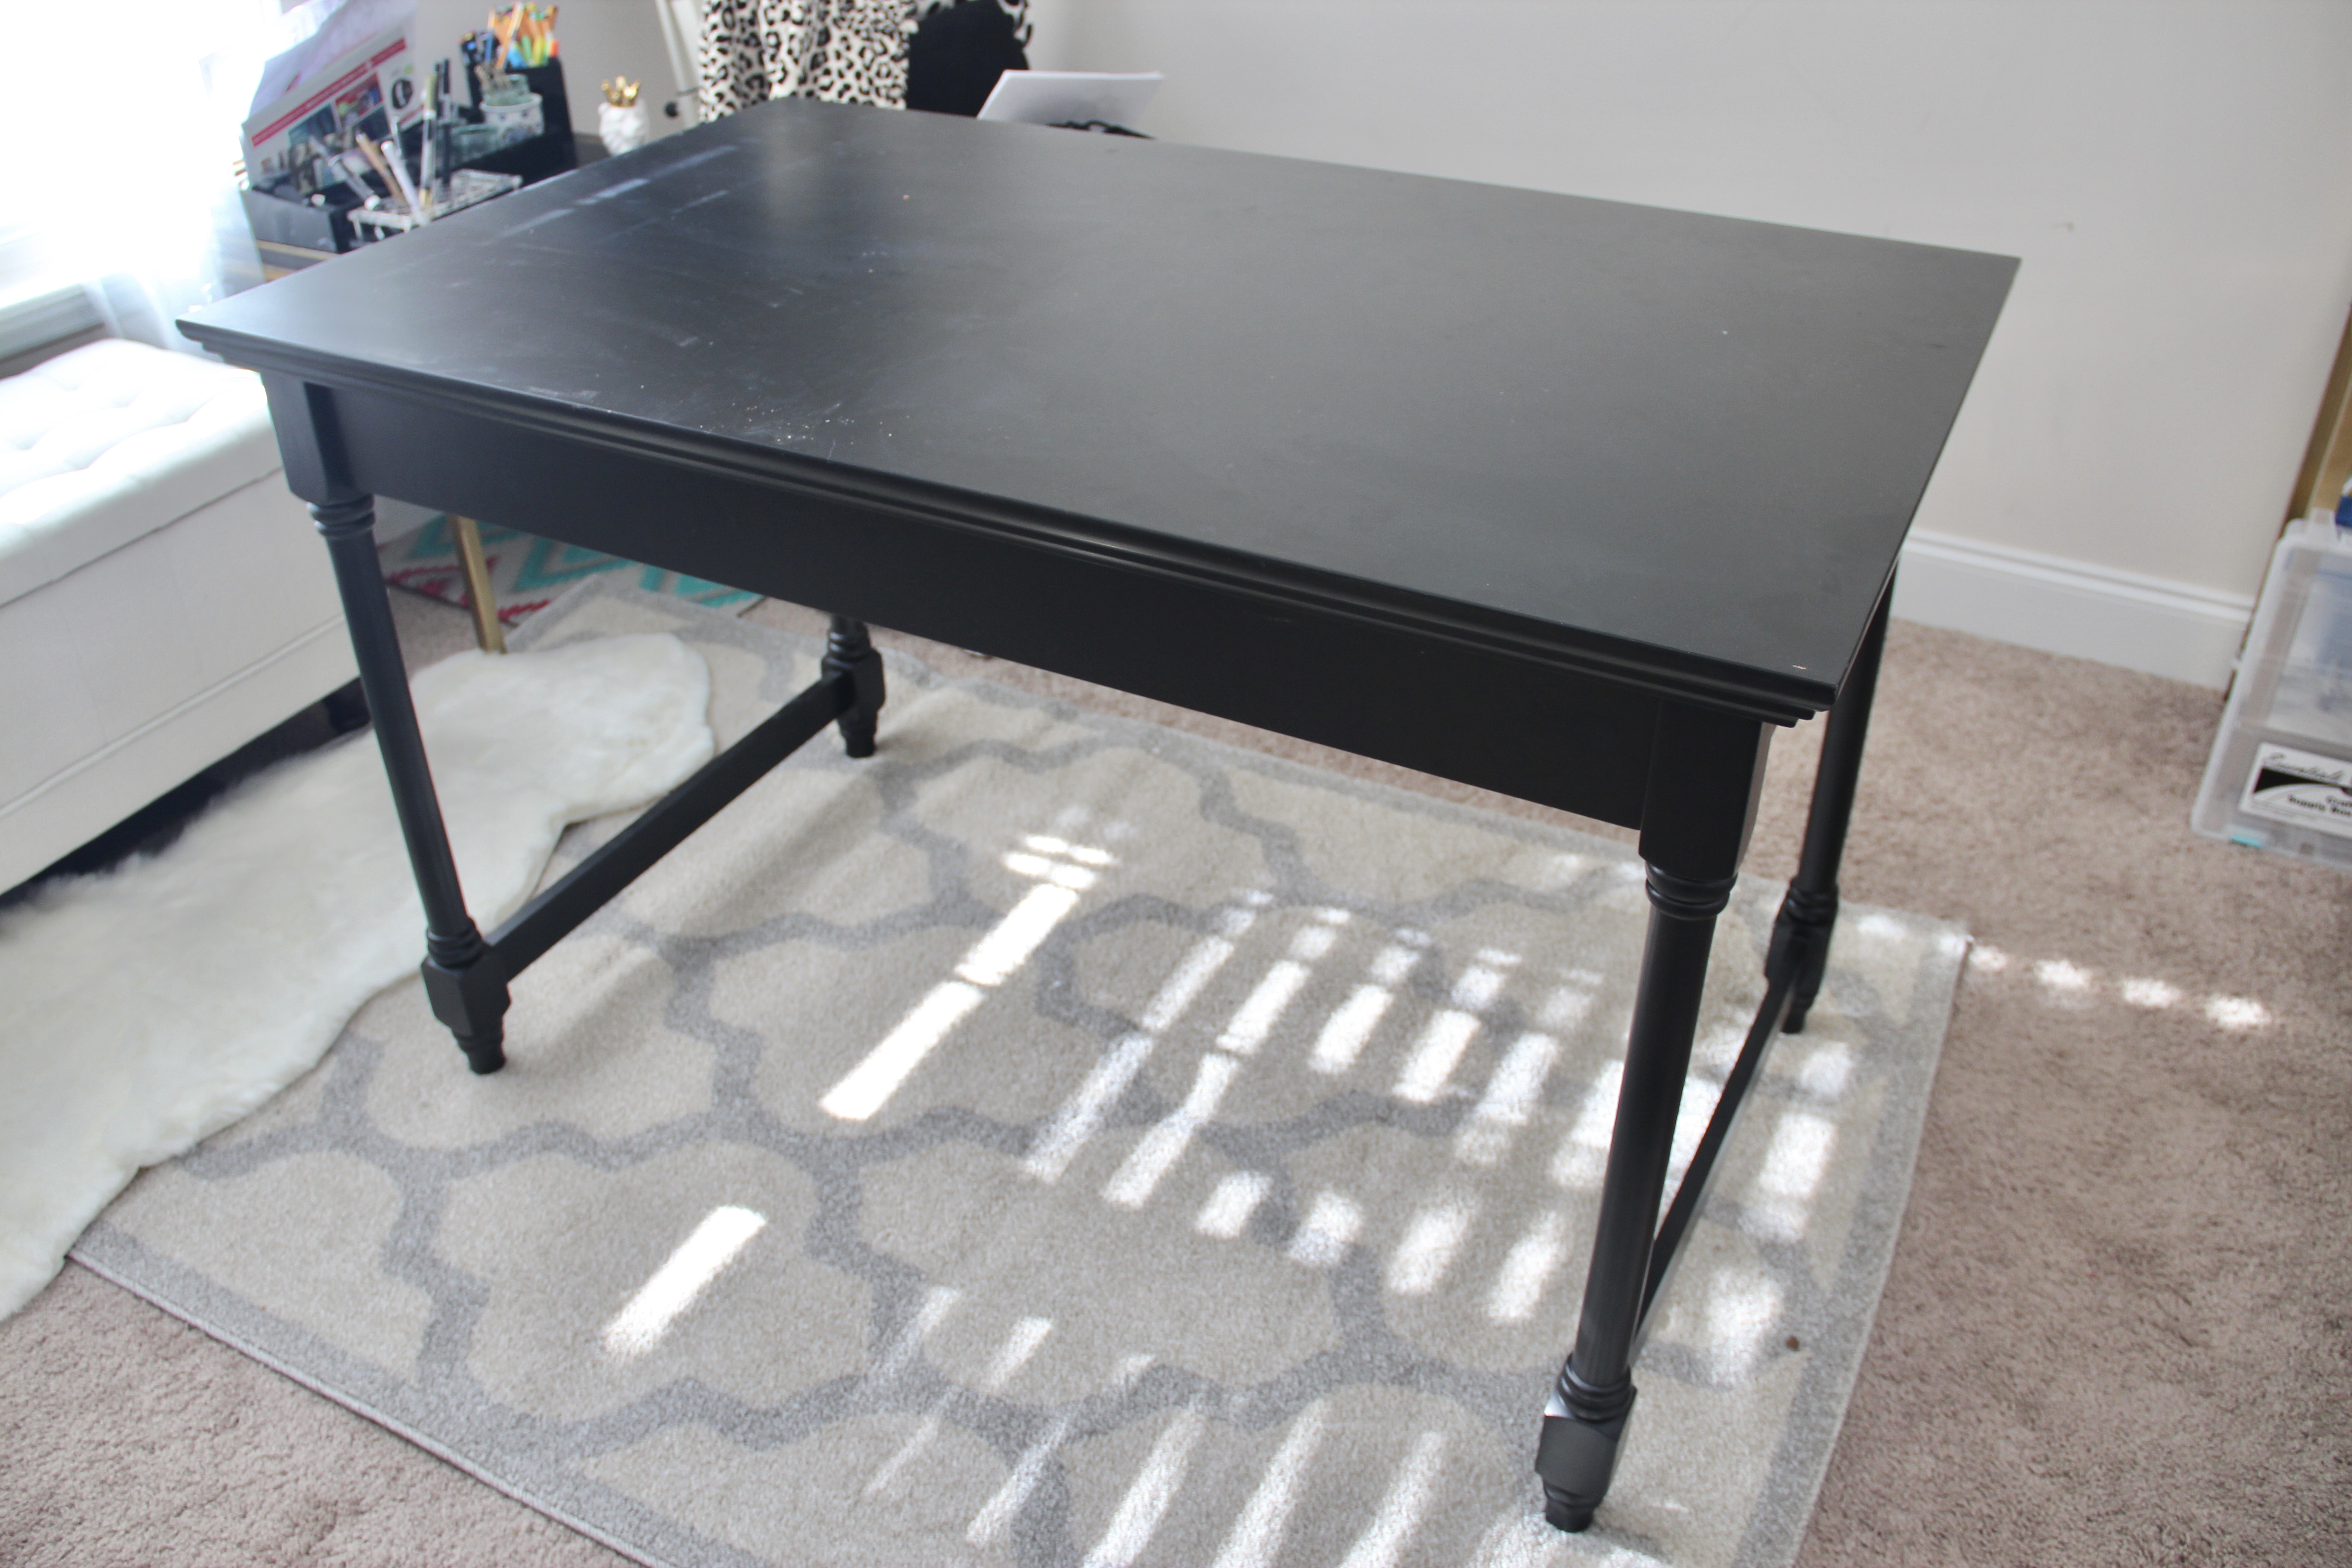
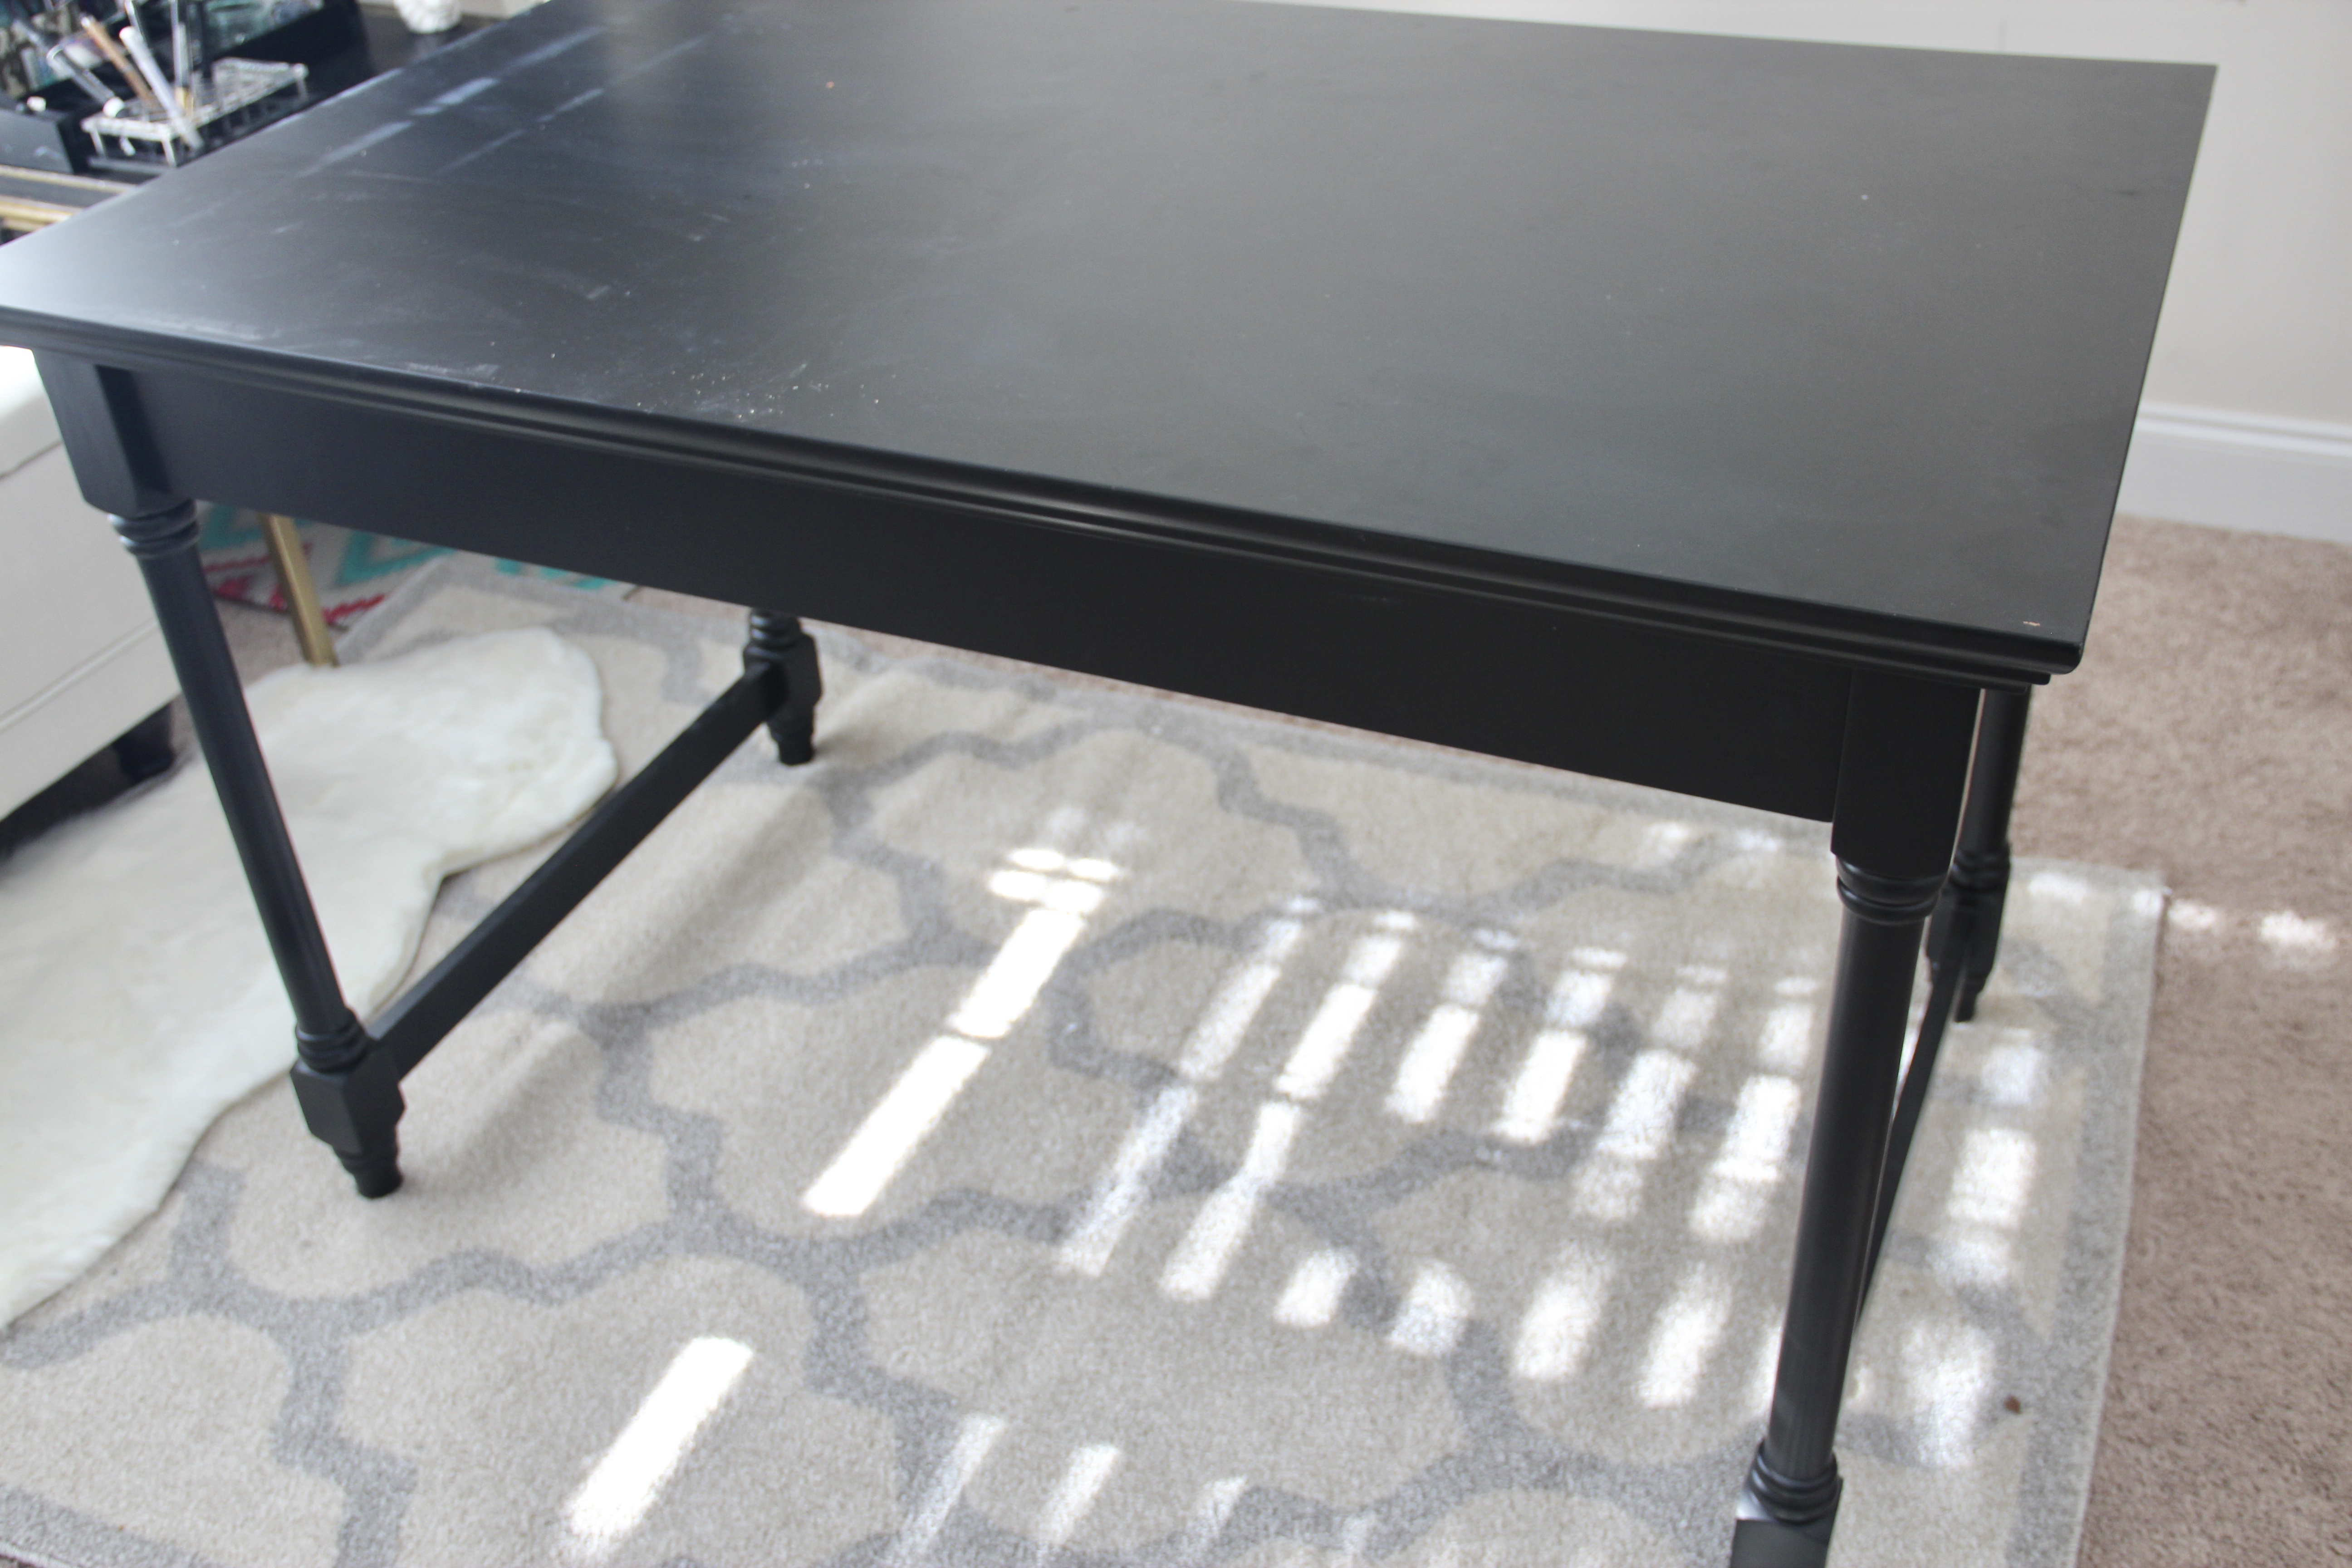
This specific piece of furniture is pretty special to me. When I started high school, my parents surprised me one morning with an entire study room setup that included this desk. Even though I was only 14, I had been begging for a study space that looked “grown.” Fast-forward ten years to today, and I am still a student (lol) so this desk has seen it all! As much as I love it, I definitely wanted a brighter version for my current home office, but I also really didn’t want to ruin the quality or the durability of the piece. So, enter from stage left: Chalk Paint, to save the day.
To get started you’ll need:
A bowl with warm & soapy water
Clean Dry rags
Tarp/Plastic to protect floors (if needed)
Chalk Paint Brushes (I started with this one but preferred this set)
One Small Brush (for detailed portions if needed)
Sand Paper (if needed)
Step 1: Using your soapy water, dip a clean rag into the mixture and begin wiping down your furniture piece to remove any extra gunk/dust/dirt/grime present. Make sure not to overly soak your furniture piece and dry these areas soon after cleaning to prevent any potential water damage. Depending on your piece’s finish, you may need mineral spirits to remove any existing wax/sealant.
Step 2: (If needed) Lightly sand your furniture piece, then wipe down again. (I didn’t need to sand my desk, but if it had a rougher finish, I would have.)
Step 3: Before opening your paint, pick up your chalk paint brush and repeatedly/lightly tug at the end of the bristles. This will help in reducing the number of bristles shed while painting your furniture. Once you’ve done that, properly mix your chalk paint using your wooden stirrer.
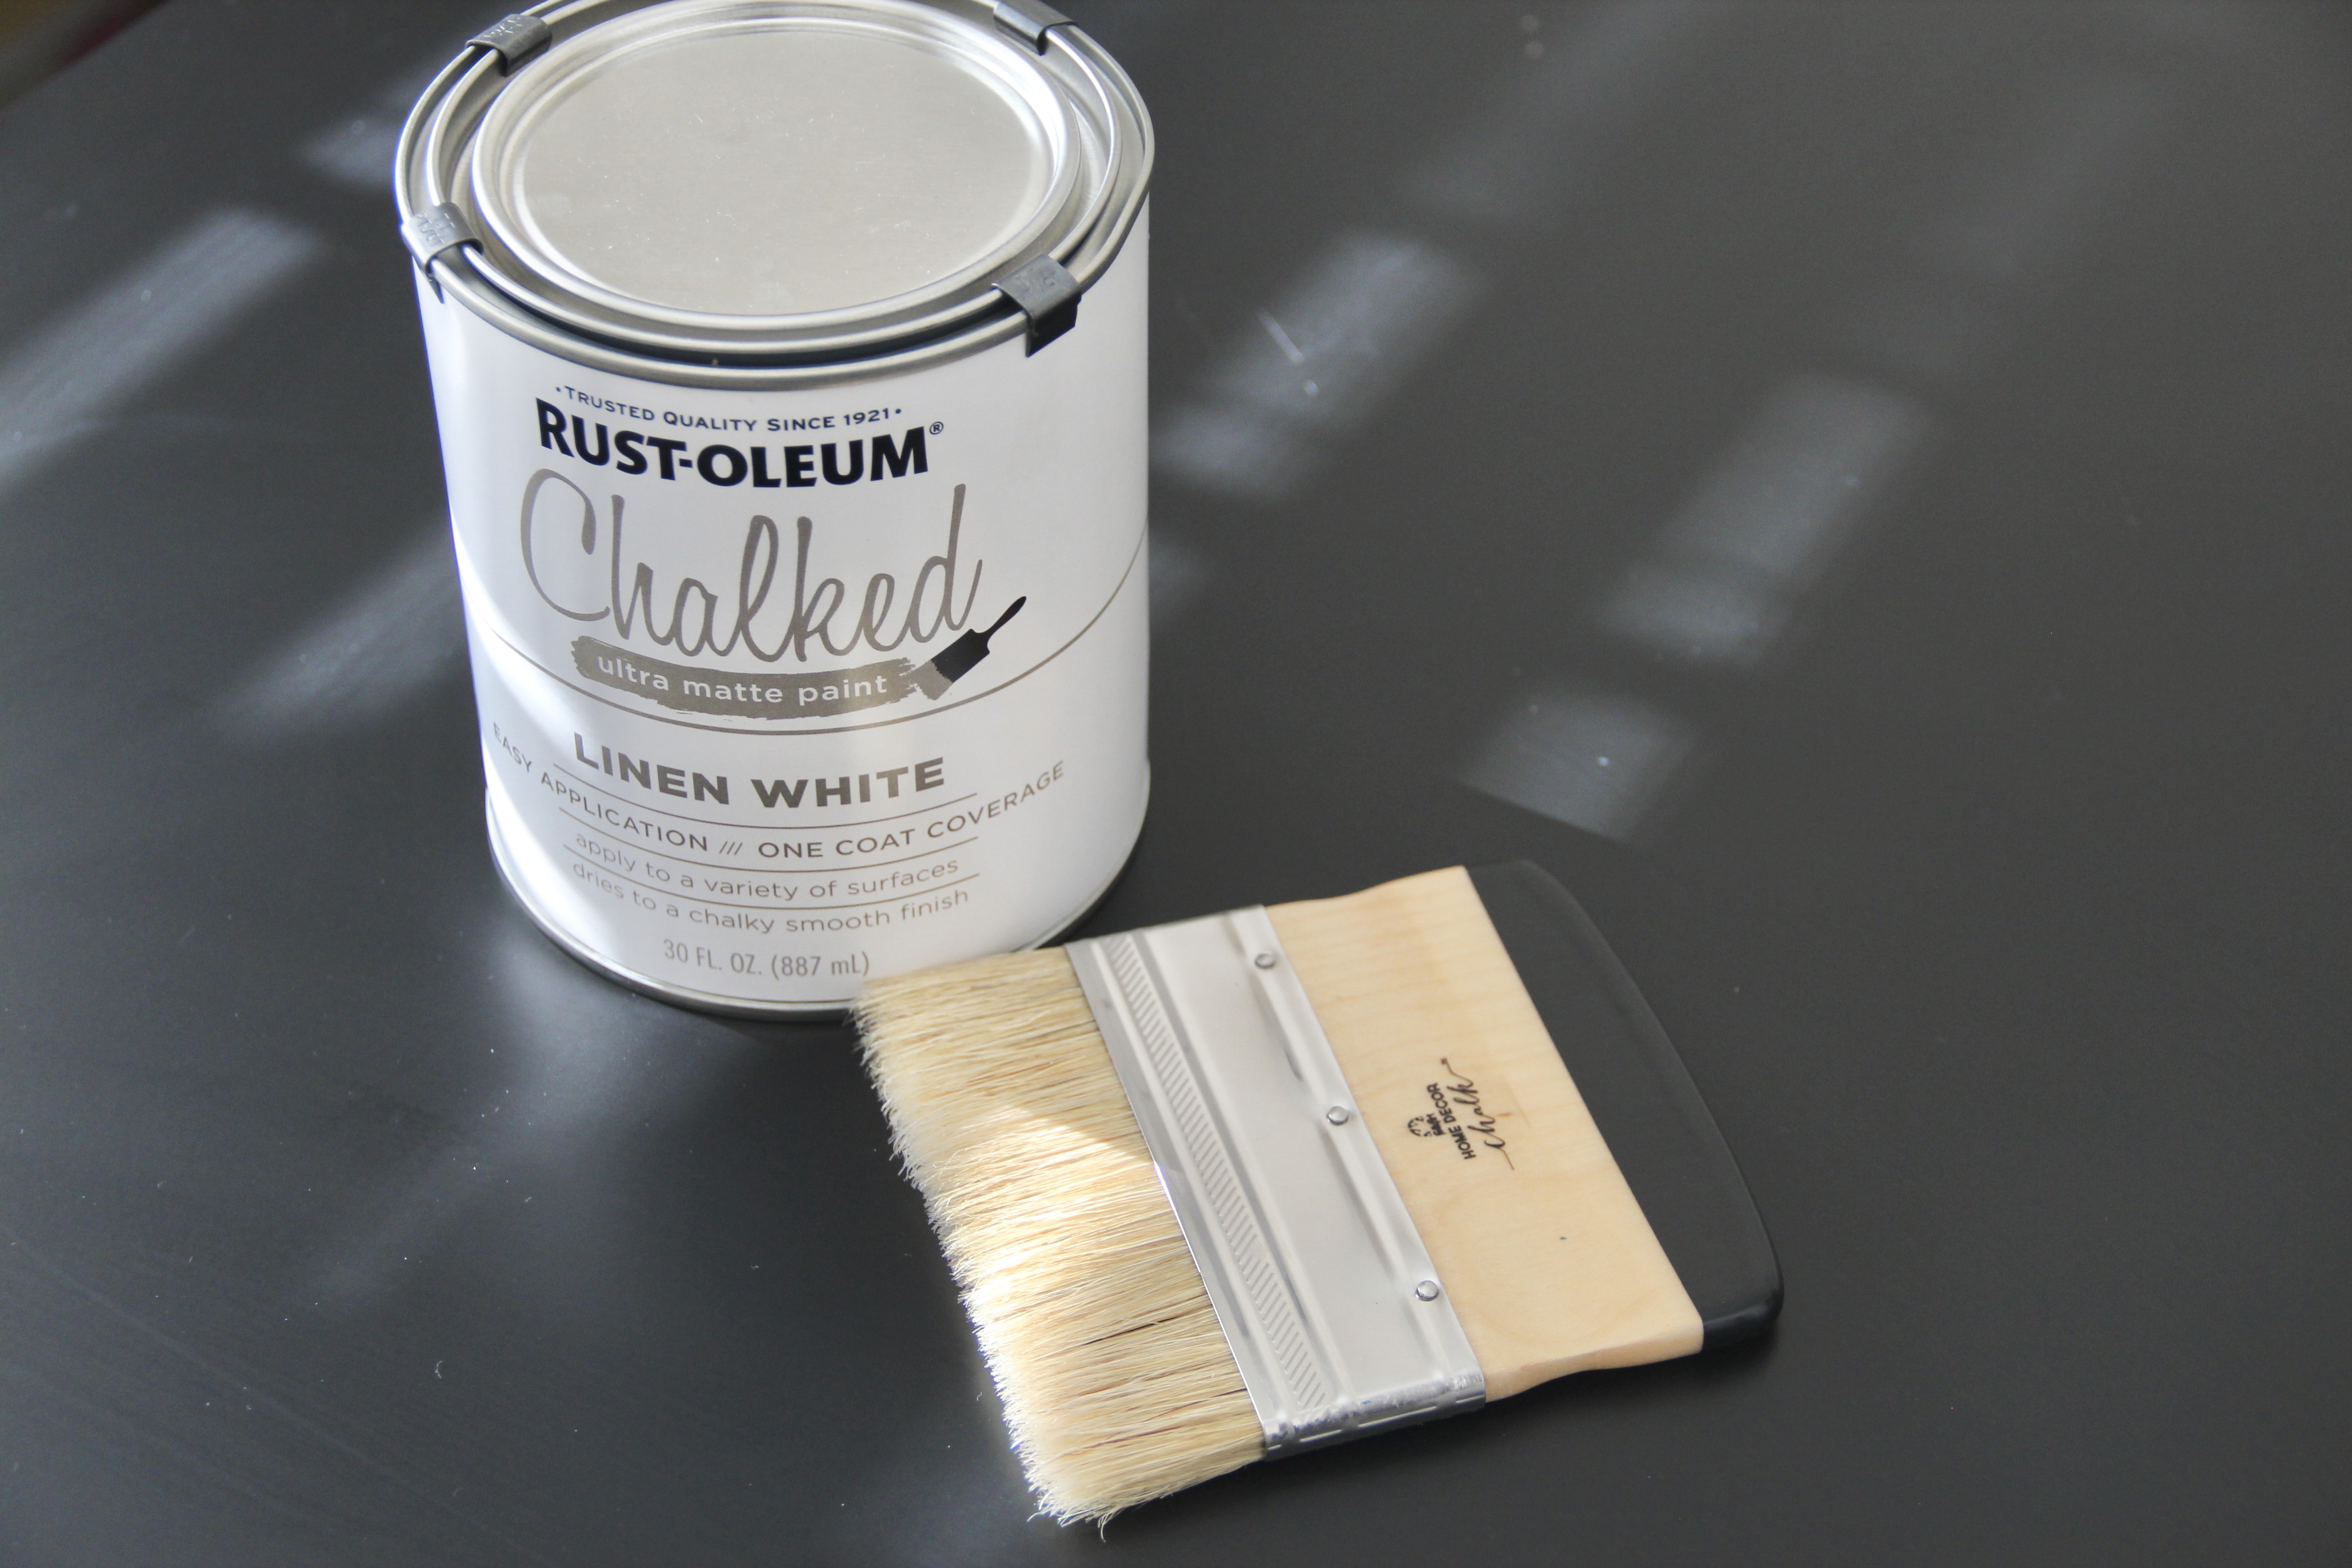
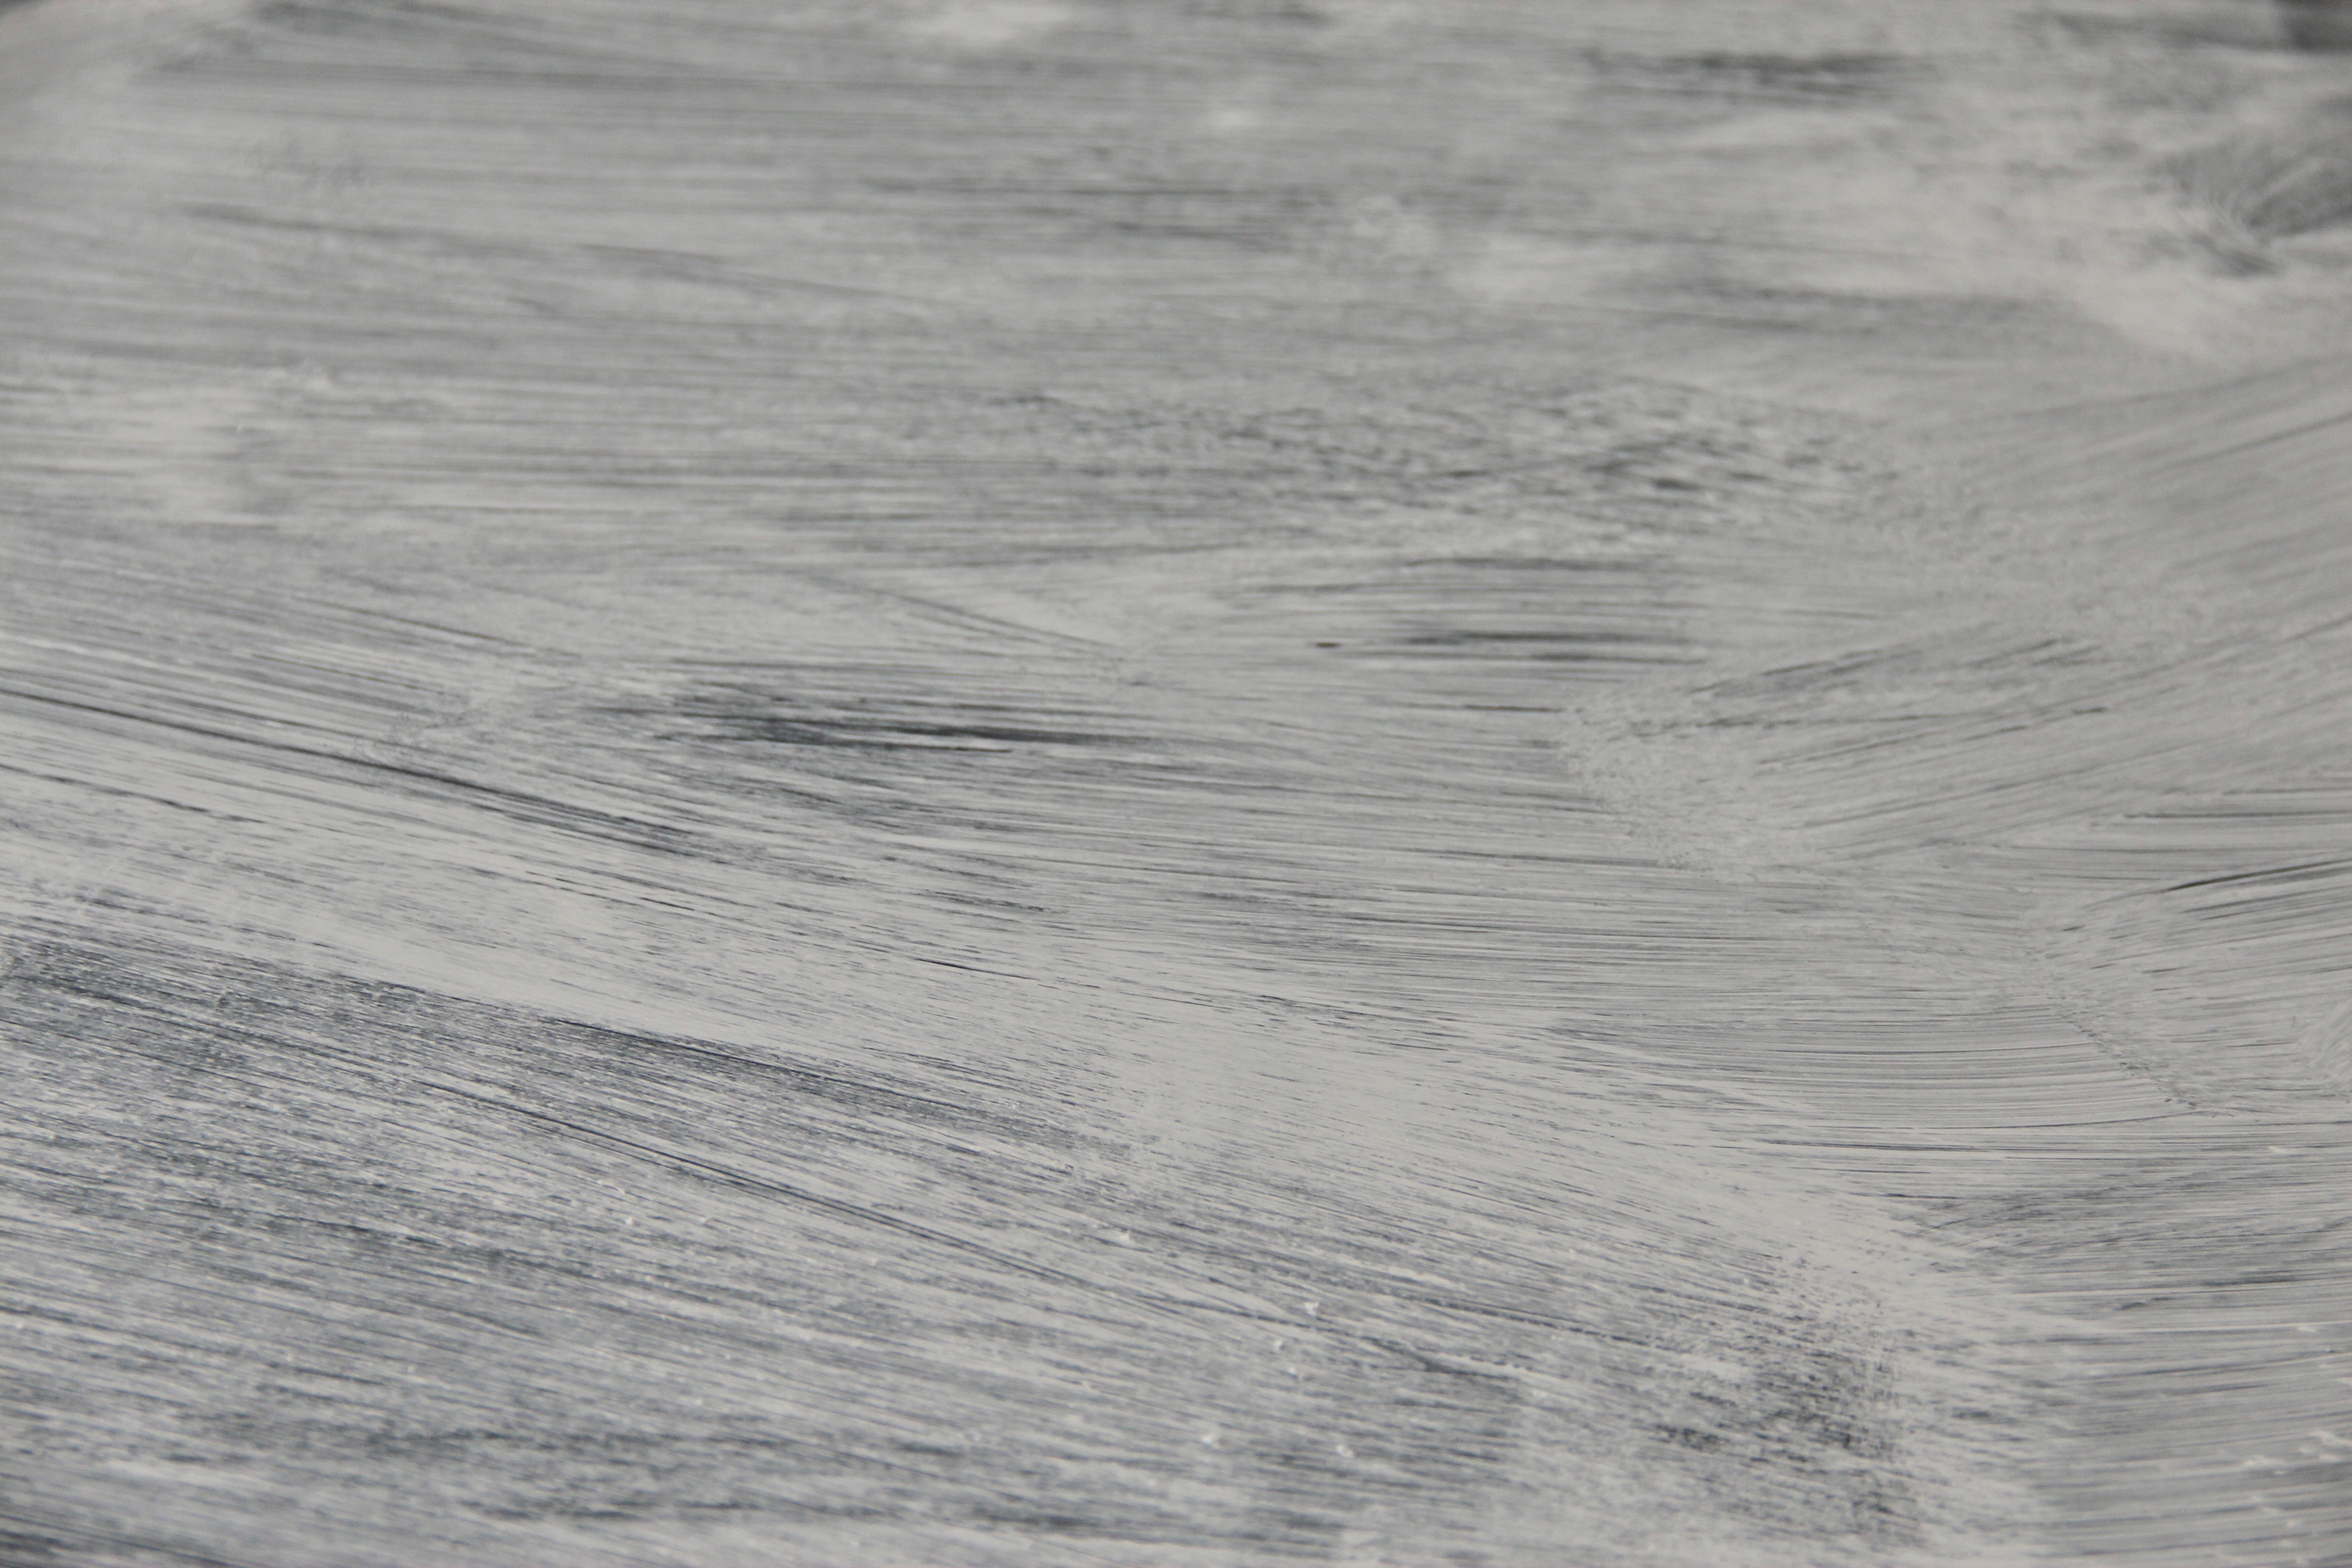
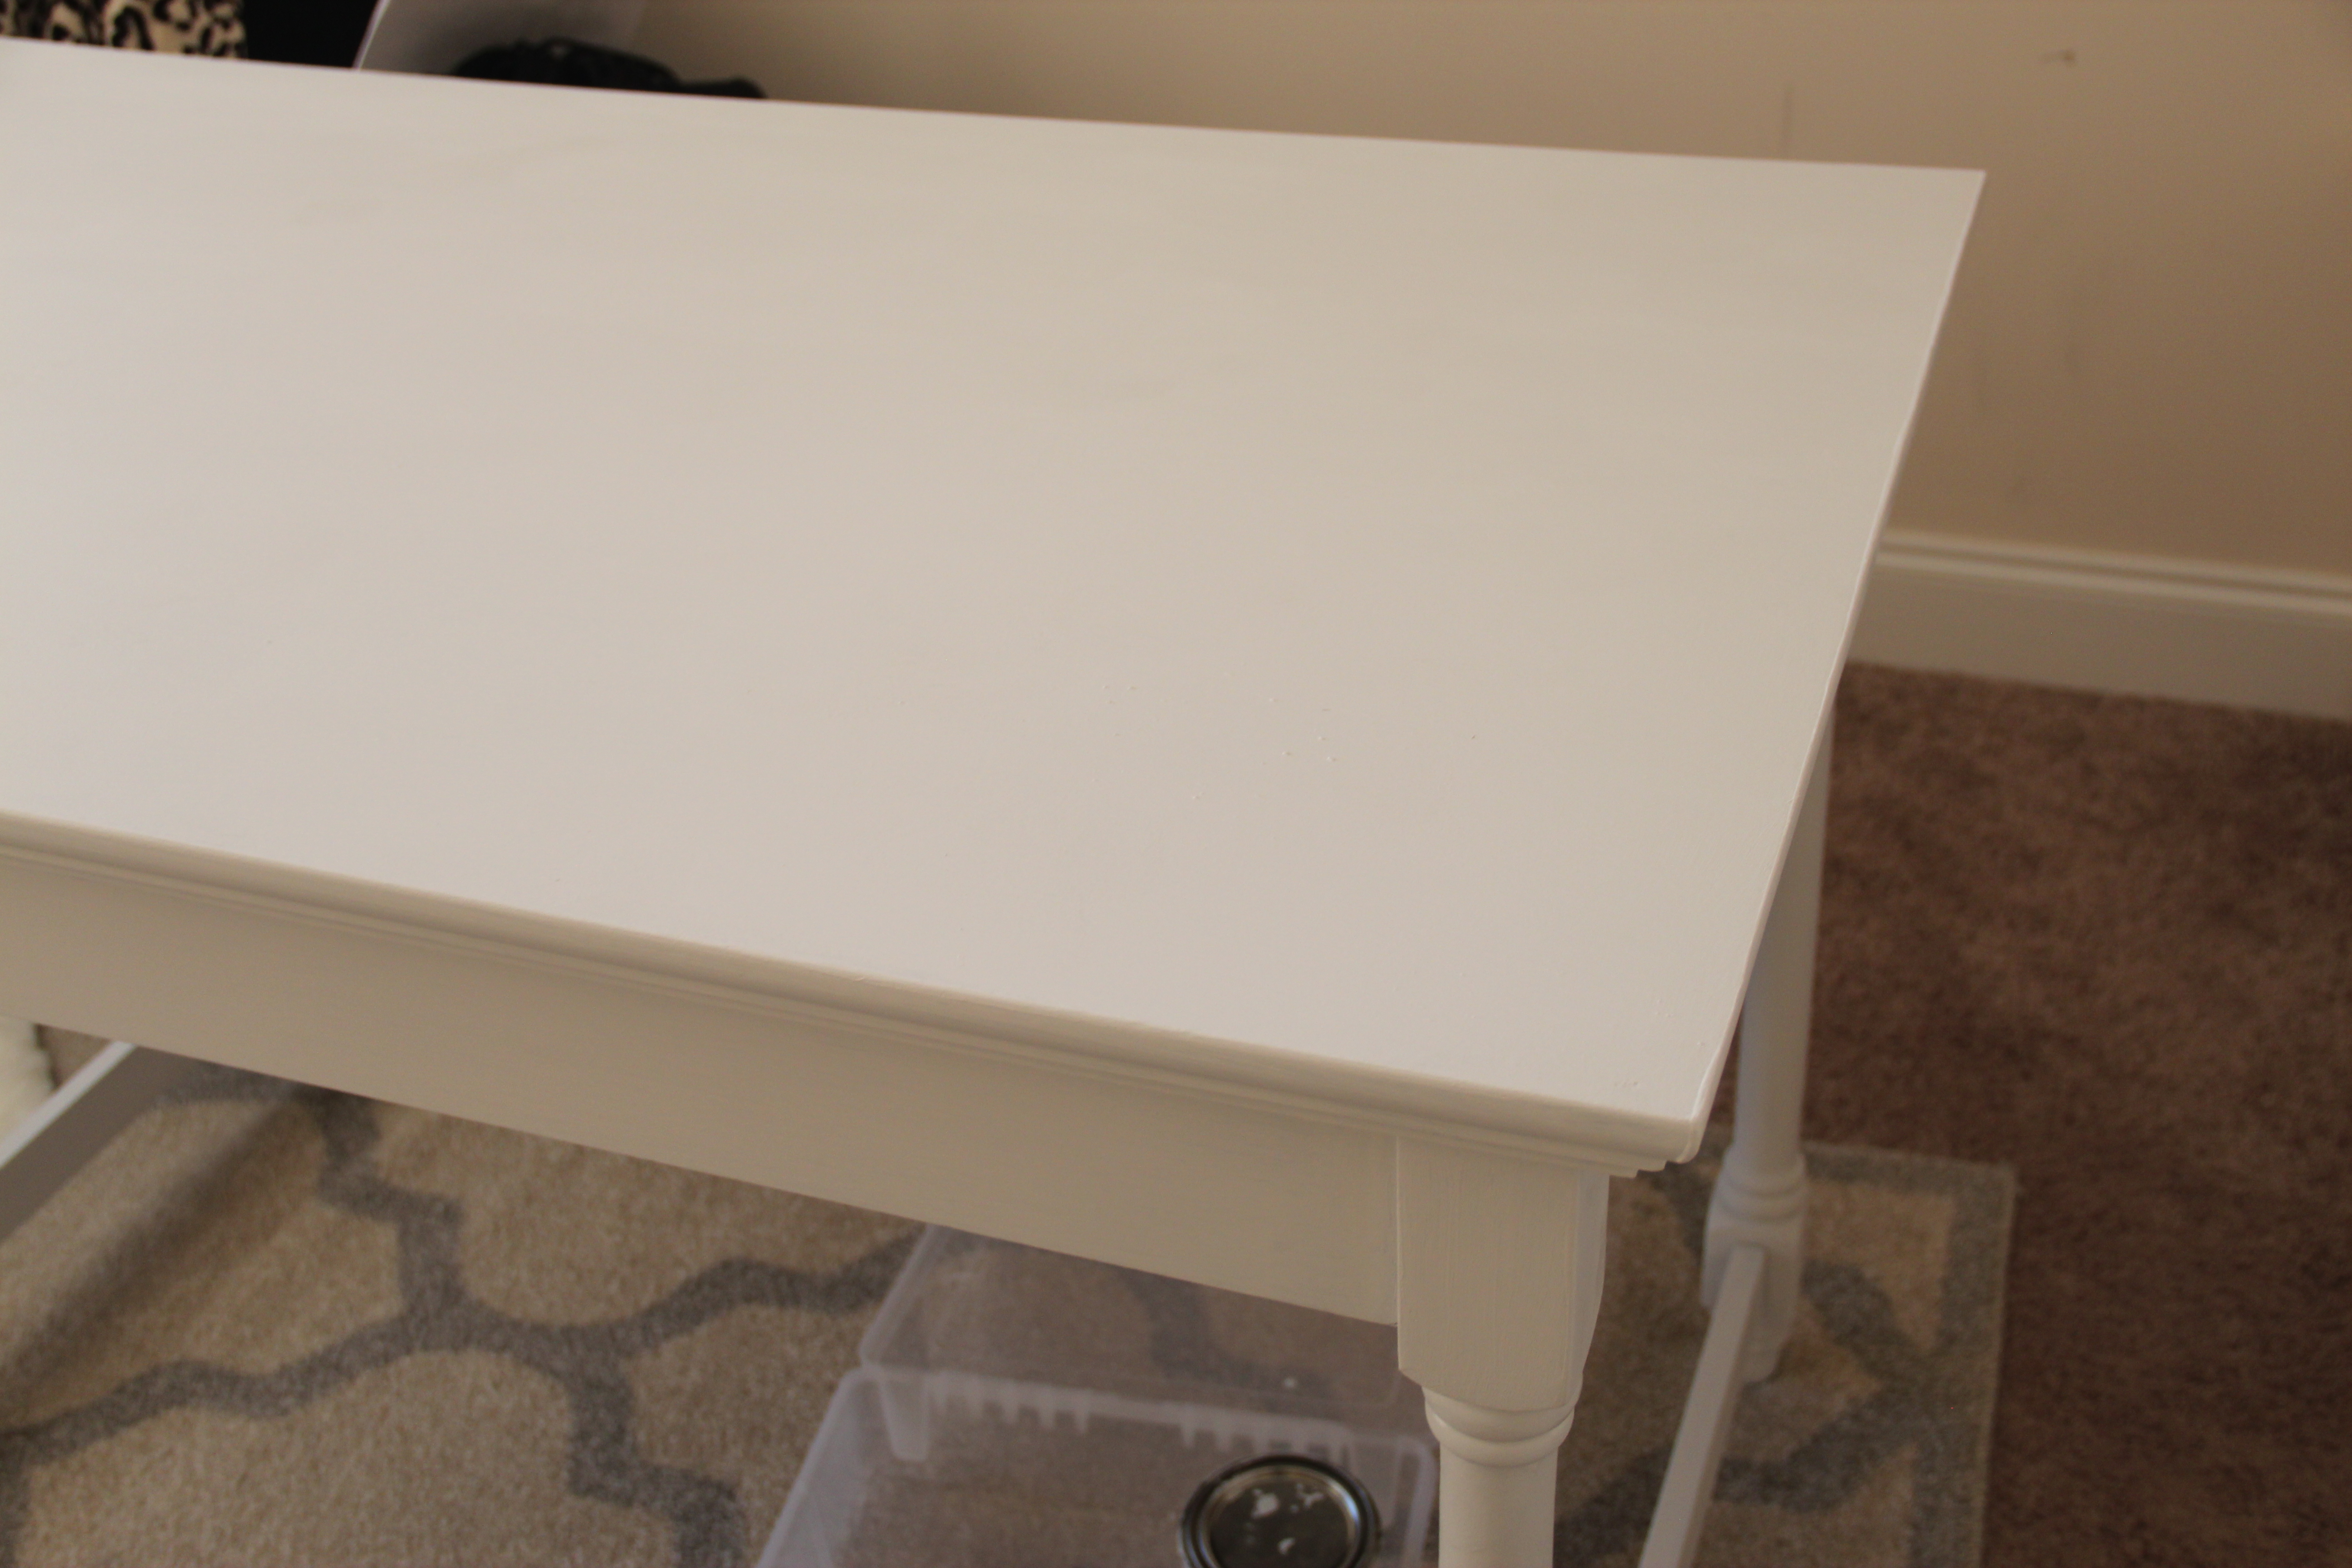
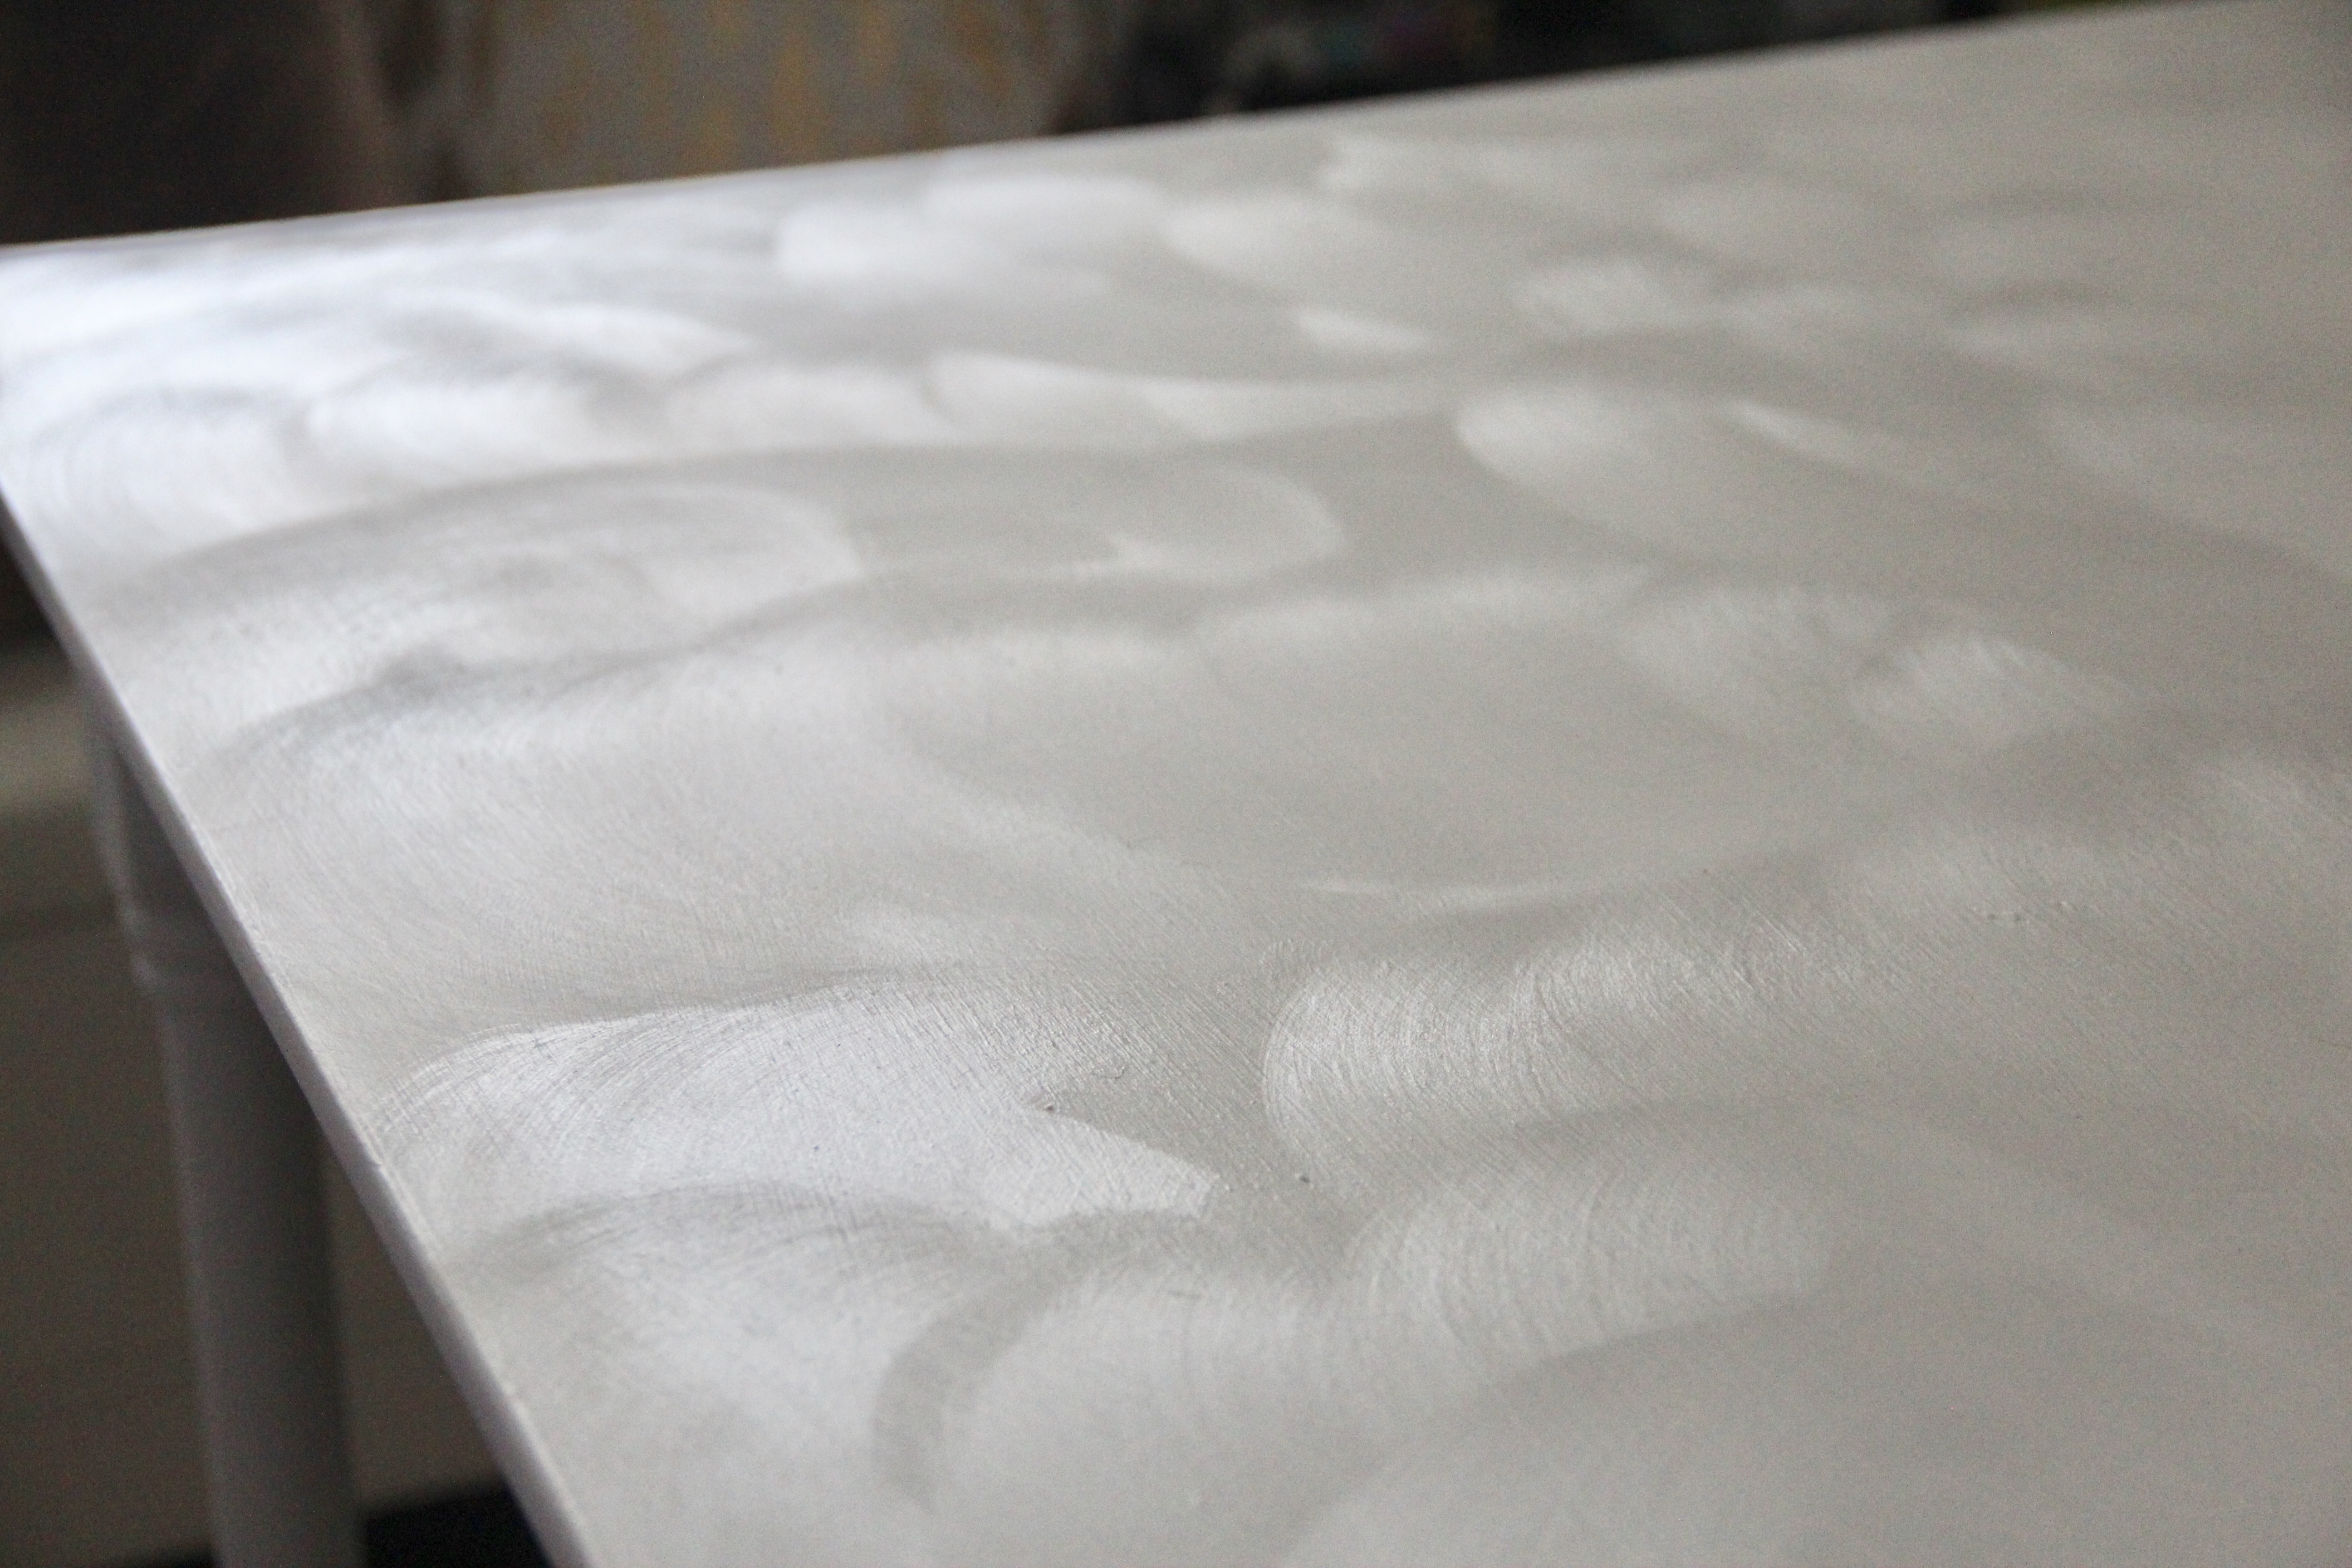
Step 4: Begin applying your chalk paint using smooth even strokes. Dip your brush directly into the bucket – just the tips of the bristles. A little bit of chalk paint goes a long, long way. In between dipping your brush in, recover the chalk paint container with its lid. Once your first layer is on, allow the chalk paint to dry. Don’t worry if the initial appearance is streaky-looking. This step was the point in the project where I really wasn’t sure if I had made a huge mistake, and started thinking I had seriously just ruined a perfectly good black desk (haha!) so don’t worry if you begin feeling similarly. While waiting for the first layer to dry, wrap your chalk paint brush in a wet paper towel and put it inside a zip-lock baggy.
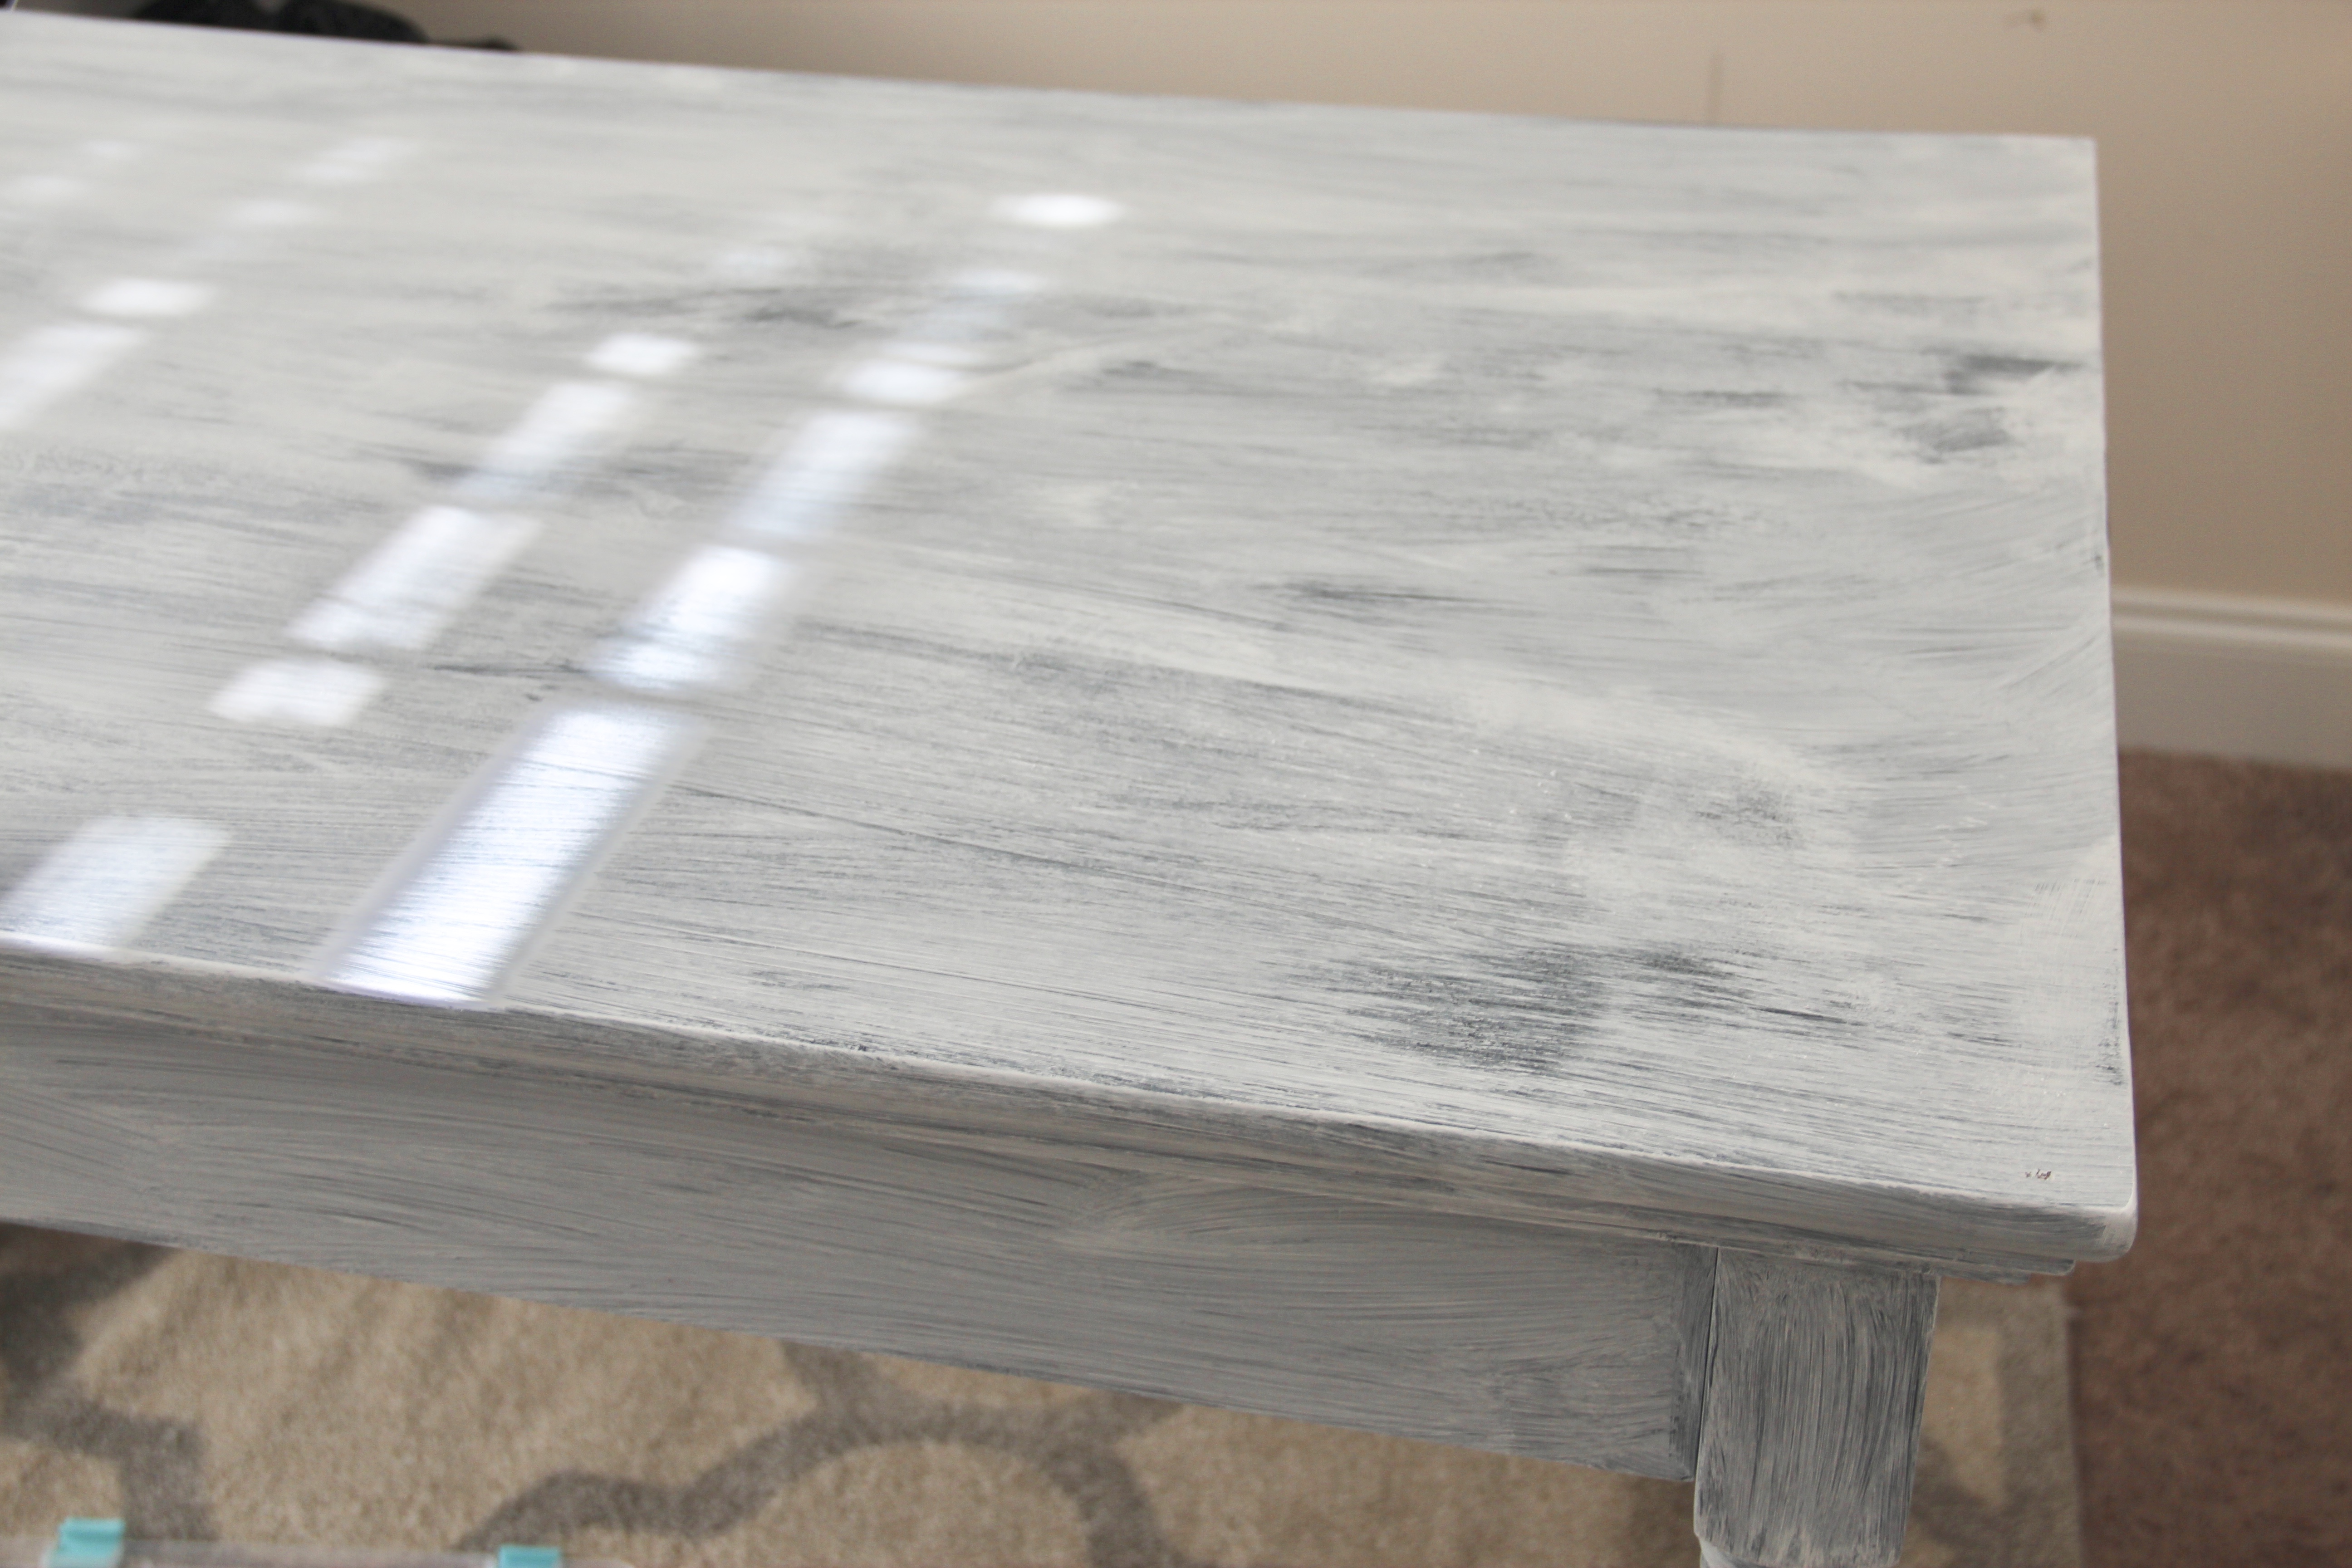
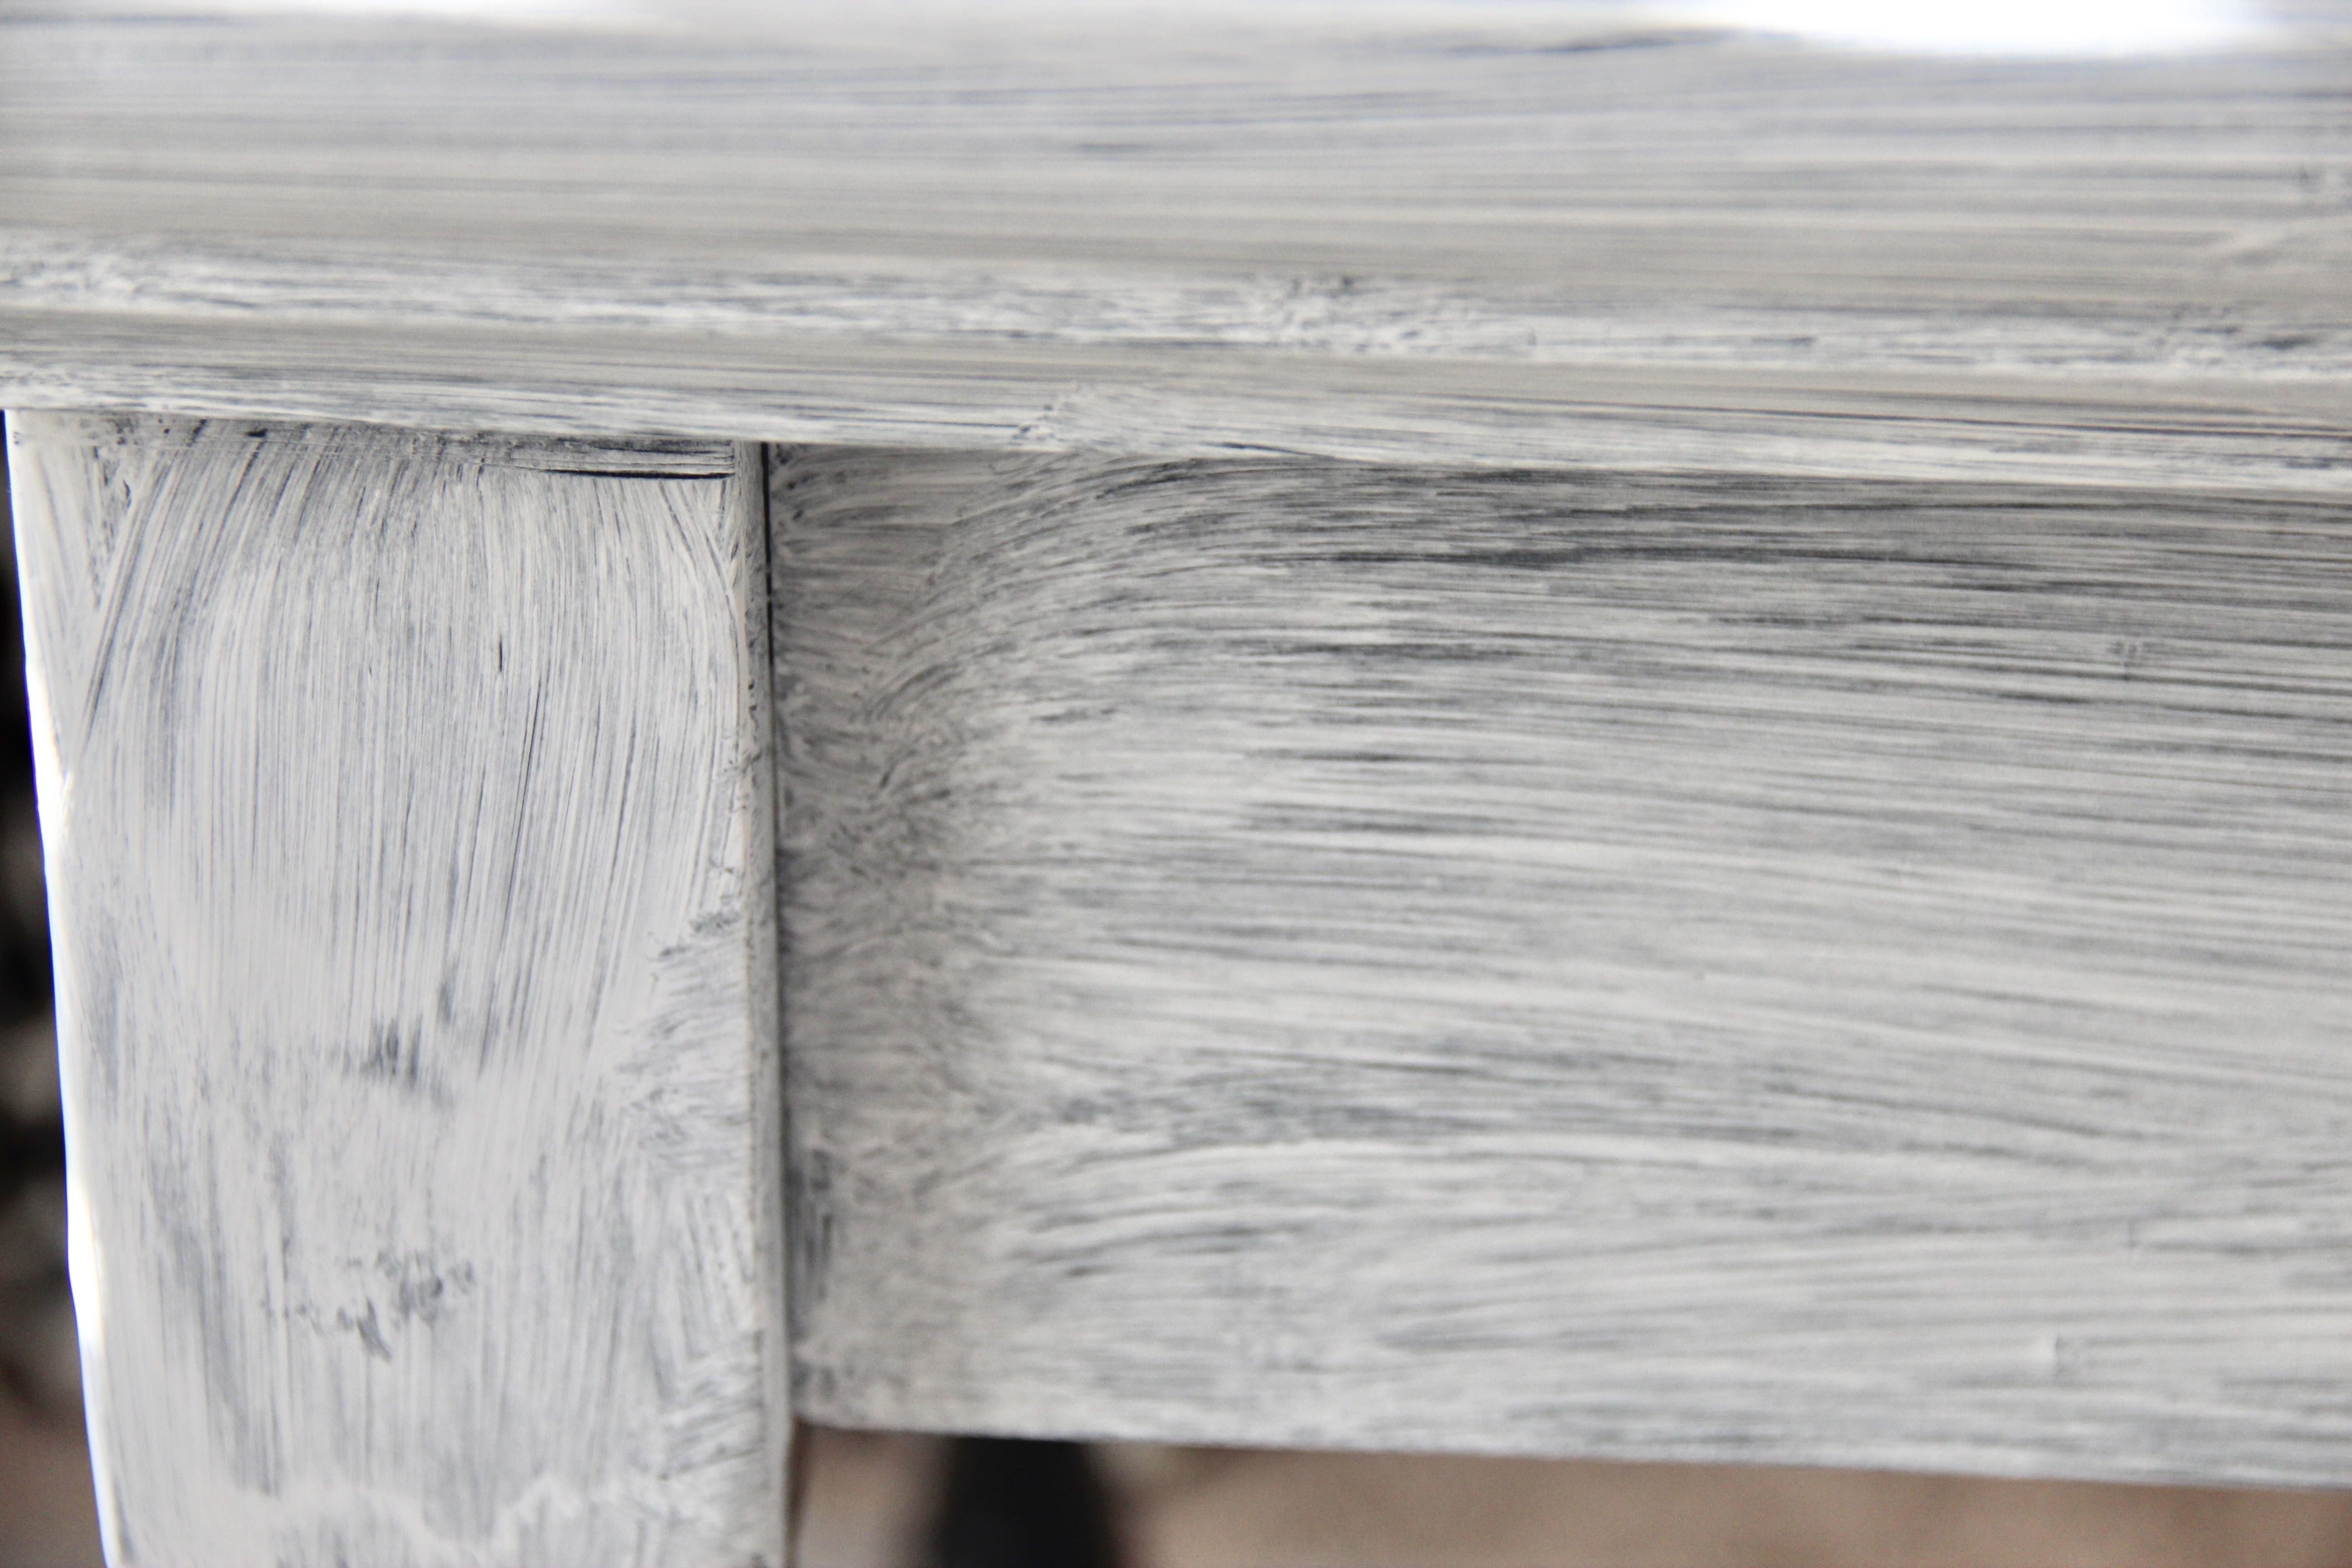
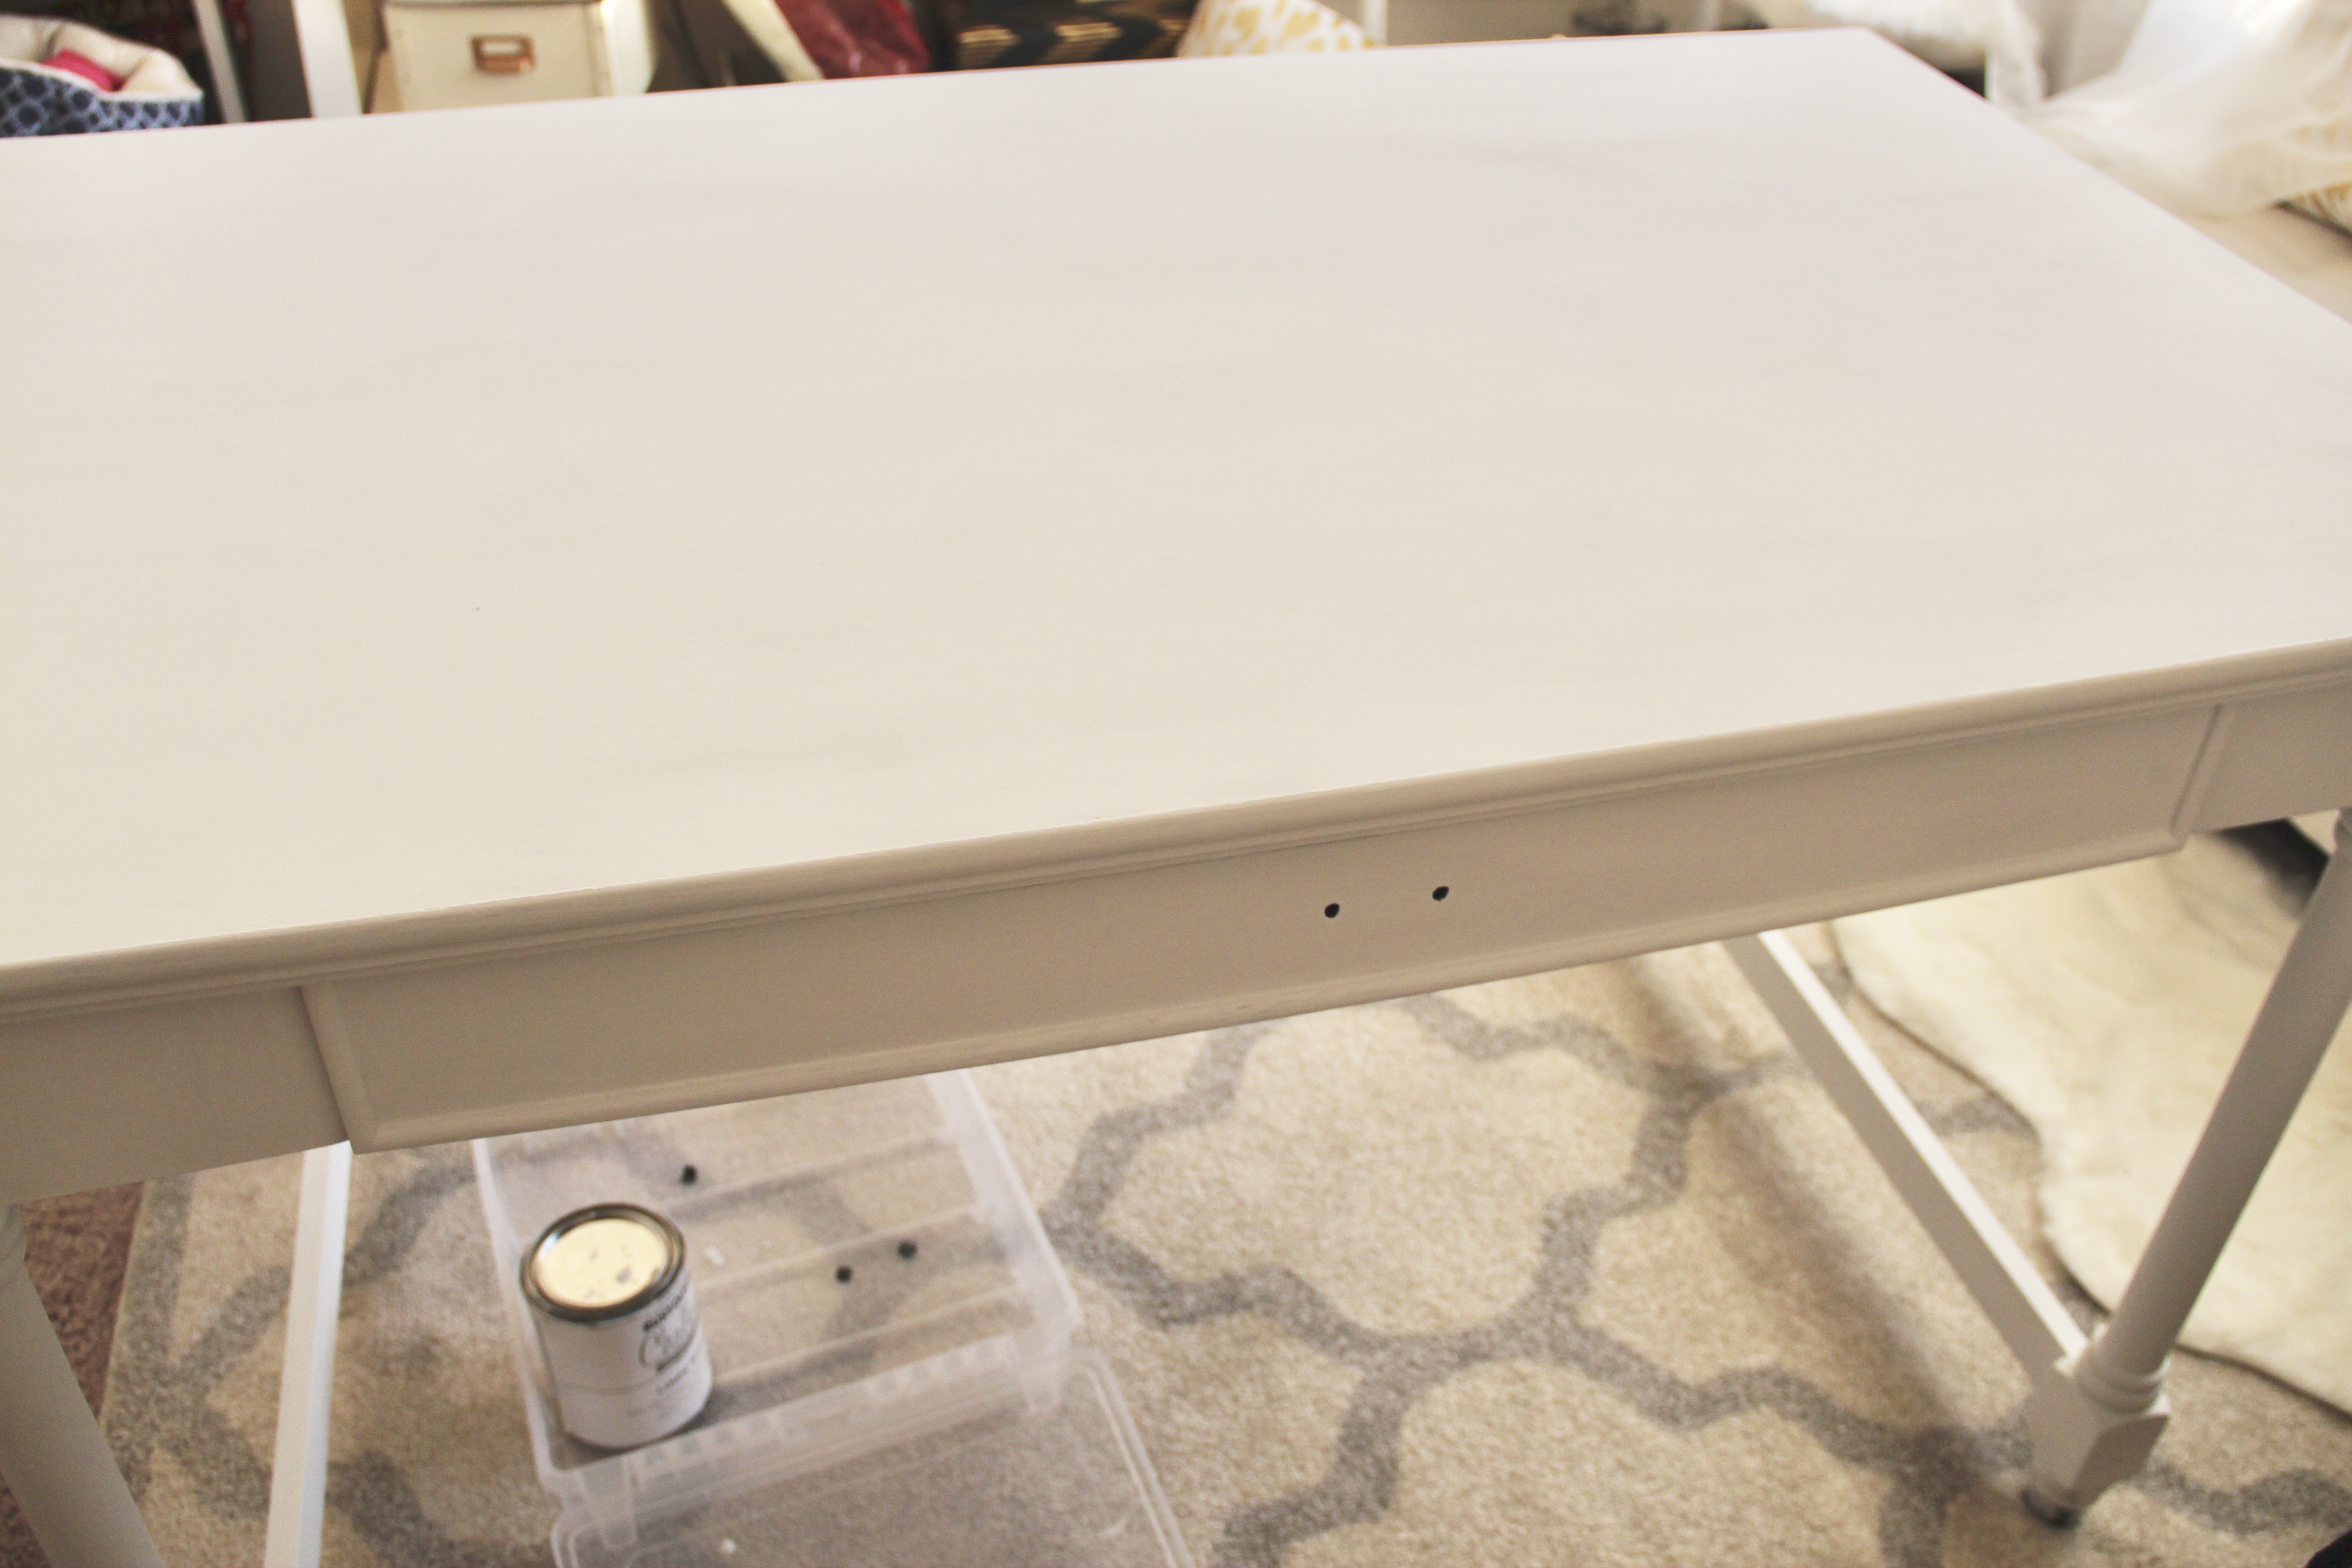
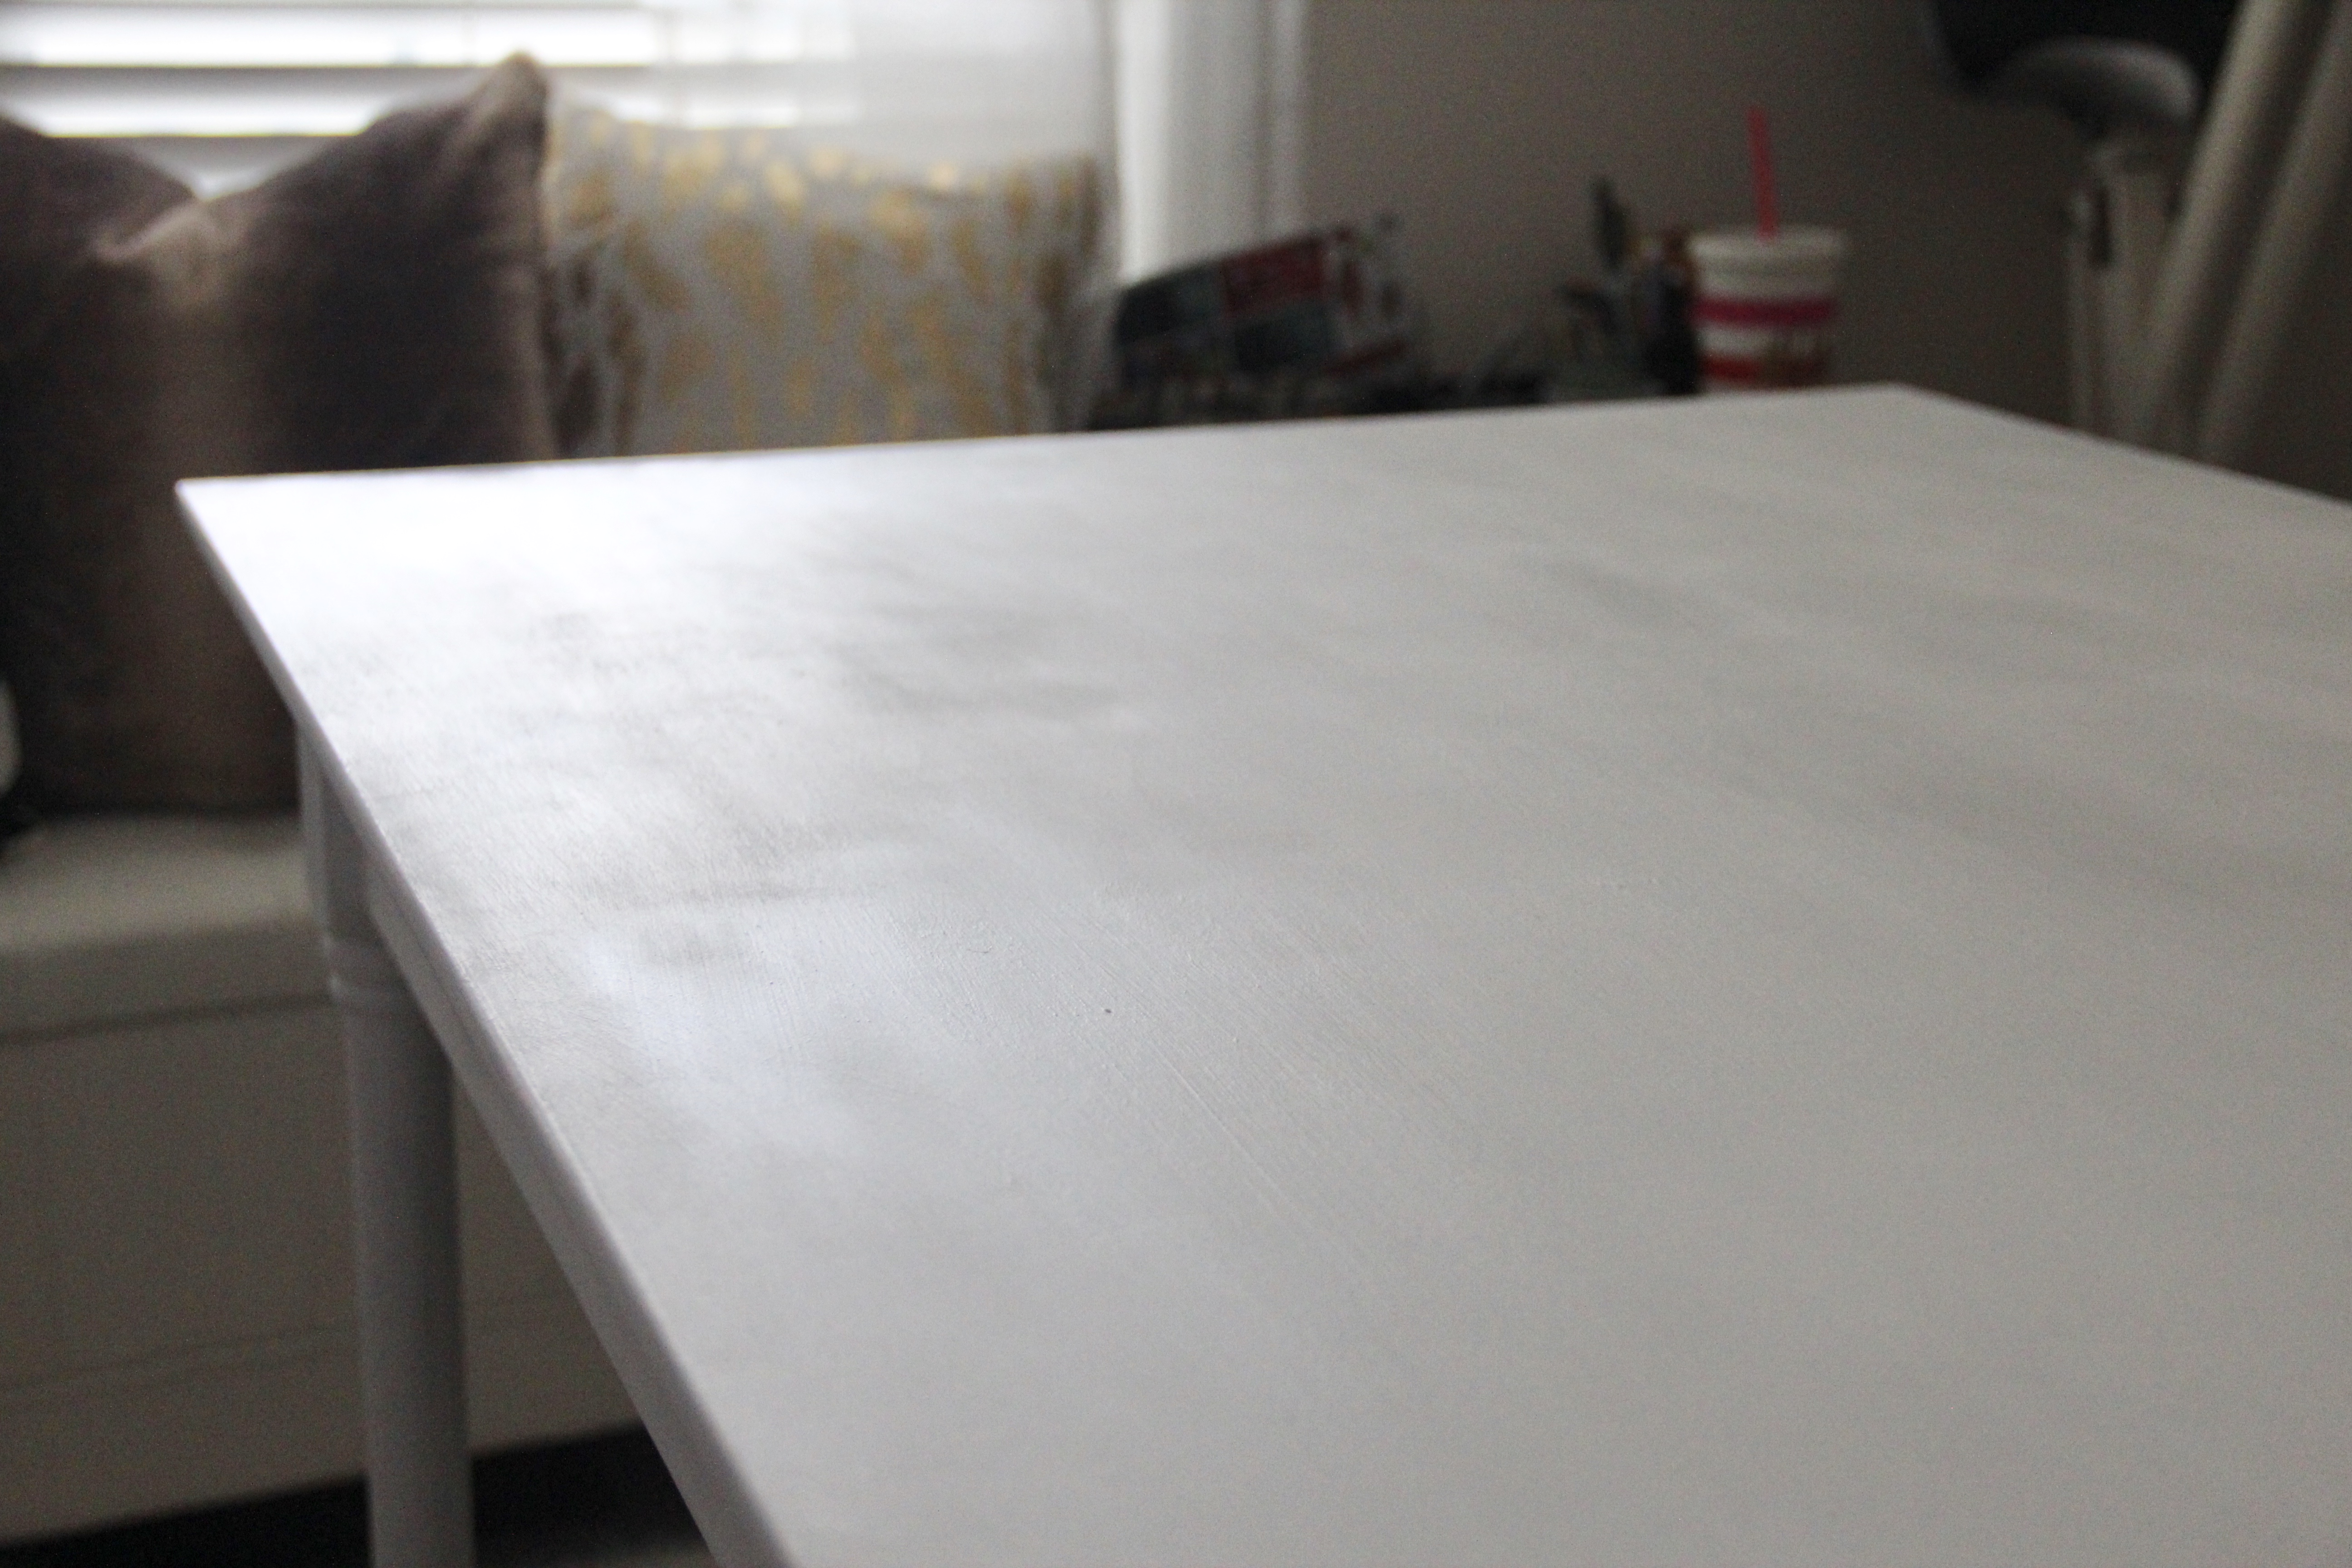
Step 5: Once your first layer has dried, follow the same process in step 4 to apply your second layer. Depending on what your base color is, and whether or not you plan on distressing the piece, the second coat may be enough to completely cover your furniture. As you can see, my desk was black to start with, so I needed about 3-4 layers in total to get the finish I wanted.
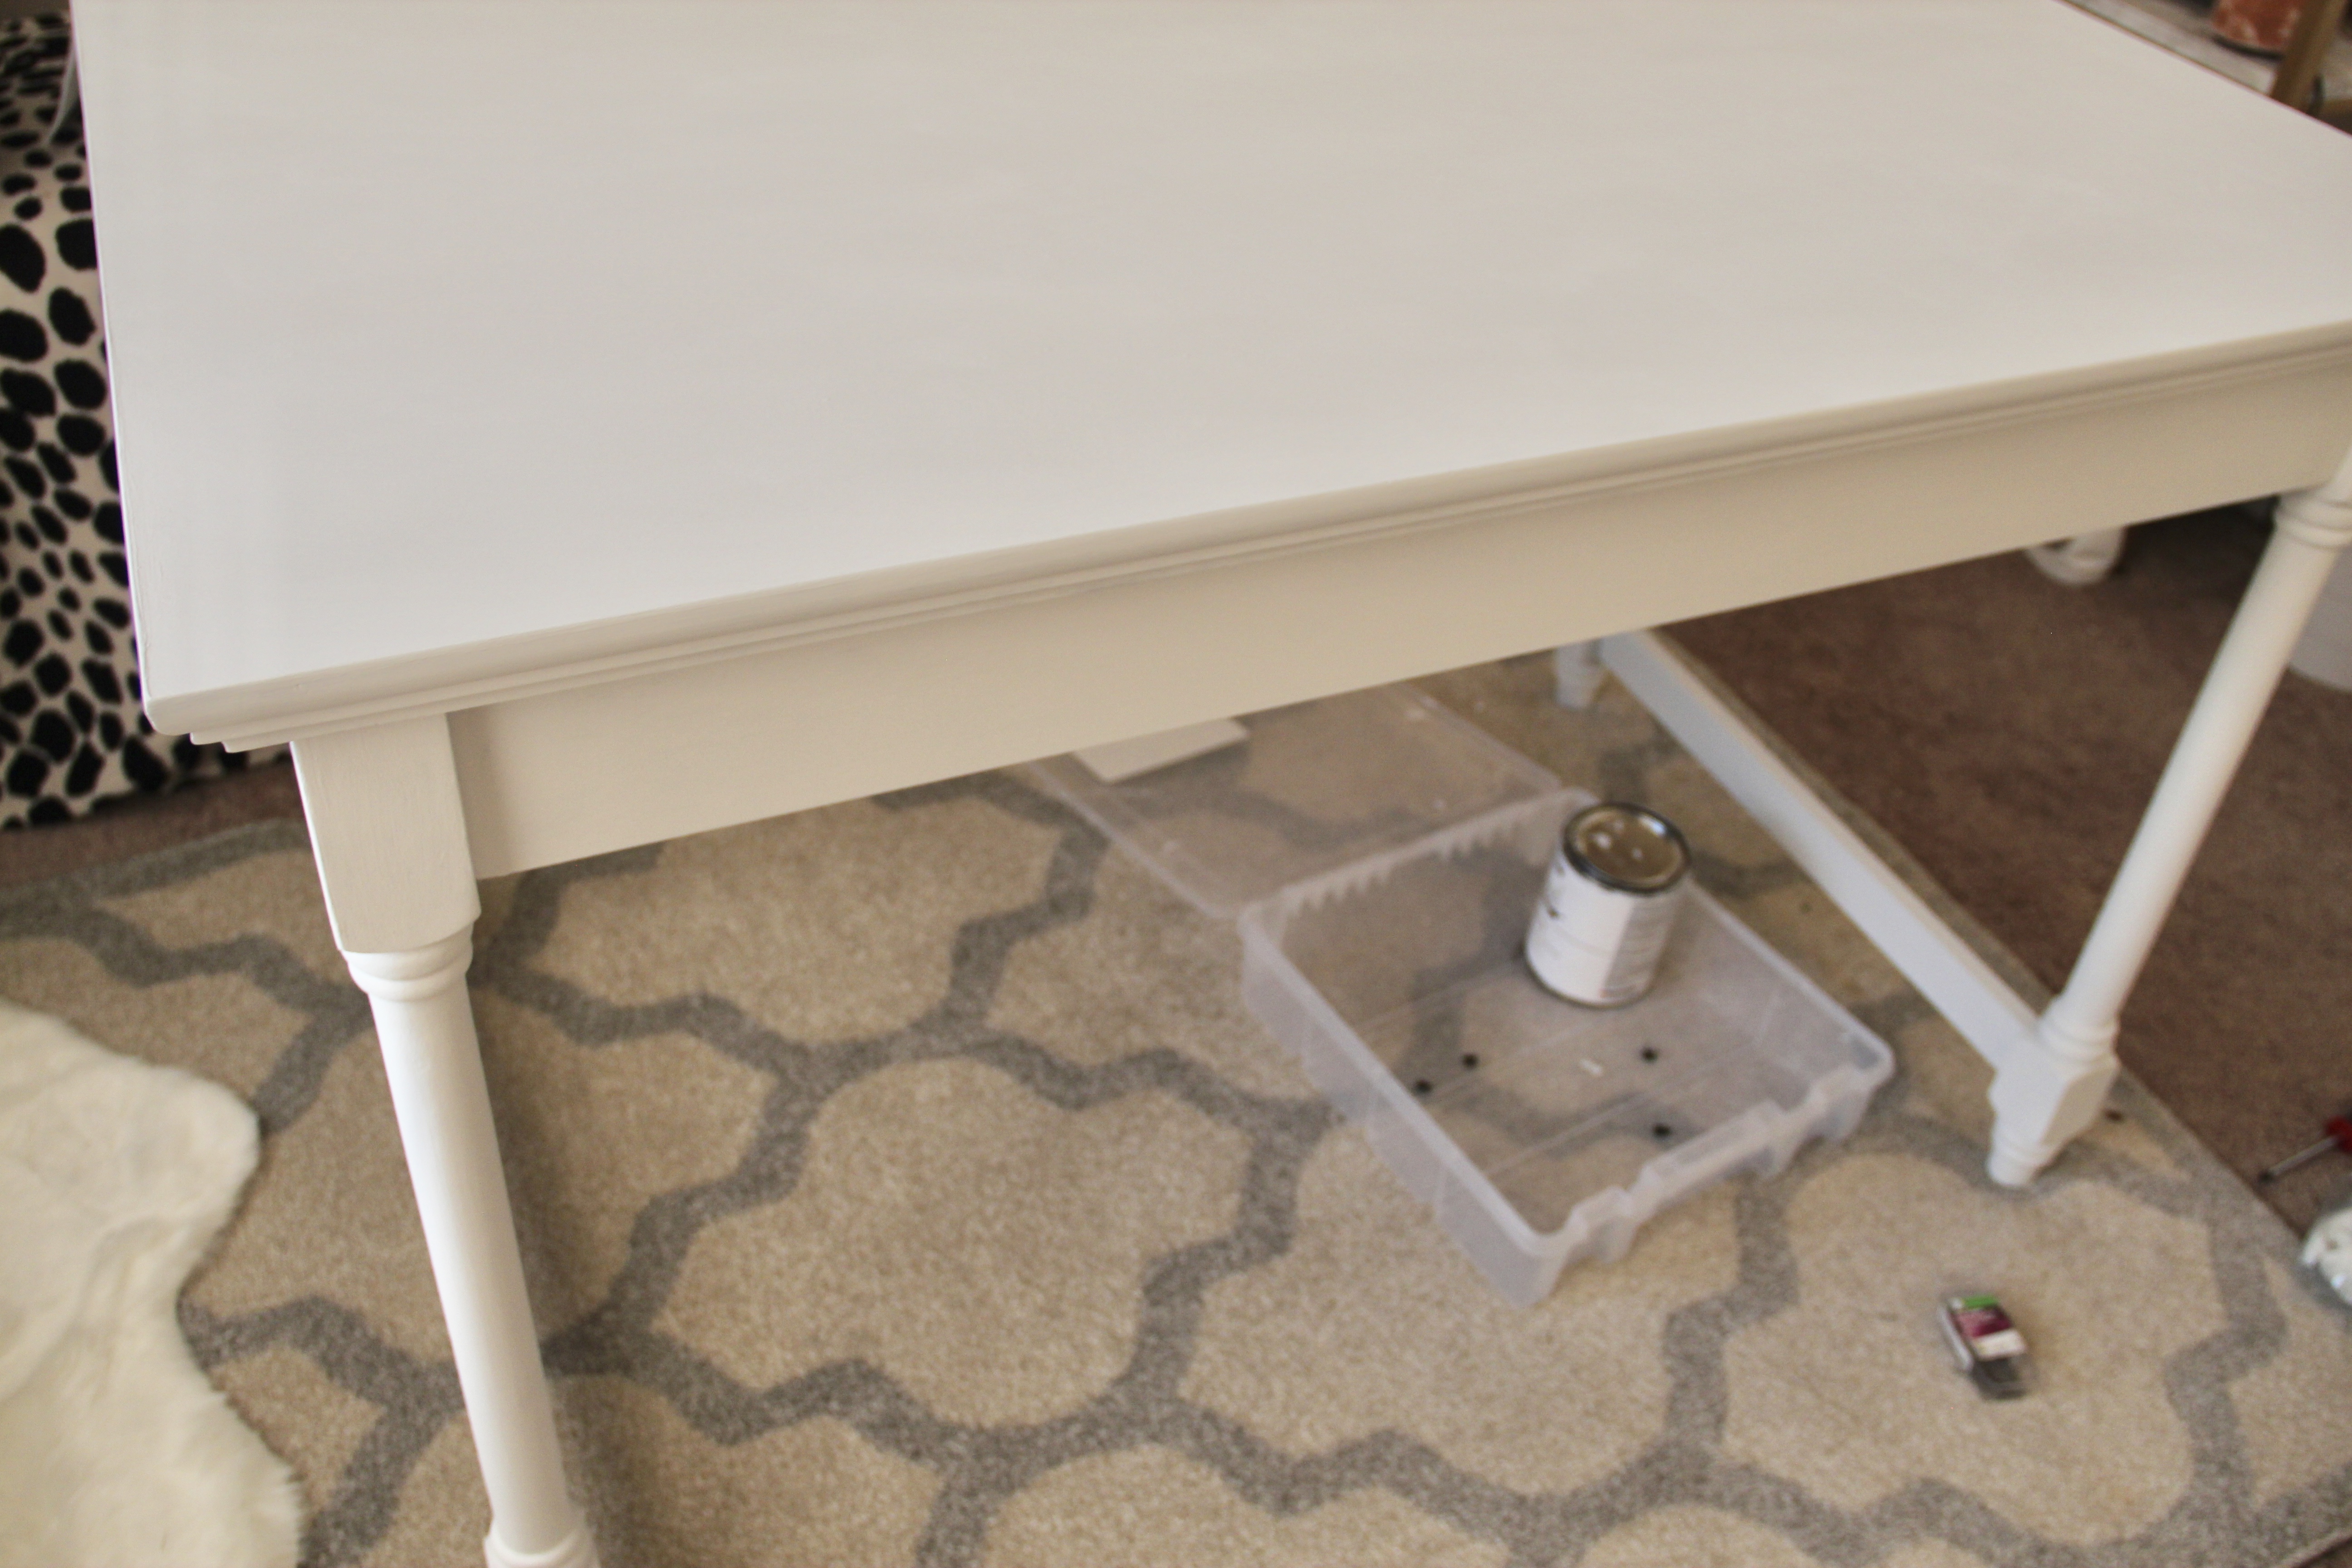
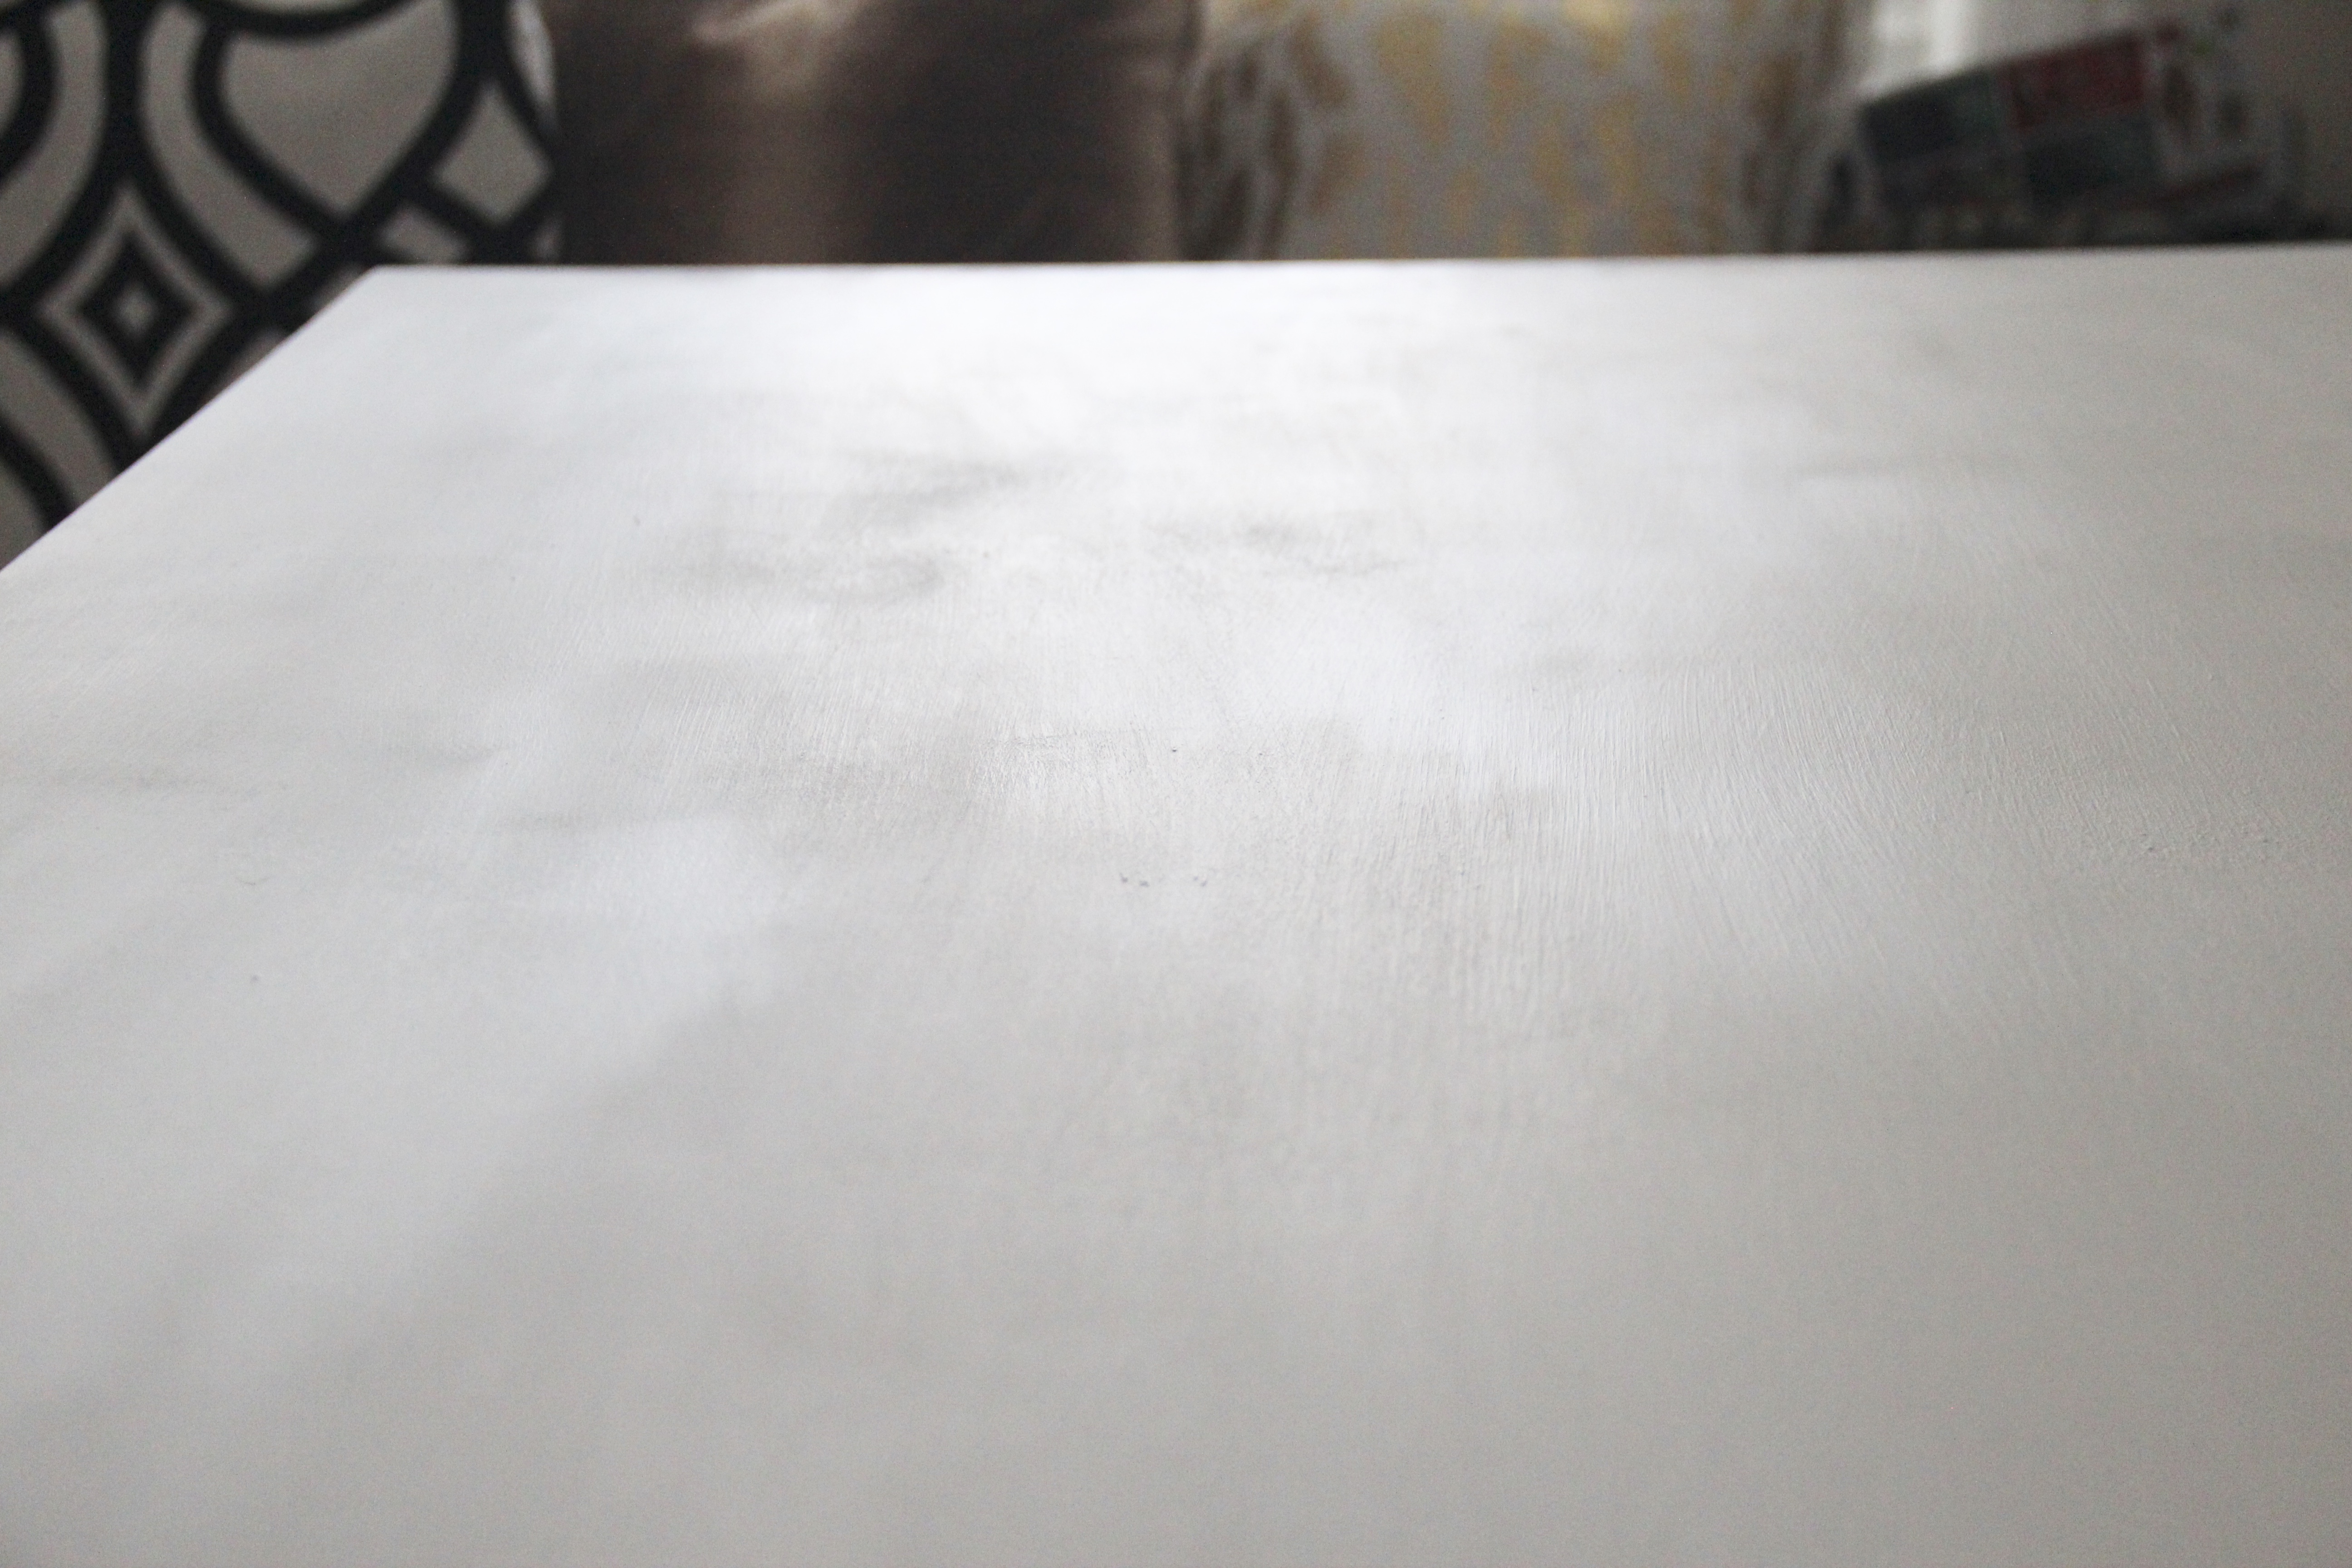
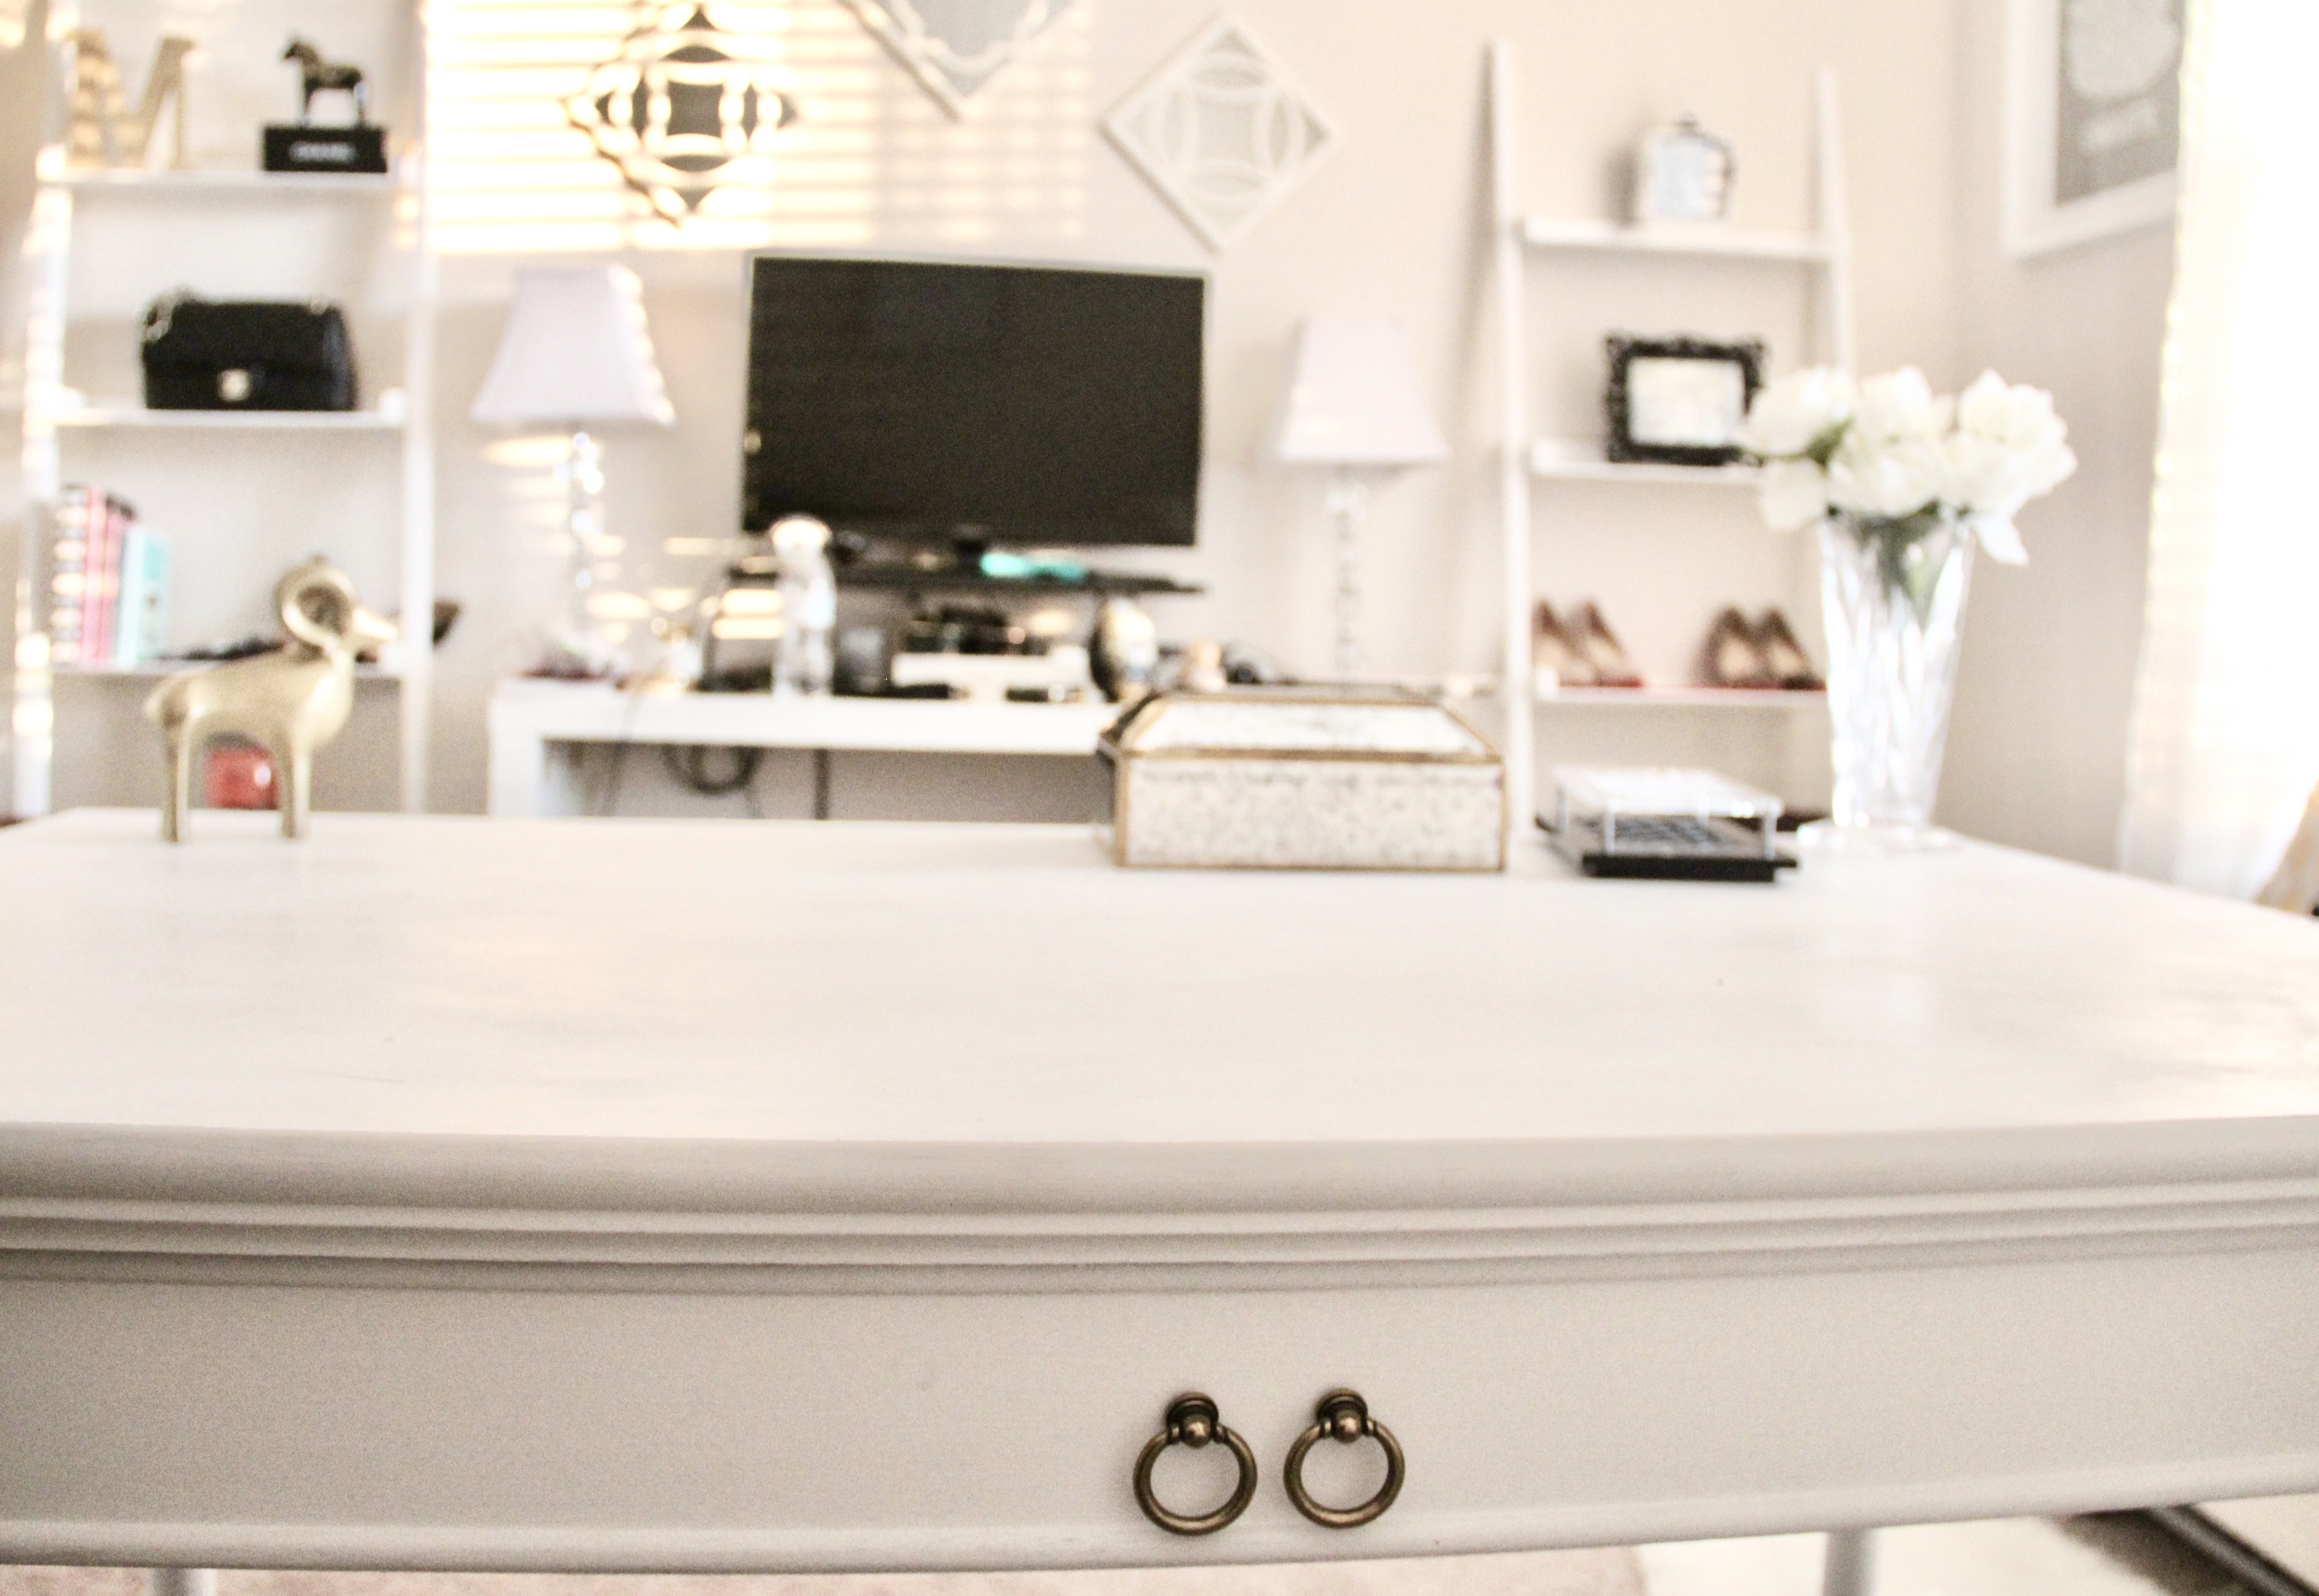
Step 6: Now that you have reached your desired level of coverage, either begin distressing your piece, or allow the chalk paint to set and harden overnight. For this desk, I loved the smooth white coverage so I chose not to distress the paint – but will likely try out that option on future projects.
Step 7: It’s sealing time! Get out your second chalk paint brush from this set. A paper plate, plastic spoon, a couple of clean soft cloths, and your wax. This wax is great, especially if you’re using white or similarly lighter-toned chalk paint as it will not tint the project yellow. (Holla praise). Scoop a couple of spoonfuls of the wax out onto your paper plate – recovering the wax container after scooping.
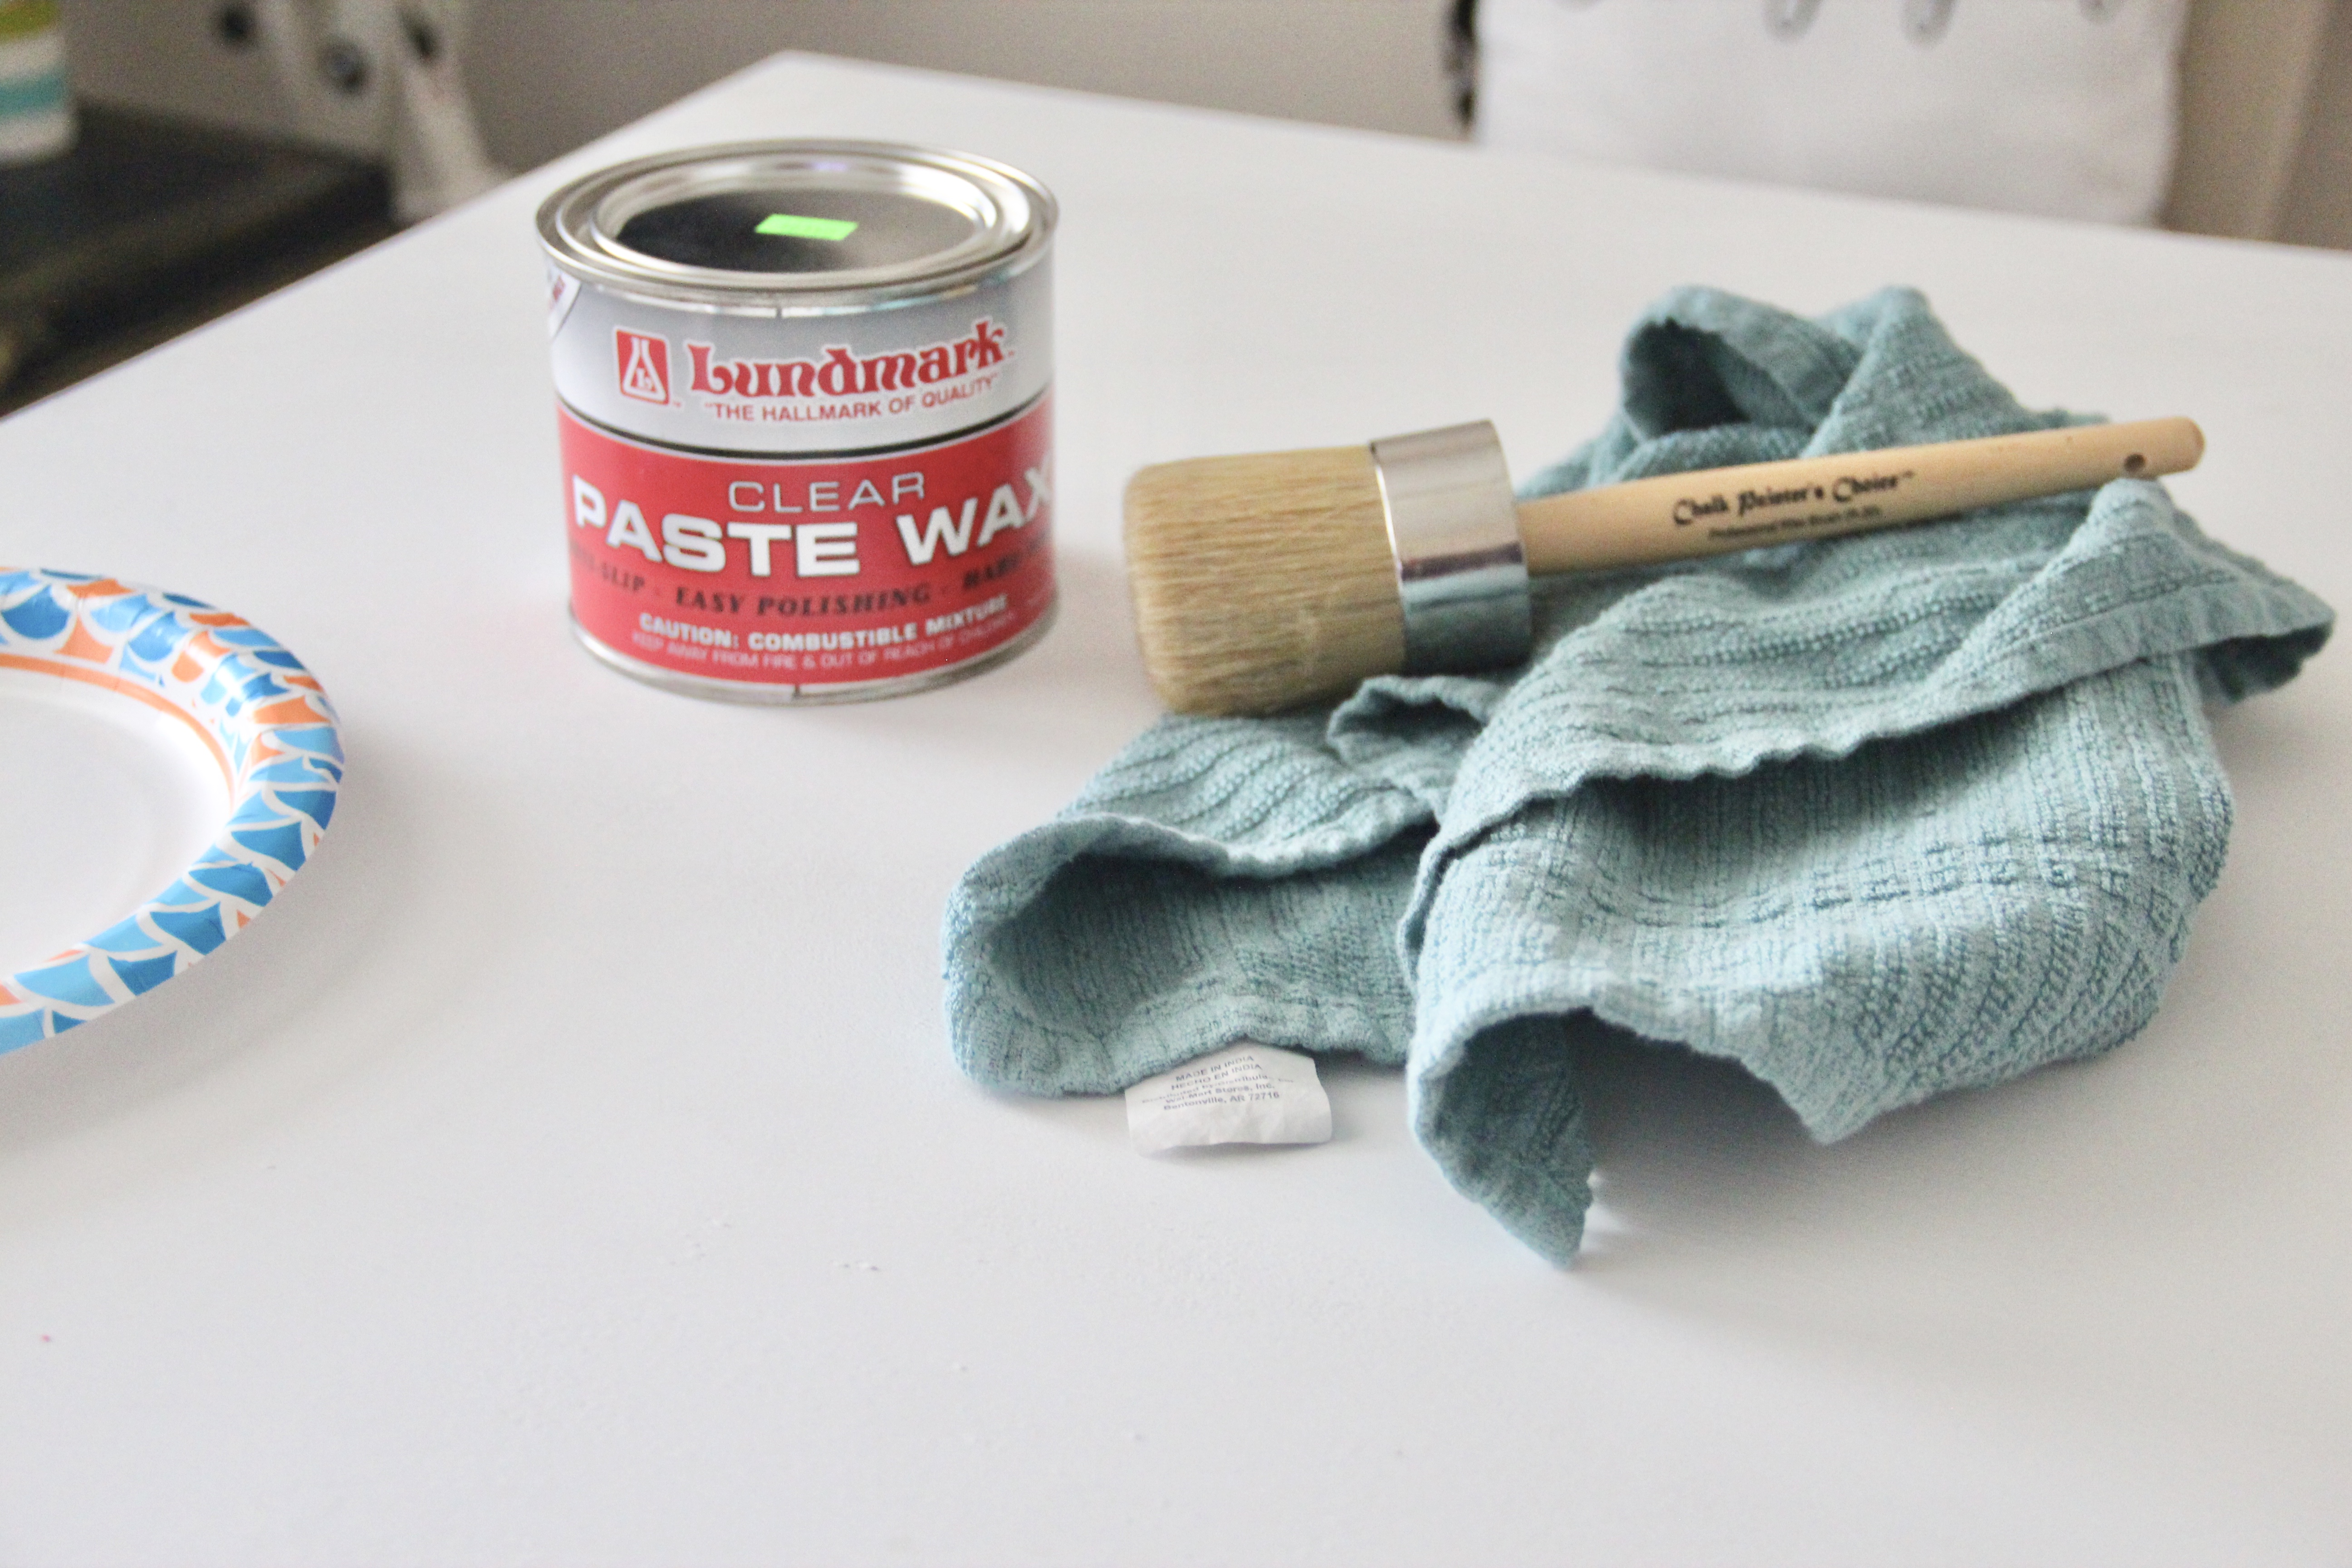
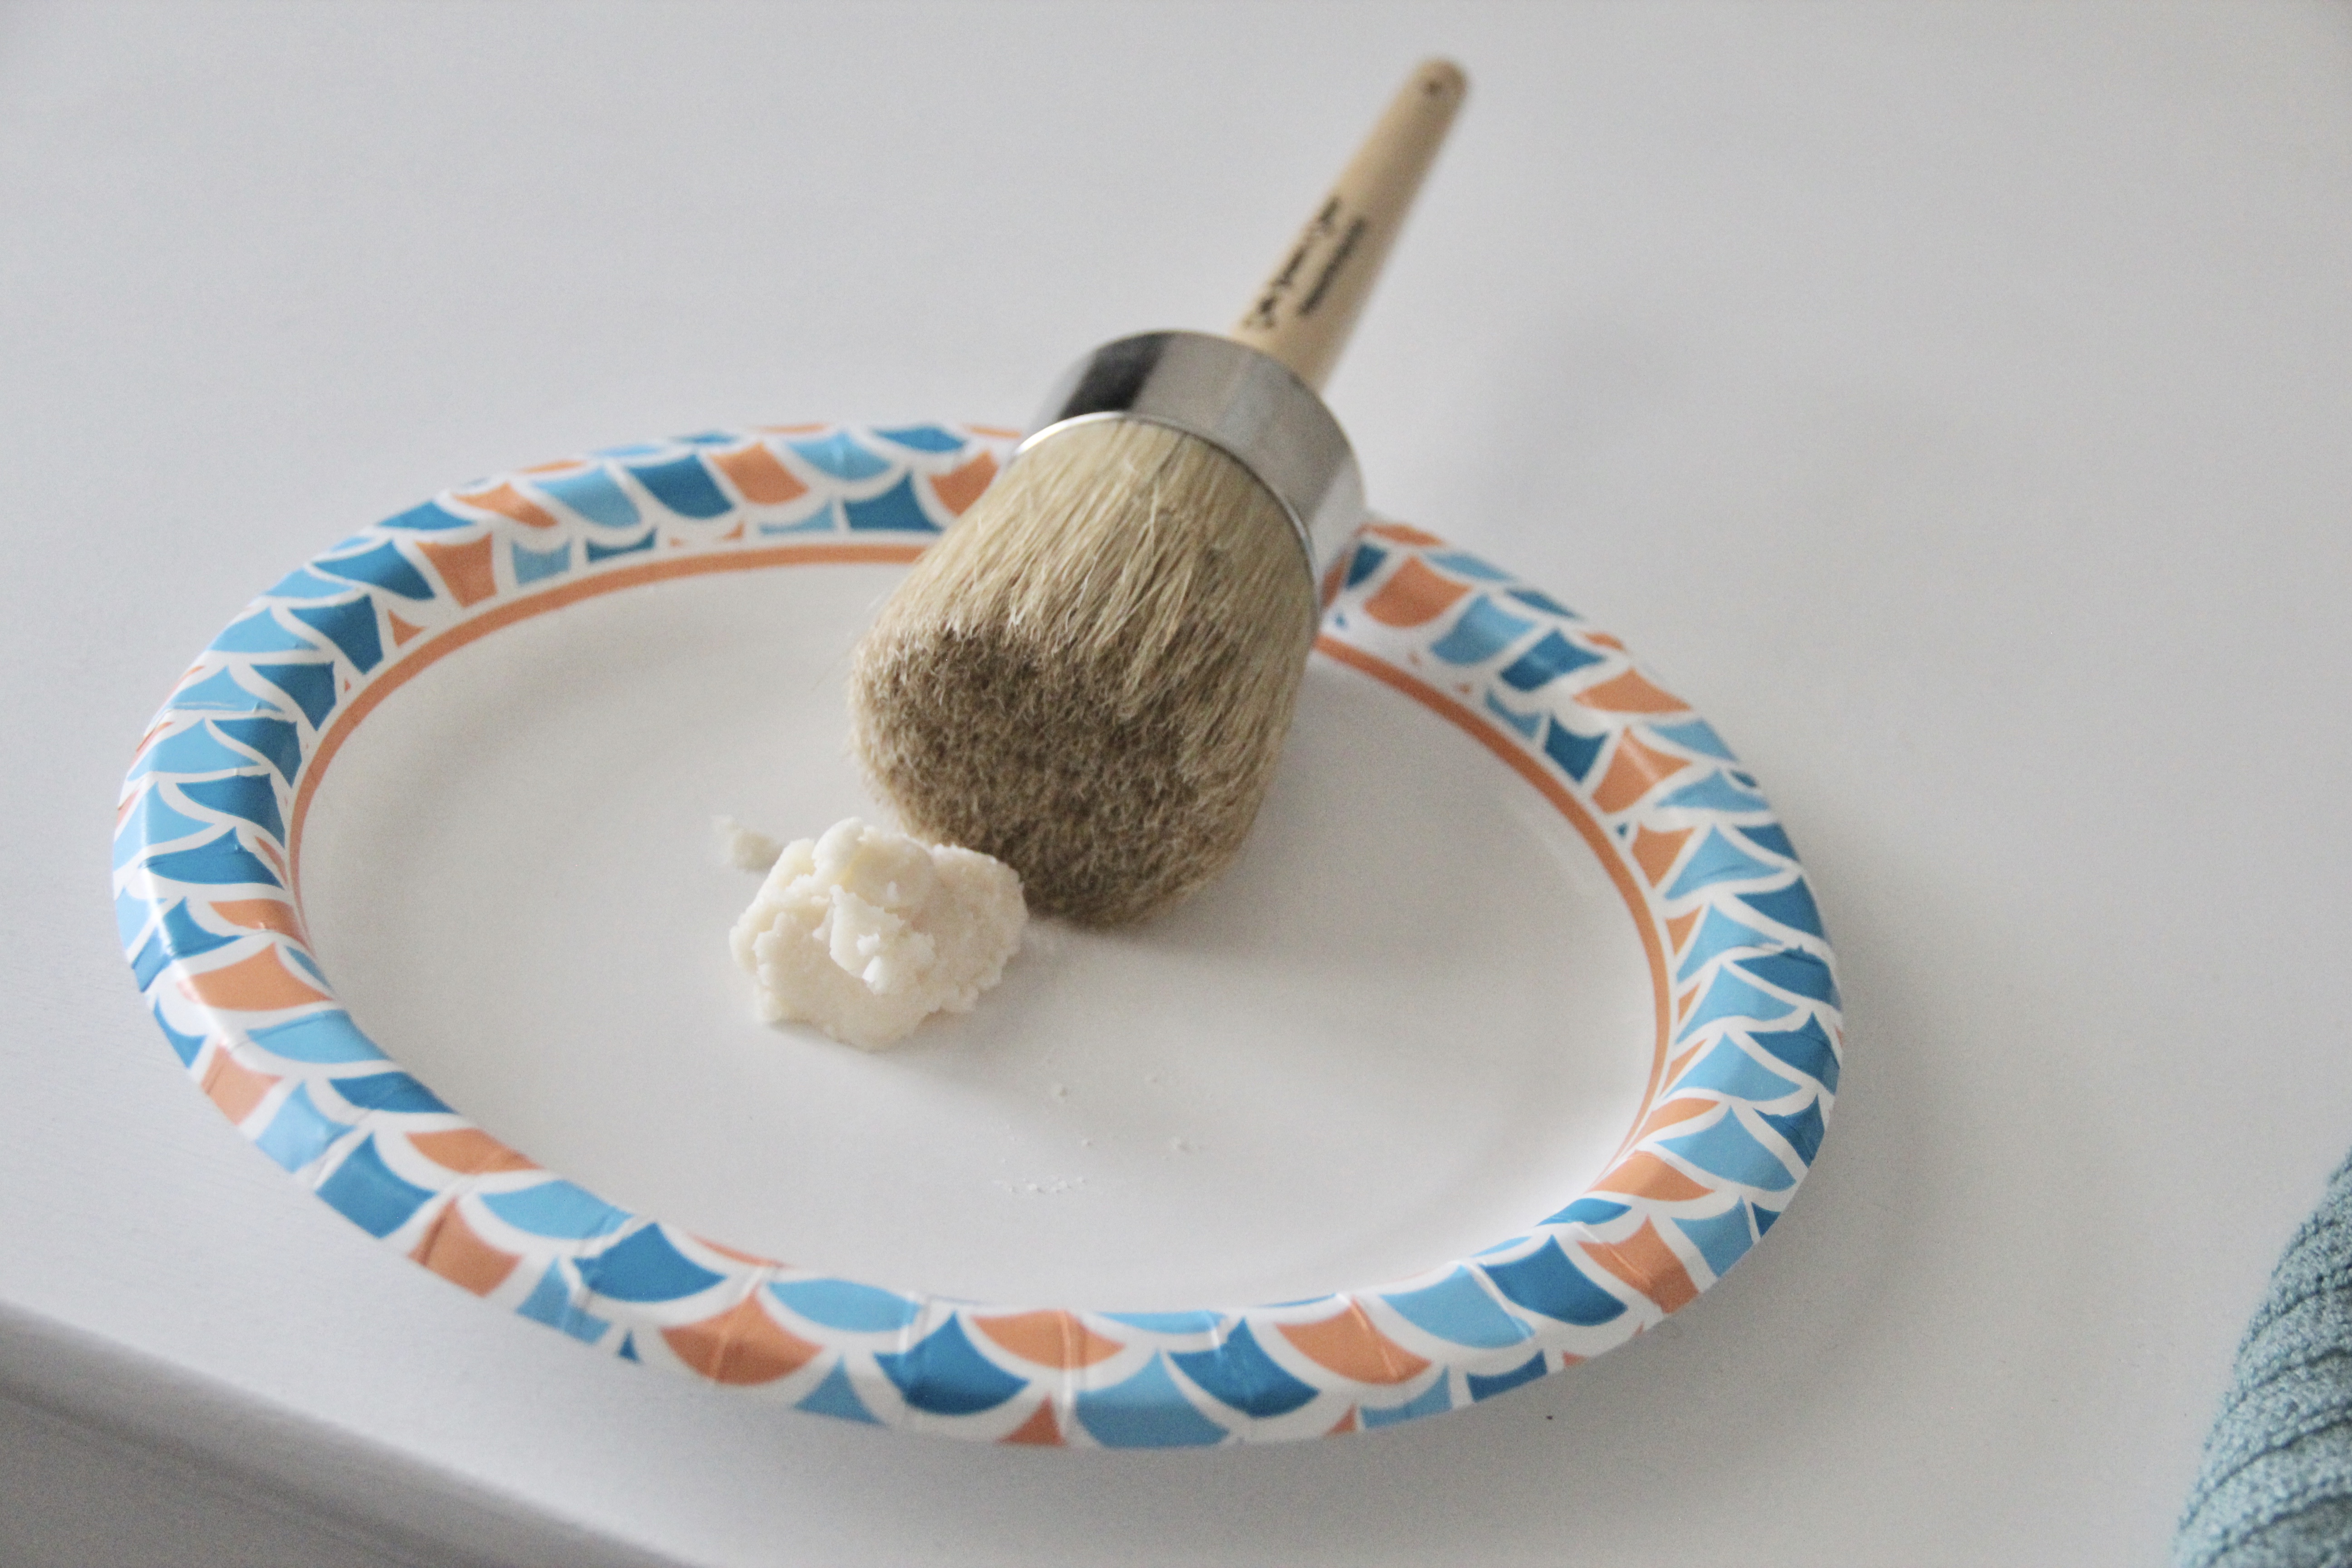
Step 8: Now, with your brush, get the wax onto the tips of the bristles by rubbing the brush onto the wax on the paper plate. Use this same circular motion when applying the wax to the furniture, keeping track of where you’ve applied it. Once applied, take your clean dry cloth, and very lightly wipe the furniture down to remove any excess wax. Then allow the piece to set for at least an hour.
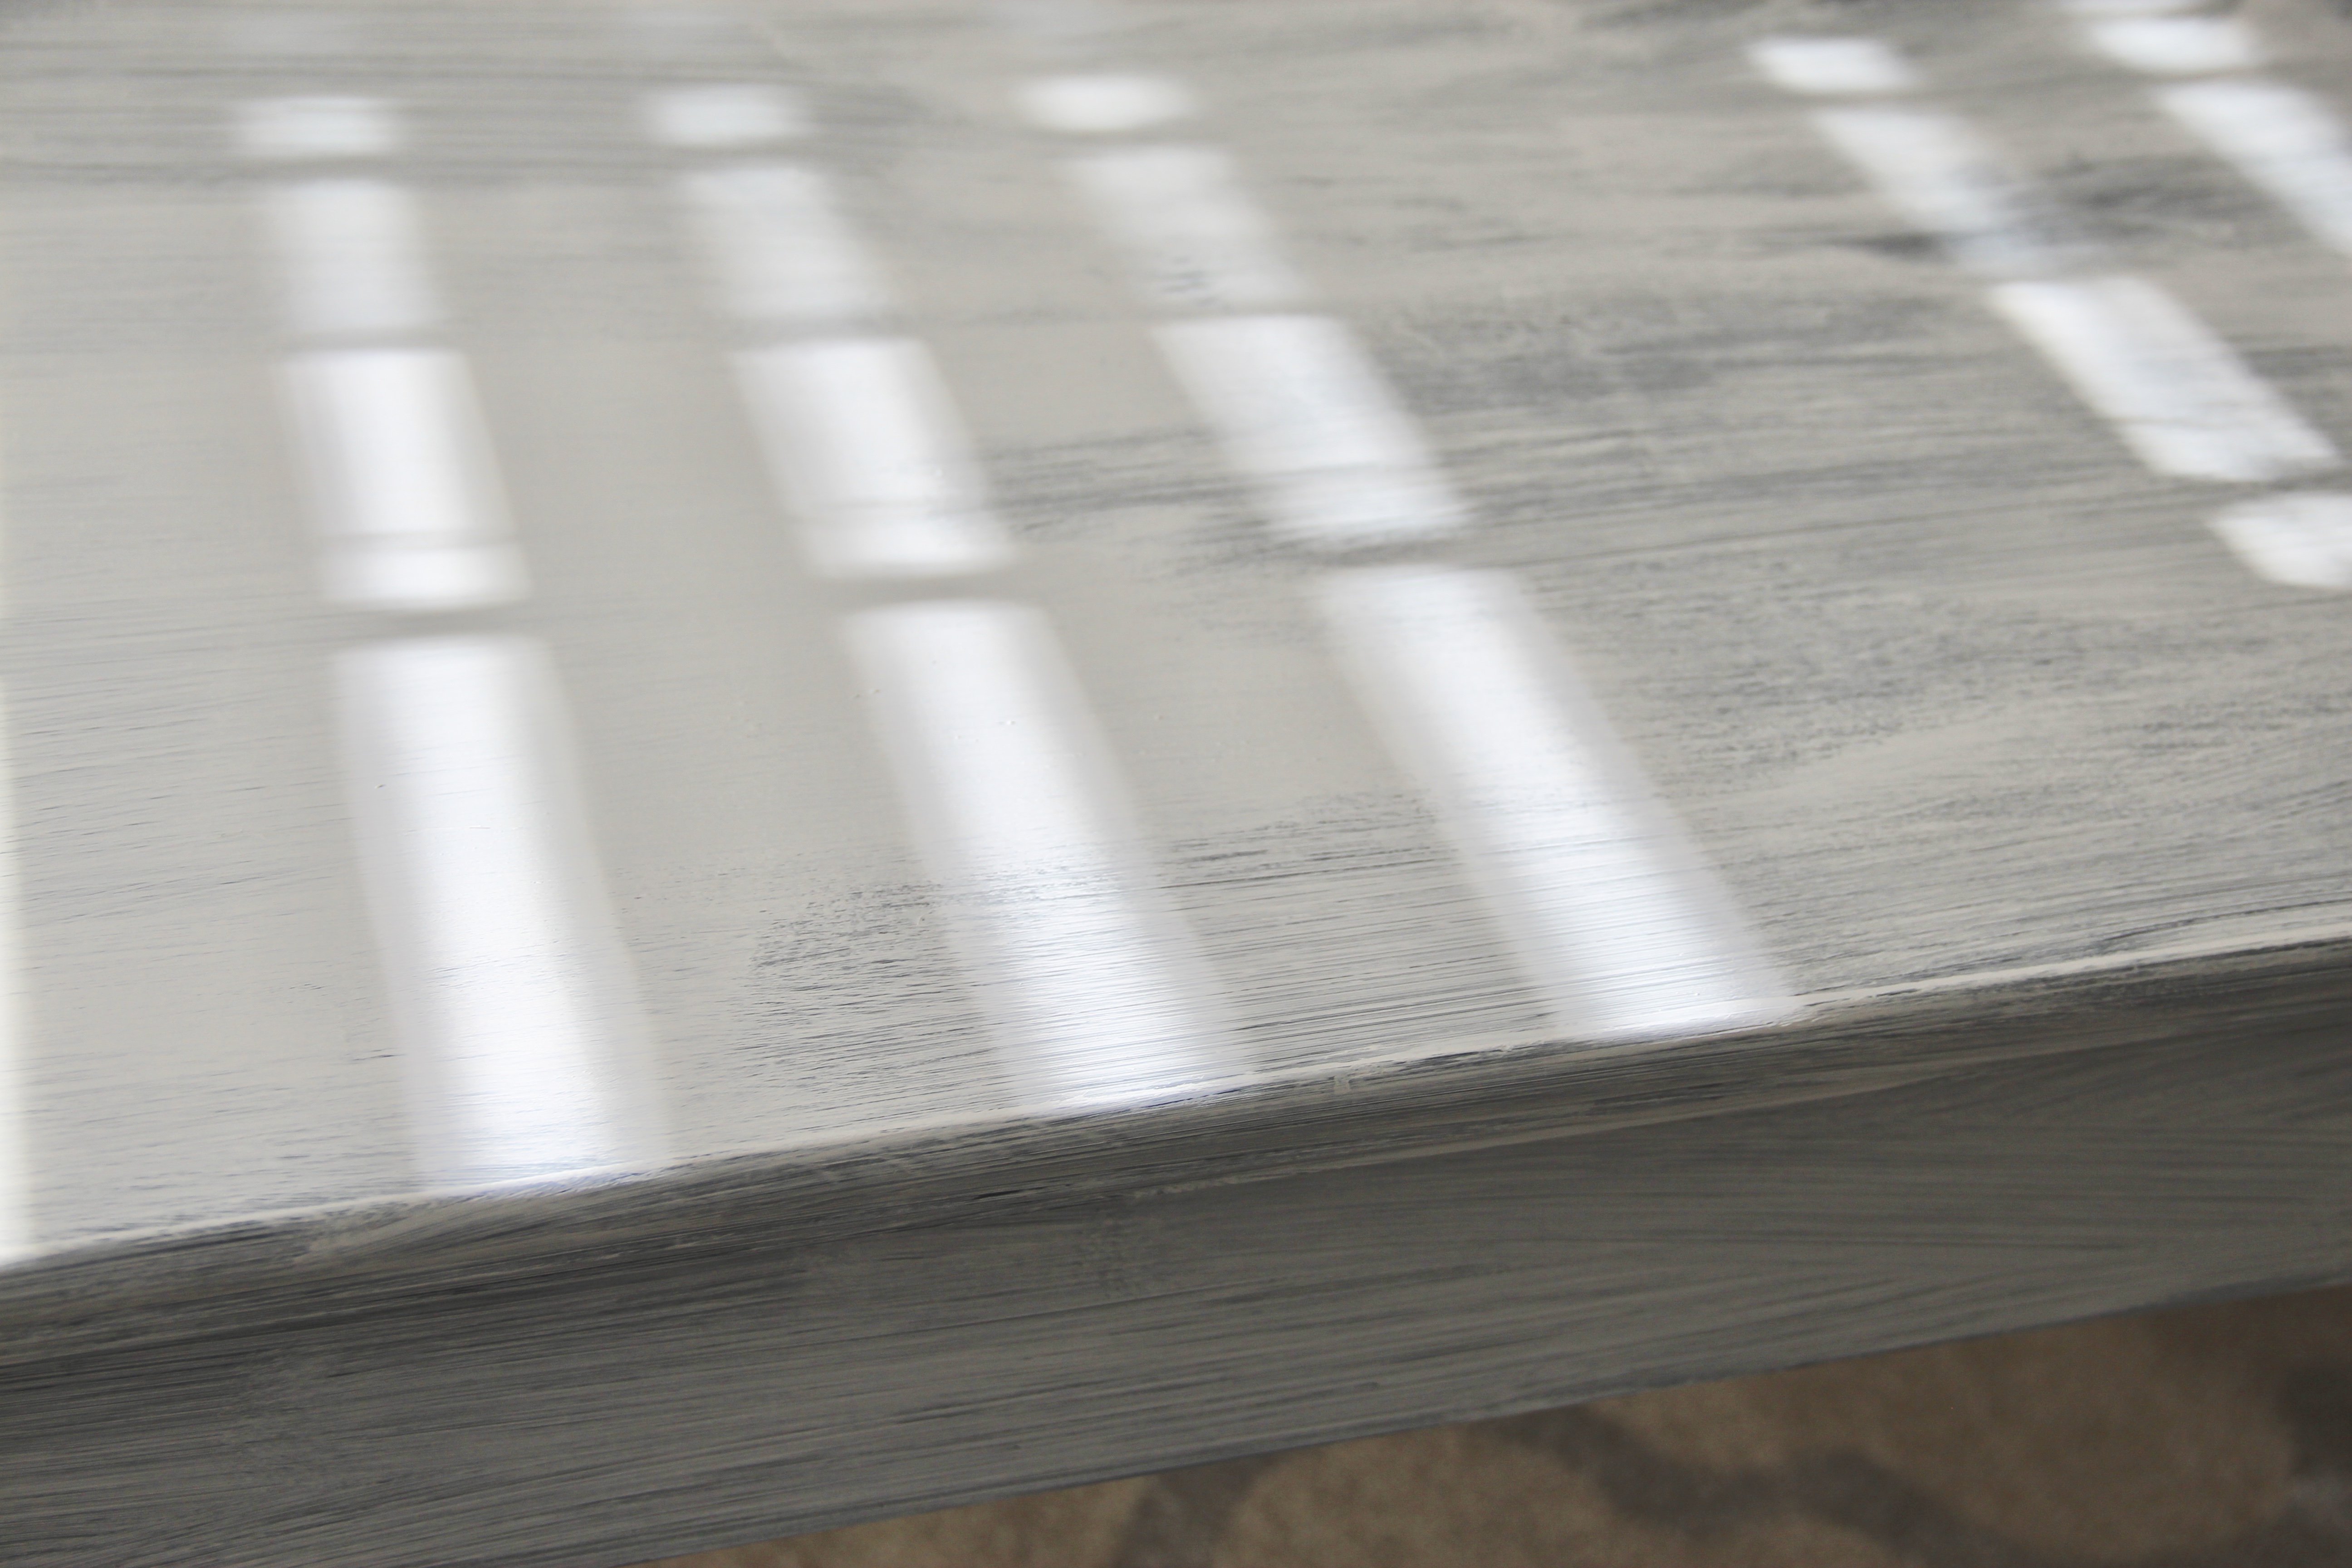
Step 9: Once the wax has set, buff it out using a second clean, soft, & dry cloth. The shinier the desired finish, the more you’ll need to buff. If you prefer a matte finish instead, very lightly buff all over one time to ensure the wax is smoothed into the piece. (Buffing is simply rubbing the piece down with that cloth using repetitive circular motions)
Step 10: Try to allow at least 24 hours for the piece to harden/set before resuming normal use, bearing in mind that the paint and wax combo will continue to cure (aka set) for up to about six weeks or so. Until then, you can definitely use the updated furniture, just air more on the side of gentleness than you would normally.
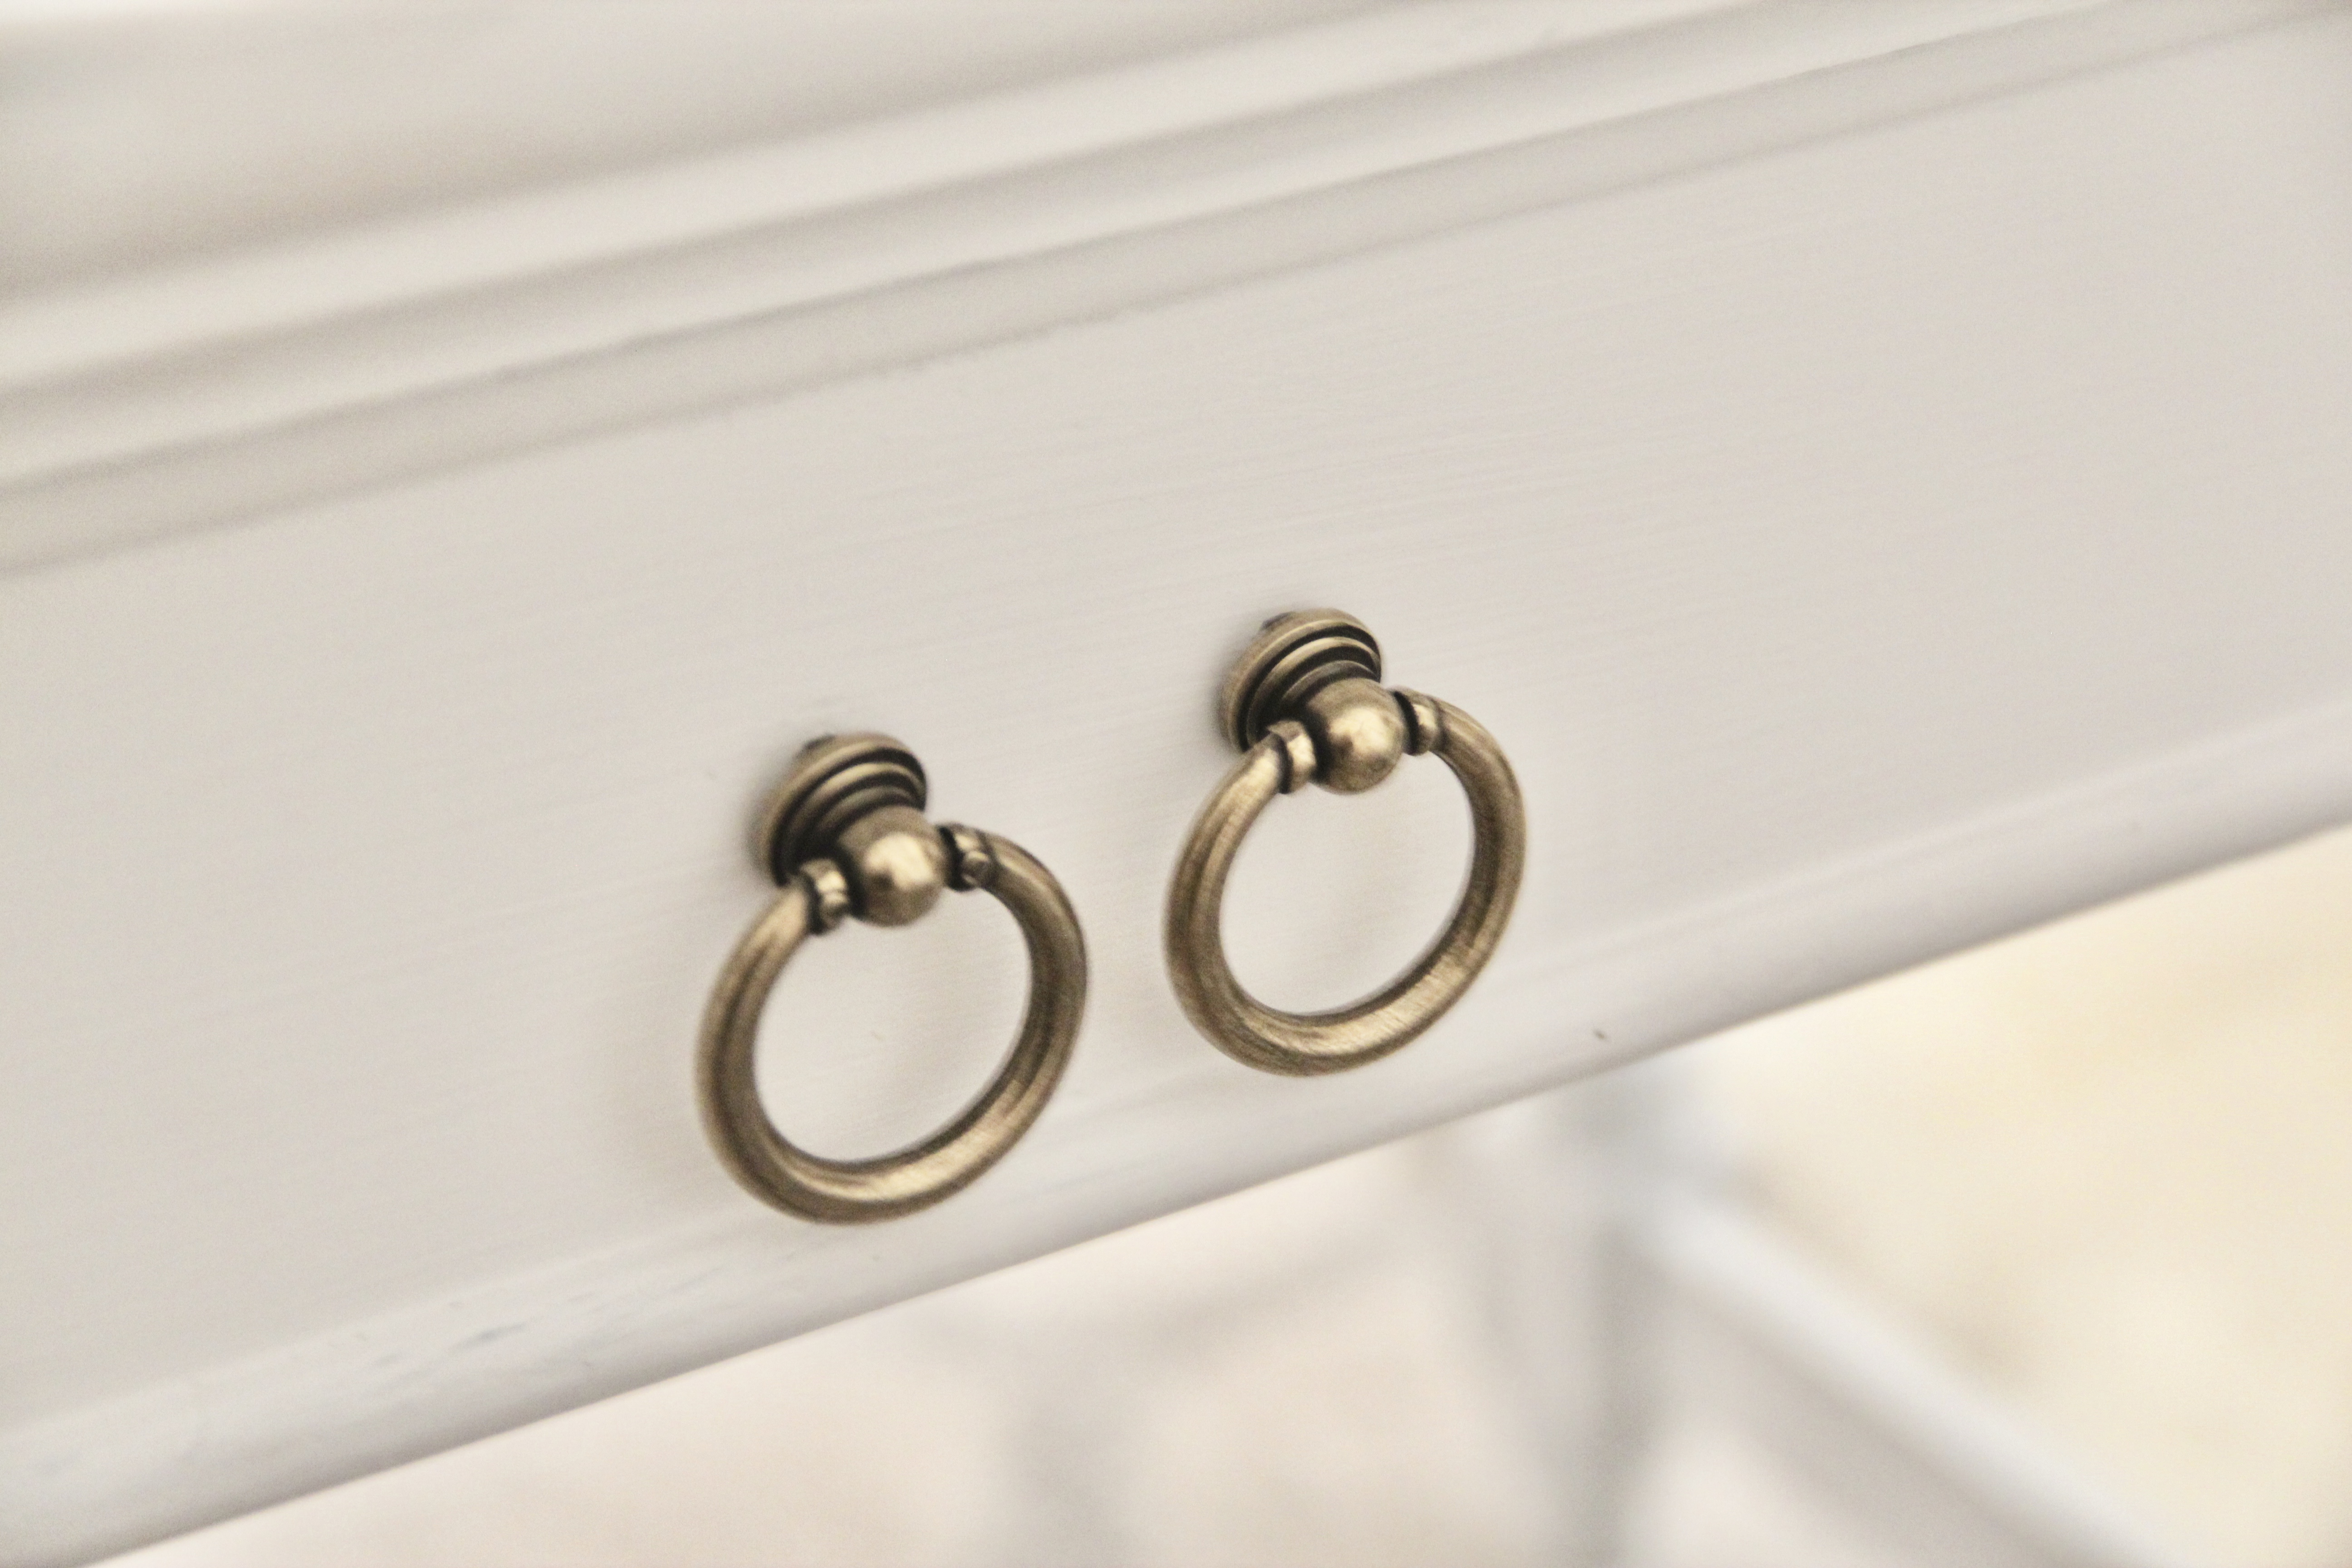
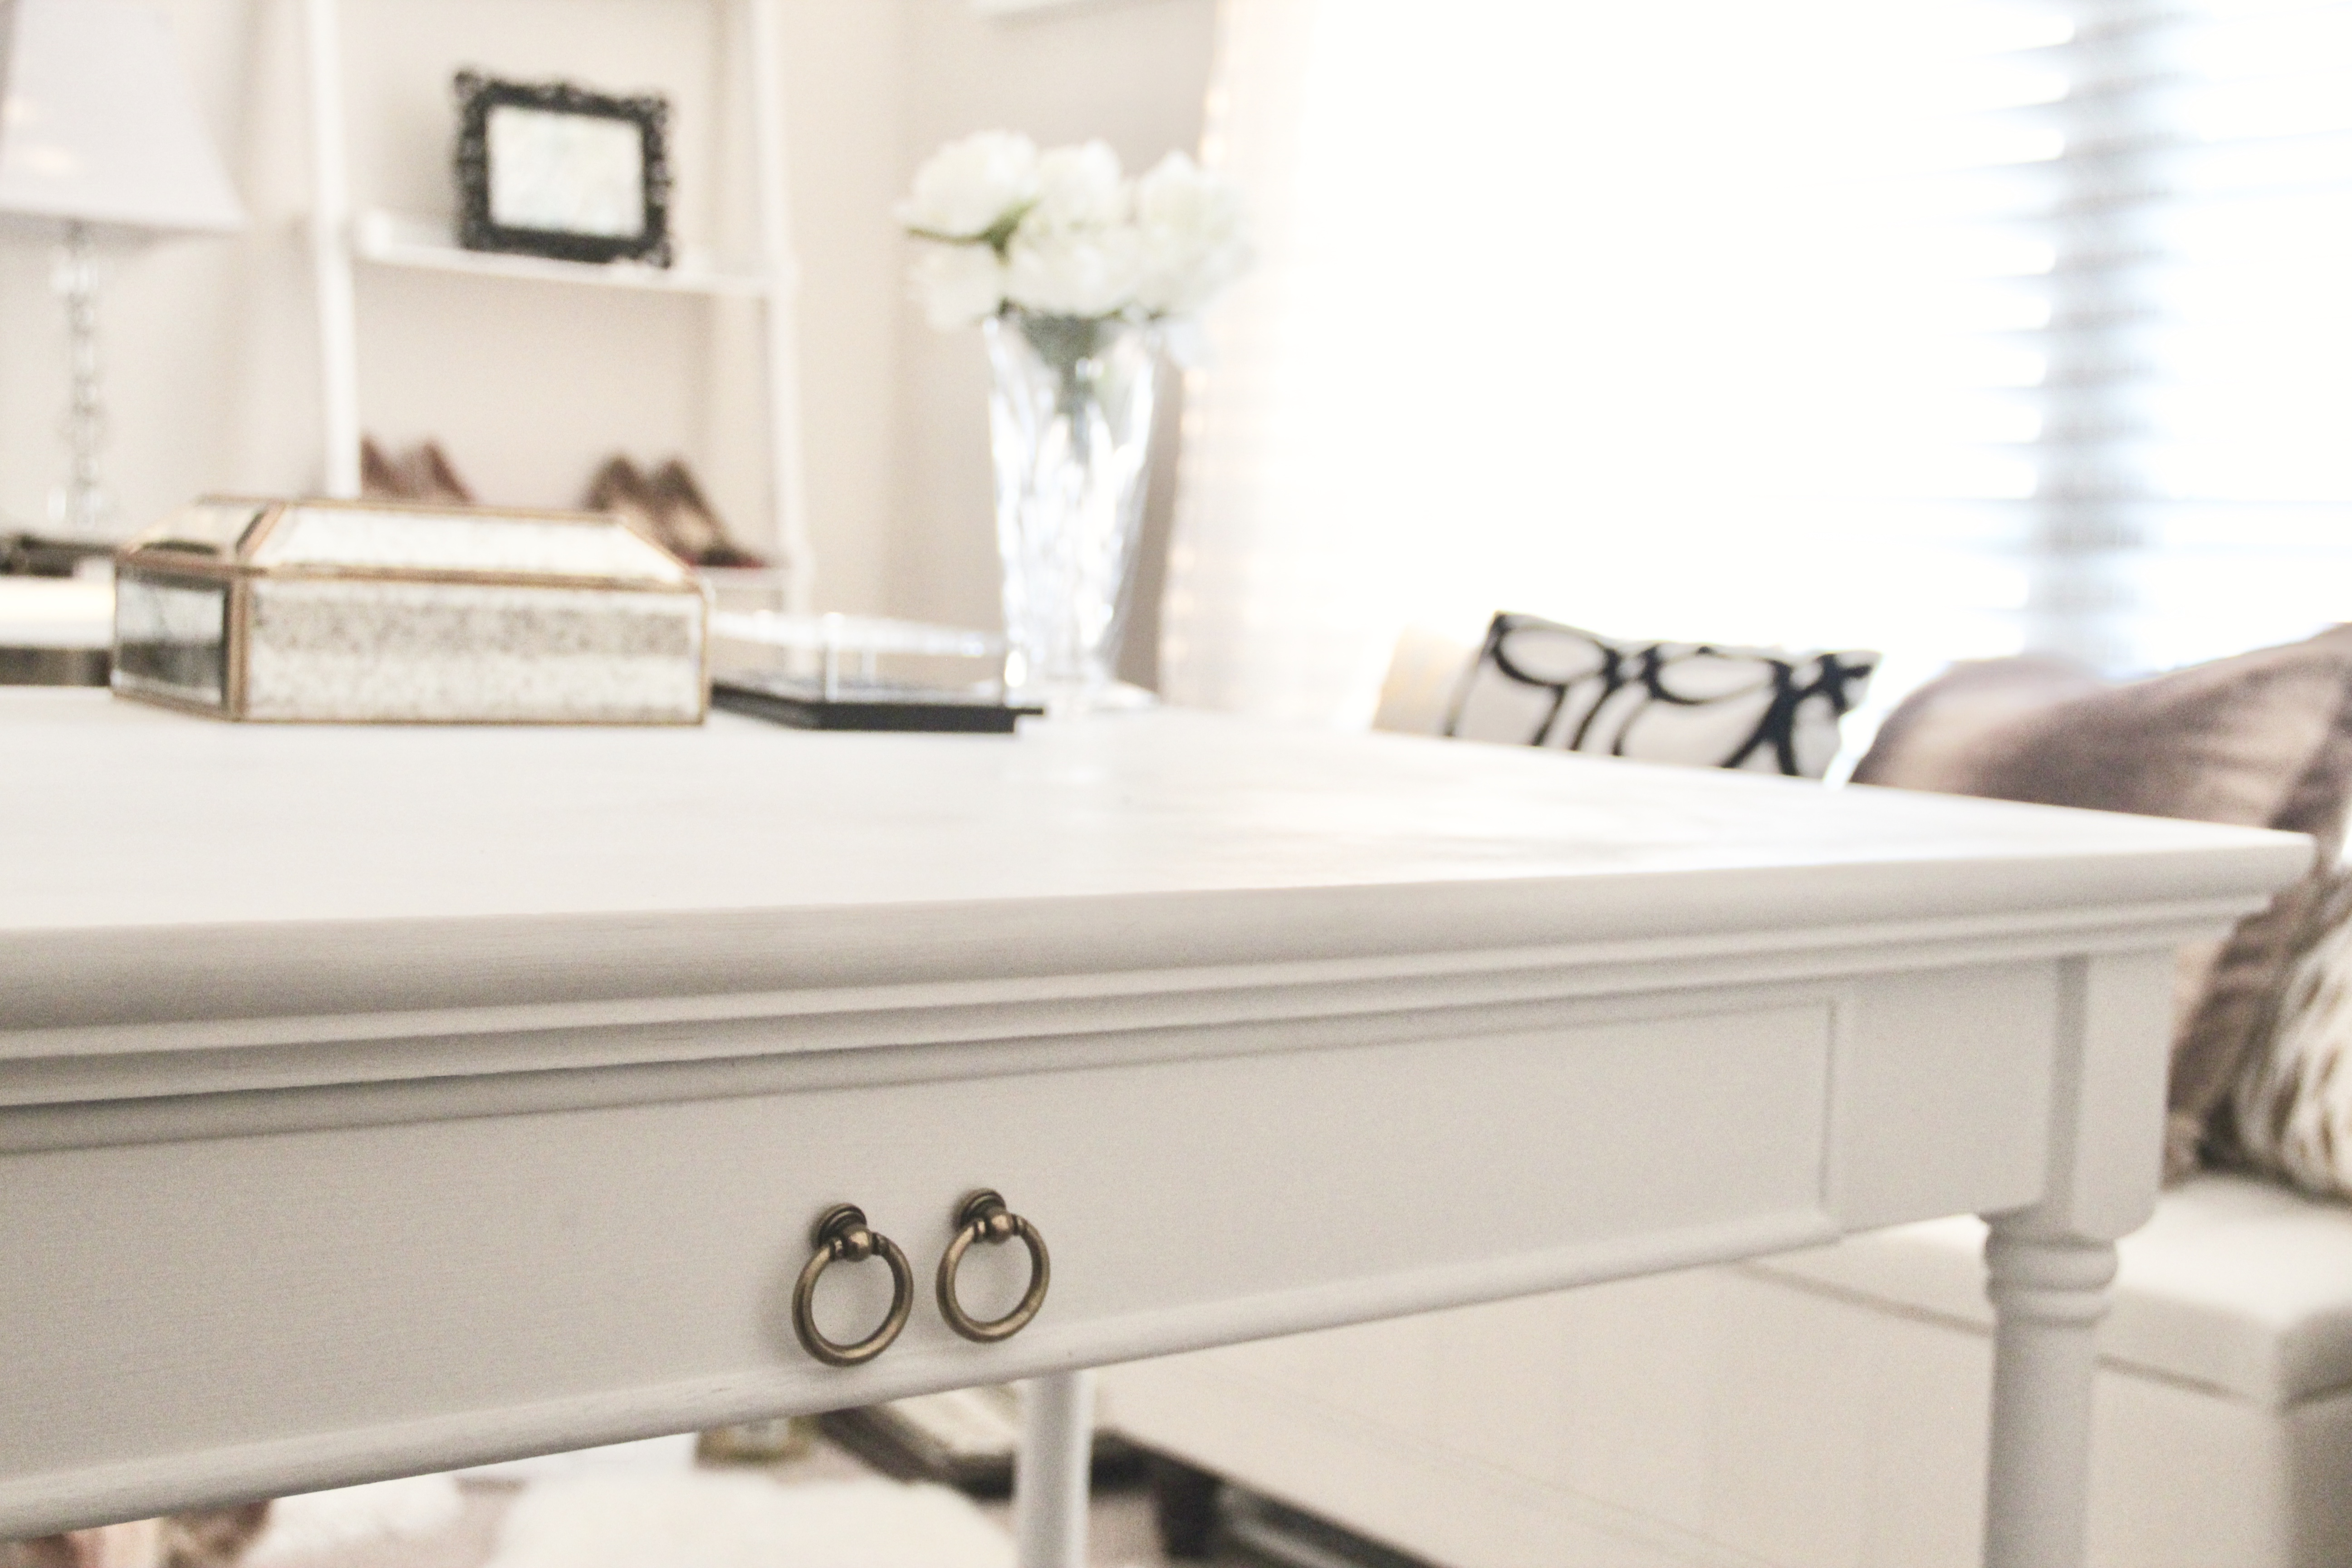
Step 11: The last thing I did was switch out the silver drawer pull with two of the same drawer pulls I used on our Ikea Rast Hack. I had a few extra left over from that project and love how they look so much I didn’t want to use anything else for this desk 🙂
I’ve linked all office accessories in this post and supplies are above & below! If you used this tutorial, I would love to know, tag me so I can see your completed projects 🙂


Pingback: White & Gold Home Office Preview - Blonde Boss Babe
Pingback: Spring Update Home Office Tour - Blonde Boss Babe