

Happy February! So, y’all already know how much I love marble and gold (it’s a lot & pretty obvious), and after completing two shelves in my DIY Ikea Hyllis Hack, I wanted to make something else that would go along with the same look/style with my leftover marble adhesive. Then, I thought why not a vanity tray? In total, the whole thing takes less than an hour, is super easy to customize depending on what shape/knobs you use, and is way way less than what would be spent on the real deal = triple bonus!
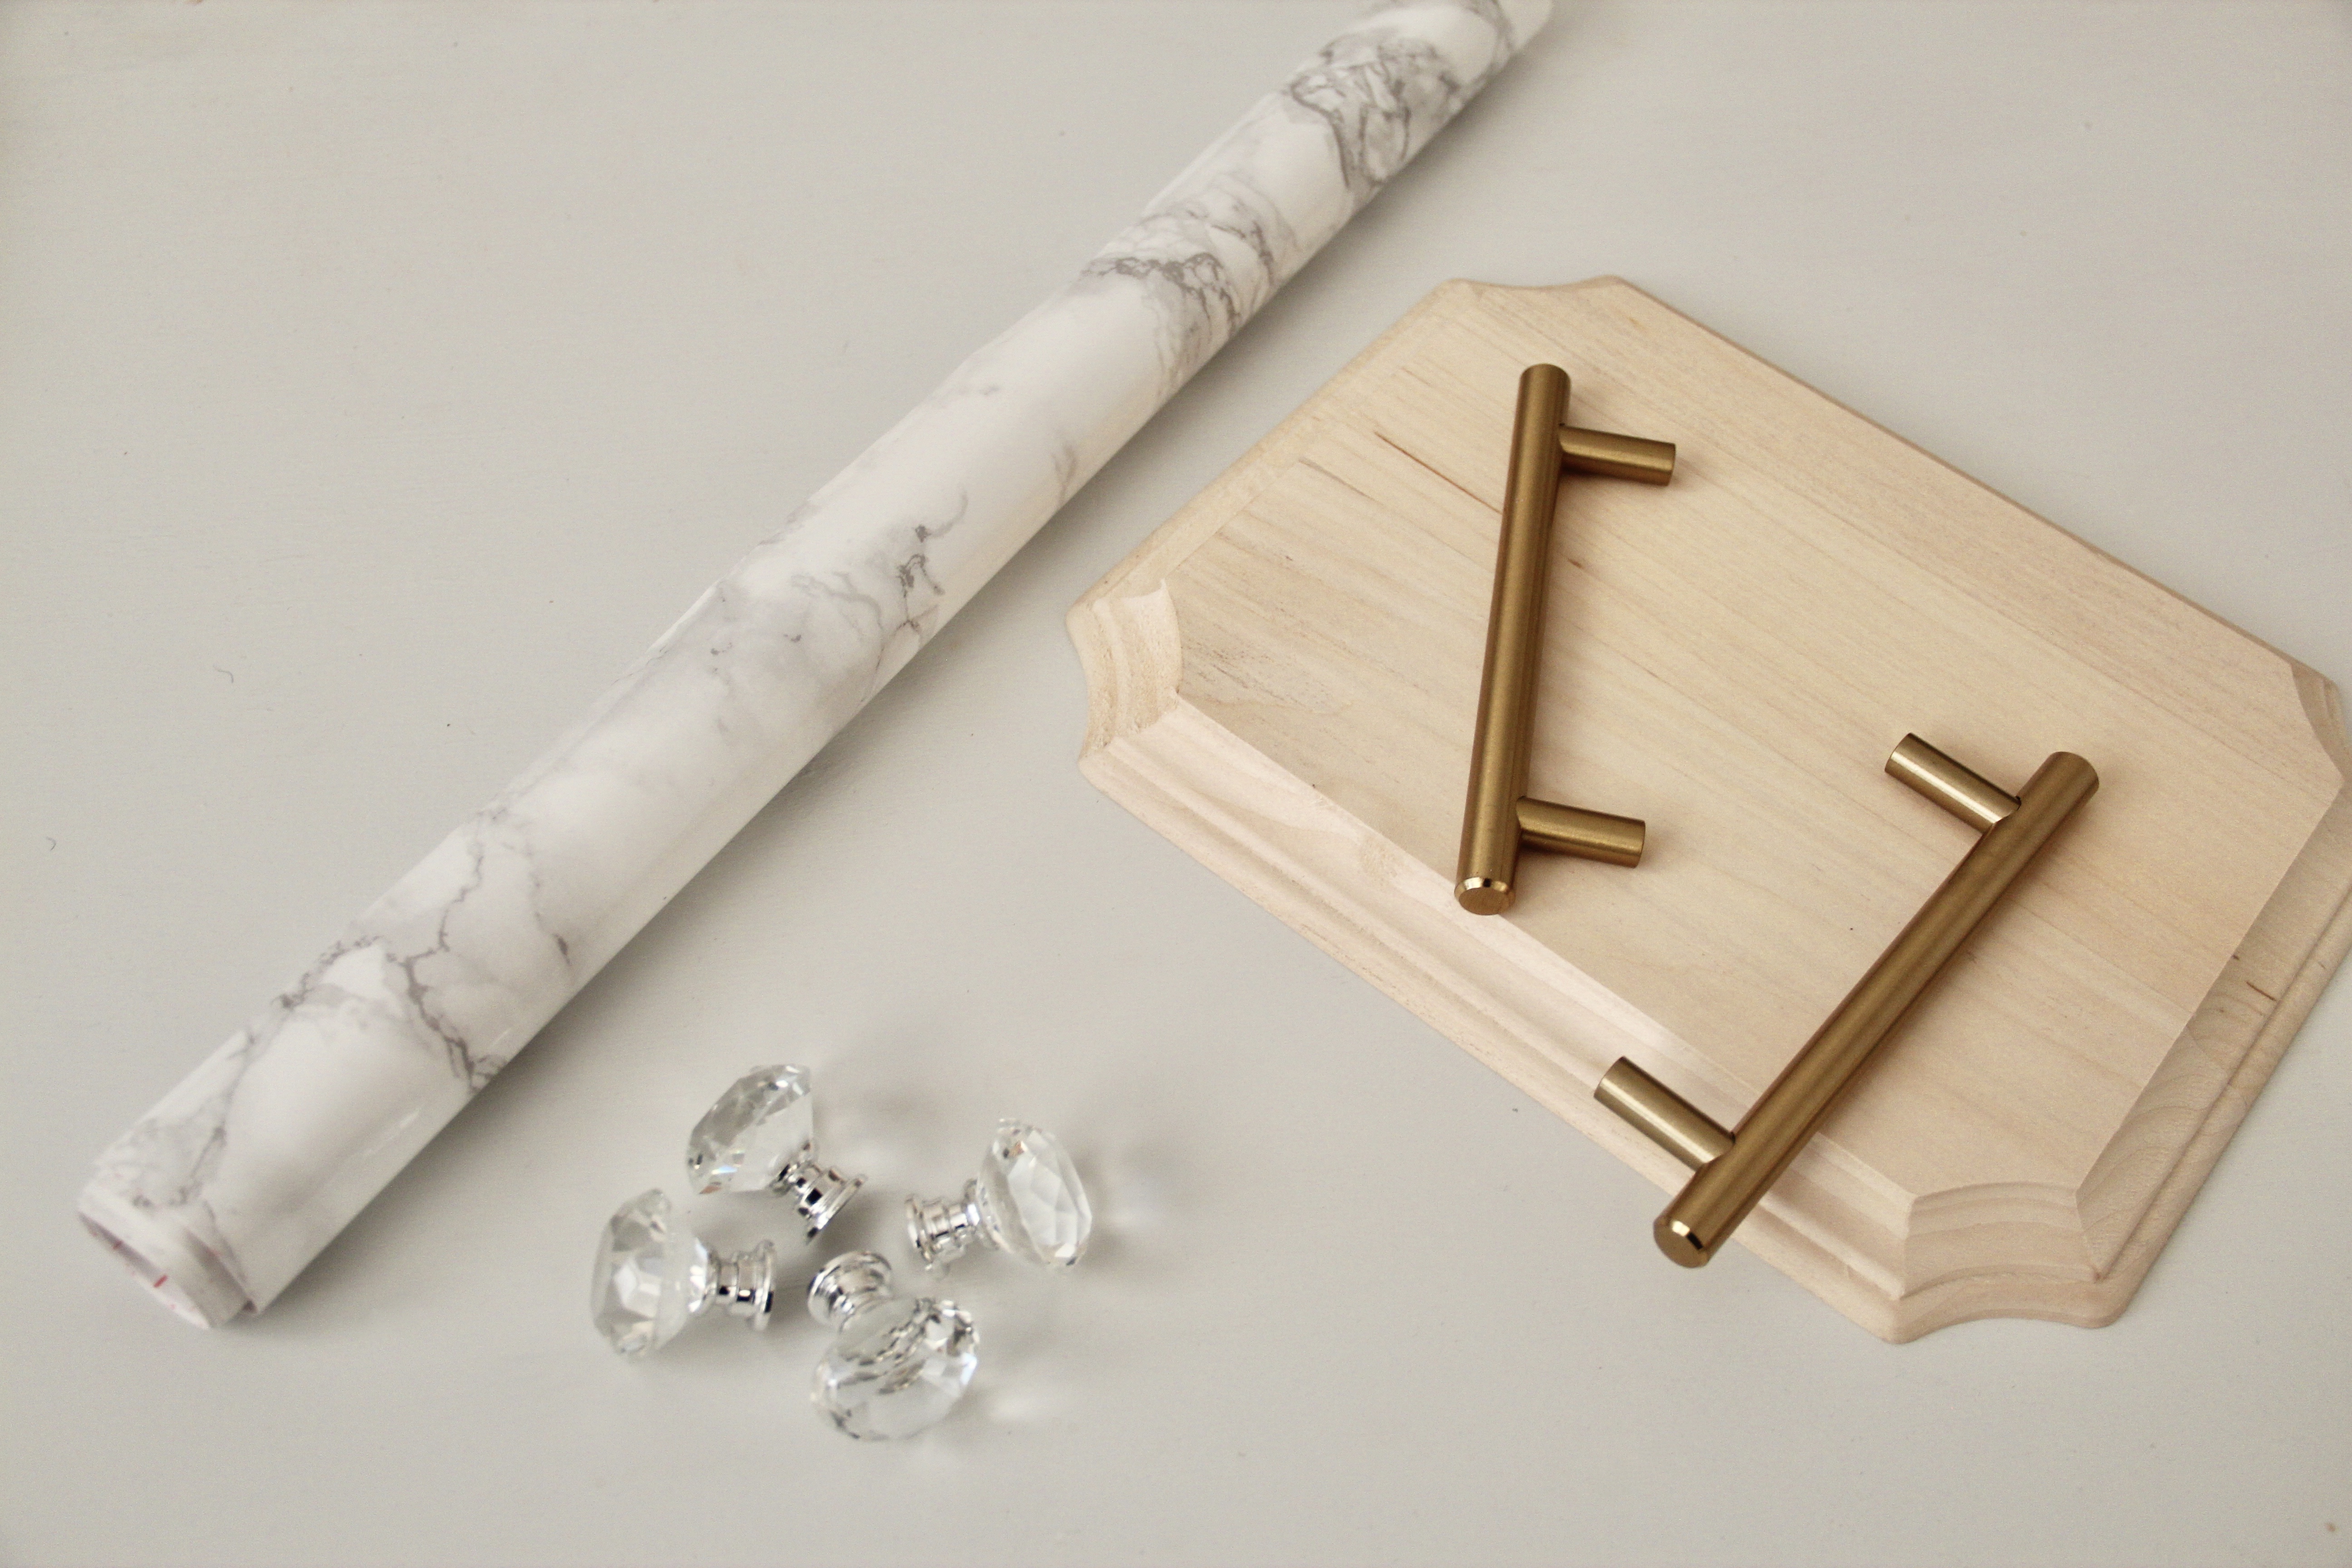
To get started, you’ll need:
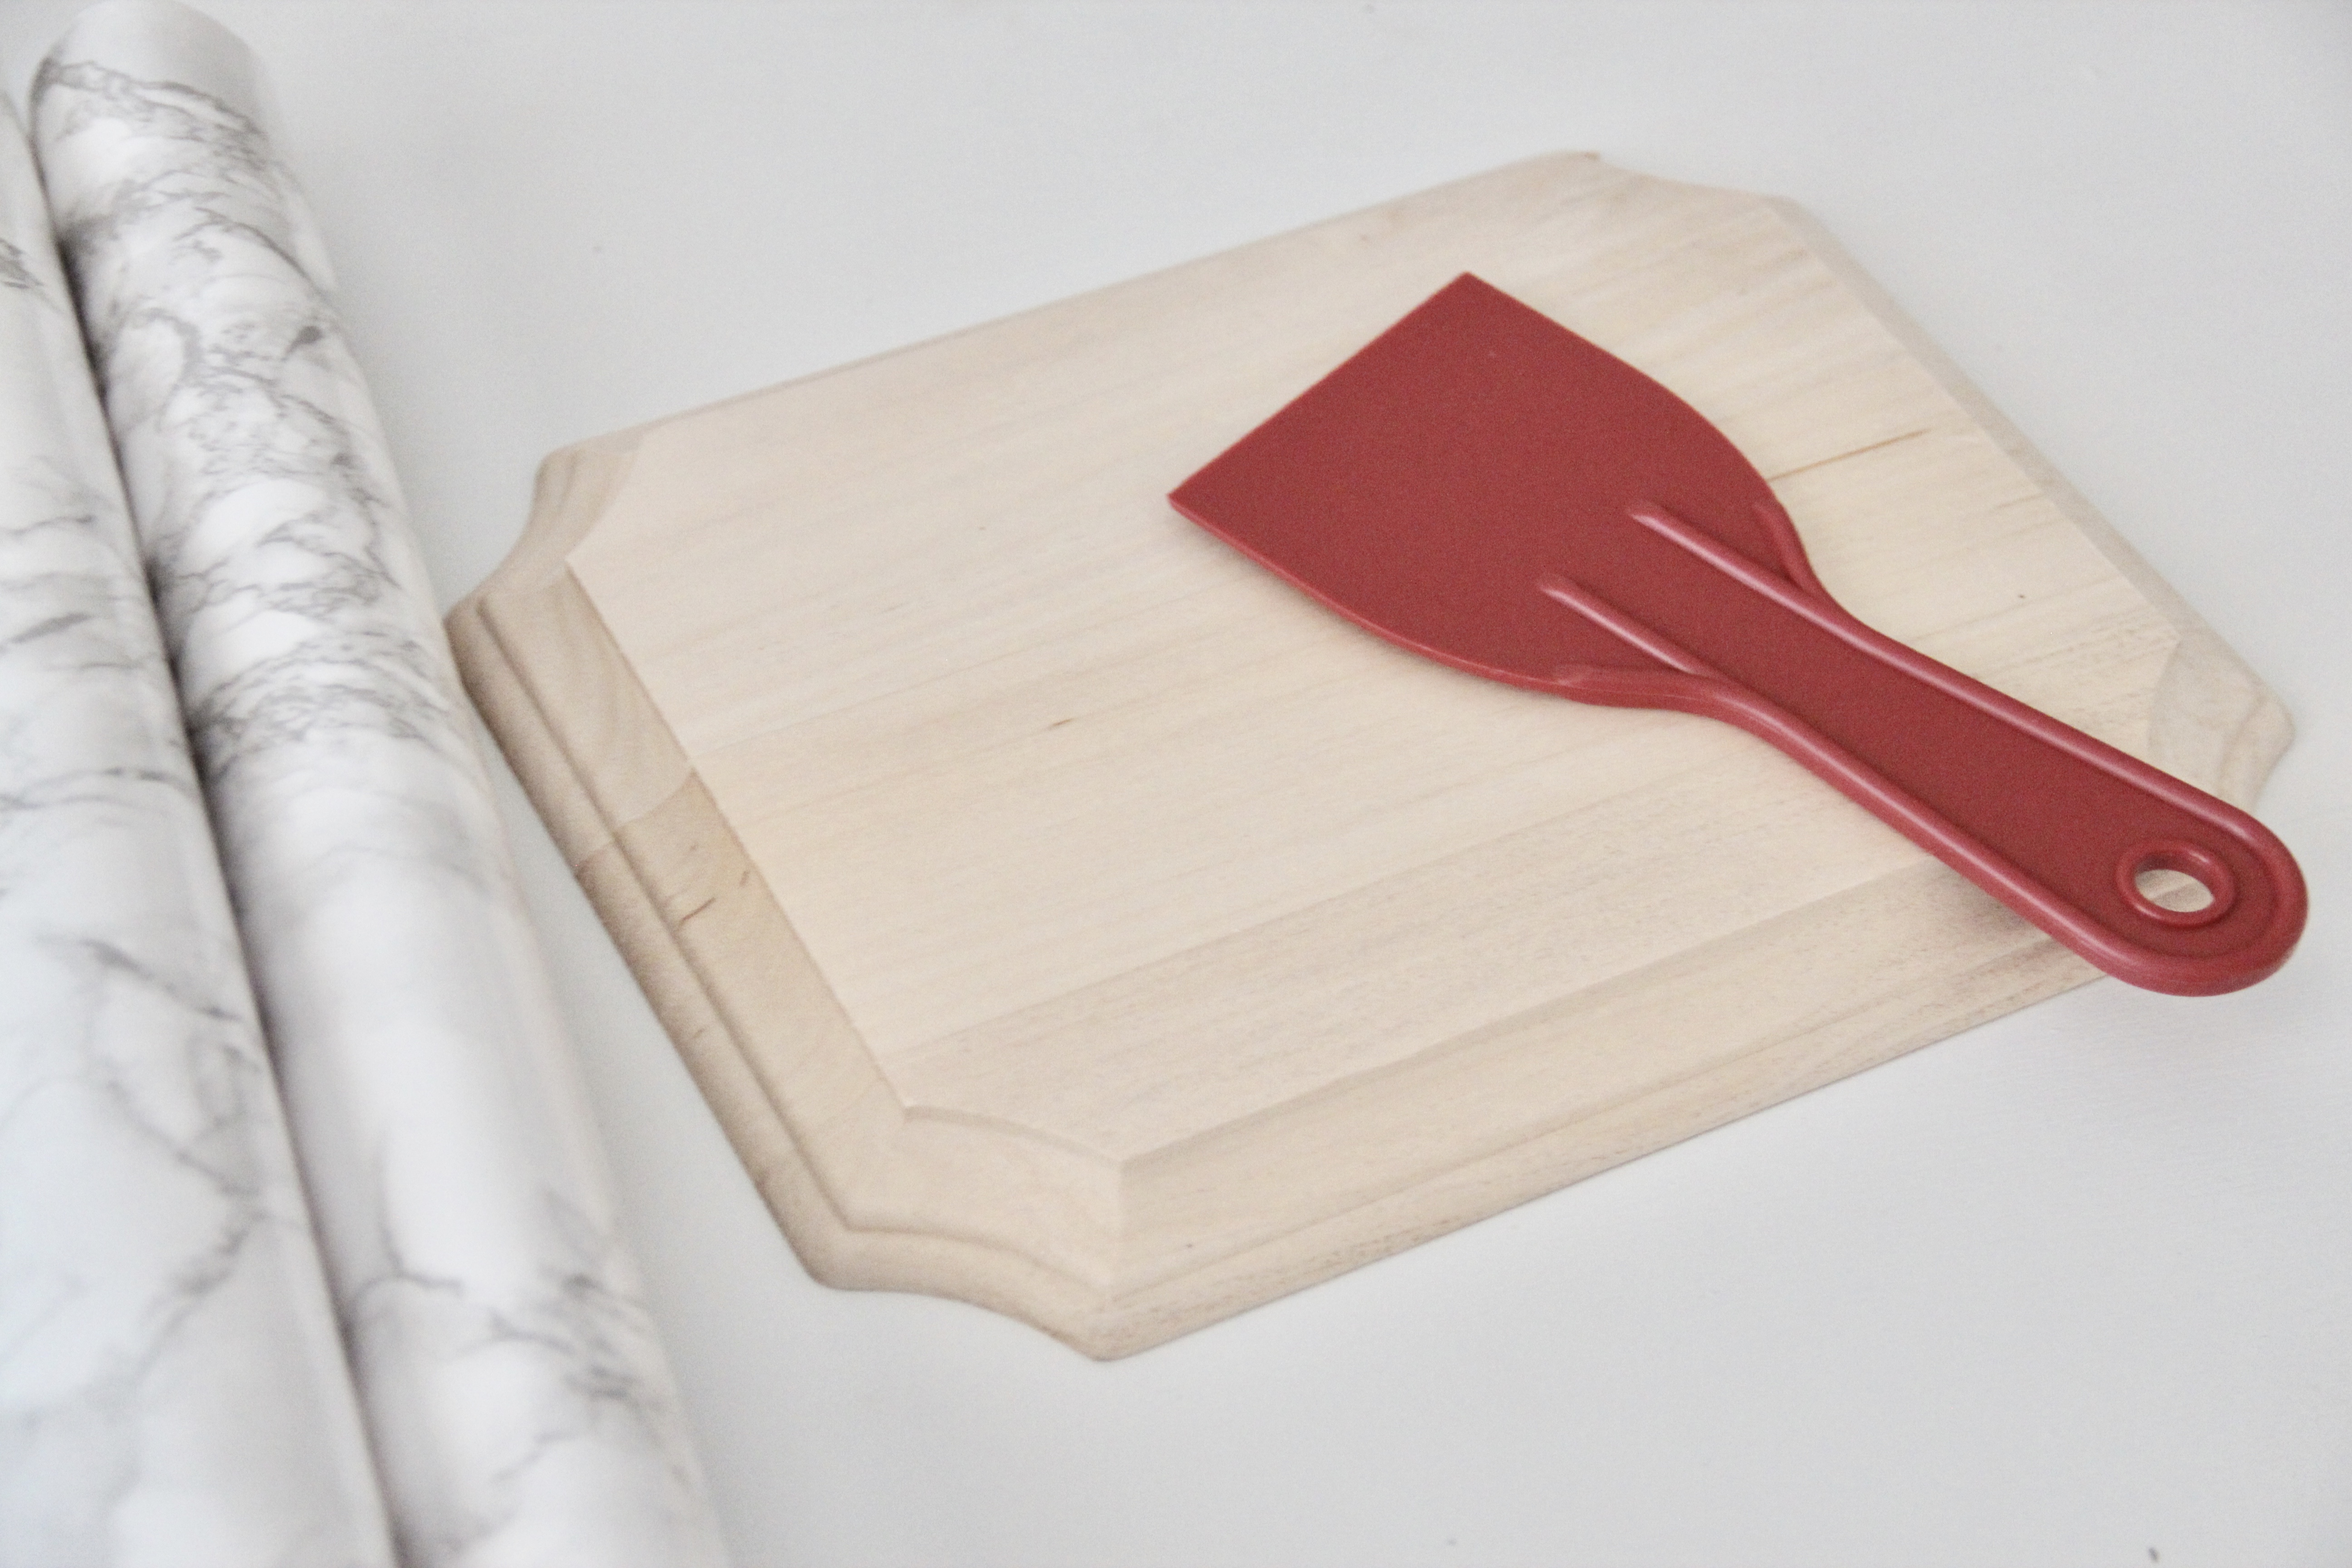
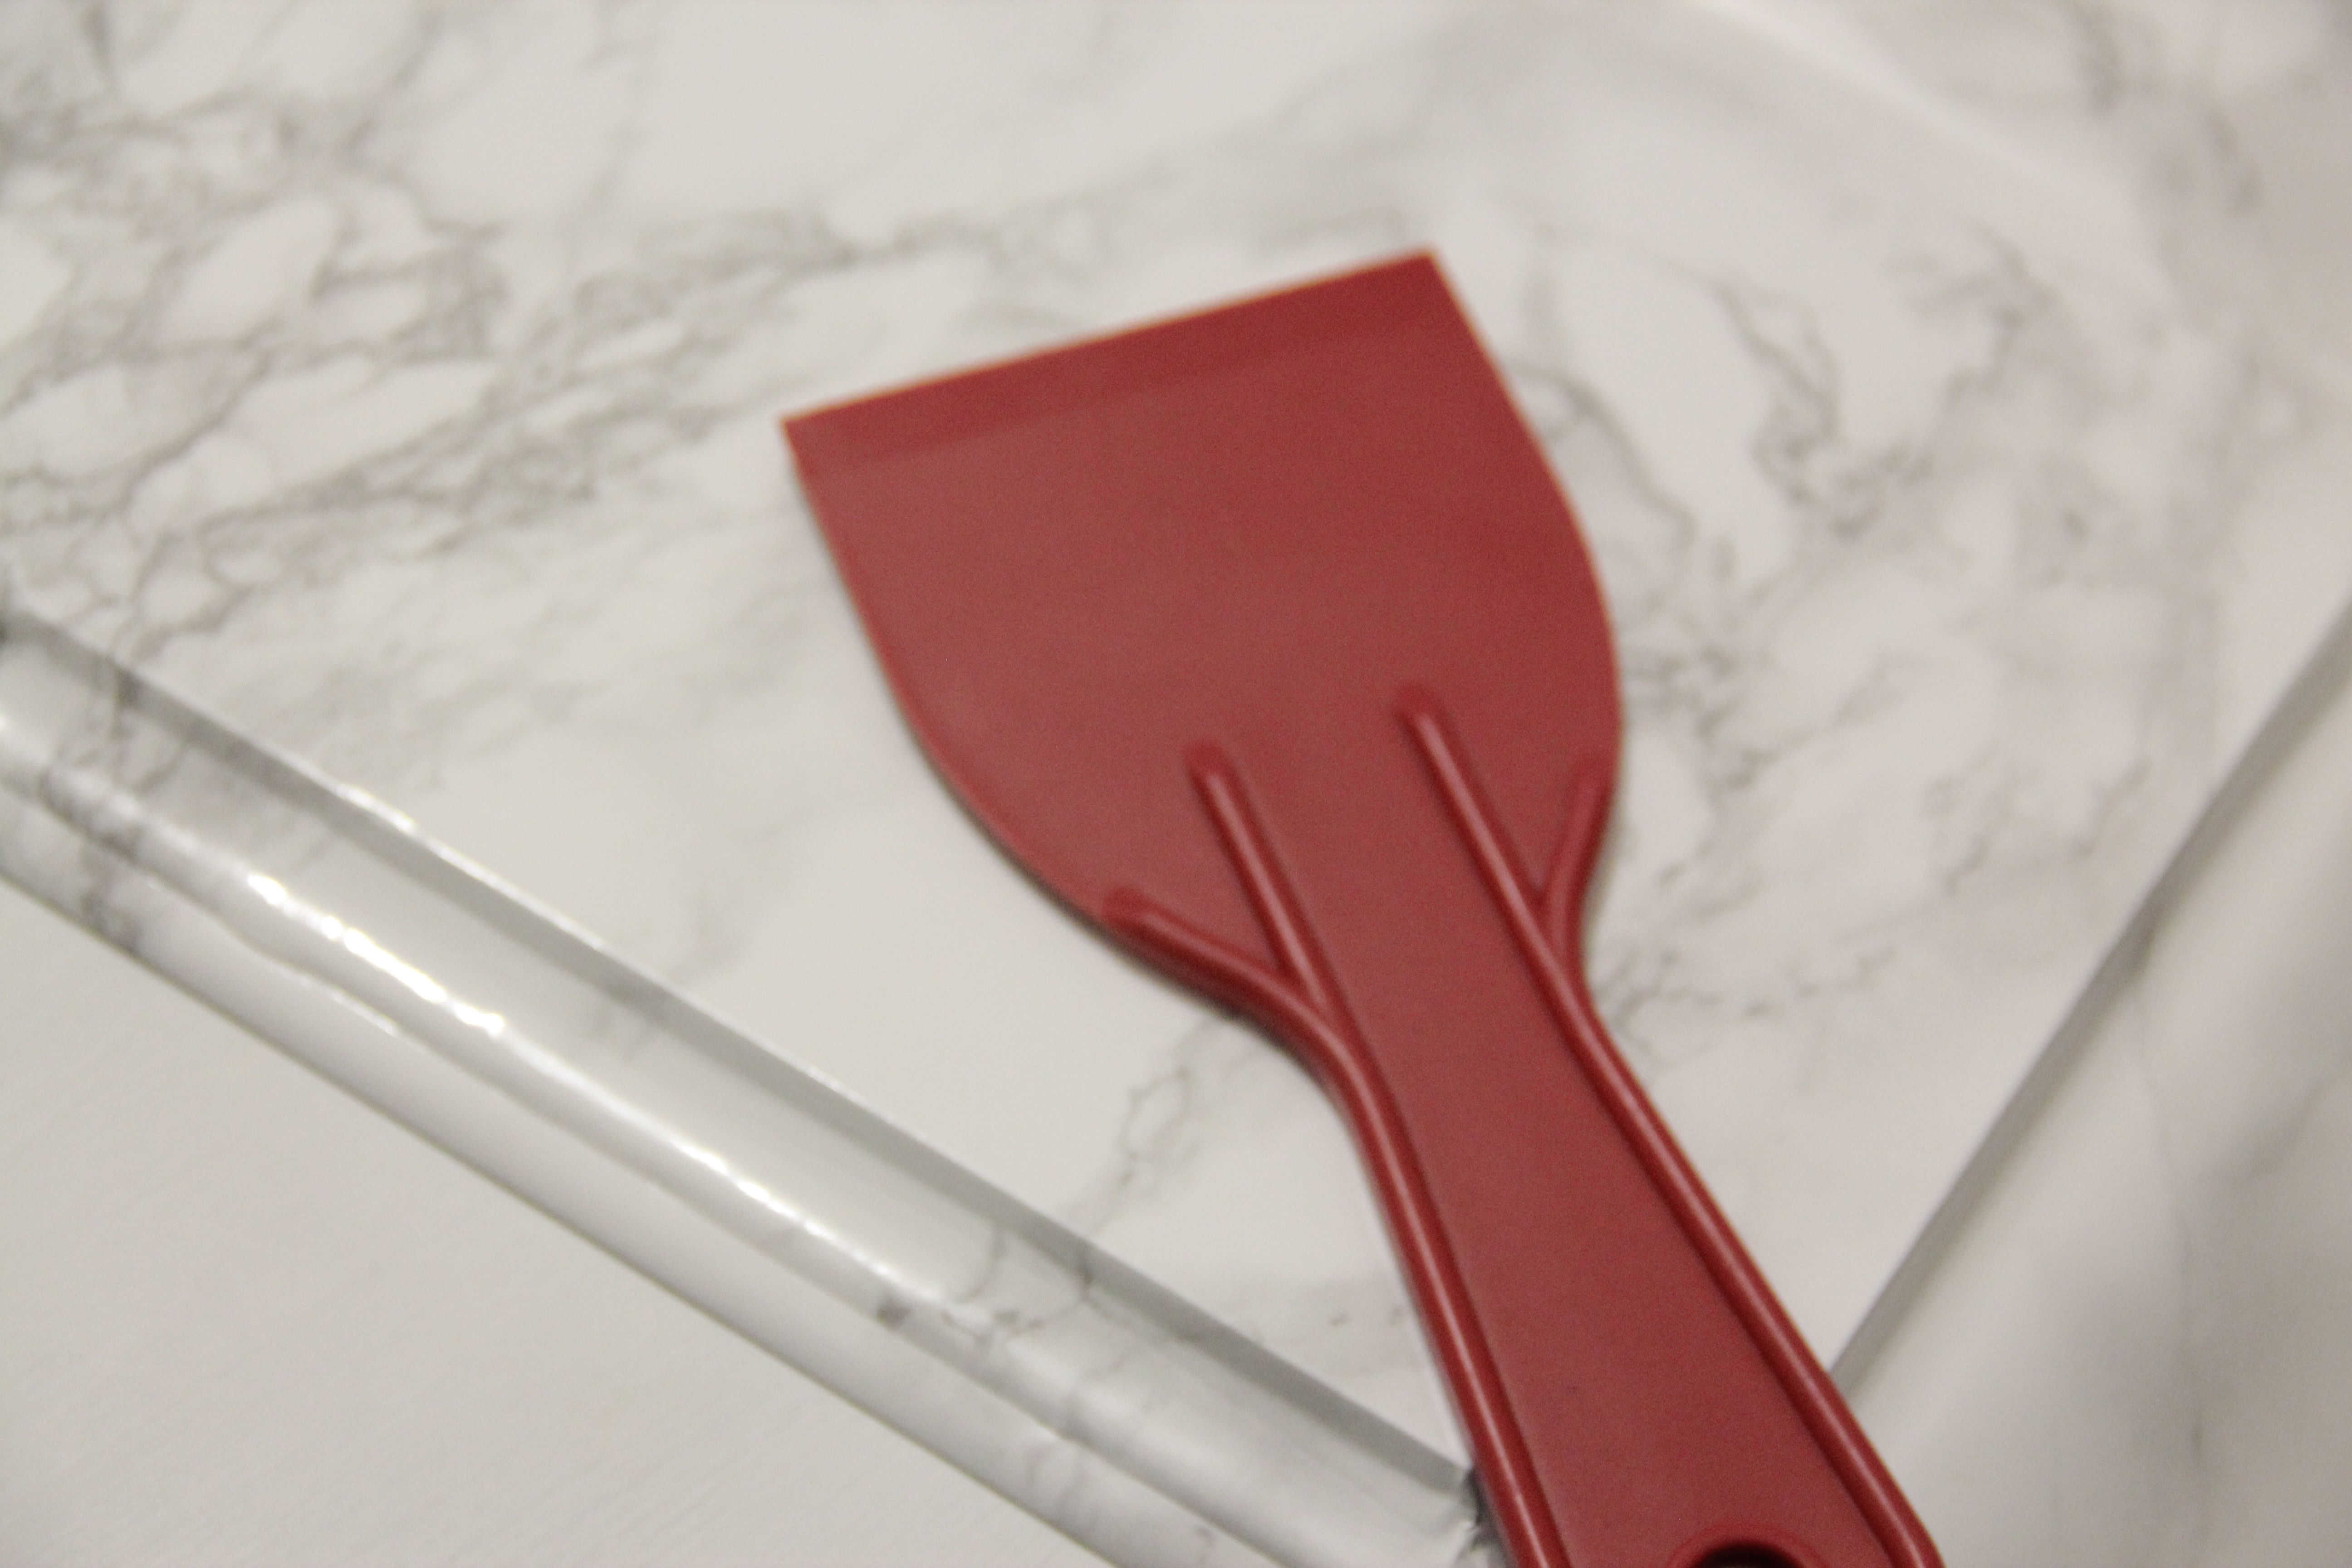
Putty Knife Set (optional, but very helpful)
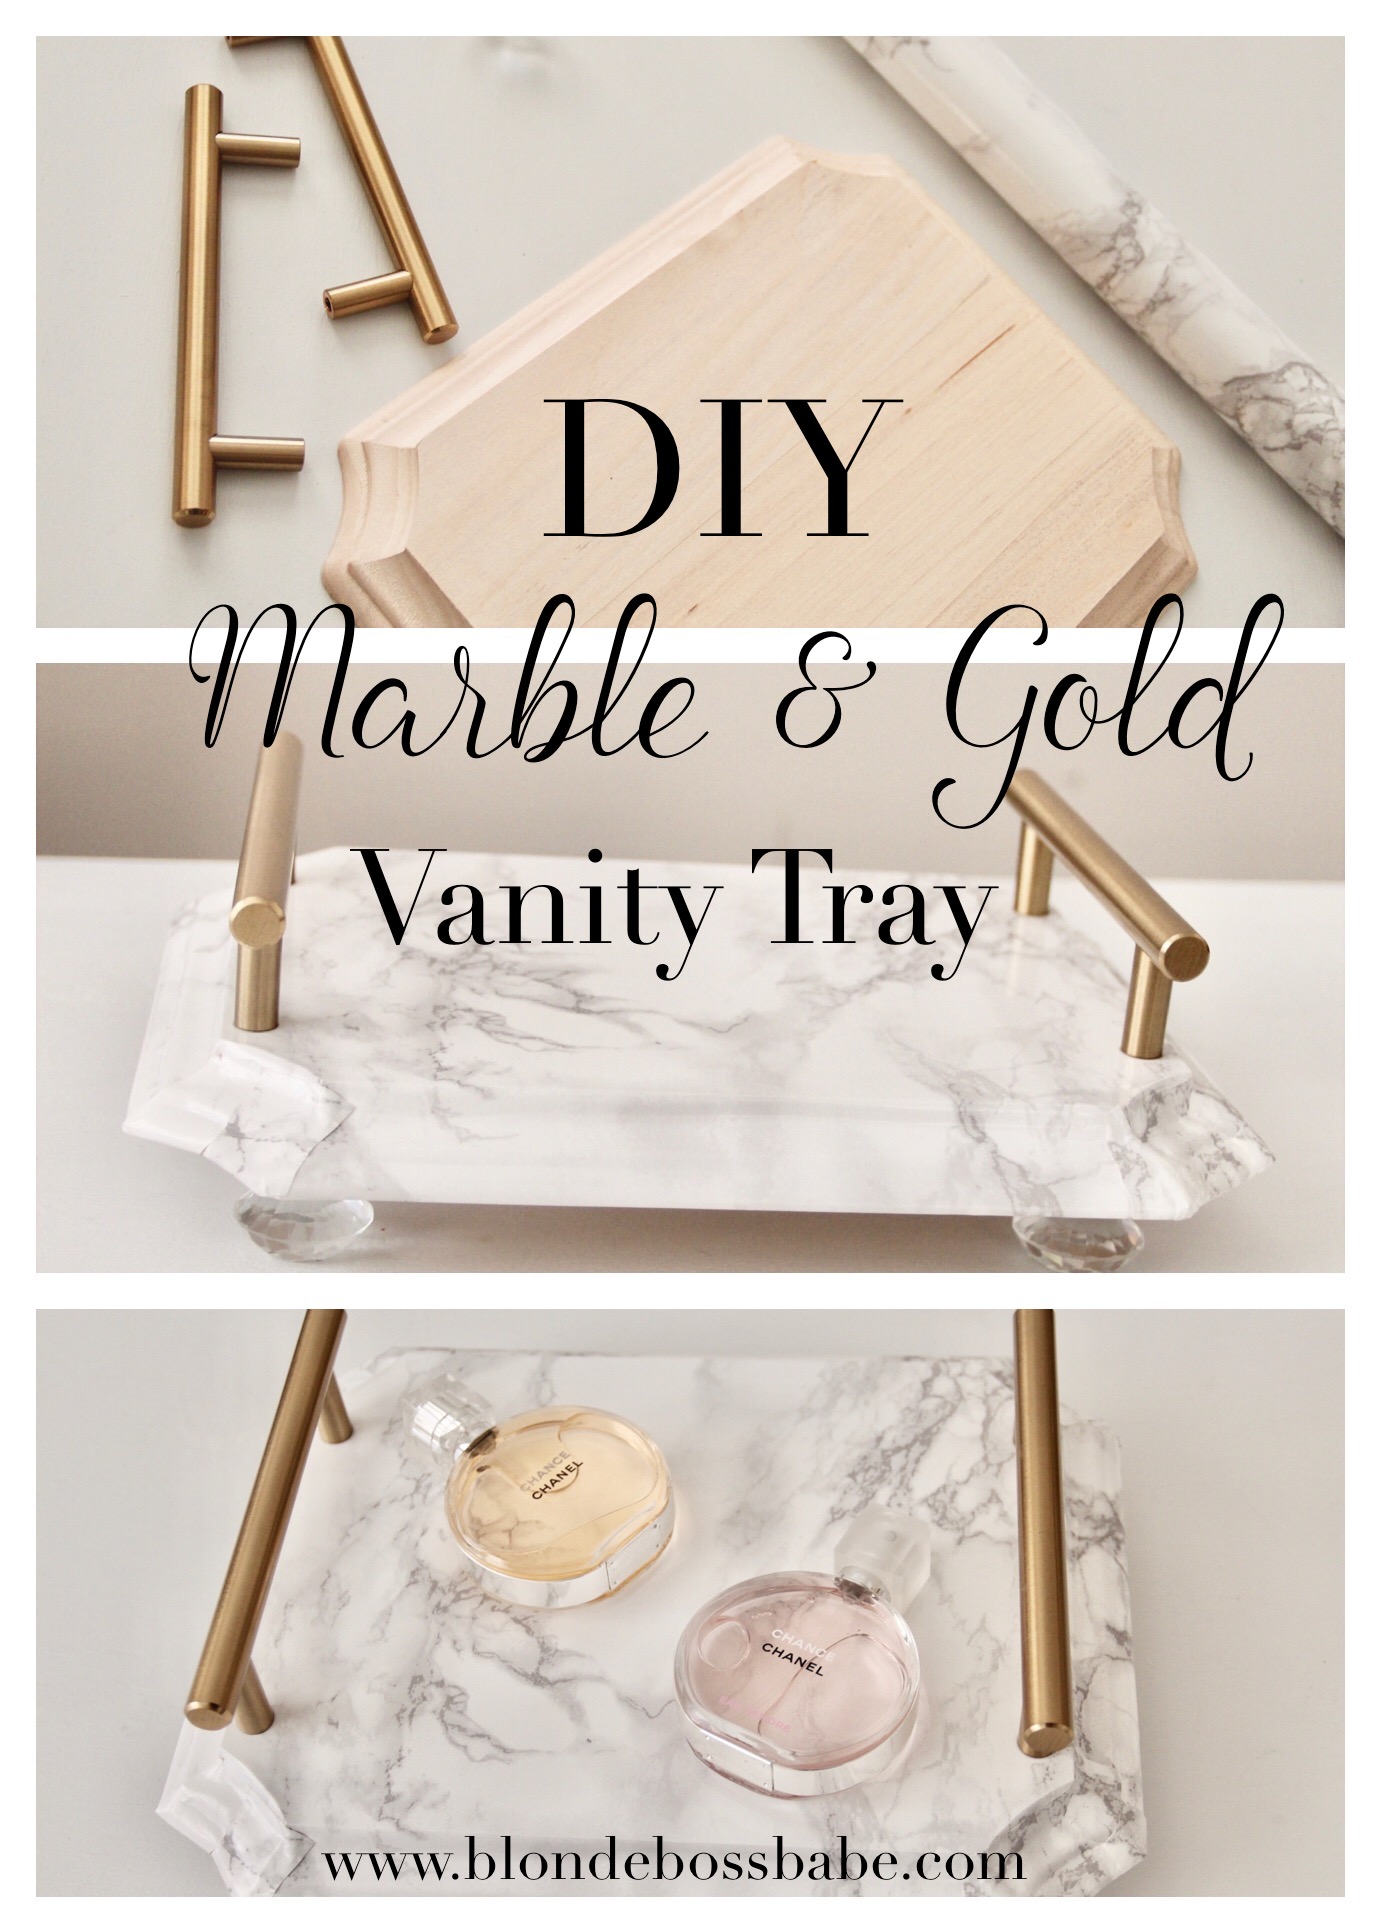
Step 1: Before peeling your sticker off, take your marble adhesive sticker and lay it over your wooden plaque piece to determine about how much you’ll need, and cut. The less excess you have, the easier the sticker is to work with and maneuver.
Step 2: Lay your sticker on the center of the plaque, and taking your putty knife, flatten out all of the air bubbles. Then using your putty knife again, on one side, begin adhering the sticker to the edges.
Step 3: Once you have one edge complete, it’s corner time! Based on the shape of the wooden piece I chose, this was the most “complicated” (I say that loosely) part of the whole project. To make it easier and to minimize air bubbles, use scissors to cut little slits at the center point and two side points of the corner. Then fold these pieces down and smooth them with your putty knife.
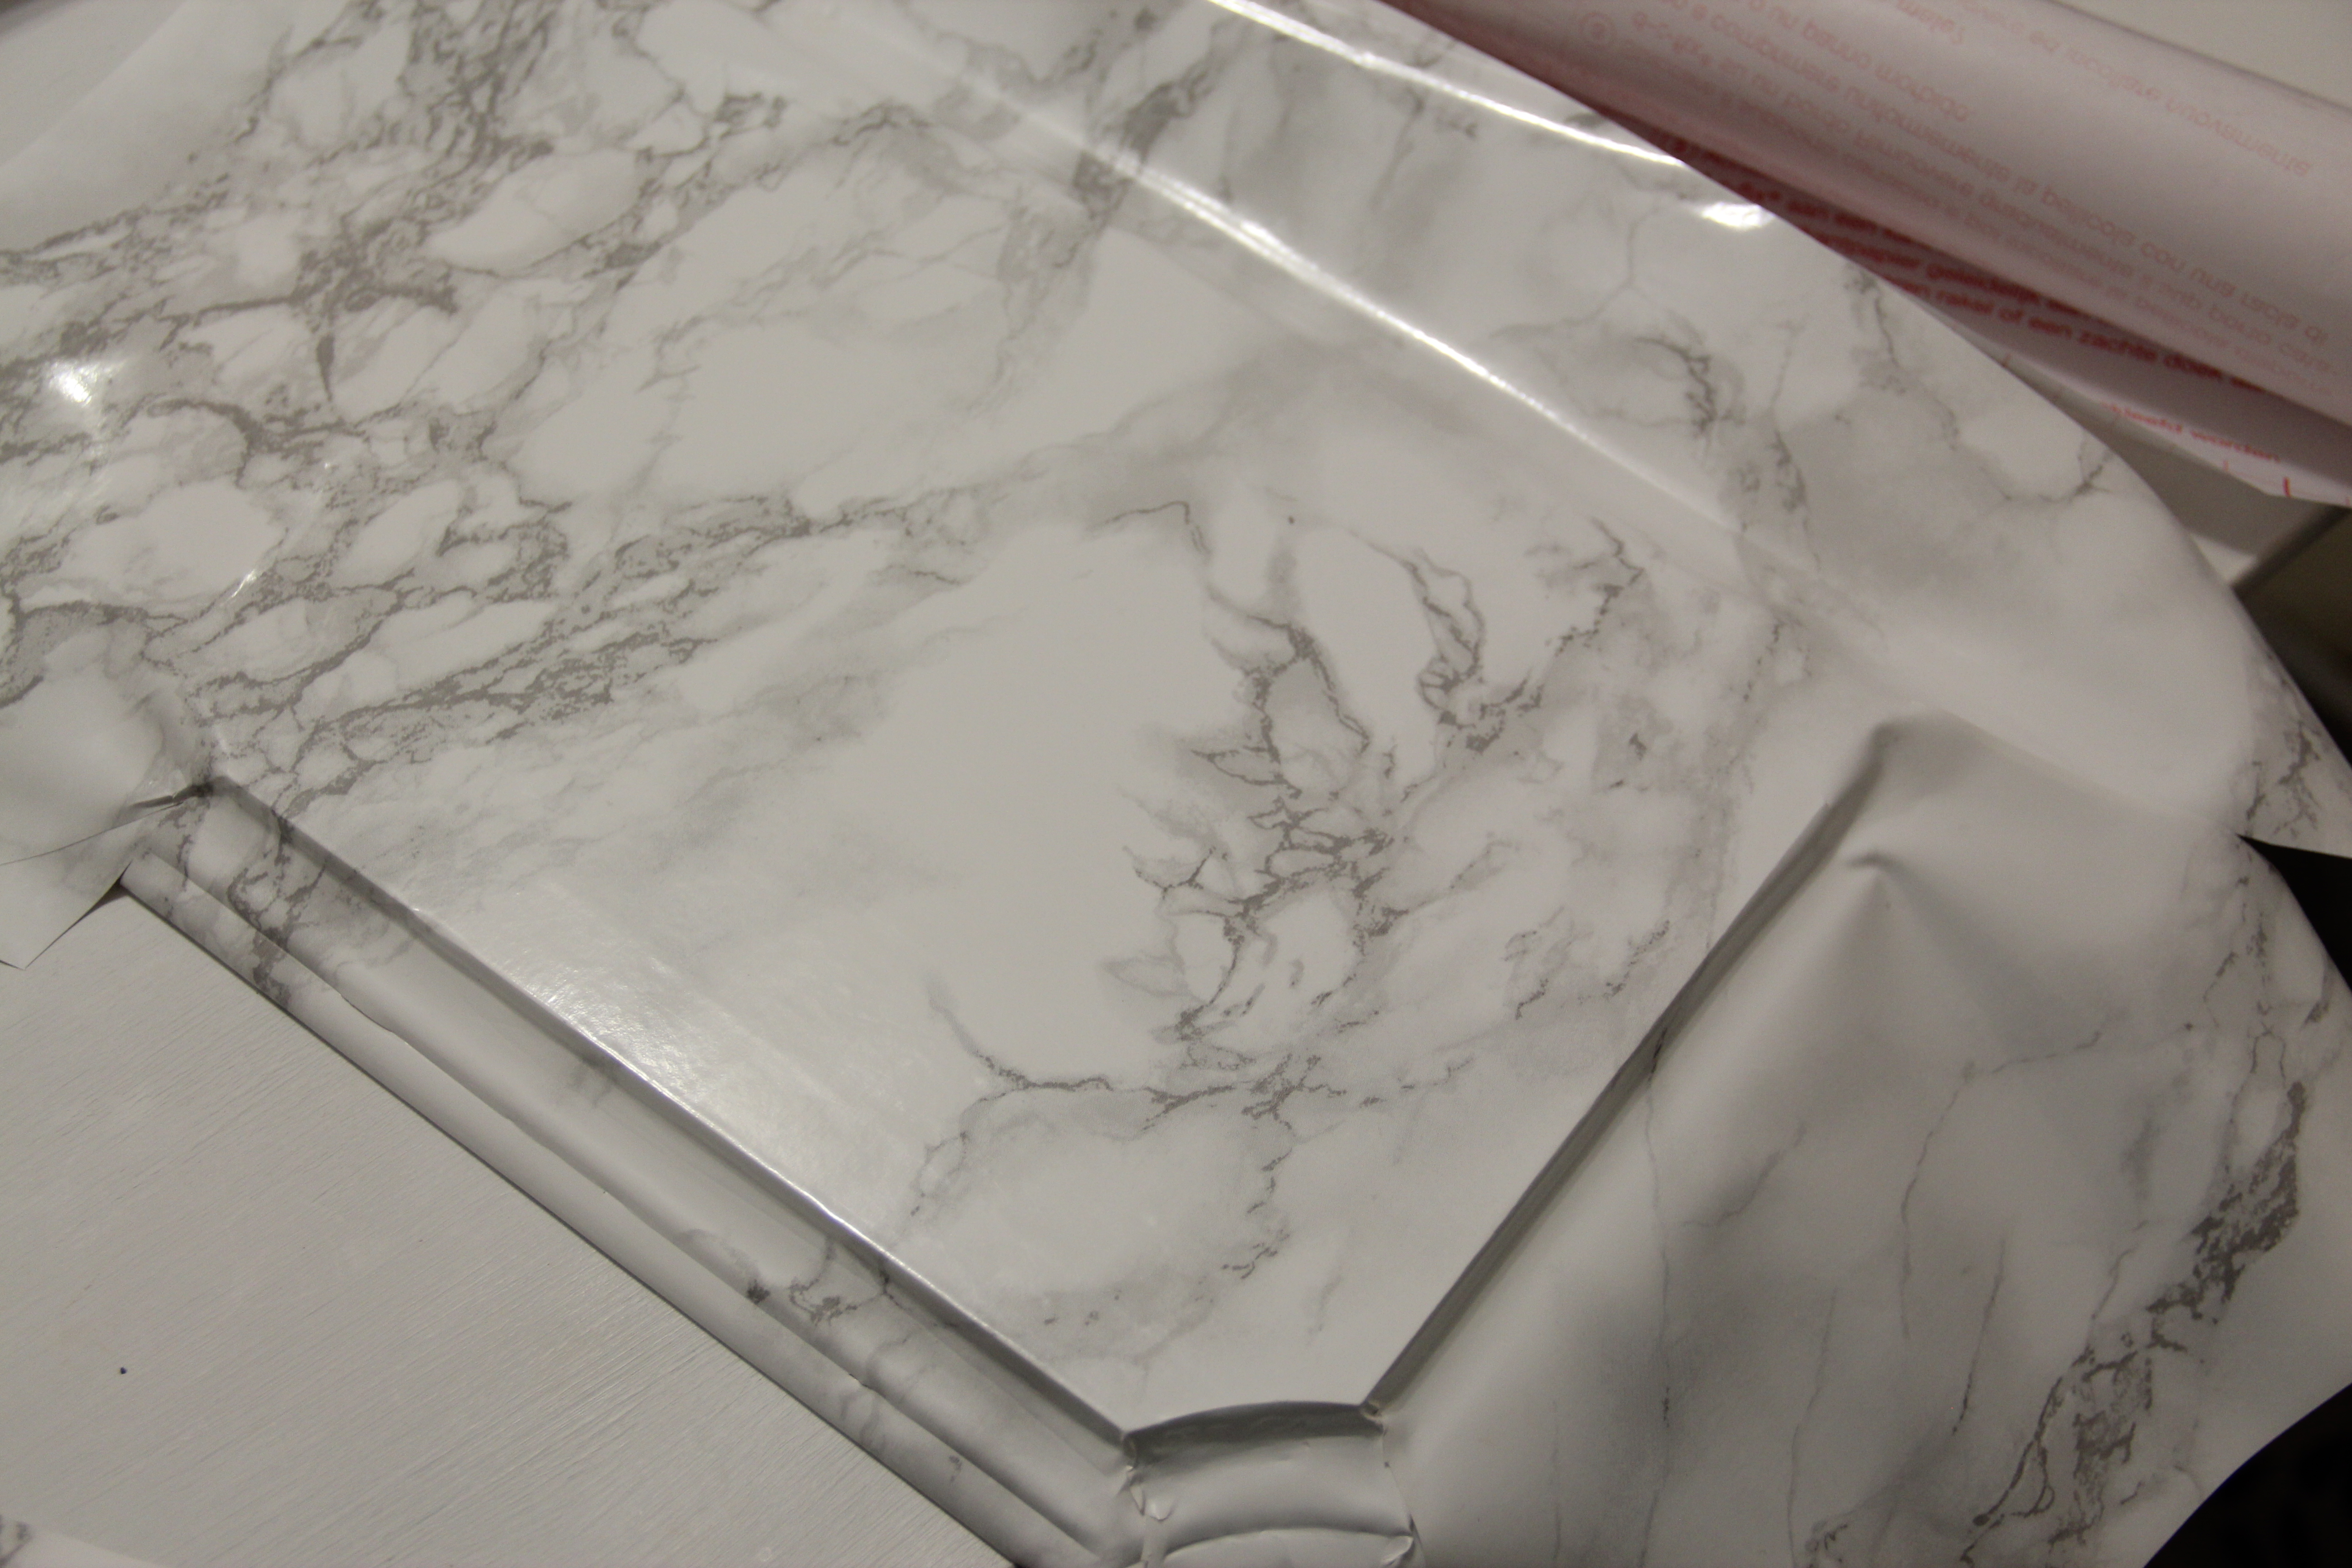
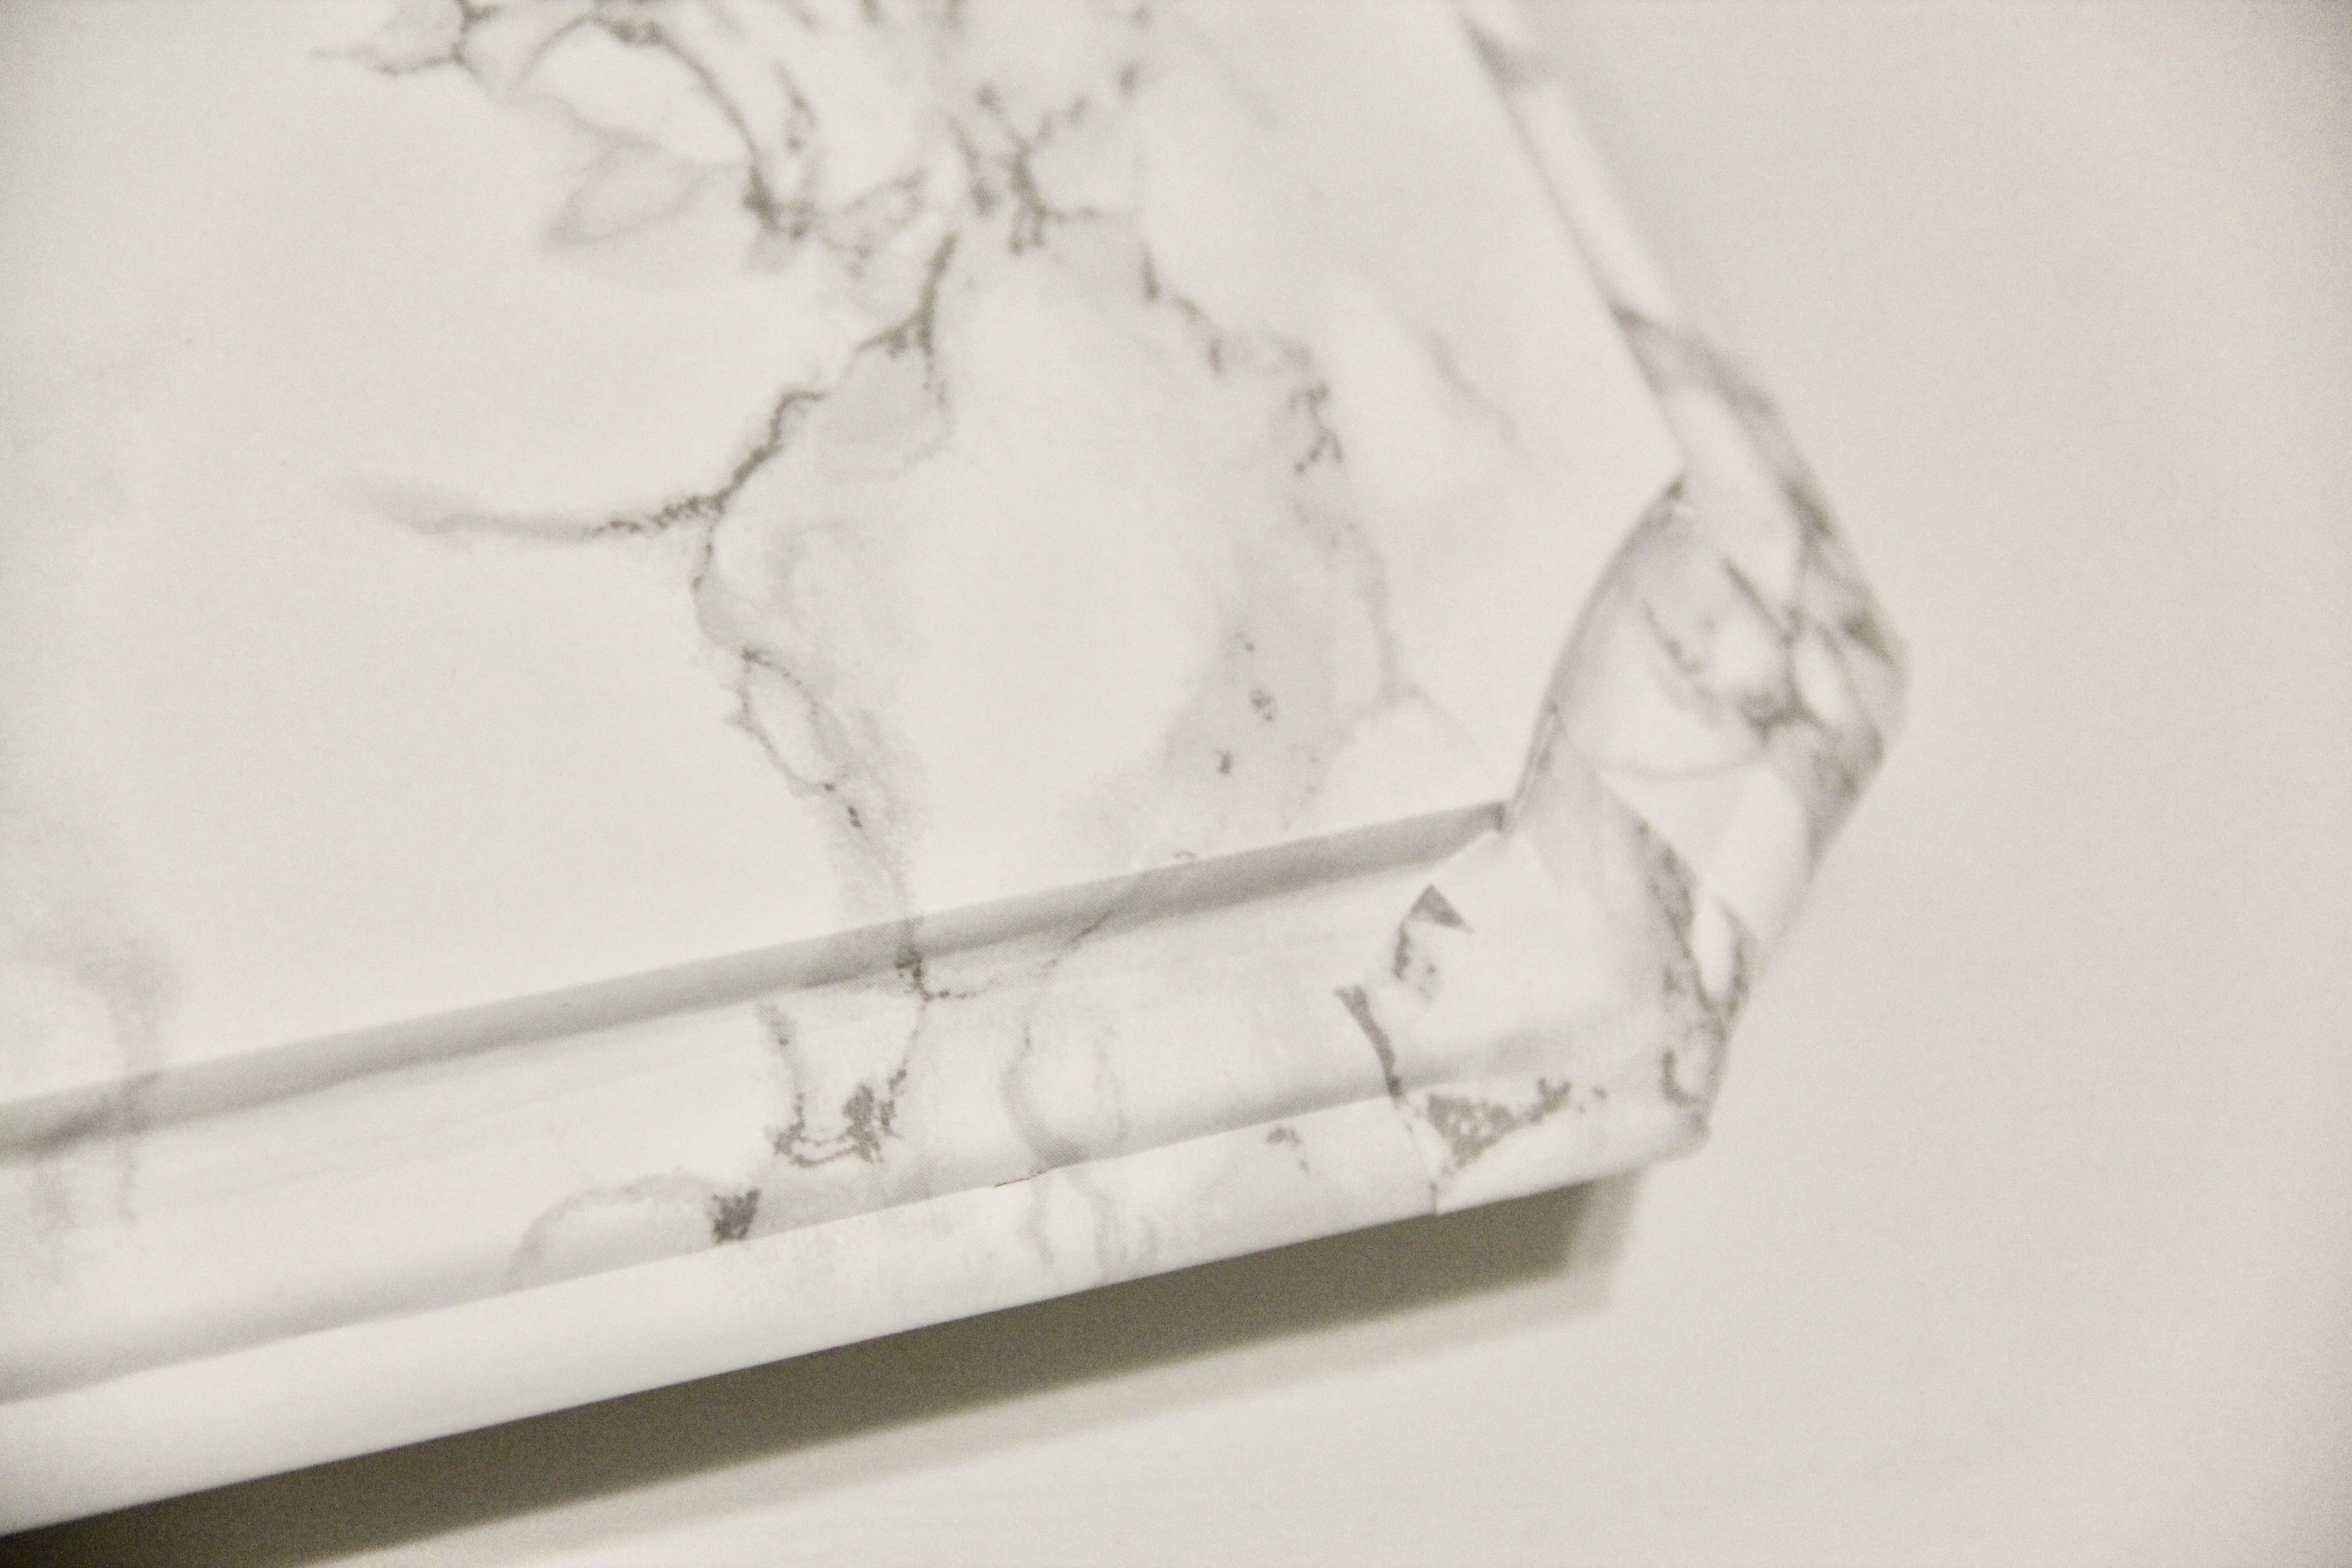
Step 4: Repeat those same set of steps on each edge and corner until the top of the piece is completely covered. Use your putty knife to smooth any bubbles that may have appeared.
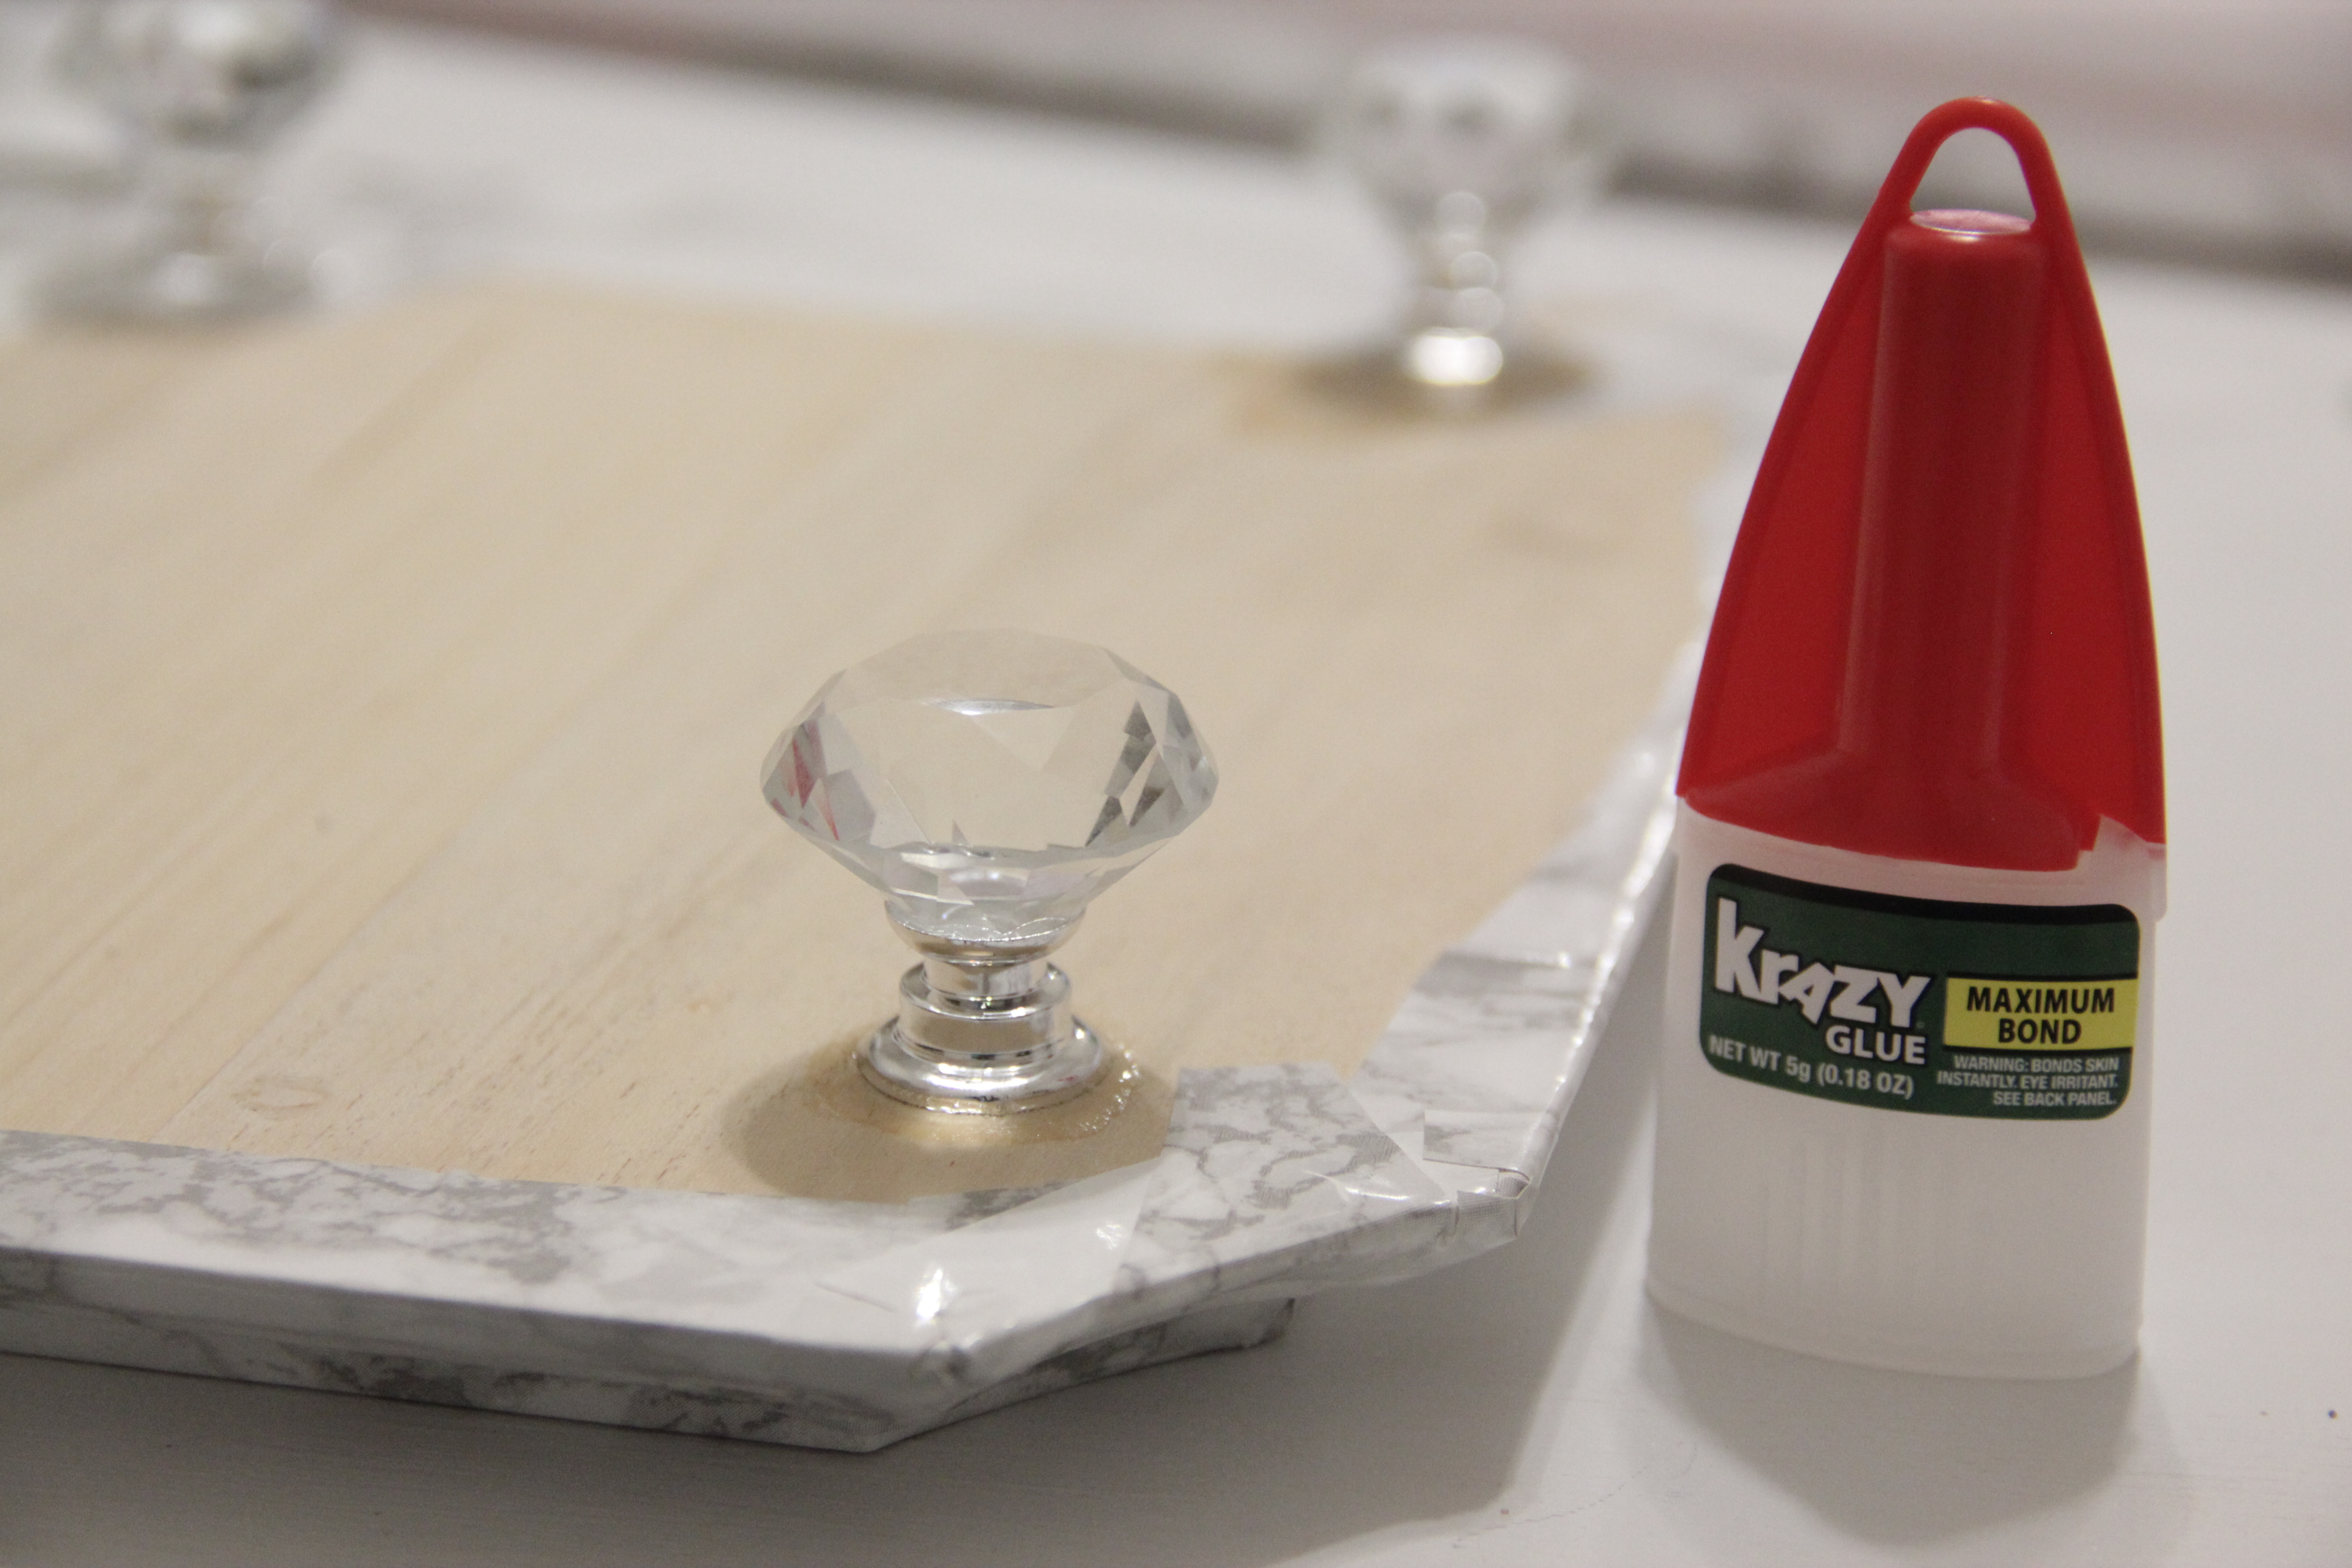
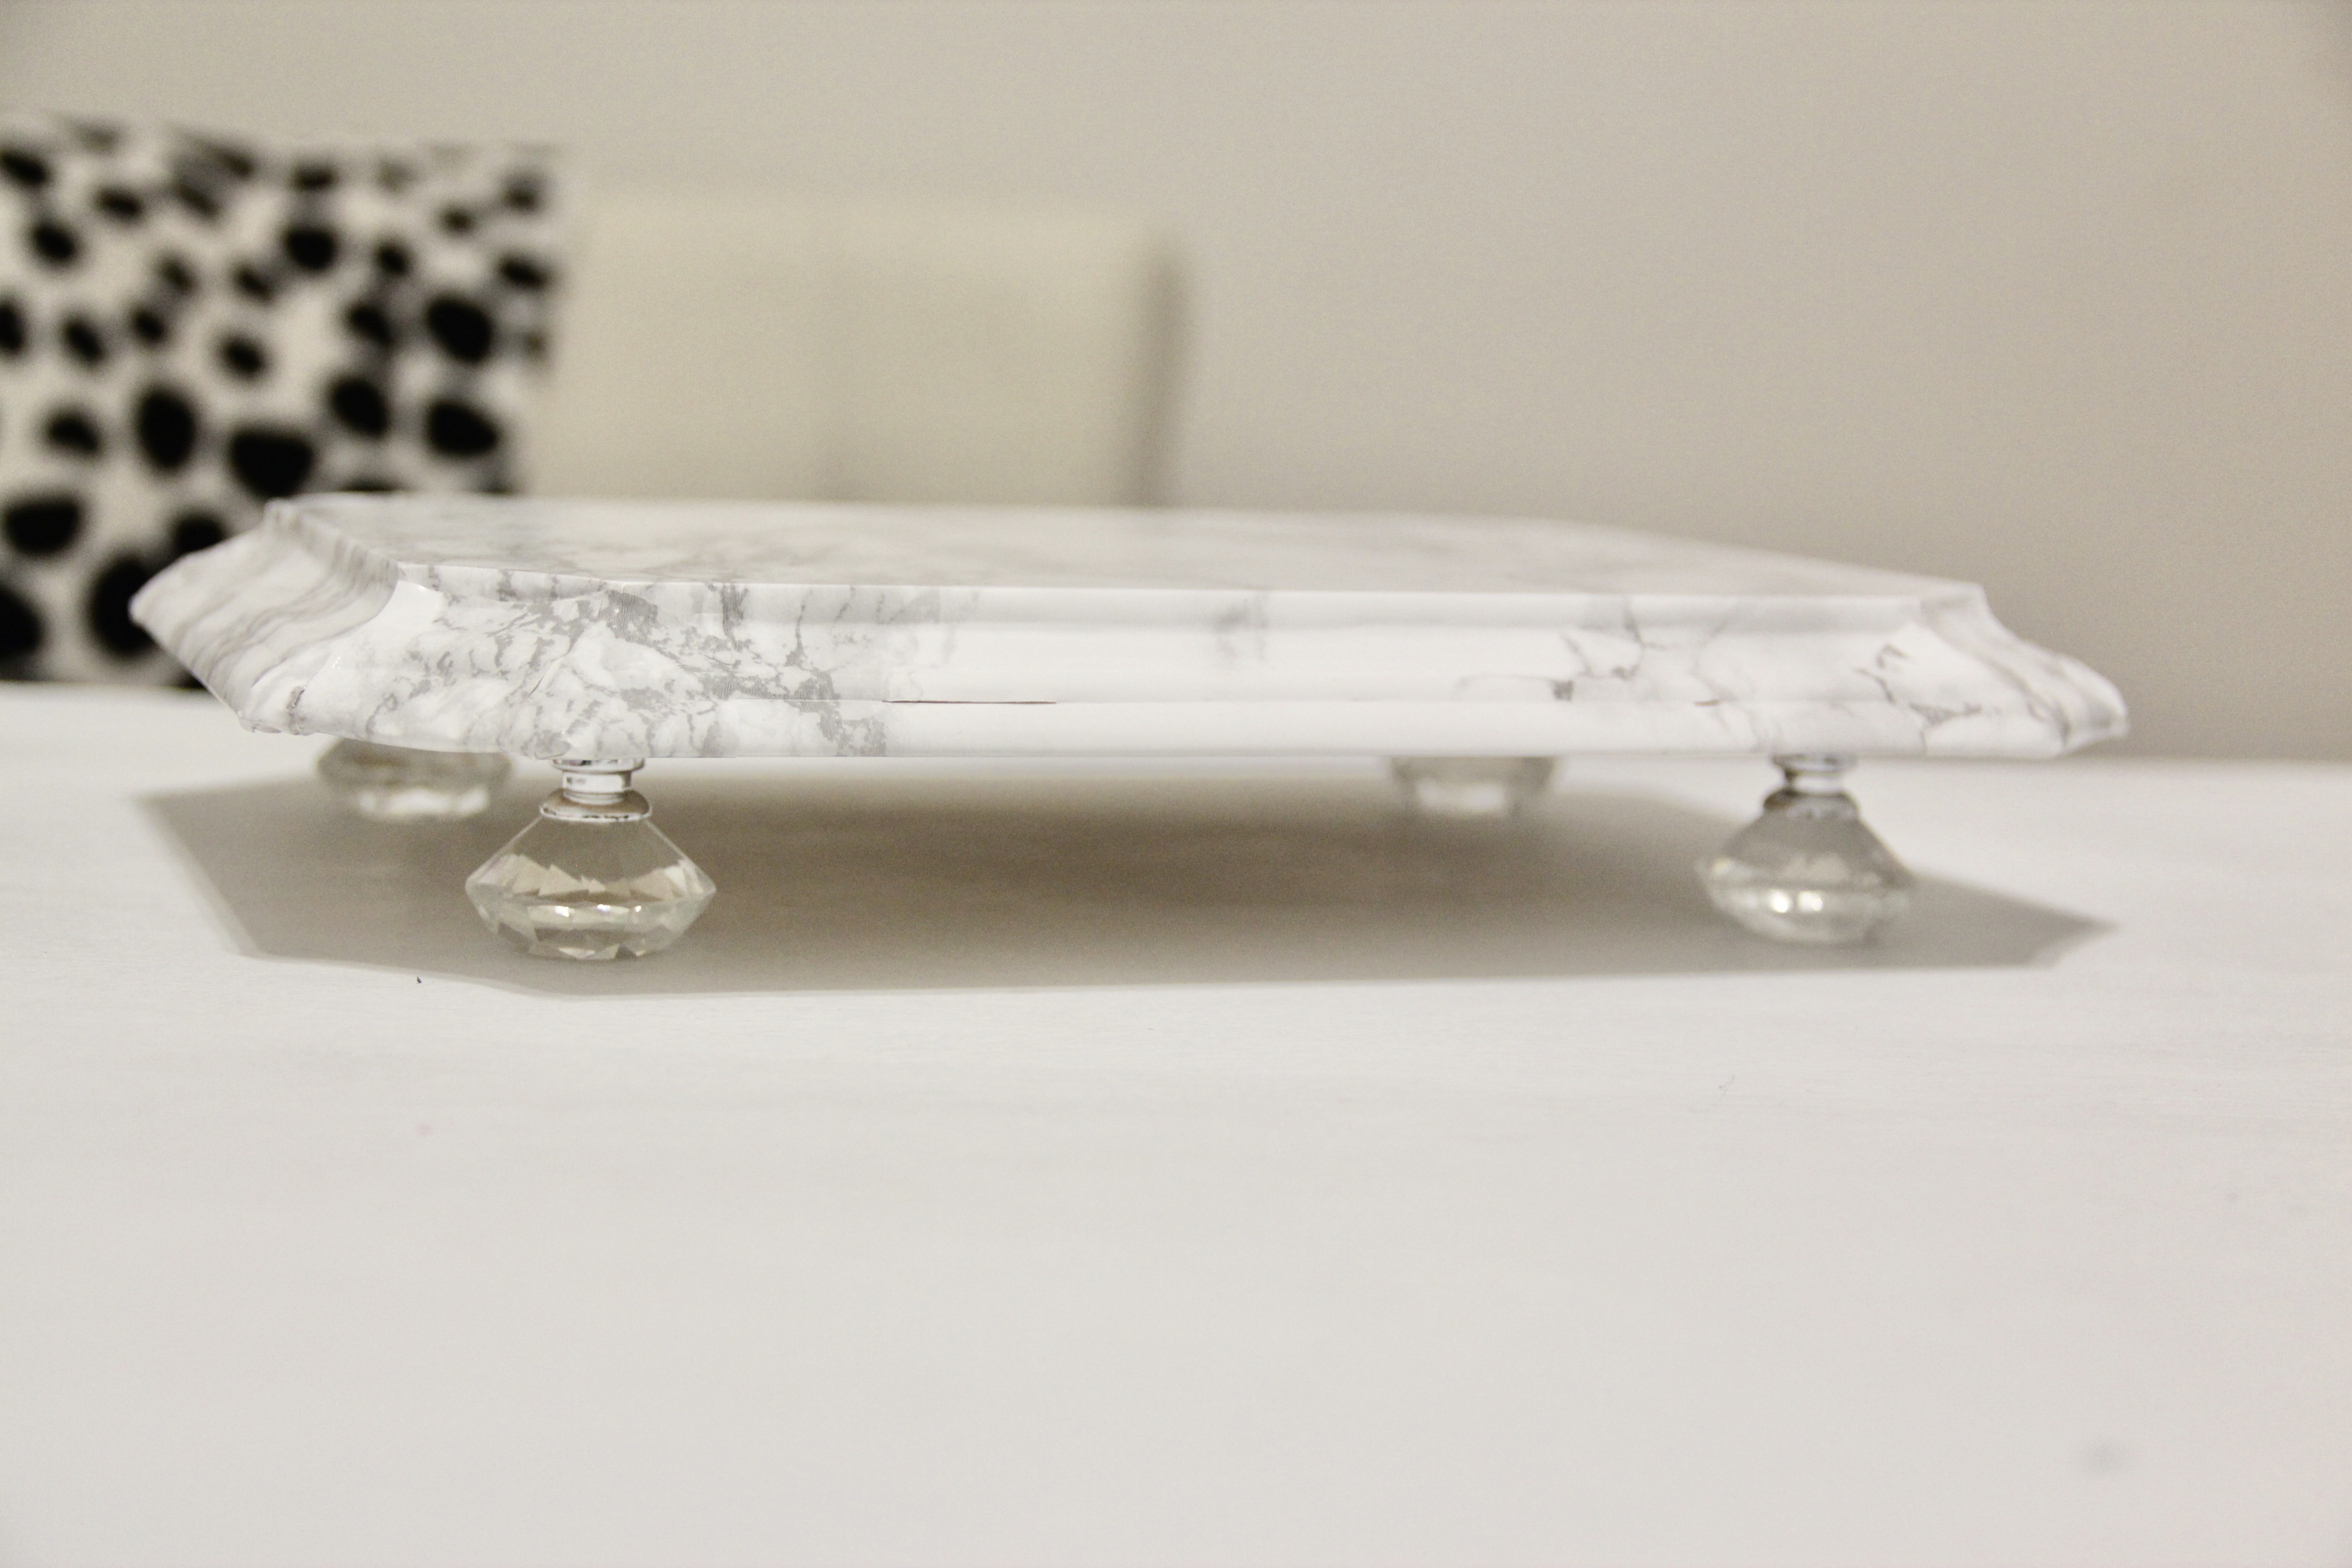
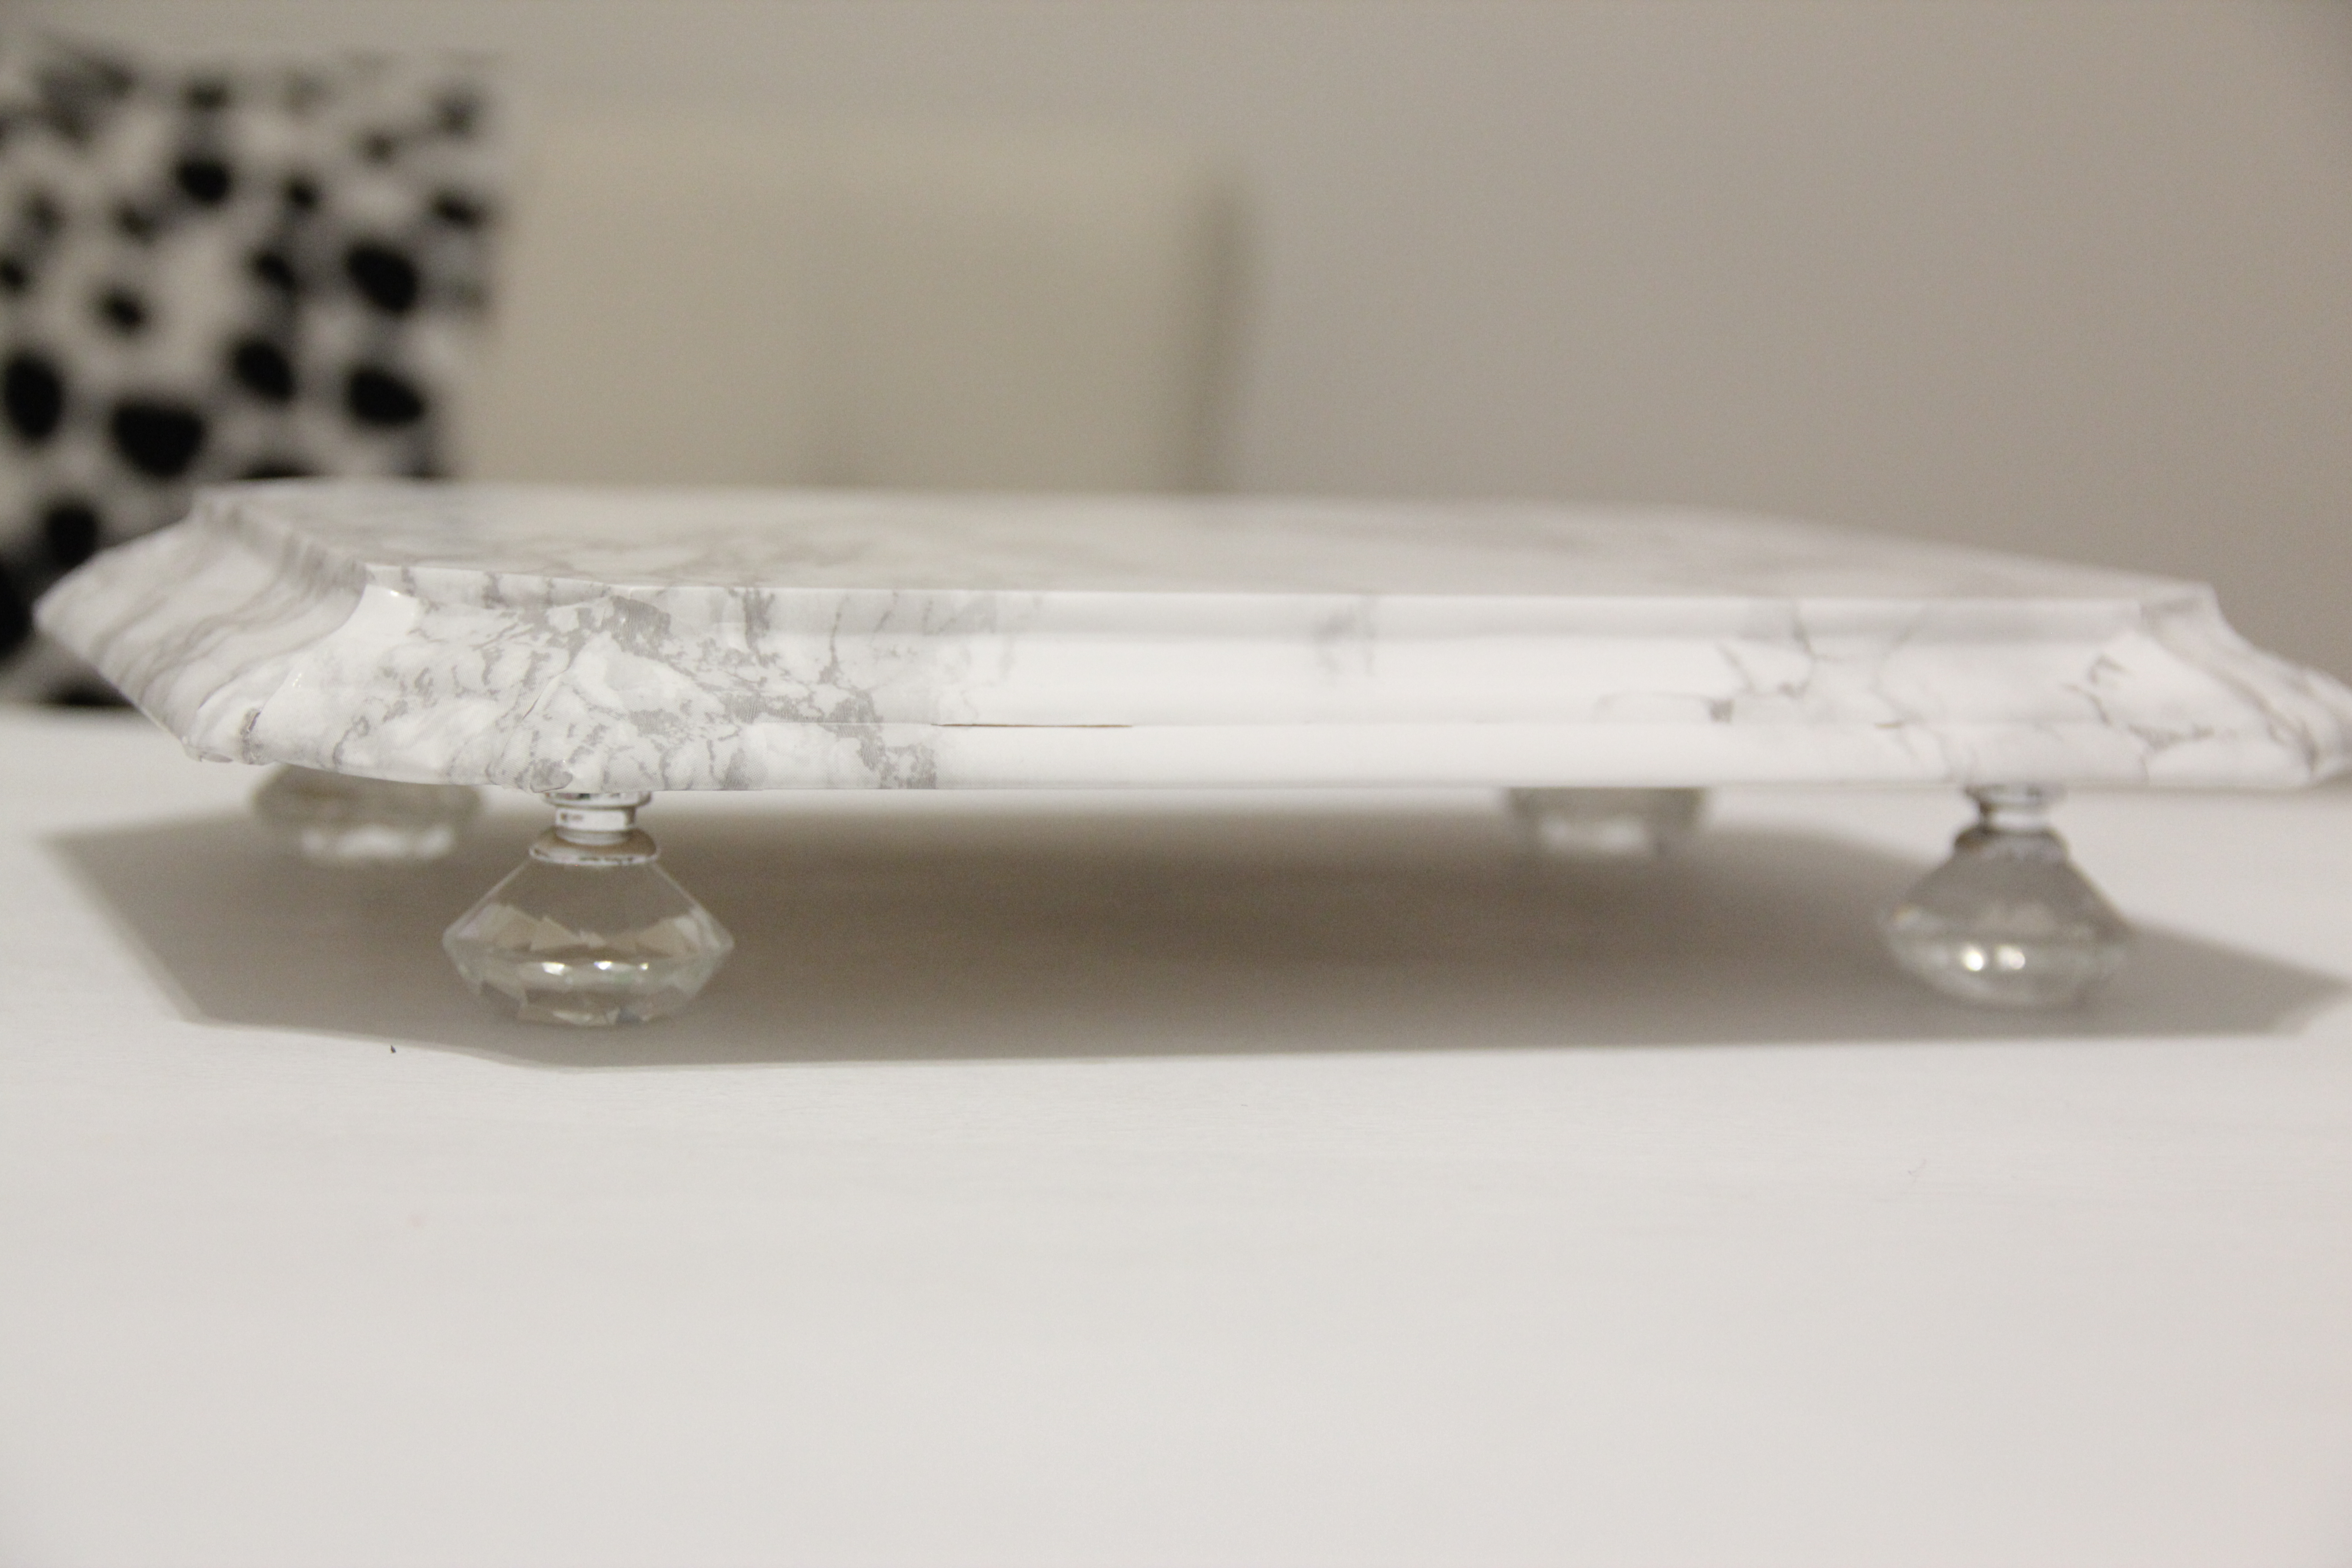
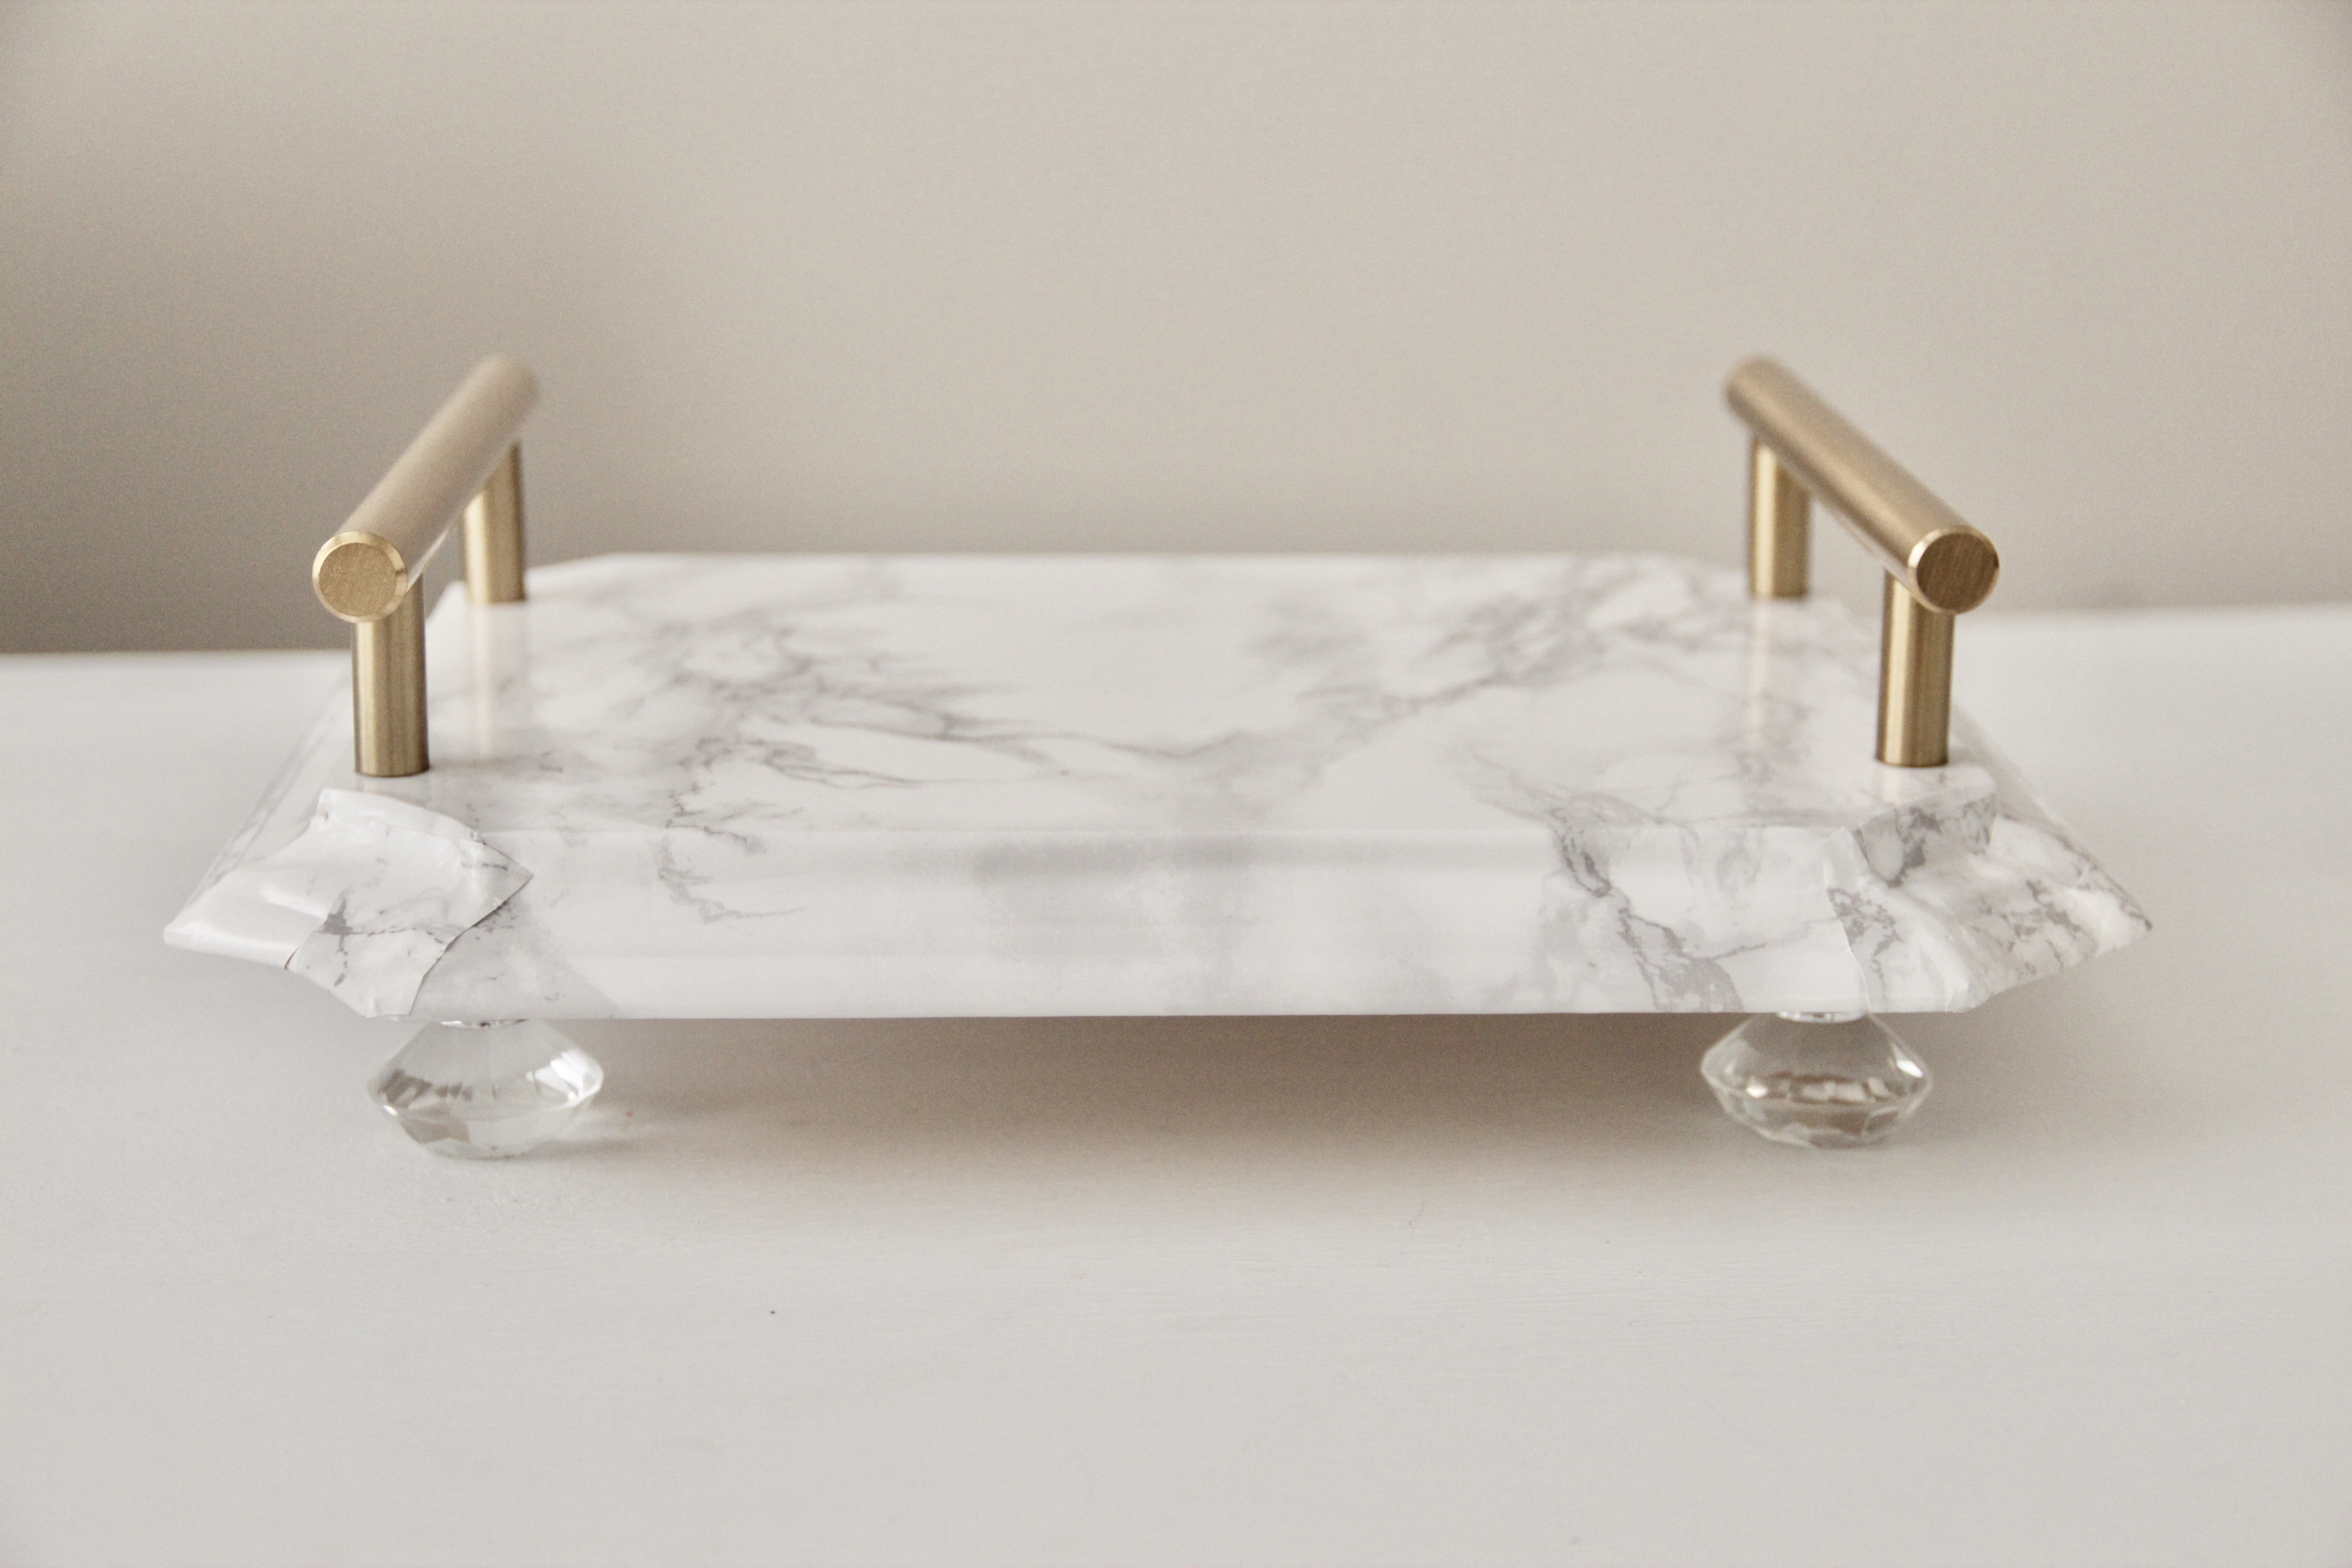
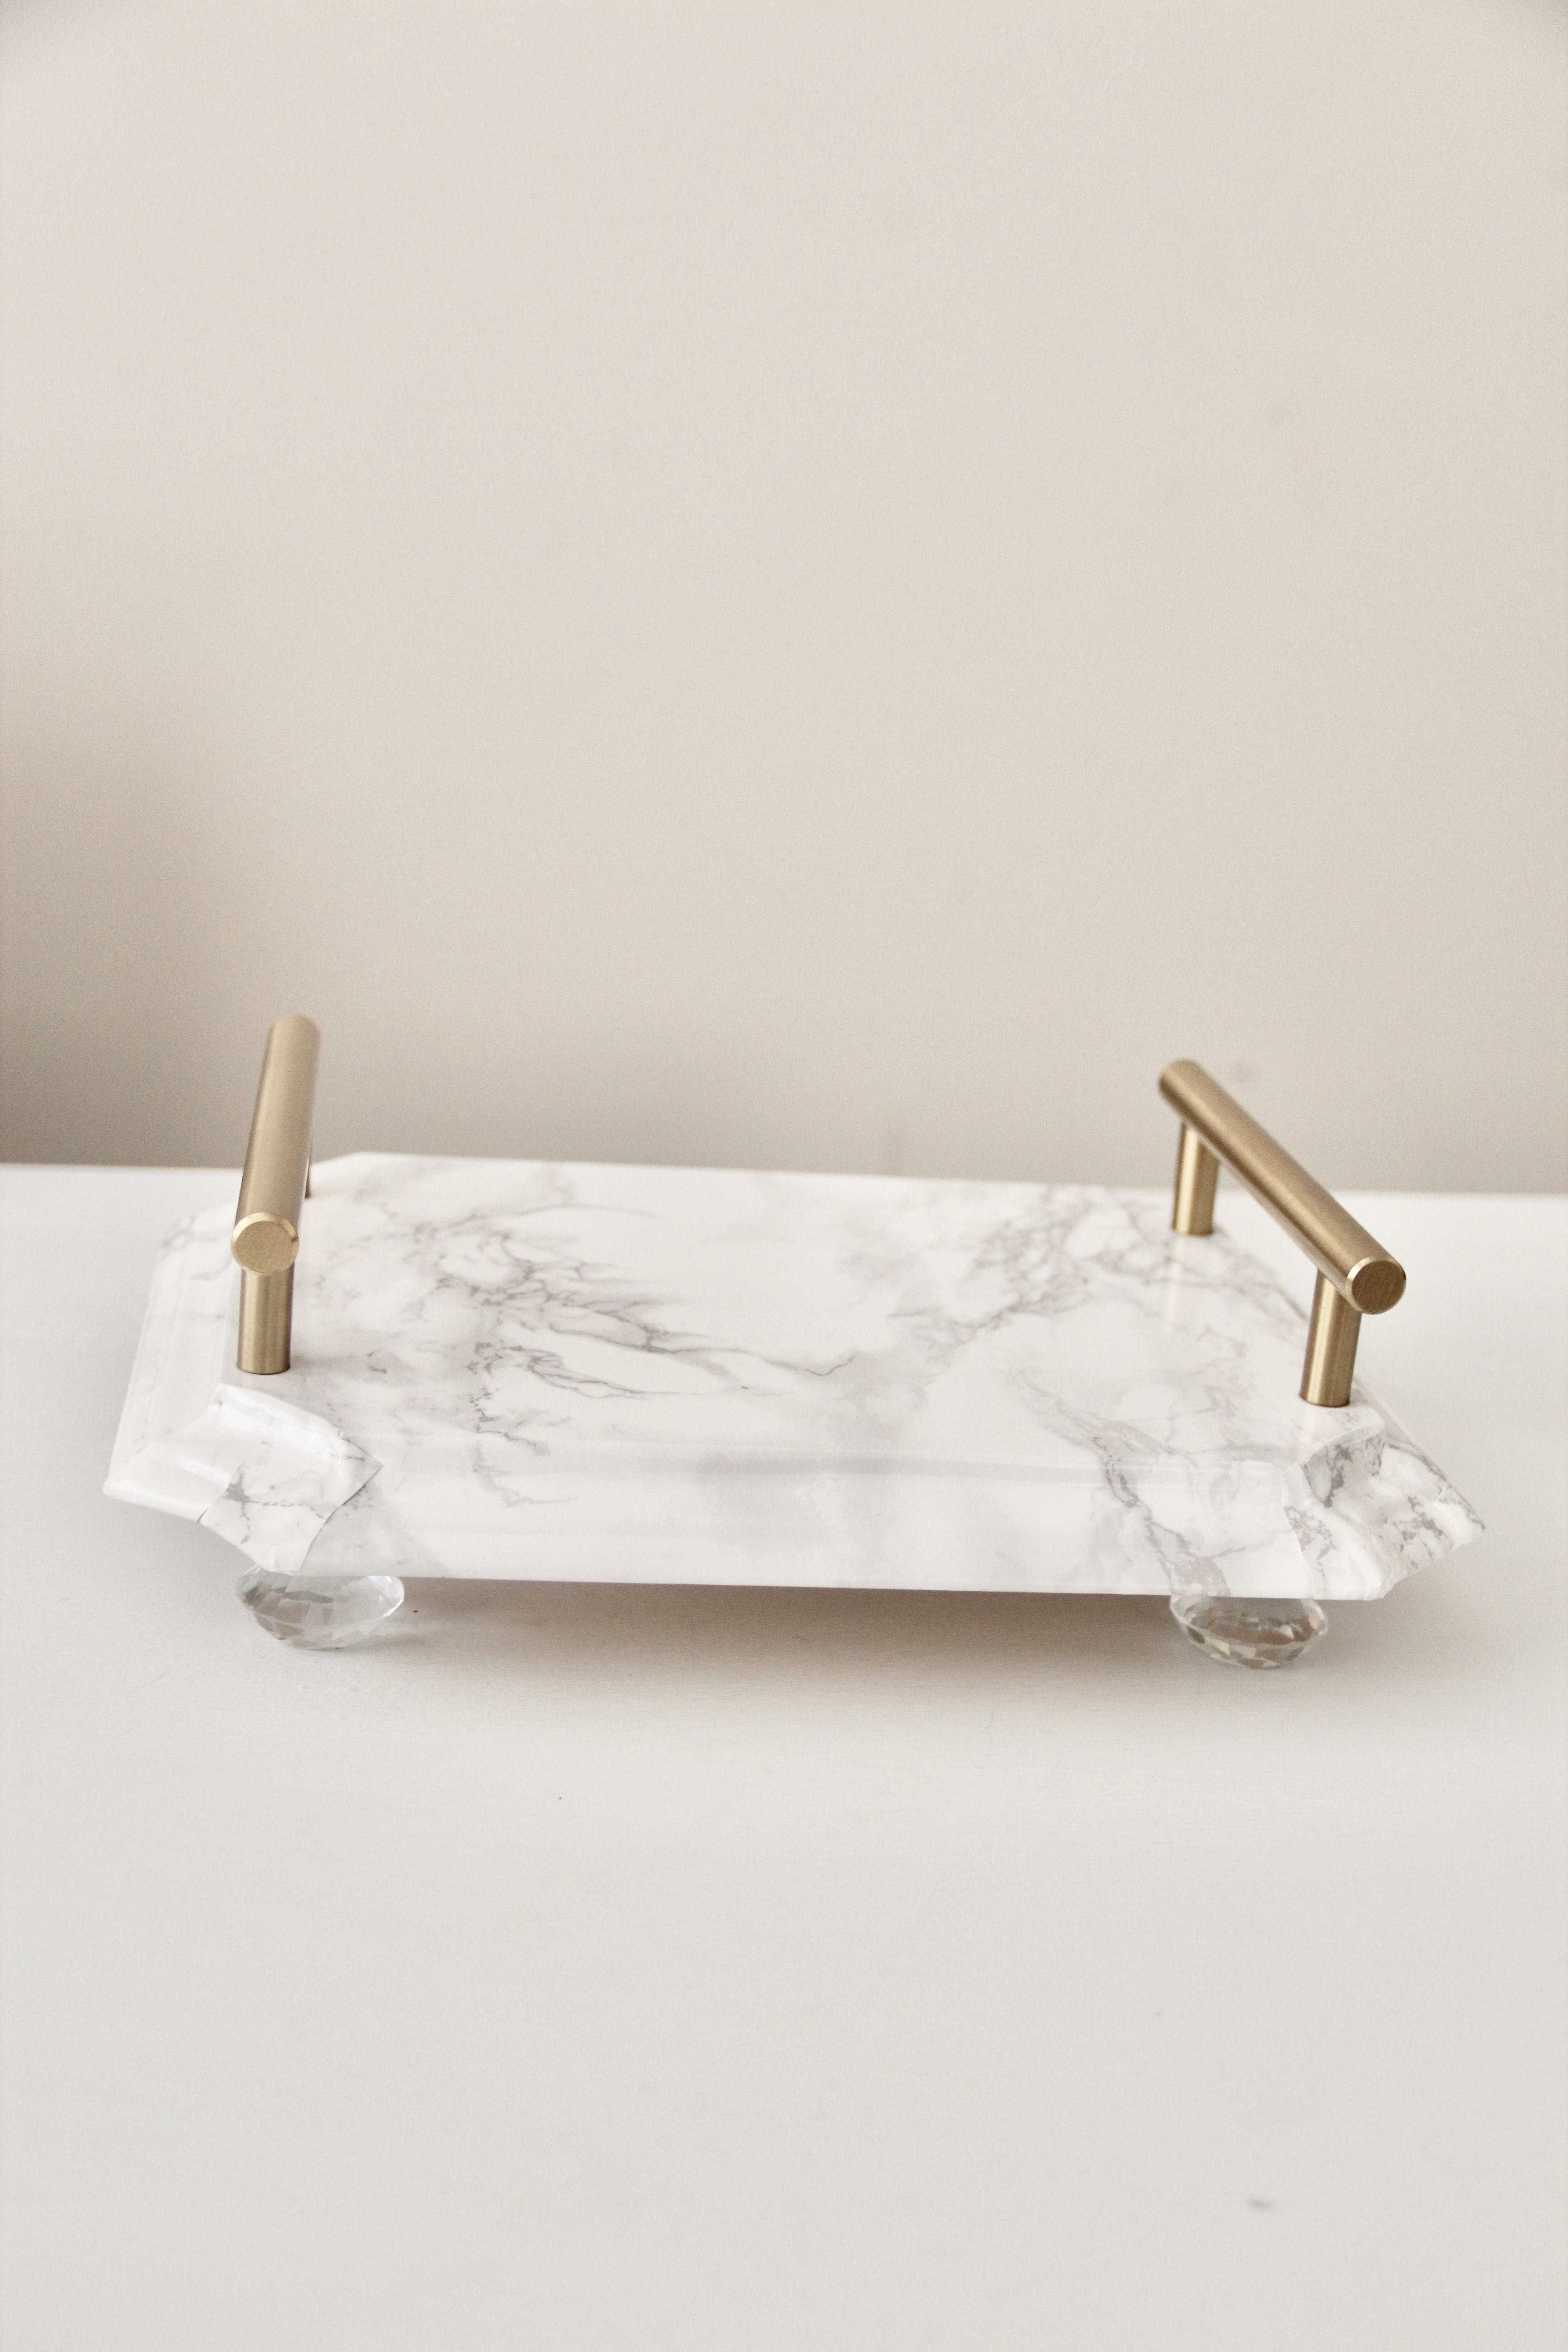
Step 5: Flip your piece over and use your Krazy glue to apply the crystal knobs which will serve as the feet of the vanity tray. This glue dries super super quickly, so make sure you know exactly where you want your bases to be. I love these crystals, because of their flat face, so the tray won’t rock back and forth.
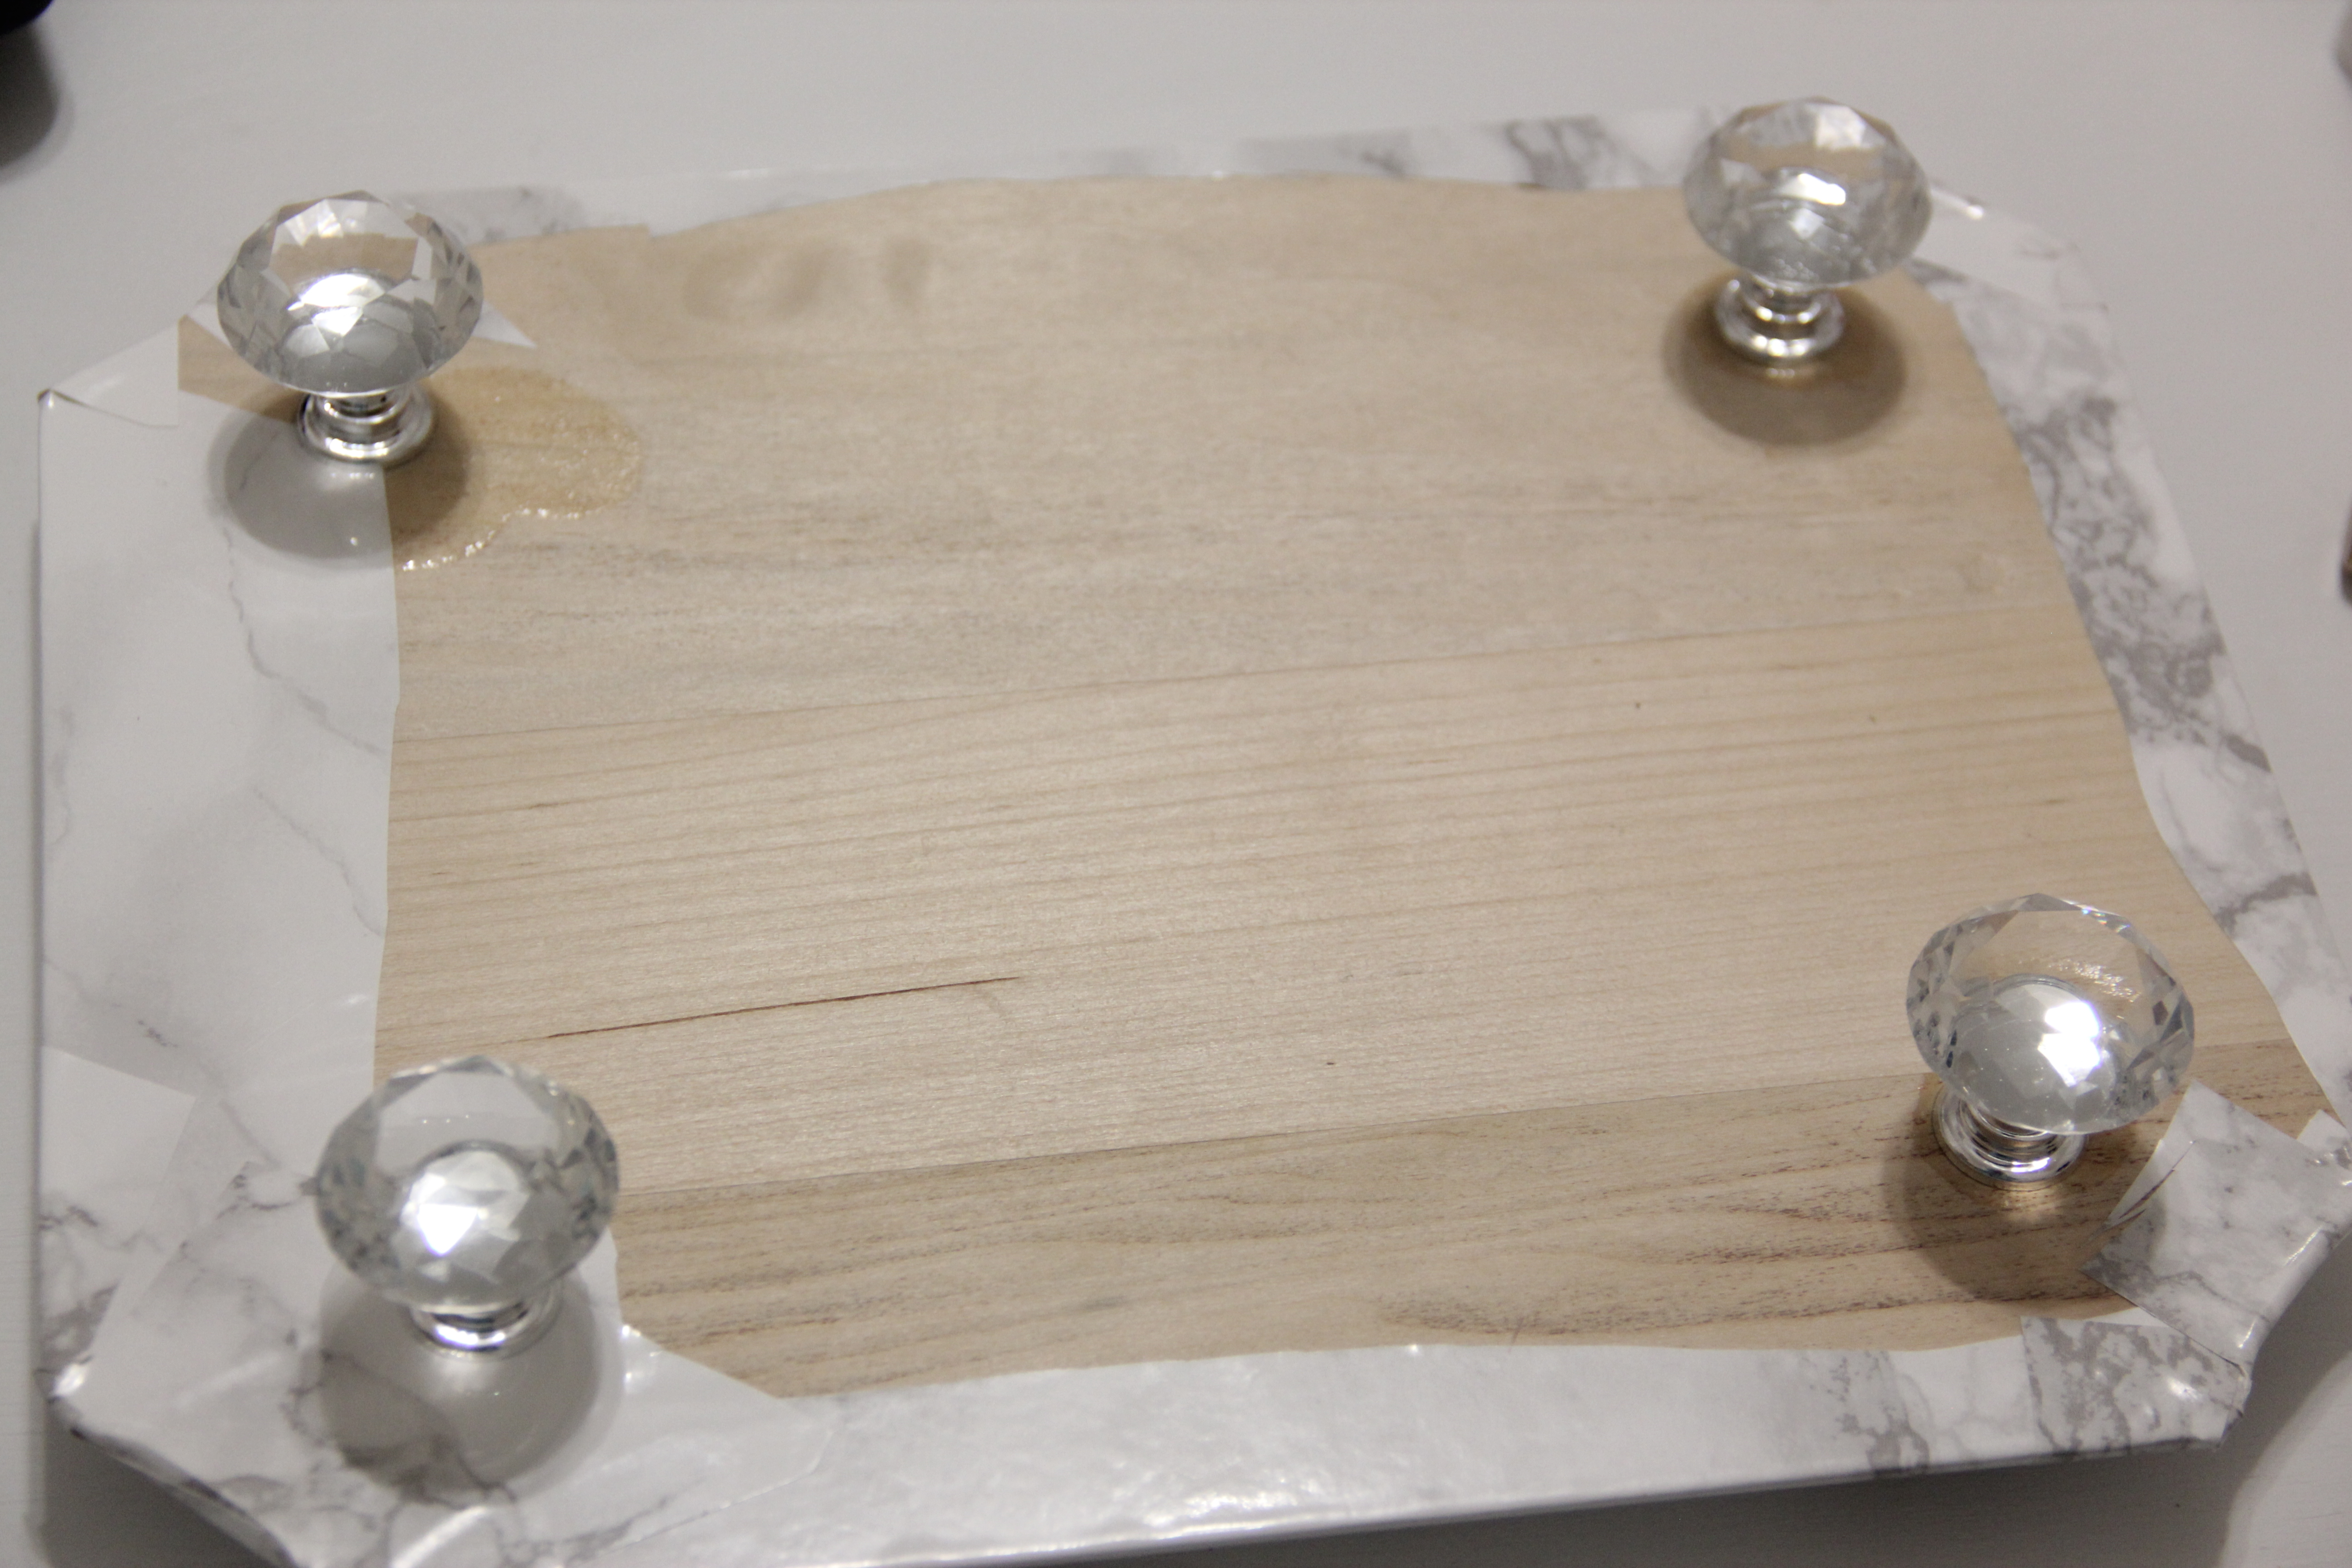
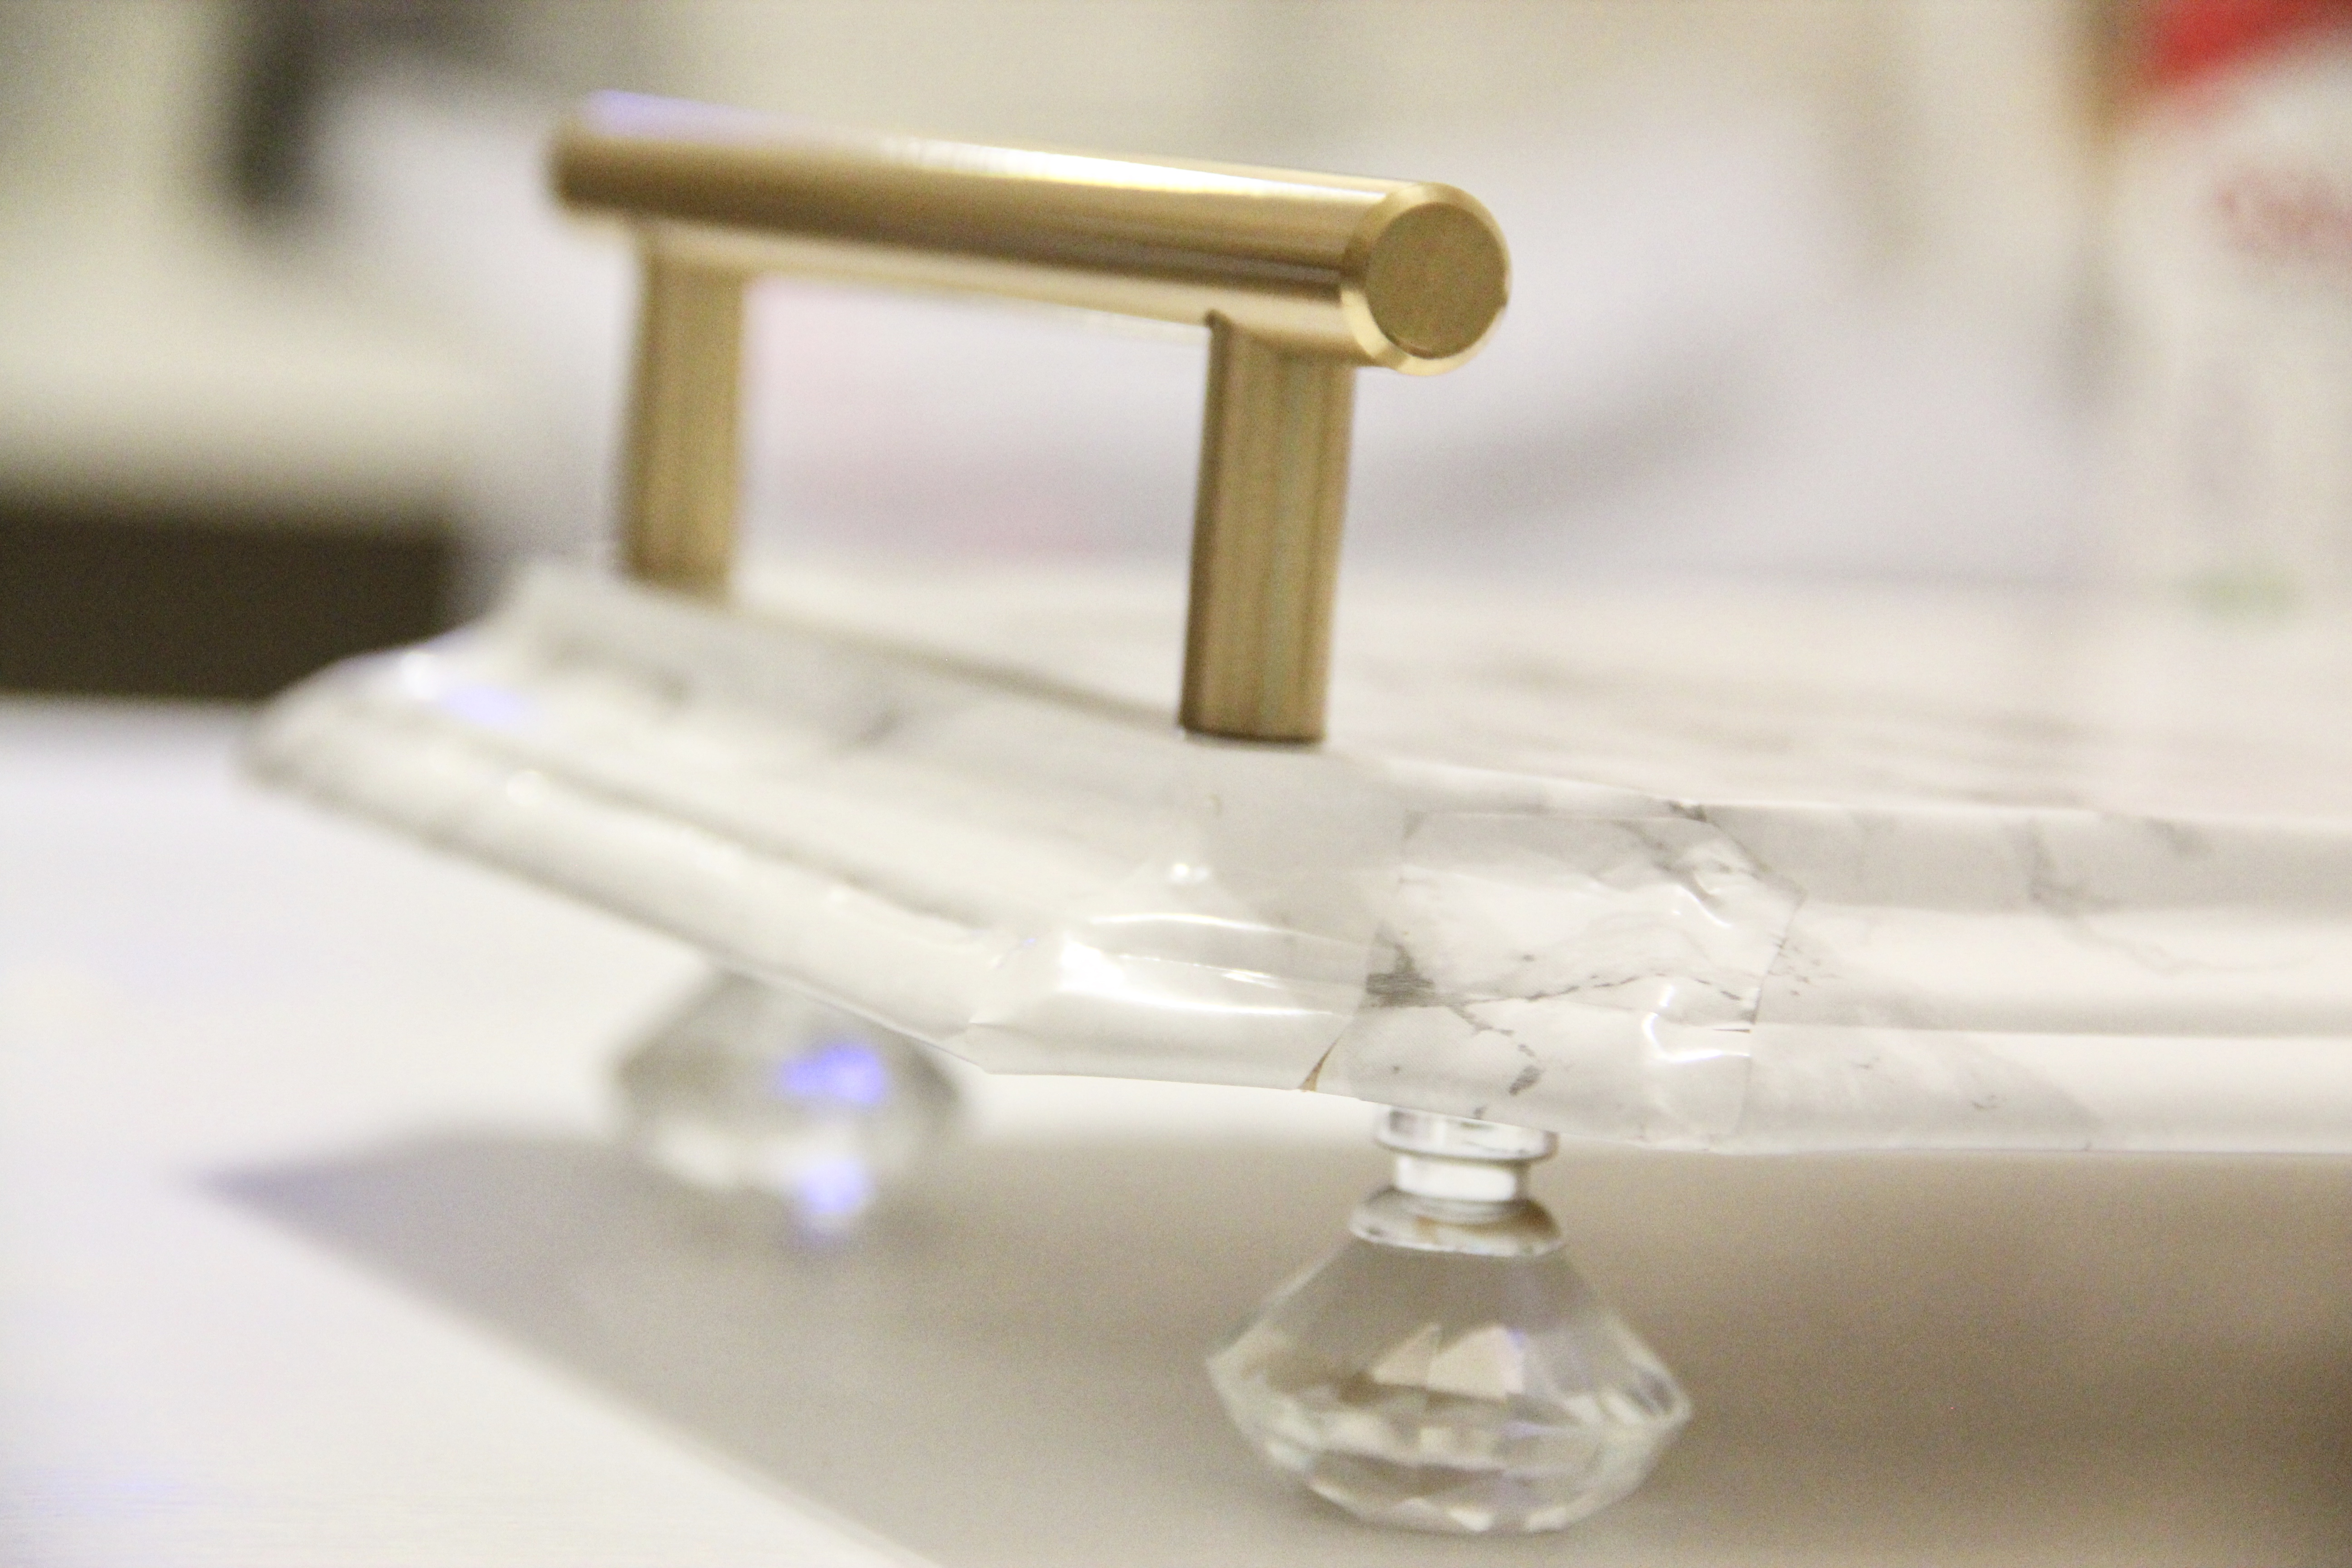
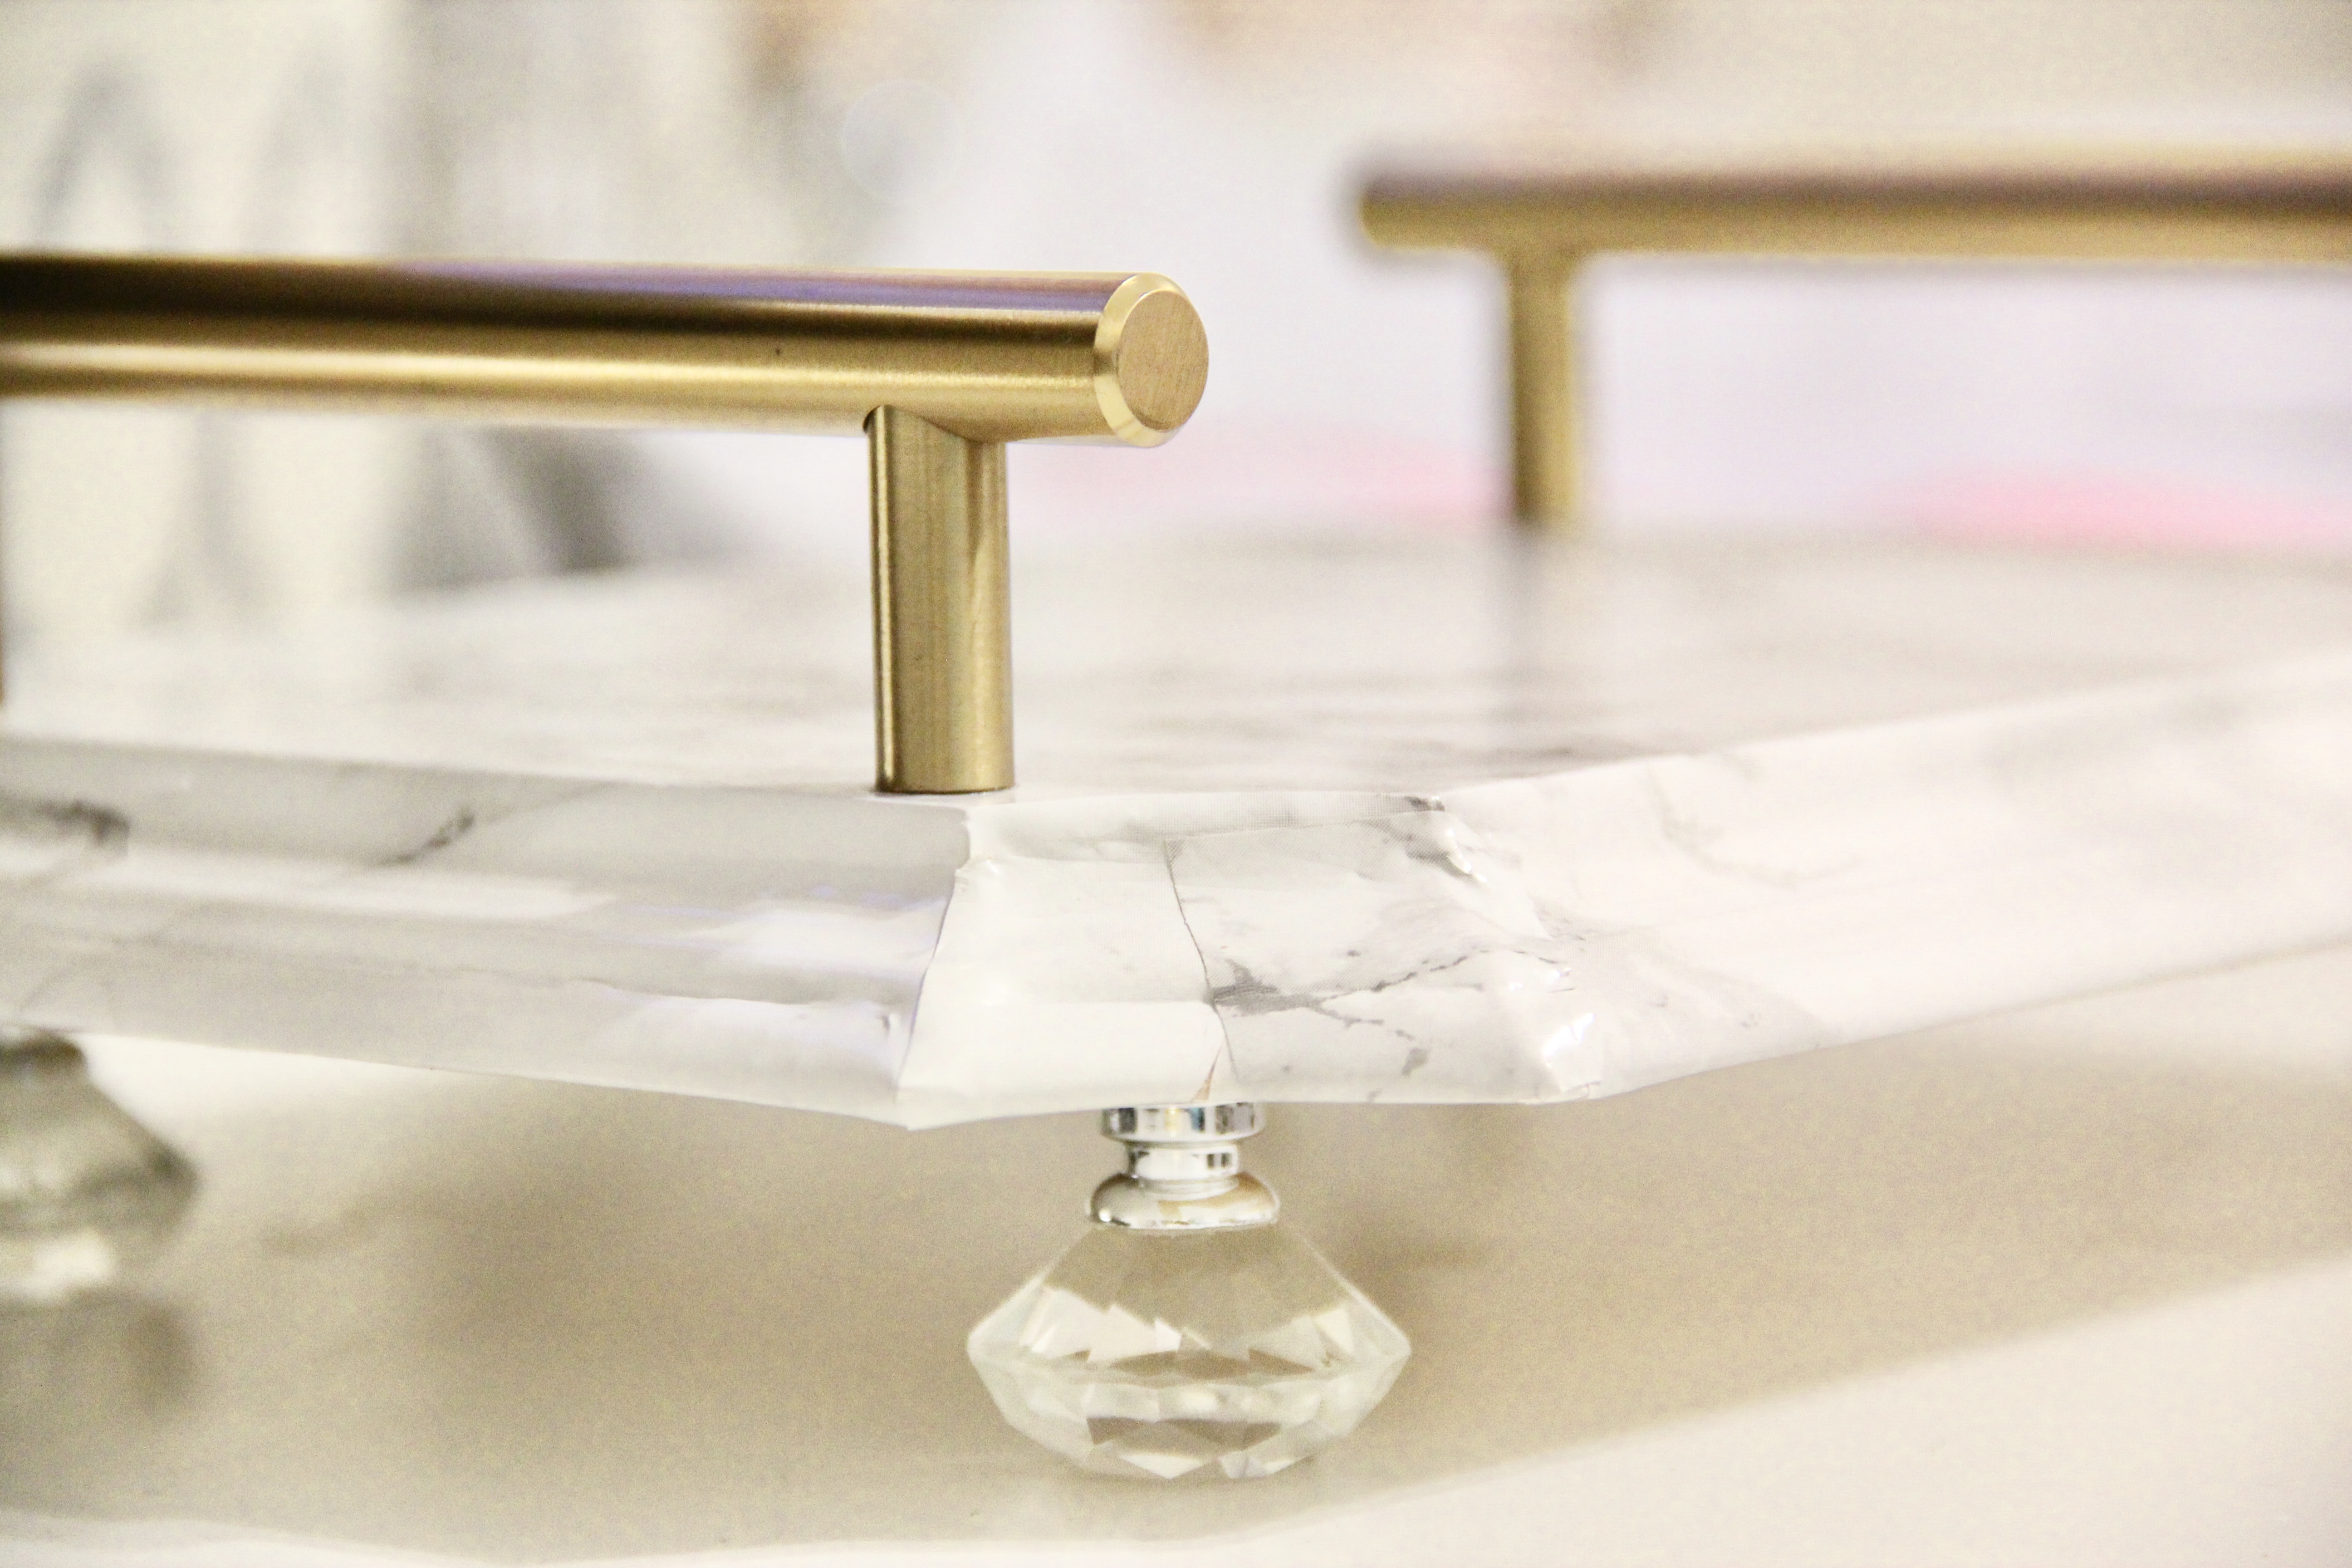
Step 6: Once all of your knobs have dried, flip the piece back over! It’s time to add your final touch of gold hardware 🙂

Step 7: Line up your gold hardware and apply the Krazy Glue to the bottom of each pull, (not to the vanity tray directly), and set each piece where you want them on the tray.
TAH-DAH you’re done!
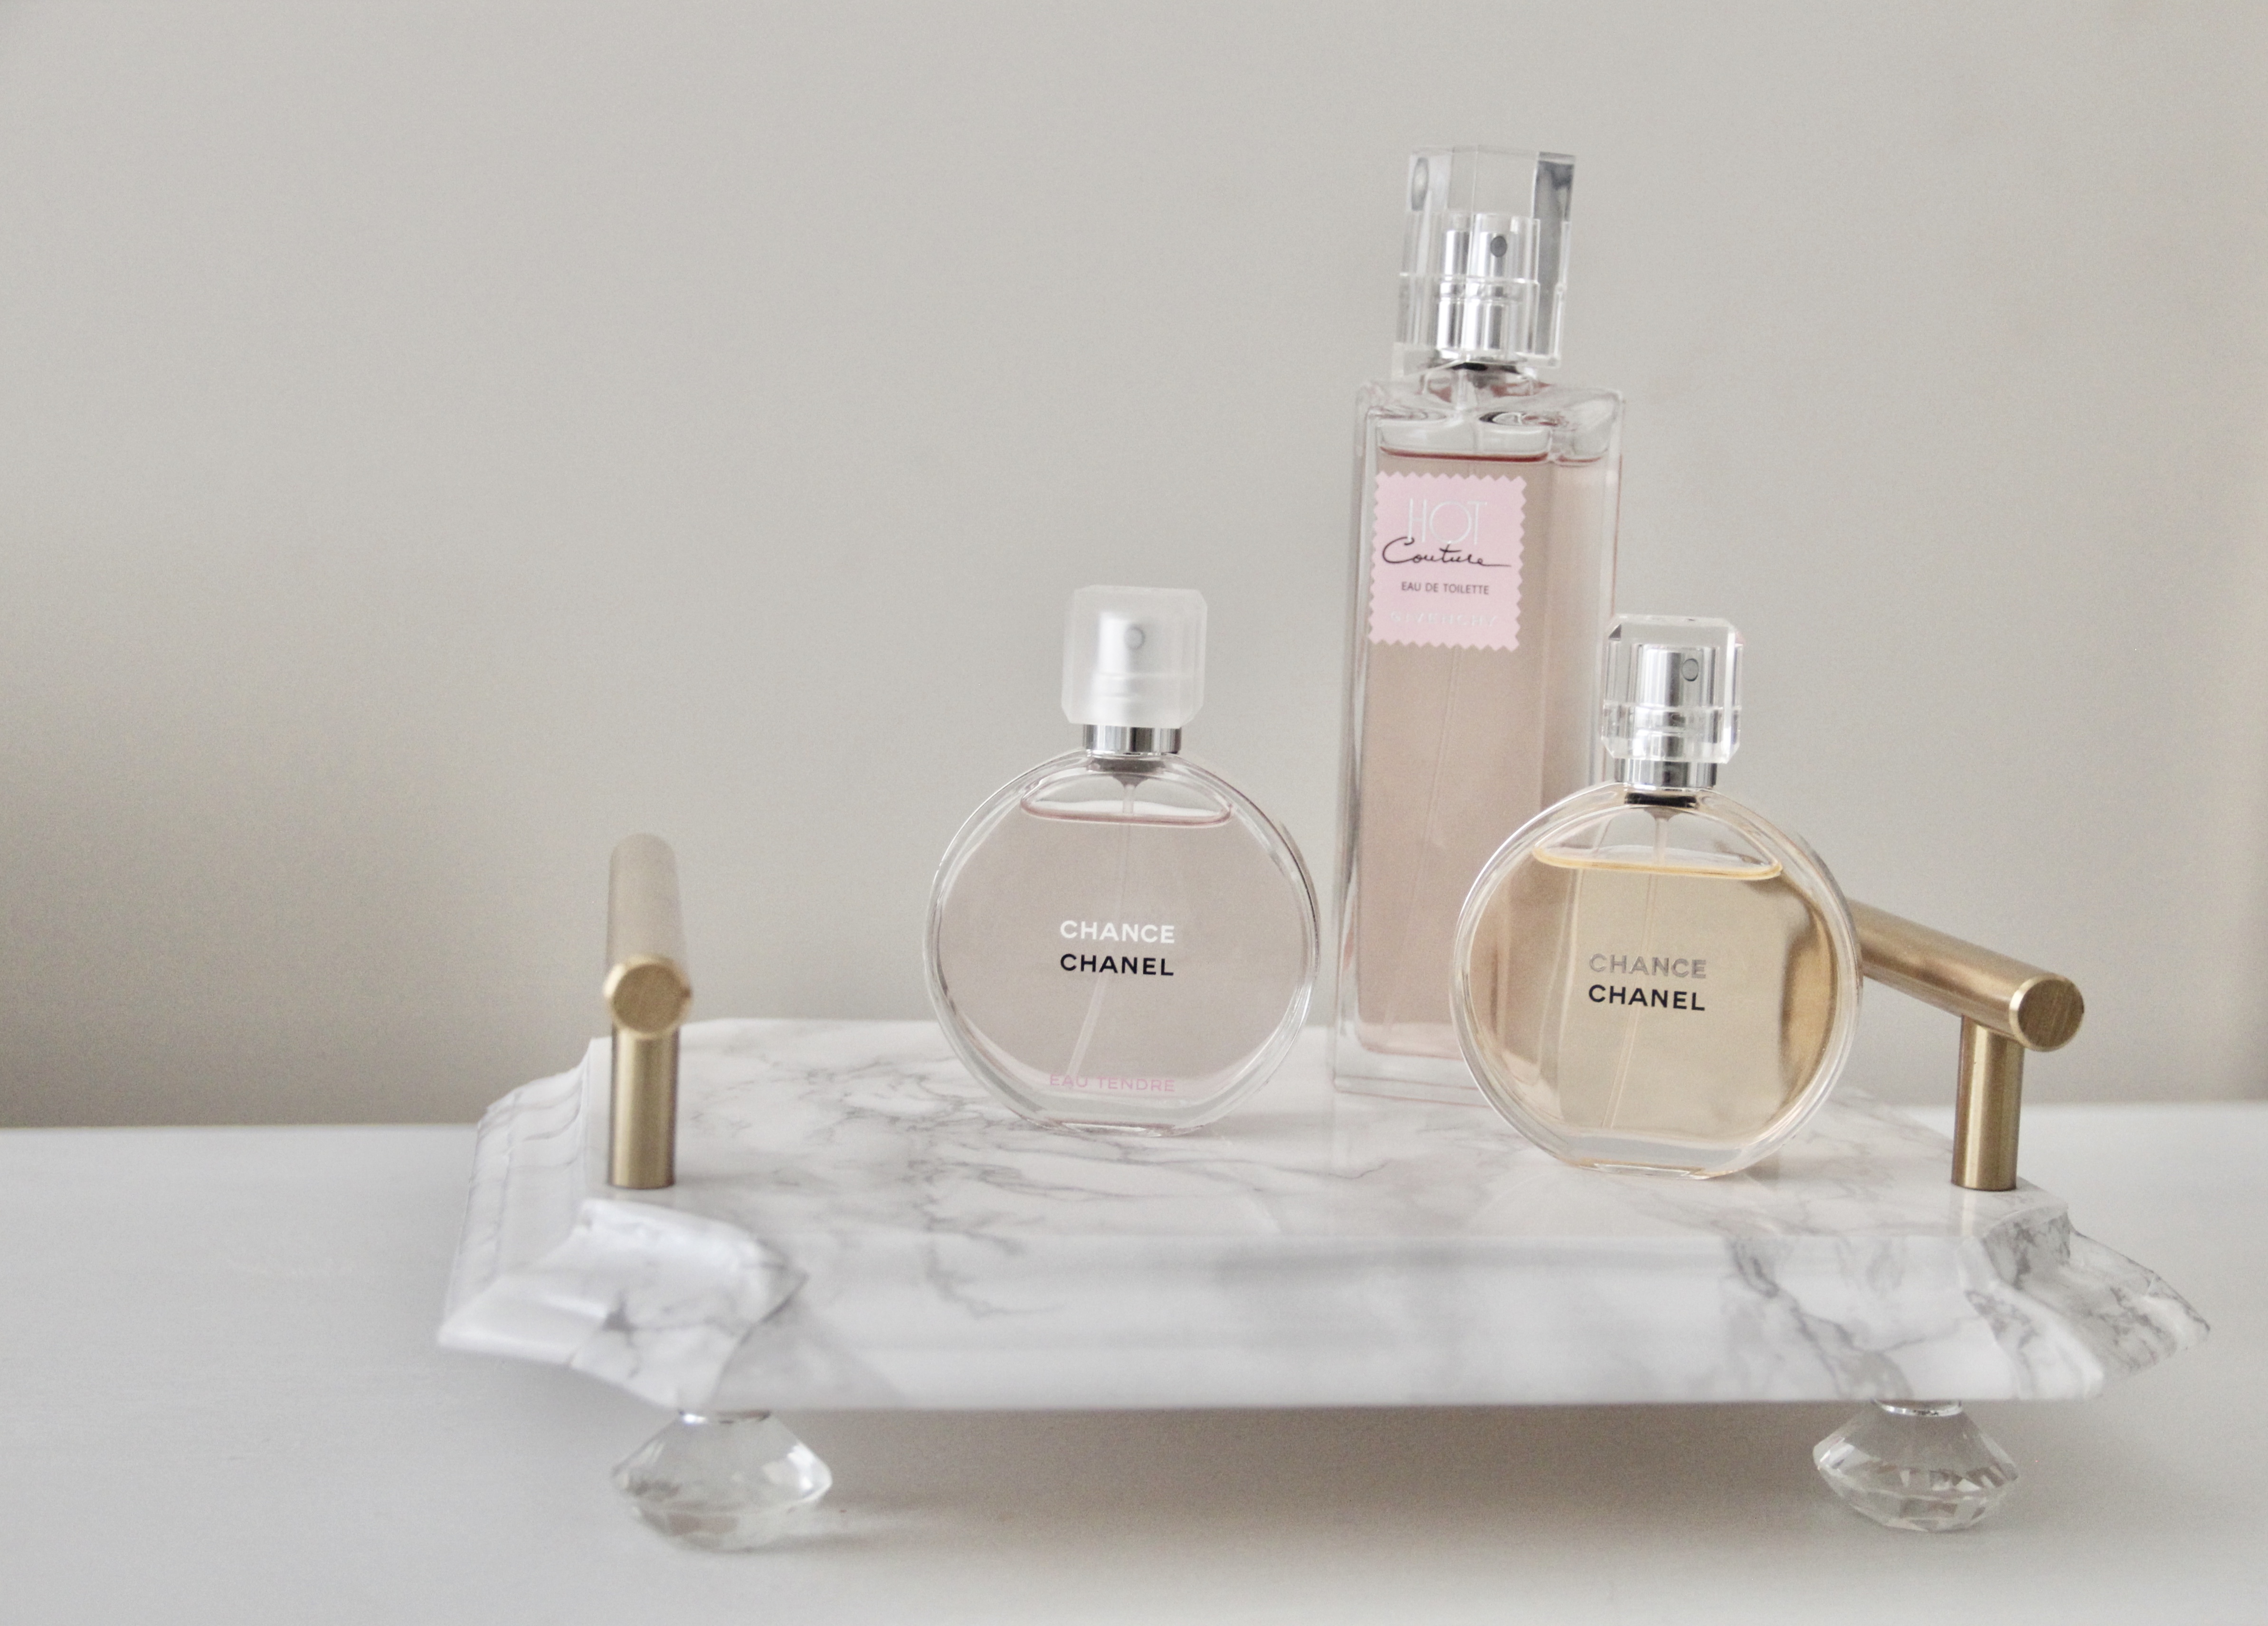
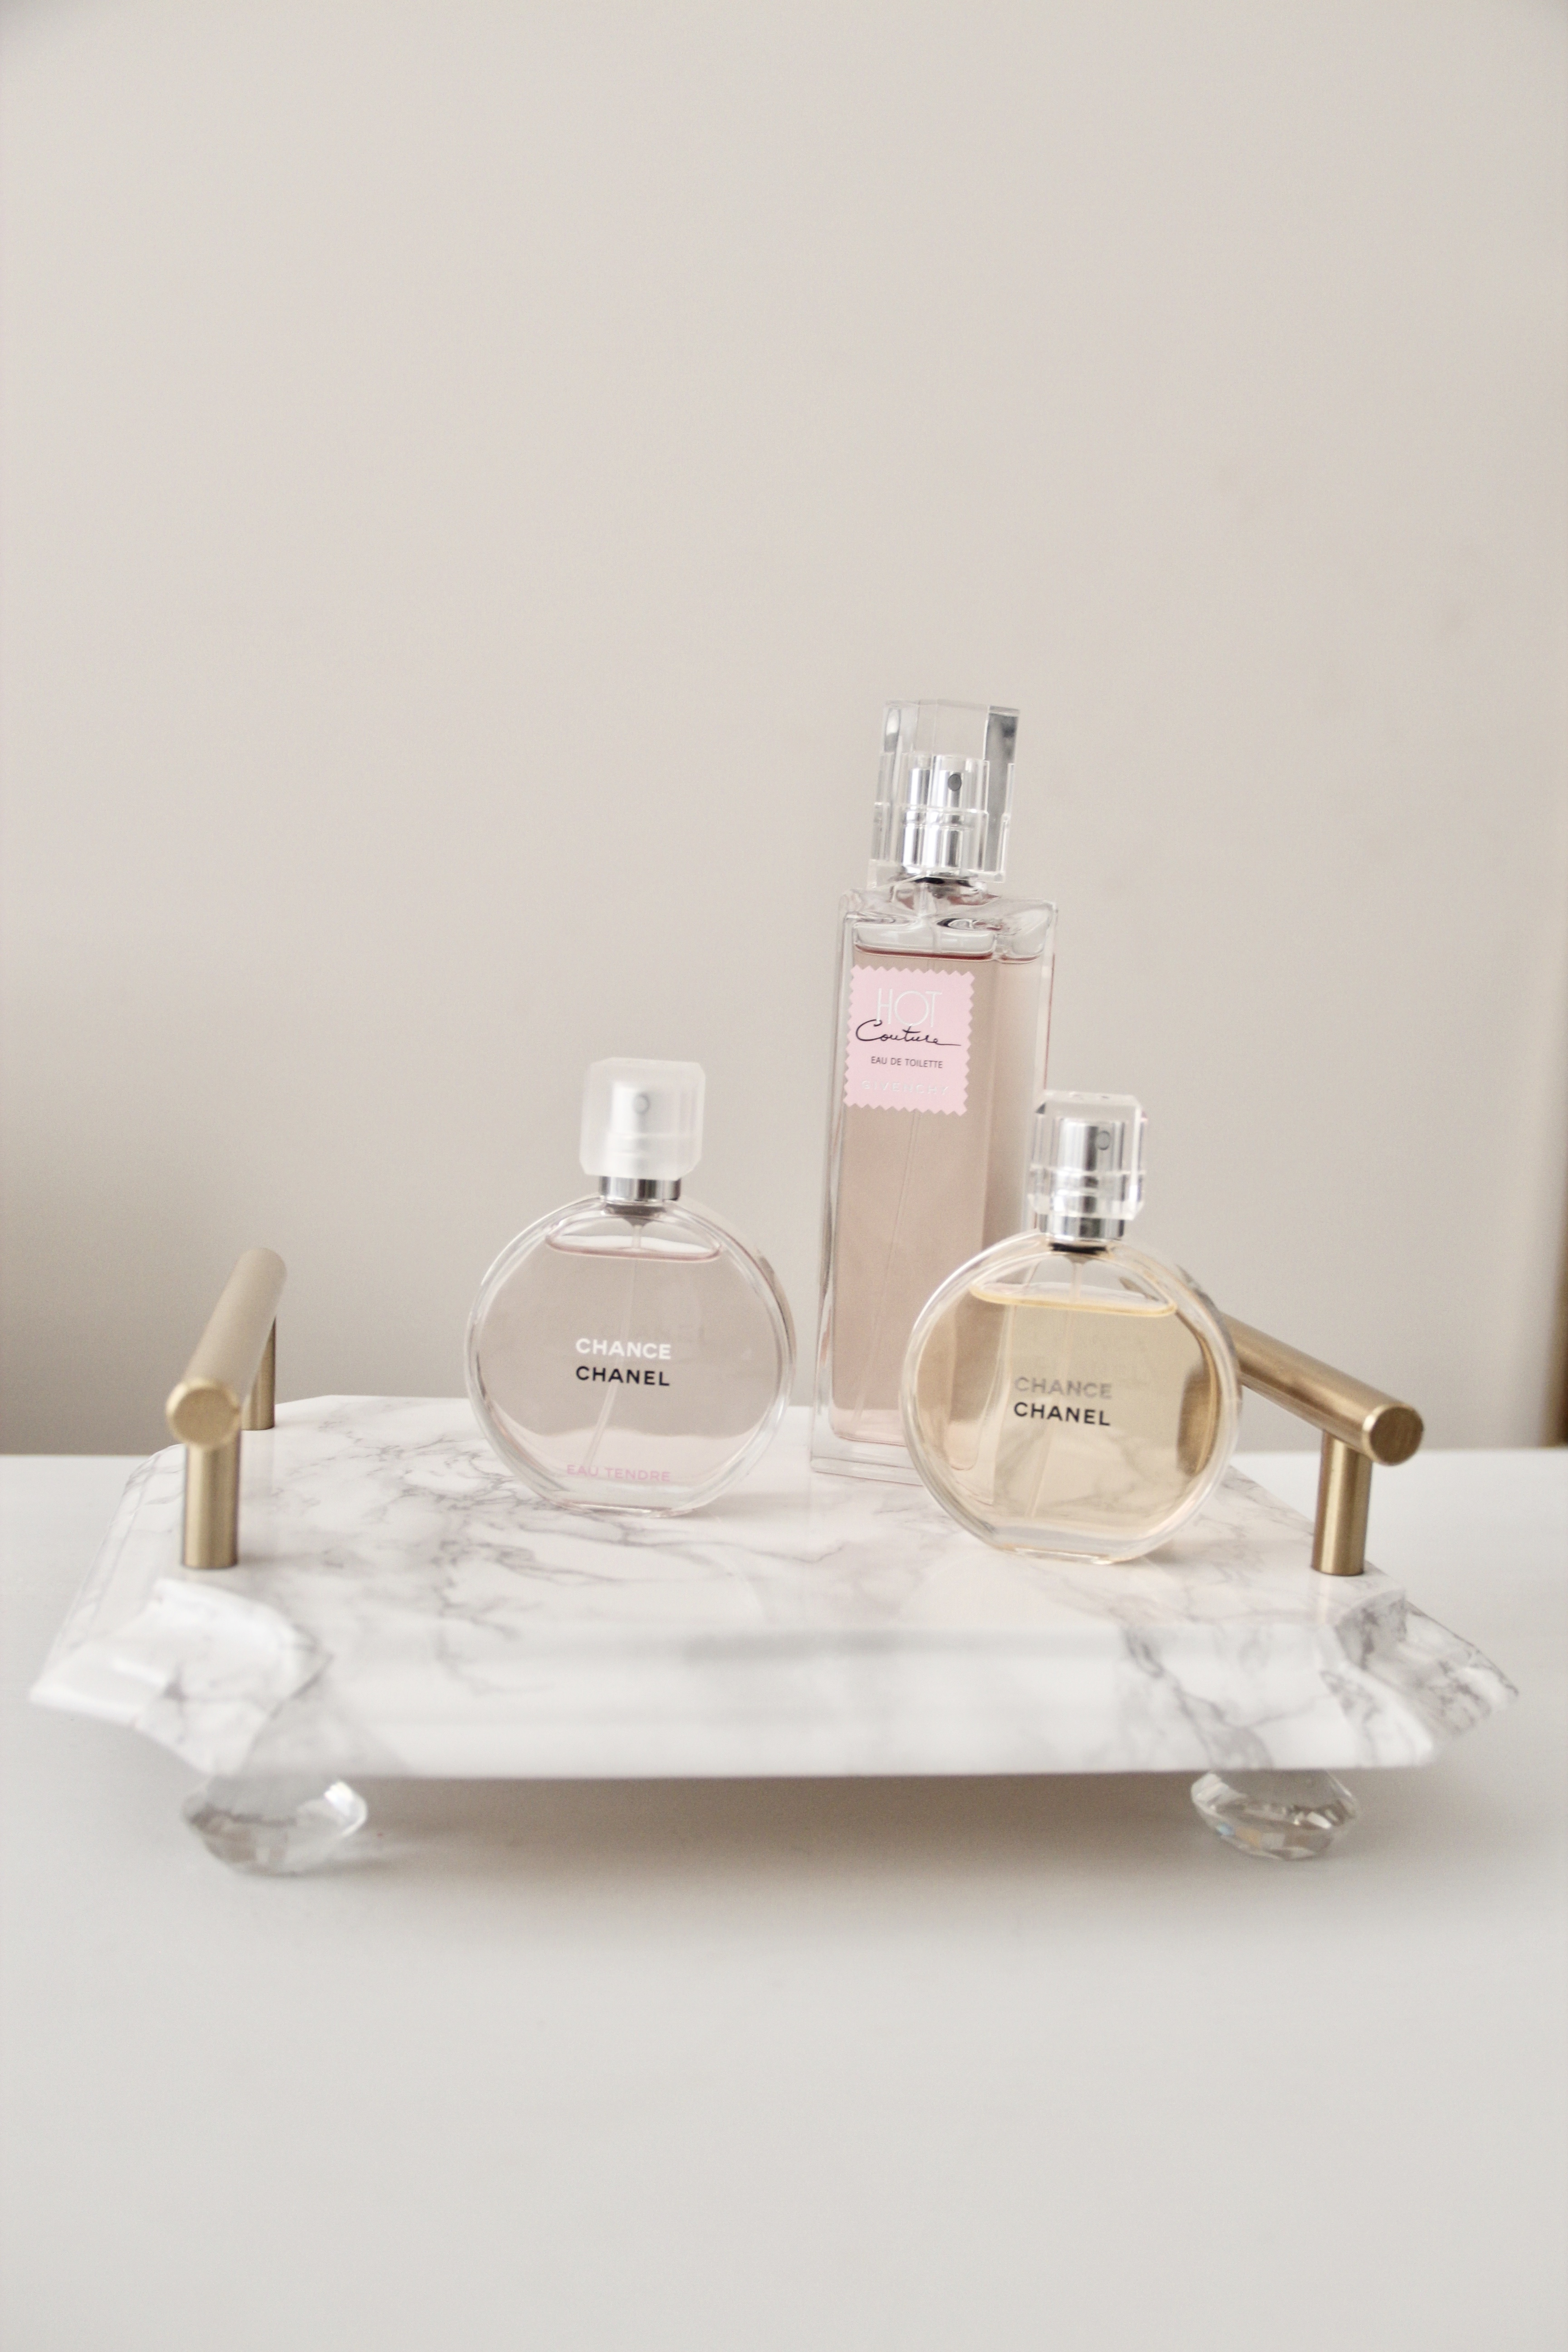
Now, to decide where in the house you want to use it. It’s seriously the perfect size for a little perfume display, or even as a sweet vanity tray in the bath for cotton balls and soap. Here is what I have set up on mine currently:
Supplies For This Project:


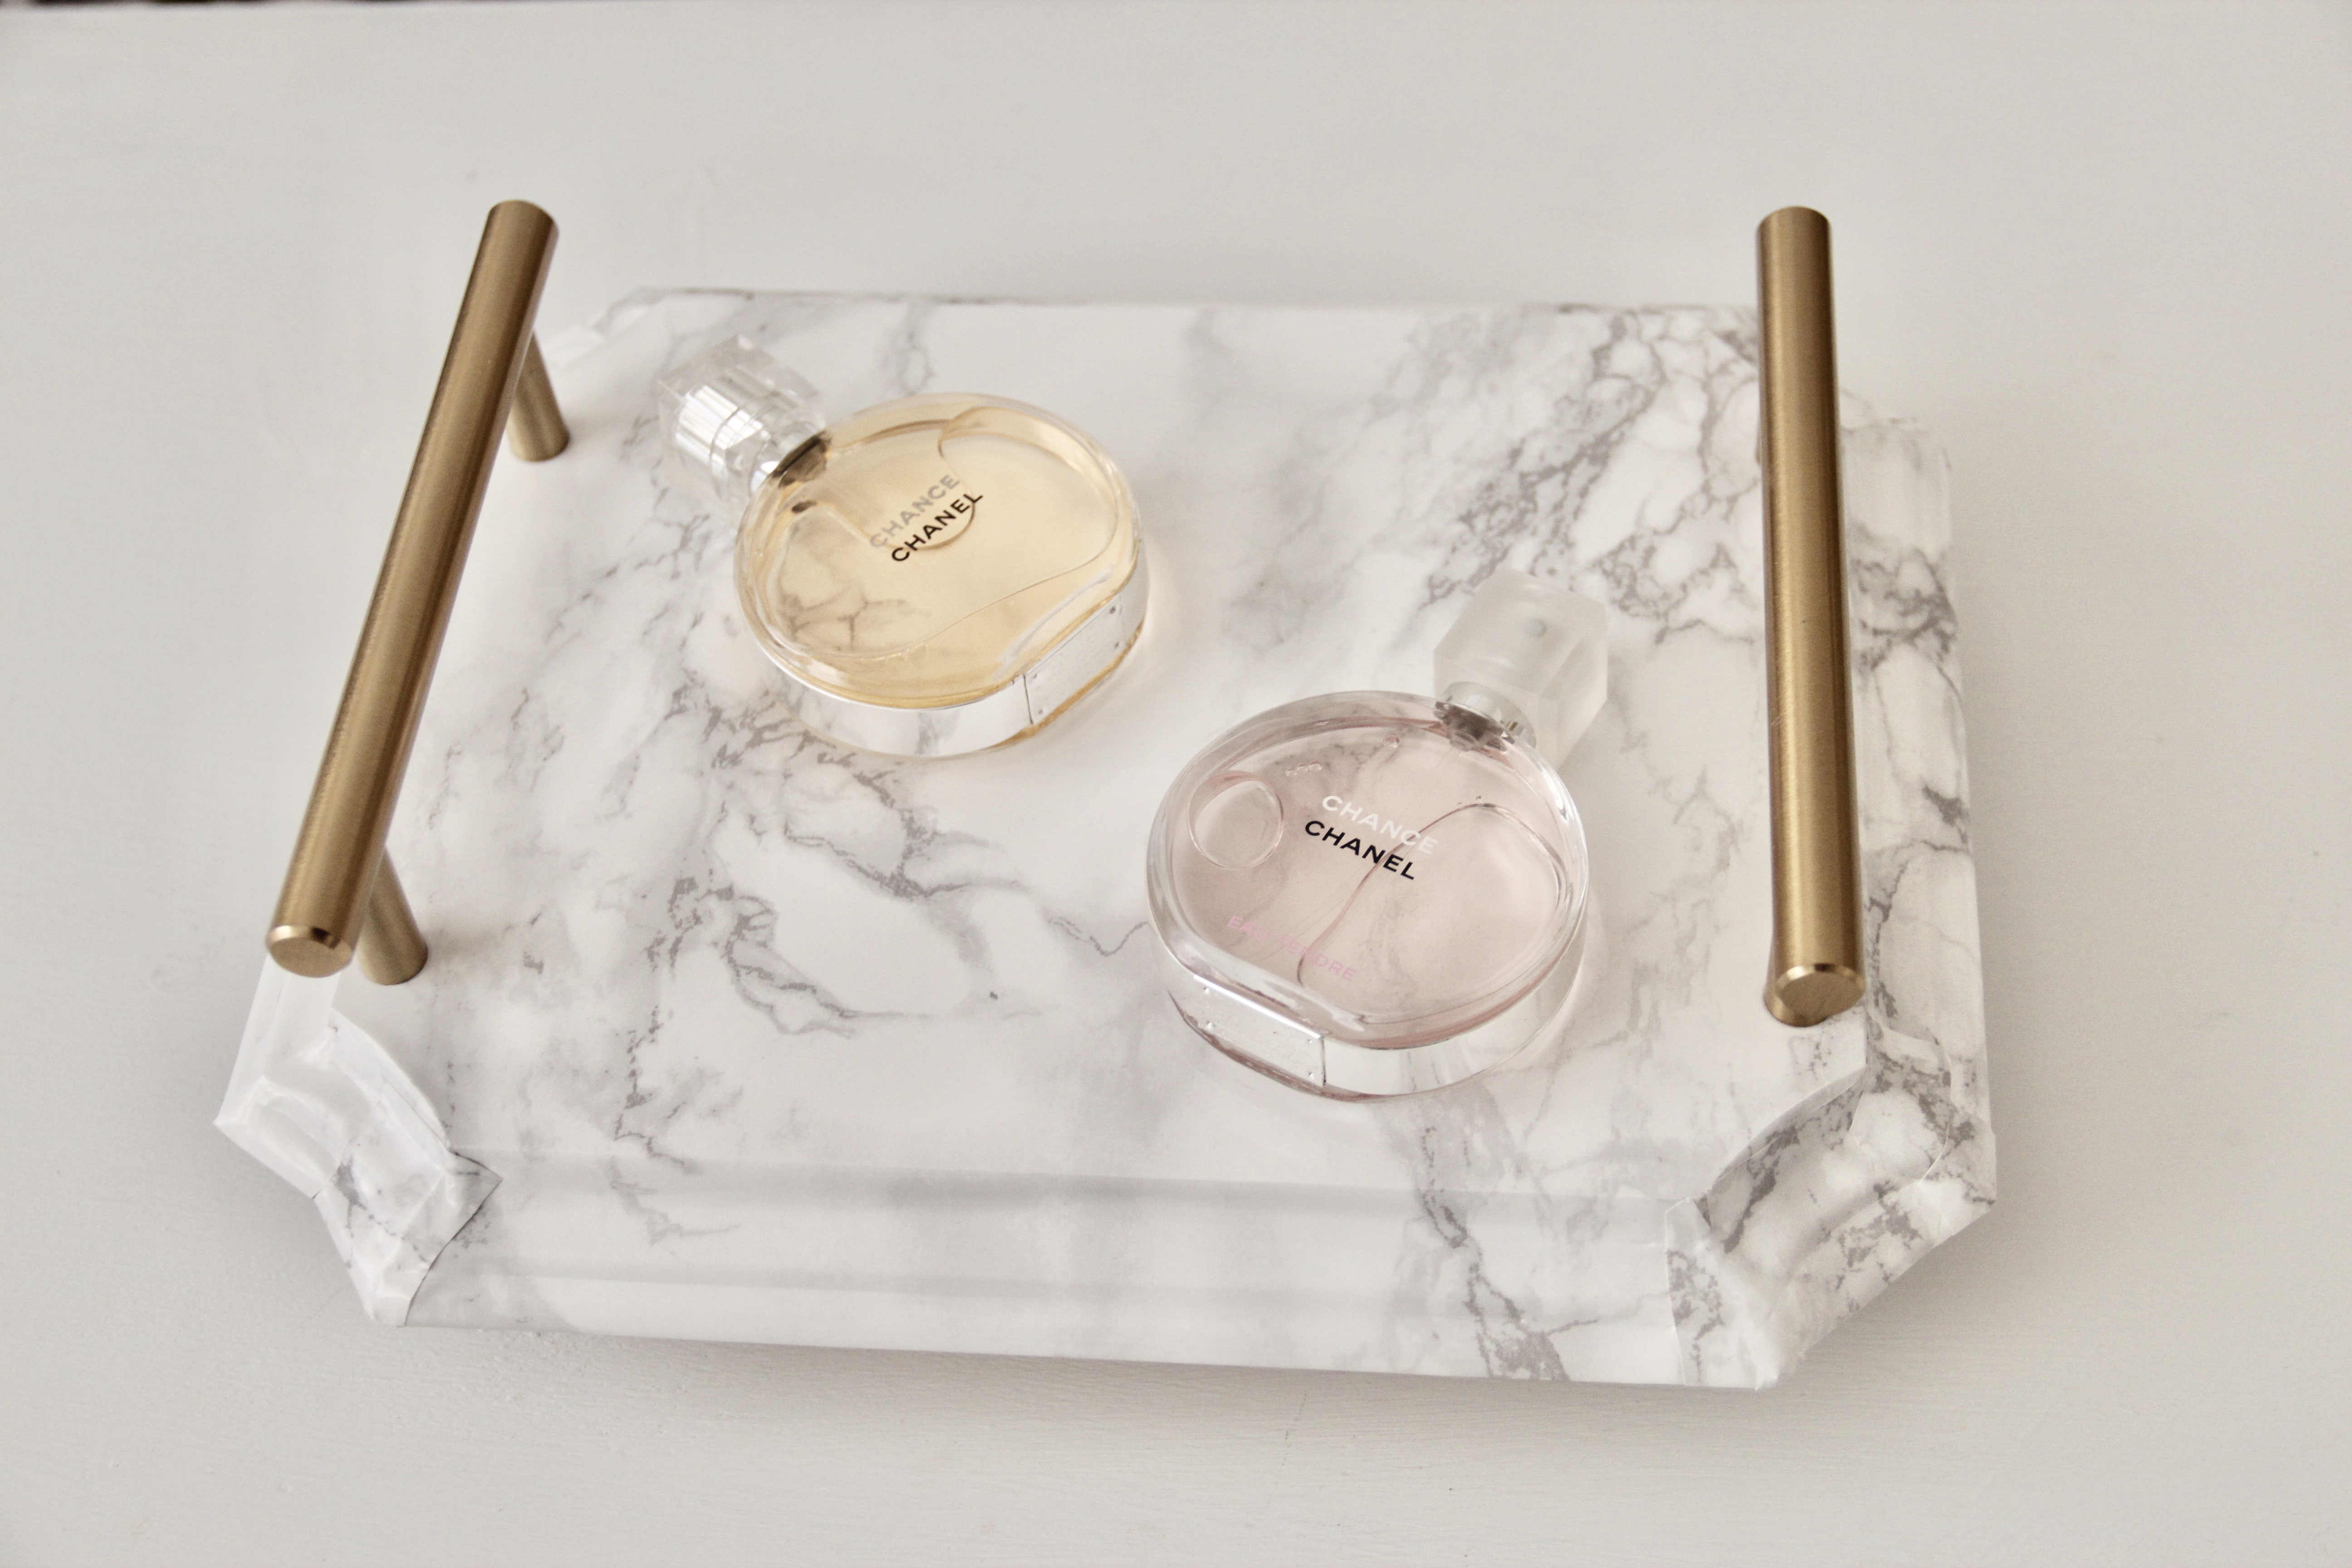
Featured Perfumes:


If you complete this project, tag me, I would love to see how you customize your marble tray!

Pingback: Spring Update Home Office Tour - Blonde Boss Babe
Pingback: 8 Home Decor Pieces to Update With Adhesive Contact Paper – The Wardrobe Stylist
Pingback: Remove Wax from Diptyque Candles in 5 Minutes - Blonde Boss Babe
Pingback: DIY Gold Unicorn Memo Holder - Blonde Boss Babe
Pingback: June Instagram Roundup - Blonde Boss Babe
Pingback: Home Decor Instagram Roundup - Blonde Boss Babe
Pingback: Gold and Marble Ikea Hyllis Hack - Blonde Boss Babe
Pingback: Marble & Gold Drawer DIY - Blonde Boss Babe
Pingback: 40 Fabulous Birthday Gifts for Glam Moms - Dodo Burd
Pingback: 34 Instagram Worthy DIY Vanity Trays
blondebossbabe
March 14, 2019Thank you so much for featuring my blog post! I really appreciate it!!
Pingback: DIY Marble & Gold Vanity Tray - Malia Lynn Blog - Diy Poject Ideas - Most Popular DIY Craft Project Ideas
Pingback: 40 Fabulous Birthday Gifts for Glam Moms - Gift Loving