
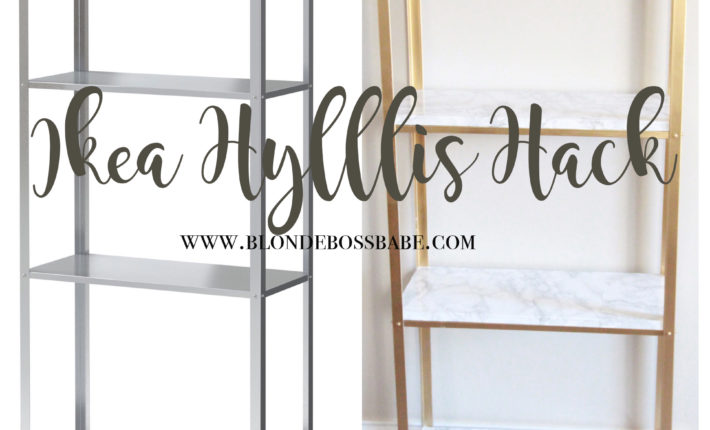
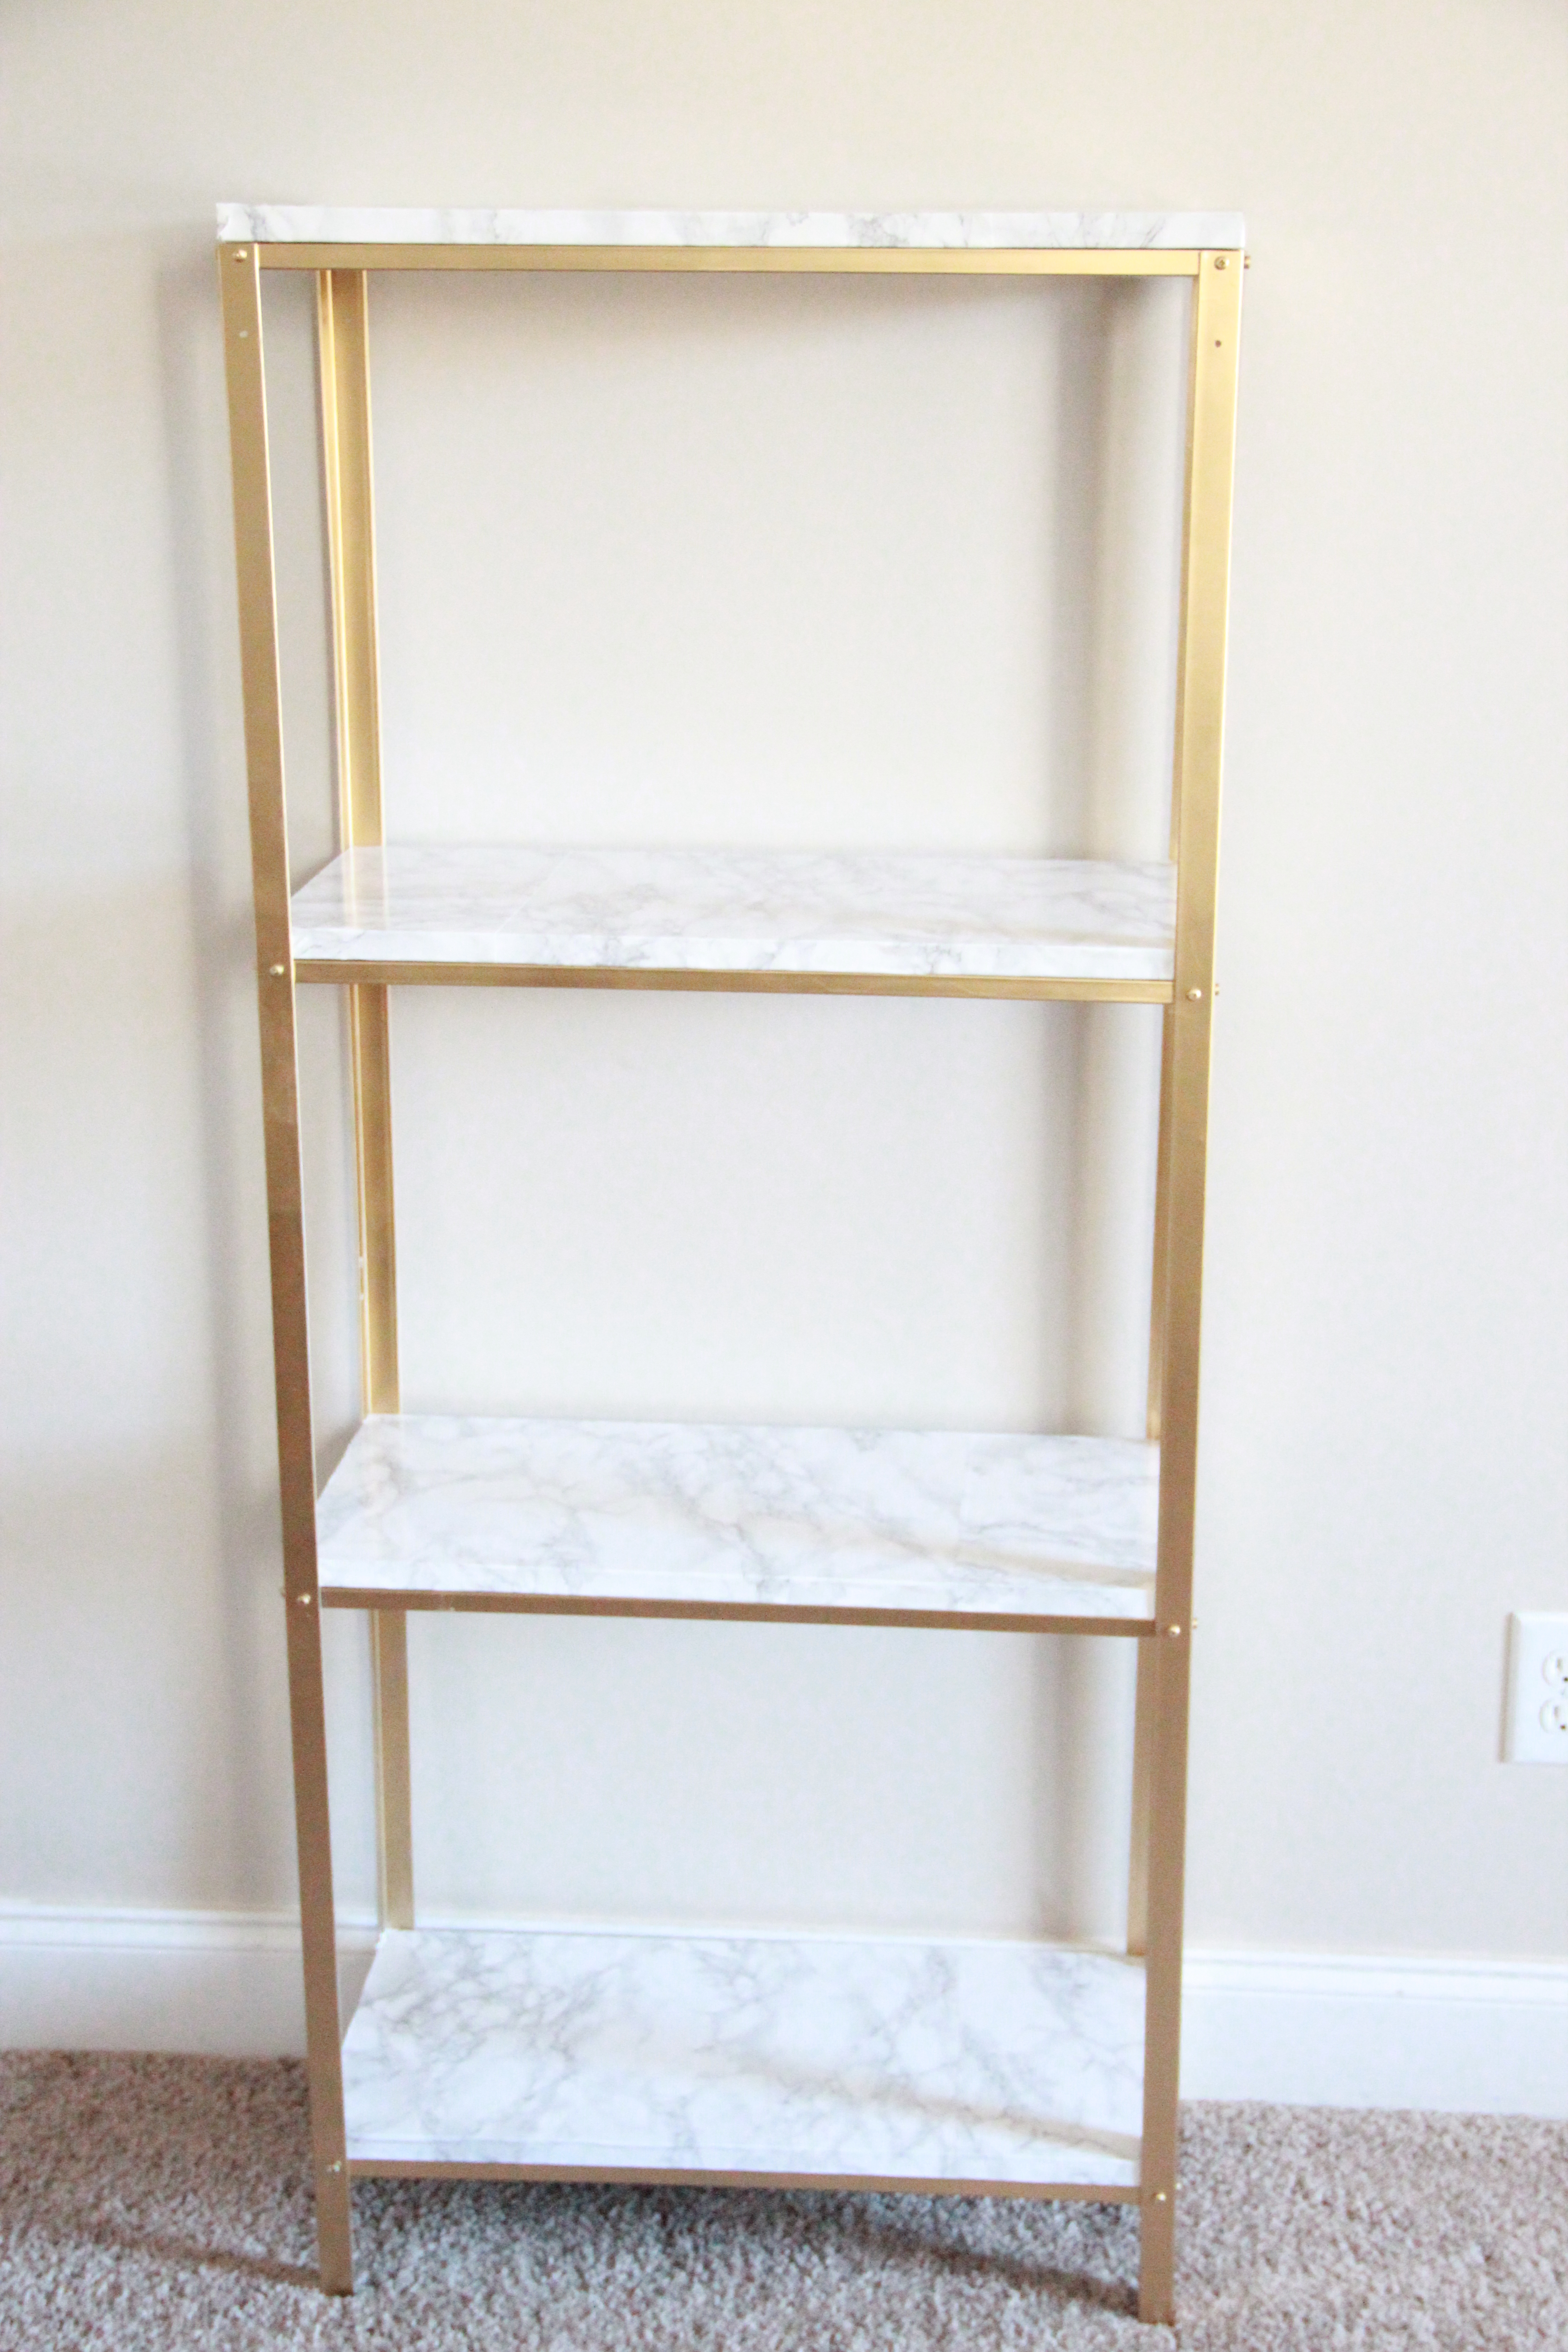
Hey everyone and welcome back! I am over the moon about how this hack turned out, and I can’t wait to share with y’all how easy (AND CHEAP) it is to do!
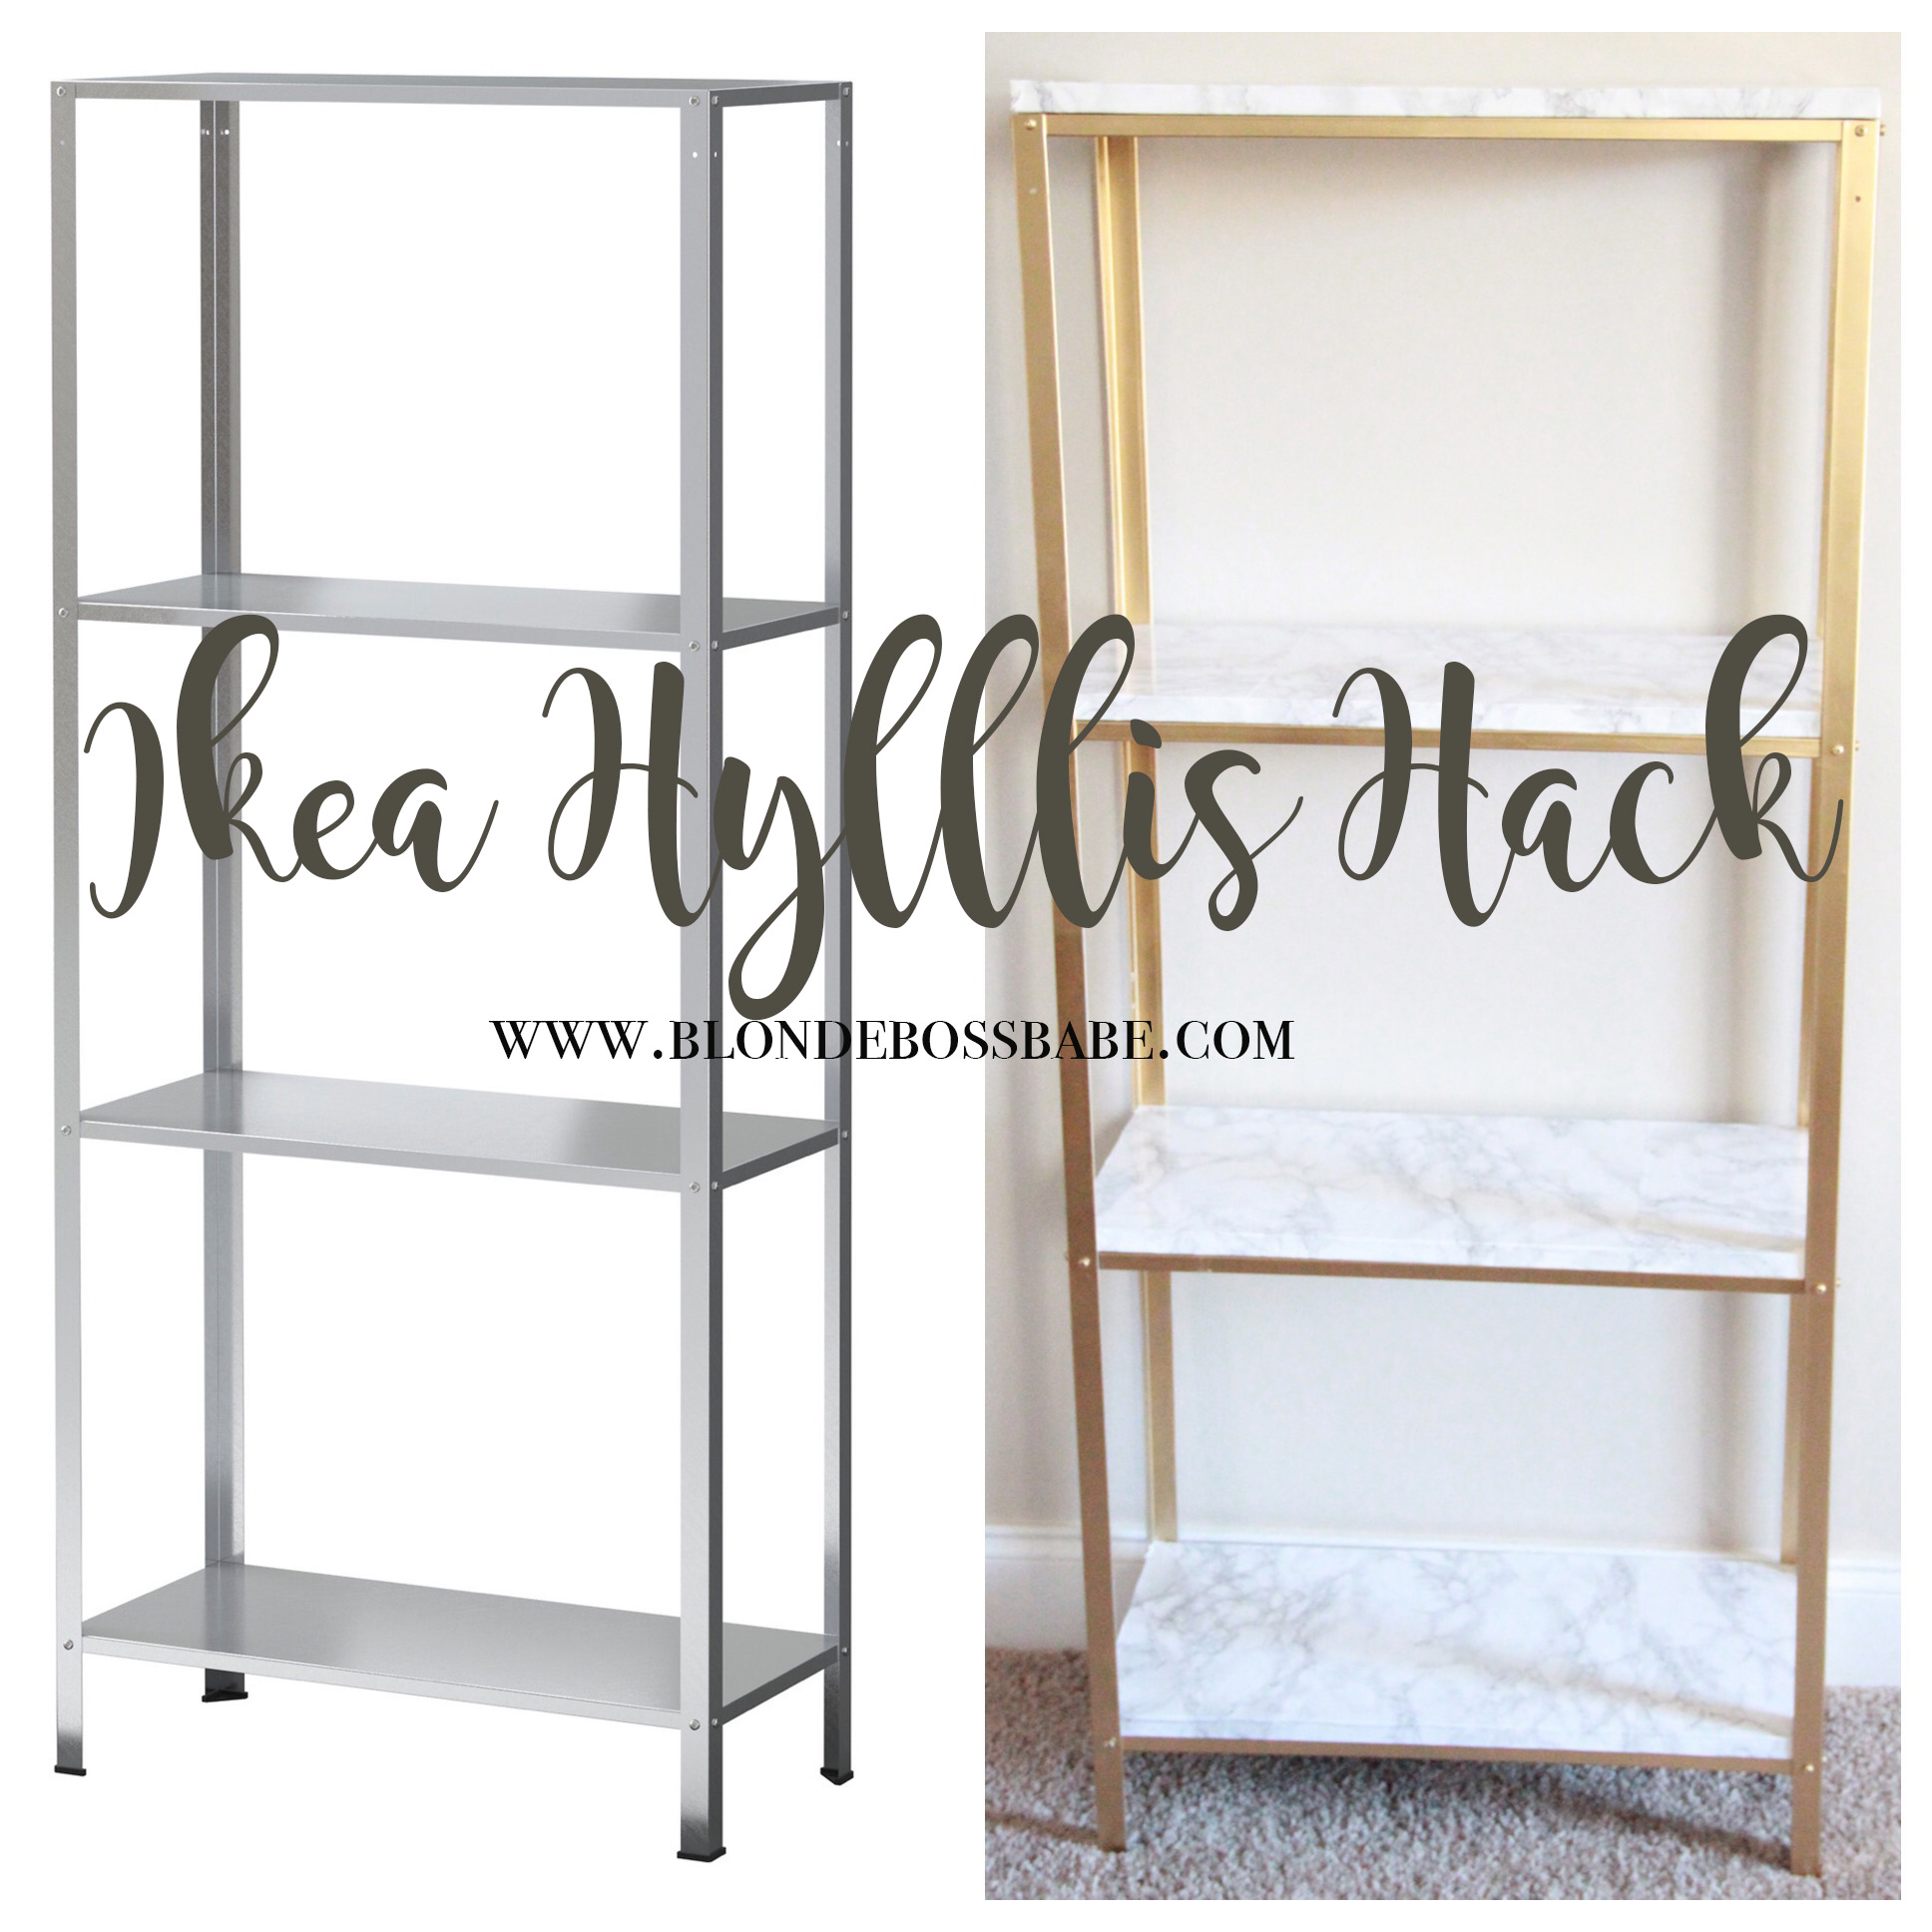
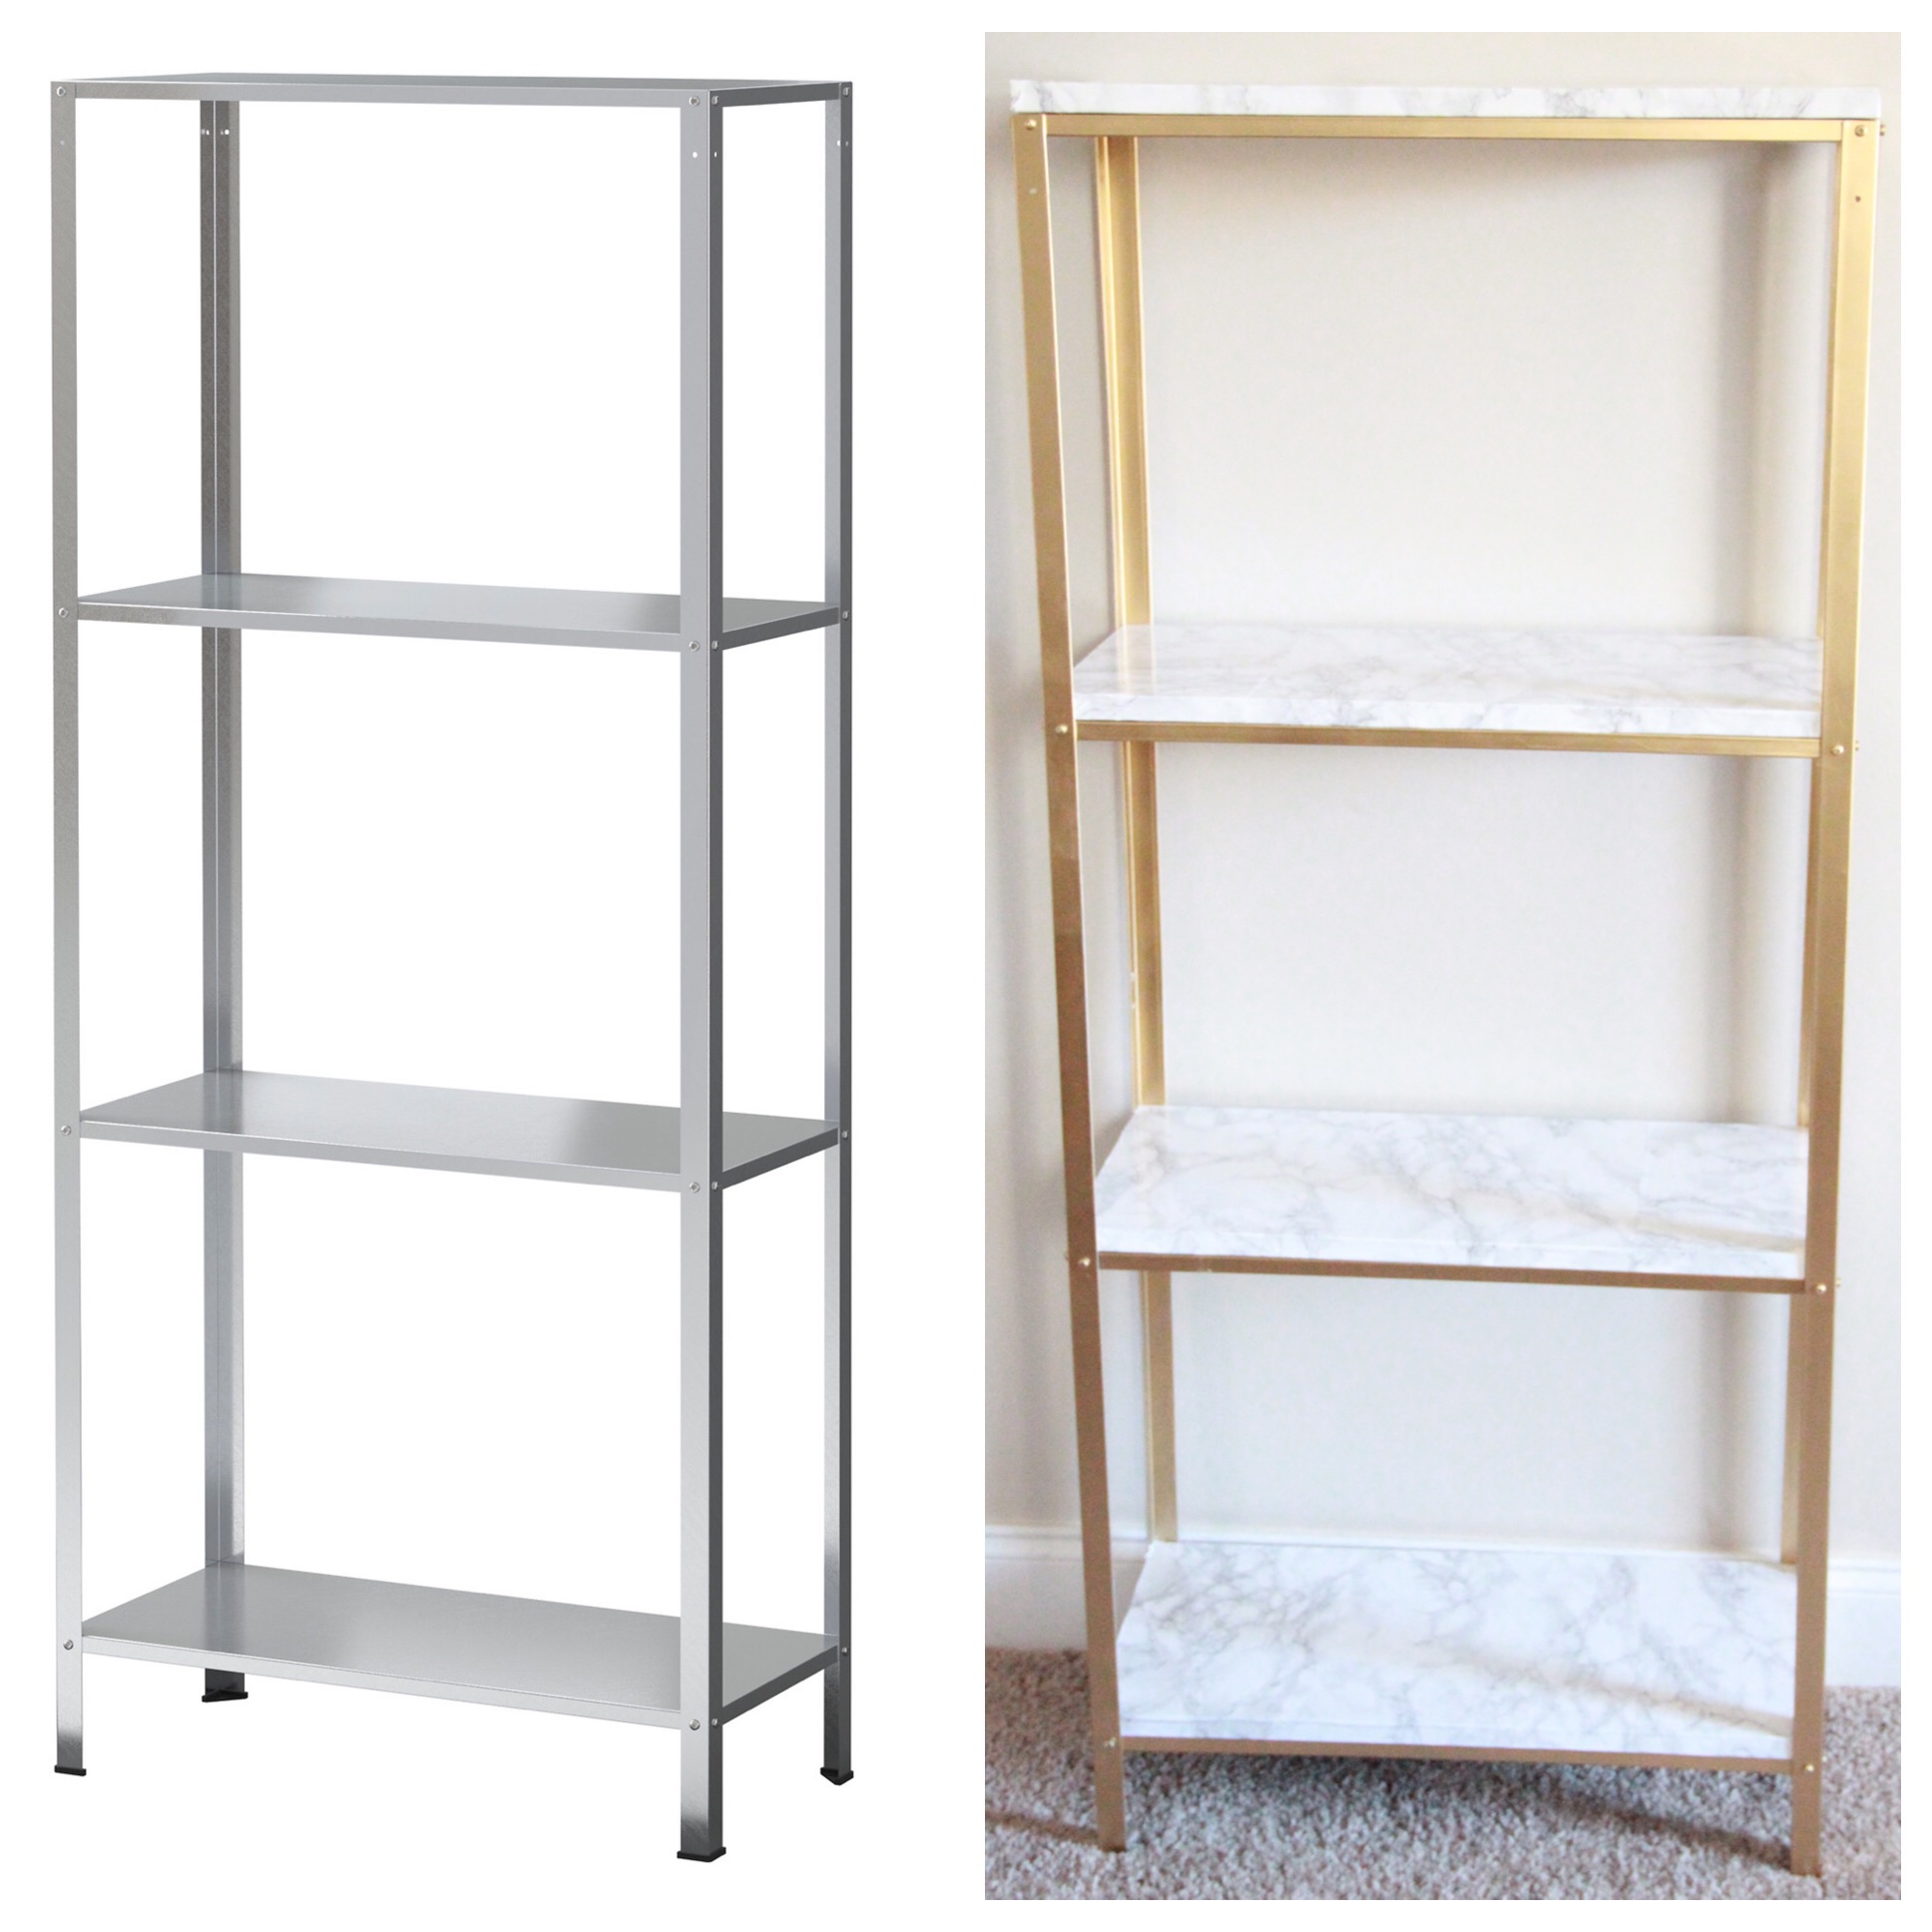
I was inspired by the Hyllis hack originally shared here, and had it saved forever on Pinterest waiting to be used. However, for my office, I wanted something a little more glam. I love love love marble and gold combinations, so I don’t know why it took me so long to think of this but a lightbulb finally switched on in my head. I made two of these shelves so if you are just making one, cut these supplies in half.
Here are the supplies you will need for two shelves (click on the item name for its direct link):
Gold Spray Paint x 4
Pine Wood (from a 12x12x1 board) cut into 6 shelves measuring: 23 9/16″ x 10 5/8″ (If you don’t have a saw, no worries, you can have these cut at Lowes)
Pine Wood (from a 12x8x1 board) cut into 2 shelves measuring: 23 10/16″ x 10 13/16″ [These are for each unit’s top shelf]
Screwdriver
Let’s get started!
Step 1: Assemble the Hyllis Unit, and in a well-ventilated area – preferably outside – begin spray painting. (I tested out both options, of spray painting before assembly, and after, but due to painting the screws, it’s just easier to already have it assembled and ready to go). 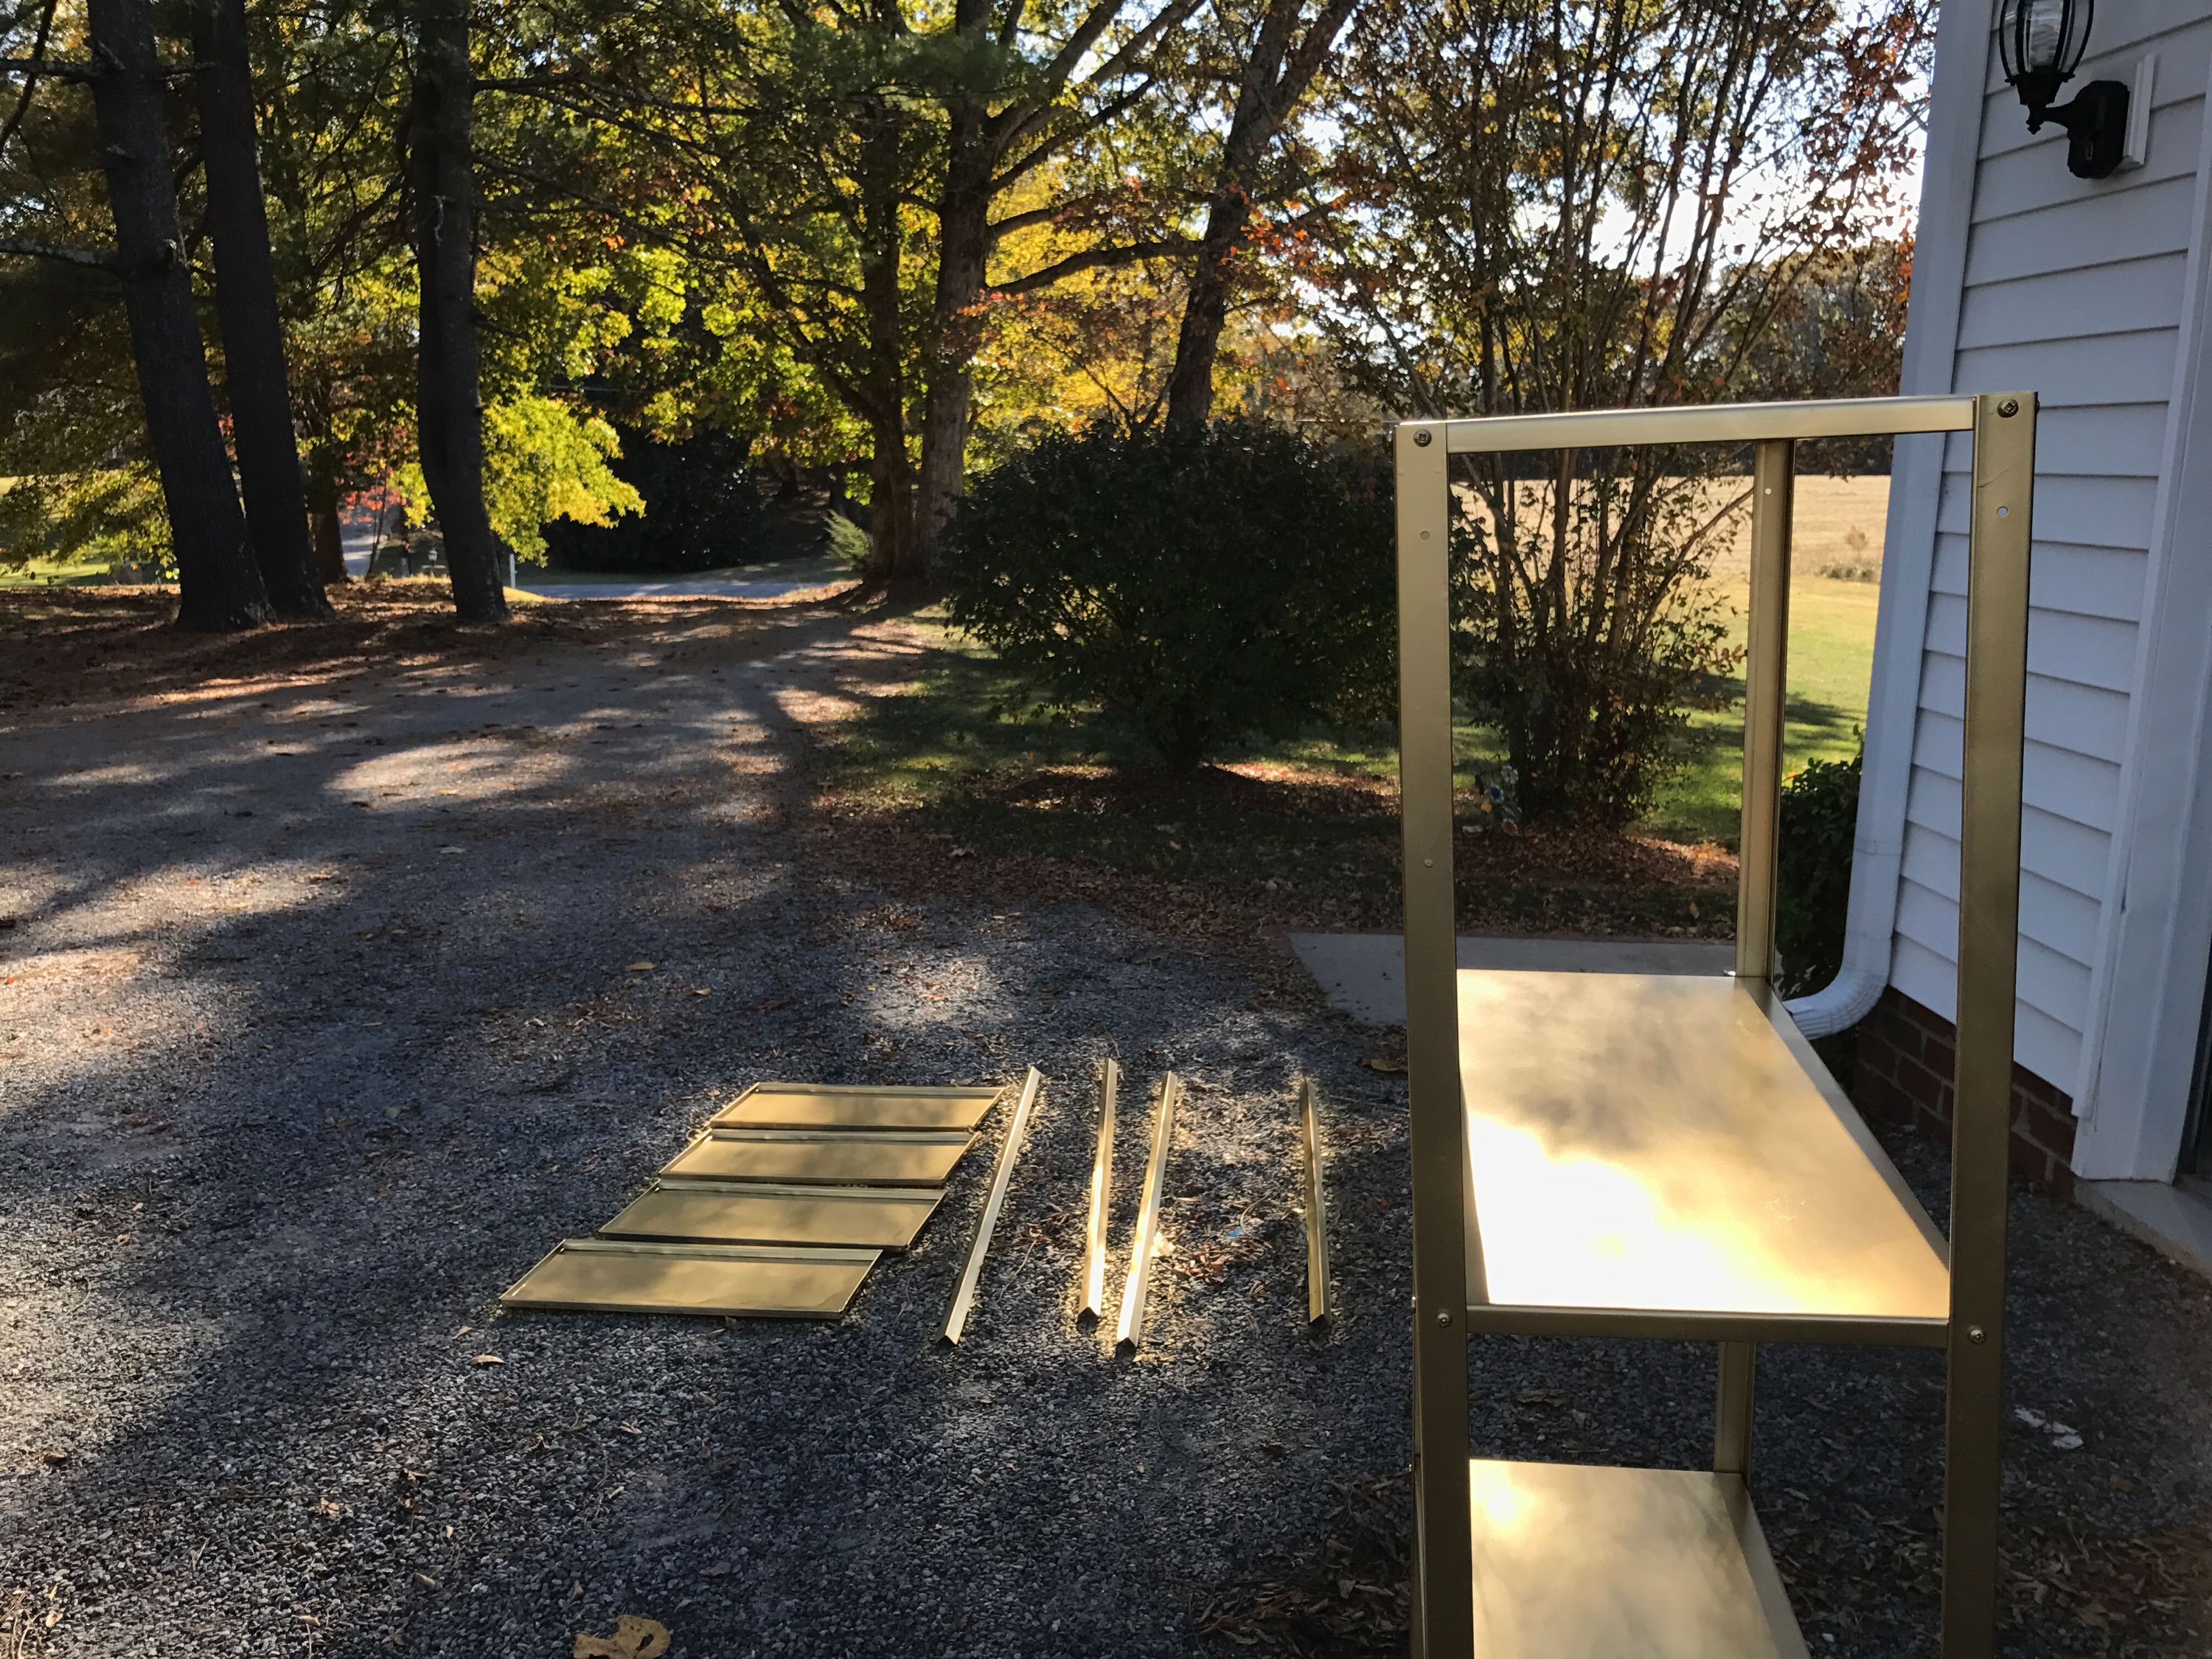
Keep the strokes as smooth and even as possible to prevent dripping. Allow the first layer to set before continuing. This spray paint’s coverage is awesome, so you really won’t have to wait hours upon hours before finishing this part. Make sure to paint the ENTIRE unit, even underneath the shelves, otherwise you’ll see the galvanized metal show through.
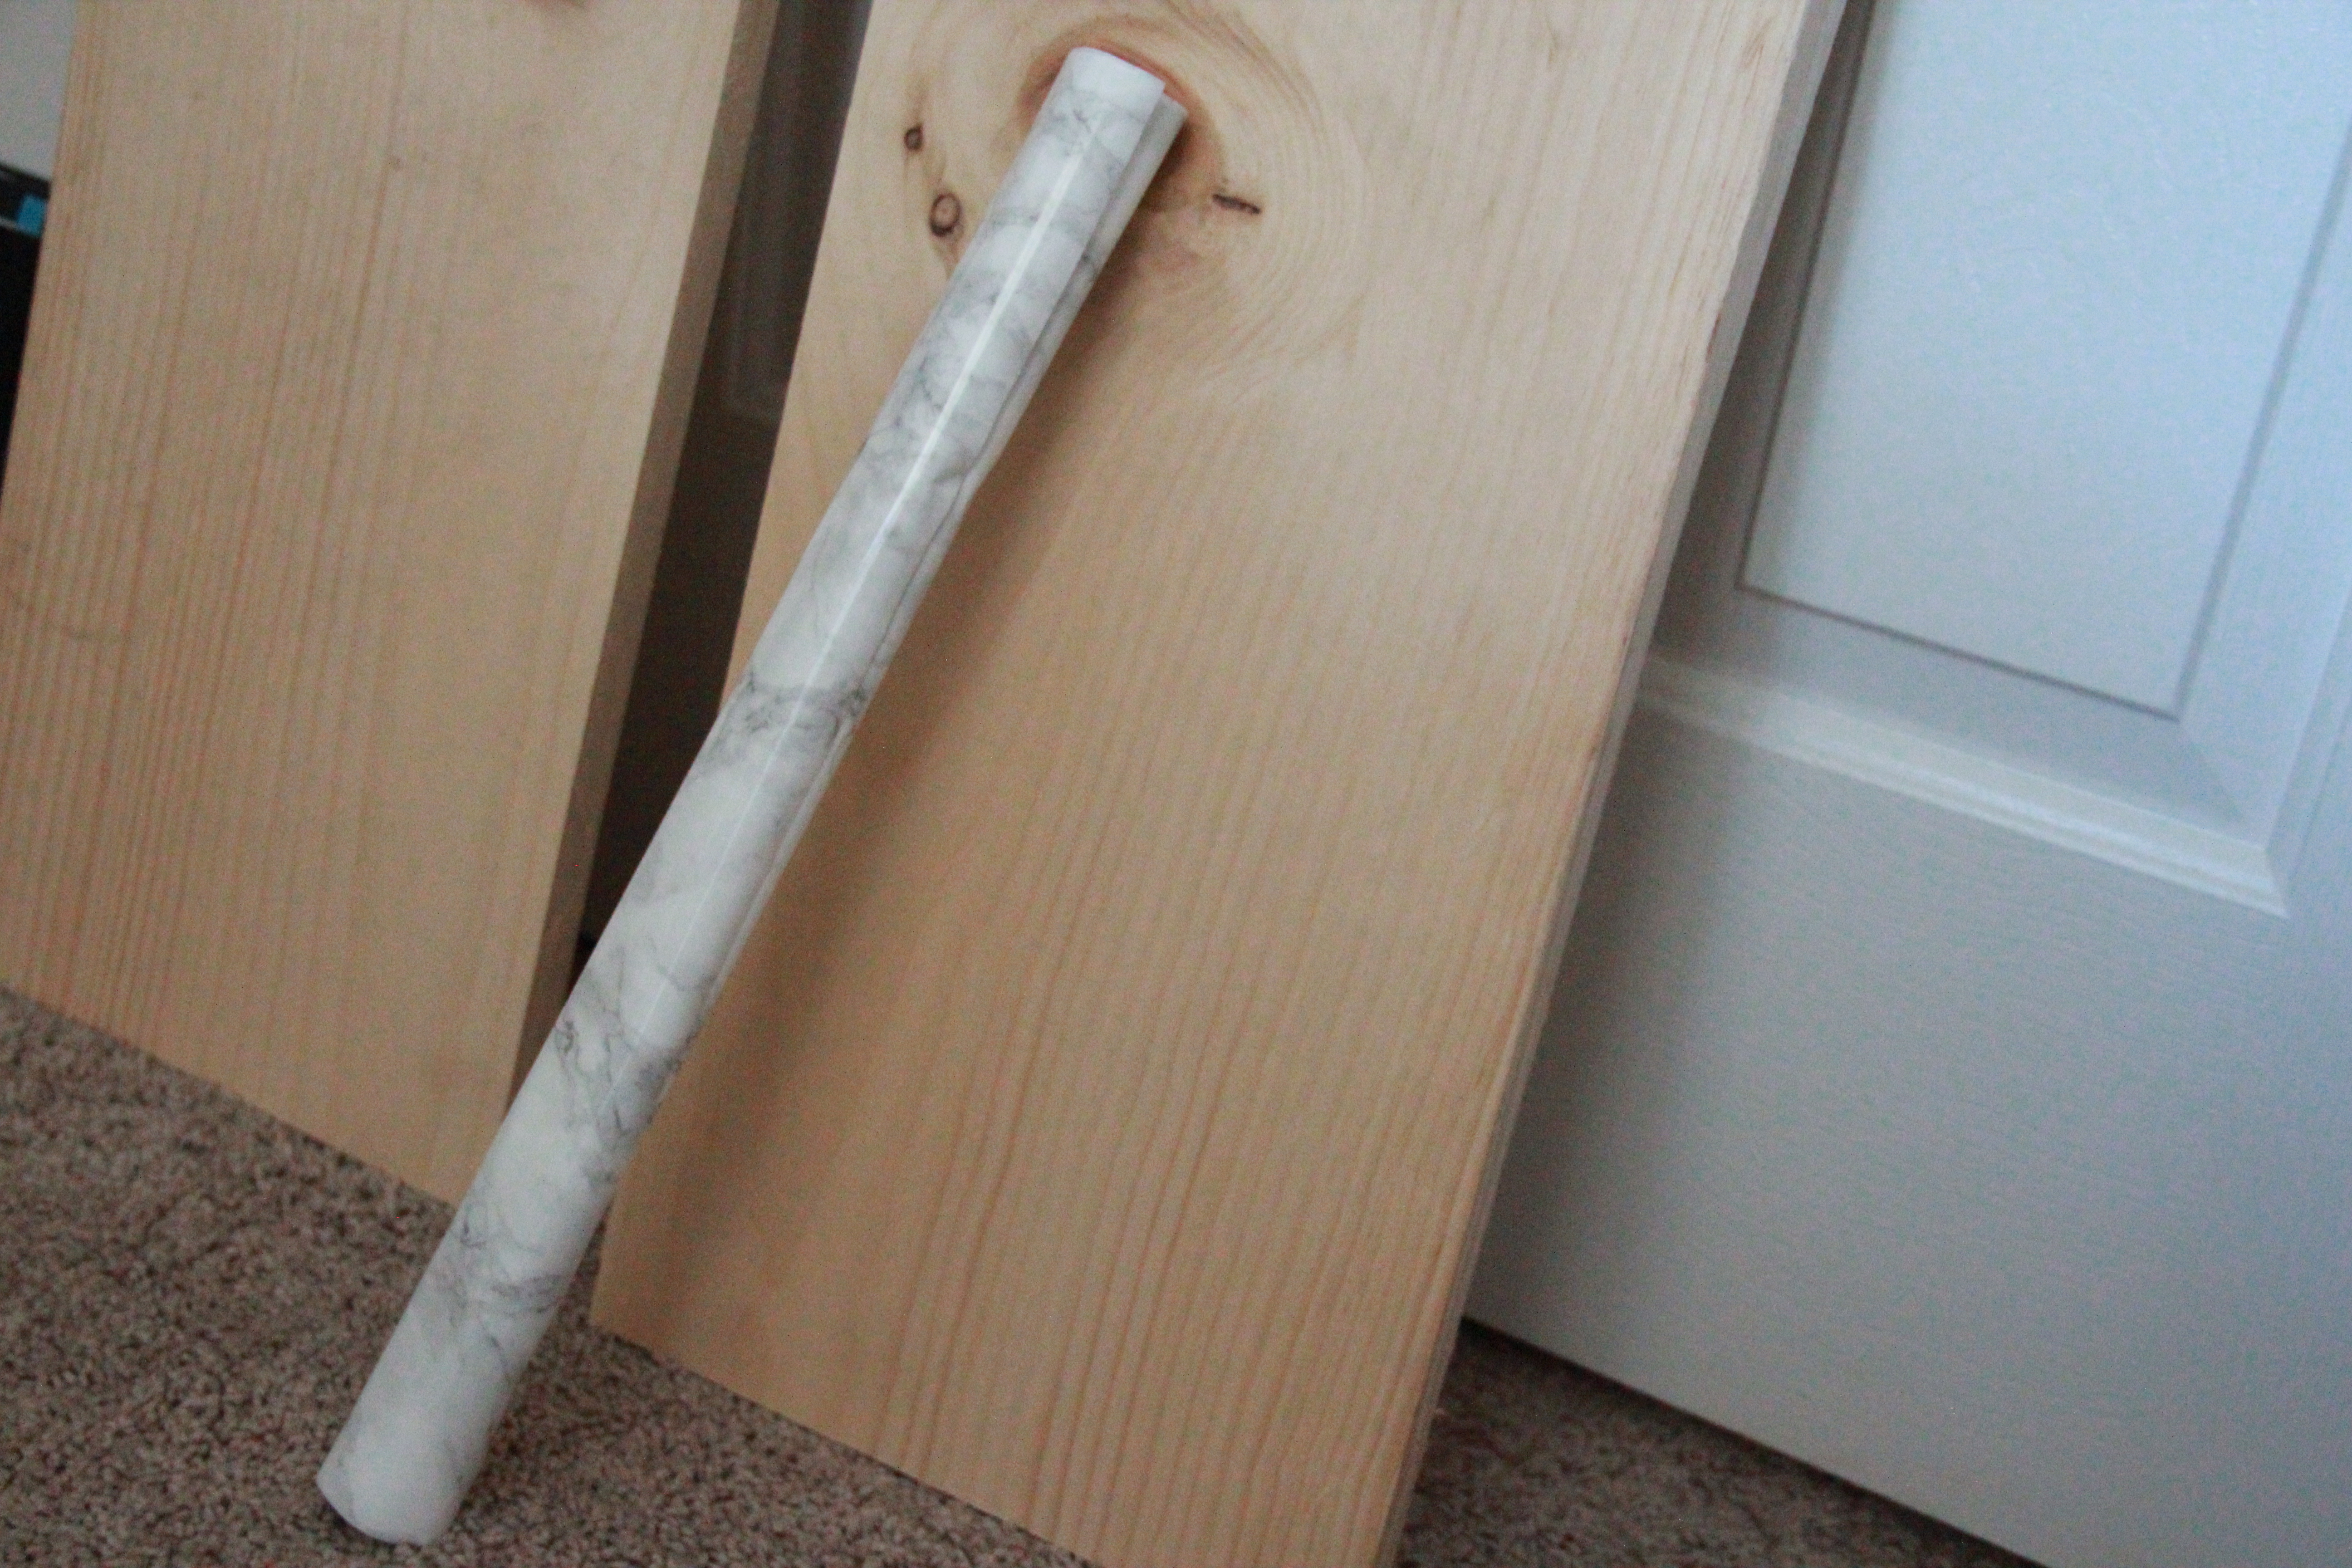
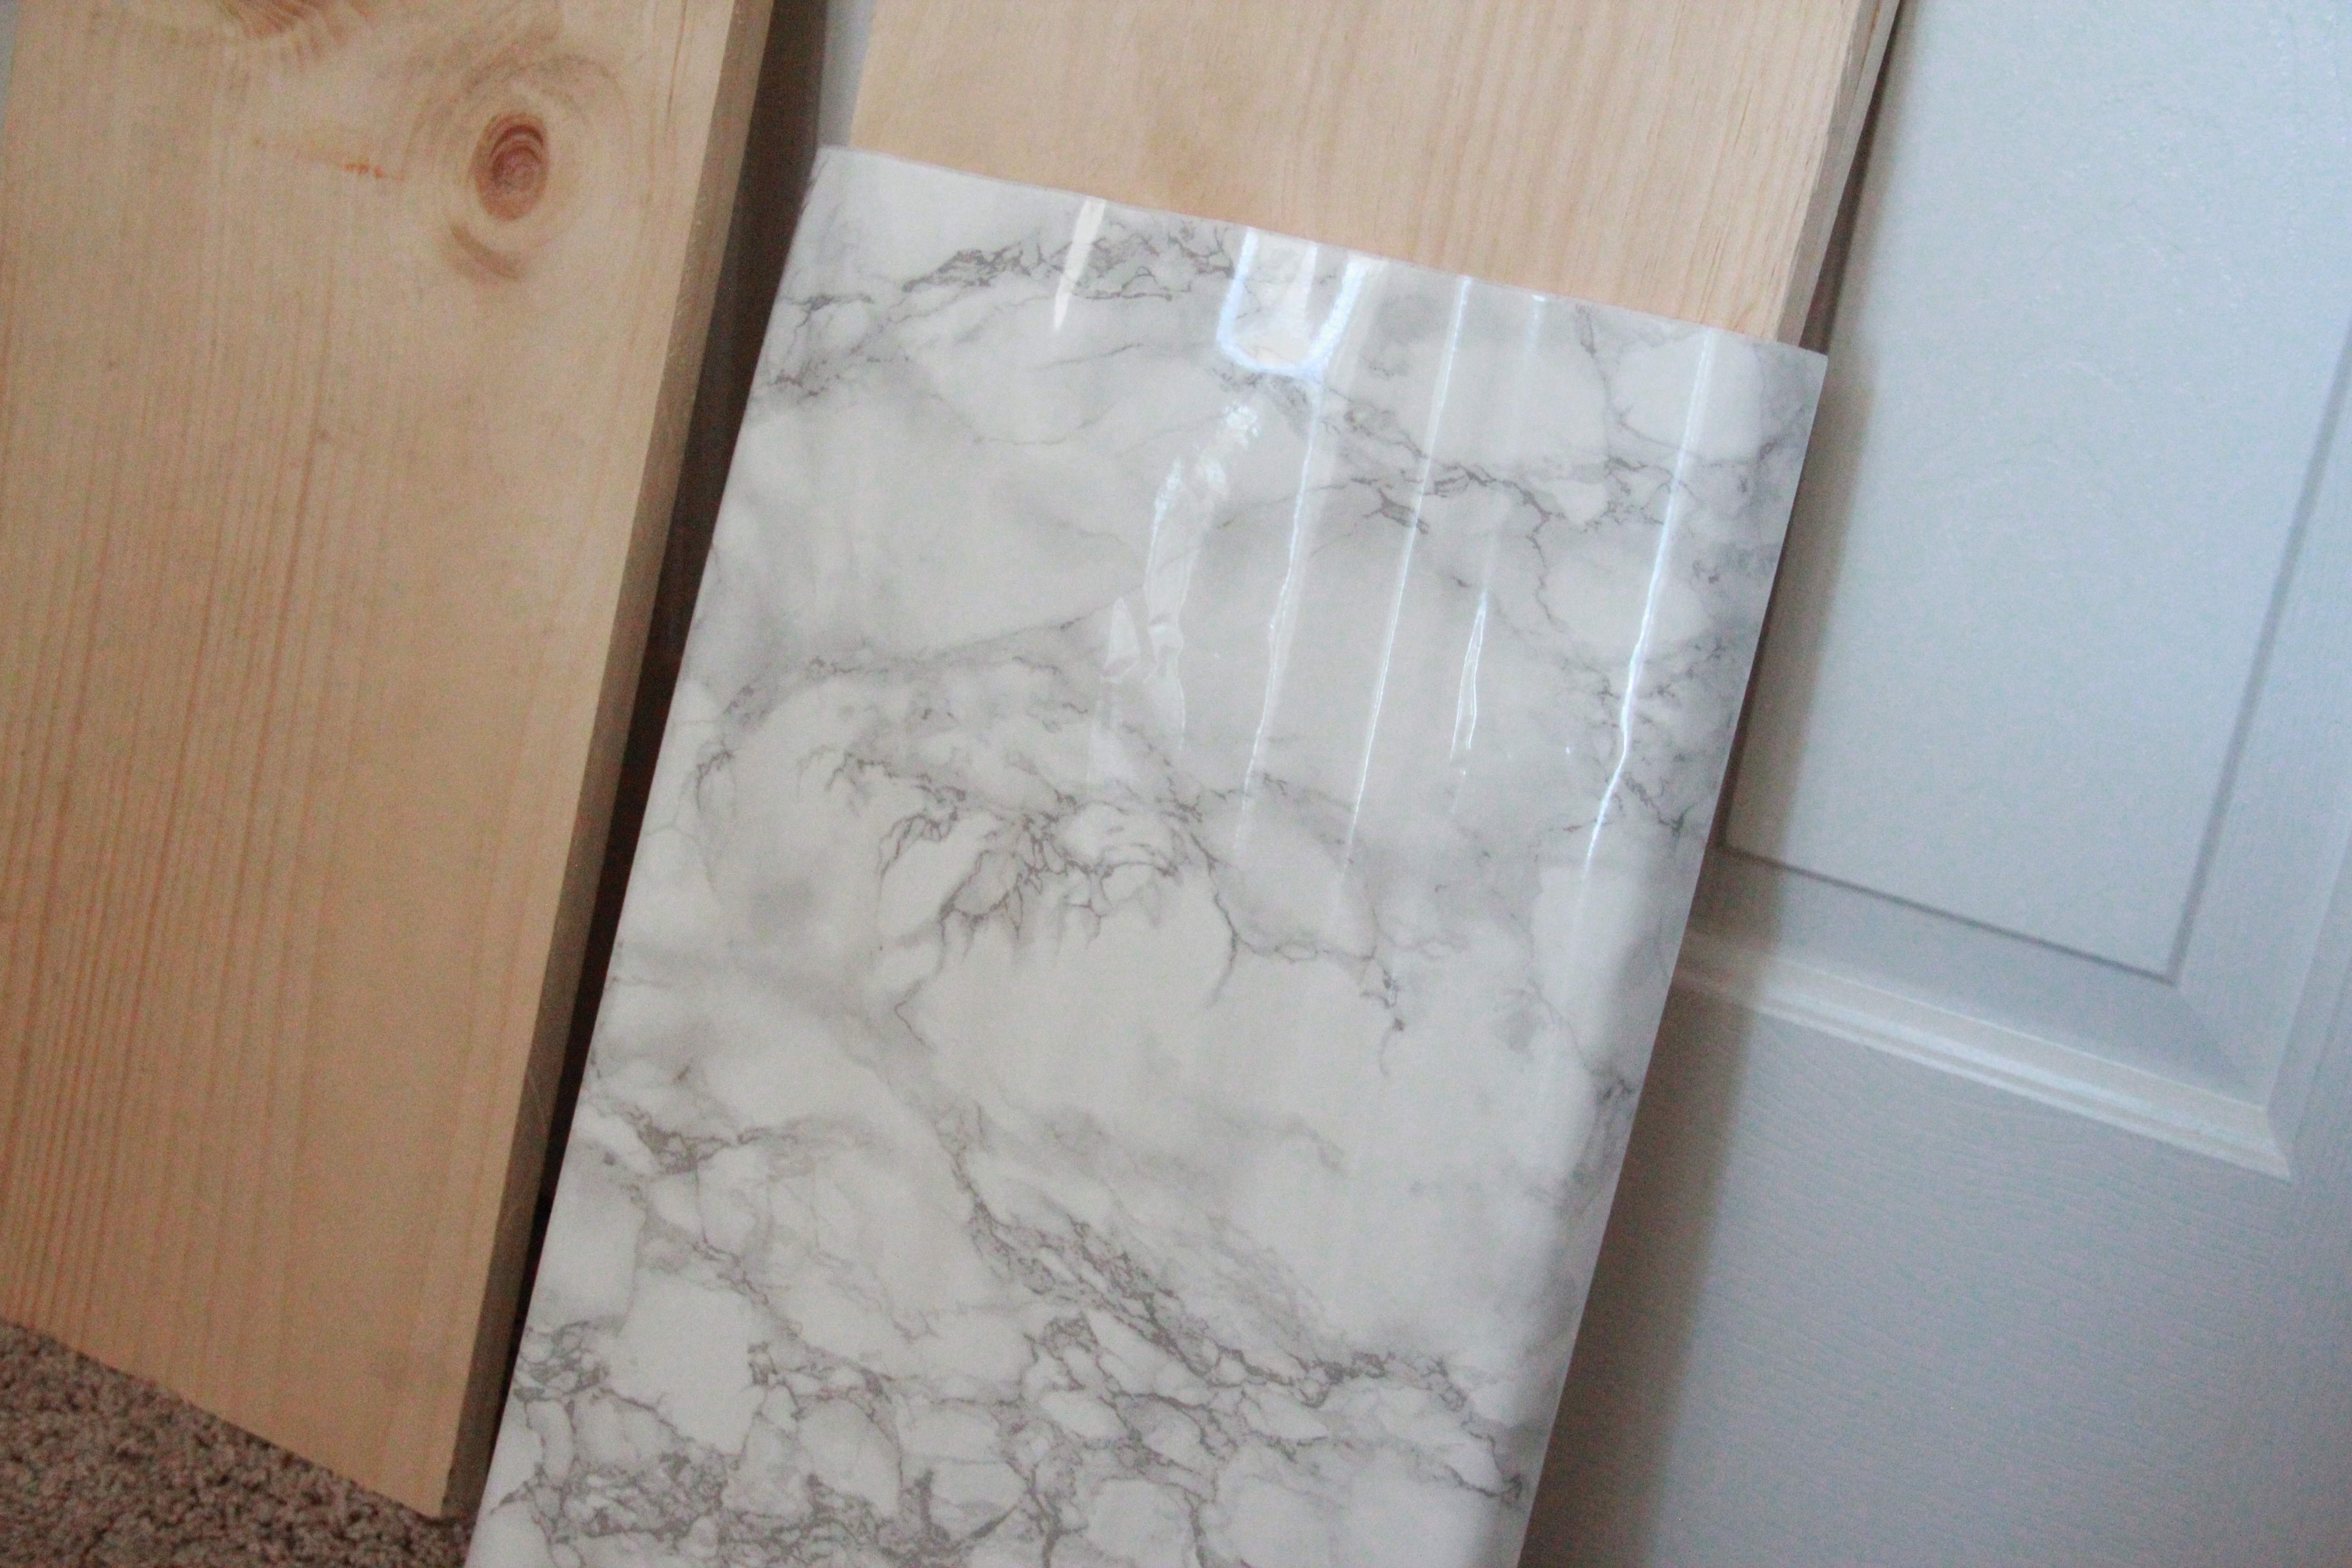
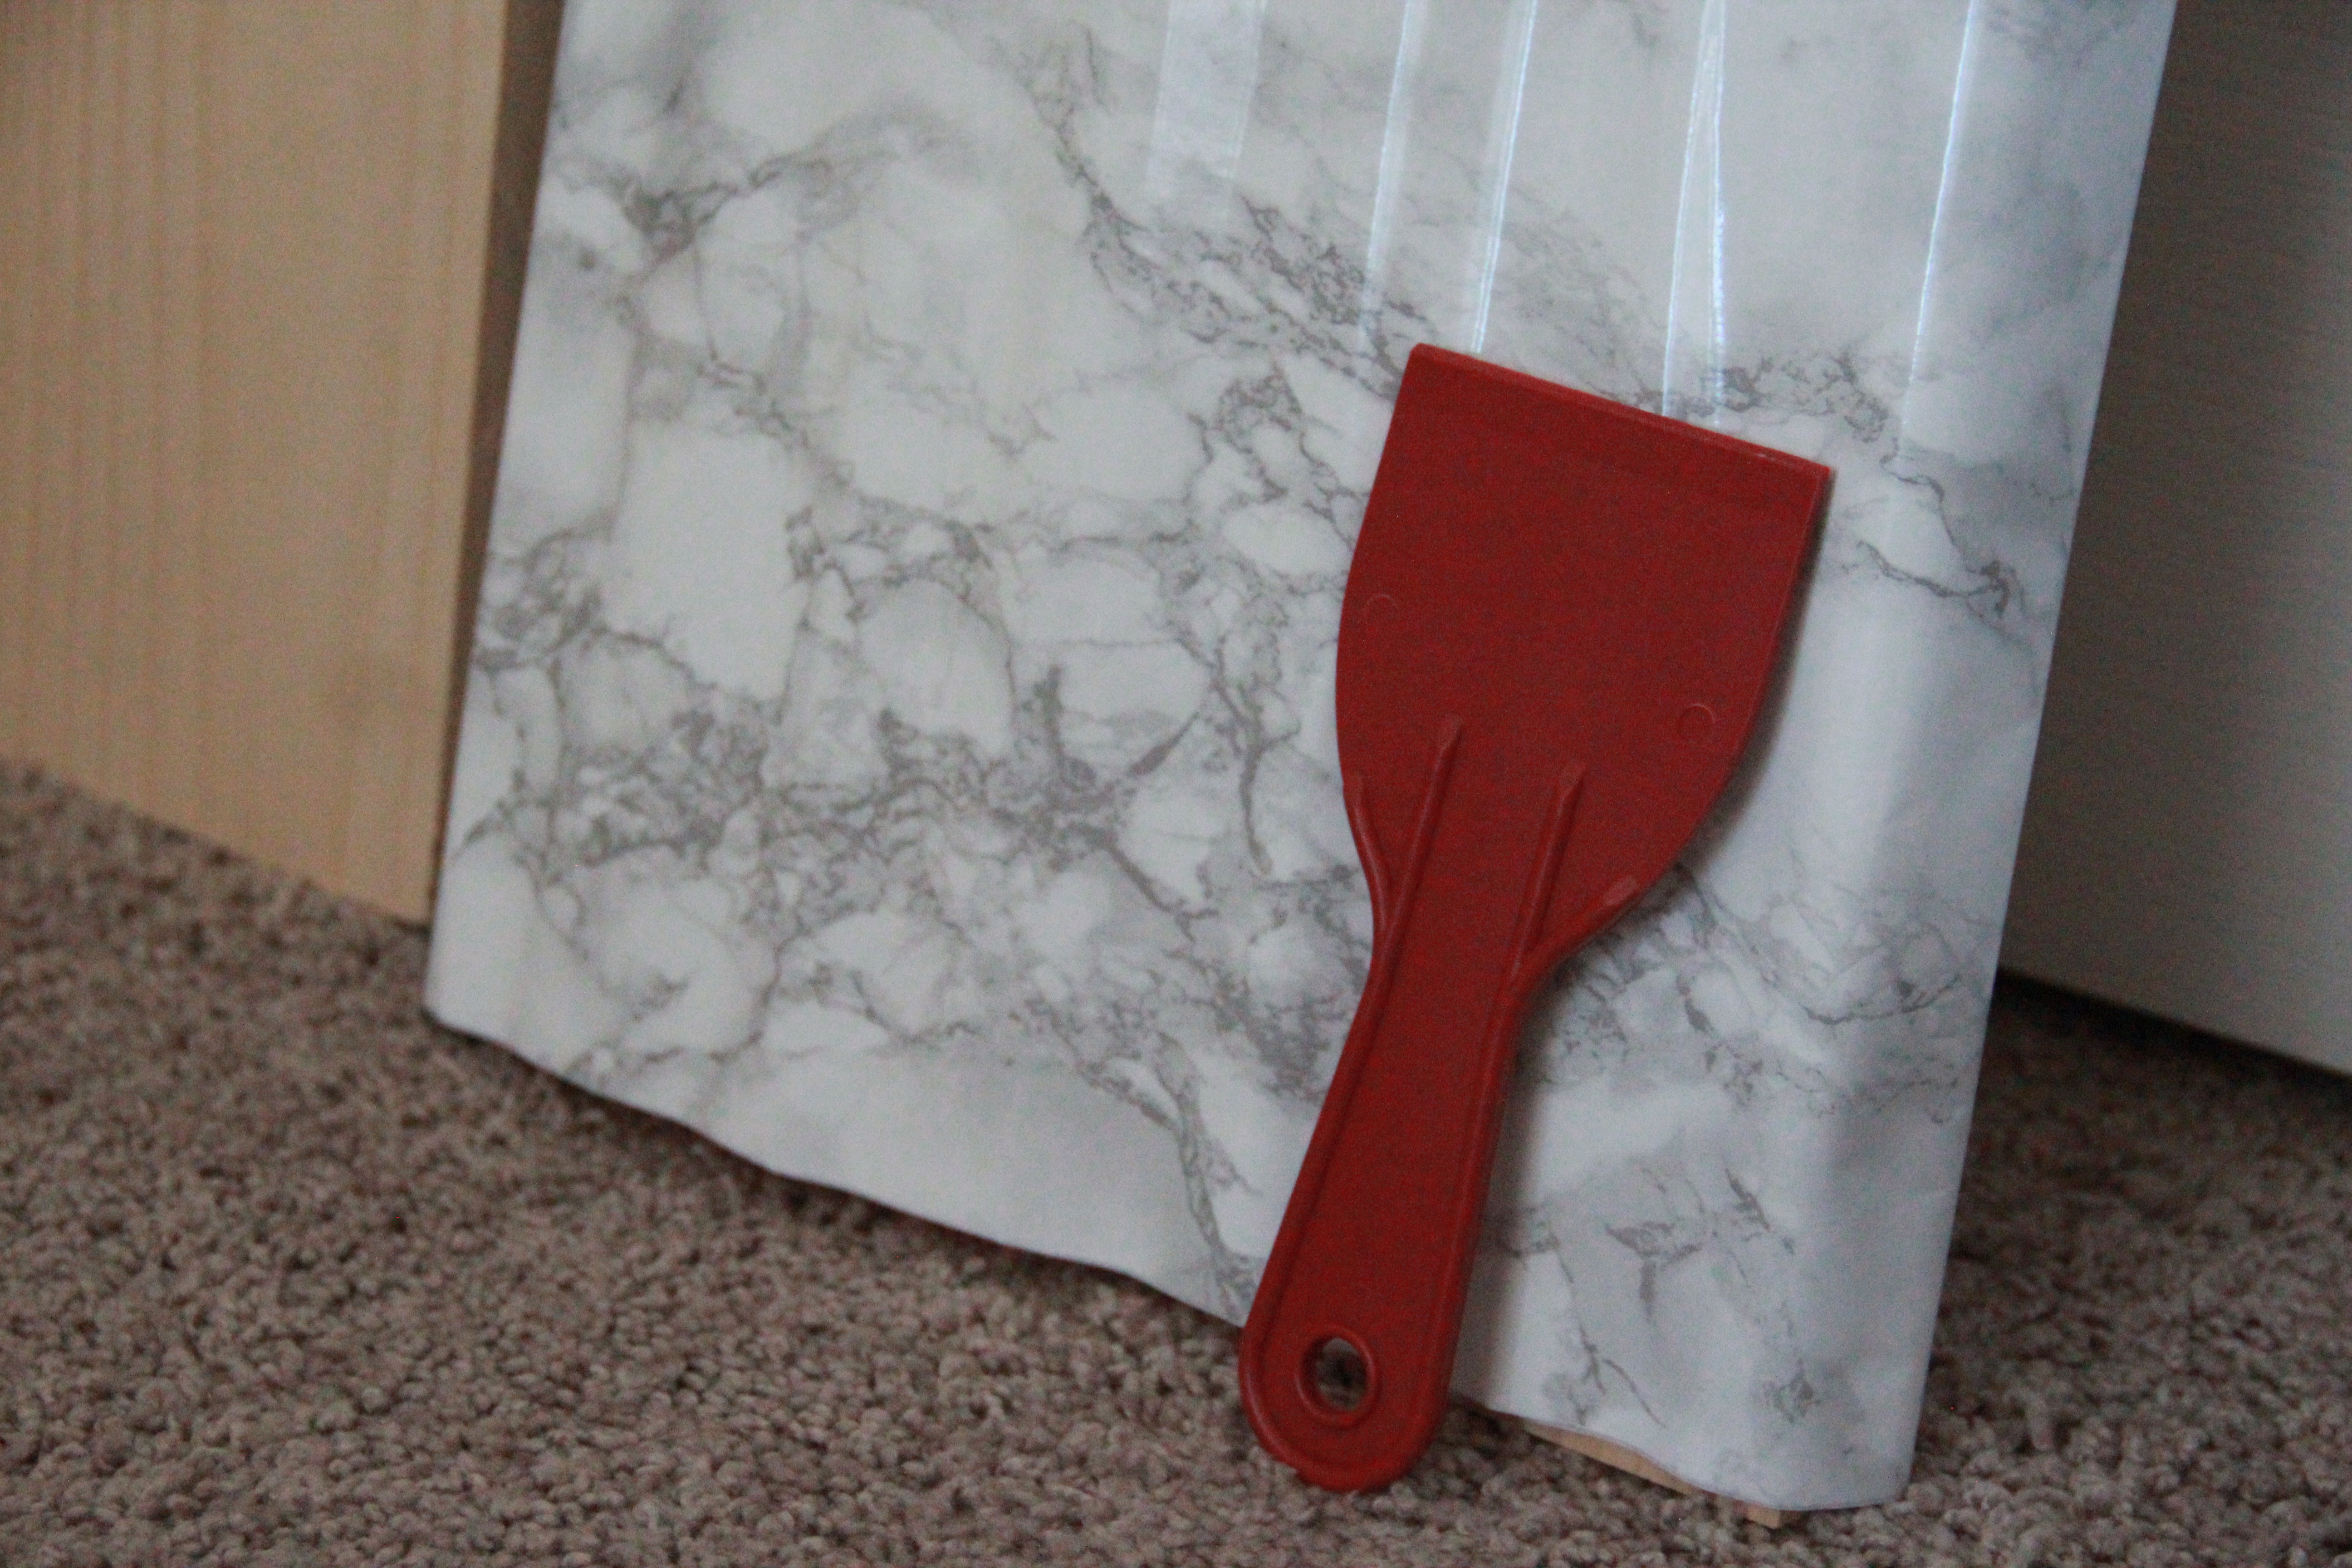
Step 2: While the unit is drying, we can move on to creating the “marble” shelves that will be added to it. Once your wood shelves are cut to the measurements included in the supplies list, Lowes is awesome y’all forreal, it’s time to get your marble adhesive sticker and putty knife out. This is also surprisingly easy to work with and adjust. I was super nervous that it would be all over the place sticking to itself and that this whole project would be a bust, but this sticker is stellar. Use your putty knife to smooth out any bumps or air bubbles. You need to cover one side and all the edges.
 [quads id=1]
Step 3: Once the unit is dry, after you have covered all of your wooden shelves, it’s time to put it all together! Taking your screwdriver, loosen the screws on each end of the bottom three shelves, then take the marble covered wood pieces and set them on the shelves. When they are laying flat against the metal shelves, tighten those screws back. This will secure these to your unit. For the top shelf, take the wood piece and clamp it at each end on the top. Now, drill in three holes evenly spaced across the middle of the shelf (not all the way through, just enough for screws to fit in and secure it). Using your screw driver, secure those.
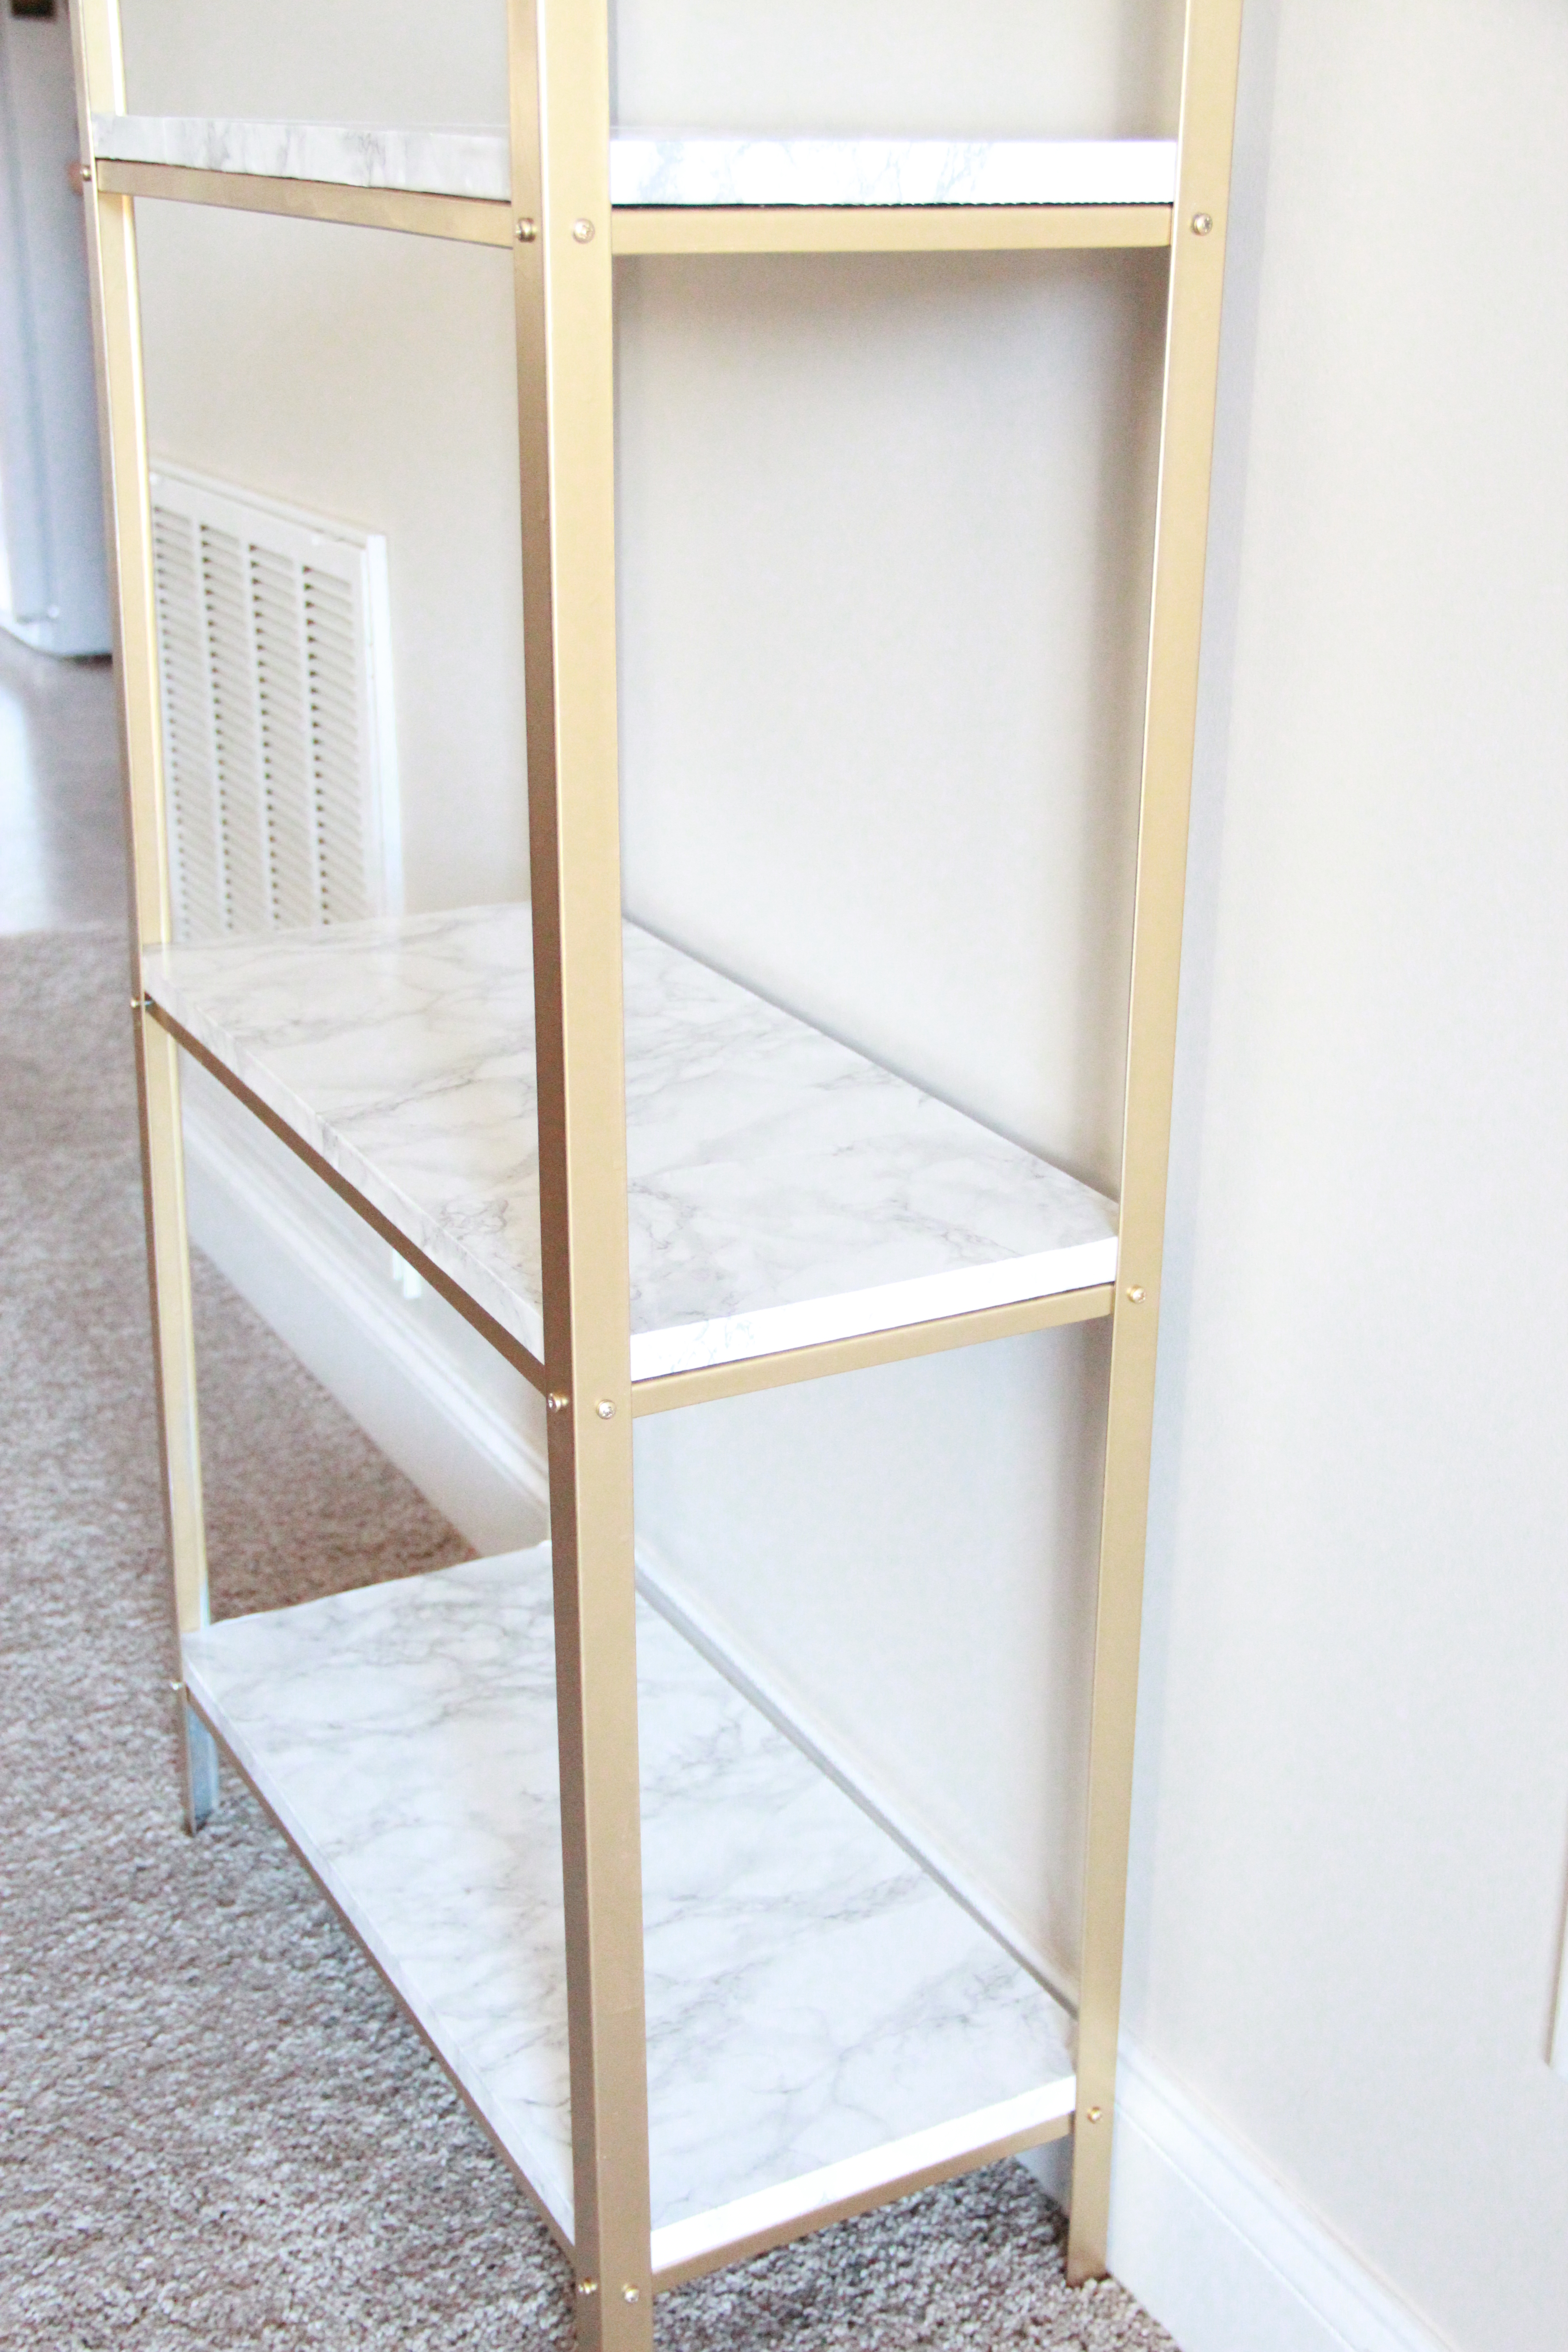
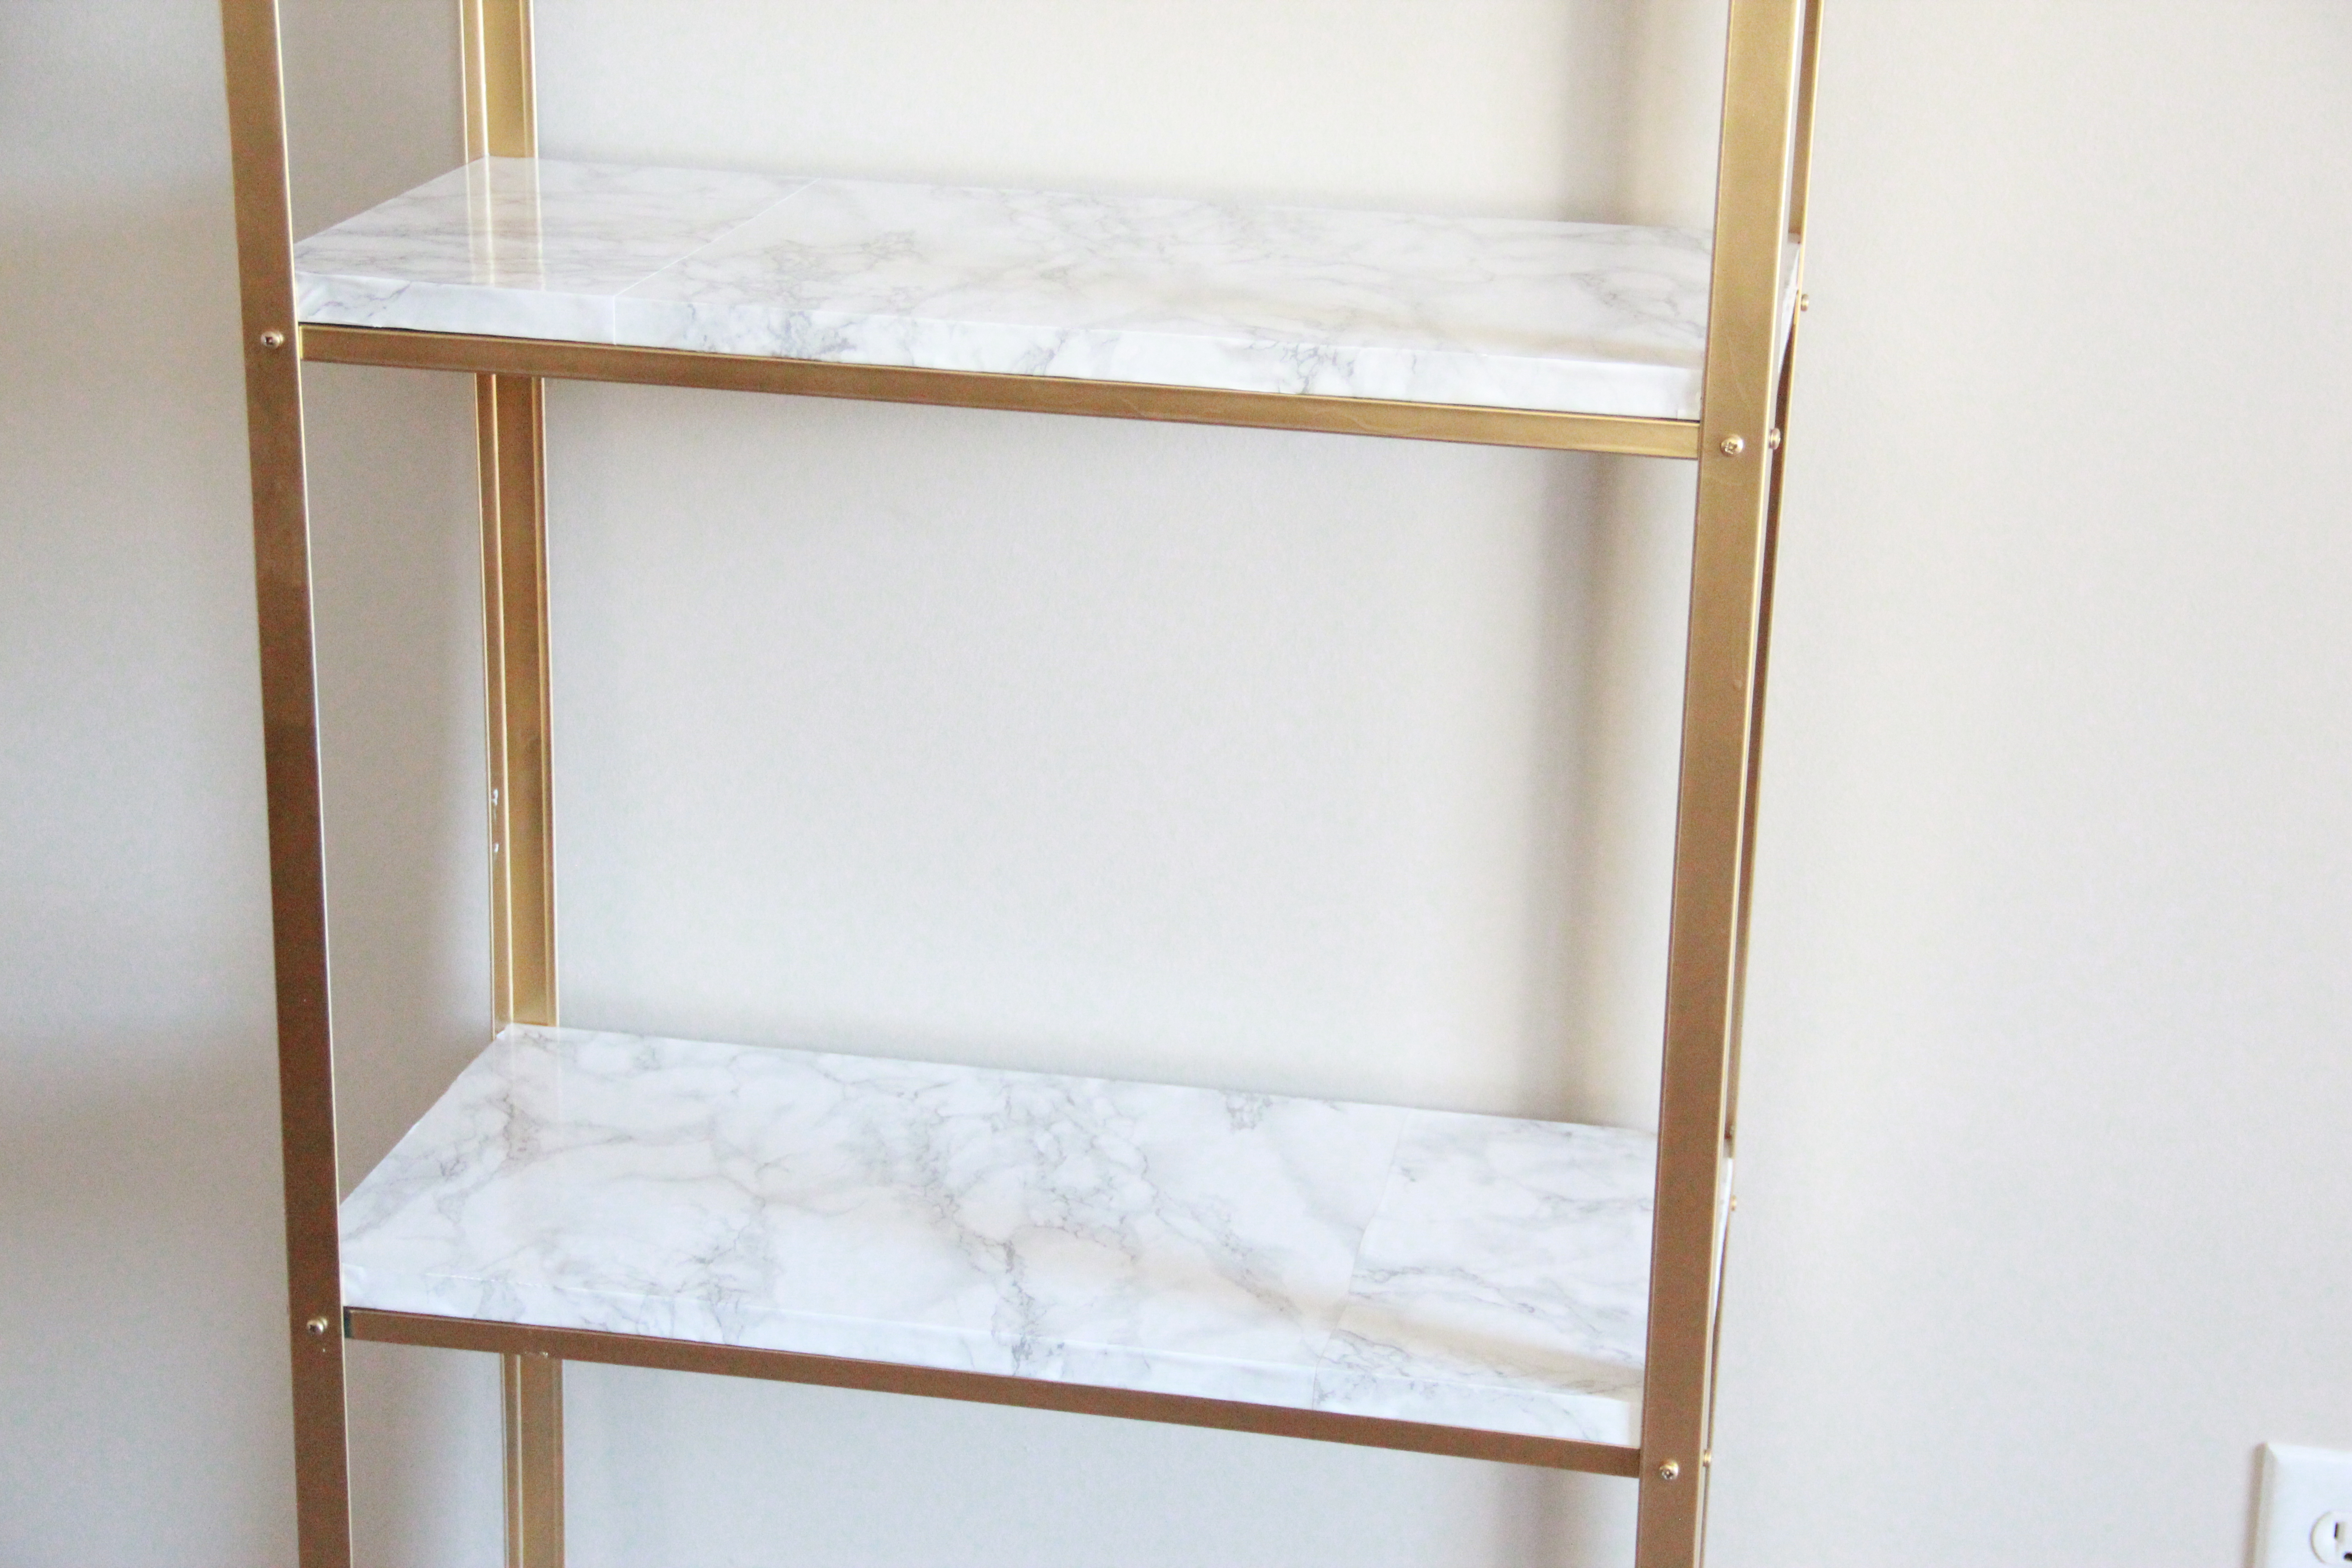
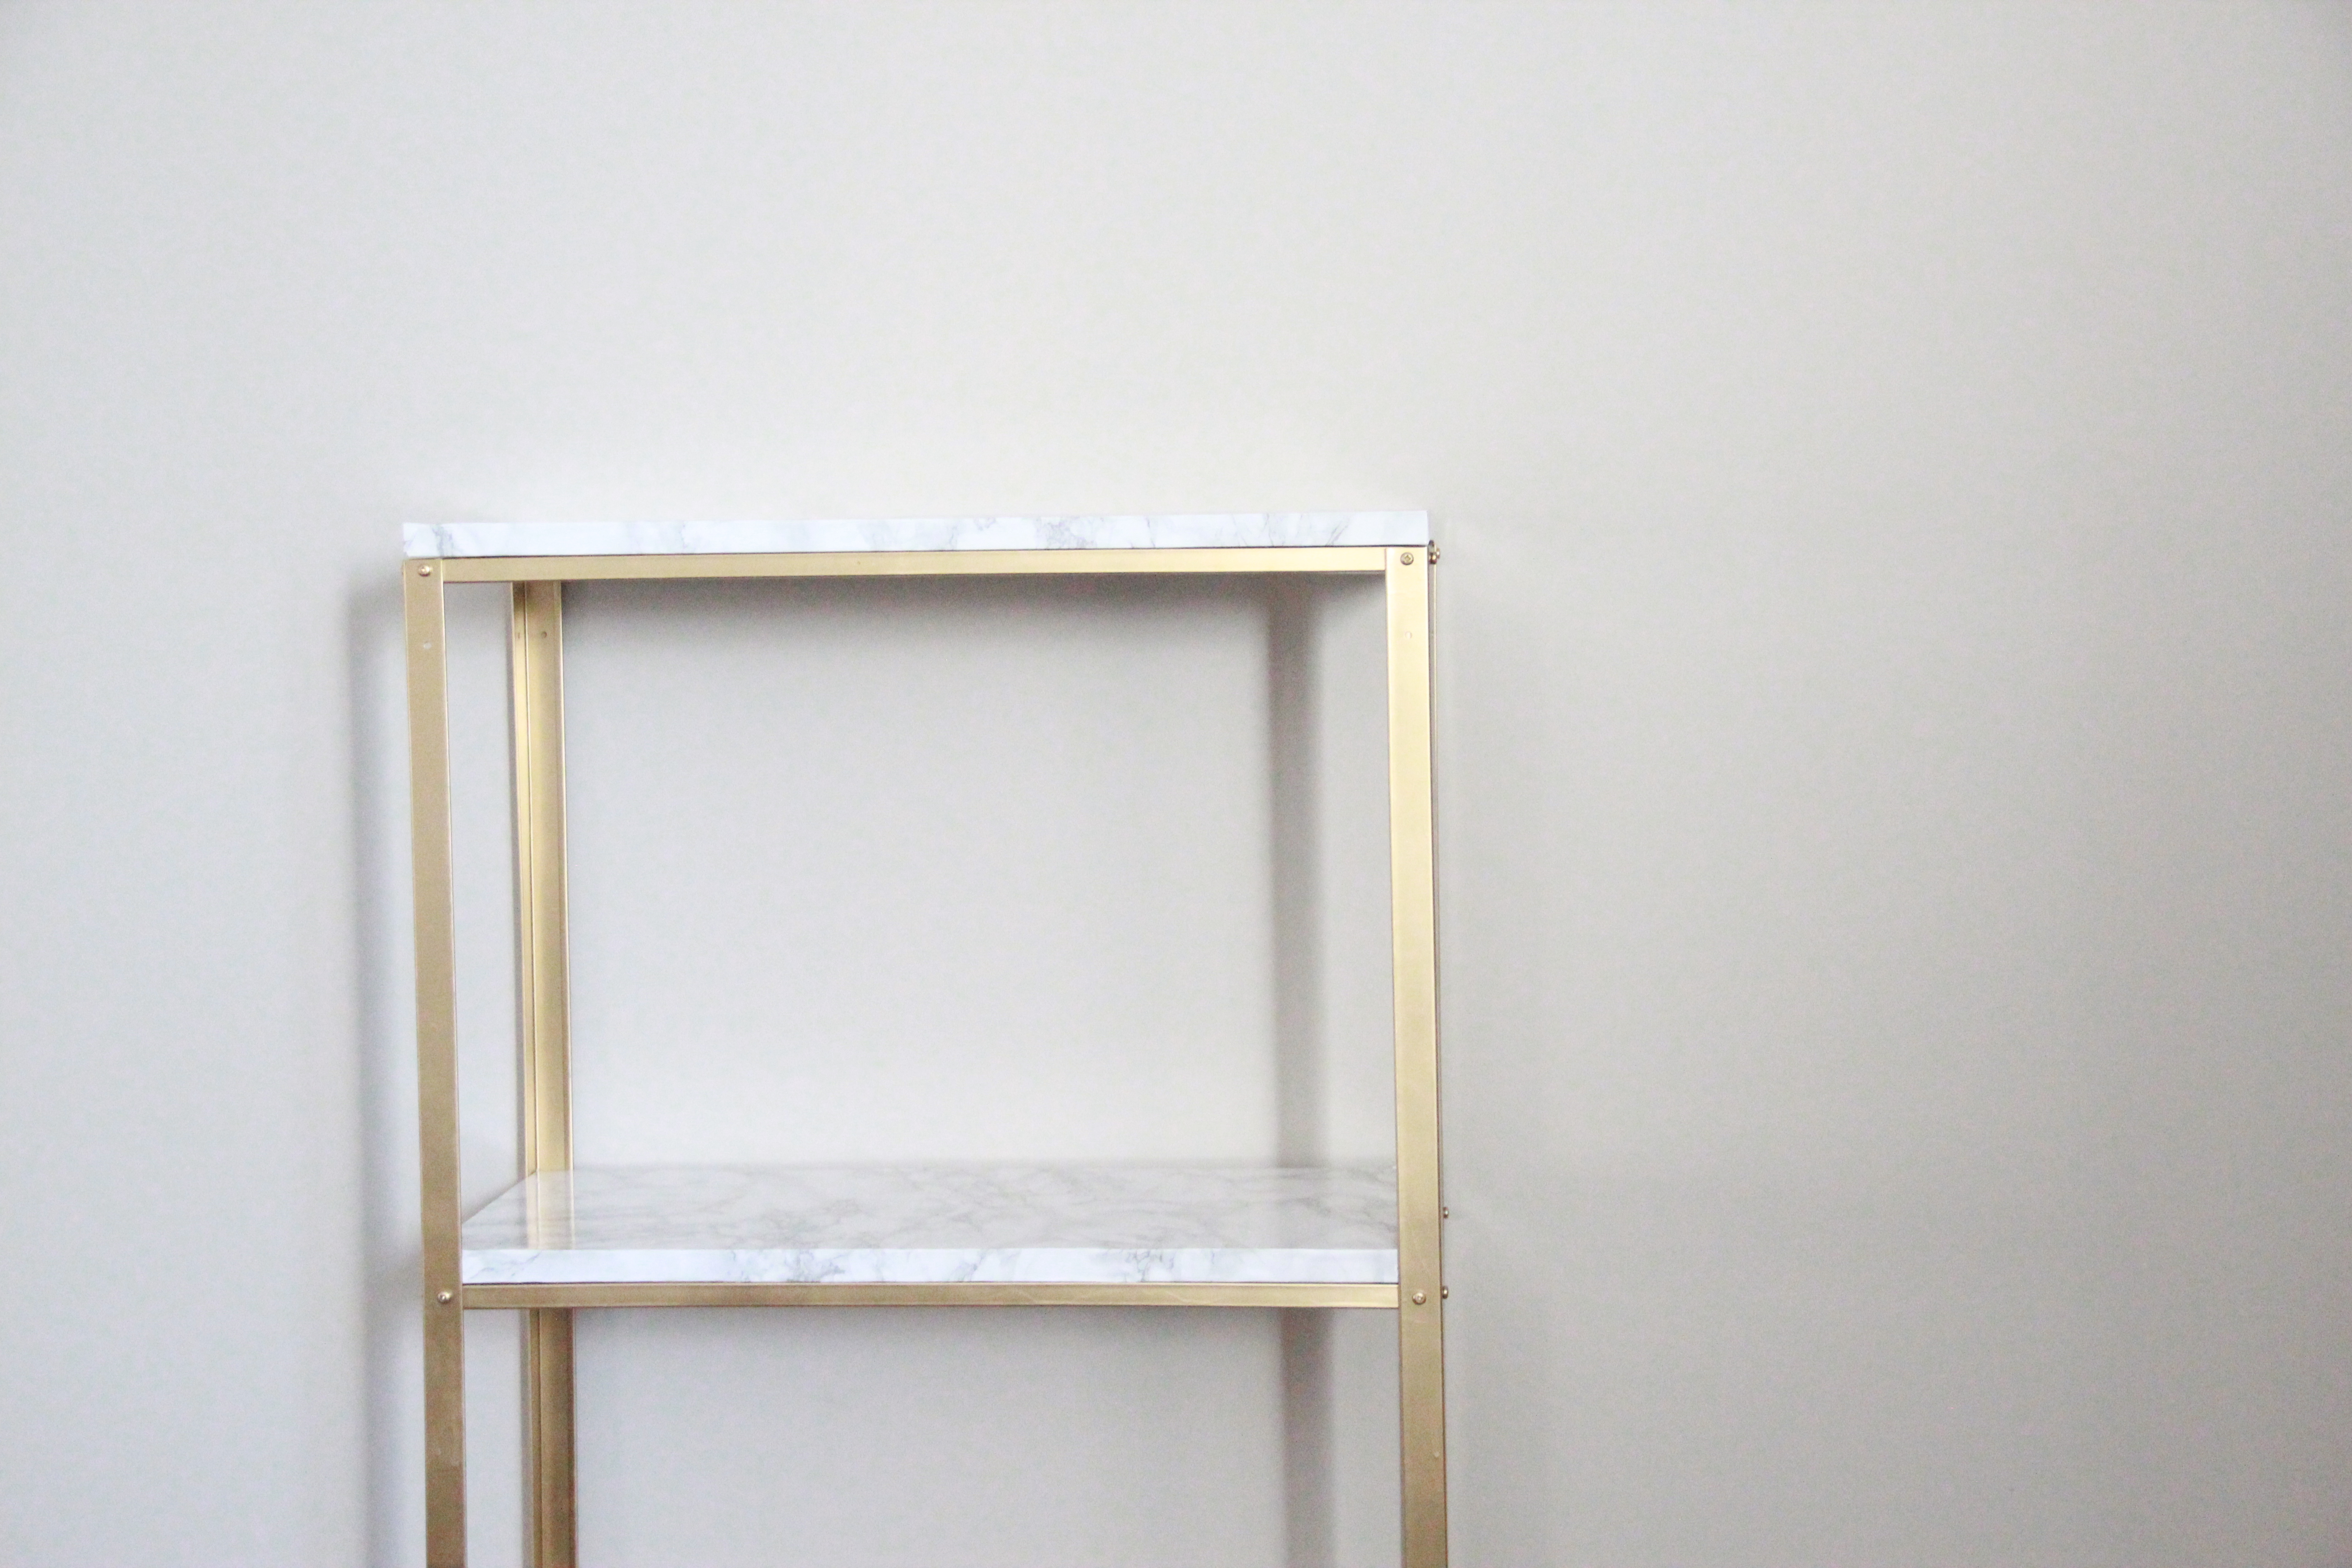
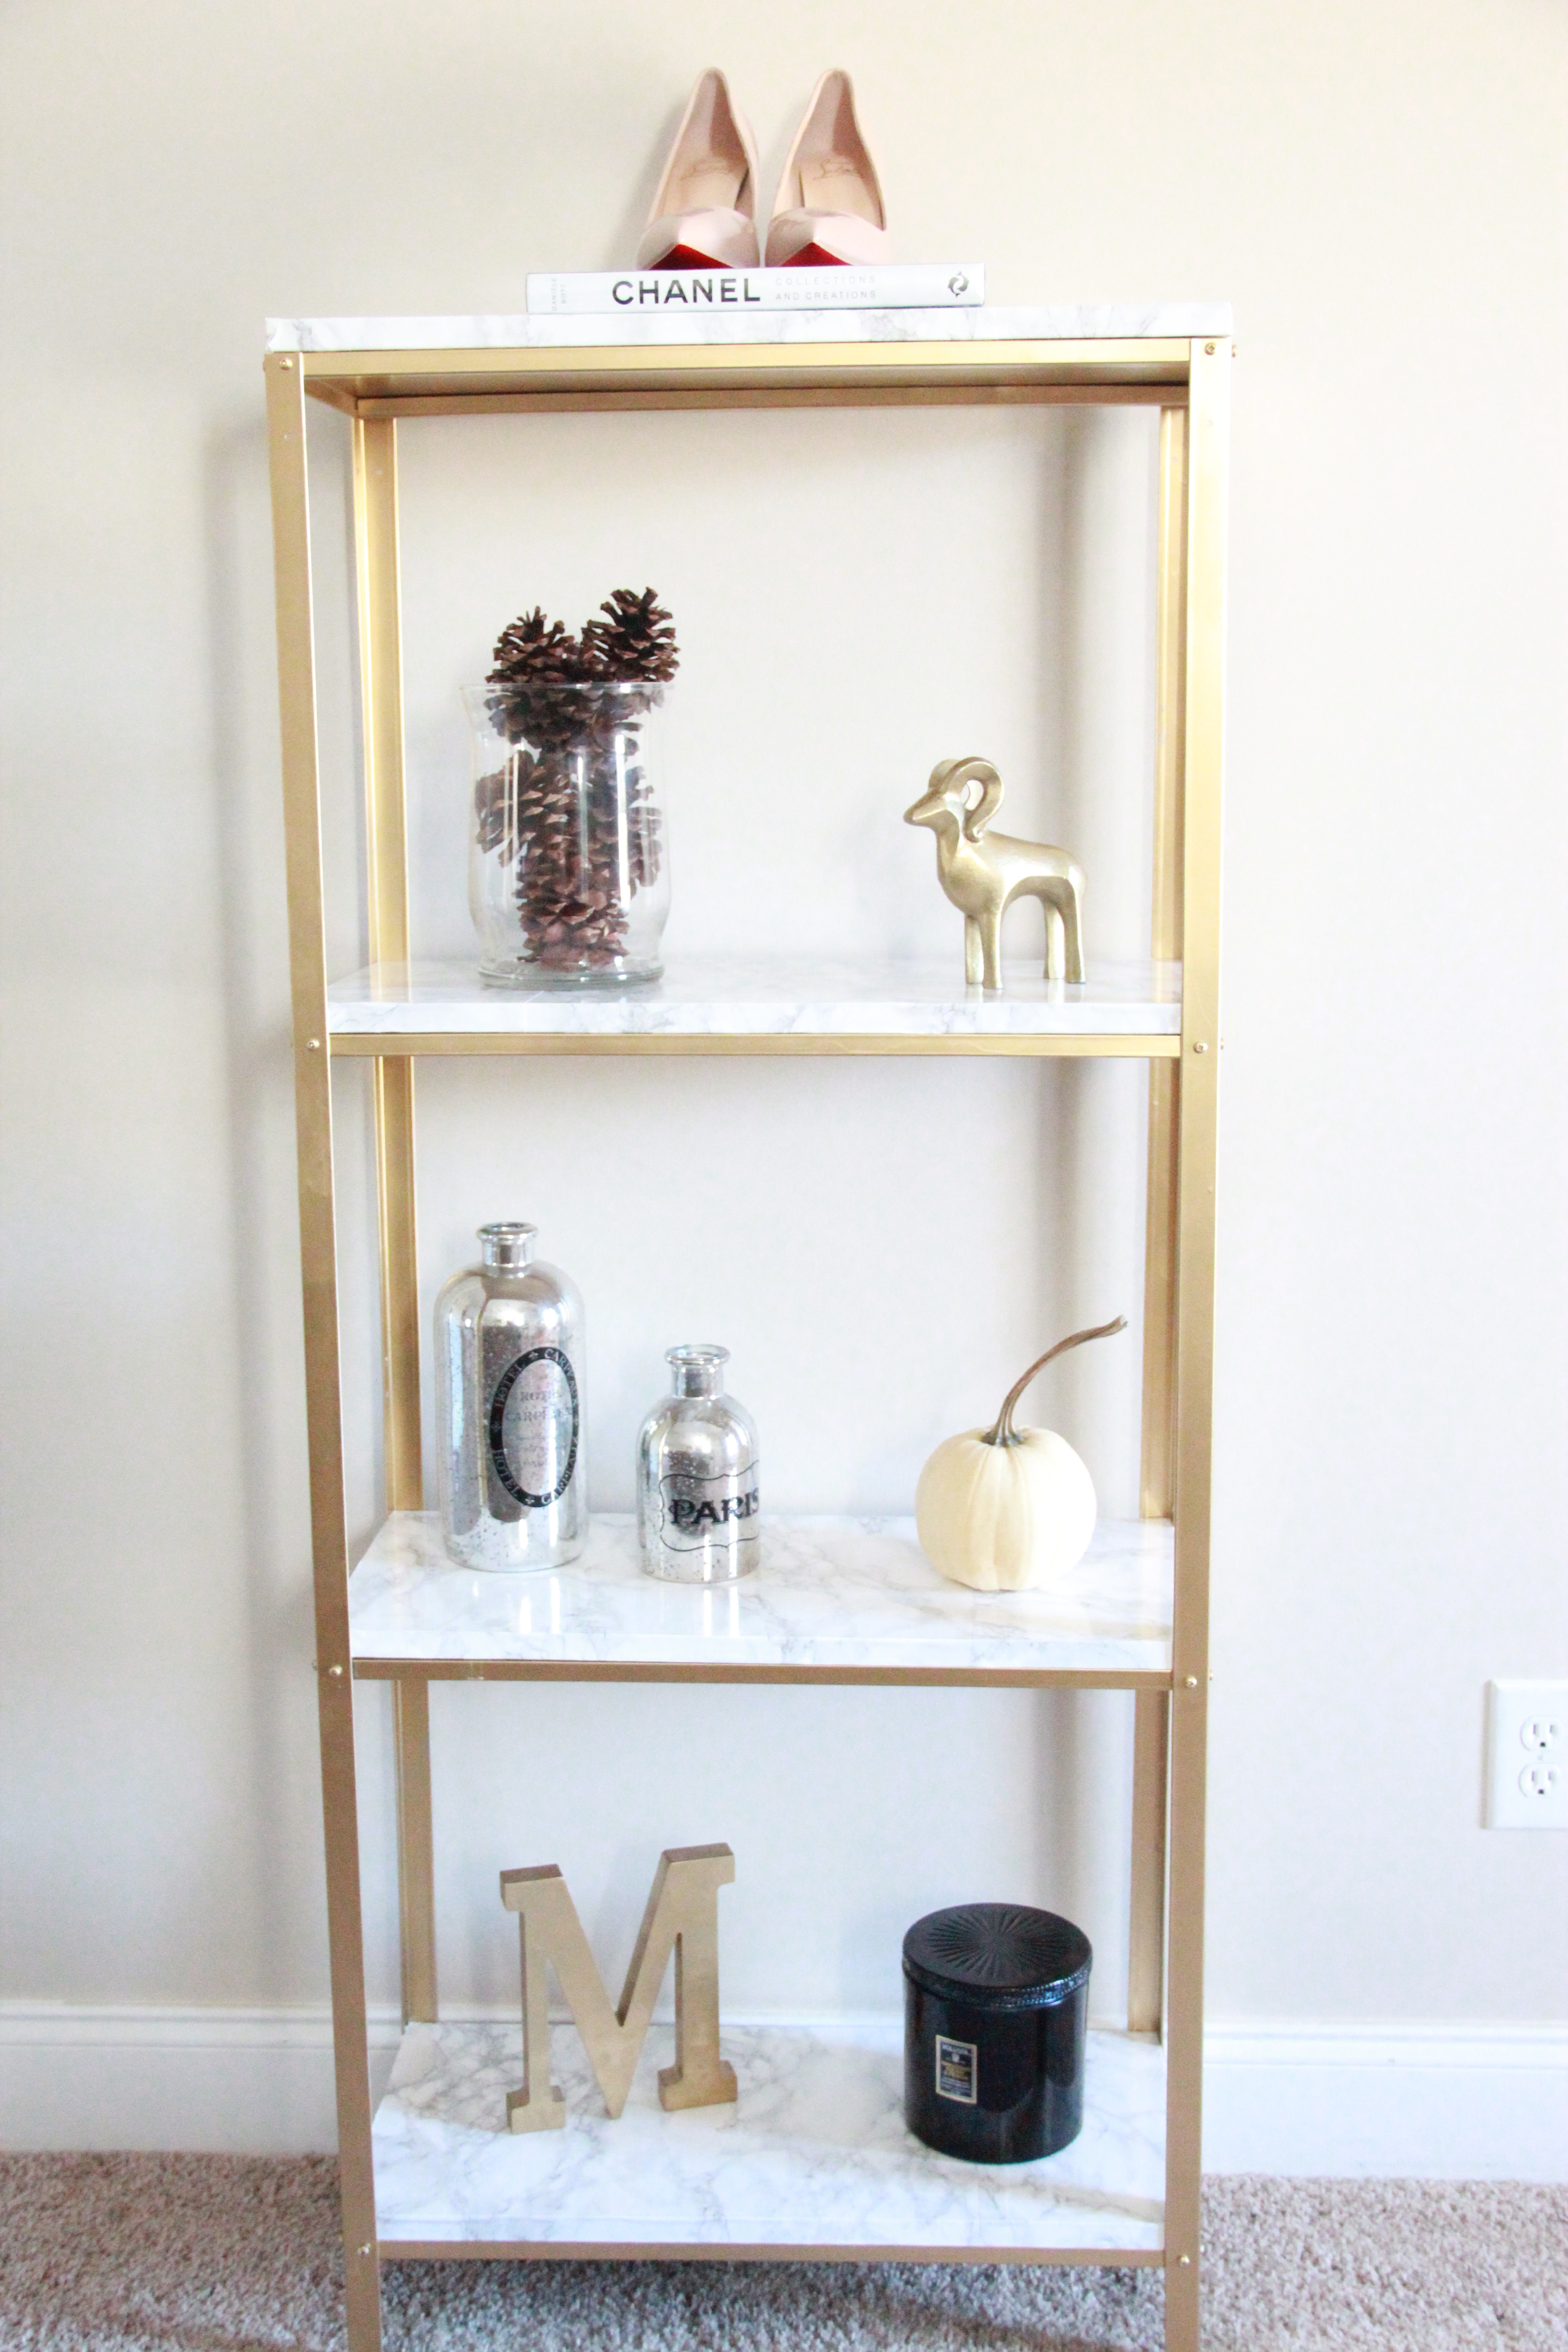
That’s it! Now here’s the fun part: Staging the unit!
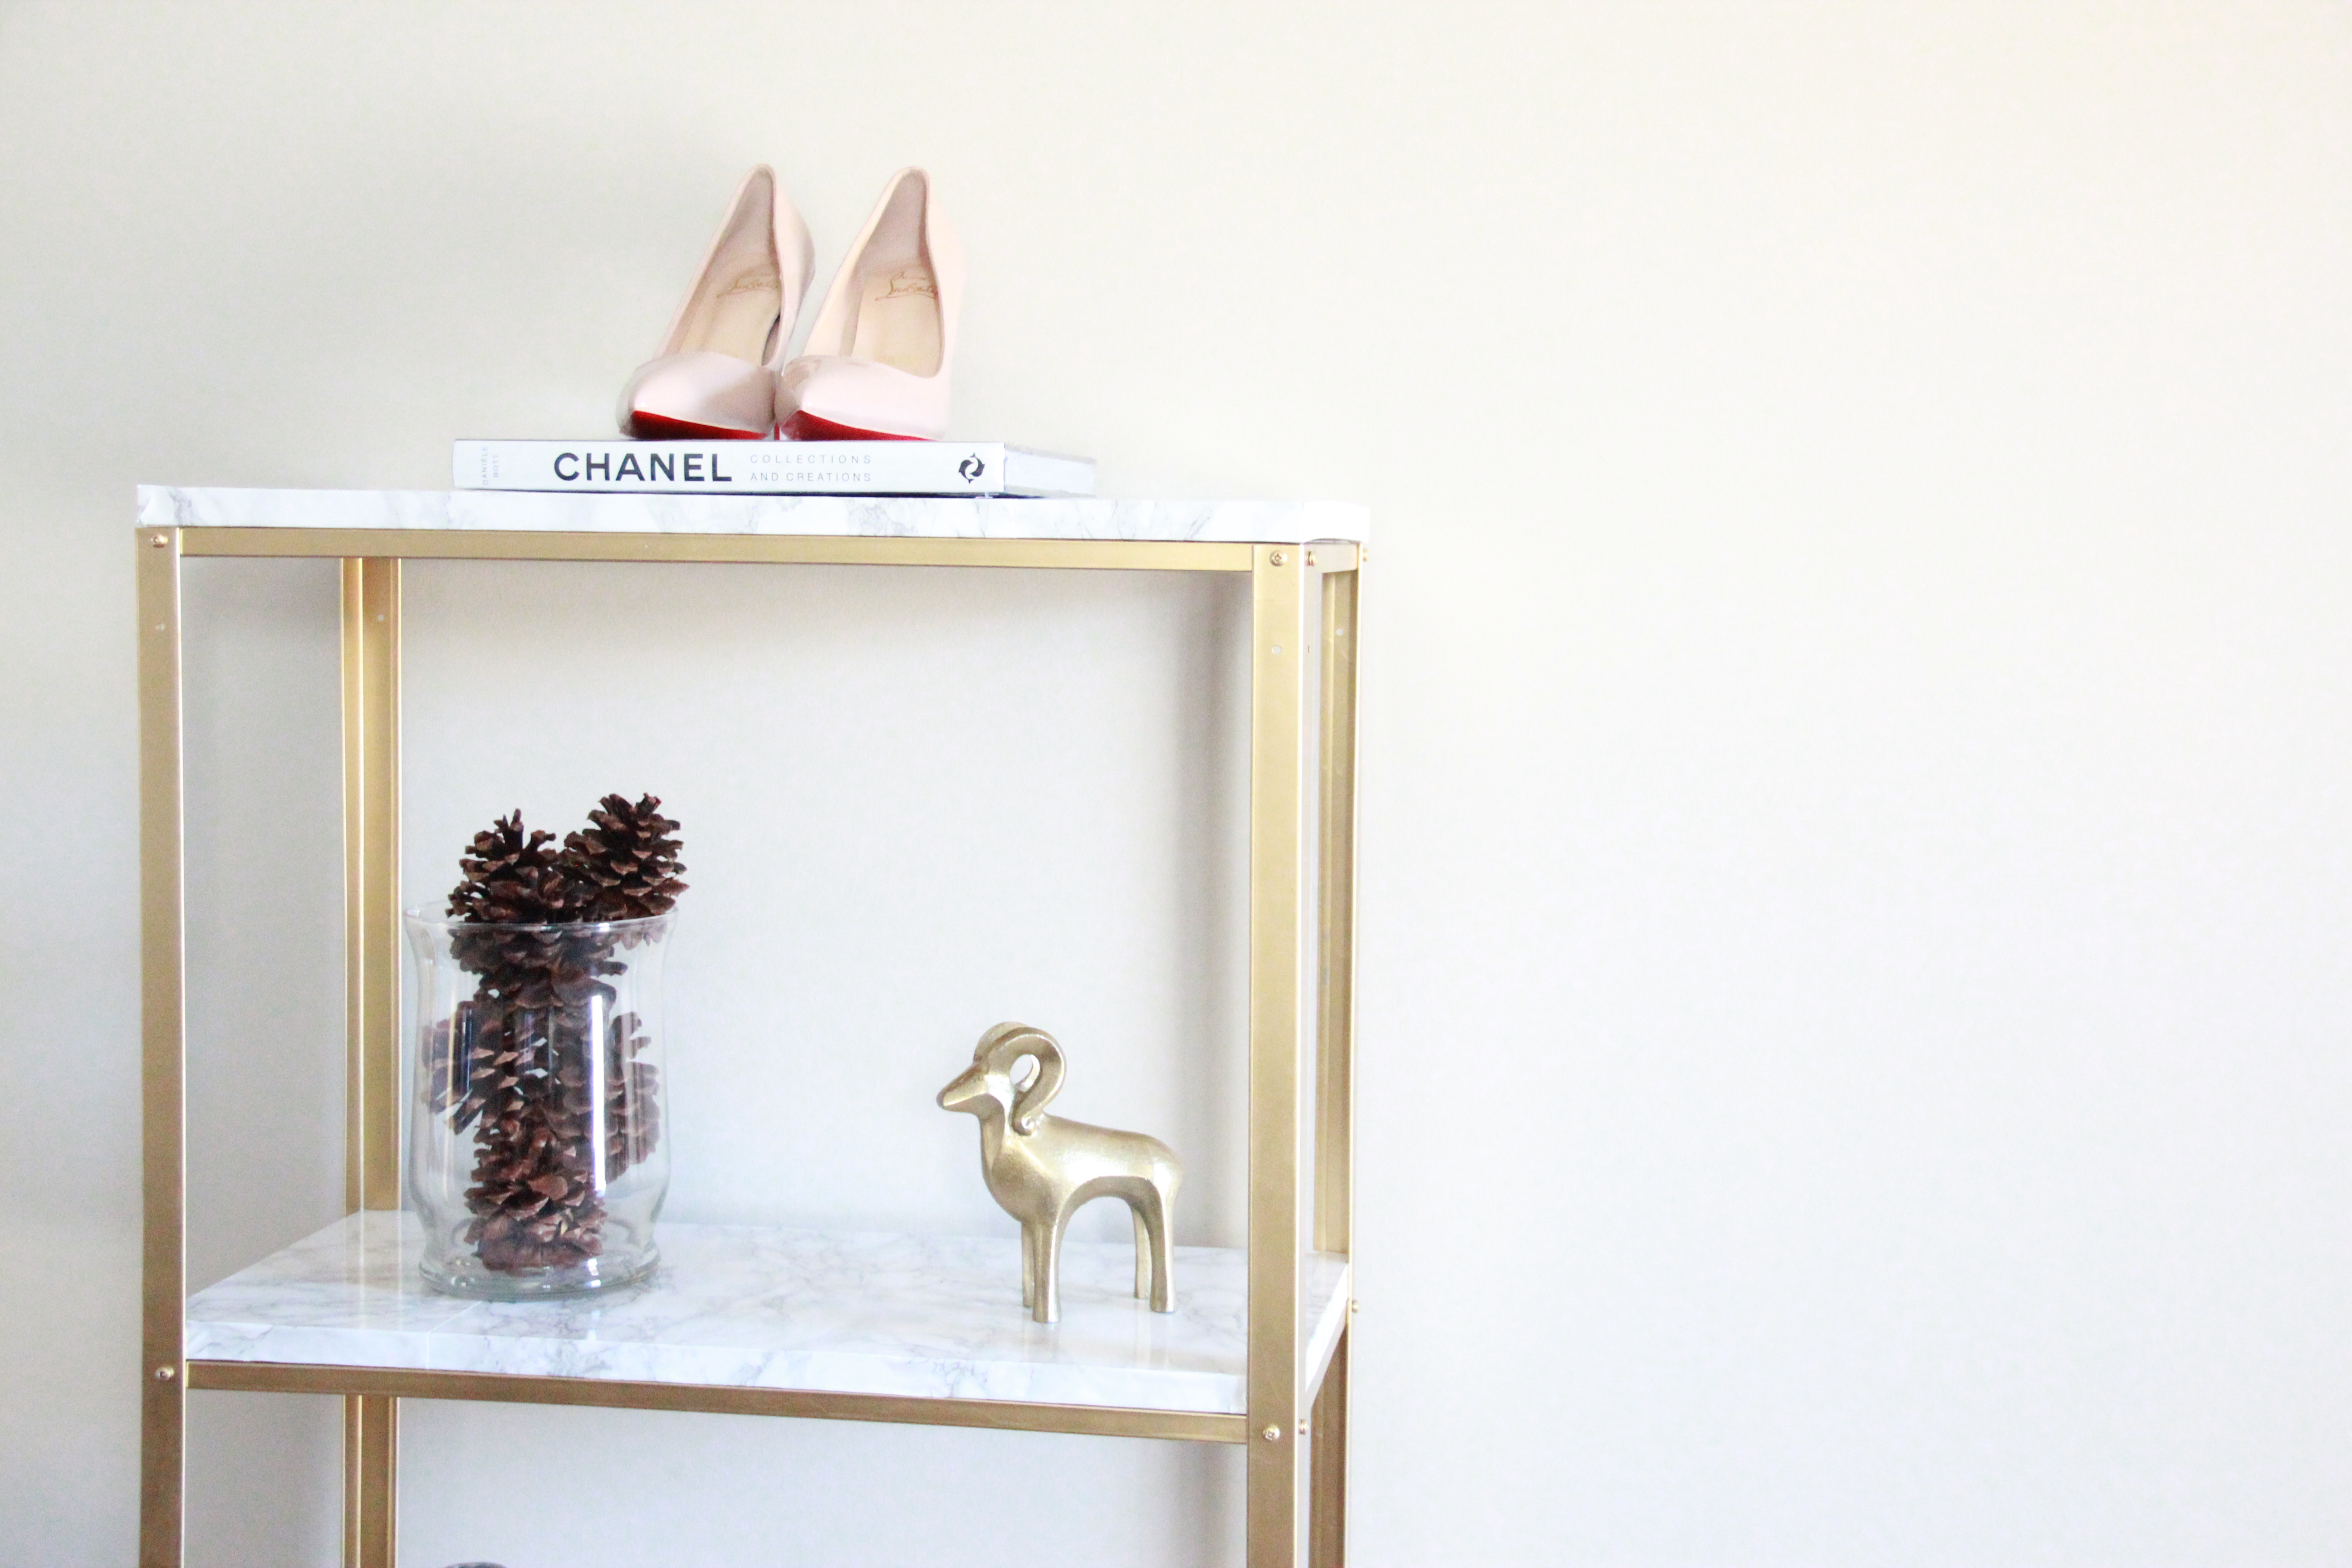
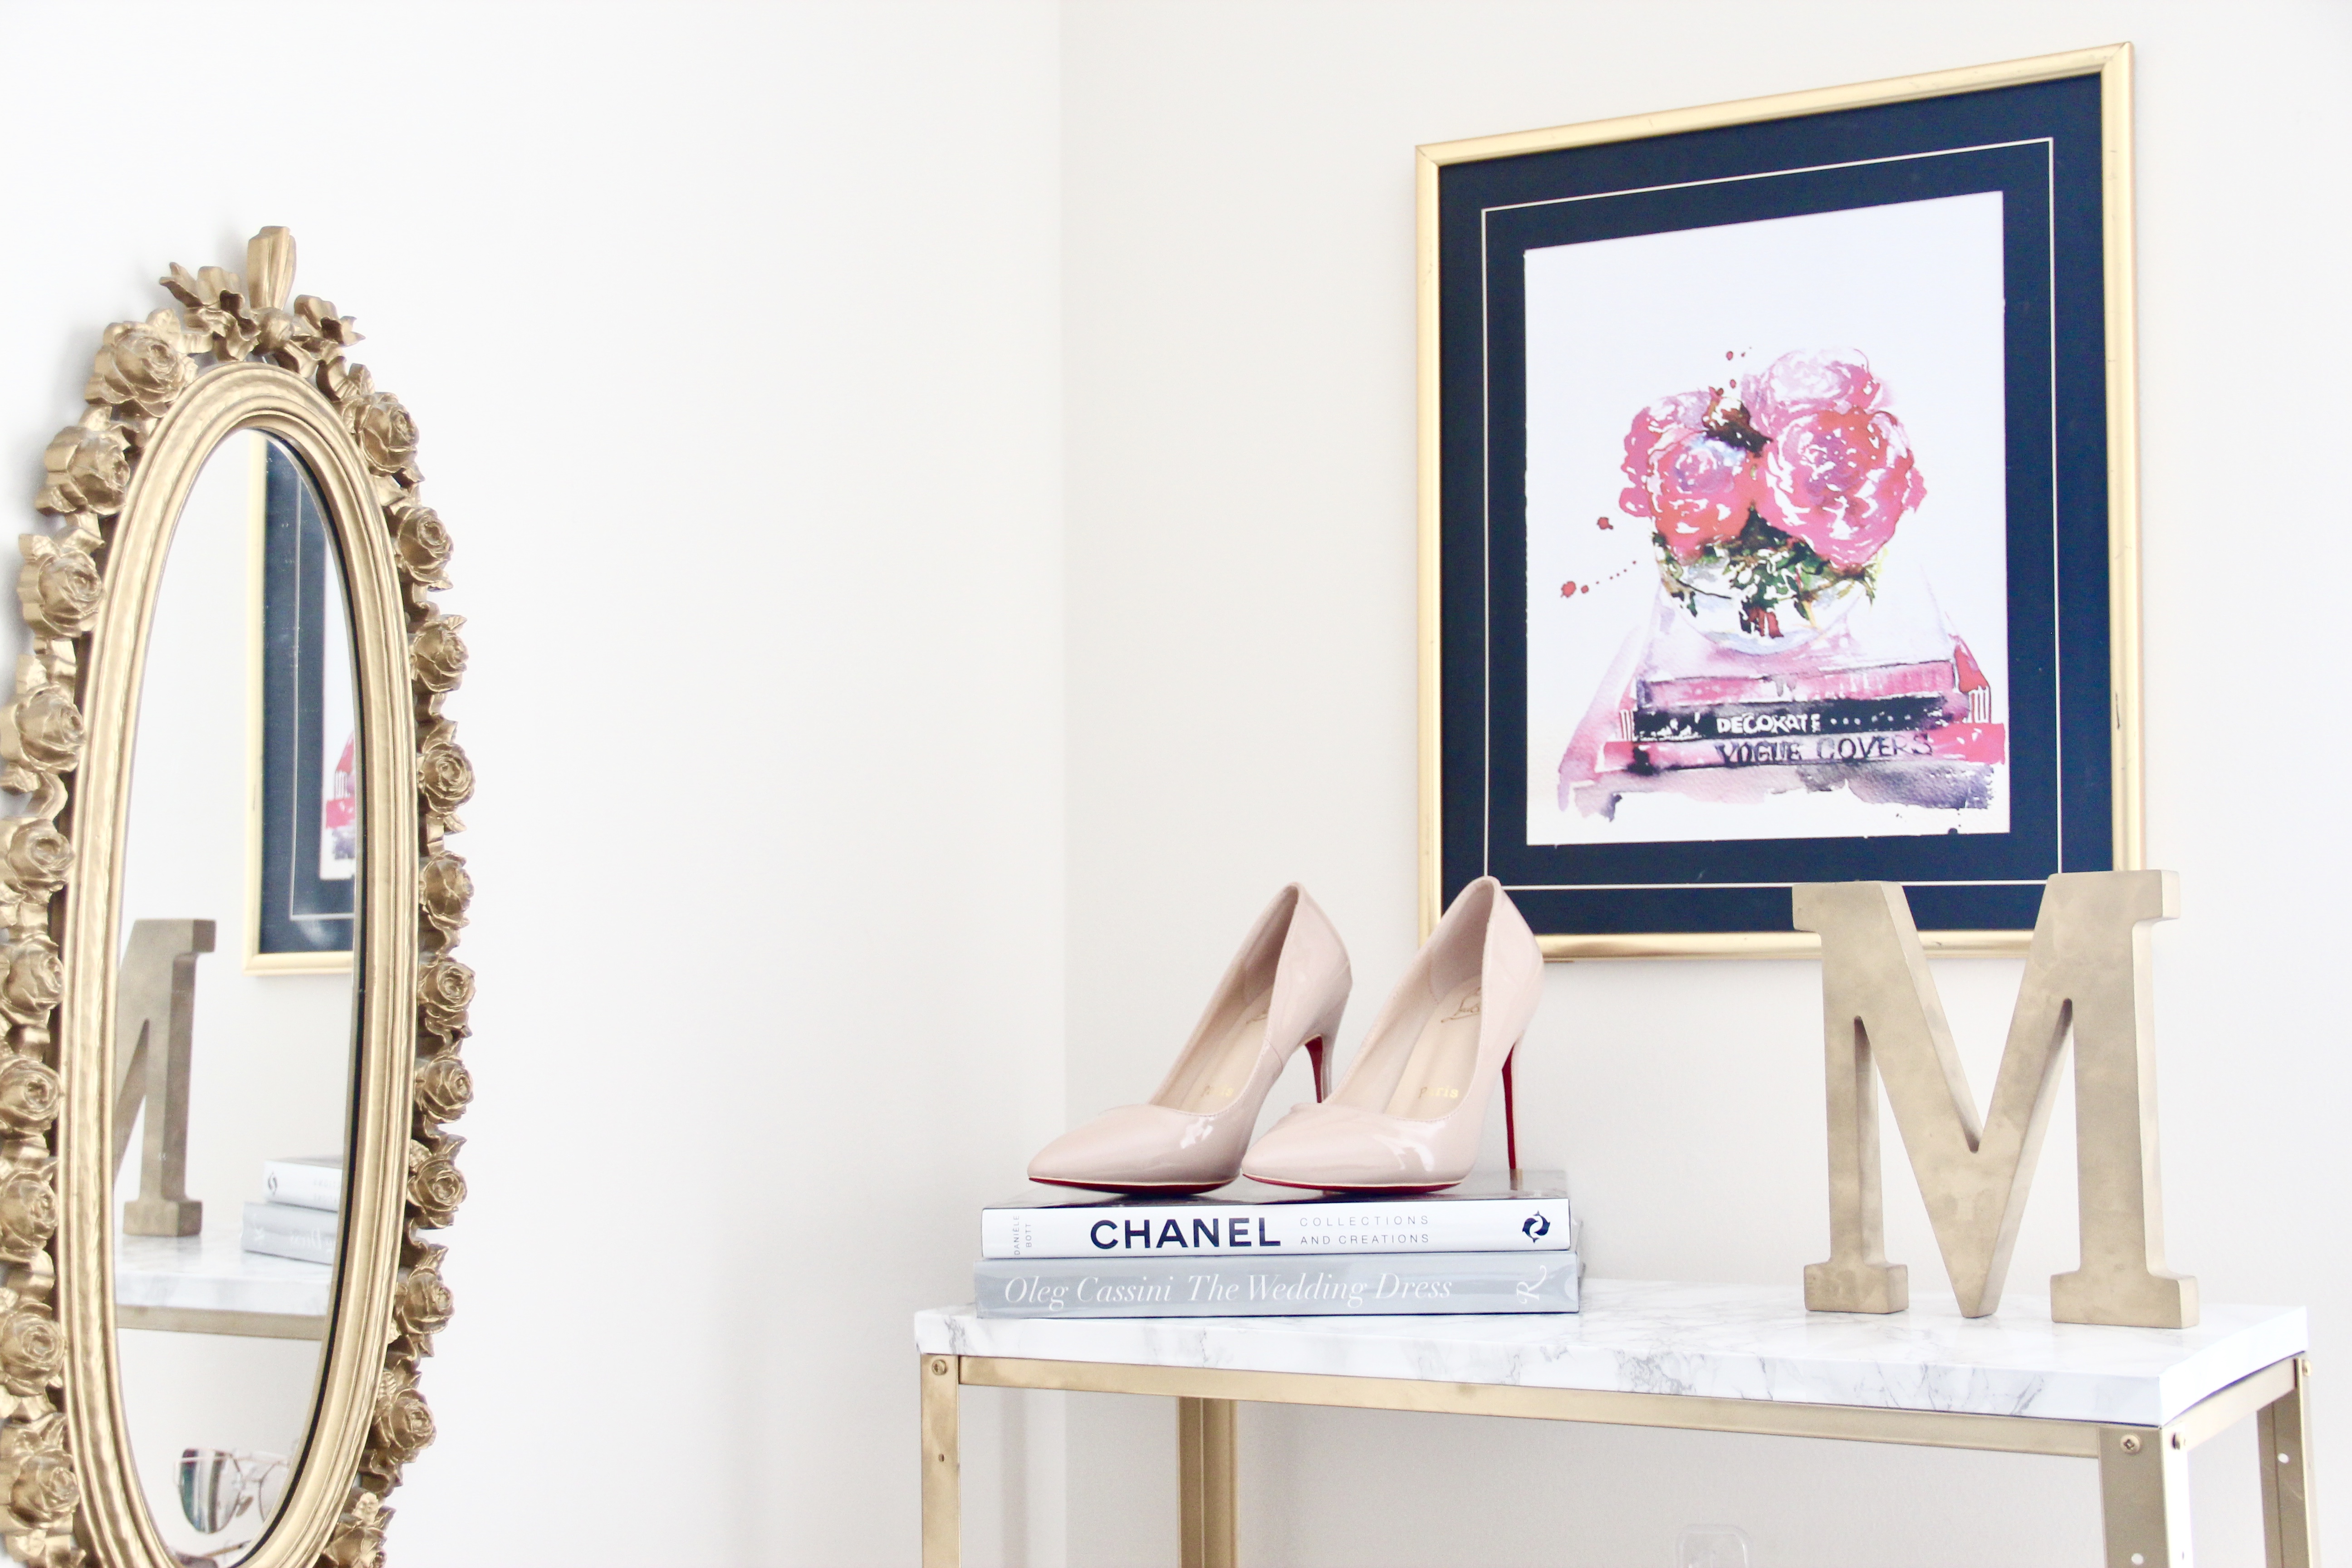
Making one of your own? Tag me so I can see your completed Marble & Gold Hyllis Hack!
Still can’t get enough marble and gold DIY projects? Check out this marble and gold vanity tray DIY:
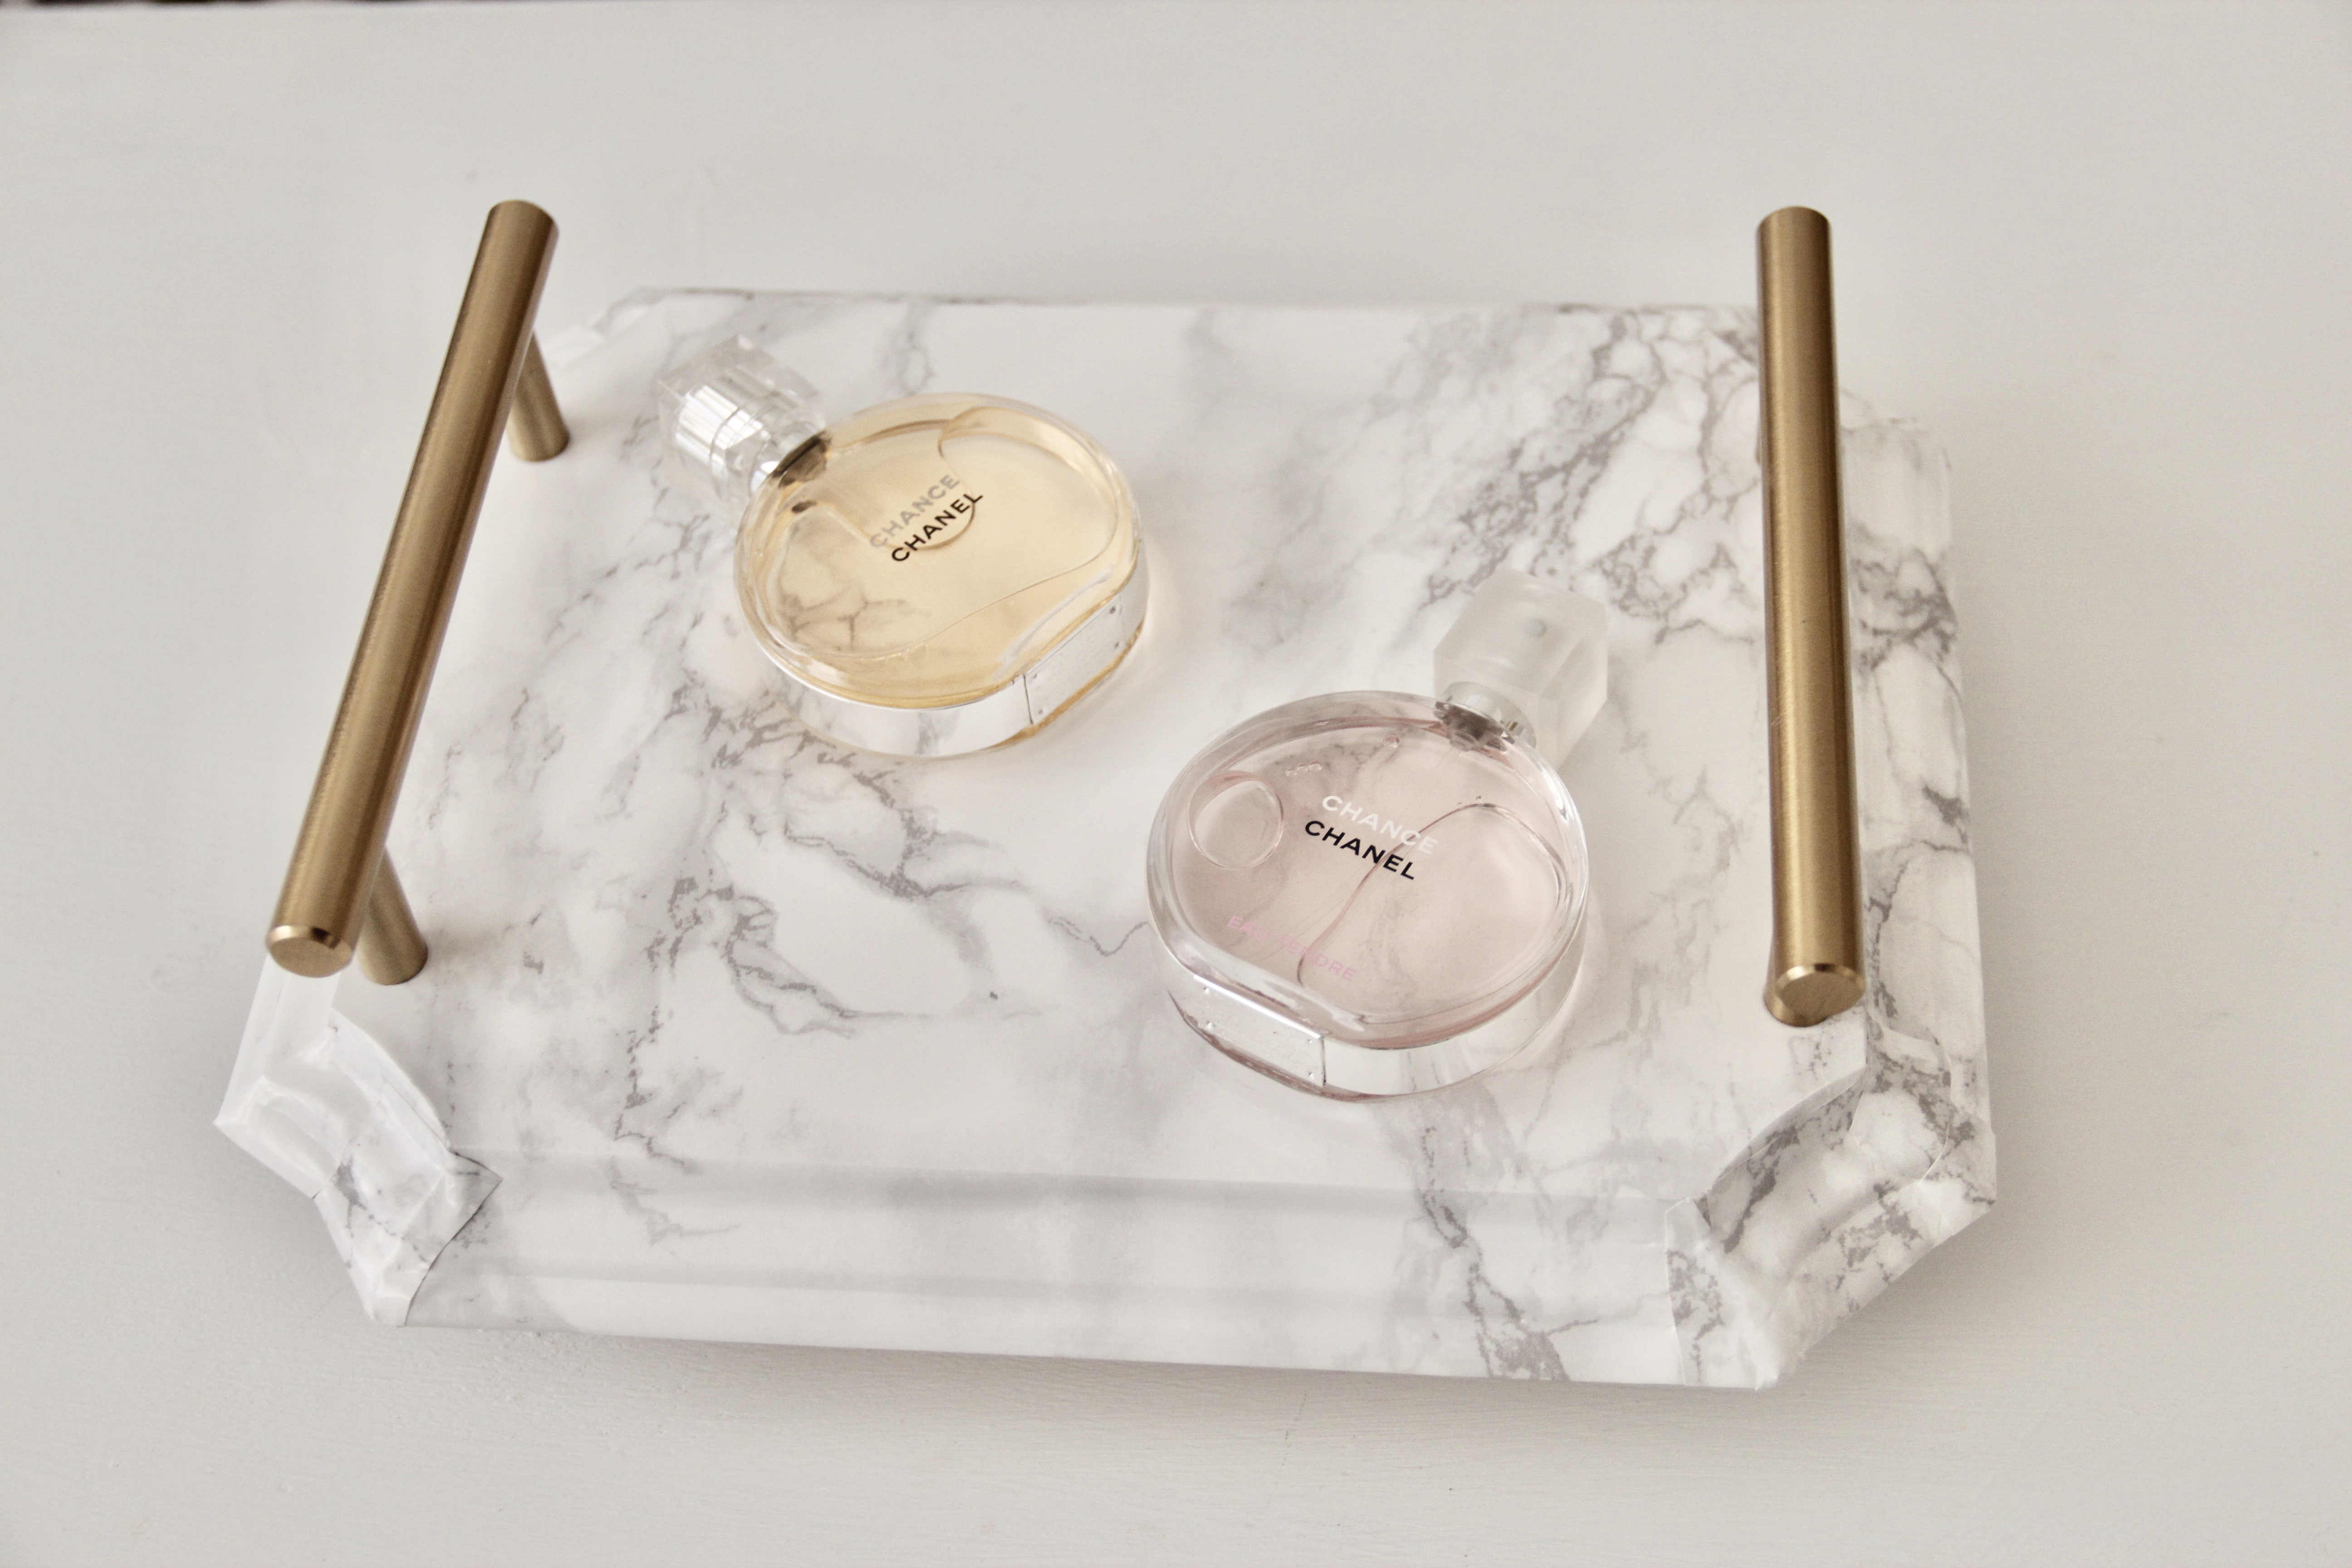
Supplies for this DIY:


Kimberlee Farr
November 8, 2016This is such a perfect DIY. Love your adaptation, can’t wait to see more!
lily
February 13, 2017thanks for posting this project! I want to paint my Hyllis shelves white but wasn’t sure if I was going to have to disassemble them to get a good paint job (groan) so I’m super excited to just paint them as is after your recommendation! 🙂 How many coats did you end up painting? Did you use a sealer coat?
blondebossbabe
February 13, 2017Hi! Glad you enjoyed it :). I did not use a sealant initially but ended up using a spray one by Rust-o-leum after I began seeing fingerprints from moving the shelves around. So I would definitely recommend using one as soon as you reach the level of coverage you want! For one Hyllis set I used a little less than a bottle and 1/2 of spray paint in total, varying in layer coverage depending on which part of the shelves were going to be on display – letting the first layer set is definitely the key though! Depending on what type of white spray paint you’re using you may use less than that. Hopefully that helps 🙂 I would love to see your results!!
Pingback: Ikea Hack // Gold n’ Glam | Storyes
becca
March 14, 2017Do you have to do the wood shelves? cant you just cover the shelves already on there with the marble paper?
blondebossbabe
March 14, 2017It’s very customizable! You don’t have to do the wood shelves if you prefer not to, and instead can apply the marble adhesive directly onto the shelf surface 🙂
Nikki
March 20, 2017What size screws did you use?
blondebossbabe
March 20, 2017Hi Nikki! For securing the top shelf to the hyllis frame, I used 1/2 inch screws, and wouldn’t recommend anything longer than that for the measurements used in this project
Pingback: Spring Update Home Office Tour - Blonde Boss Babe
stare przepisy kulinarne
April 26, 2017Very good website – bookmarked
blondebossbabe
April 26, 2017Thank you!
Marta
May 16, 2017Hey 🙂
Can you add pictures again please? Because the old has probably already expired. 🙂
blondebossbabe
May 16, 2017Thank you so much for alerting me! Apparently there was an issue with the images displaying on mobile browsers. They should show now 🙂 Thank you again!!
Amber
May 18, 2017Where did you find your marble adhesive sticker?
blondebossbabe
May 18, 2017Hi Amber! I got it on Amazon, it’s linked in the post and I’ll link it here: http://amzn.to/2qWOZ8E 🙂
Chandler Smith
July 1, 2017You can also find it at Walmart! That’s where I got mine!!
Pingback: A 10 LEGJOBB CHIC IKEA HACK - CENTAINE lakberendezés
Pingback: How to Move Into Your First Apartment- The Easy Way – Megan Acuna
Bailey
June 27, 2017Hi! Did you secure your shelves to the wall? Ikea’s website says they should be, but all the pictures I’ve seen don’t seem to show them fastened to anything.
blondebossbabe
June 27, 2017Hi! I chose not to – but Ikea does recommend it for safety purposes!
Pingback: DIY Marble & Gold Vanity Tray - Blonde Boss Babe
Stephanie Longo
August 3, 2017I have also seen this done where they painted it black and stained the wood shelves. It was a bit more industrial looking. Both are beautiful. Thanks for sharing!
blondebossbabe
August 3, 2017Yeah! I have that form of the hack linked in this post as well, since that idea is what inspired me to create this version 🙂 Thank you so much for visiting this blog post and for your sweet comment 🙂
Pingback: EASY DIY | MARBLE AND GOLD SHELF | IKEA HACK | Вкусные рецепты
Sweetk328@fmail.com
October 1, 2017That is gorgeous! I love the look of the added wood shelves was it difficult to get Lowe’s to cut the length and width? I’ve had them cut the length before but never the width or depth … but thanks for sharing:)
blondebossbabe
October 2, 2017Thank you so much for taking the time to read this and for your sweet words! It thankfully was not difficult at all to get Lowes to cut the wood accordingly – the depth of the wood needed for this project is standard for what these wood pieces are already available in inside the store, so all they need to actually cut is length and width. I’ve found that it helps significantly to take the measurements with you on paper so that you can show them exactly what you’re asking to have done – that way there’s no confusion on either end. Definitely let me know if you decide to complete this, I’d love to hear all about your experience! 🙂
Lauren
October 16, 2017Hi! Love this hack so much I decided to do it myself! I’ve gotten all the way through until the top shelf – and I’m stuck. Can you help? I’m confused by how you secured the top shelf, do you mind explaining in more detail? I’m not very DIY savvy so any advice would be awesome!
blondebossbabe
October 17, 2017Hi! Thank you for taking the time to complete this hack:) I would love to help! Are you having trouble with the clamps or just that whole part in general? Feel free to send me an email: theblondebossbabe@gmail.com and I’ll help with anything I can!
Pingback: Home Decor Instagram Roundup - Blonde Boss Babe
Olivia Antonette
January 11, 2018Hello! For the top shelf – May I know if you drilled through the shelf itself? (Meaning the screws will be visible from the top?) thanks so much!
blondebossbabe
January 11, 2018Hi Olivia! Thank you so much for taking the time to visit this post 🙂 I do drill through the shelf itself, but not from the top down (this is so that you won’t see the screws from the top) I drill in from underneath the top shelf of the hyllis unit to connect the marble covered wooden piece – while doing this, the whole hyllis unit is flipped upside down so that the marble top shelf is flat against the floor. Just make sure to not drill all the way through the wooden portion, otherwise you will see the holes/screws from the top. Worst case scenario, if that happens, just recover that part with a small piece of that marble adhesive, and no one will know the difference! I hope that makes sense! Feel free to email me if anything is confusing!!
Pingback: DIY Ikea Hacks Anyone Can Do | OhClary
Tamarin
March 11, 2018Im a little confused on the shelving. There are 4 sheles but the instructions are for 8. Can you clarify please?
blondebossbabe
March 11, 2018Hi Tamarin! I did two sets of the hyllis hack, so that’s why the instructions are for 8 🙂
Tiffany L Davis
March 13, 2018I really love this hack and I can’t wait to try it!
blondebossbabe
March 15, 2018Thank you so much, Tiffany!! I cant wait to see your own version of it 🙂
Anna
March 17, 2018Great job! I can’t tell from the pictures but can you see the seams from the contact paper? I’m assuming you had to cut multiple pieces per shelf. Also how did you cover the width edge of the shelf?
blondebossbabe
March 25, 2018Hi Anna, thank you so much!!
I had to cut about two or so per board. I tried to make the seam as invisible as possible by lining up the patterns of the marble on the contact paper – it’s there but very hard to see if you don’t know what you’re looking for. I covered the width edge by starting at one end of the board and placing the contact paper with excess over the side. There are better pictures of this part of the process available in a similar DIY I did here Looking forward to seeing your version!
Kerri
March 25, 2018Hi! Love this shelf and in the process of purchasing all the pieces. I do have one question.. for the wood you mention cutting 6 pieces and then 2 pieces for the top. Is that just to have extra pieces? I’m confused at where all the pieces go?
Thanks!
Kerri
blondebossbabe
March 25, 2018Hi Kerri!
Thank you so much 🙂
So for the wood, the top piece has slightly different measurements (included in the post) than the bottom 3 pieces. I did two sets of the shelves which is why I mentioned the 6 pieces plus 2 more for the tops.
Hopefully that helps, please let me know if you have any other questions!
Kerri
March 26, 2018Ah – Okay, I missed that you did two shelves.
Thanks for the quick reply! Will definetly let you know if I have any other questions.
Thanks again!
Swissy
May 7, 2018This is an amazing project! My handbags r poorly stored (hidden :)) n ive been looking for ideas for stoeing them..thanks for sharing this!
Jeanell Allenegui
May 14, 2018Hello! I love that you created this beautiful shelf!! I actually attempted to recreate it, however, one of the things I’m noticing is that if I touch the gold part of the shelves, it leaves fingerprints and/or a mark. Is there any way of preventing this?
blondebossbabe
May 22, 2018Hi Jeanell! Thank you so much for taking the time to complete this project and comment on the post, I really appreciate it! After using these shelves for about 2 years, I noticed a similar issue, so I did a light touch up of the gold spray paint in areas where my fingerprints were showing, then after that dried I sprayed the gold areas with the Rust-oleum Protective Spray available here on amazon or at Hobby Lobby / Lowes / Home Depot. It’s helped to protect the piece a lot, and allows me to wipe down the shelves with a dry cloth to remove any fingerprints without disrupting the paint. Hope that helps 🙂
Pingback: The 10 Best Ikea Hacks
Jessica
August 10, 2019Hi! Thanks for sharing this awesome hack! I just tried the same, although I bought another gold spray, however suitable for metal aswell. But now, 24h after I sprayed the Hyllis, the paint still wears off when I touch my Hyllis. My fingers get all golden. You think a protective spray would do the trick? (I was too lazy and never used a primer before the gold spray, but you didn’t either, did you?).
Thanks for your help and for a great and inspiring page!
Pingback: 41 IKEA Hacks for DIY Bedroom Decor
Cynna
July 2, 2020This is super pretty, love it! I’m interested in doing a similar project with white paint, and while I love this Ikea unit I’m worried about paint issues – I’ve always thought galvanized steel can’t be painted. Did you have any issues at all with paint peeling after? I saw you had fingerprints so added a clear coat, but over time has it lasted well? I’d love to know before attempting this – thanks so much!
blondebossbabe
November 22, 2020Haven’t had any issues with peeling! I still have these shelves and so far so good!!
Pingback: 13 Amazing Faux Marbles DIYs that Instantly Refreshes your House - Sharehook