Browse Tag by updates
Blog, DIY Projects, Home Decor, The Home

Easy DIY Bulletin Board

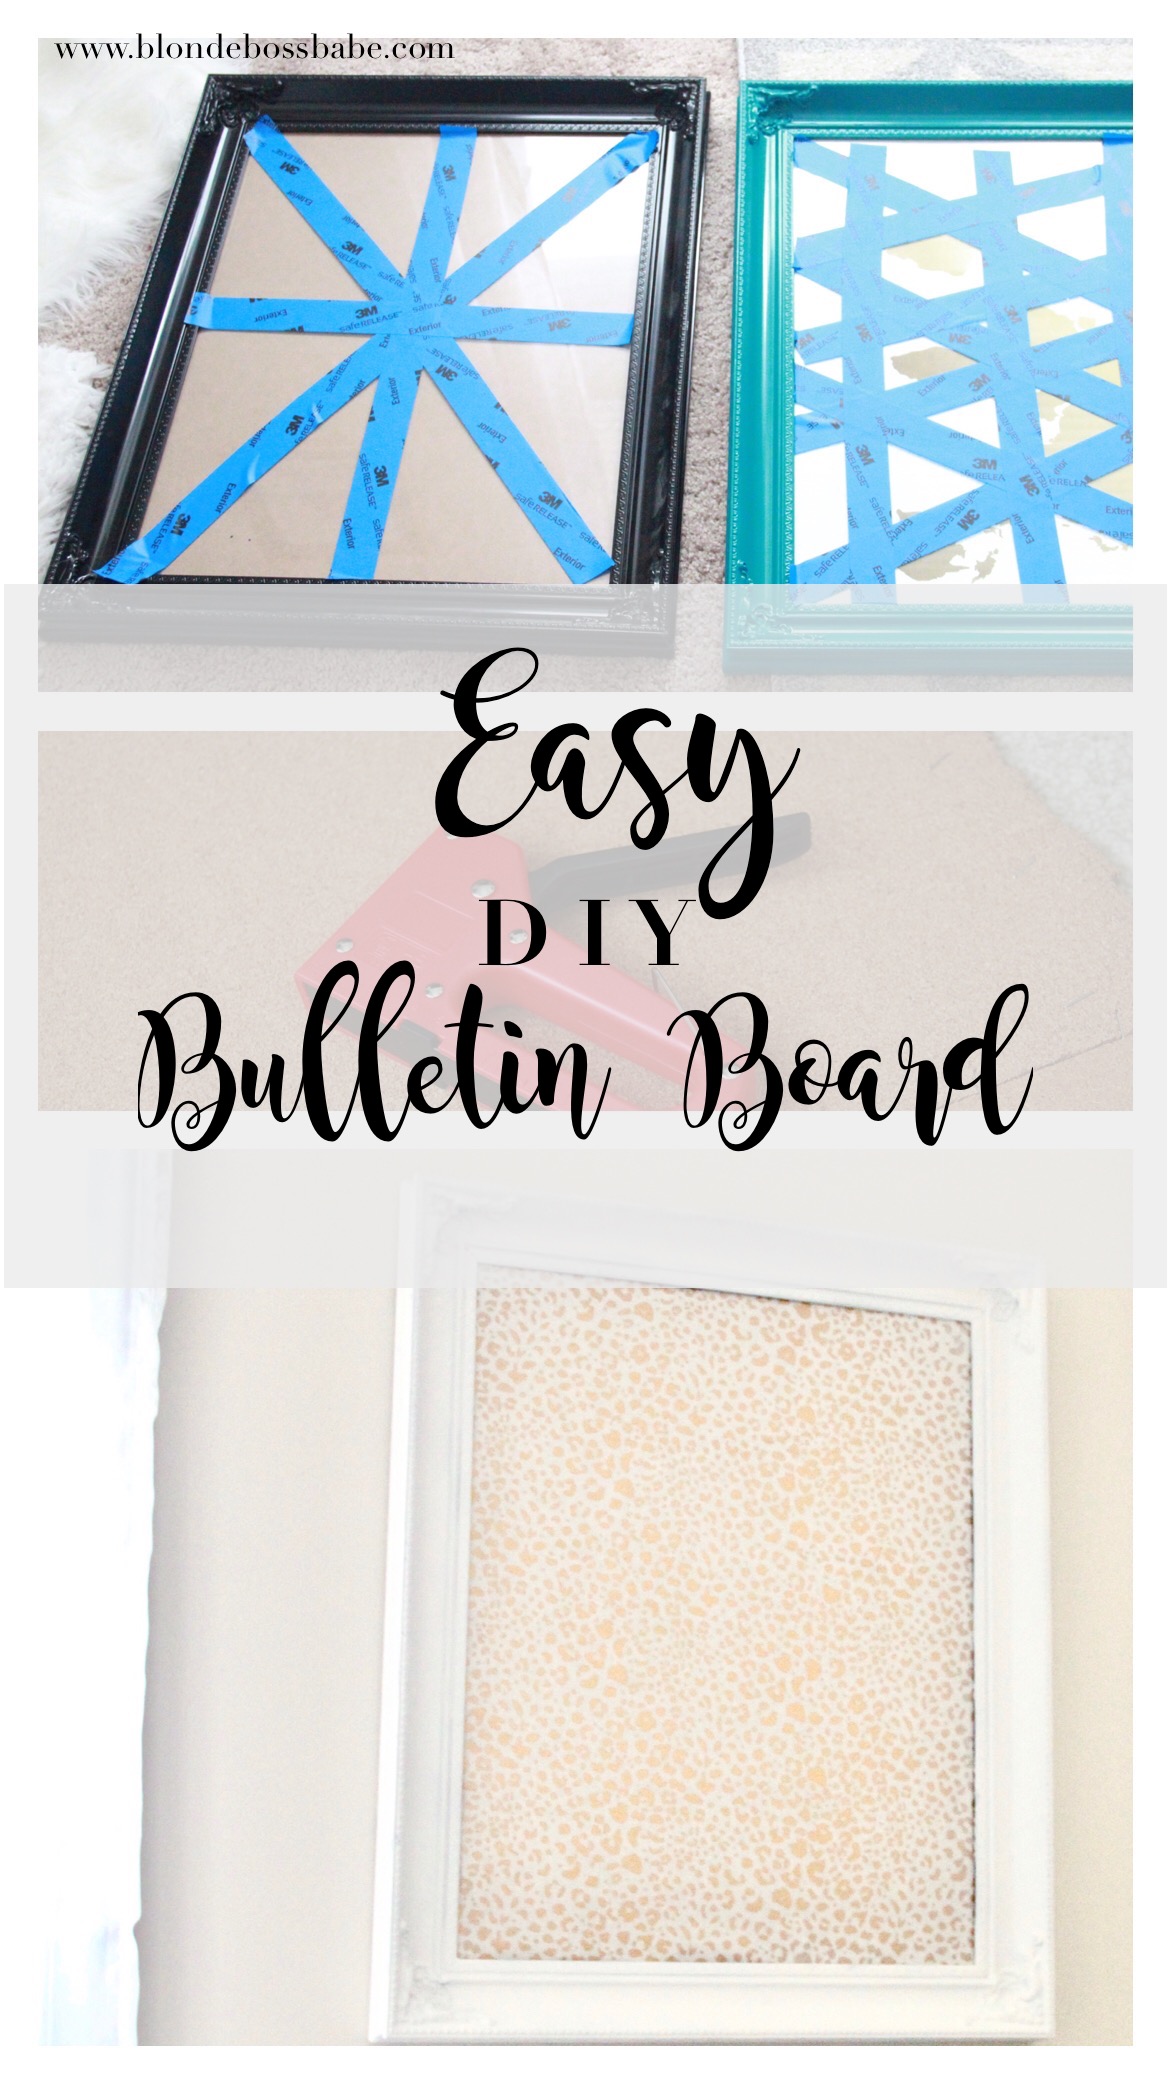
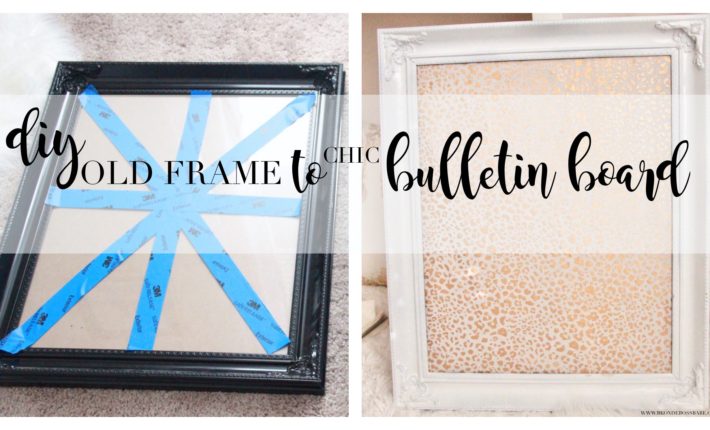
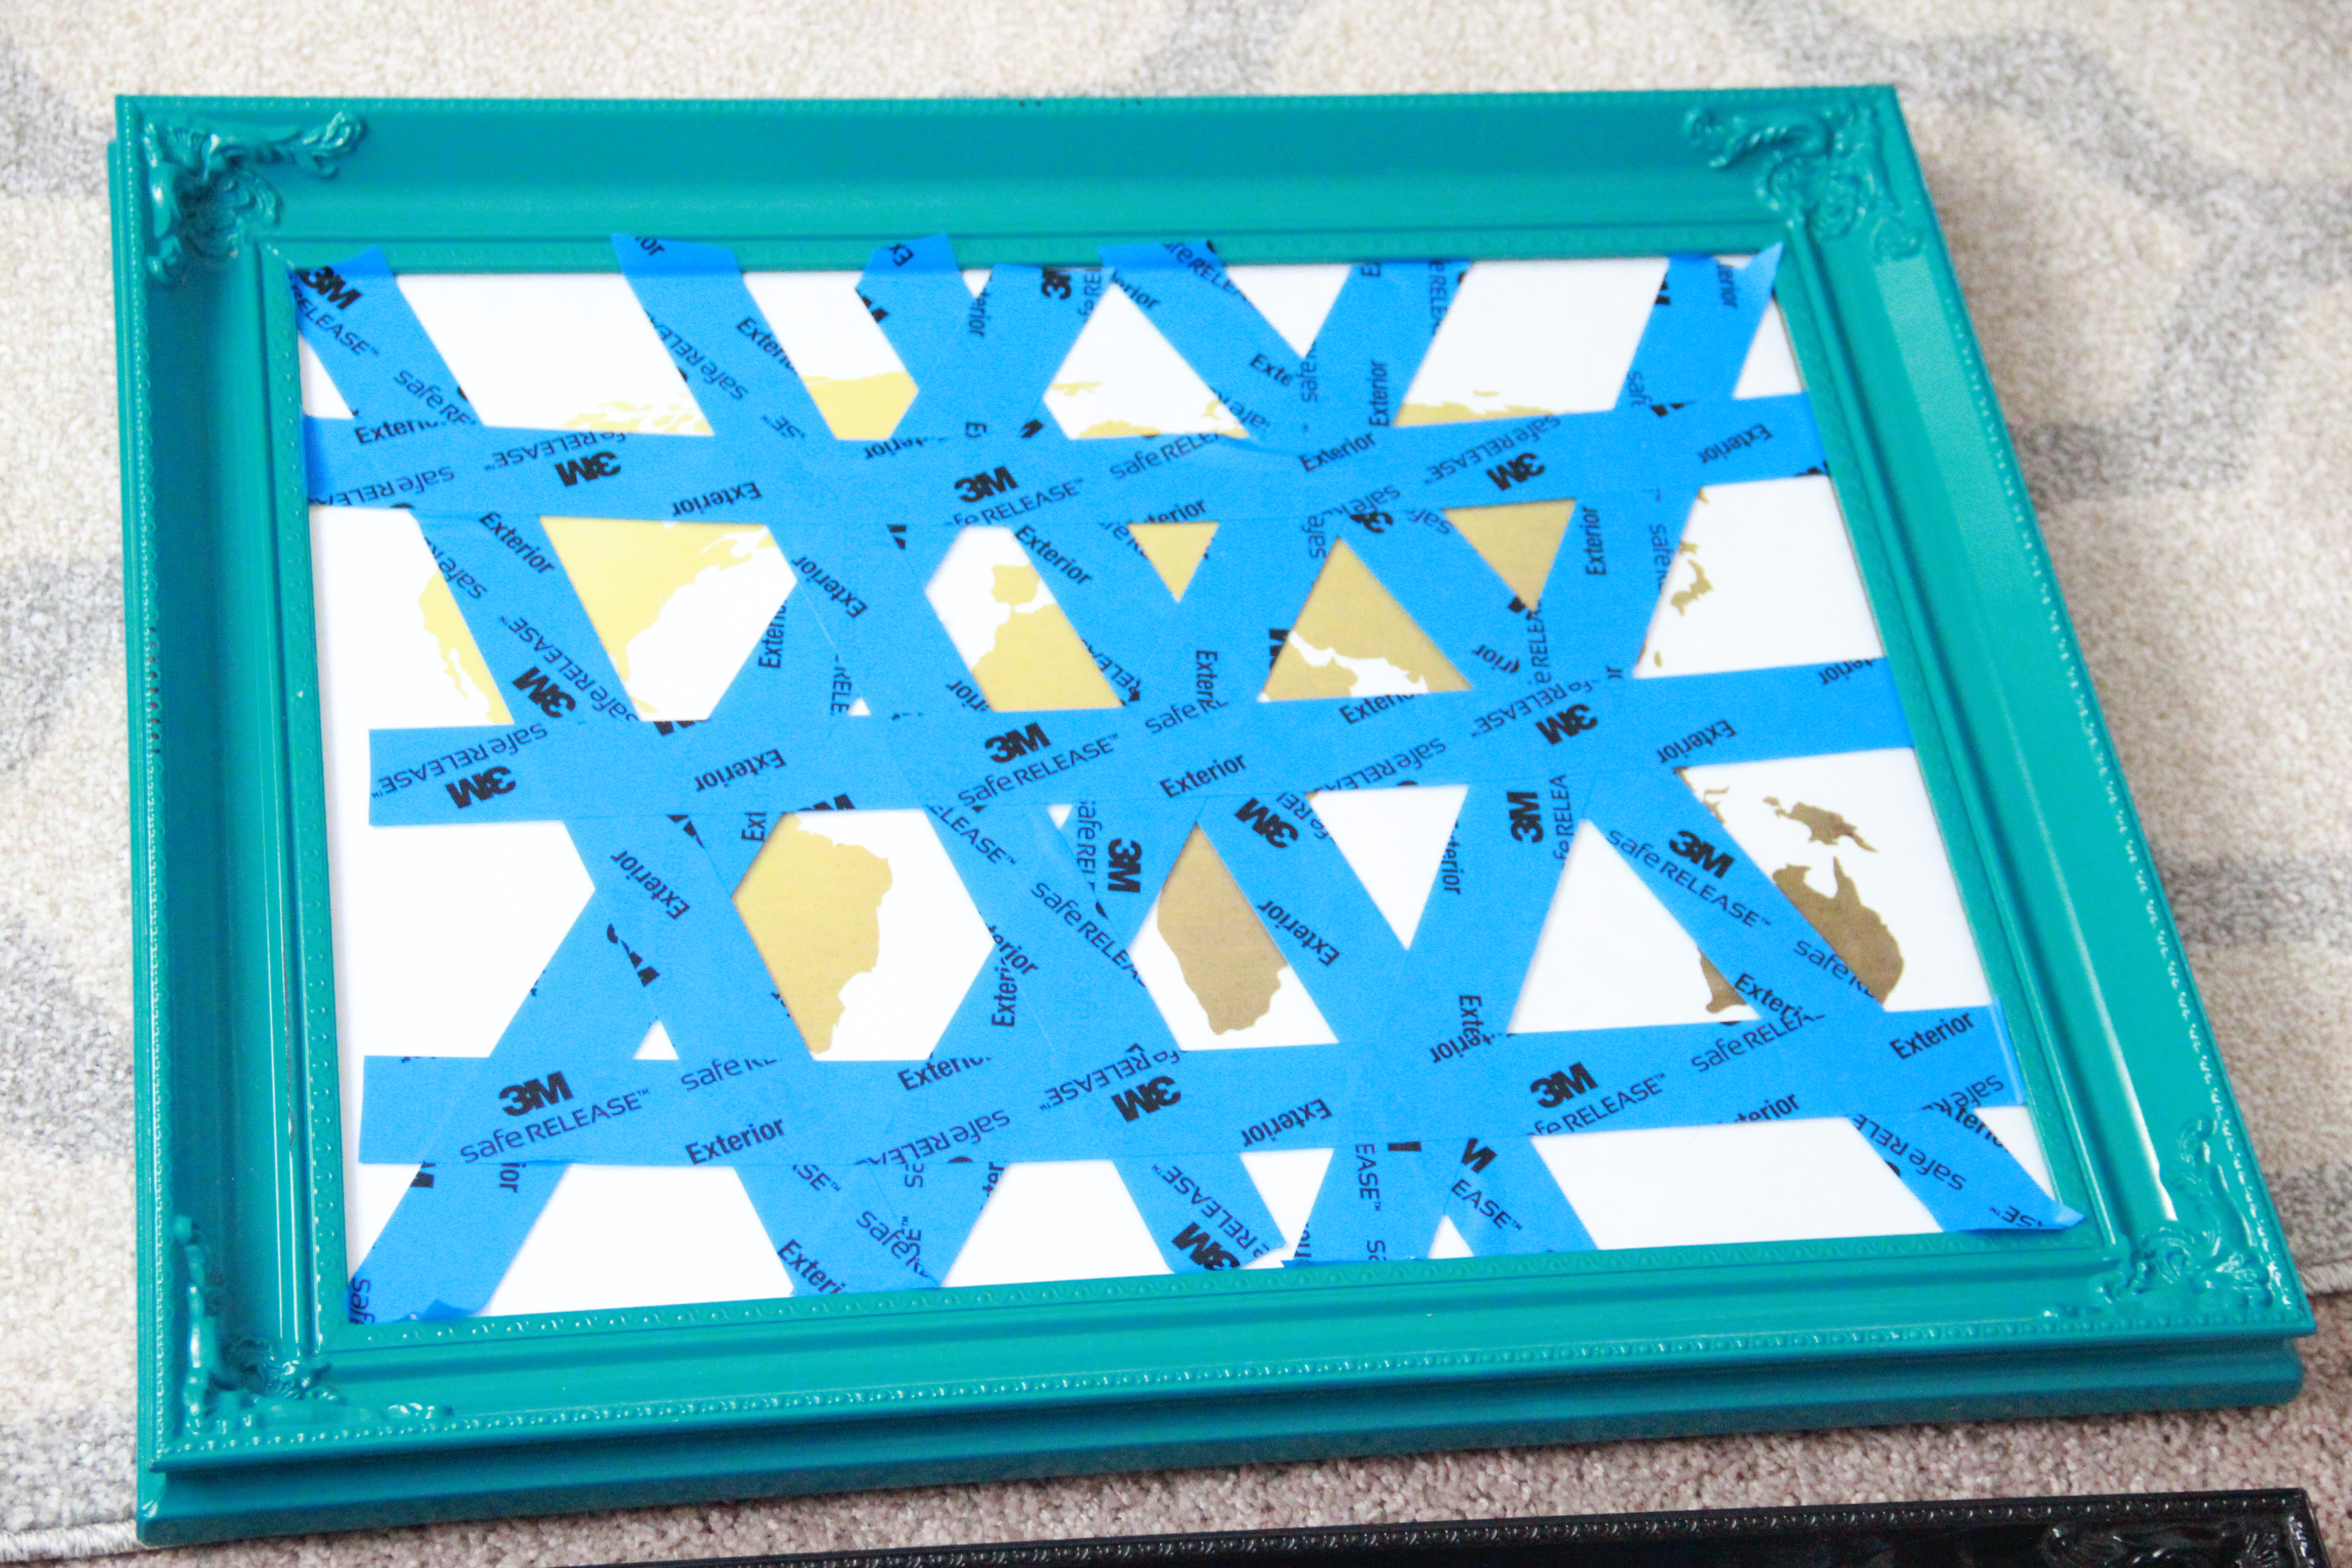
Lately, I’ve been a bit amazed at how much “extra” we have in the way of home decor pieces. One particular category of which is frames. I didn’t realize until we started the packing process, before our move this past summer (more on that here & here), how many extra frames we had stored. The two featured below are such good (and semi-embarrassing) examples. Both of these were purchased my junior year of undergrad at Michael’s, yet neither were ever hung. I loved the shape and style of them too much though to get rid of them, so they have survived not one, but now three moves (hence the blue tape protecting the glass) without ever being used.

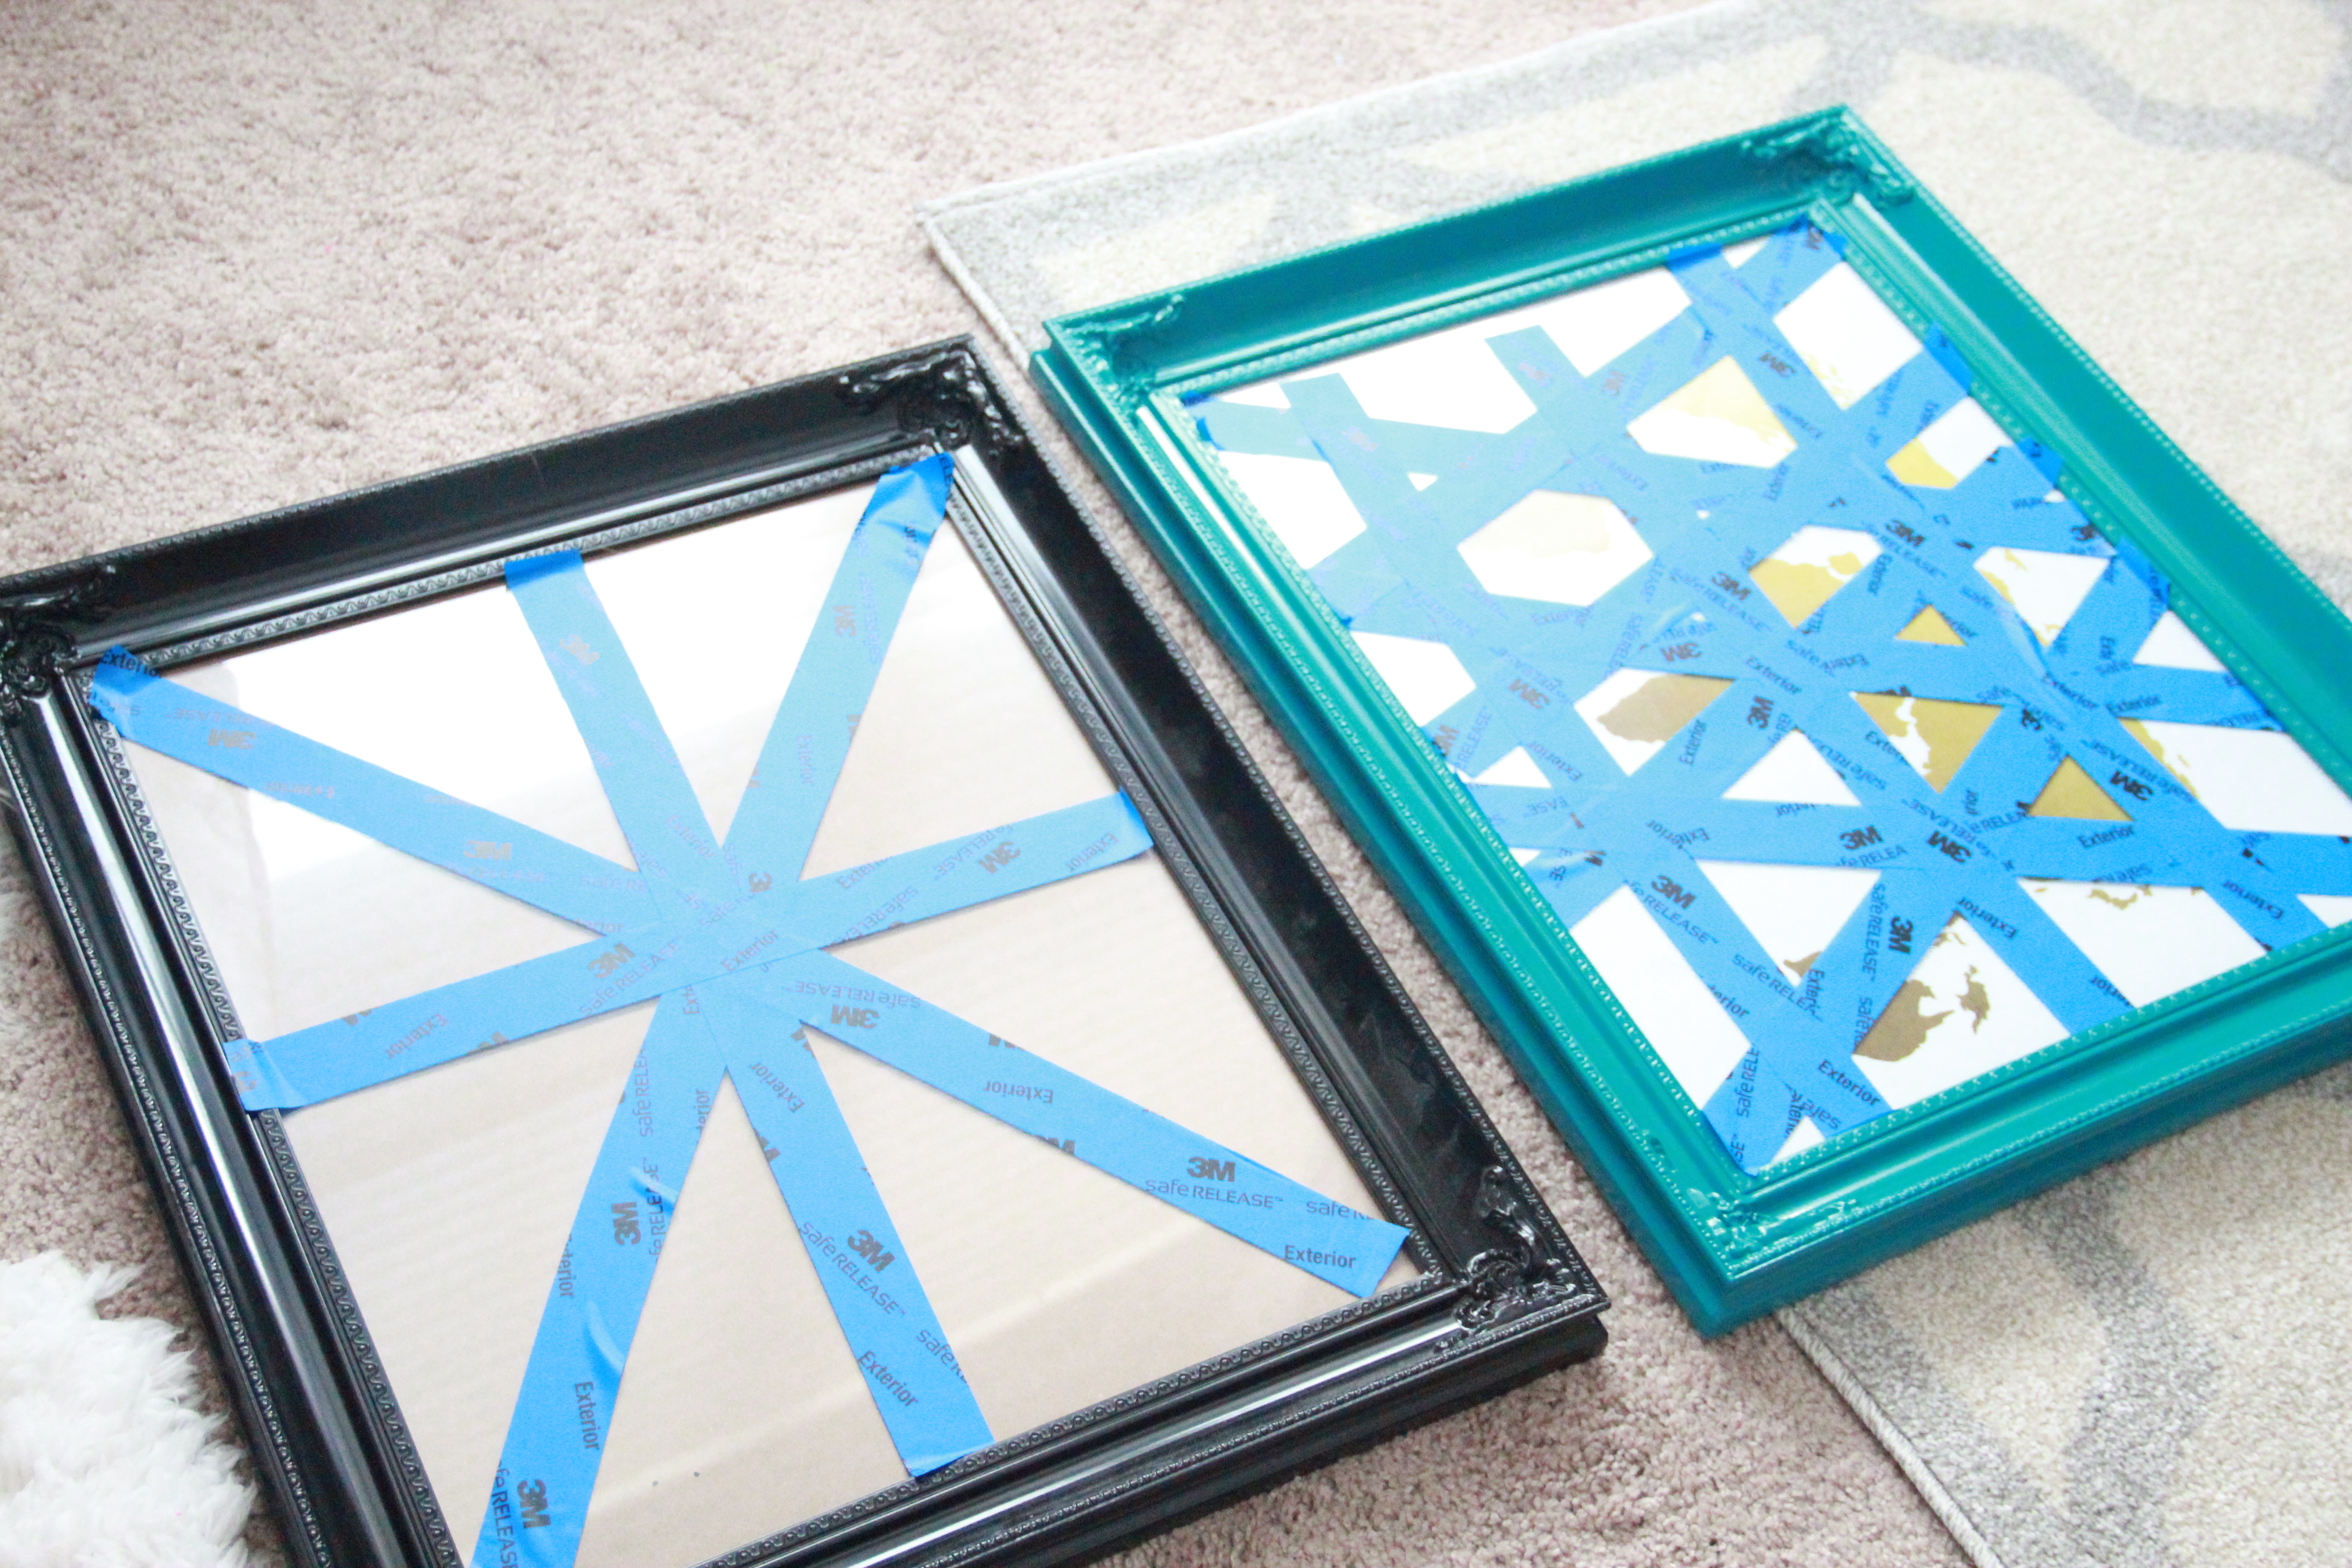
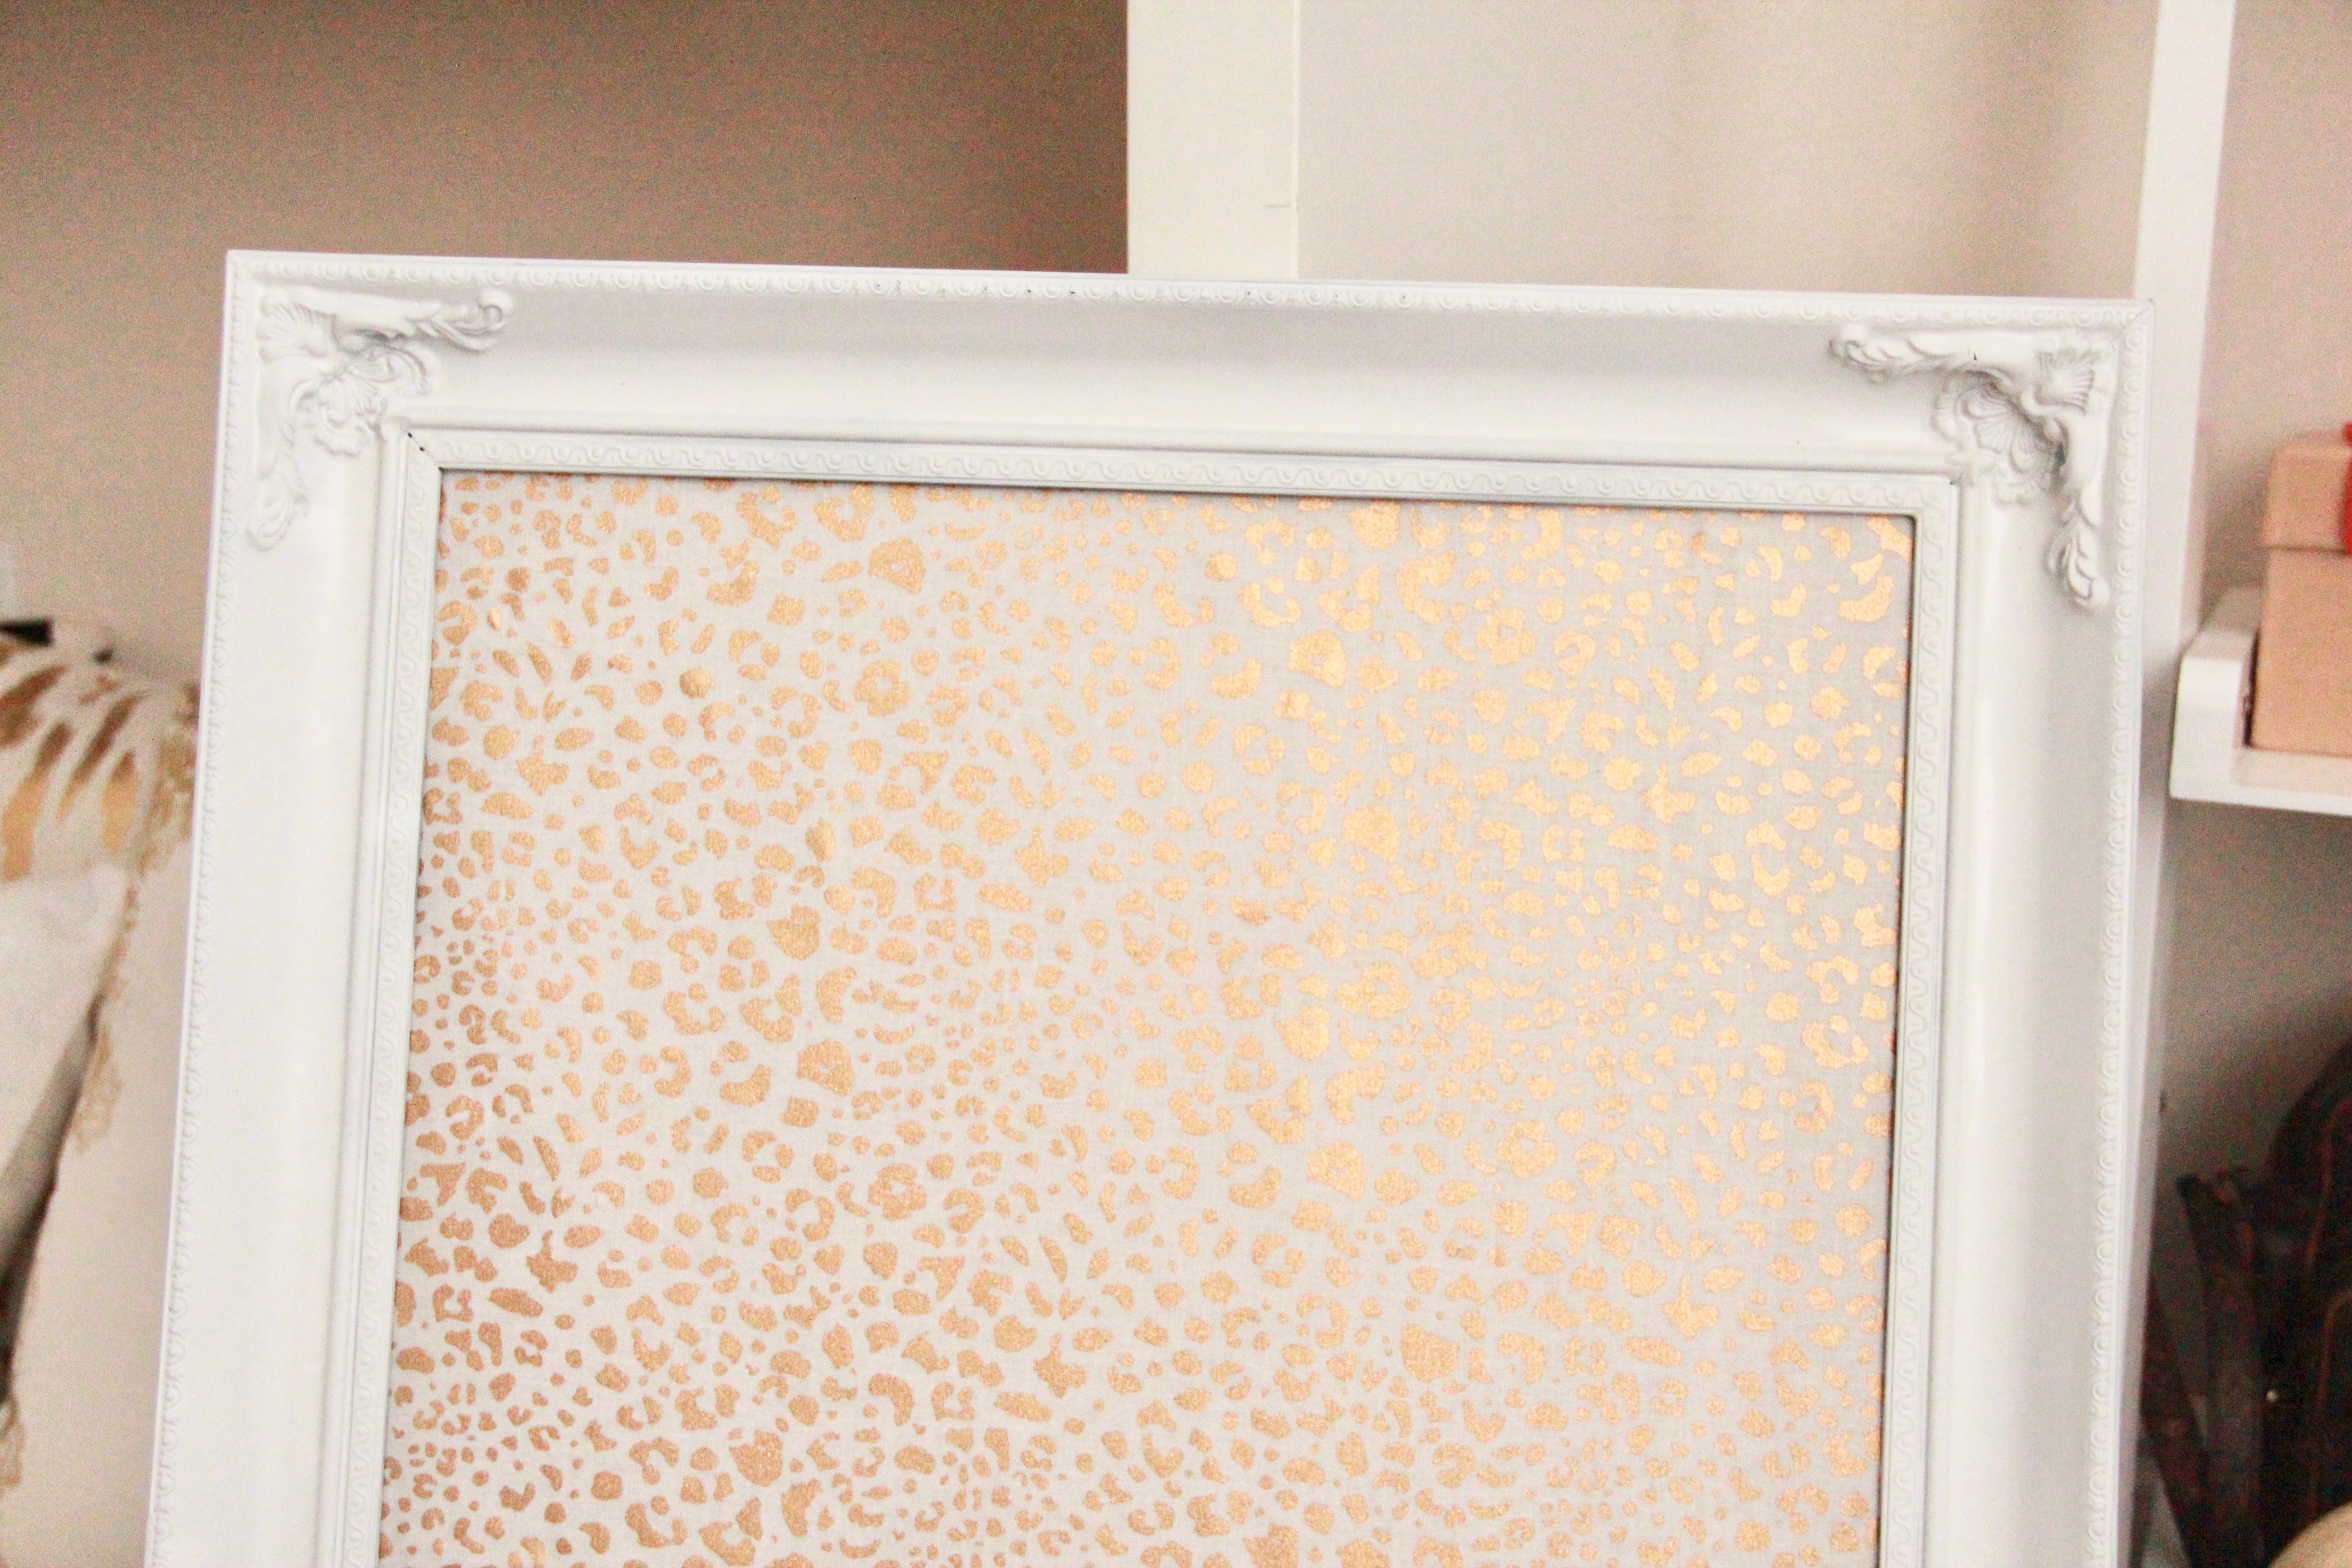
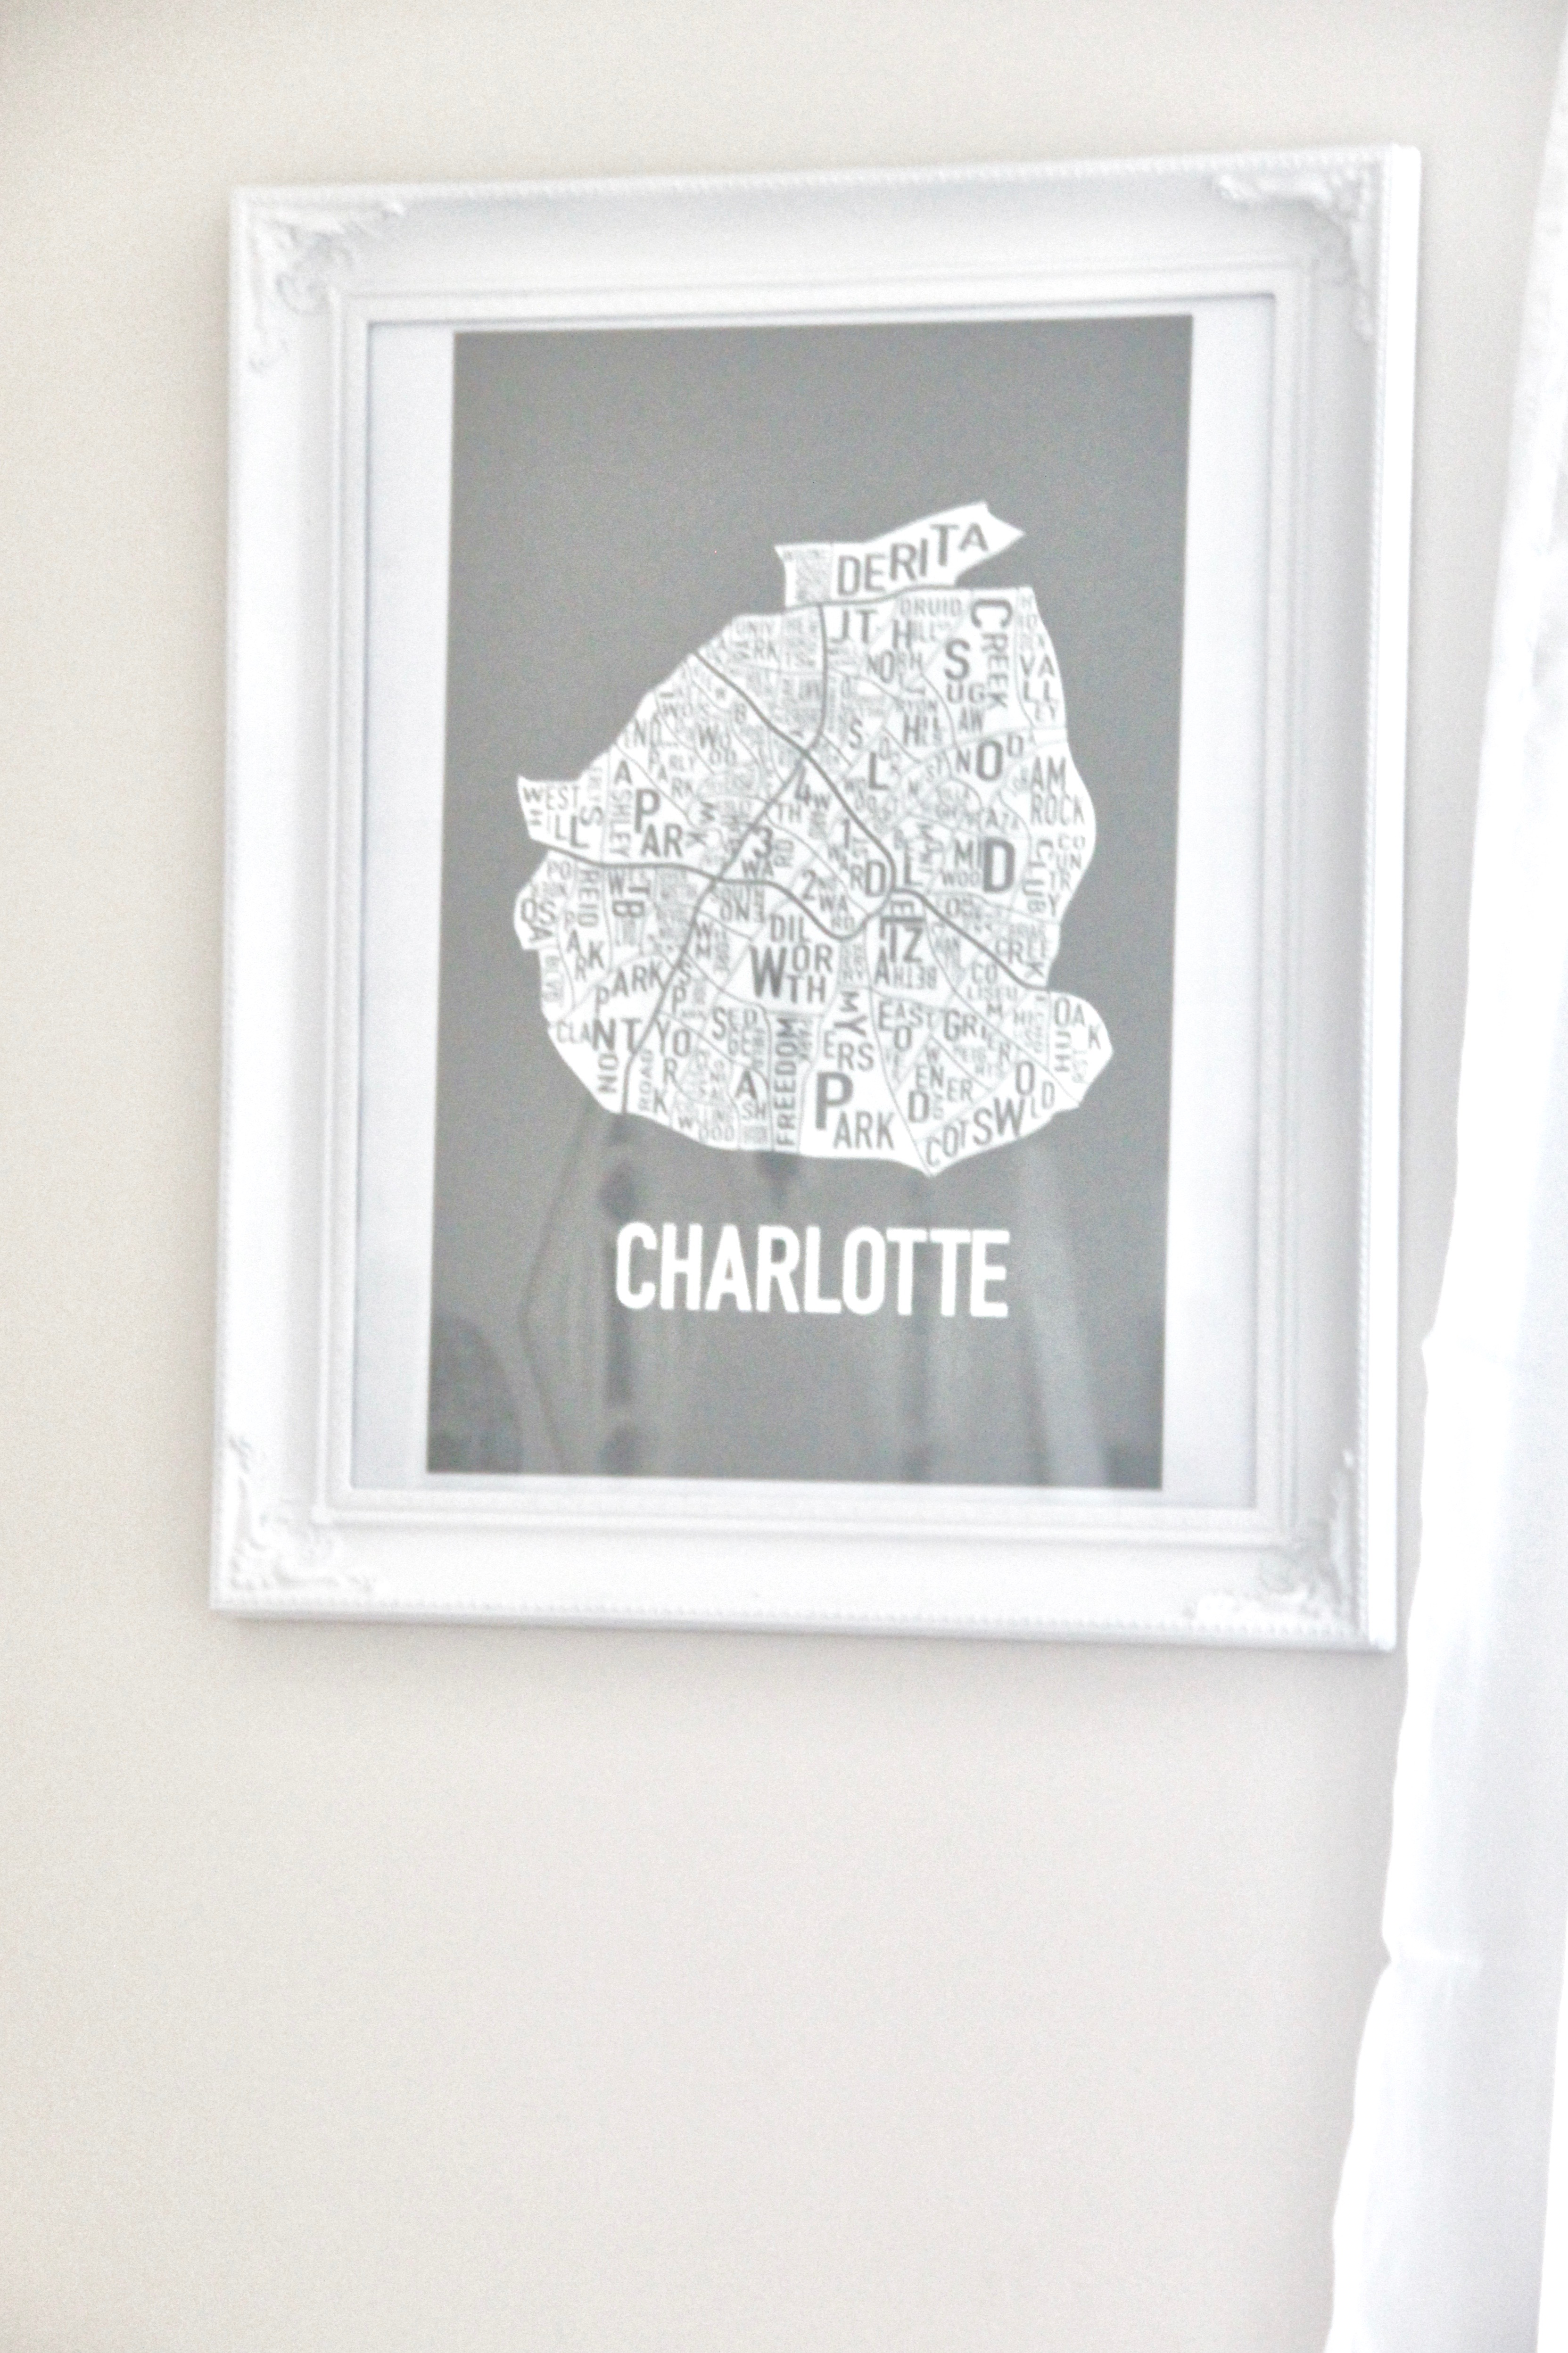
Well, taste and style preferences change, and mine certainly have since my junior year at Carolina. I didn’t want to waste these frames though, so instead I decided to make one into a gold cheetah bulletin board, and the other into a matching frame for my favorite Charlotte print.

For this project you’ll need the following supplies:

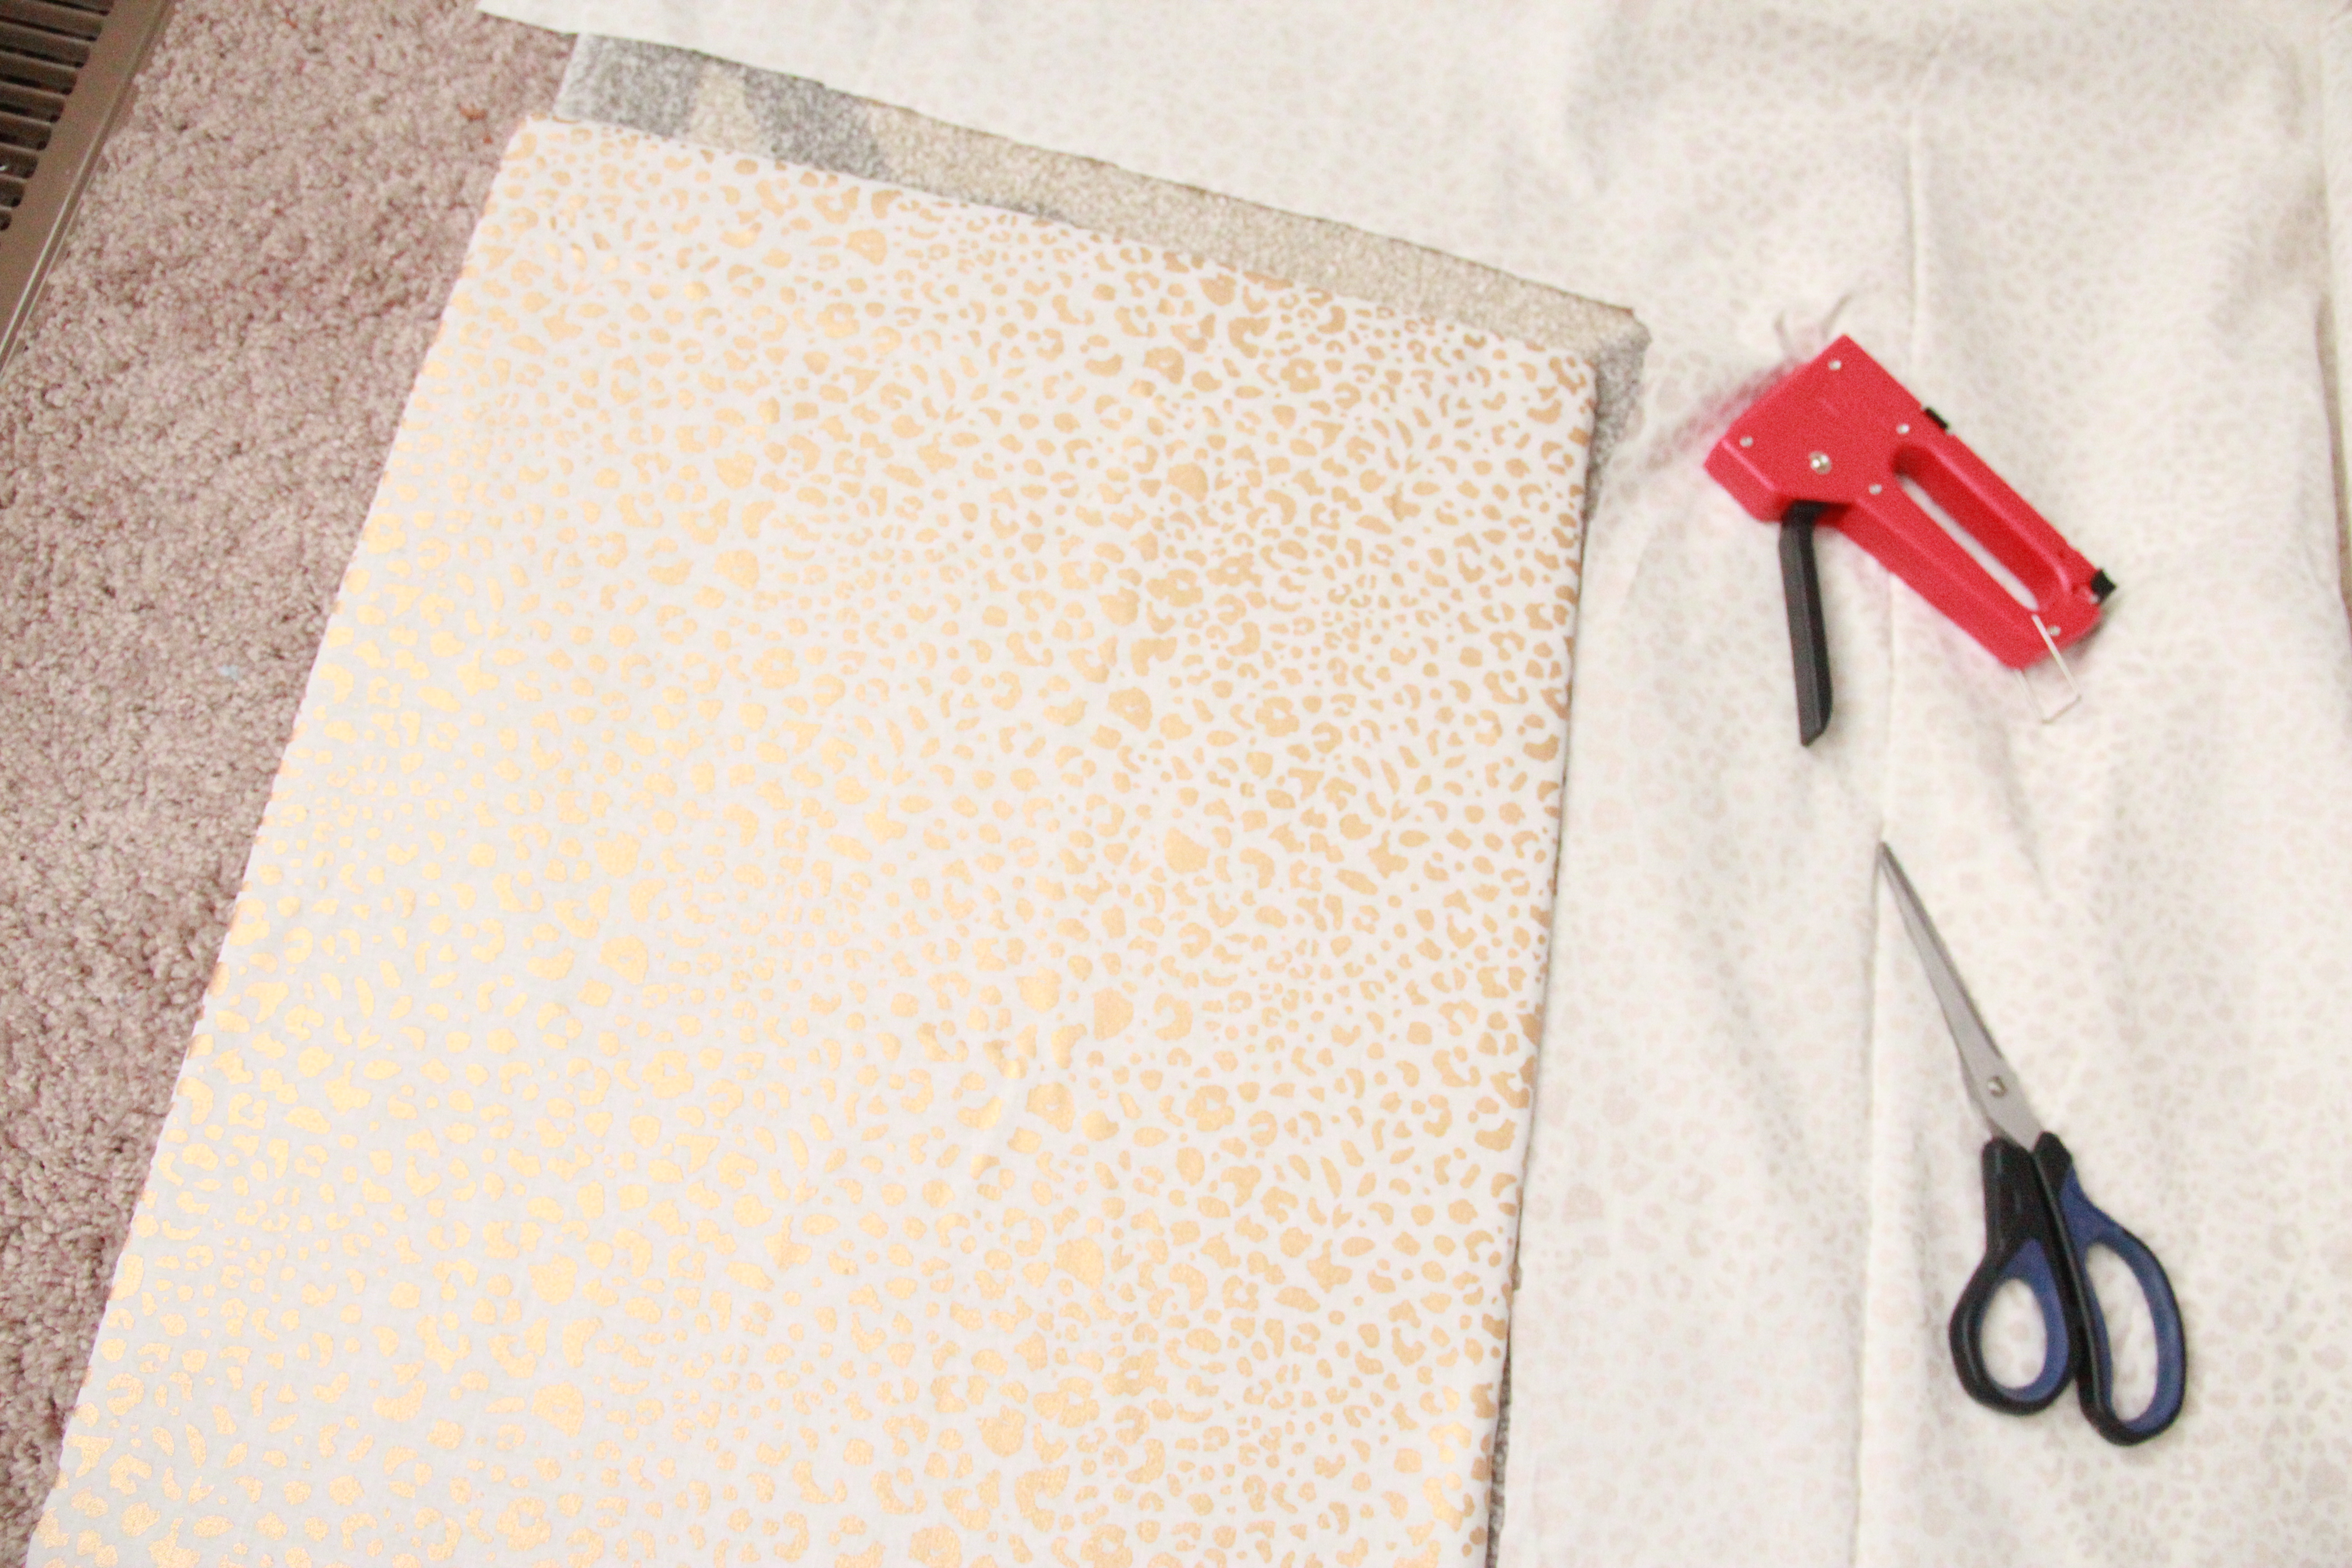
1 yard of your choice fabric (I used metallic cheetah in gold)

Spray Paint & Grip

Cork Board Roll & Scissors

Staple Gun

*If you don’t have any extra frames available, you can skip the spray paint portion by snagging one already in the style/color you like. I’ve linked some similar ones herehere.

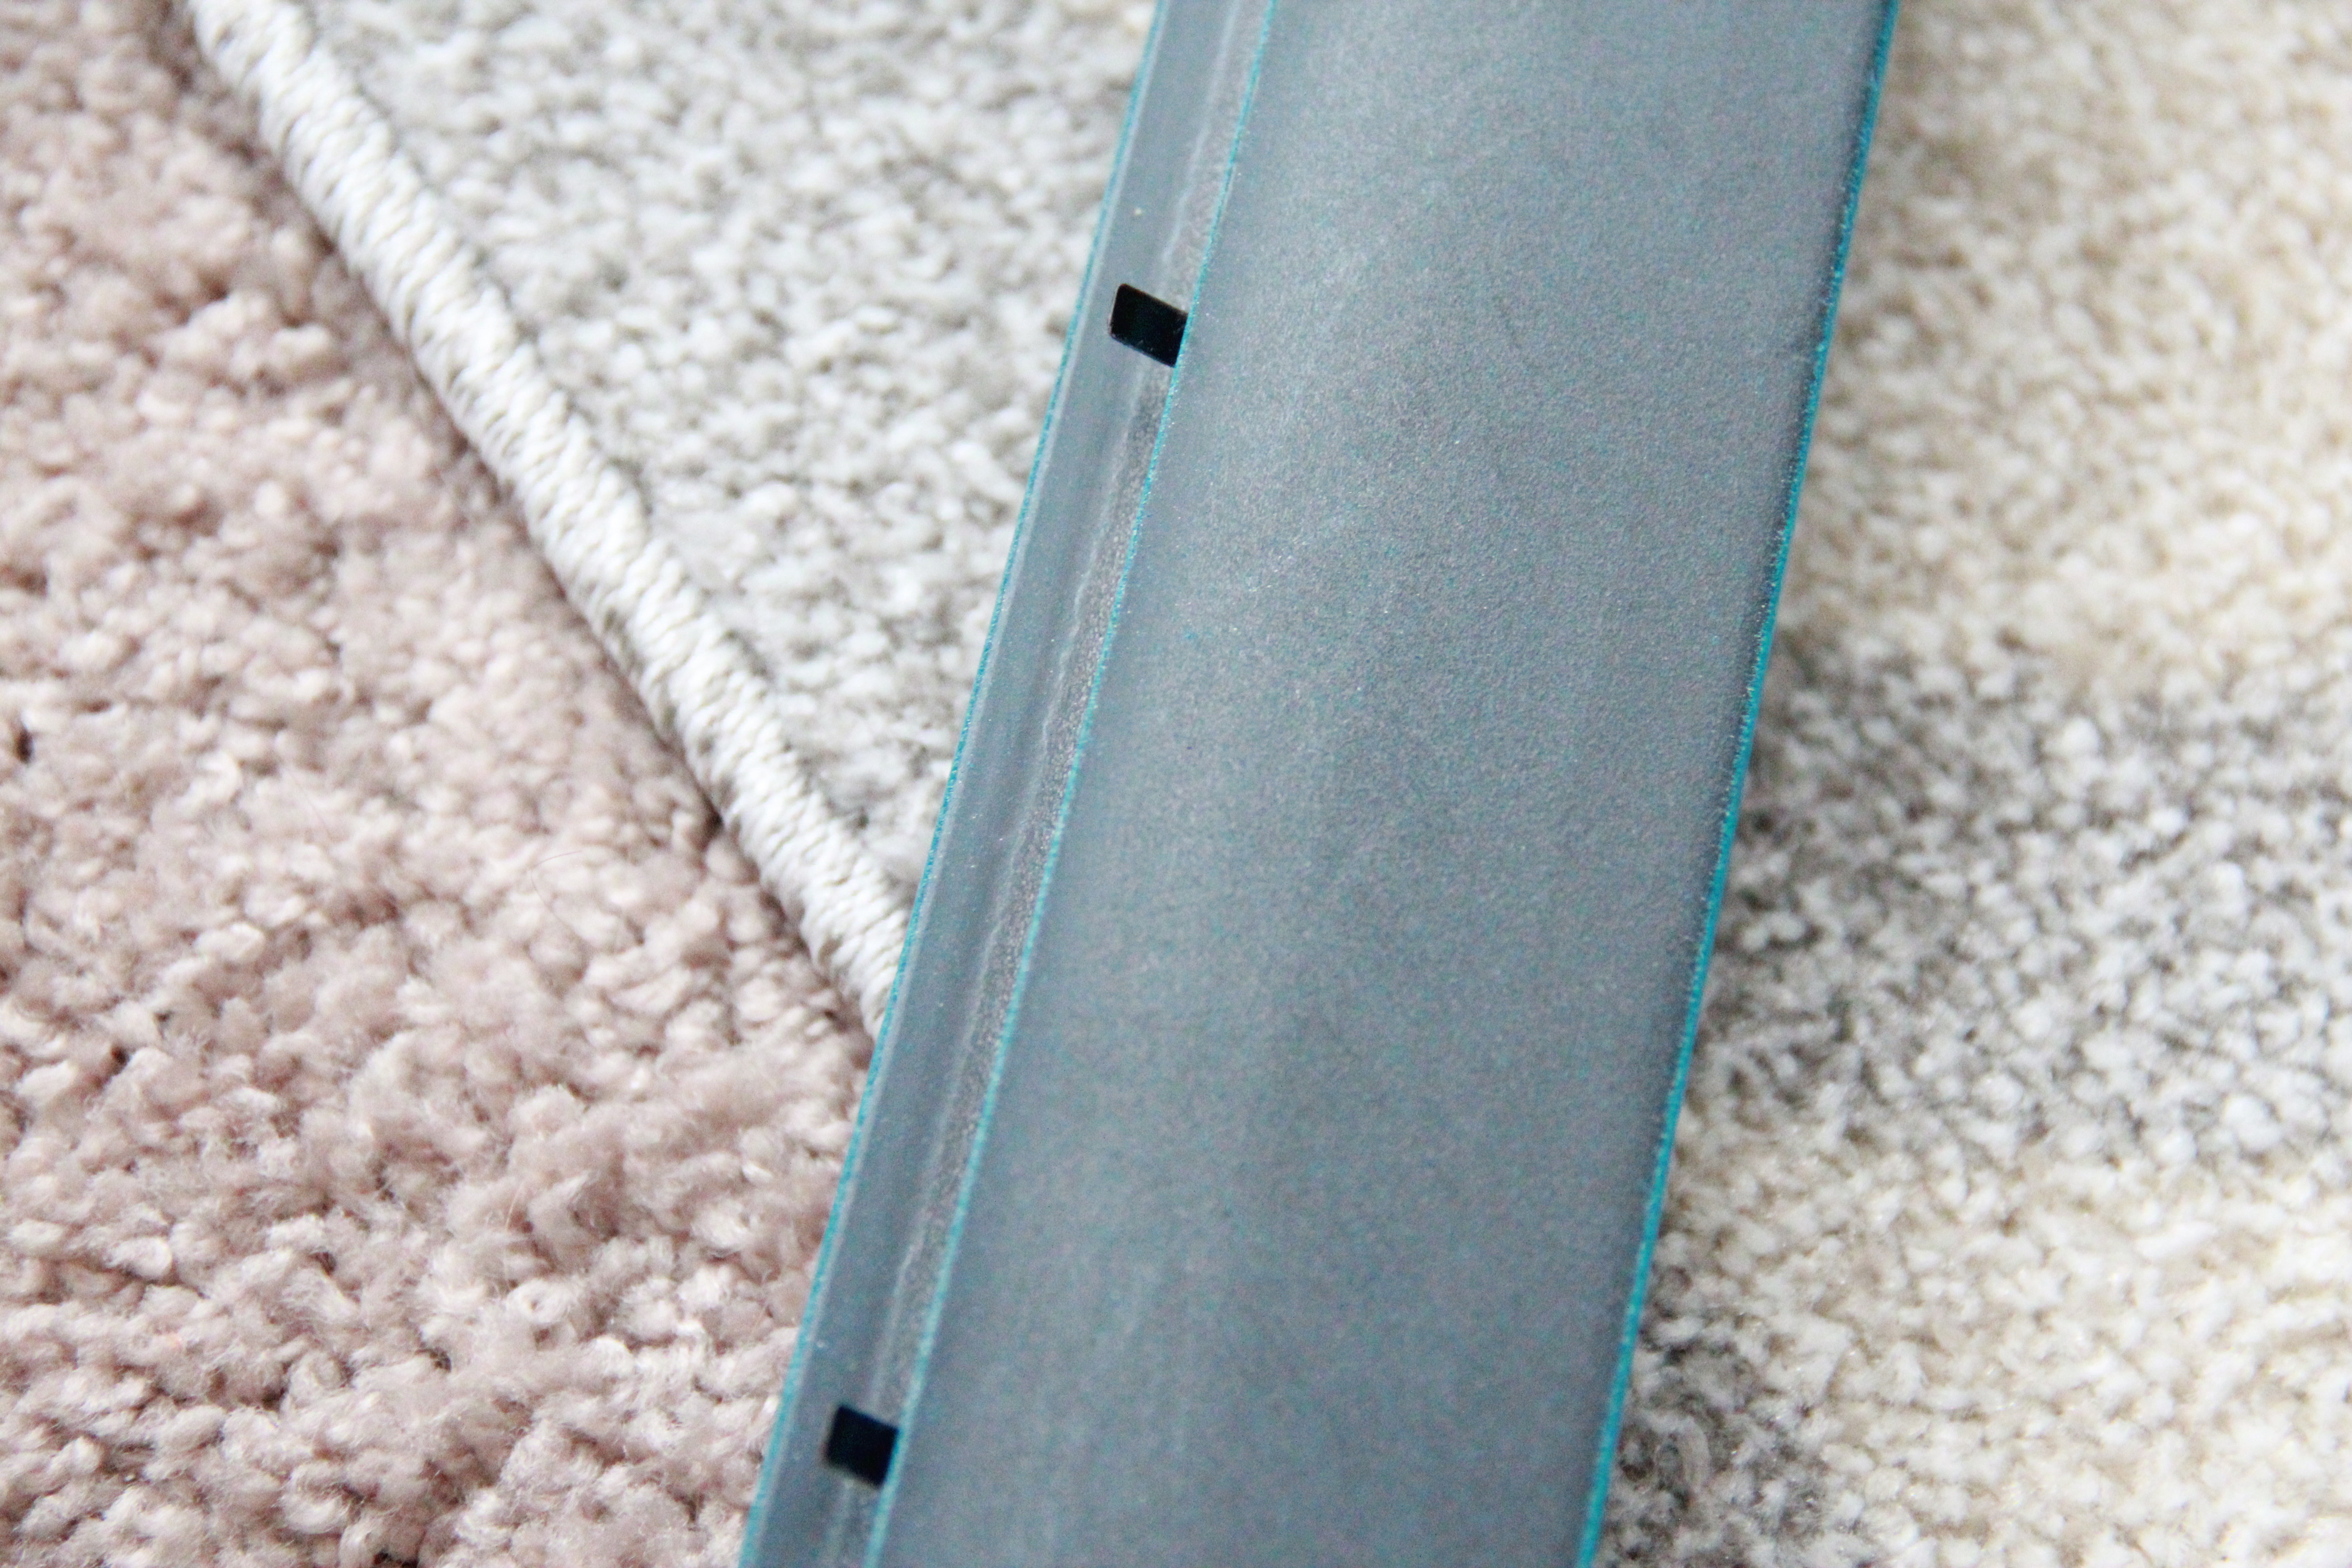
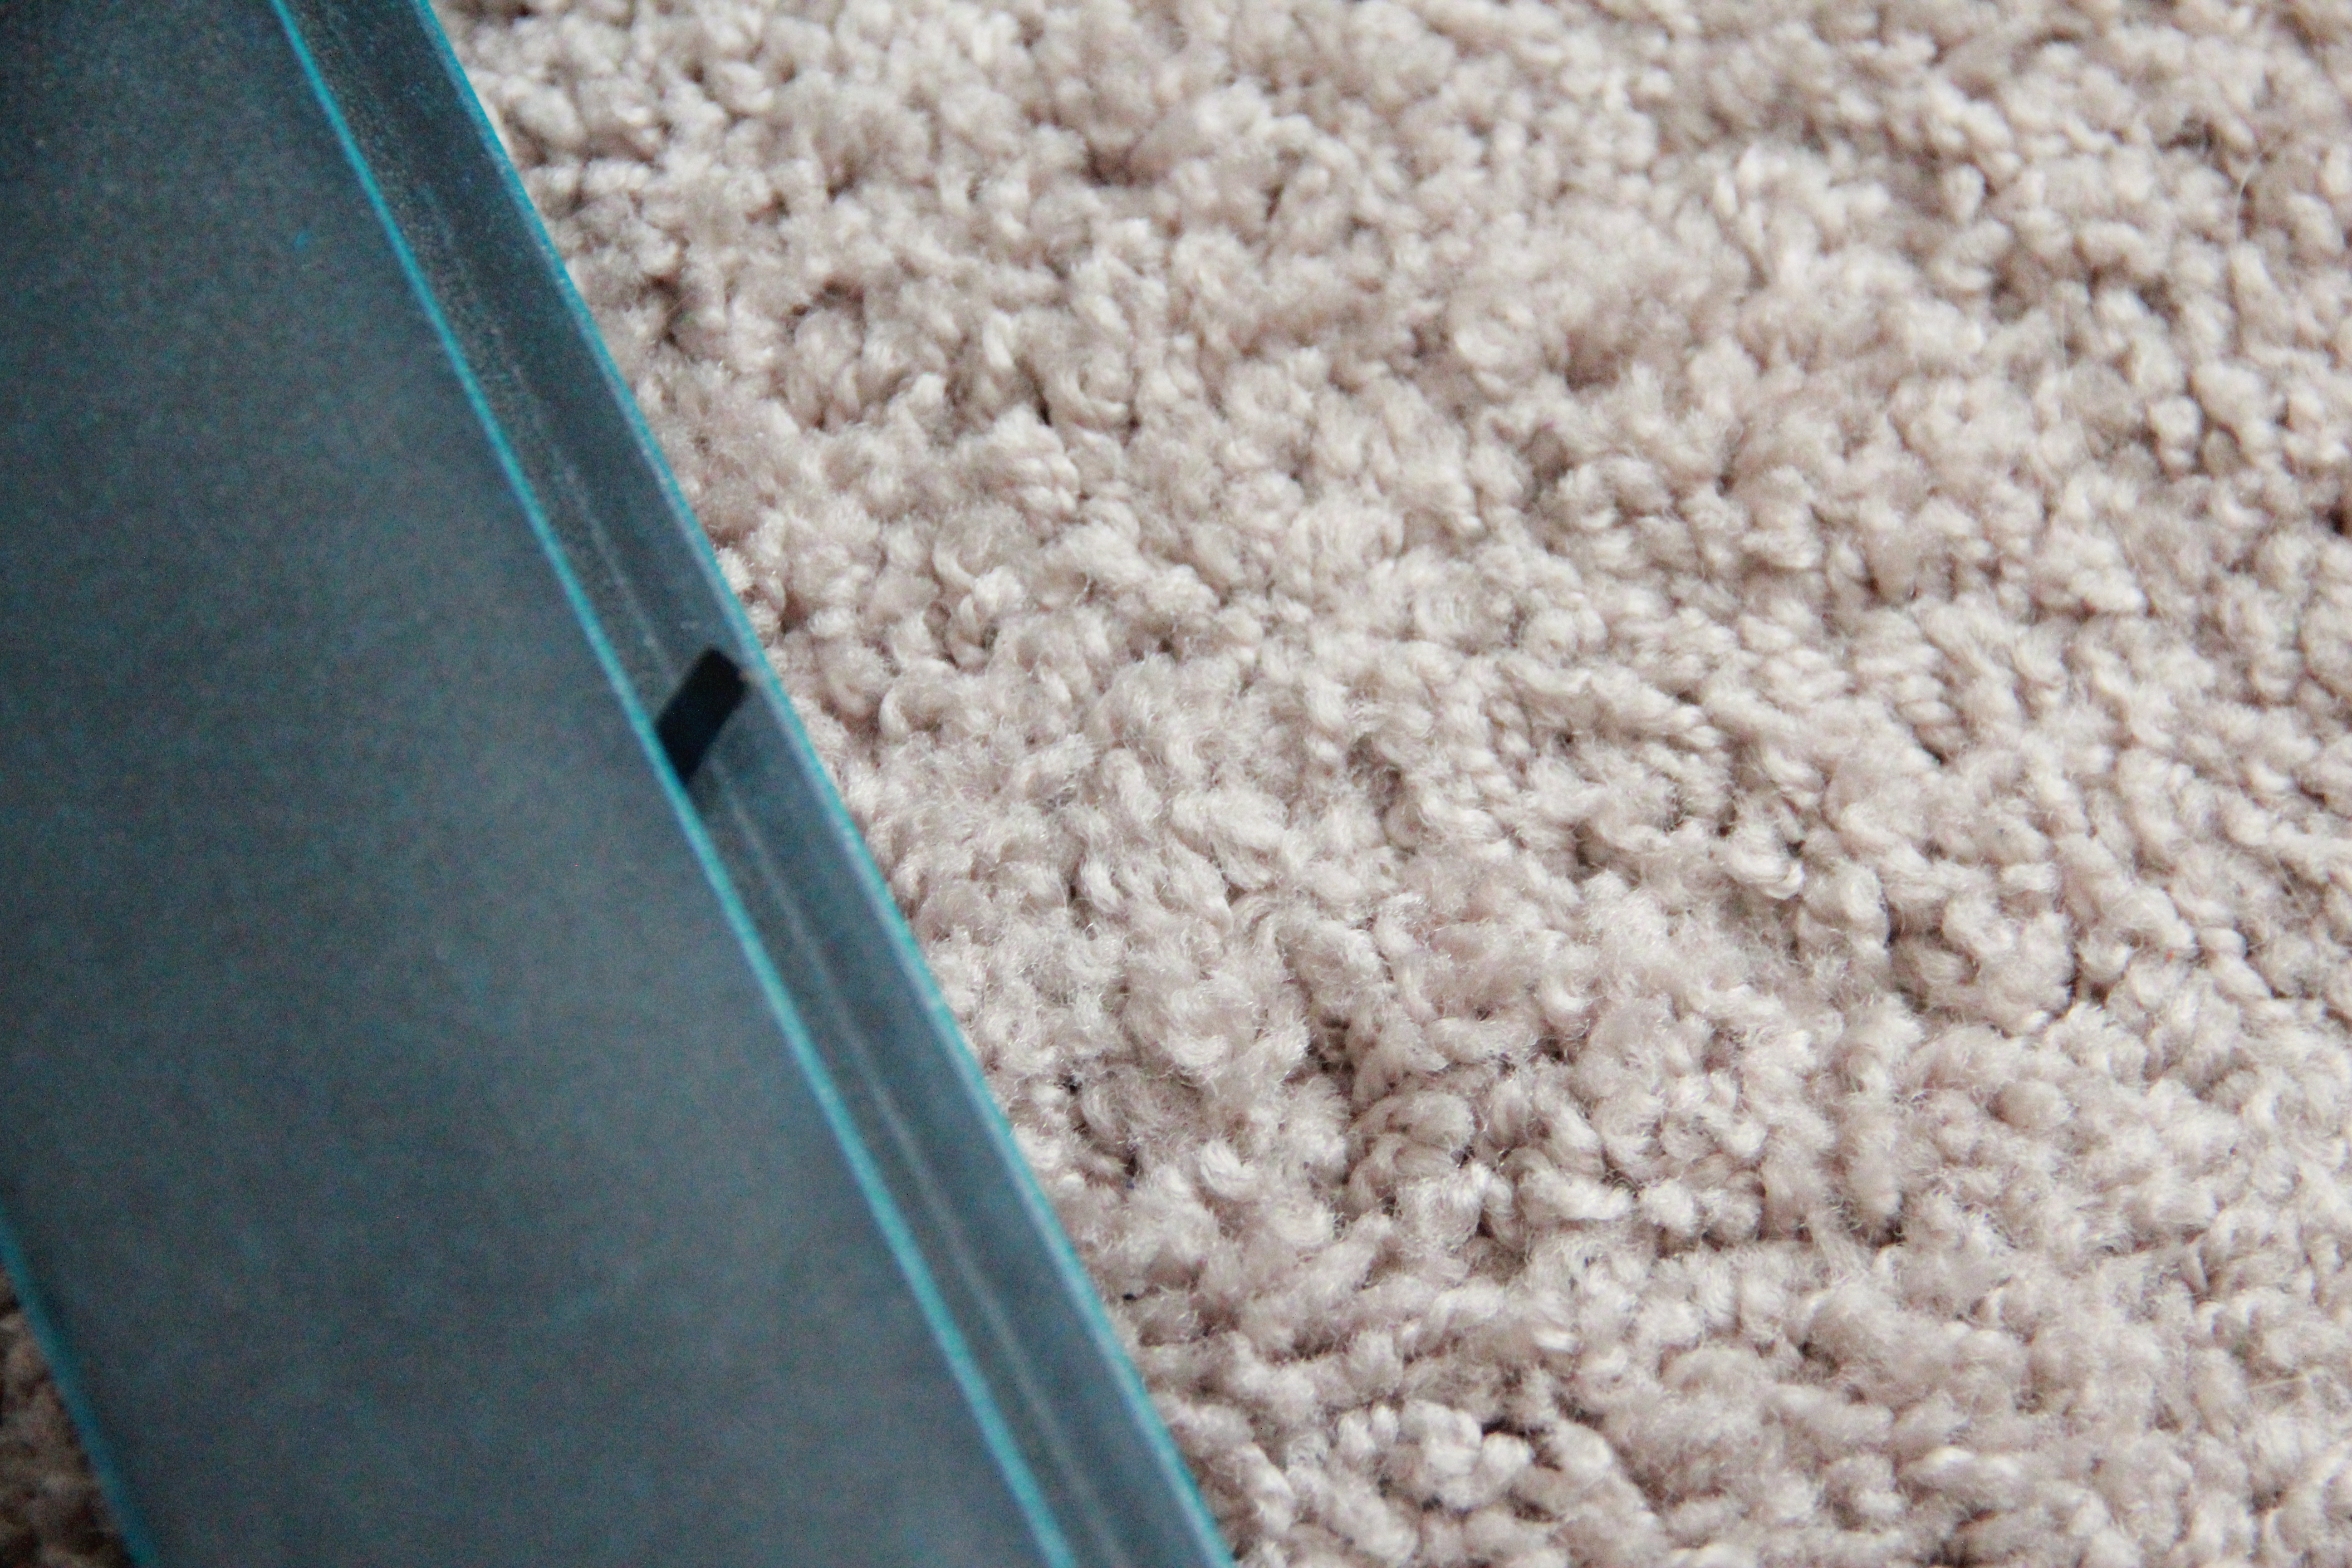
Step 1: Remove the cardboard backing and glass from the frame. Don’t throw away the backing, we will be using it in a later step. Also, when you lift up the little tabs, try to keep them from touching any part of the frame (other than where they’re connected of course). This will help prevent them from sticking to the frame when its spray painted.

Step 2: In a well-ventilated area, preferably outside, begin spraying your frame with the first coat of paint. Use smooth even strokes, covering the entire outer piece. Allow this first layer to set completely before spraying again. You may need be extra patient if your frame is plastic, as it takes a few extra rounds for the paint to appear as though it’s adhering to the piece. (One of the reasons I chose to use the chalk spray paint was that I hoped it would make these plastic frames look like wood – it totally worked!)

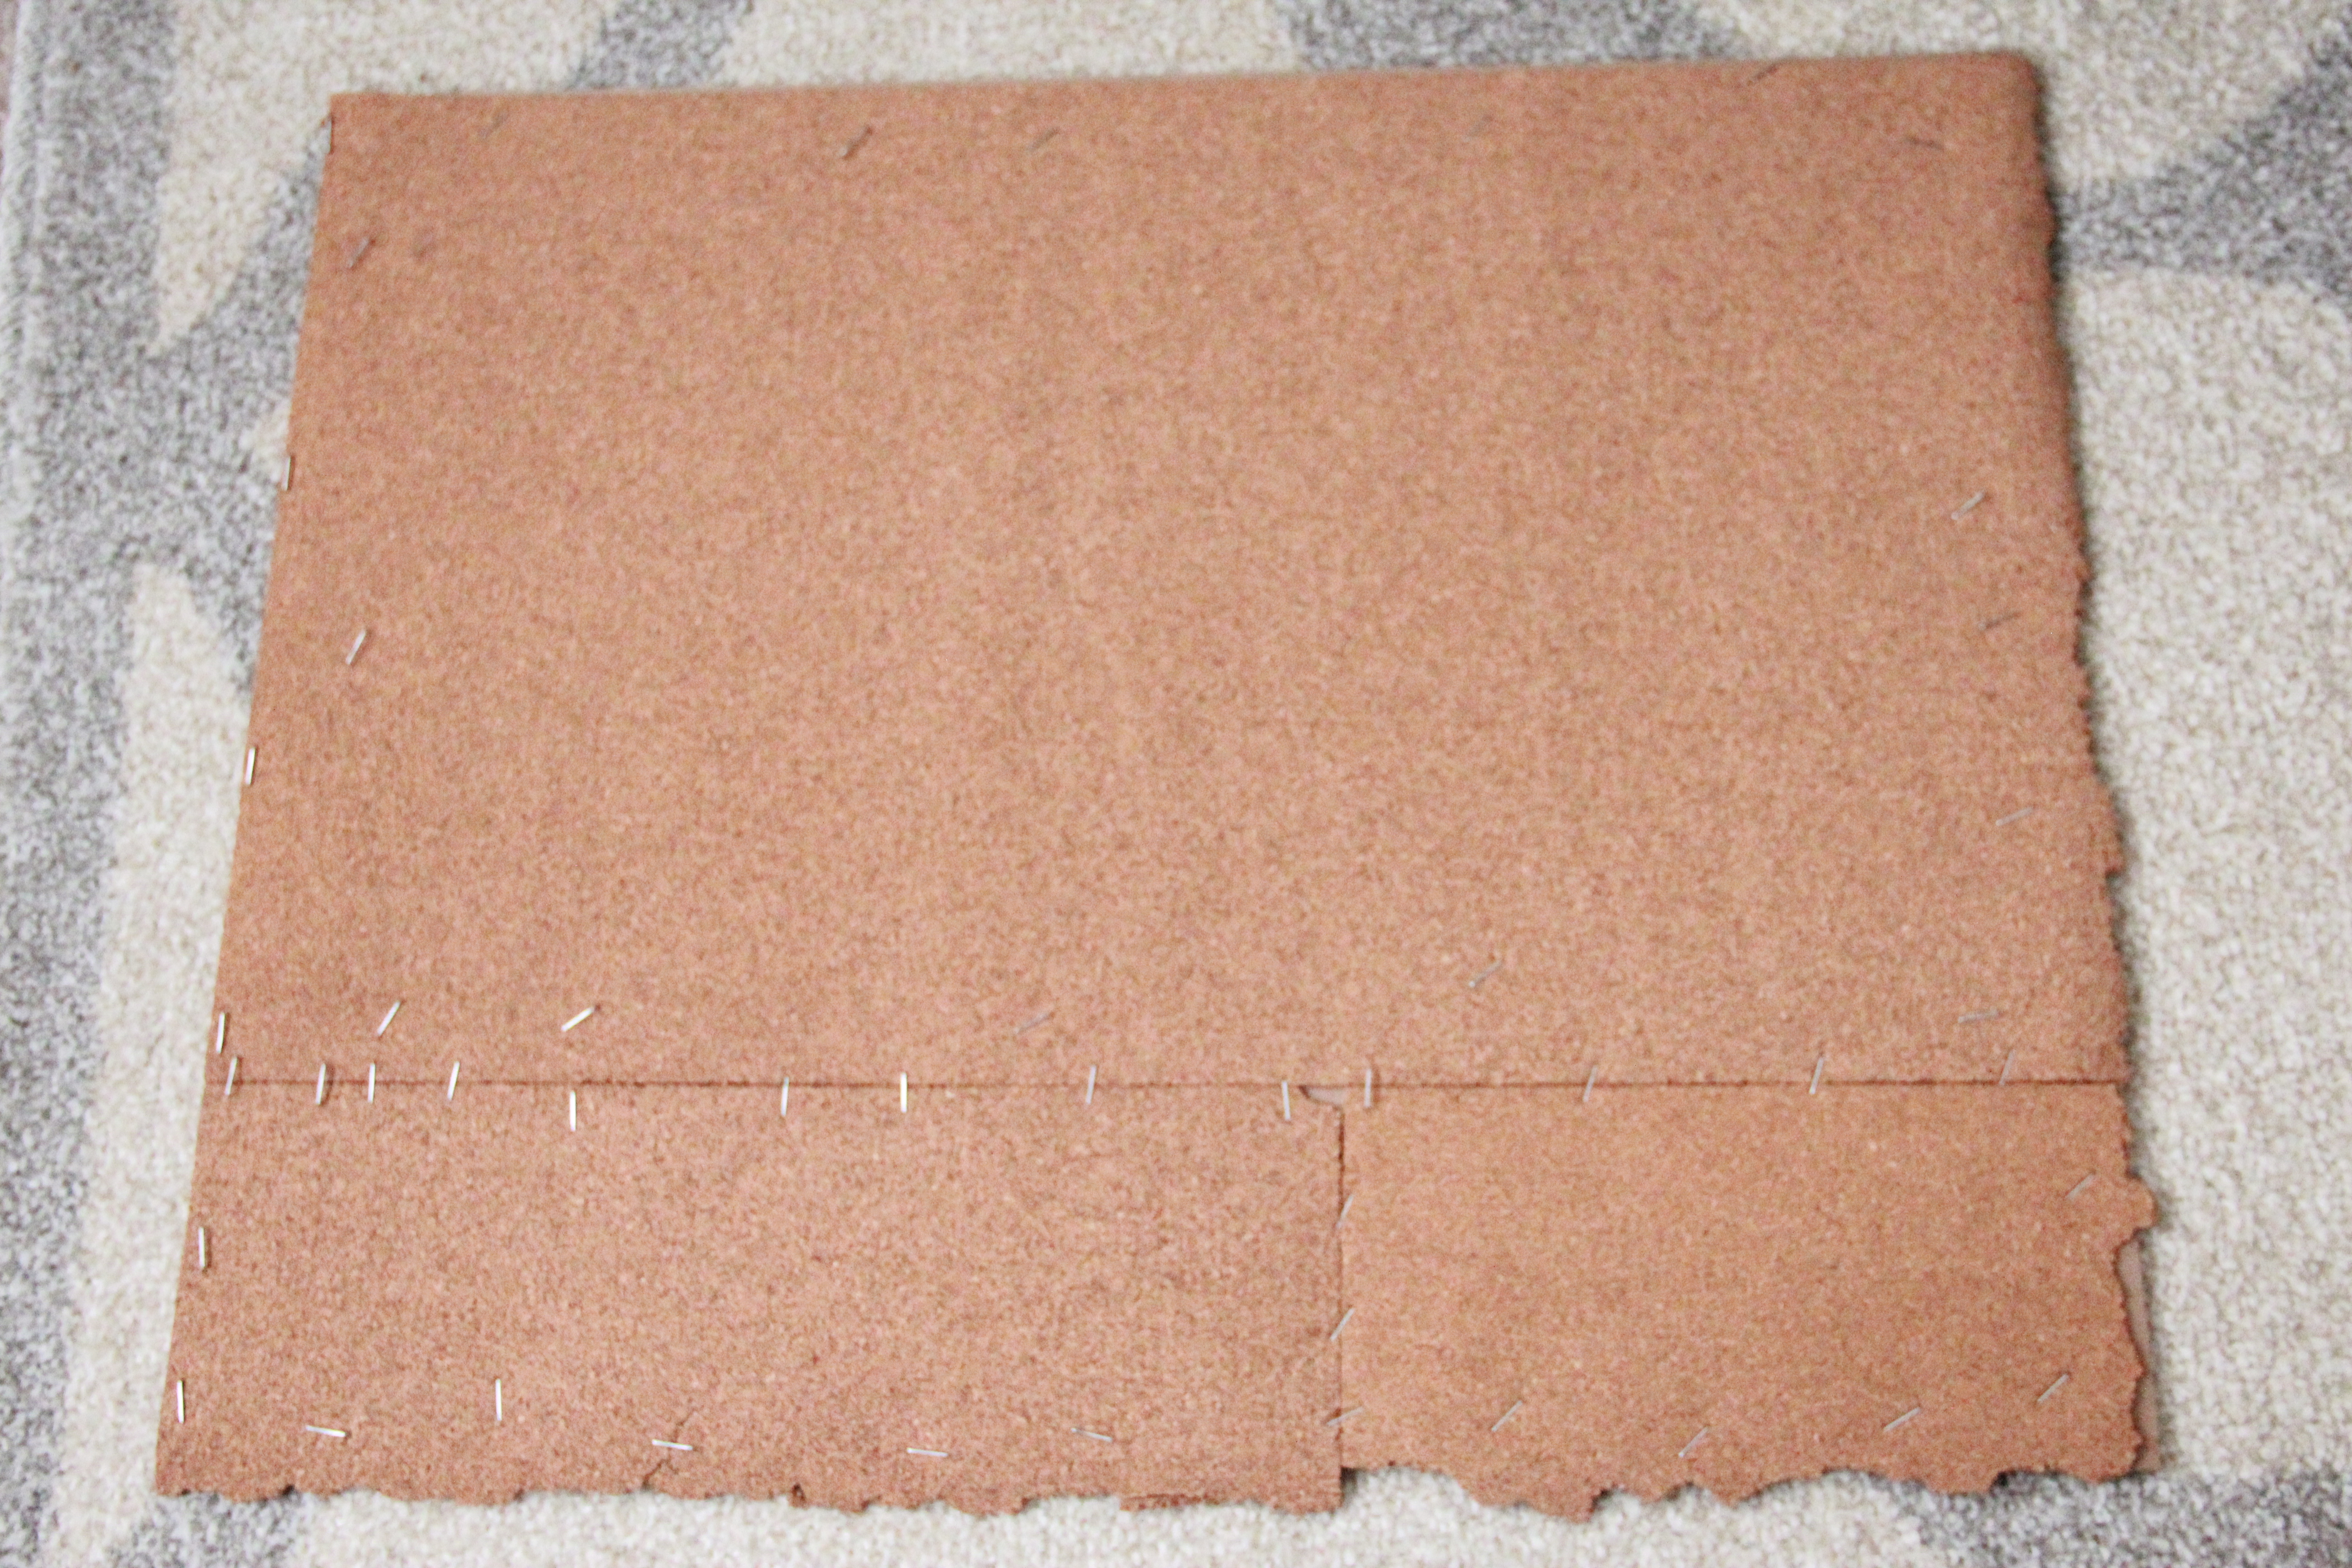
Step 3: Once your desired coverage is reached, set aside the frame to fully dry. It’s time to grab your frame’s cardboard backing and cork board roll! Unroll the cork board, and line it up with the cardboard backing. Be sure to keep it taut and flat. Cut the cork to fit your backing.

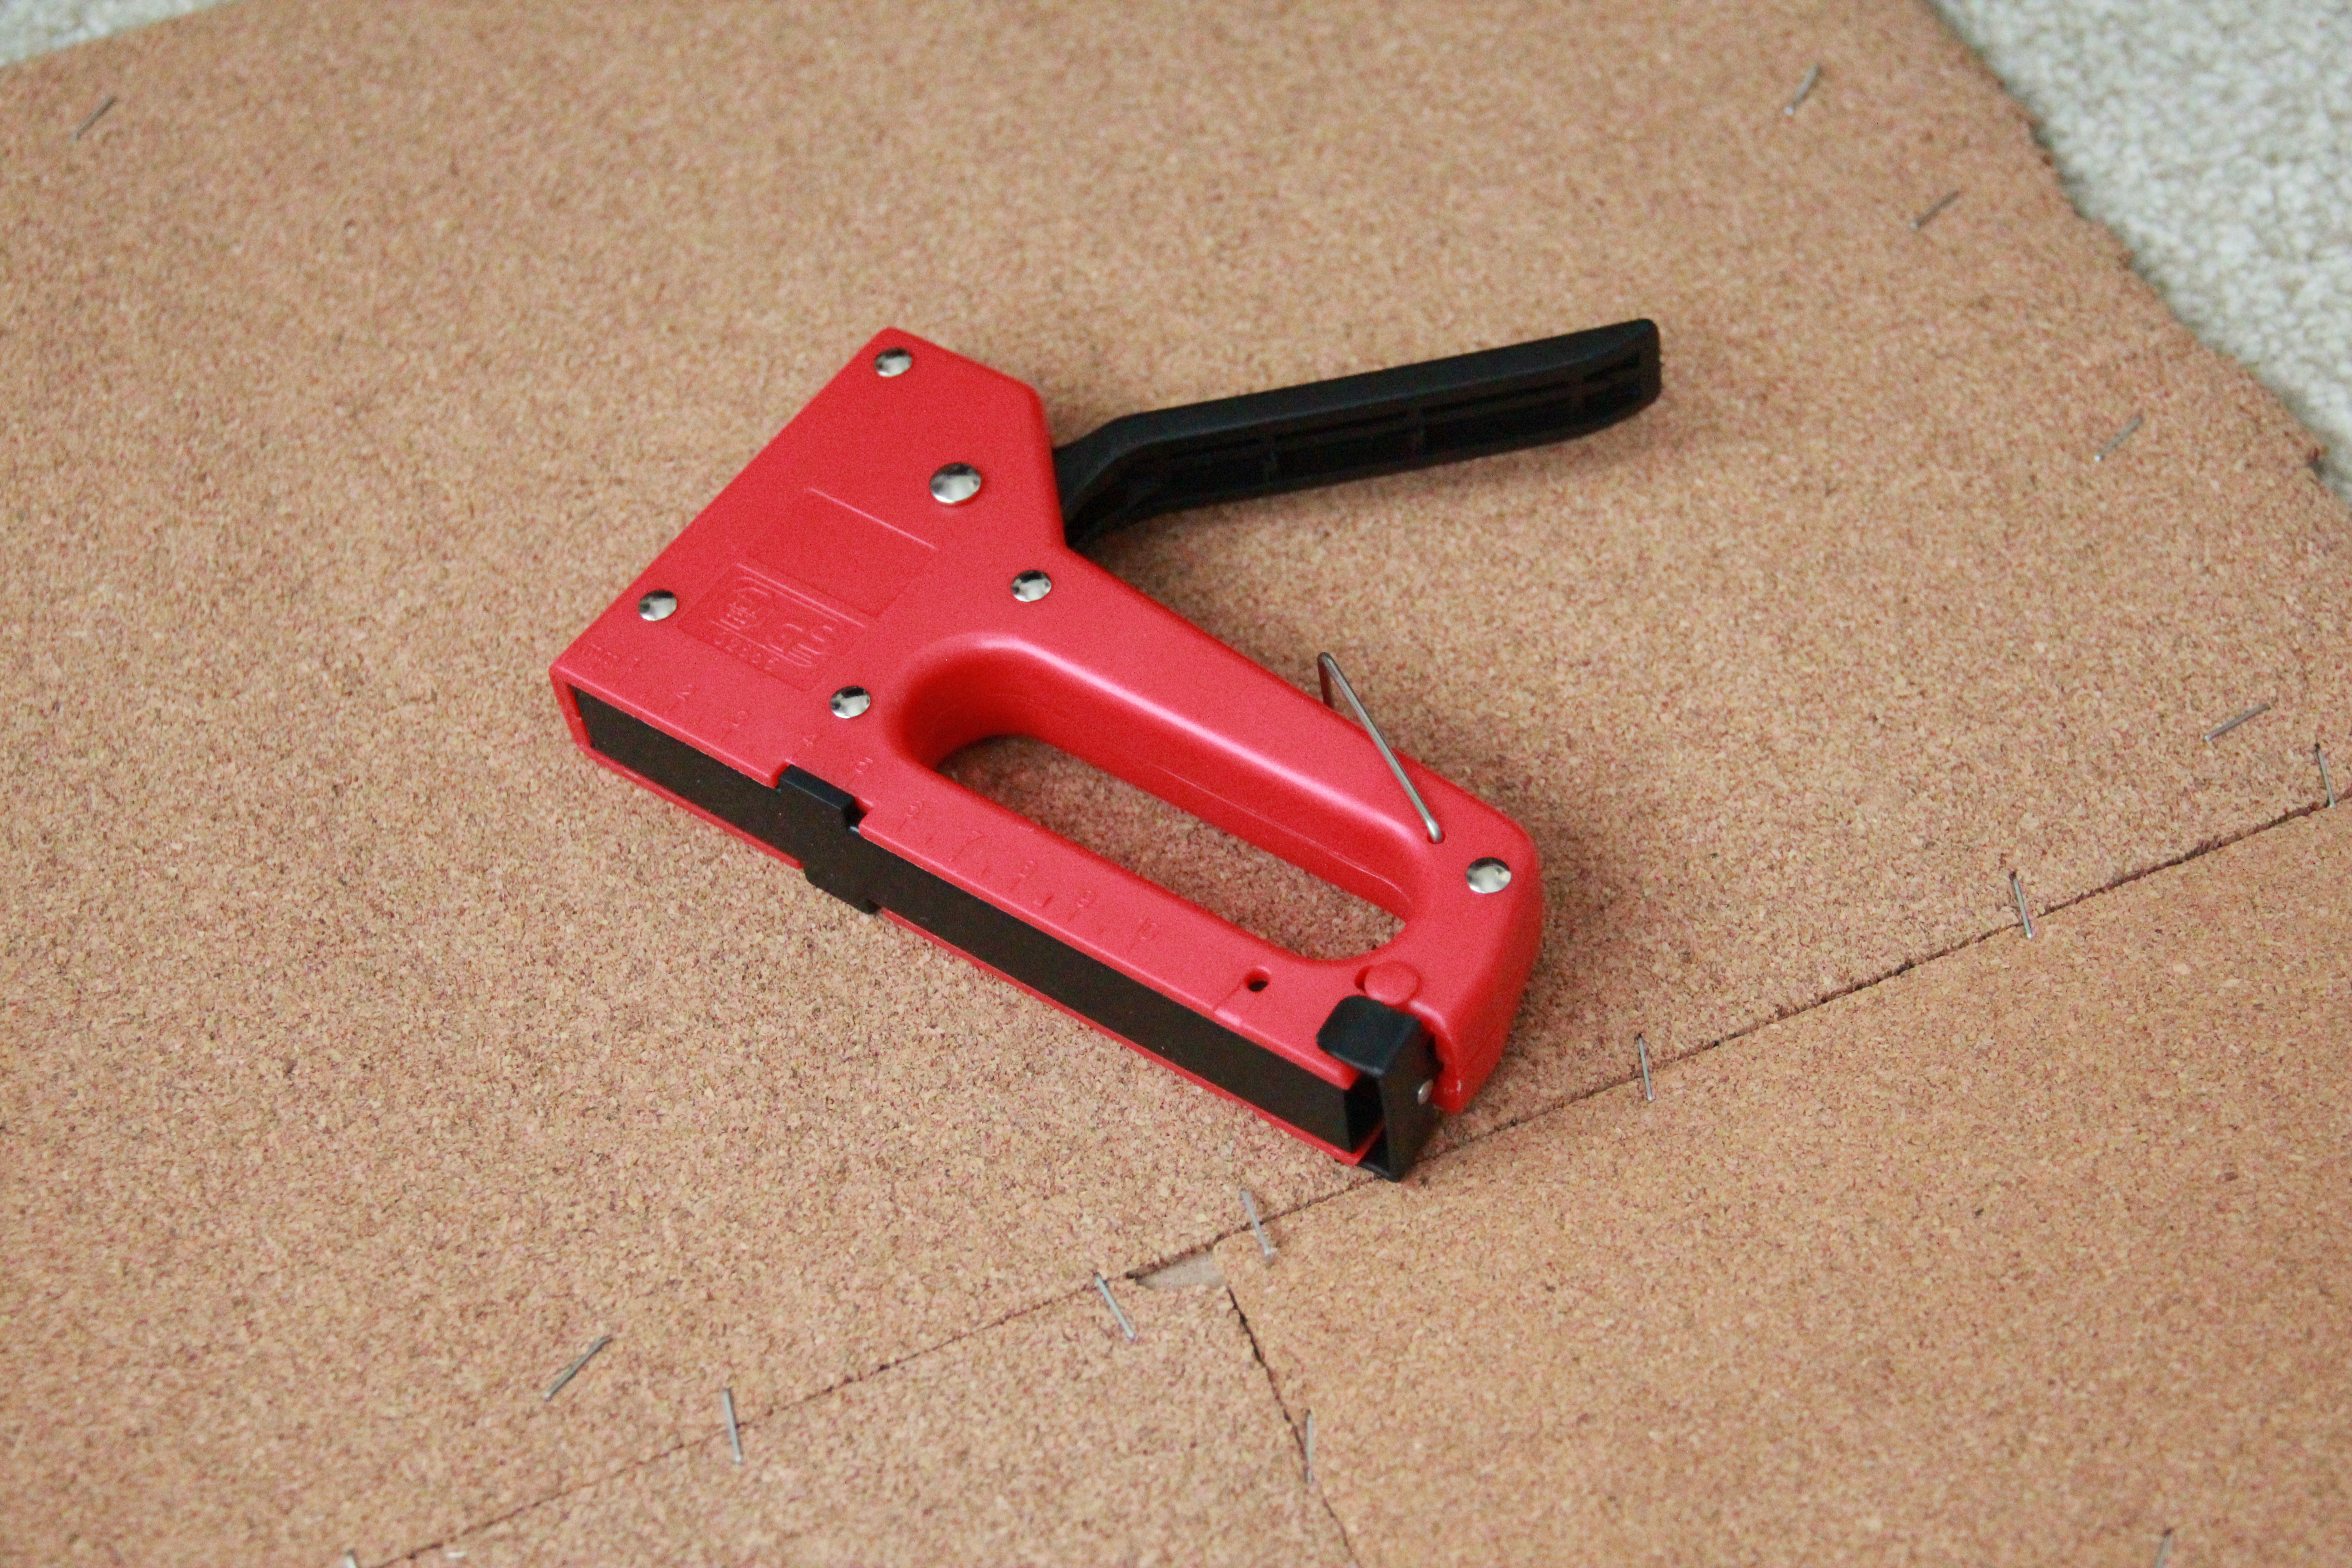
Step 4: Using your staple gun, staple down the edges of the cork to the cardboard backing. (As you can see, my backing needed extra strips of cork board, so it looks a little messy, but the fabric will cover this so don’t worry if yours looks similar to mine at this point in the project.)

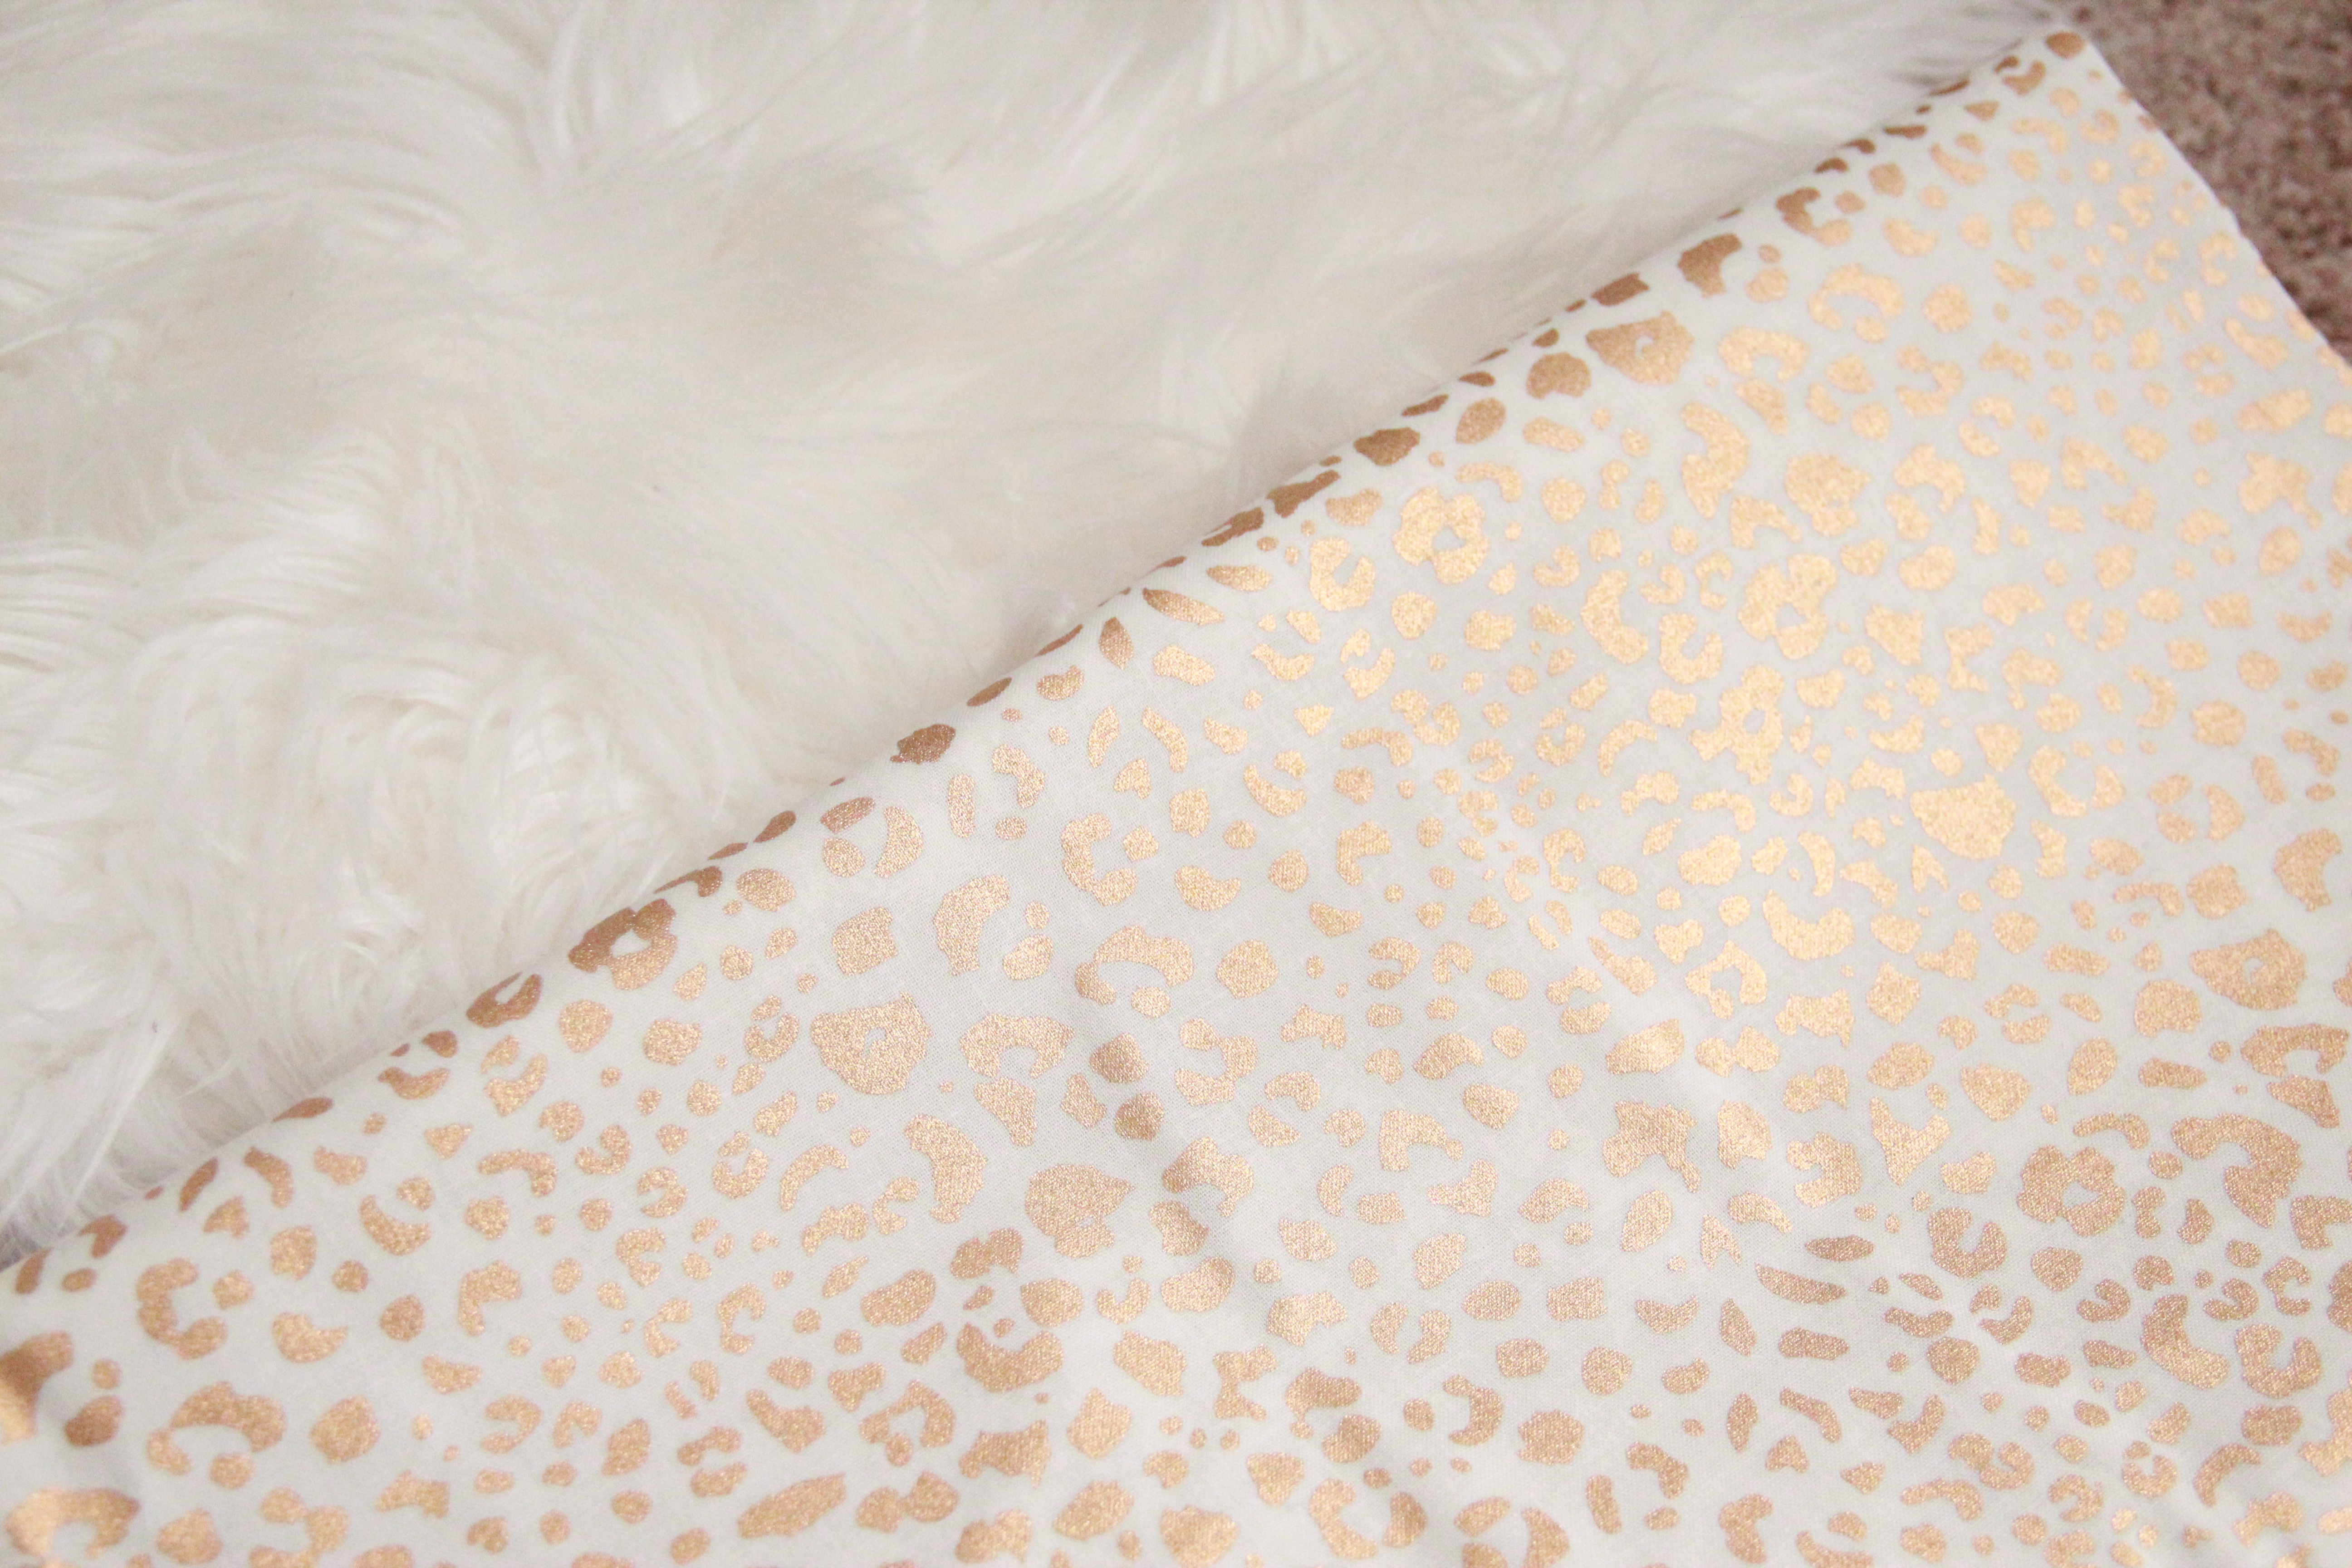
Step 5: Get out your fabric, and lay the backing cork-side down. Cut the fabric to fit, leaving extra along the edges so that you can fold it down on the back. *Depending on how wrinkly your fabric is, you may want to steam it before securing it to the cork board.

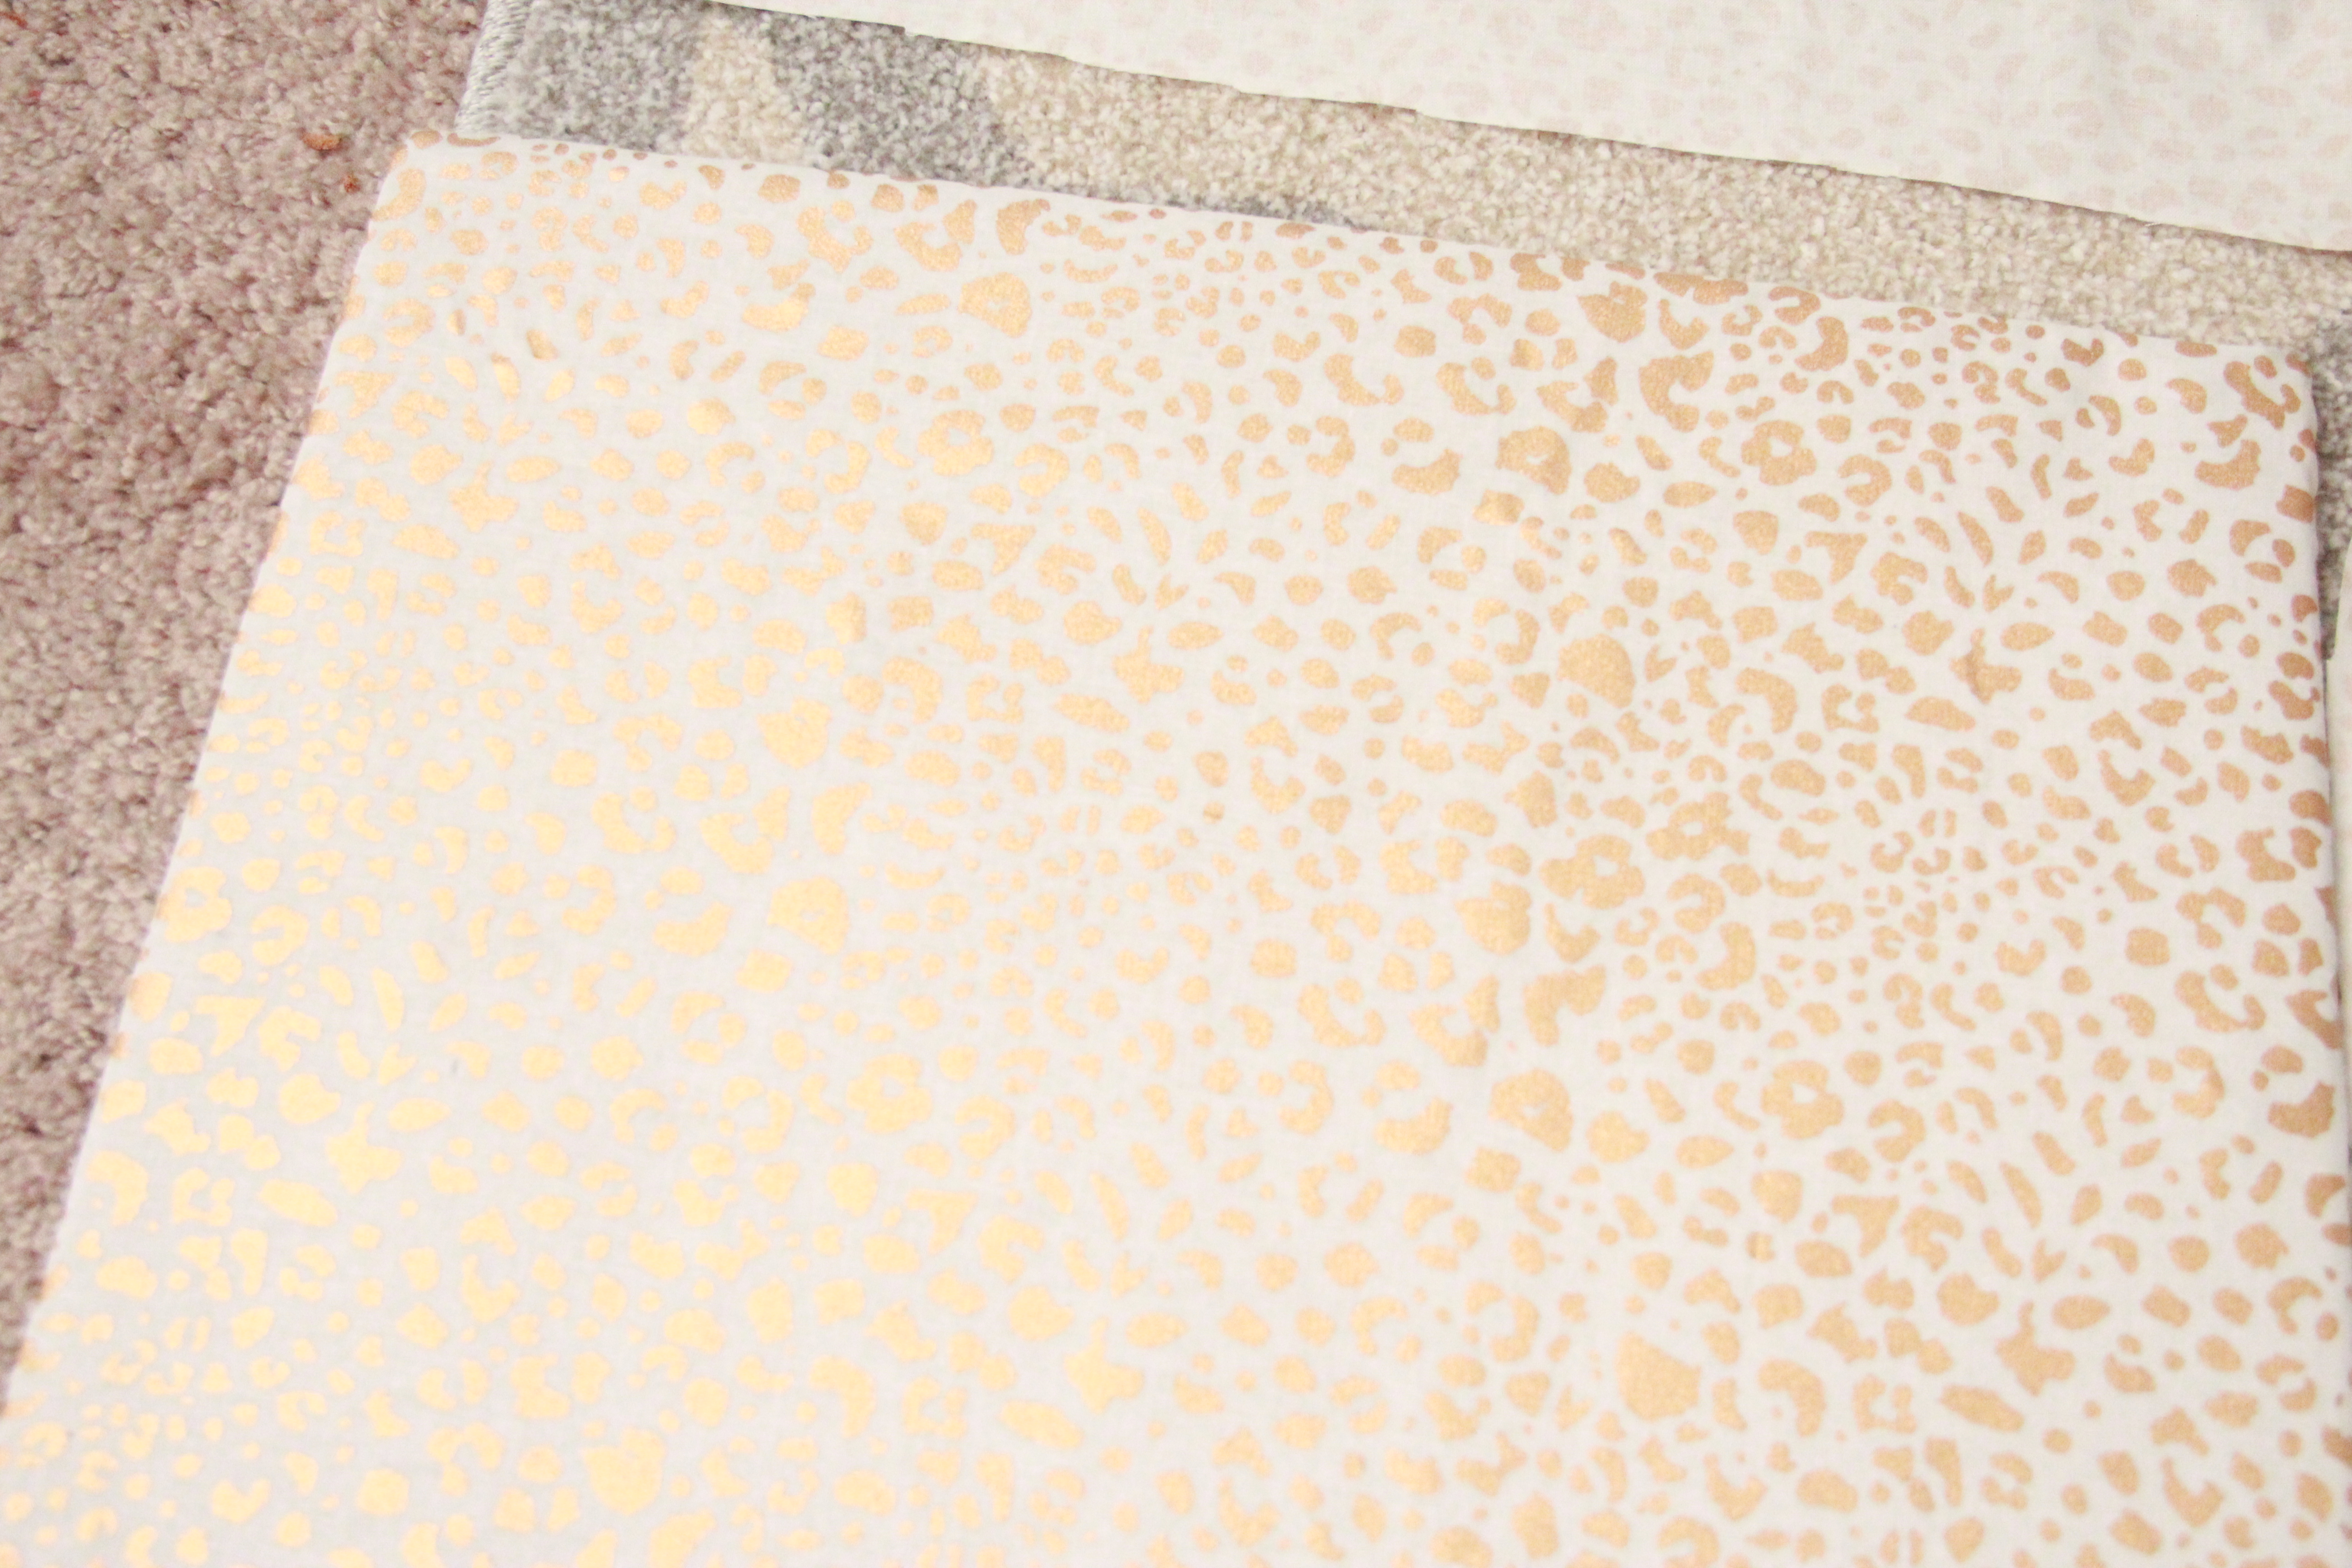
Step 6: Grab your staple gun again and gently staple the edges of the fabric down to the cardboard side of the  frame backing. Take your time with this step so that you don’t end up with a massive crinkle down the middle of your new cork board.

Step 7: Flip it back over, and check to make sure everything is smooth and secure. Now you’re ready to put your new bulletin board into your freshly painted frame!

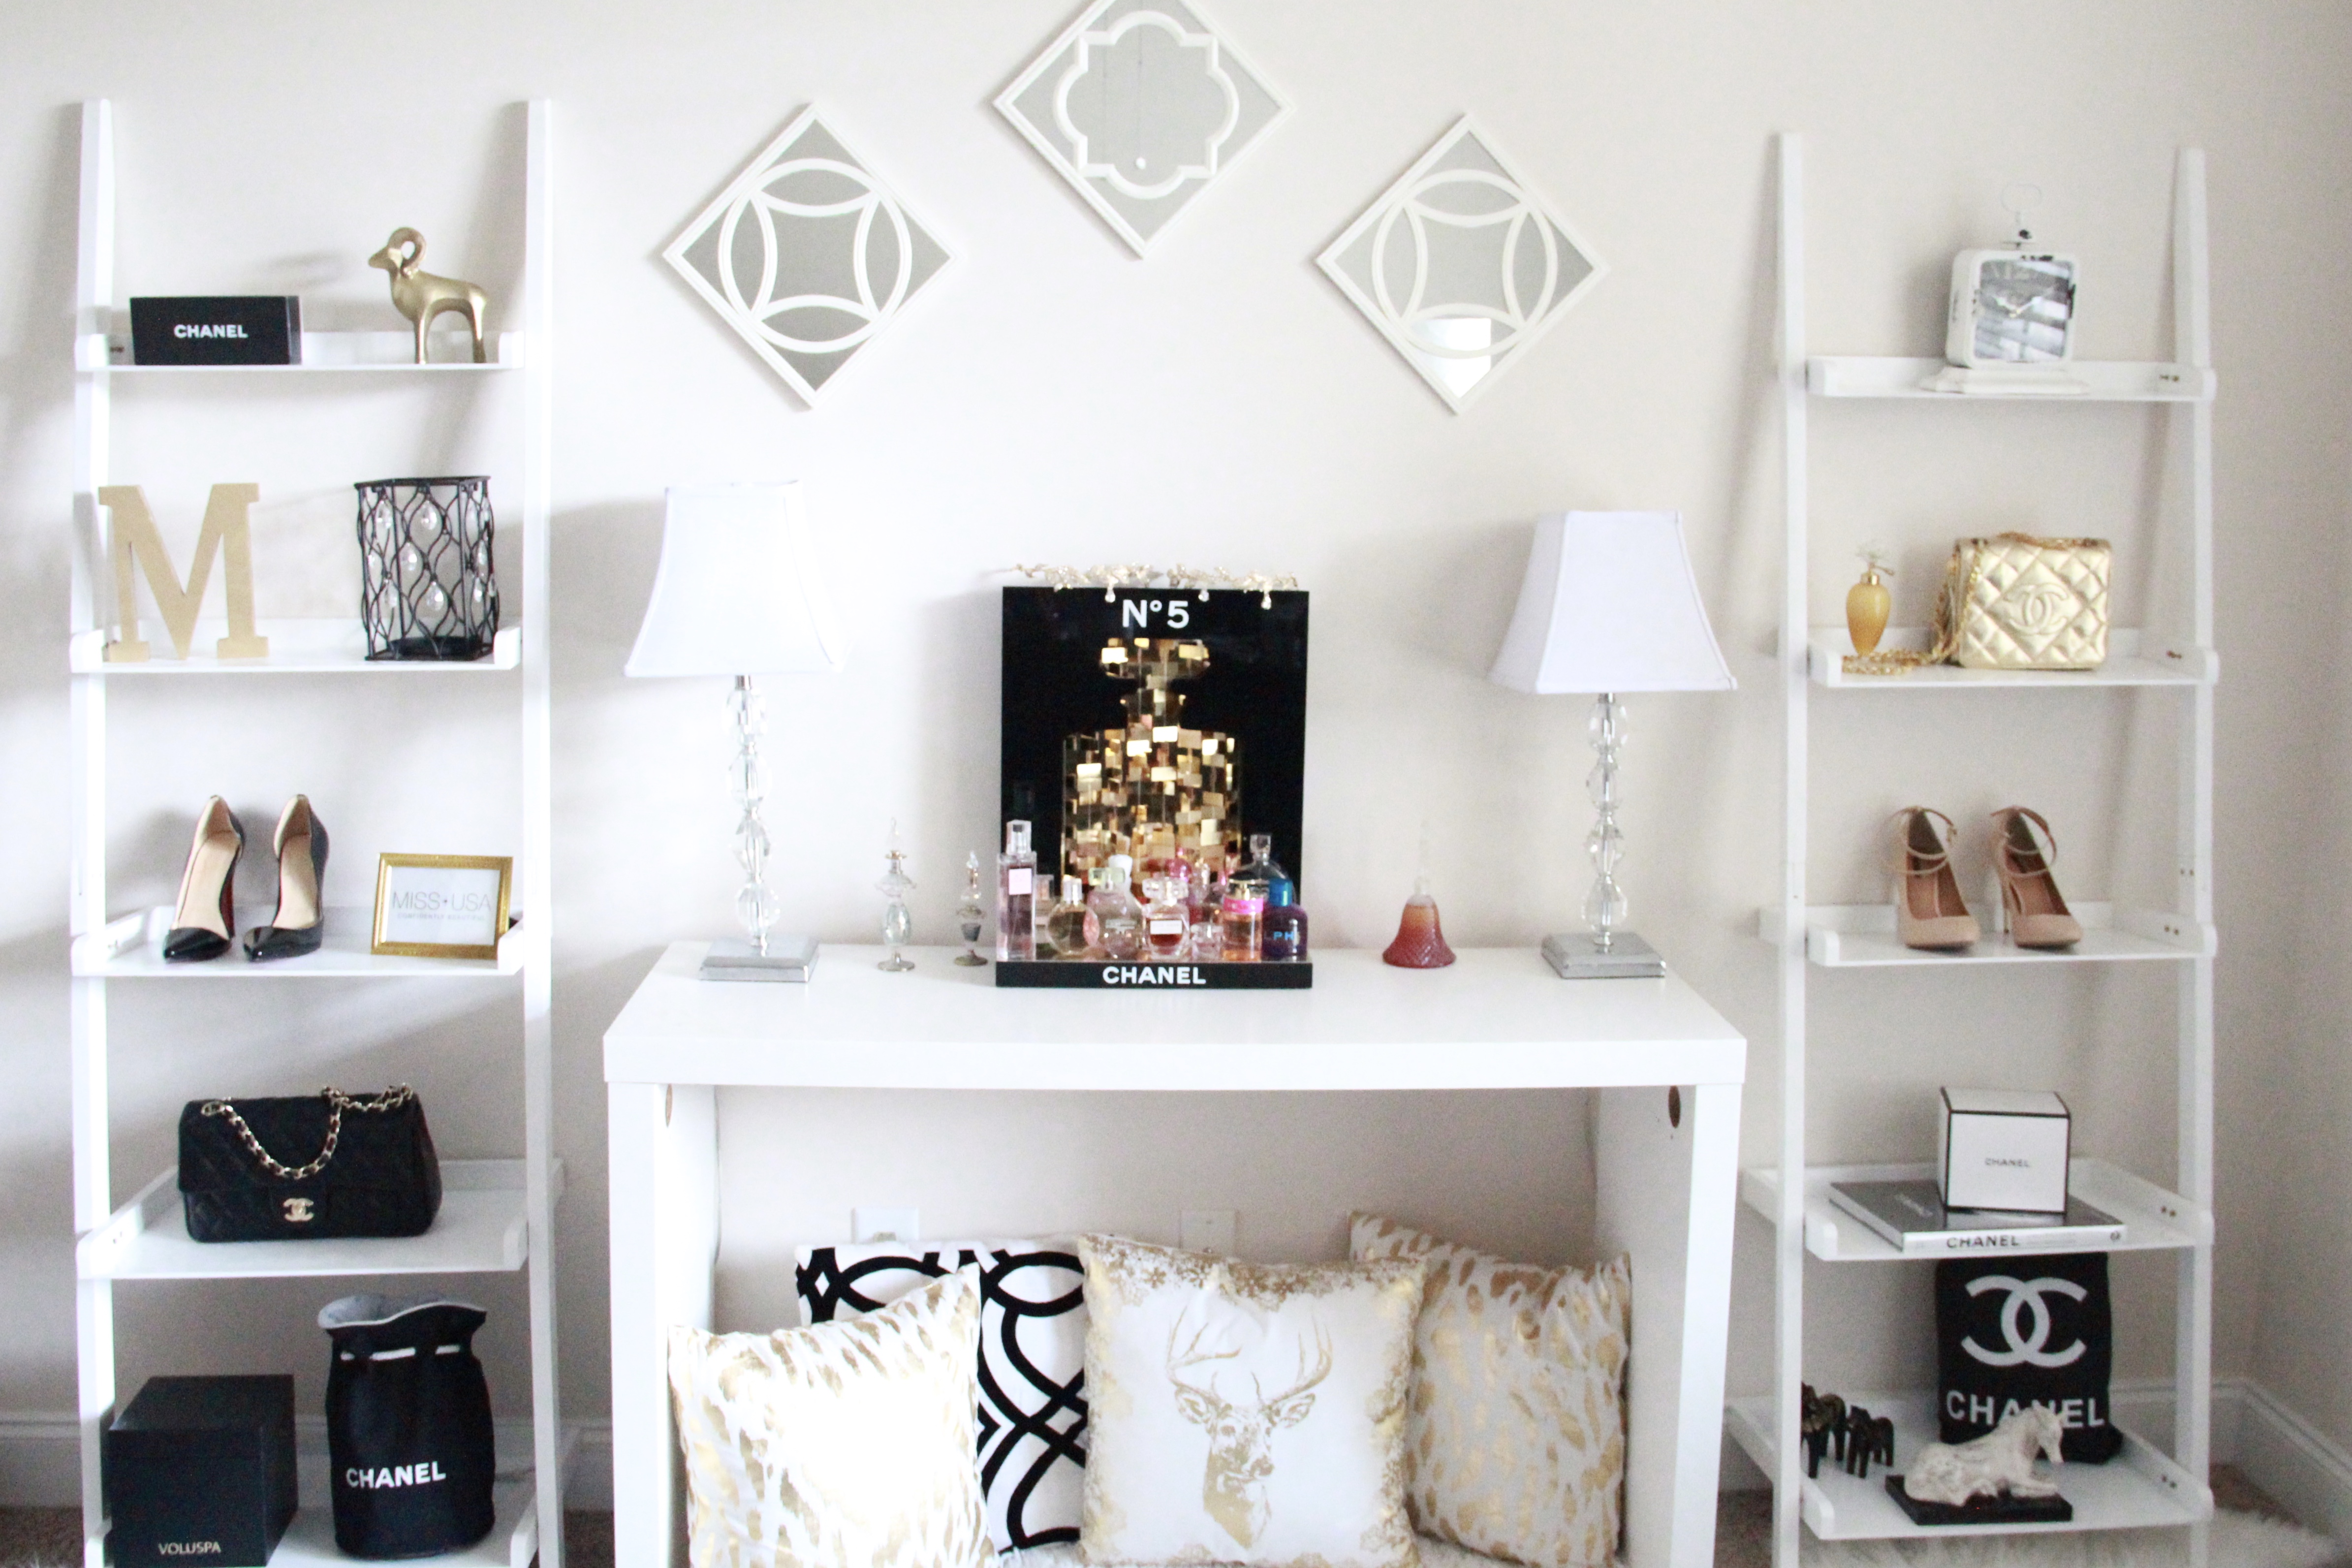
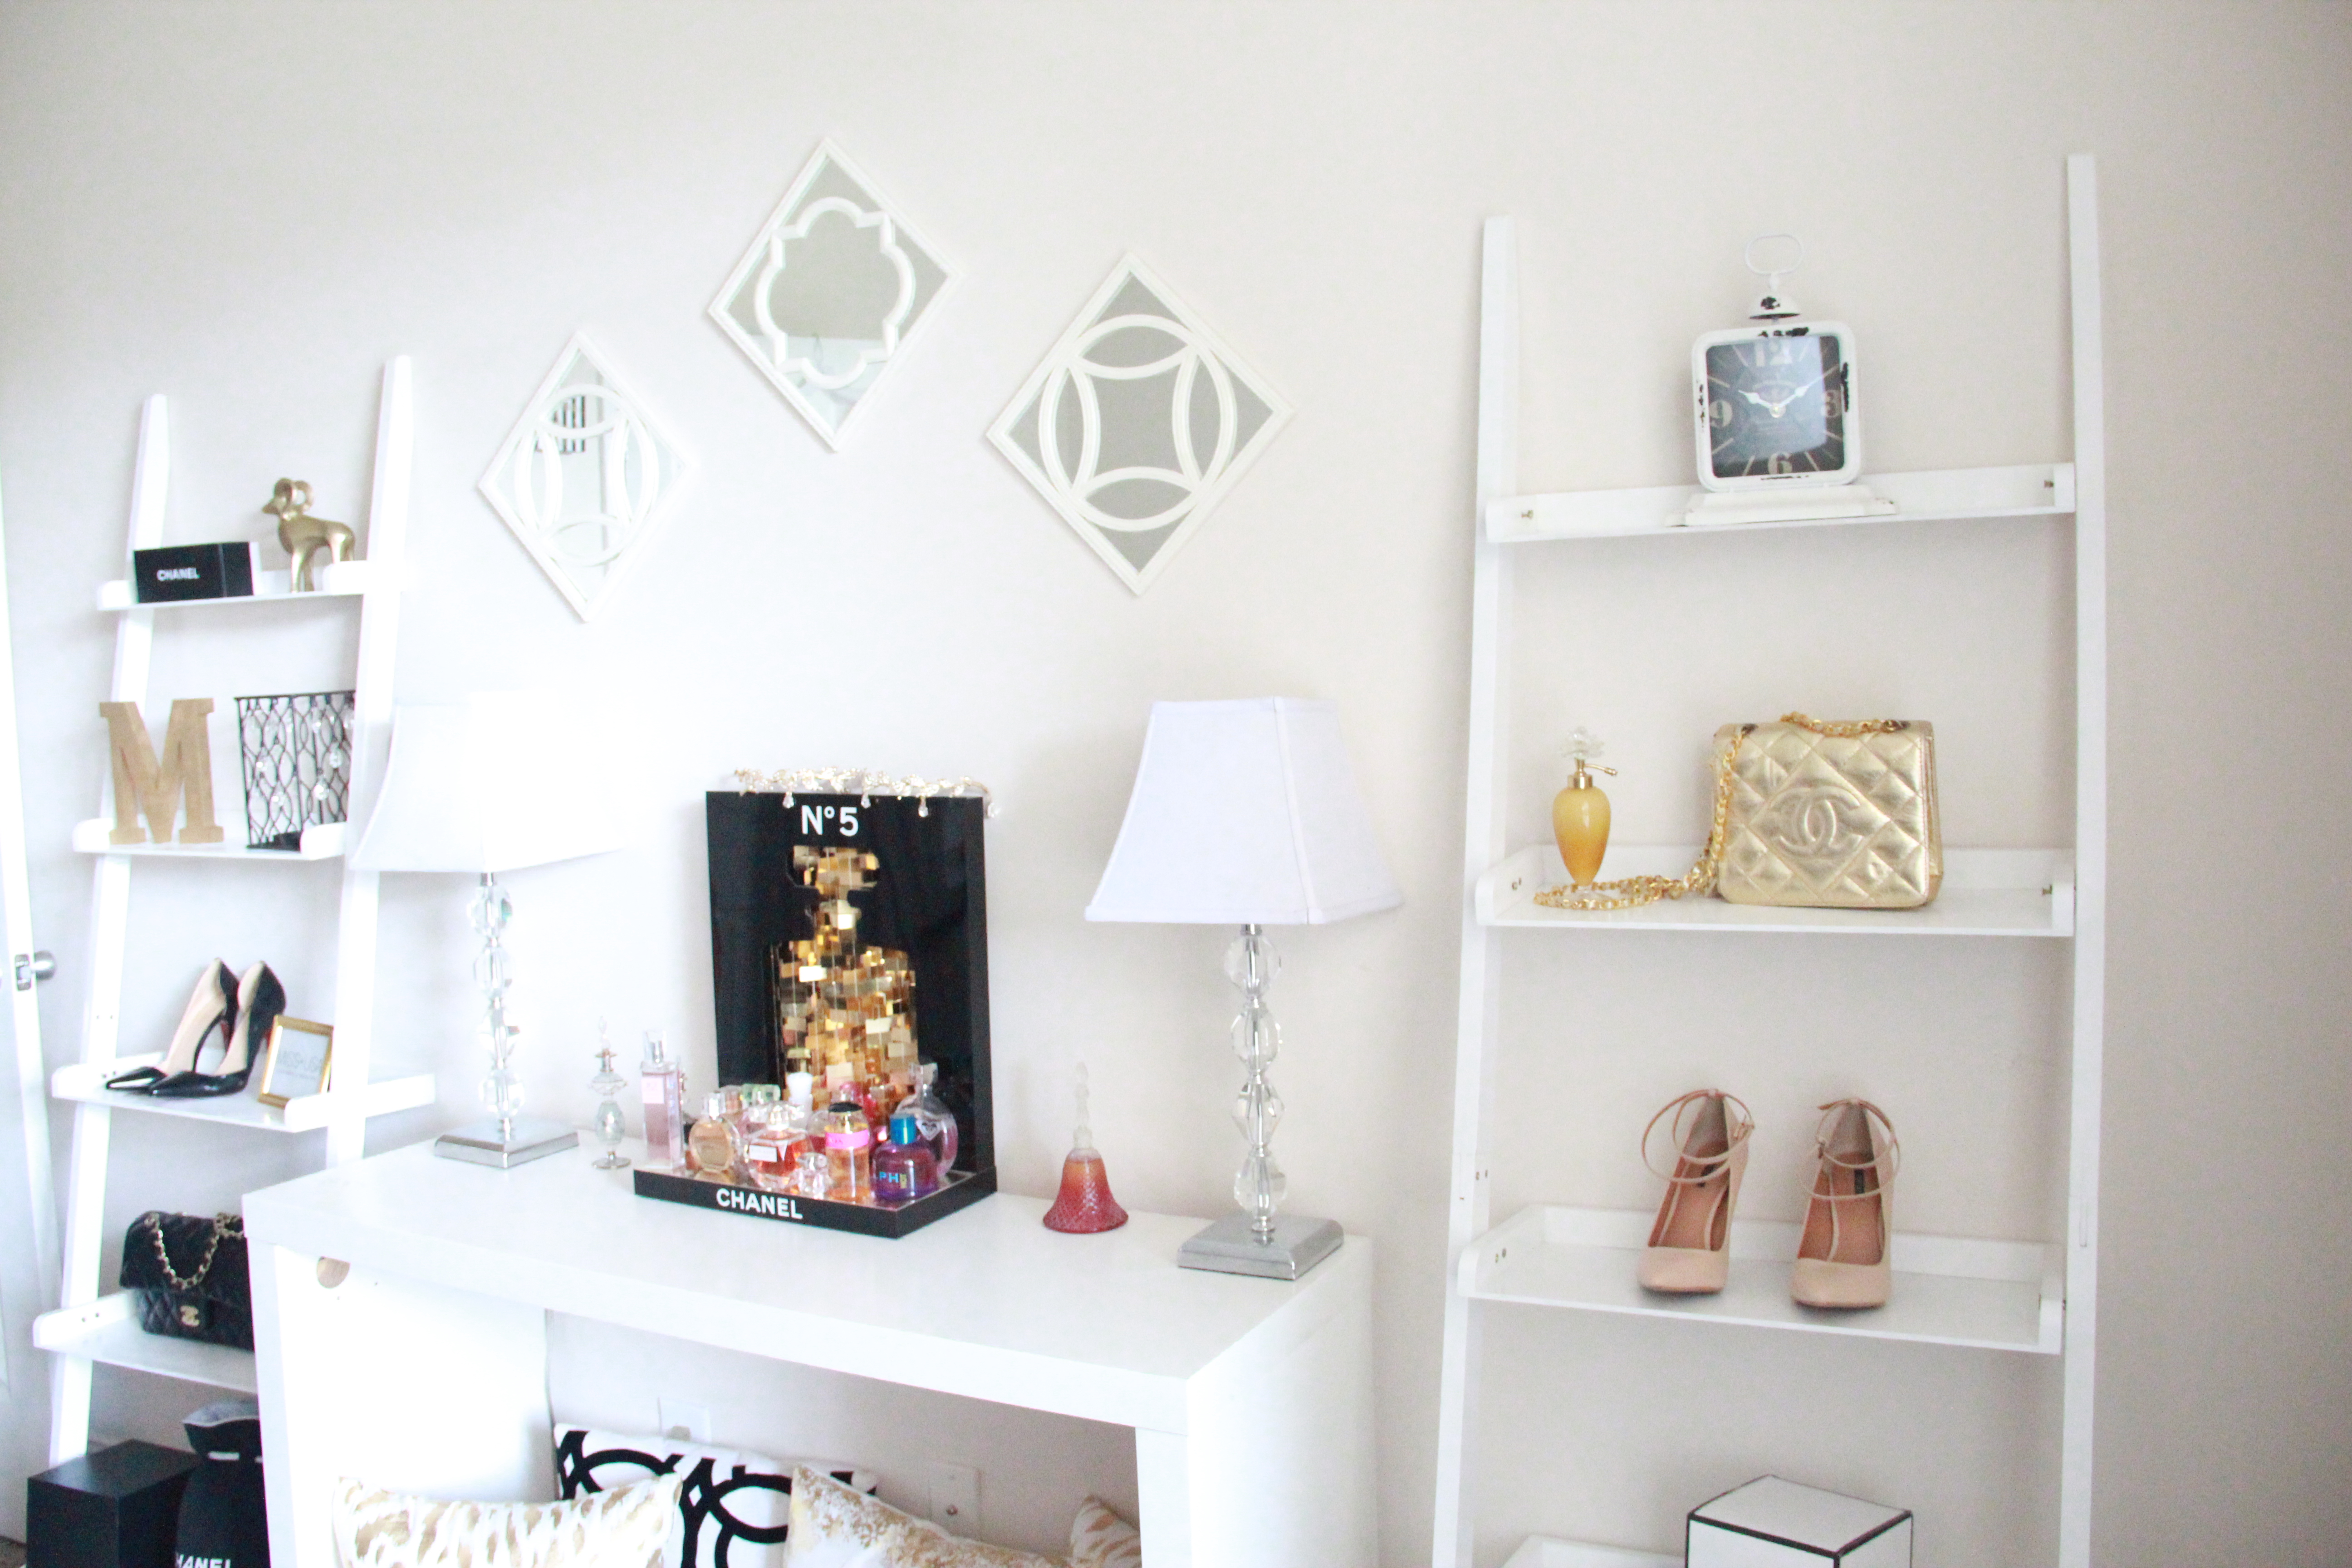
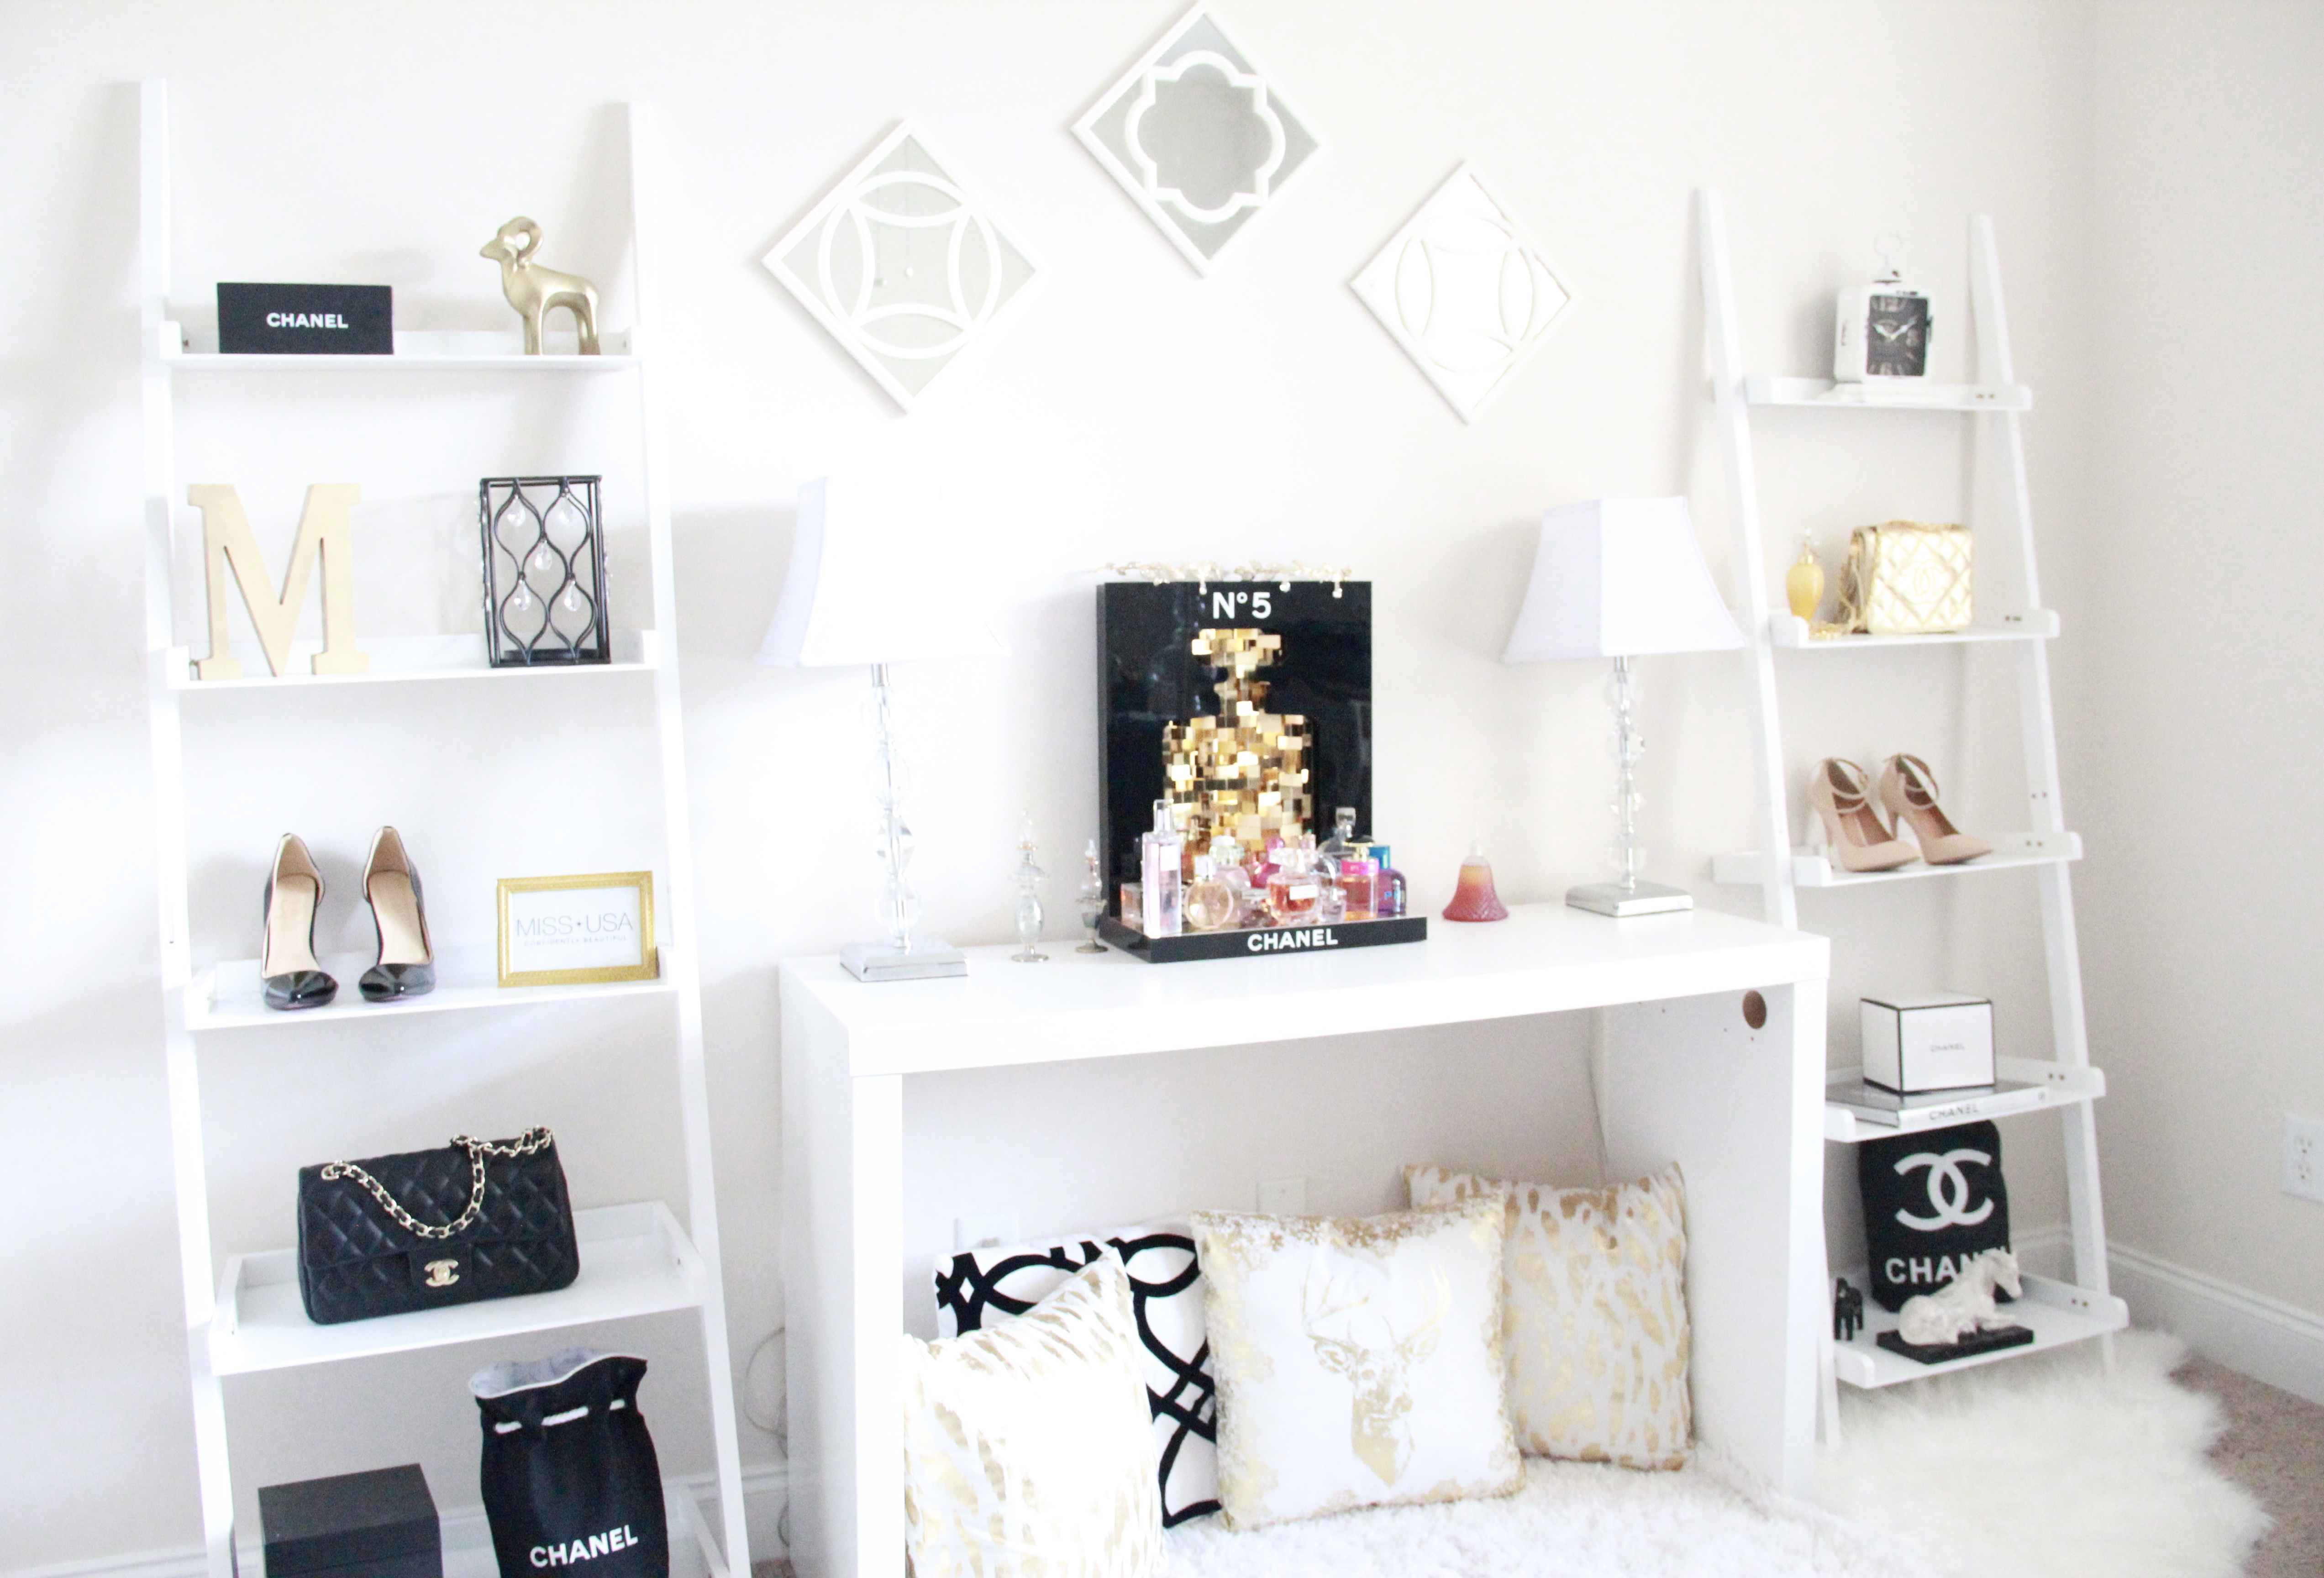
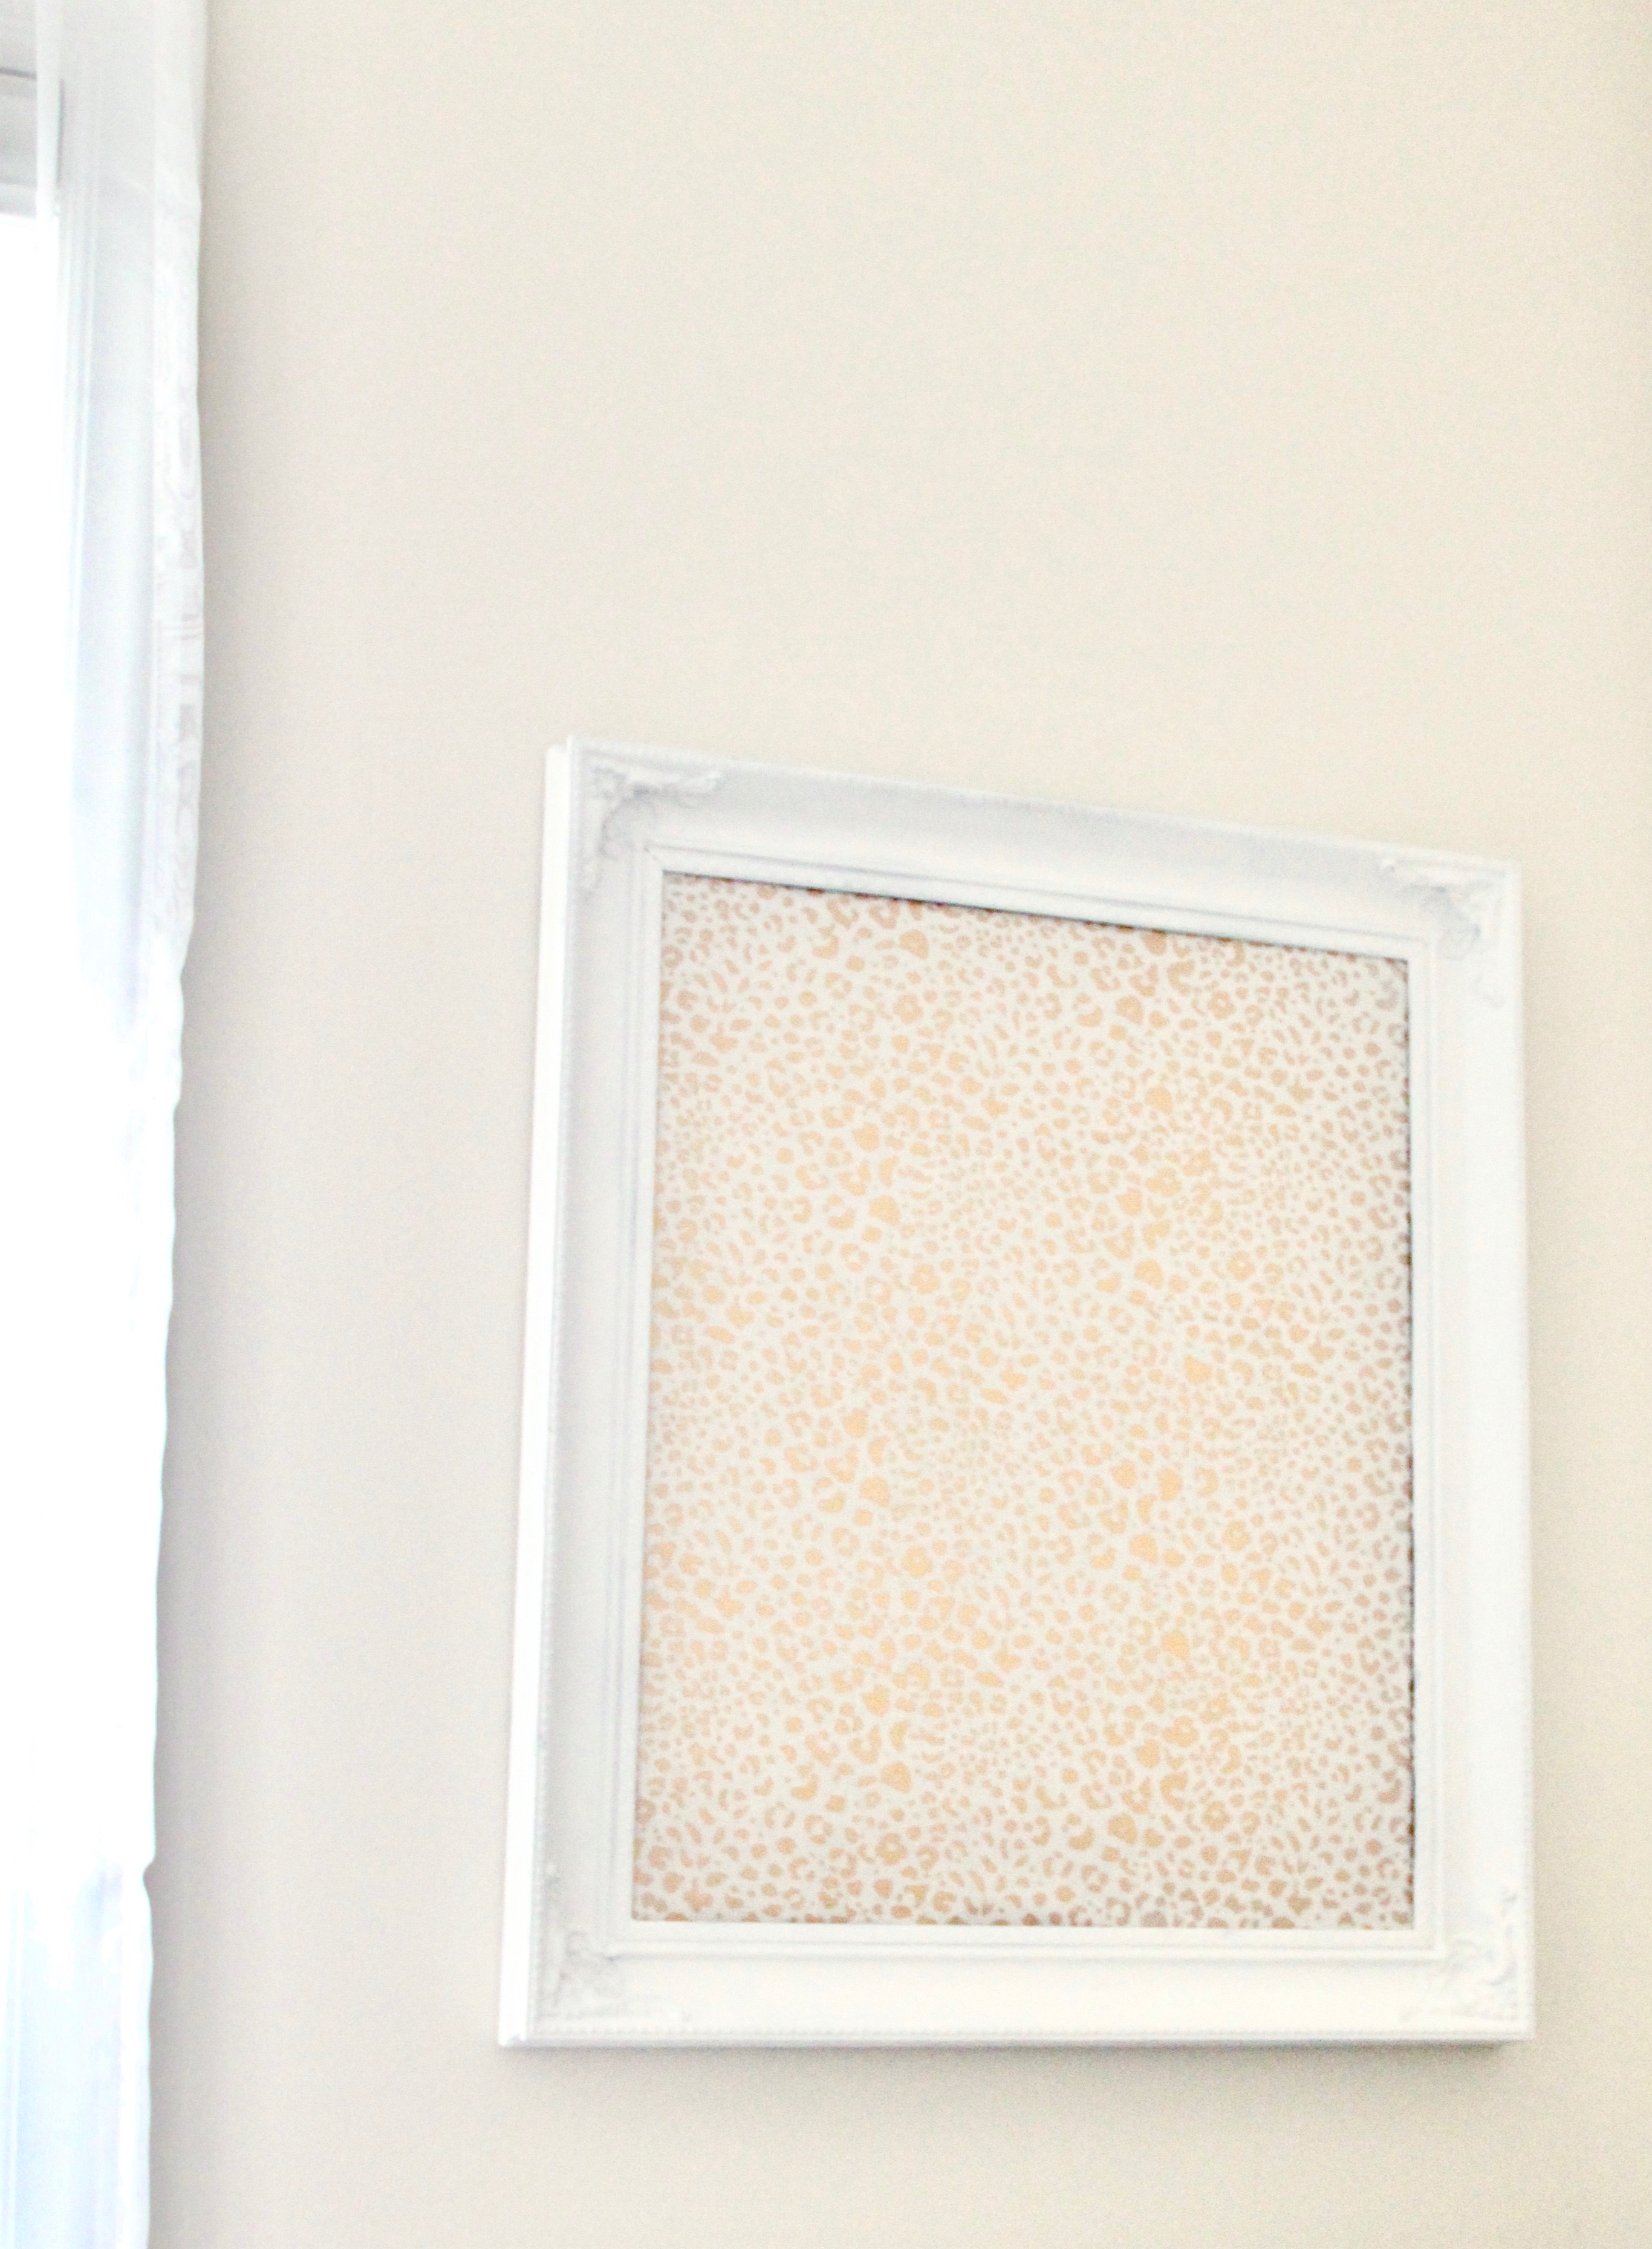
Step 8: All you have to do now is figure out where you want it displayed 🙂 I put mine in my home office. I’m a huge fan of symmetry in interior design so both frames are to the right and left of the main window in this space.


Supplies for this Project:


Have you just completed this, or any of the other projects featured on Blonde Boss Babe? If so, tag me! I would love to see your version!

Post, Pin, Share:
Blog, Home Decor, Moving, The Home

Home Office Sneak Peek

Oh my gosh, we are so excited to finally be in our new home –  it’s unreal. J is over the moon about the land, whereas I am on cloud nine now thanks to my new home office. In some of my previous posts I mention the sunroom in our old condo a lot. It had a great amount of natural light which made it perfect for studying. However, it was completely open to the living room, meaning no noise separation and no ability to “put away” AKA hide my papers/binders/etc. whenever company would arrive. So, when we began looking for potential properties, a space that could be converted into a home office was at the absolute top of my list.

I’ll be sharing more as everything gets unpacked and set up, but here’s a brief sneak peek of my new home office:


Looking forward to sharing more soon!

**UPDATE: For more recent office views & links to featured items check out: Spring 2017 Home Office Tour & January 2017 Office Preview

Post, Pin, Share:
Blog, DIY Projects, Home Decor, Moving, The Home

$10 DIY to a $200 Chandelier

So this is quite possibly one of my favorite DIY projects so far, simply because I love chandeliers but really don’t love their price tags ($350 is average? Not good when you’re on a moving budget!) In total, this project cost me about $10. I already had a lot of the supplies thanks to their versatility and reusability on a wide range of projects. BUT even if you are starting from scratch, this DIY project is still very kind to the wallet and easy on the eyes 🙂

Supplies:

Blue Painter’s Tape

Silver Metallic Spray Paint 

Mess Towels or Tarp to cover the floor (Dollar General)

Cardboard

Mod Podge in Gloss

Aluminum Foil or Saran Wrap

Acrylic or Actual Crystal Pieces (I used acrylic ones here for much less than crystal!)

Small Paint Brush

Silver Metallic Acrylic Paint

Thin wire (Christmas Ornament Hooks work perfectly)

Special Note: Before you begin, if you are comfortable removing the chandelier from the ceiling, do that and take this project outside. However, if you are like me, and prefer not to mess with the wiring/electrical mess, get a sturdy step ladder or chair and make sure it is secure before you start. Stay safe y’all!

Step 1: Clean the chandelier. Wipe that ugly thing down, and make sure to get into all the nooks and crannies that hold dust. It’s important not to skip this step, because you want the spray paint A. Not to clump, and B. To actually adhere to the fixture.

Step 2: Using the saran wrap or aluminum foil, seal off the light bulbs and their respective bases, and secure with the blue painter’s tape. You definitely do not want spray paint getting into any electrical portion of your chandelier, or onto the white bases!

Step 3: Cover the floor/tables/furniture/remove ANYTHING you do not want paint to get on. Since we are doing this inside, this is very important, as spray paint tends to travel more than you would think.

Step 4: Hold the cardboard behind the chandelier, and begin spraying! Move the cardboard as you move with the spray paint as a shield from the spray traveling beyond the chandelier. Even strokes are best, and be sure to let each layer dry before layering on the next stroke, as it will drip excessively if not. Some dripping is normal and is totally okay!

Step 5: Allow the paint to dry ~ 30 minutes or so

Step 6: Seal using Mod Podge in Gloss, by taking a small to medium paint brush and coating it on. Allow to dry ~ 30-40 minutes.

Step 7: Using your acrylic or crystal pieces, take the hooks and literally hook them around the lights’ bases. The wire will not show if this is done properly. Do three around each base (or more if you prefer).

That’s it! 7 easy steps to a totally upgraded, yet cost effective chandelier!


Additional Tip: If you see any spots you missed with the spray, take metallic acrylic paint and simply go over them with a brush!


Featured Supplies: 


Post, Pin, Share: