Browse Tag by decor
Adulting, Blog, Home Decor, School, The Home

Top Organization Tips for 2017

Happy 2017 everyone! If your 2016 was anything like ours, then things may have been a little crazy. J and I are super thankful for the experiences, (and hopefully growth) that have come from 2016, but we are so very happy to enter into 2017 and leave 2016 behind.

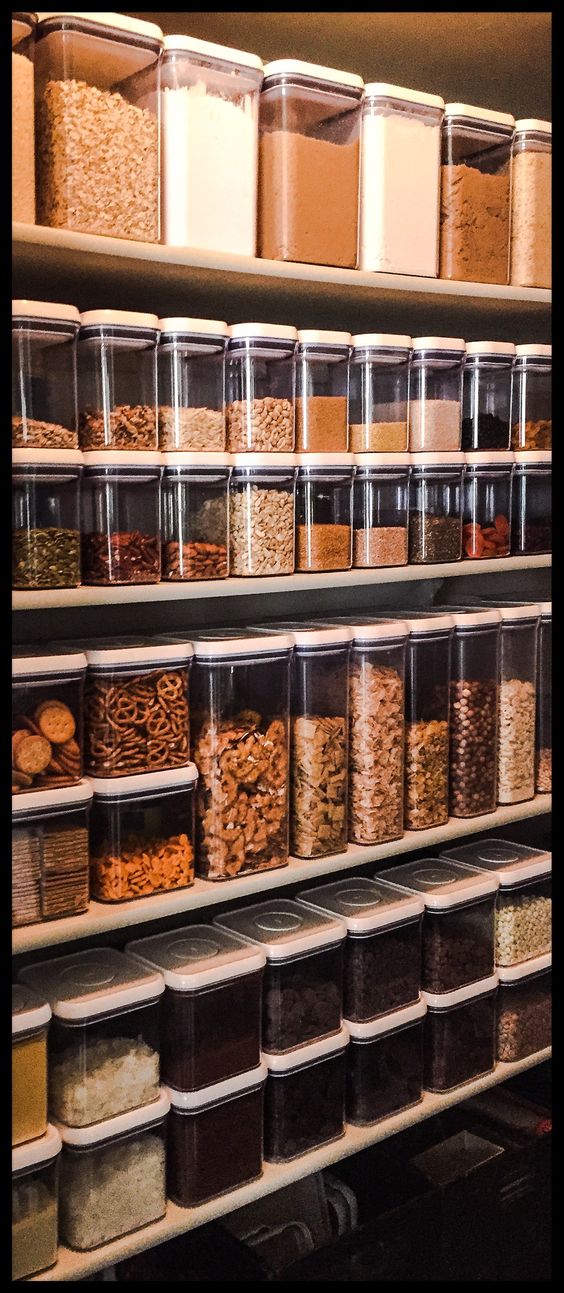
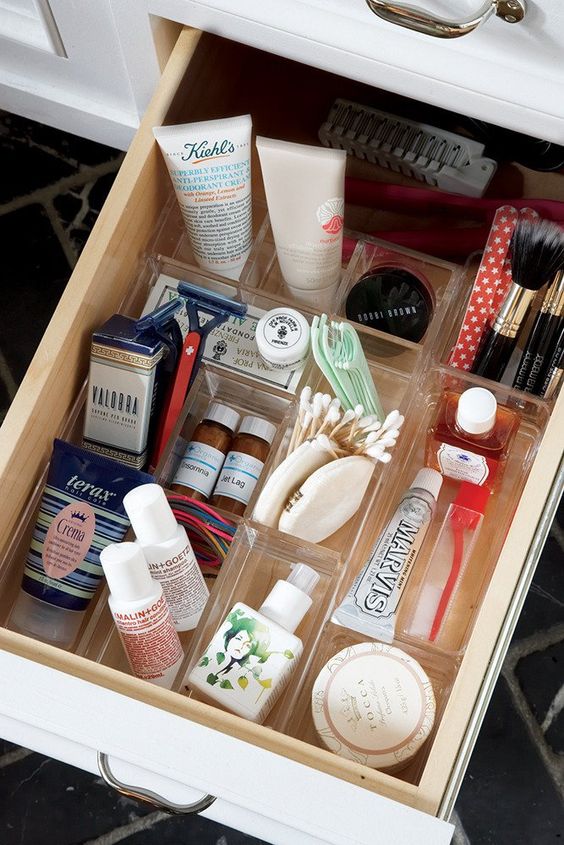
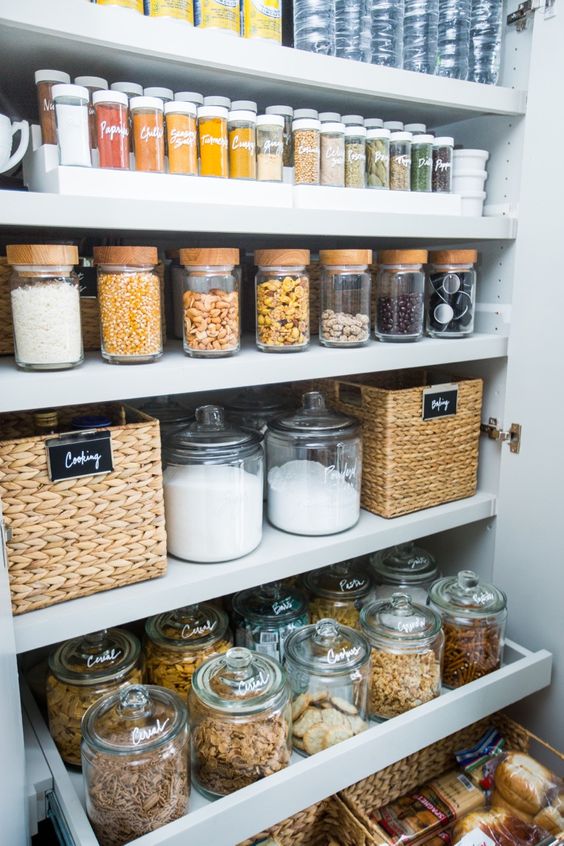
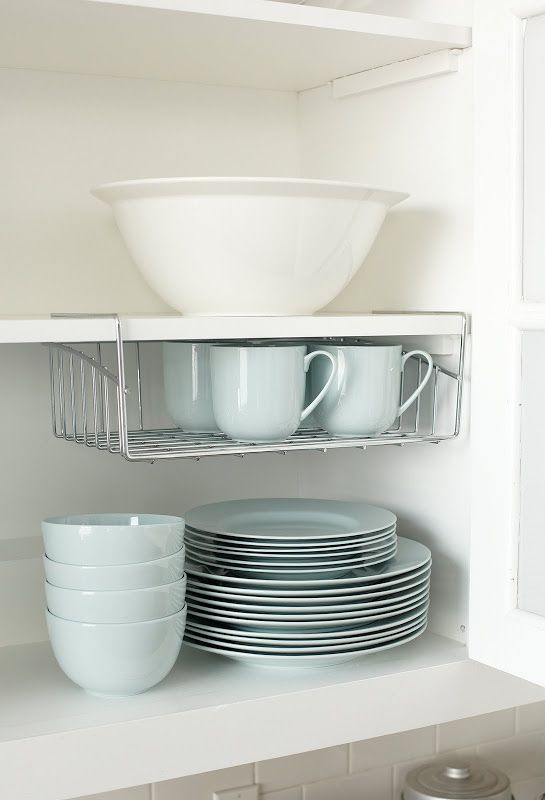
In gearing up for the new year and getting refreshed, I thought I would share with you all some of my favorite organization tips and tricks. I’m a huge advocate for an organized home/workspace, and can truly tell a major difference in how I feel and how focused I am when our home is put together. Just look at this eye candy:
From: http://www.thehomeedit.com/blog/2016/2/20/the-x-pencil-and-paper-co-shopping-list
From: http://www.marthastewart.com/1502454/diy-home-projects


From: http://www.bloominghomestead.com/2016/02/pantryorganization.html
From: http://www.popsugar.com/home/photo-gallery/37140497/image/37140506/Drawer-Organizers

Even though I love organization, I’m not always the best at actually controlling the whole “stuff” factor. Just ask our realtors, Karin Head and Brad Klosterman from the Head Team, about their meetings with us to minimize and simplify prior to listing our condo back in the summer (more on that here and here).

So, while I am starting a 100 day “purge sesh,” in the mean time I’ve included some of my all time favorite ways to control the mess while getting rid of it as well.
These racks are amazing. They essentially double your cabinet space and provide sooooo much more storage than you would even ever expect. I’m obsessed with them, and LOVE the difference they’ve made in our kitchen.

These bins have been prime time. I first ordered them when we were focused on figuring out how to utilize storage while staging our home. They’re great quality, and almost a year later have held up incredibly well!

I LOVE acrylic storage. Whether it’s for makeup, drawer organization, or just general use, acrylic storage works in any and every type of room. It’s clean-looking (as long as it’s decently organized) and due to its see-through nature you never have to guess what’s where, which is honestly half of the appeal.

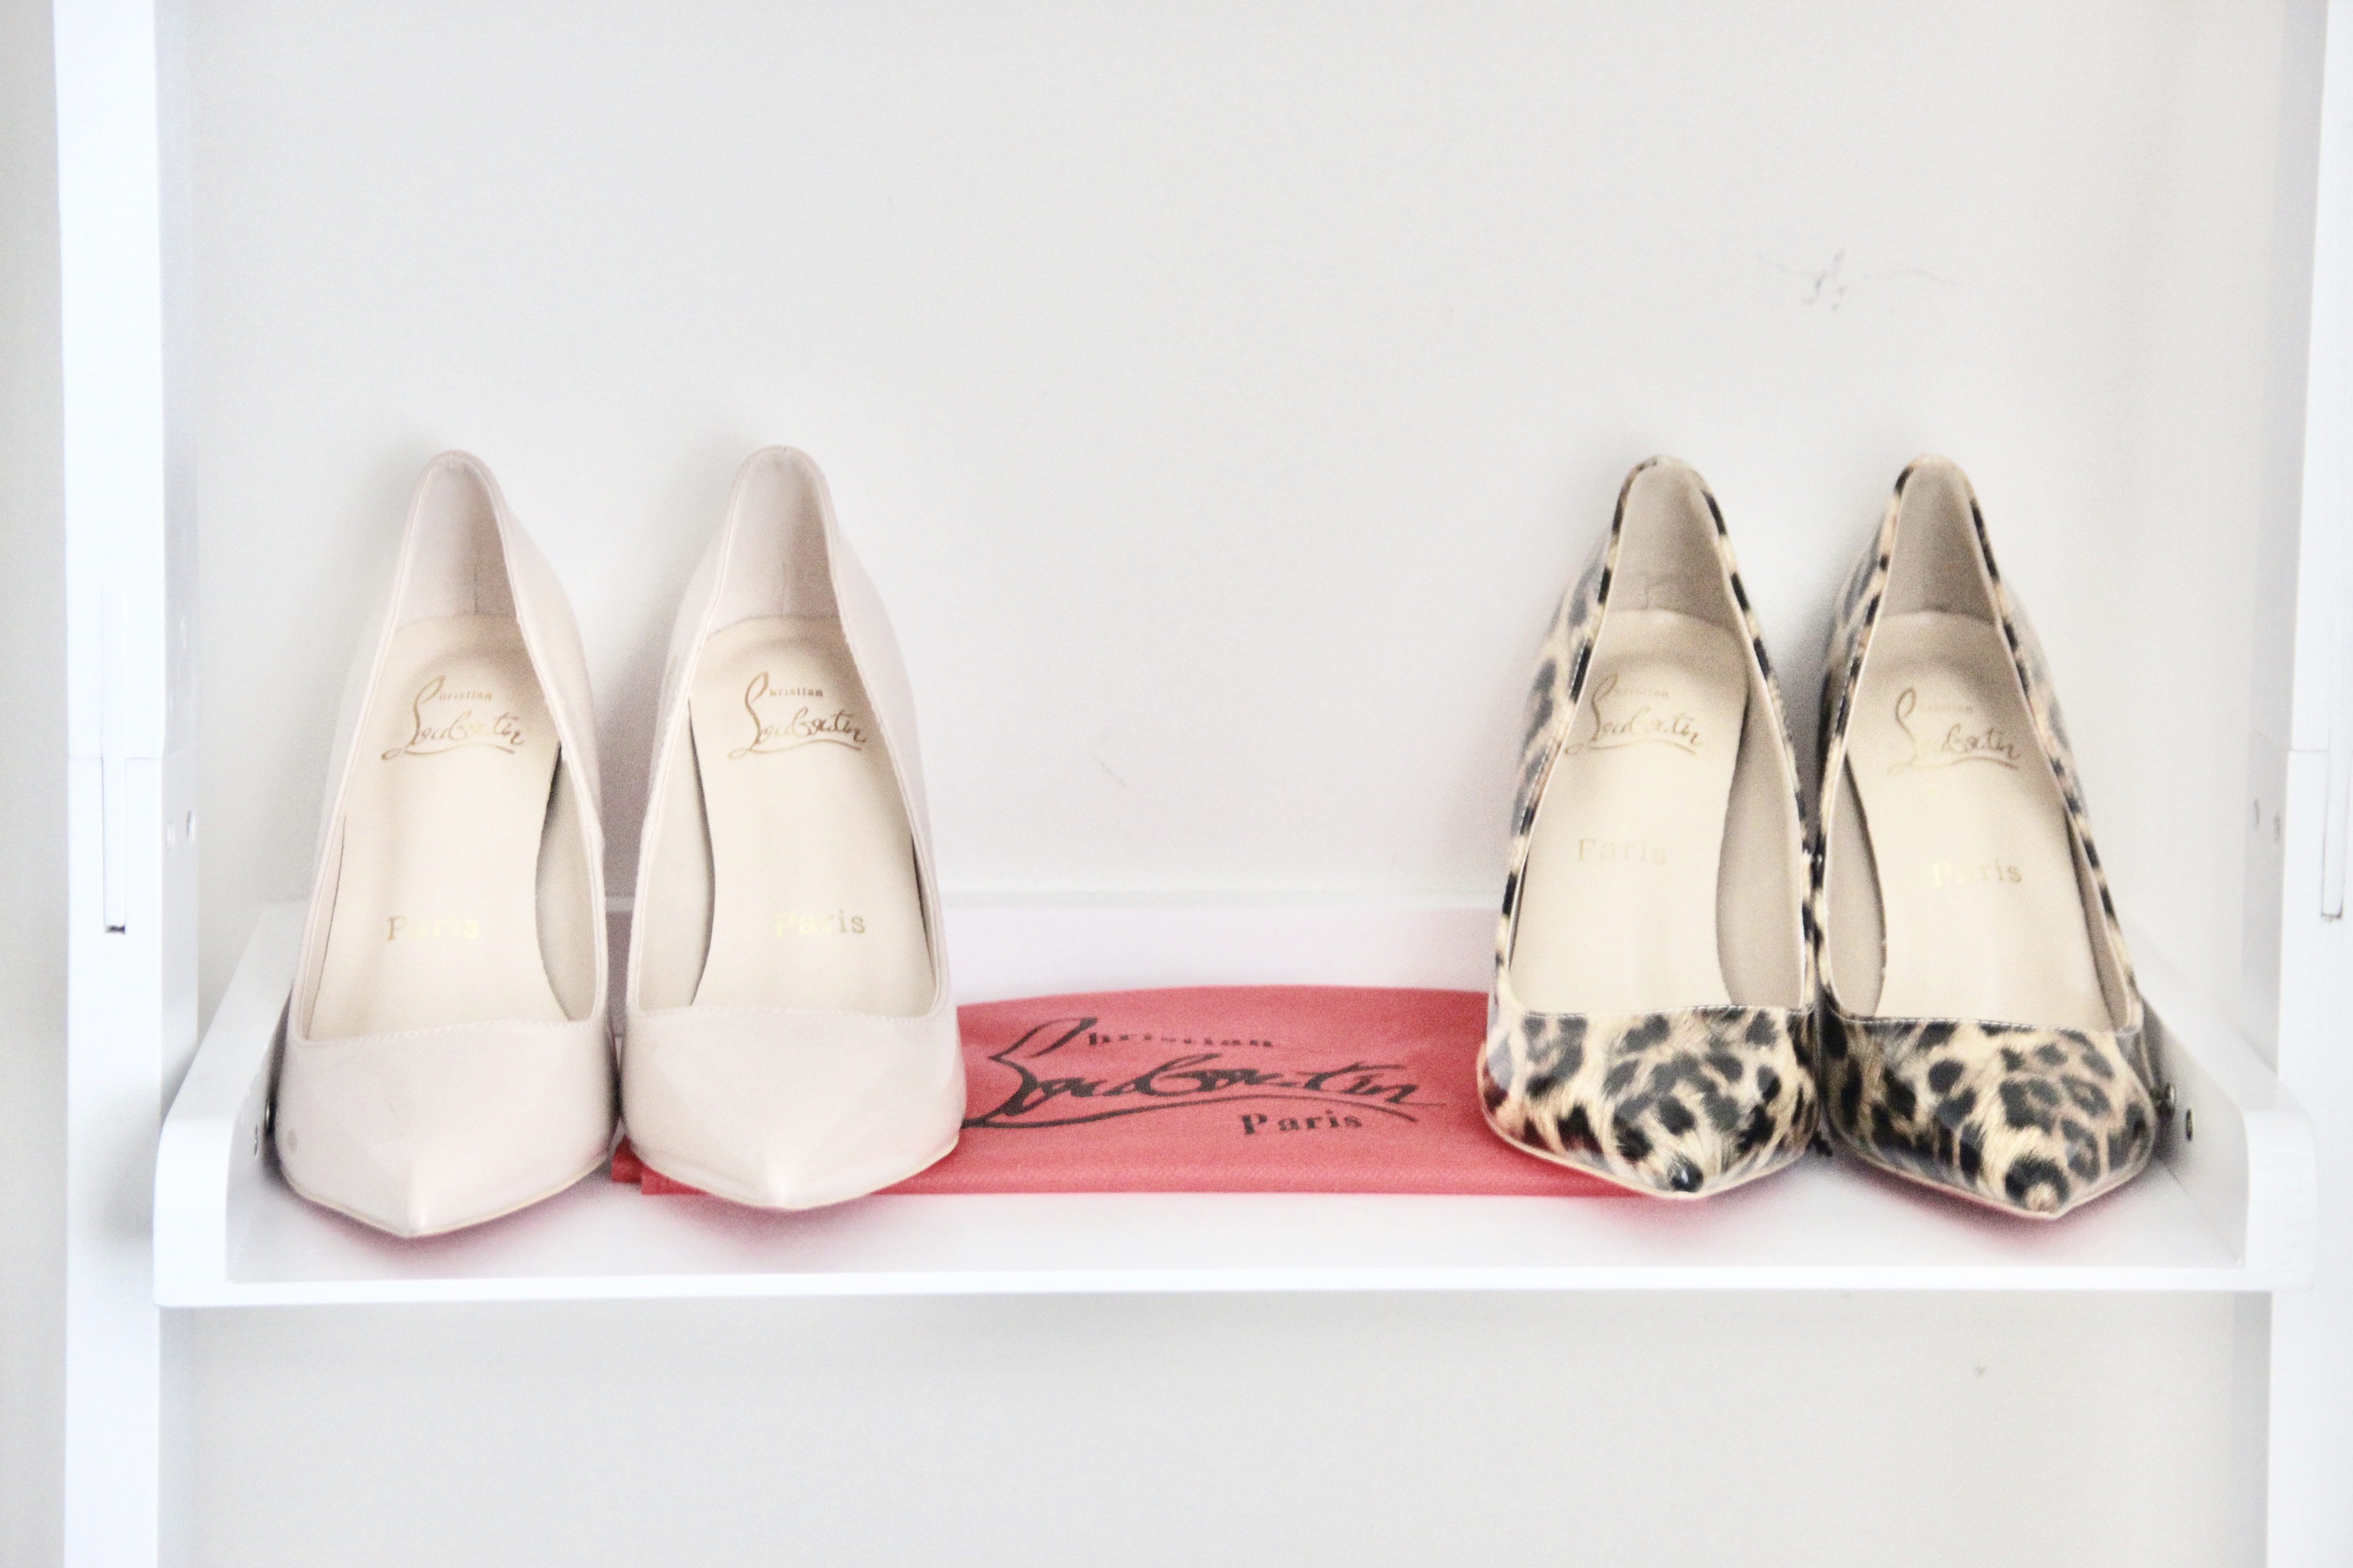
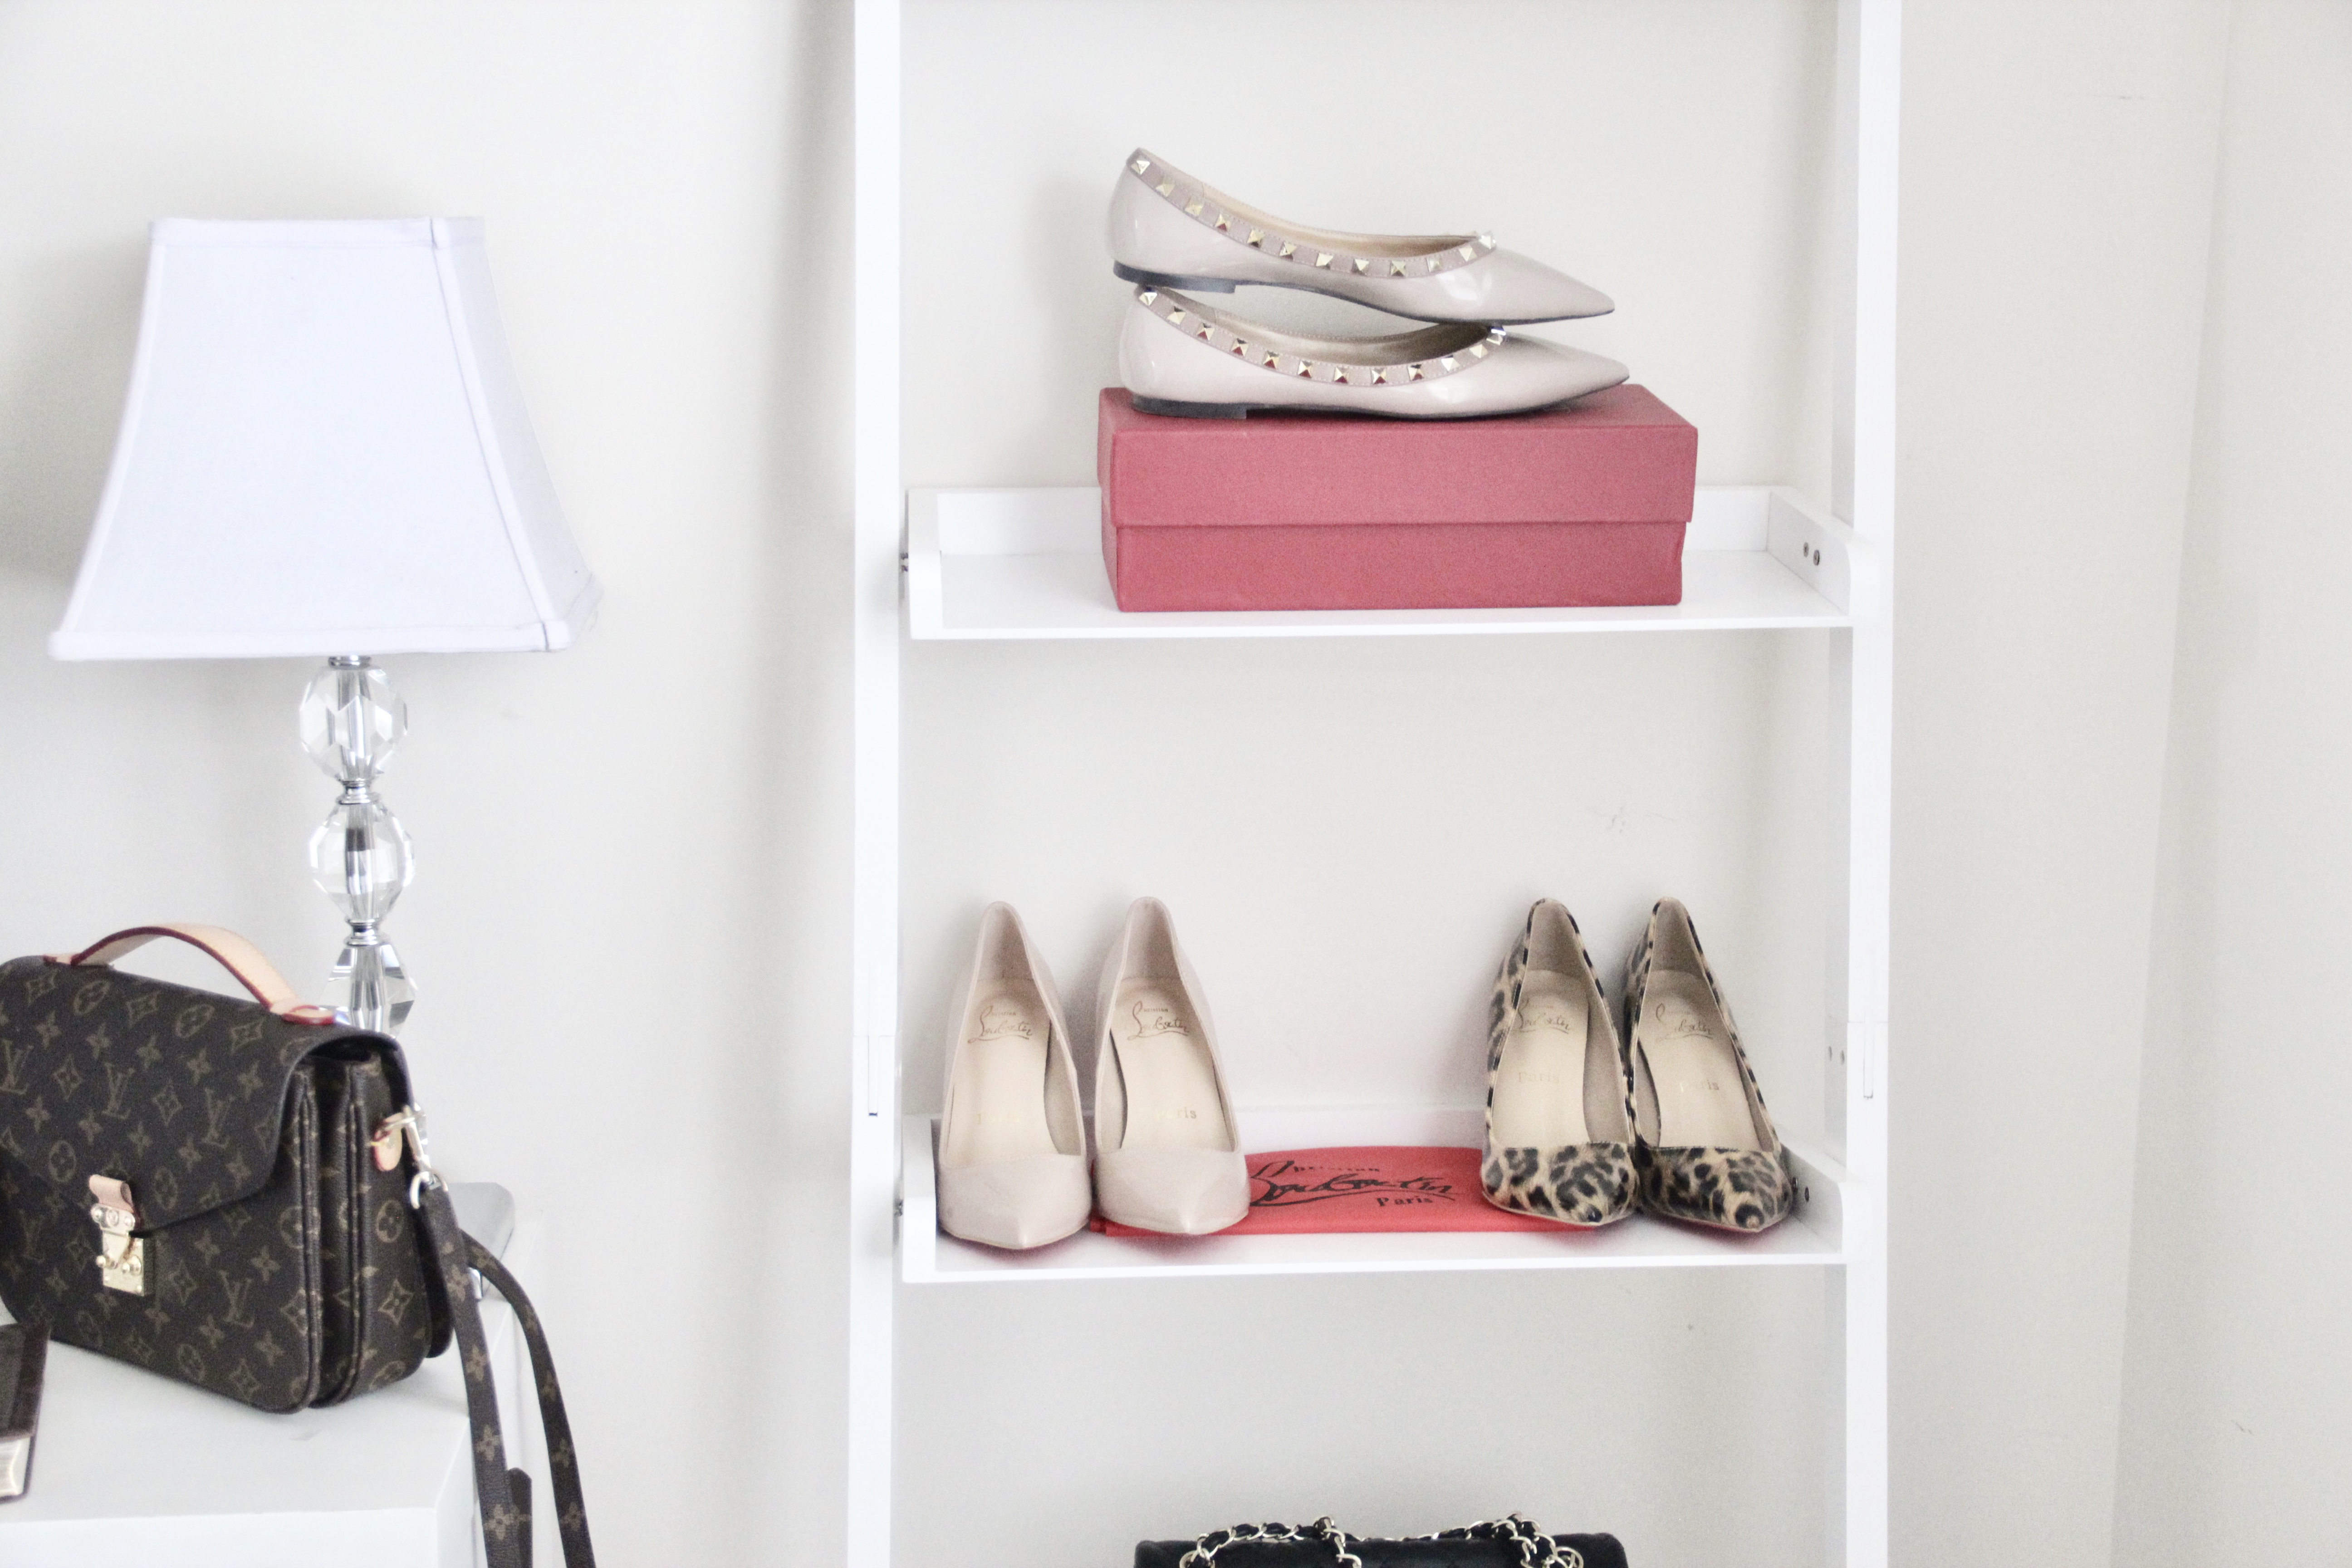
Today, I worked on organizing my jewelry and my leaning shelves in my home office:
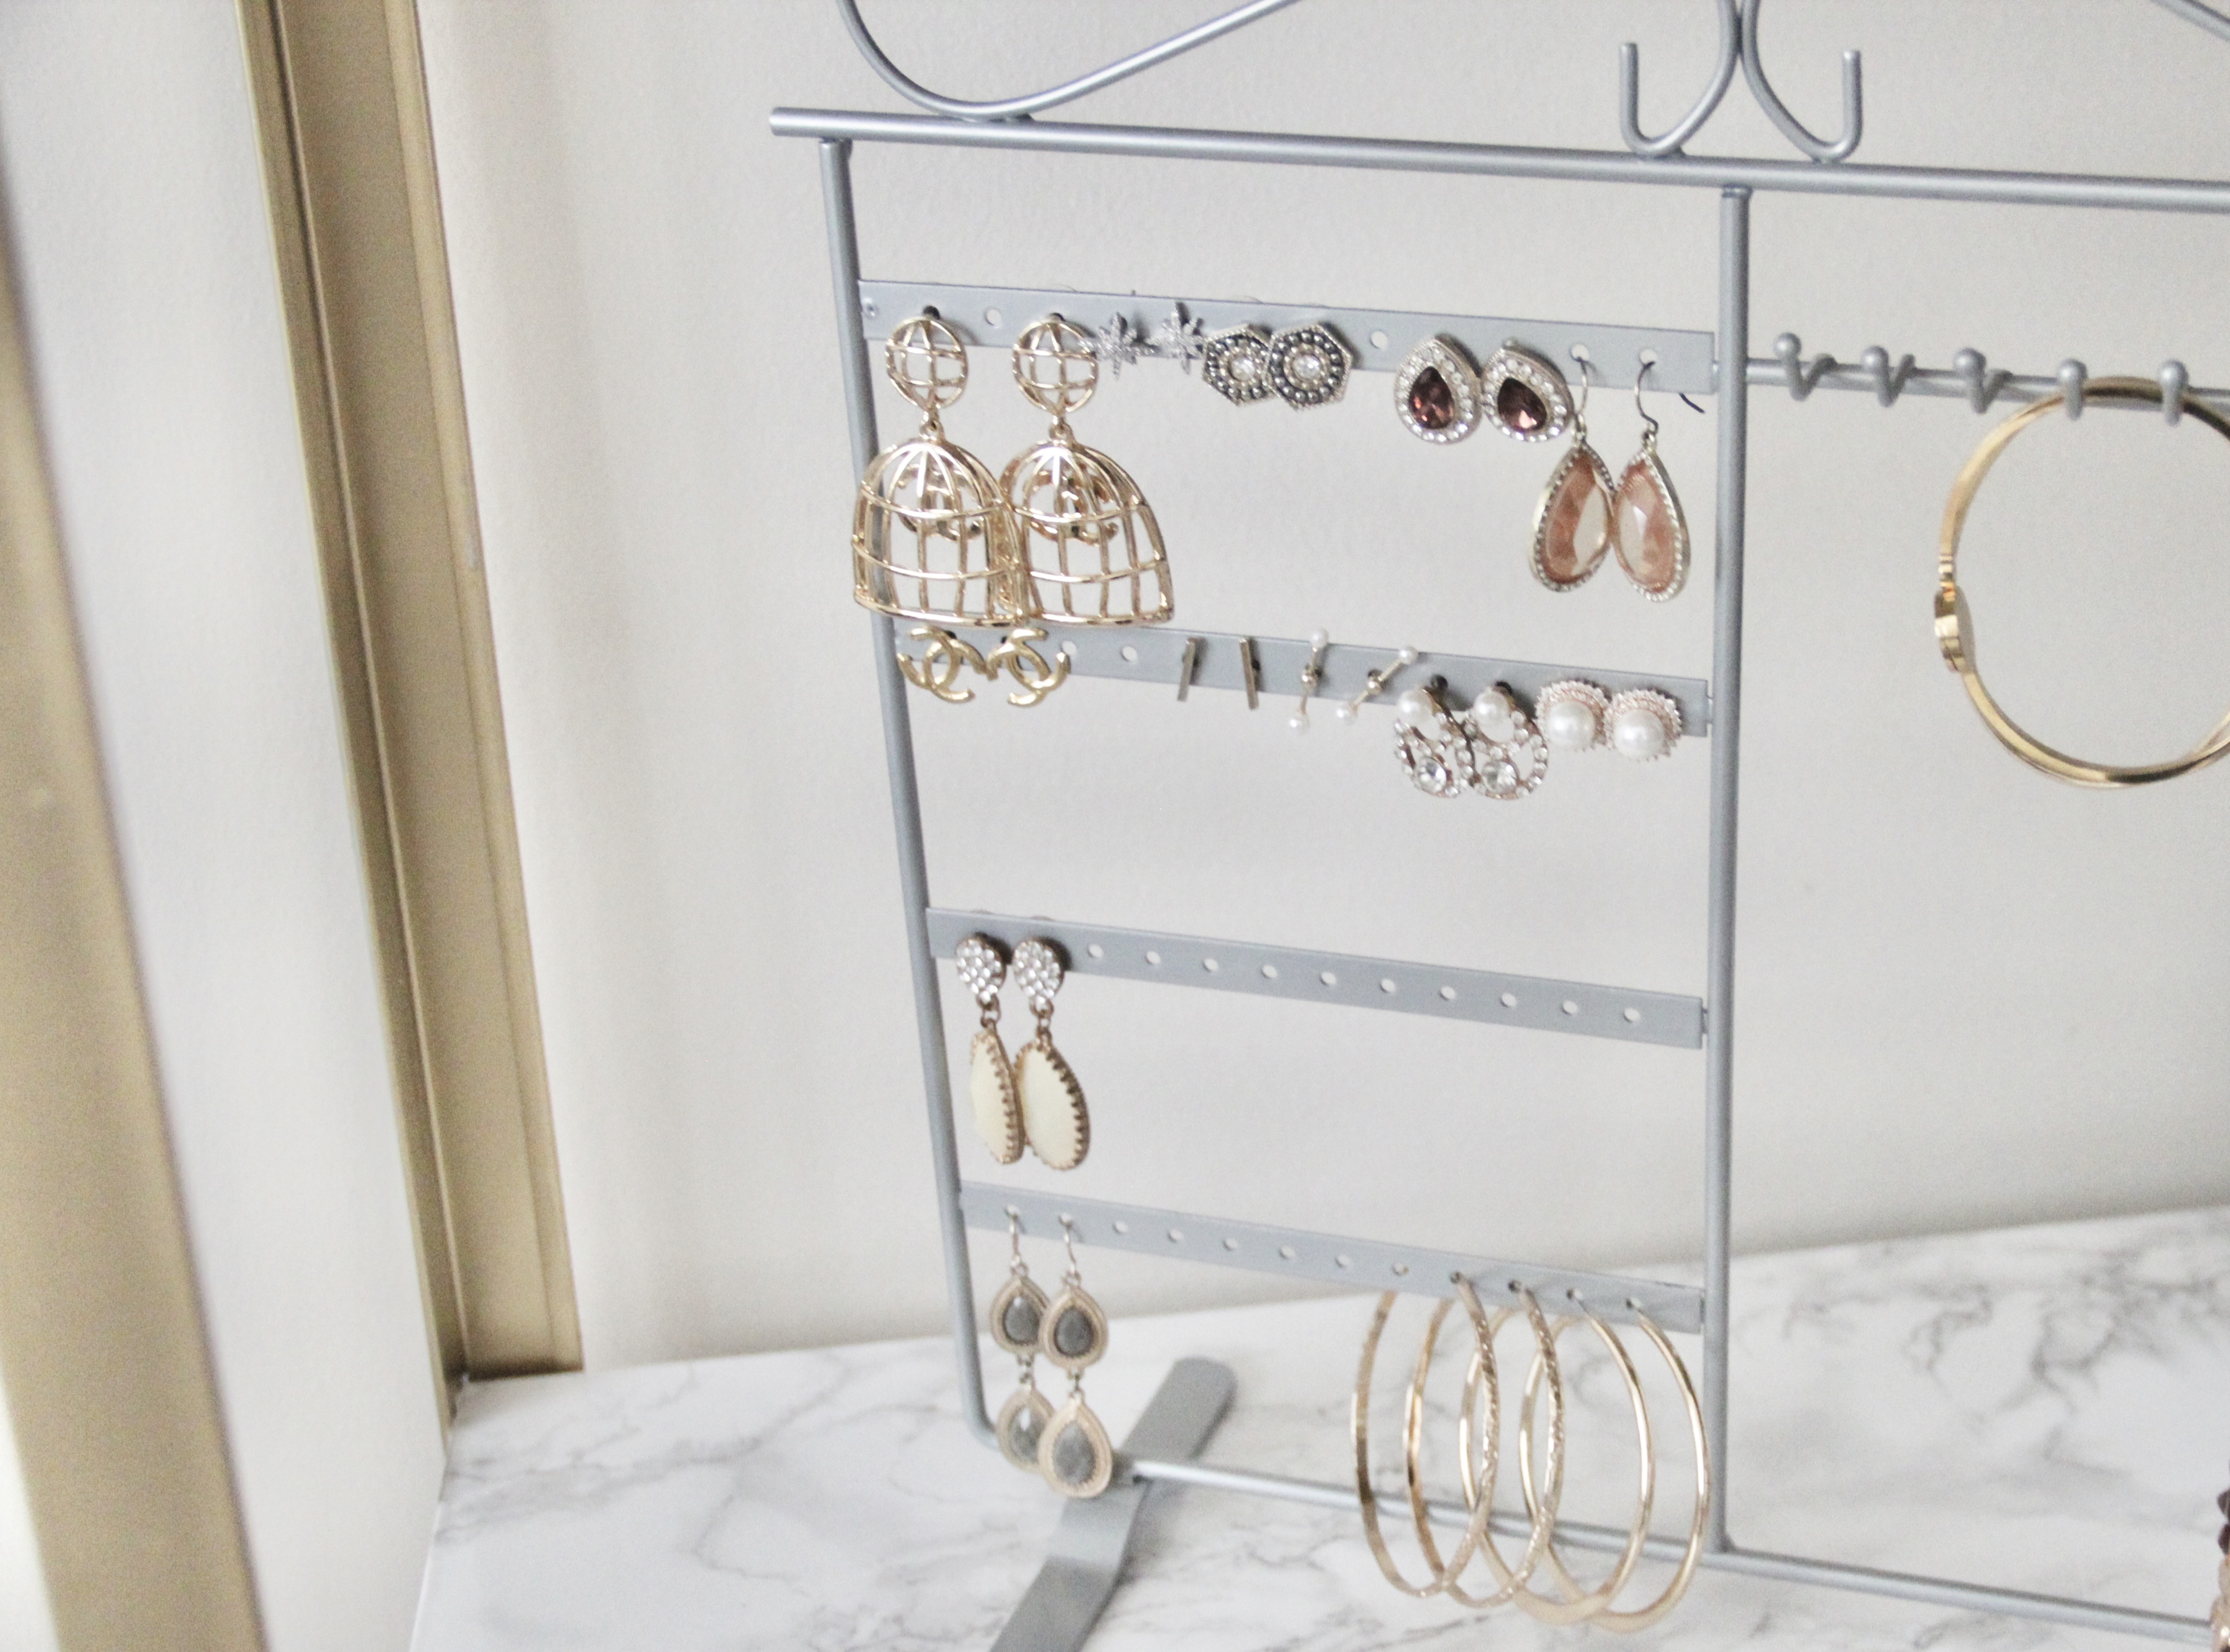
Funny how even after only four months in a new place my home office preview is no longer as organized/ clean as it was! Time to get refocused and reorganized!

What are your goals for 2017?! I would love to hear them!


SaveSave

Post, Pin, Share:
Blog, The Home

Neutral Master Bedroom Preview

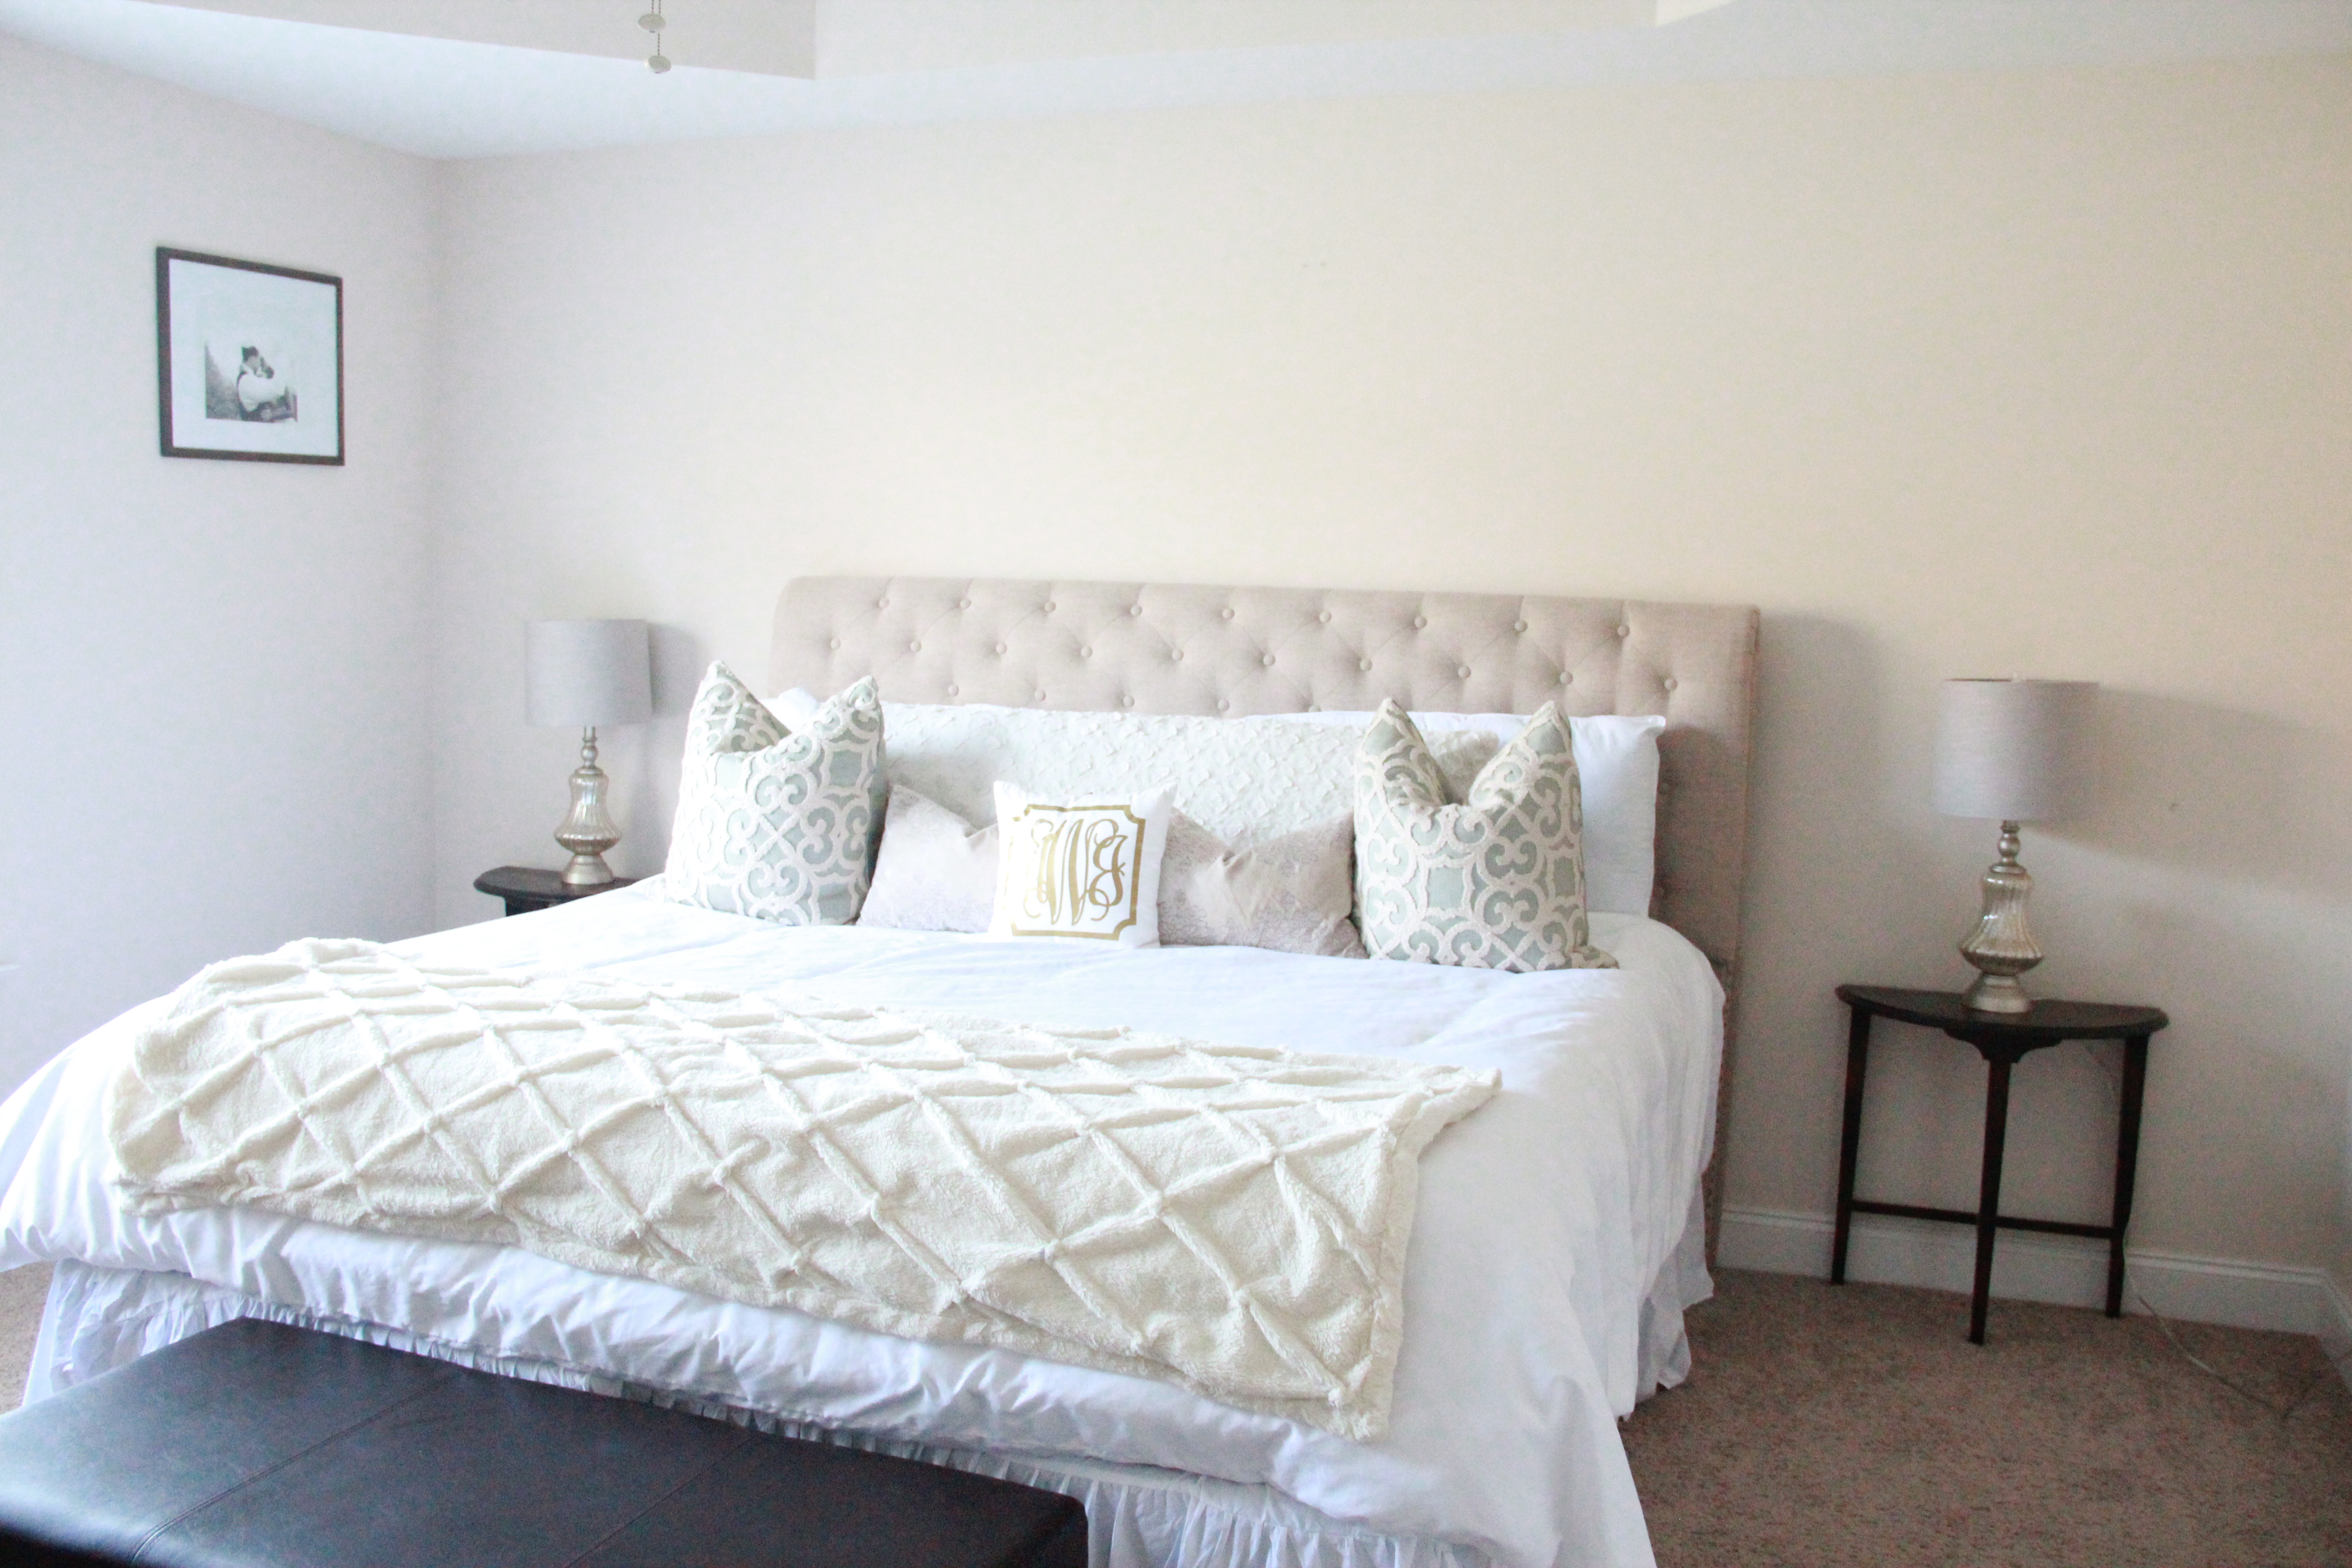
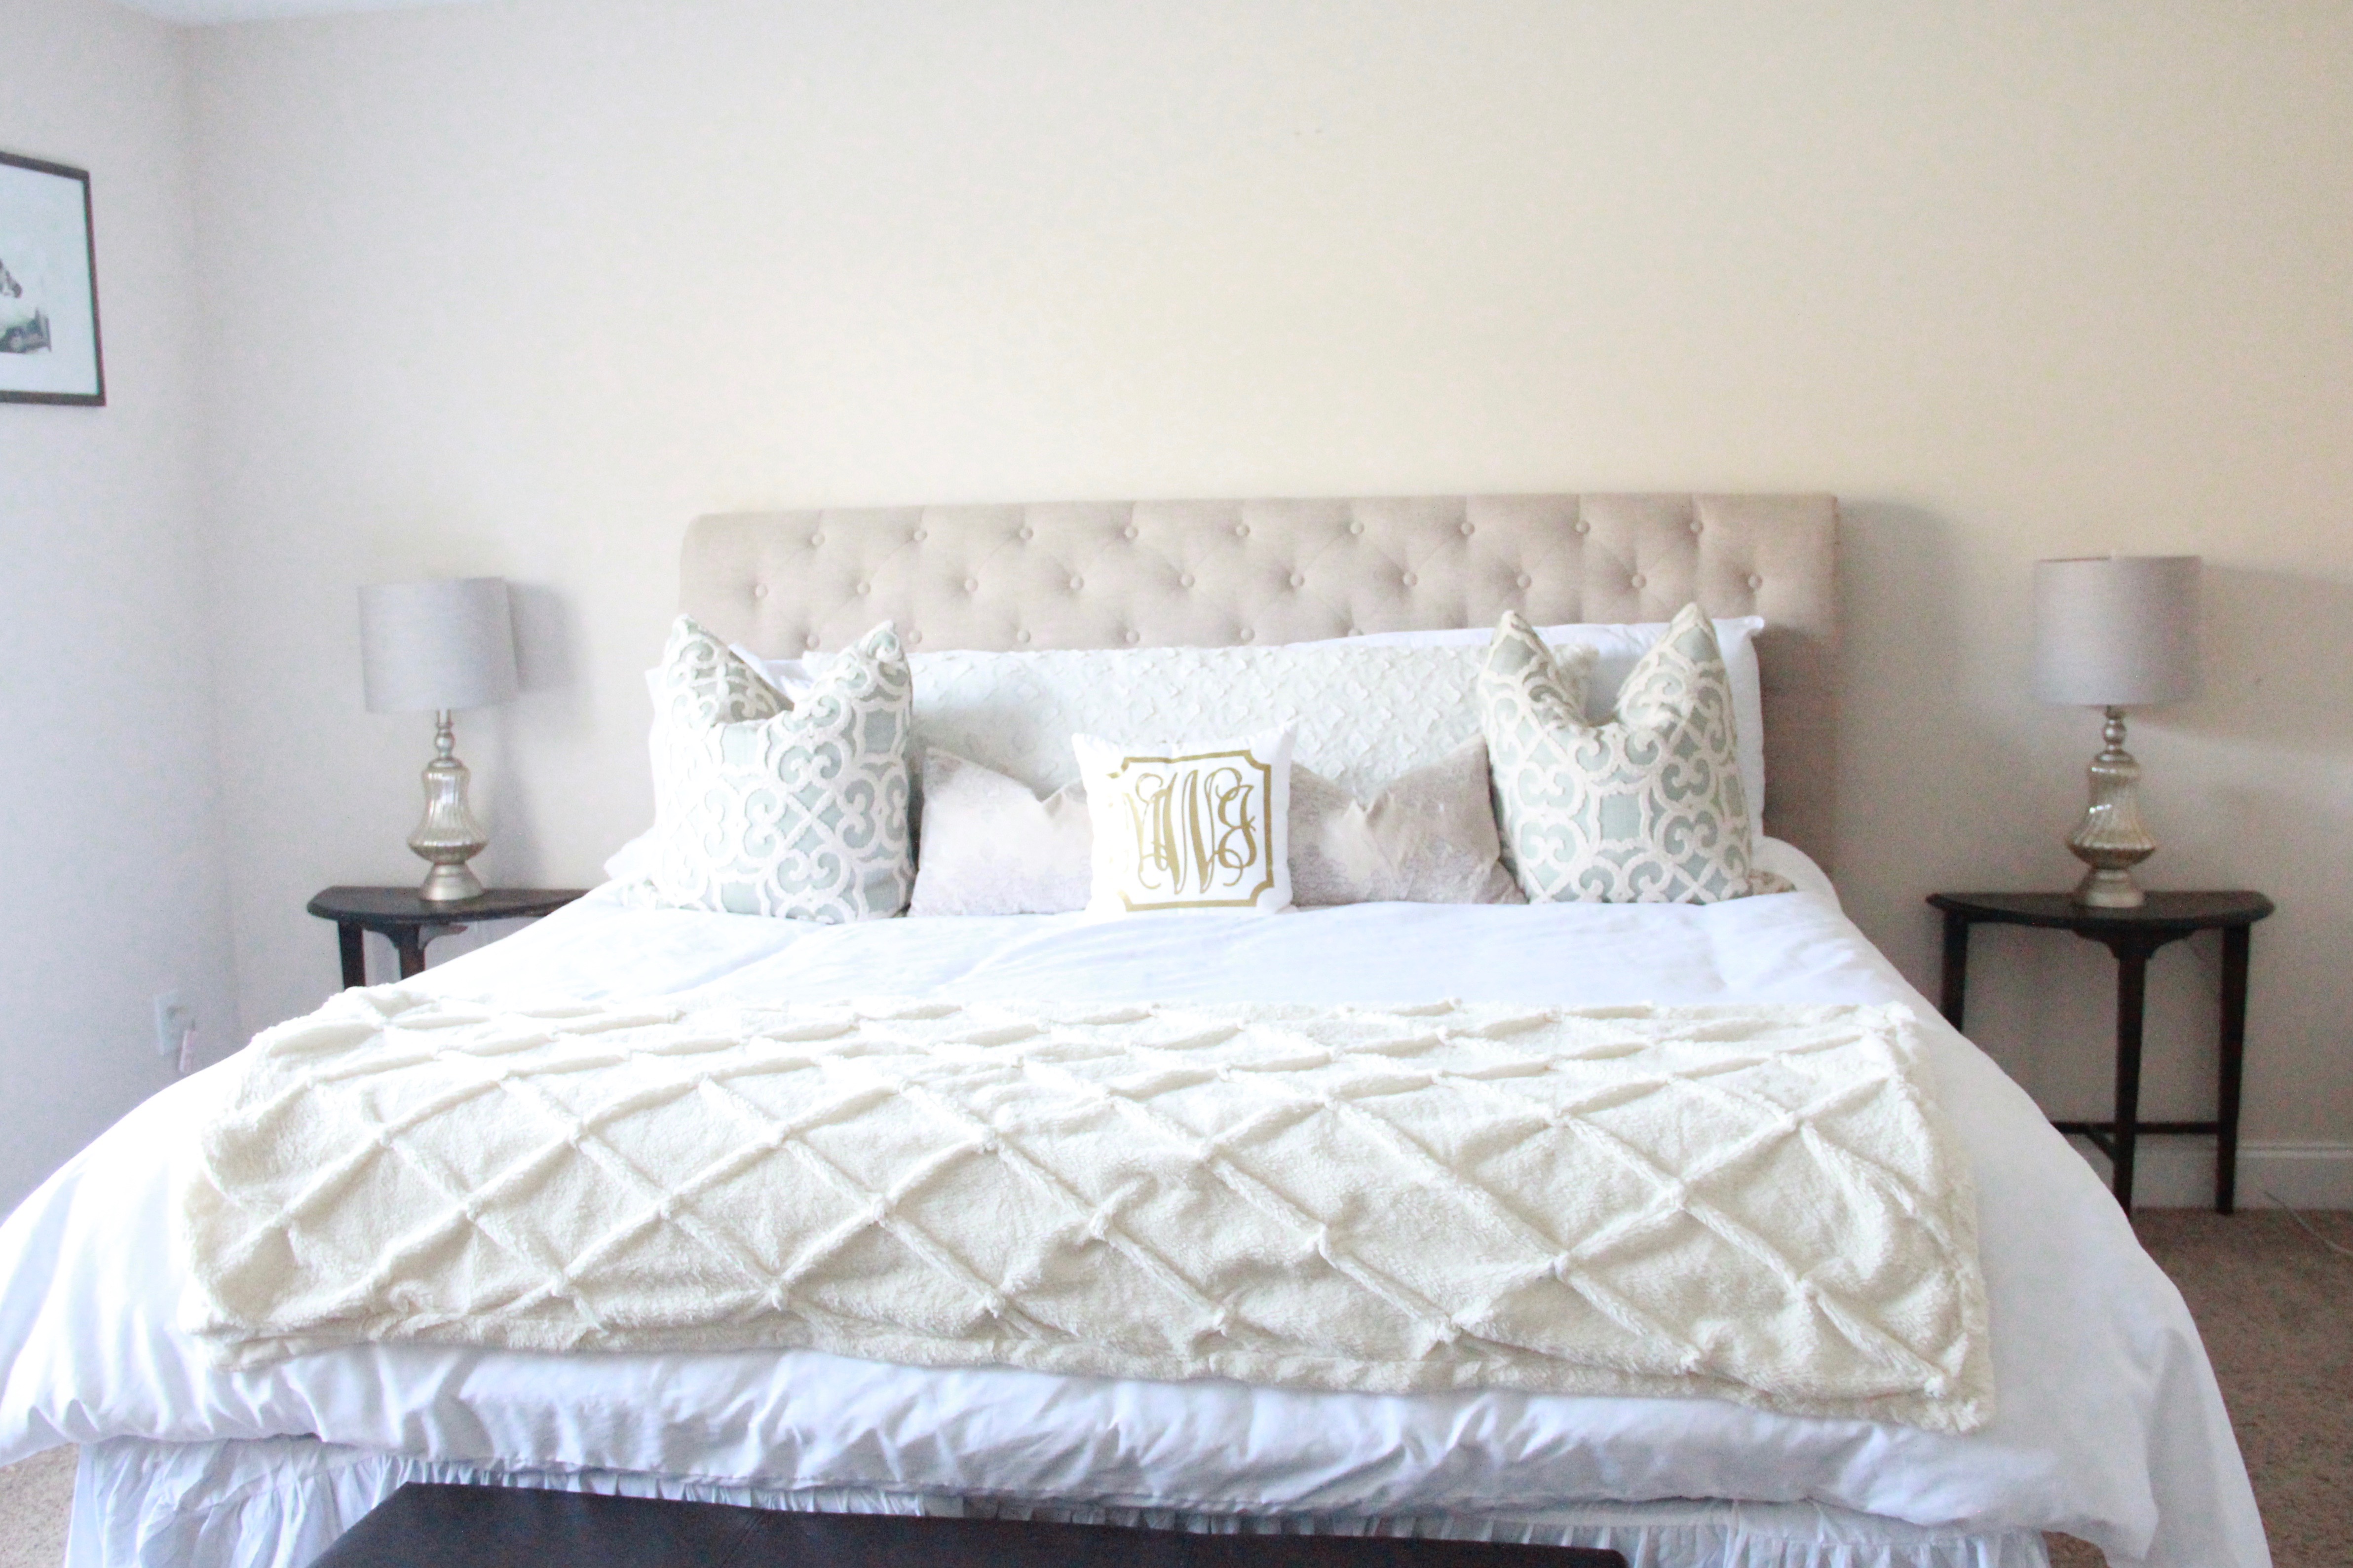
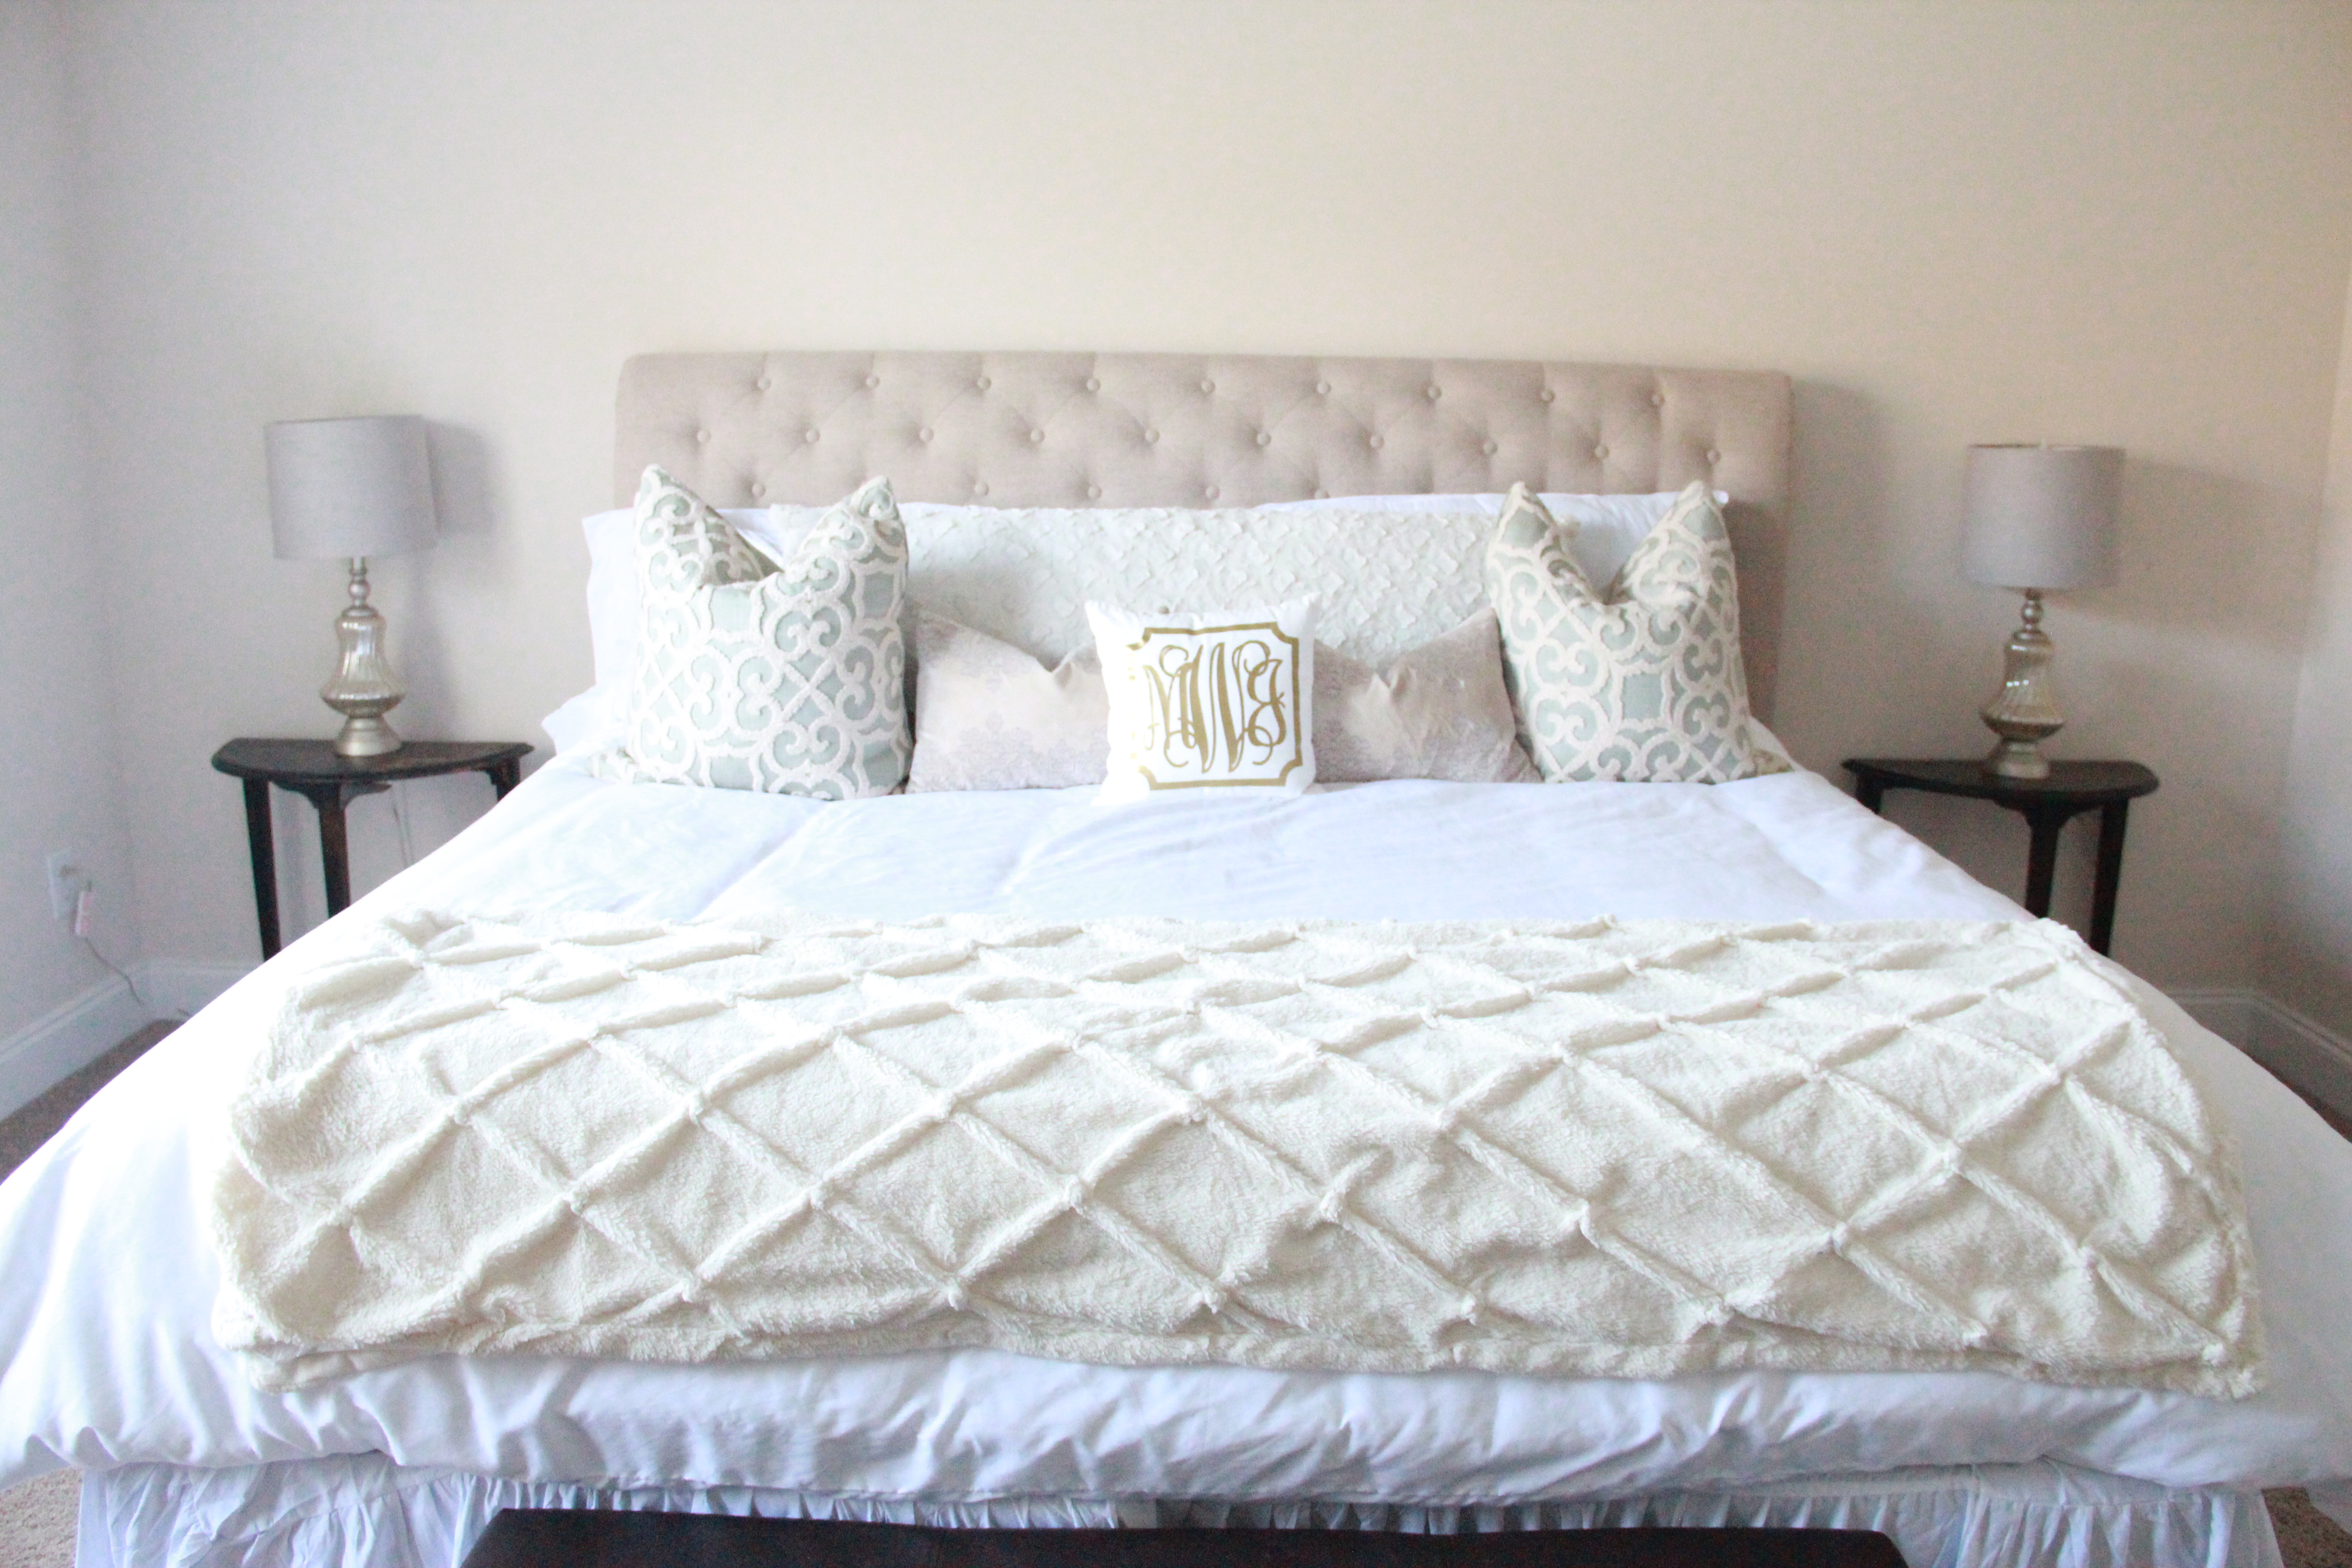
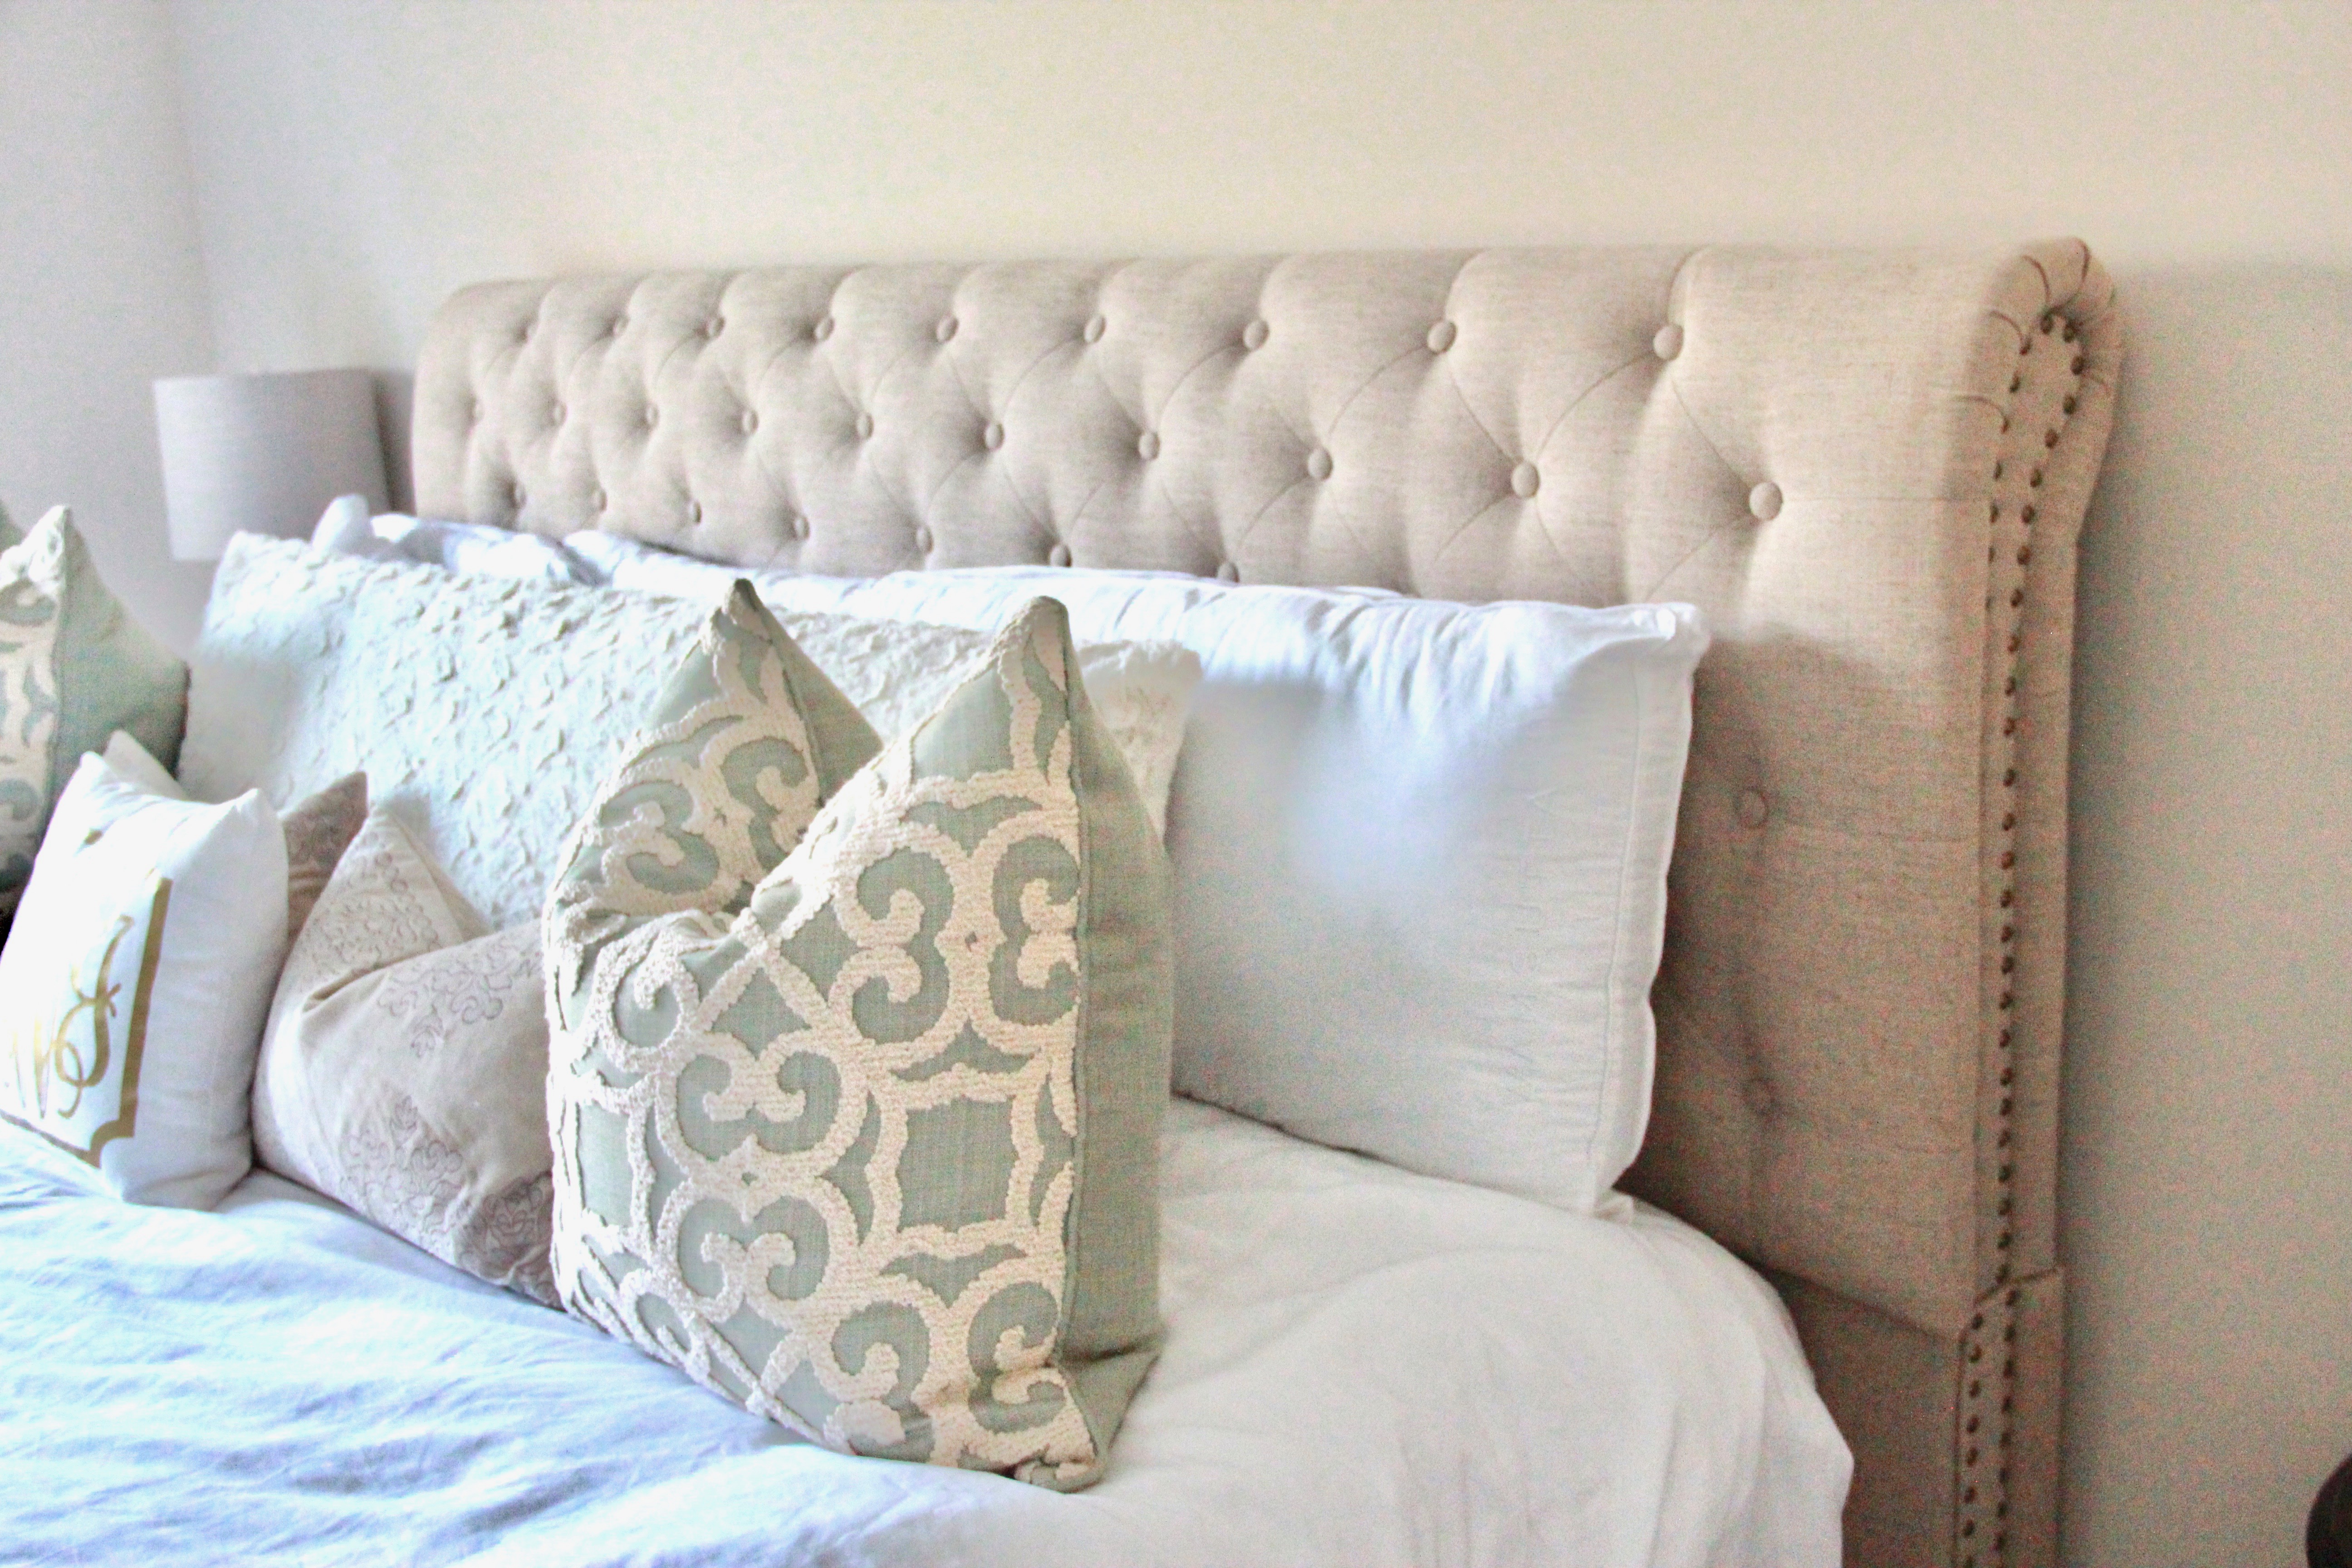
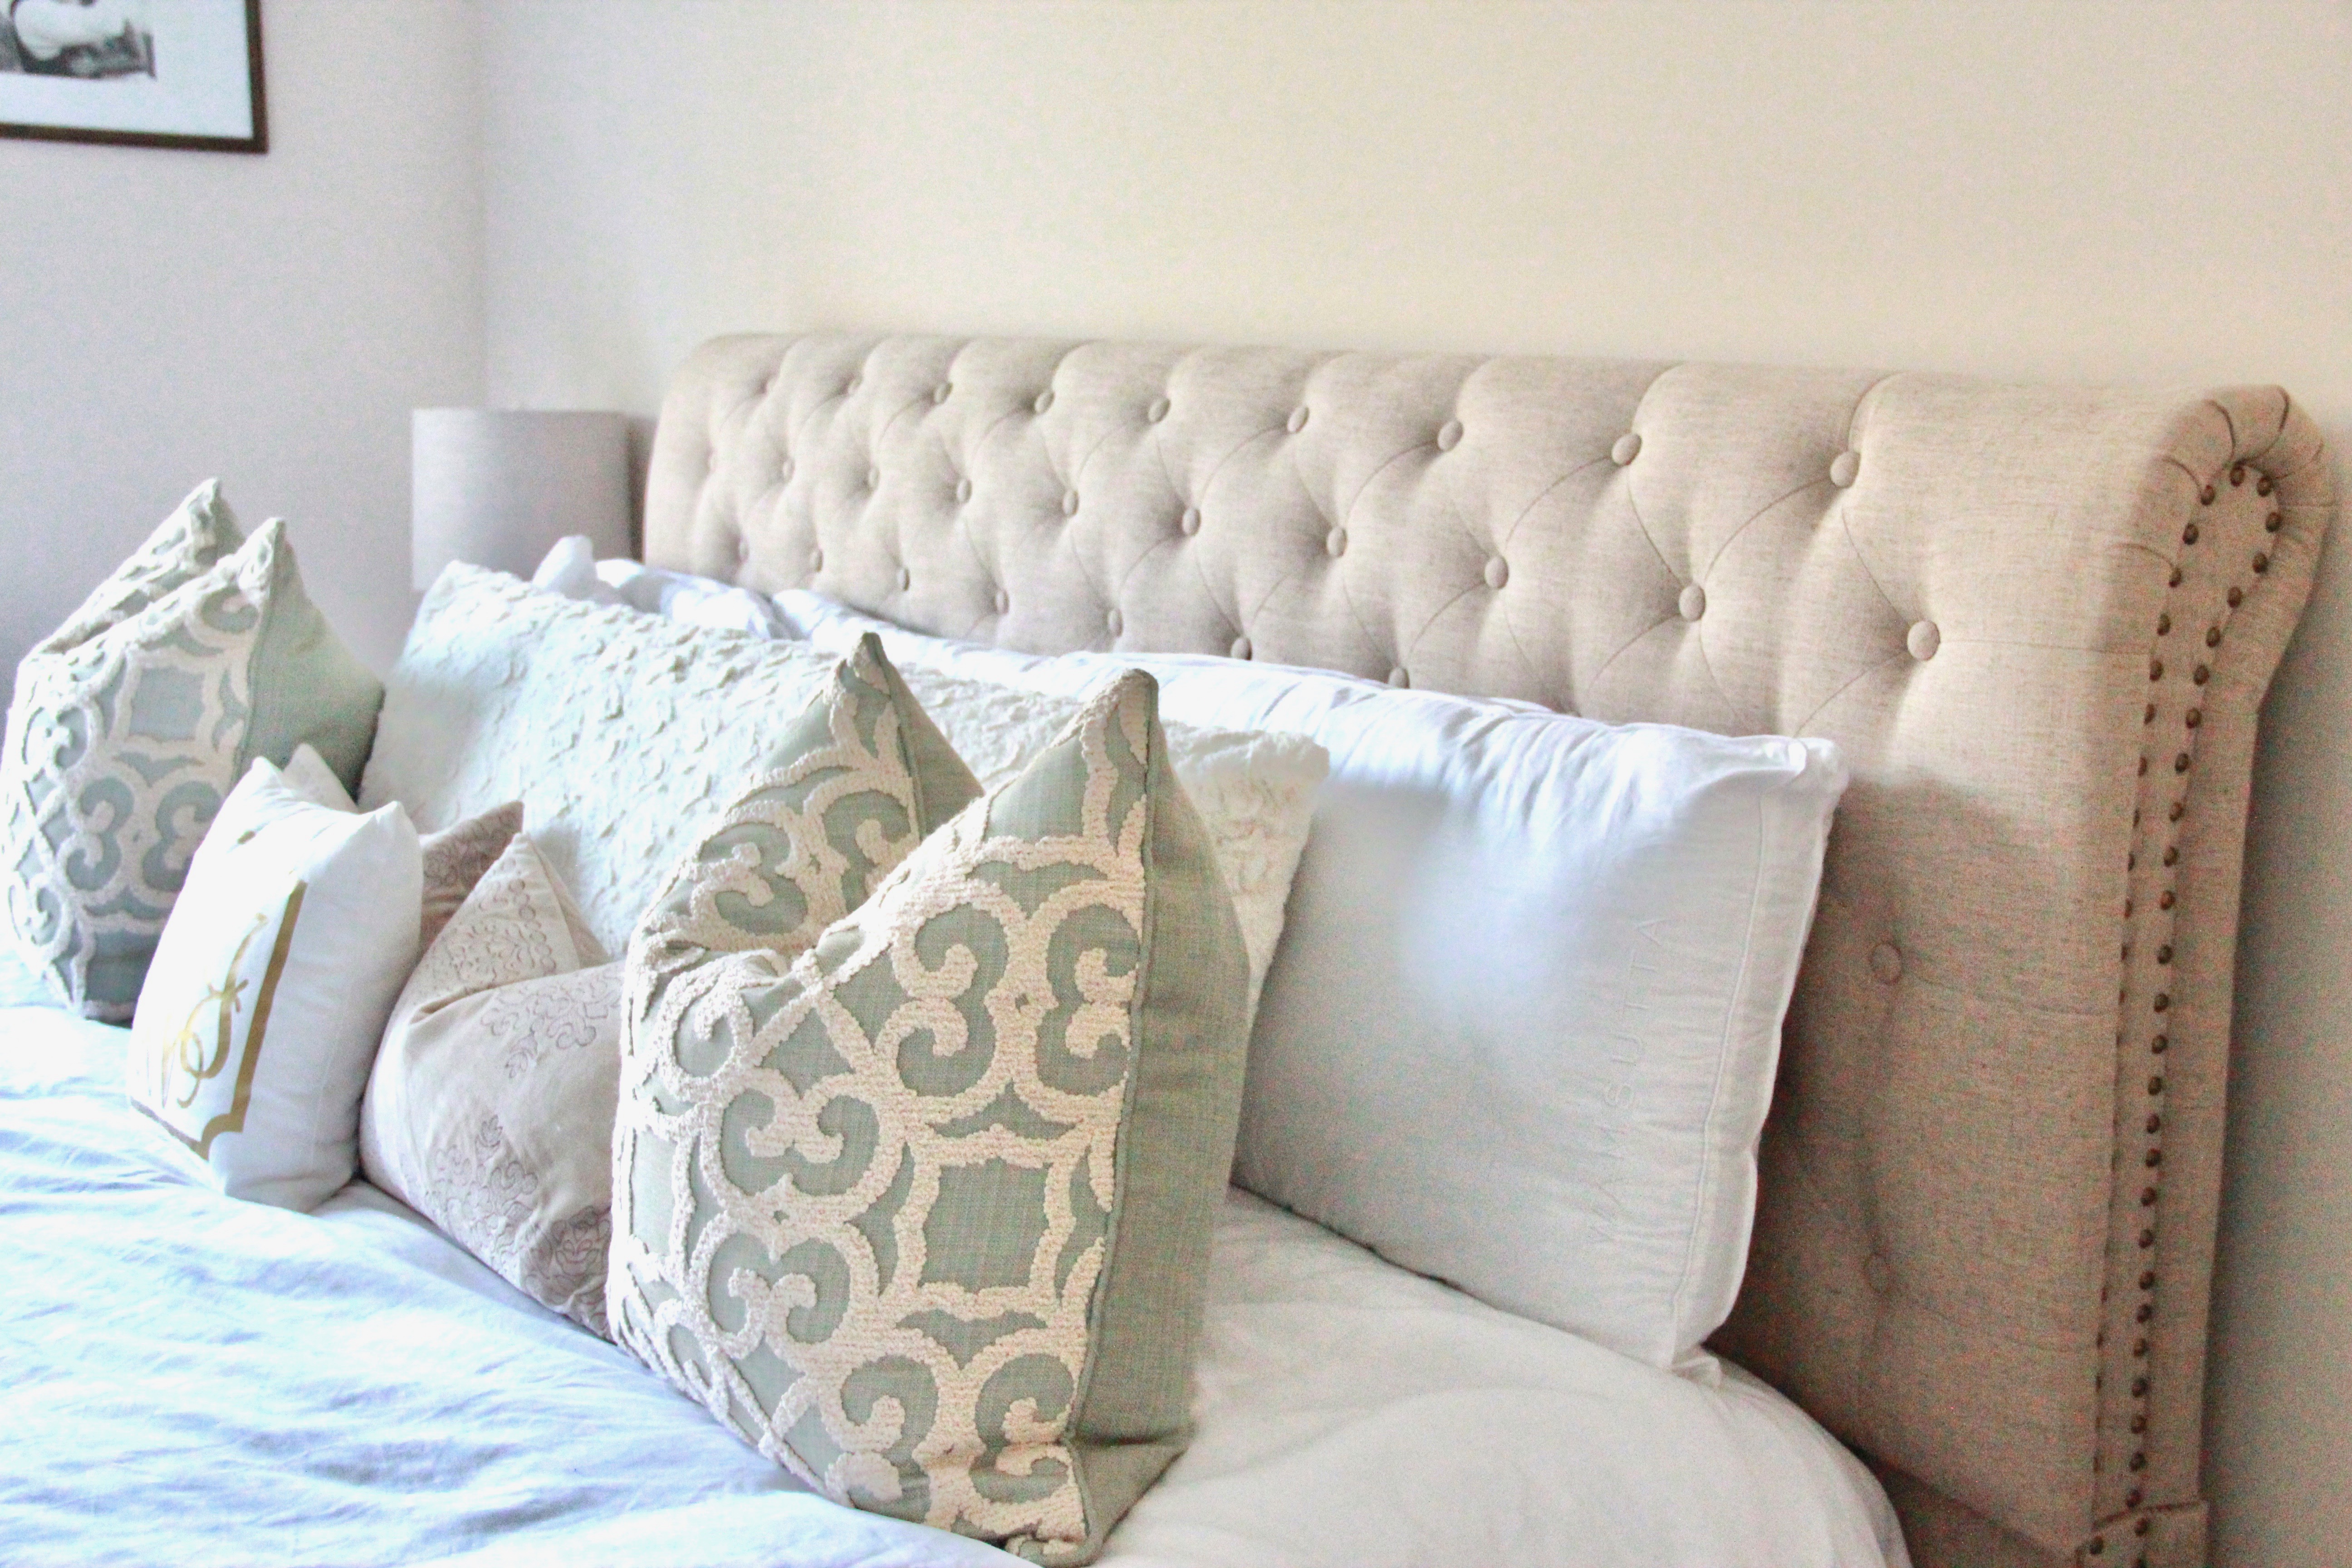
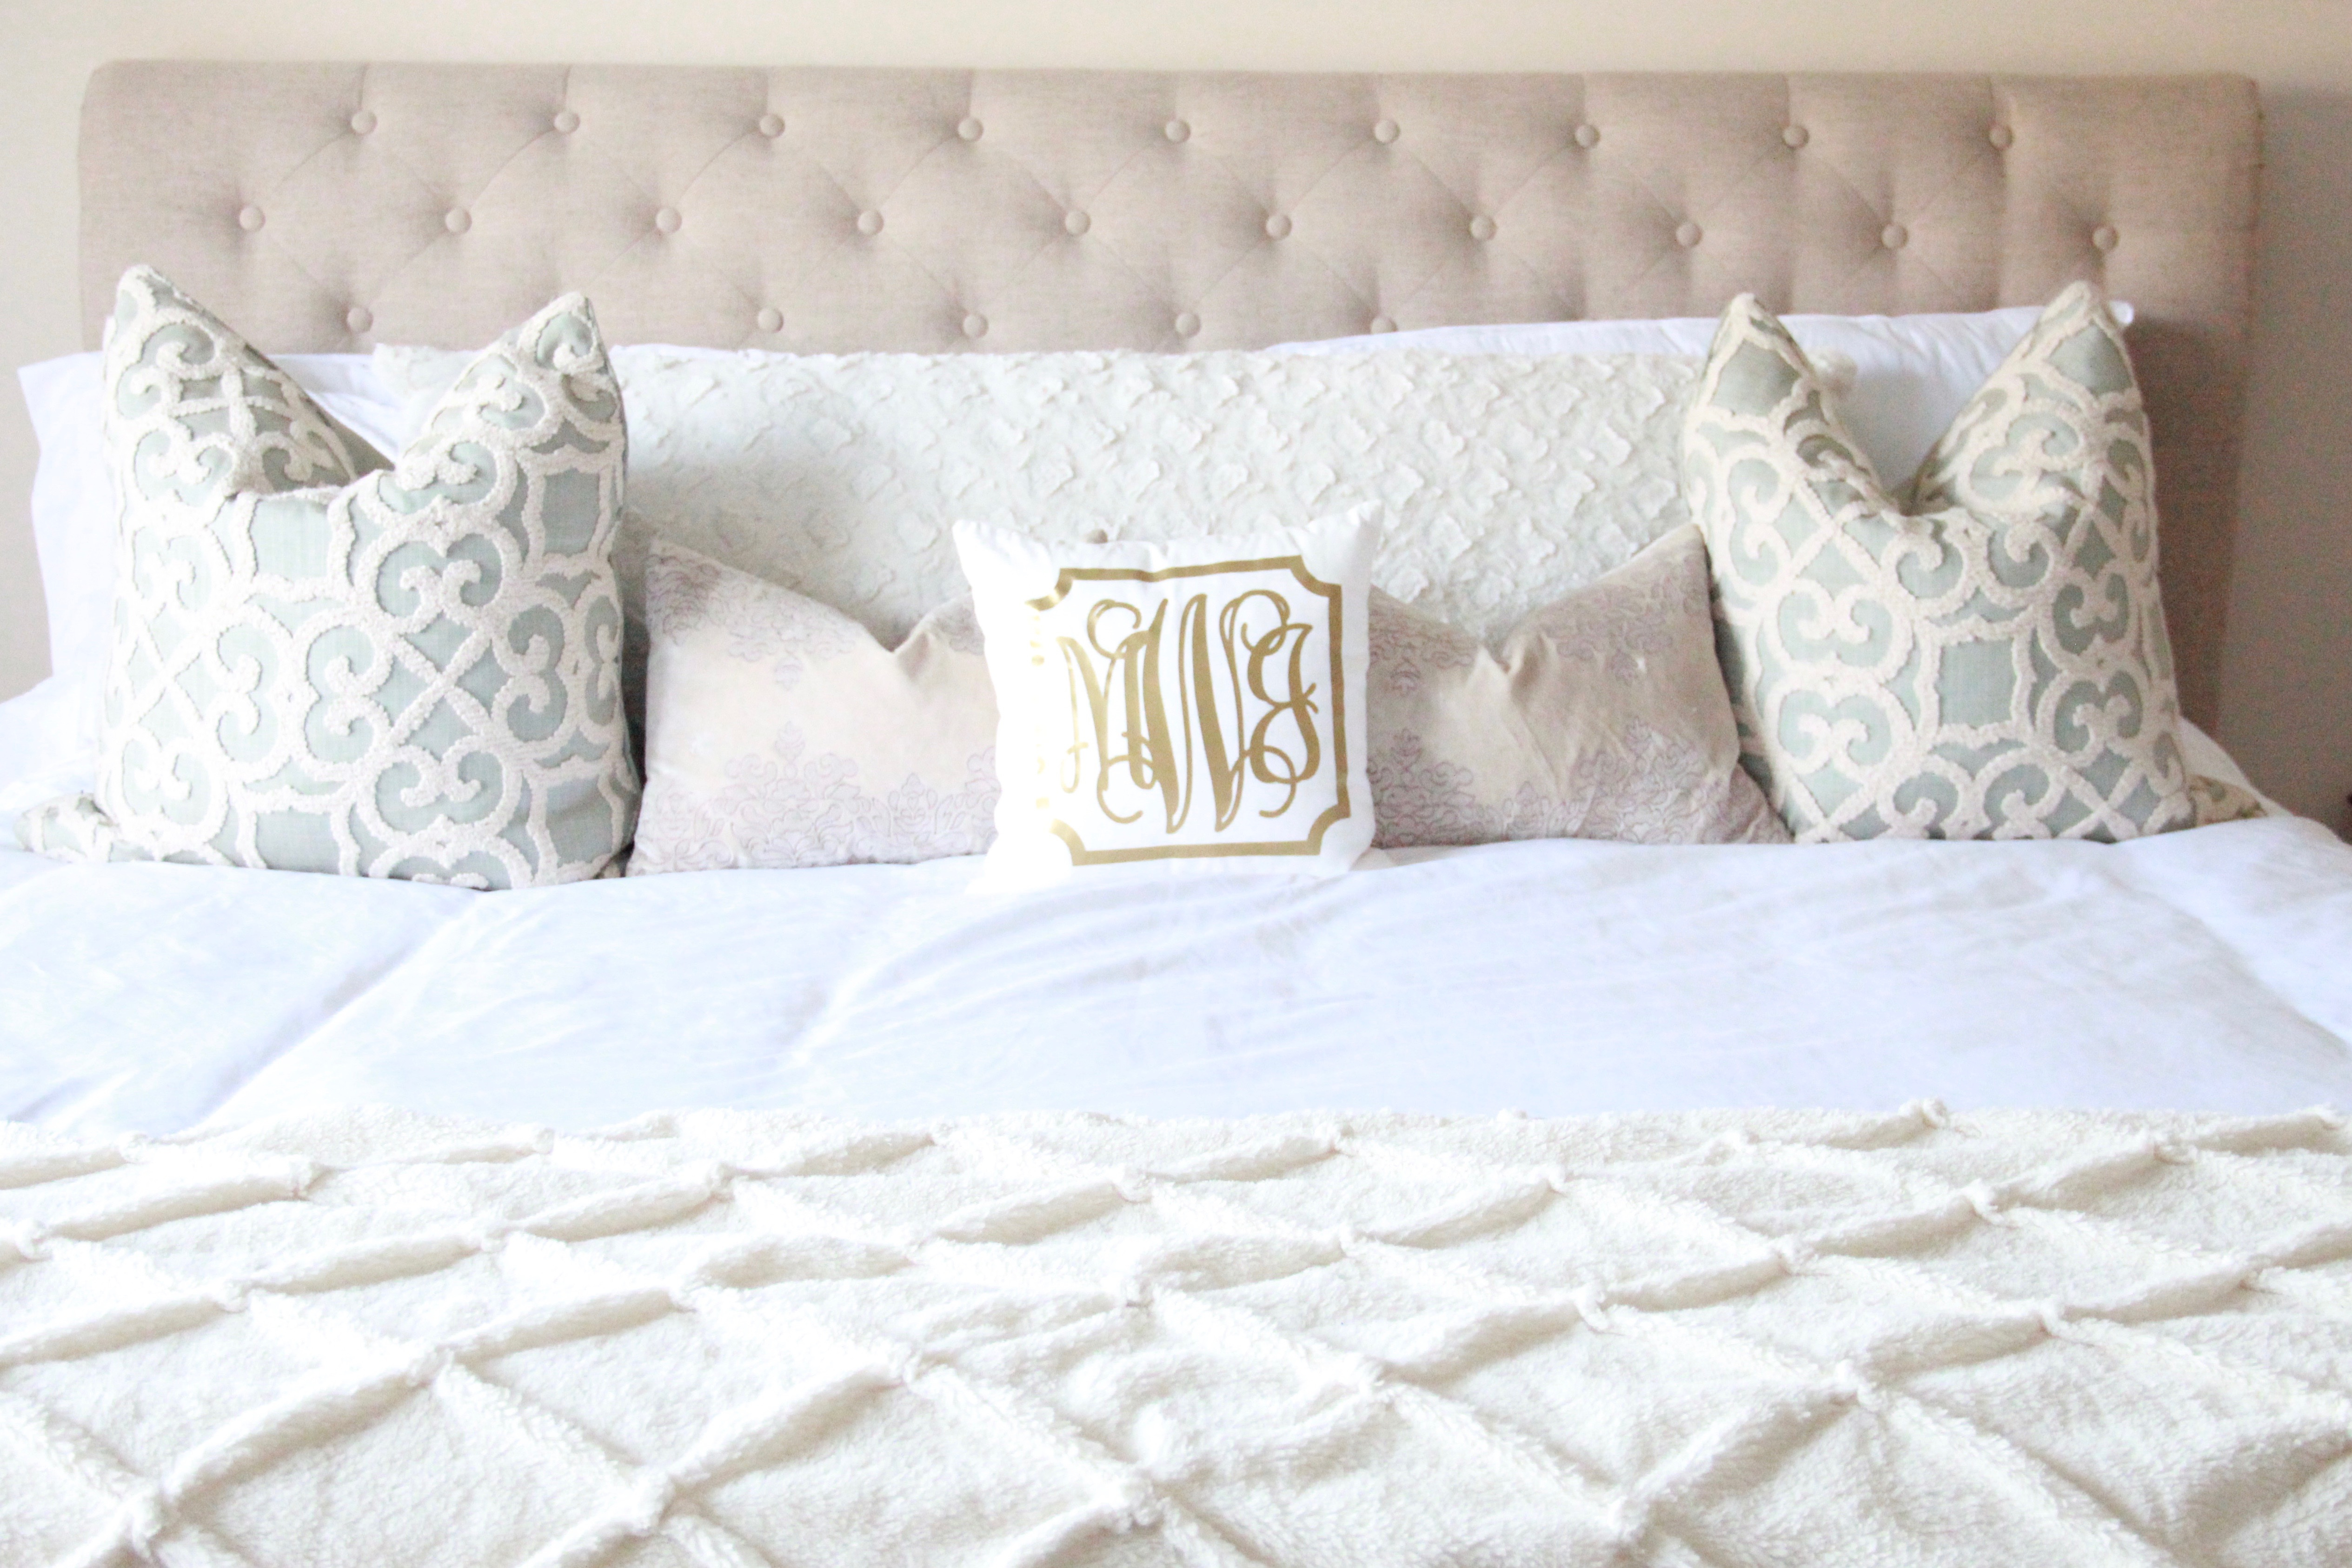
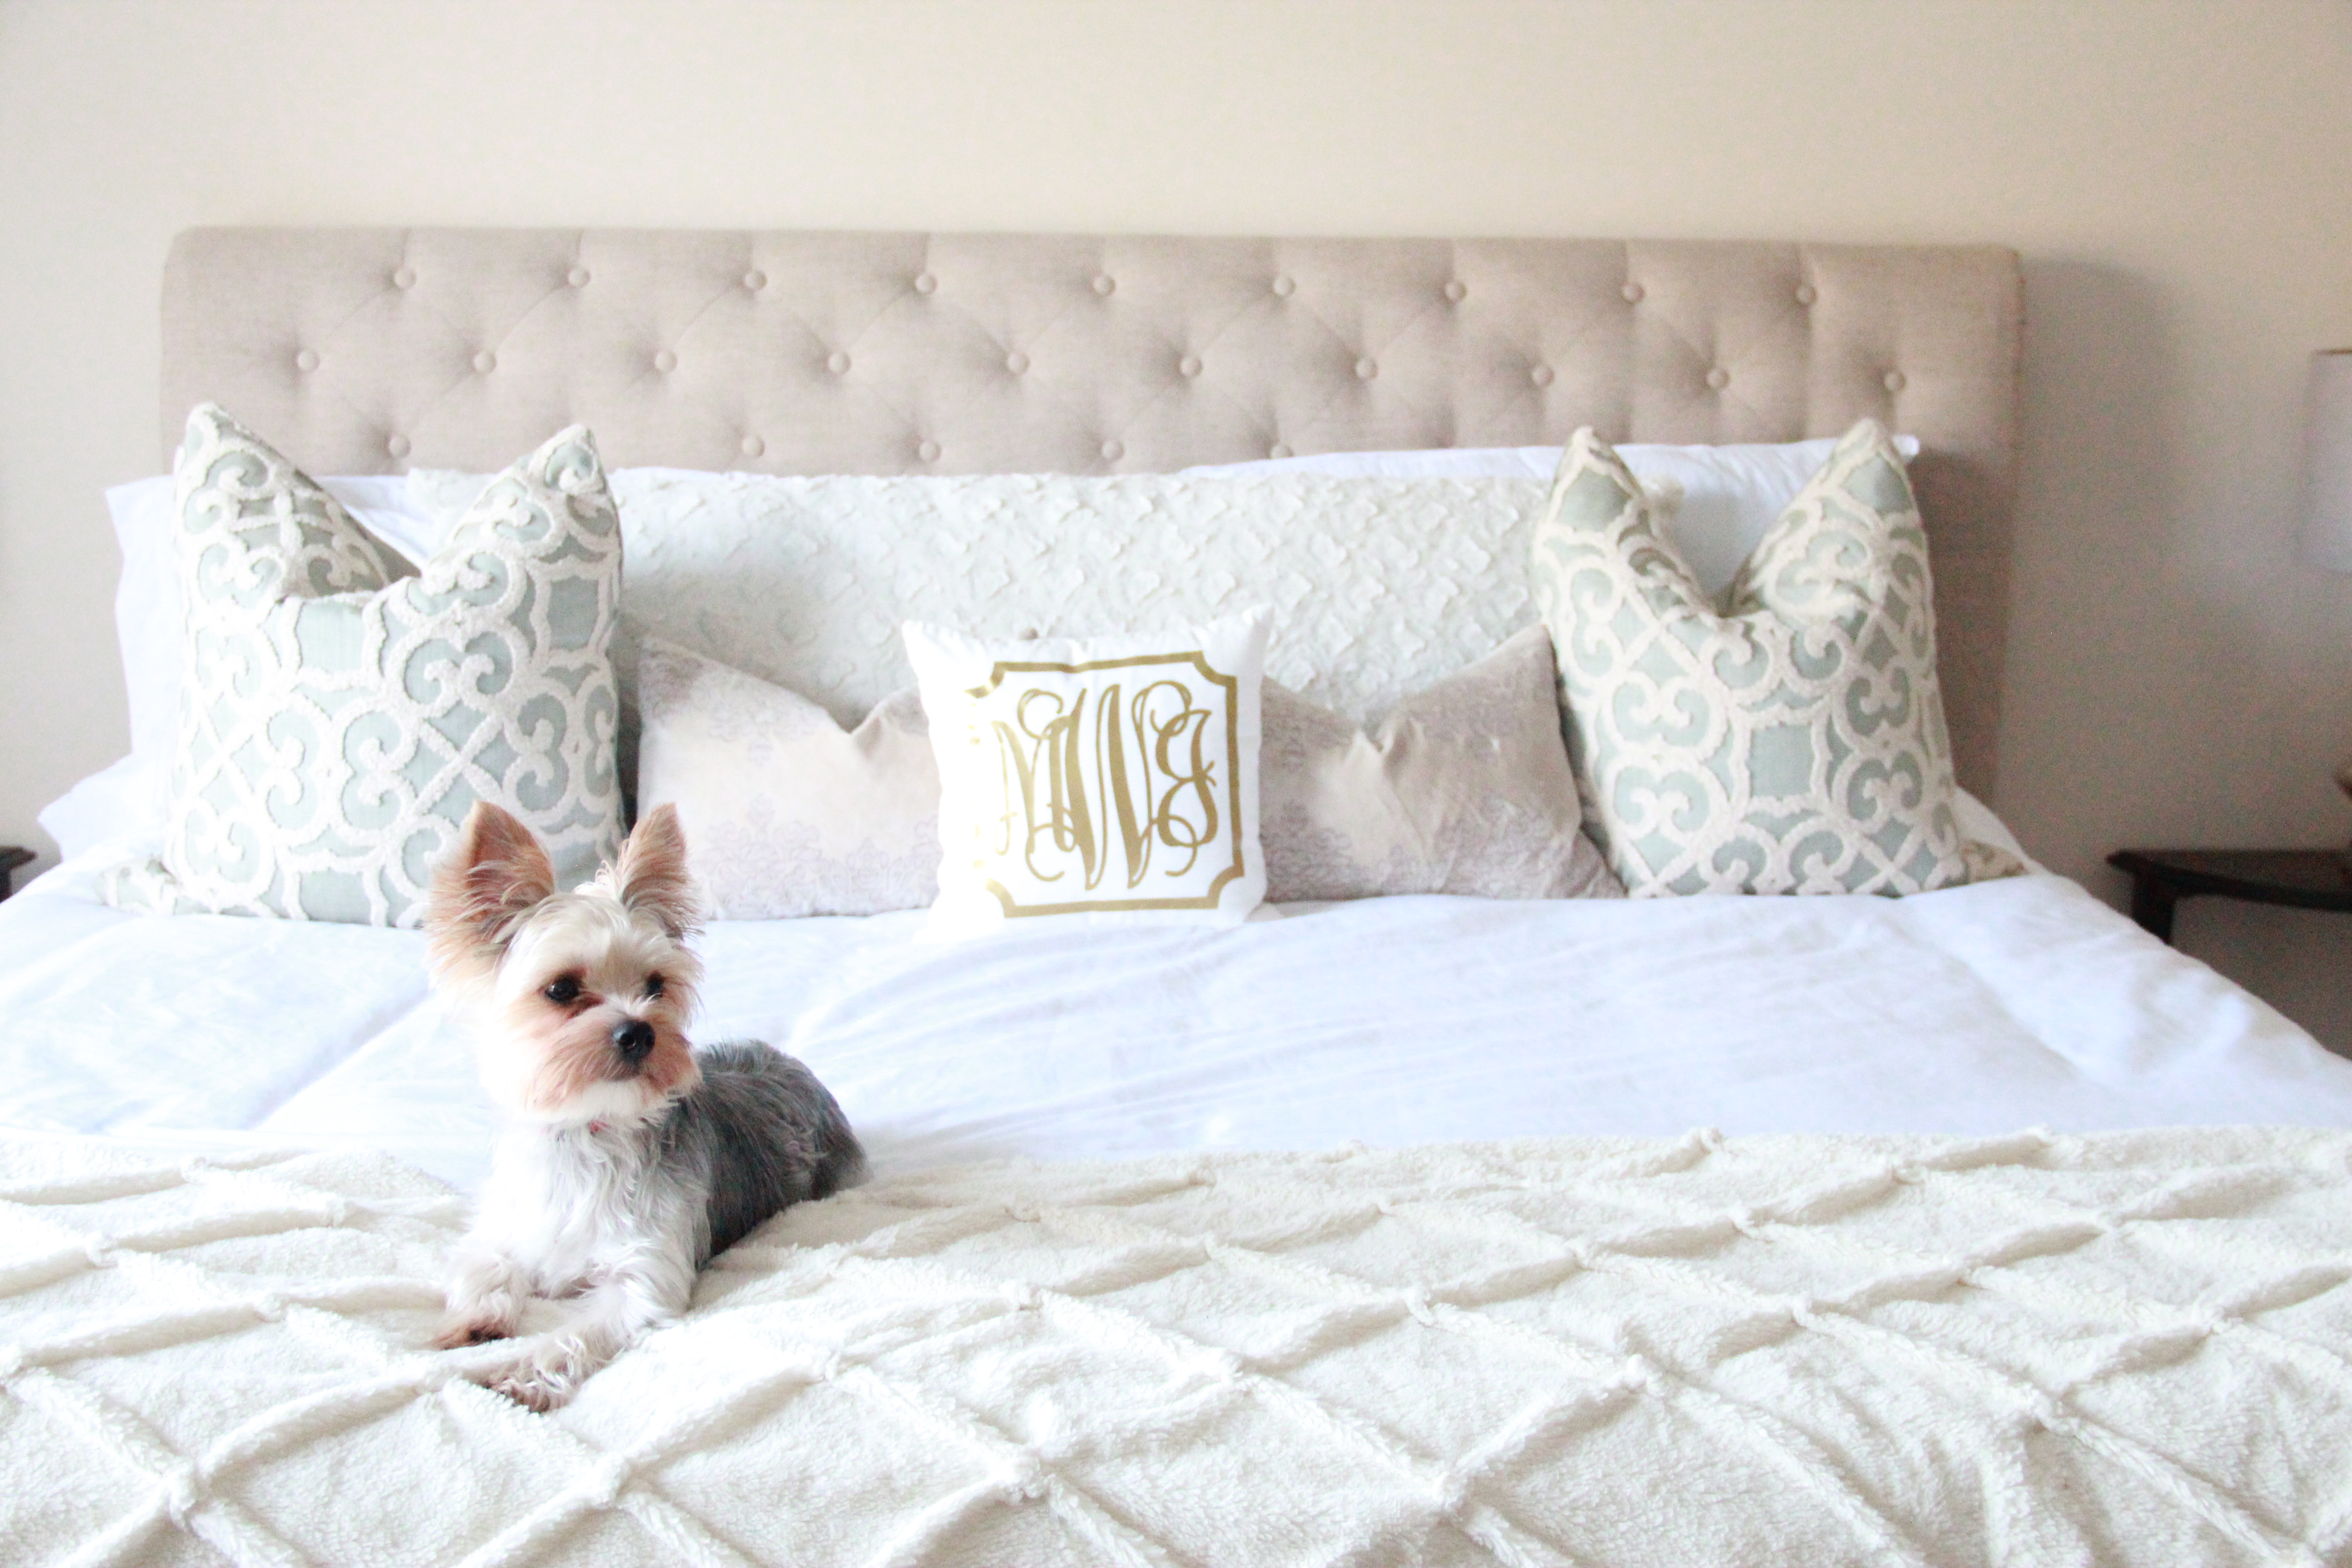
Hey y’all, and welcome back! Posts have been a little delayed here lately due to the move, but I’m excited to get everything back on track. So, today’s post is a tiny preview of our new master bedroom. We have finally upgraded from a queen-size bed to a king, and I could not be more pumped. Aside from the extra space, the tufted headboard is really what has my heart. All details are linked below 🙂

Interested in one of the featured details? Click any of the following for its respective link and/or dupe:

Headboard;    Lamps (Less Expensive Dupes Available Here);     Duvet Cover Set with Shams; Duvet;      Ruffled Bed Skirt;    Large Throw Pillows (Original no longer available, but similar dupes available Here, Here, and Here);   Monogrammed Gold Pillow;    Faux Fur Throw Blanket (Original unavailable, dupe Here)


*See Our About Page for Blonde Boss Babe’s Affiliate Link Policy and Disclosure Statement.

SaveSave

Post, Pin, Share:
Blog, DIY Projects, Home Decor, The Home

Easy Halloween Bar Cart DIY

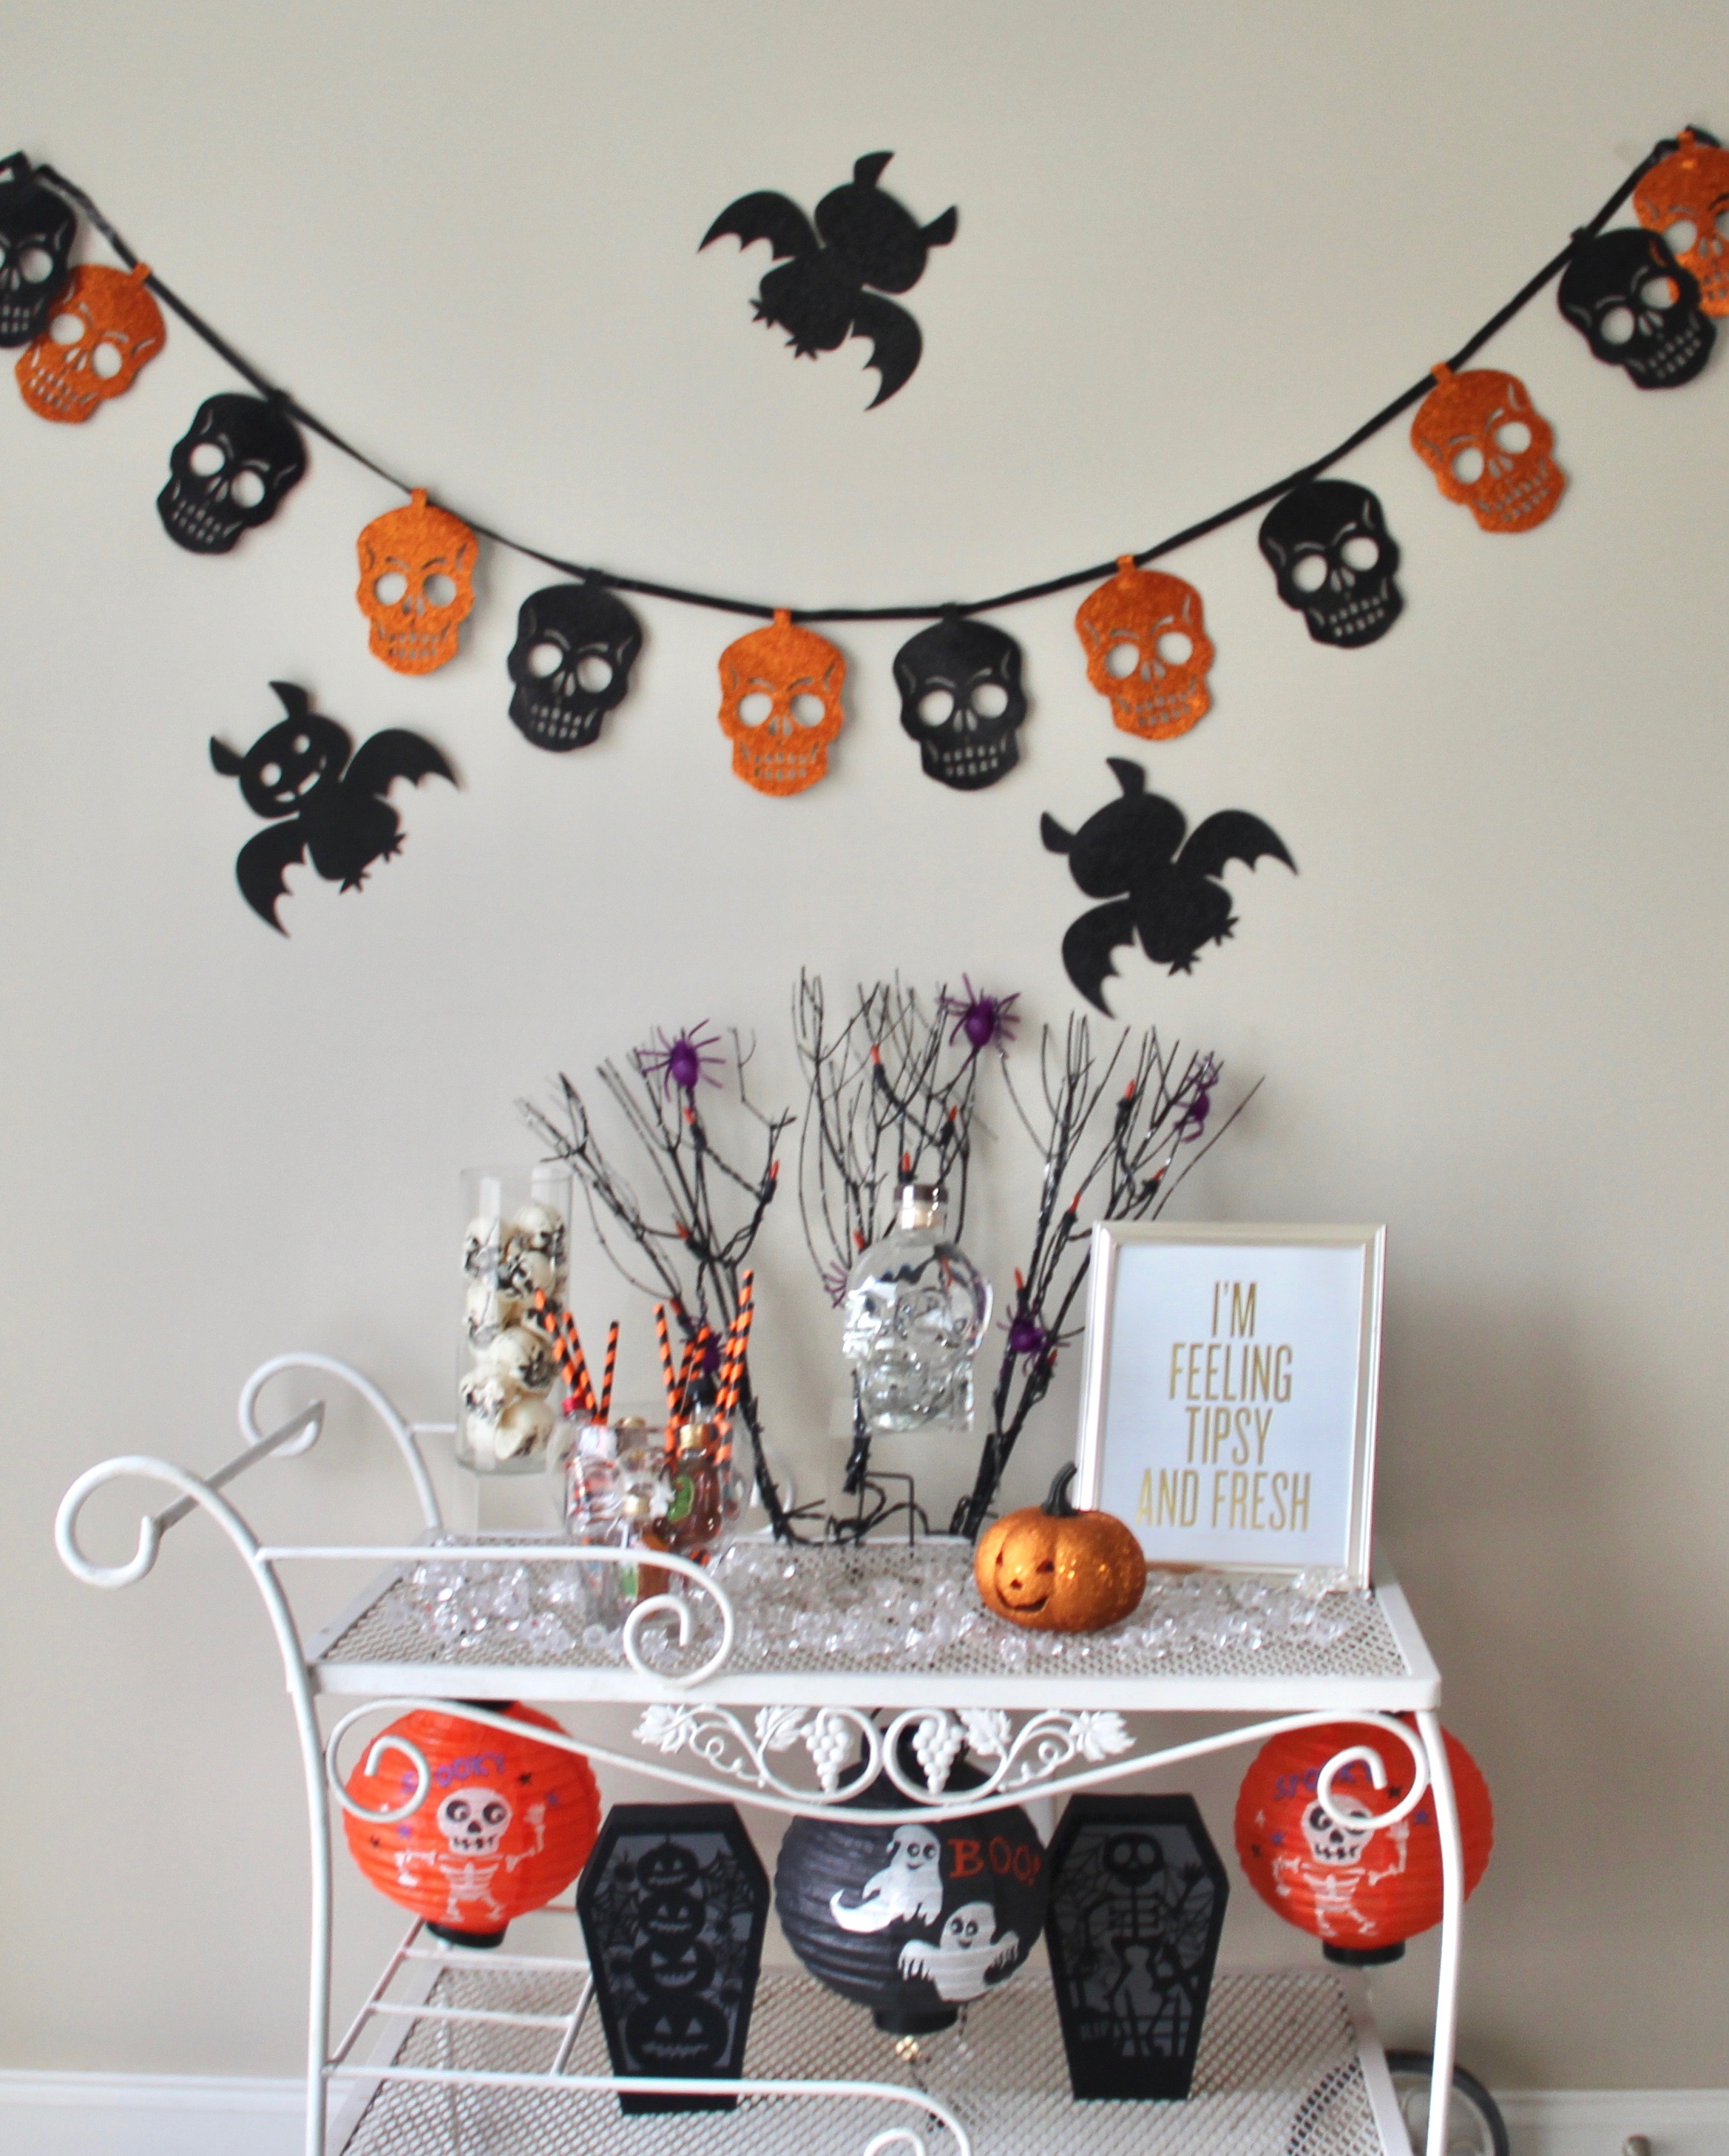
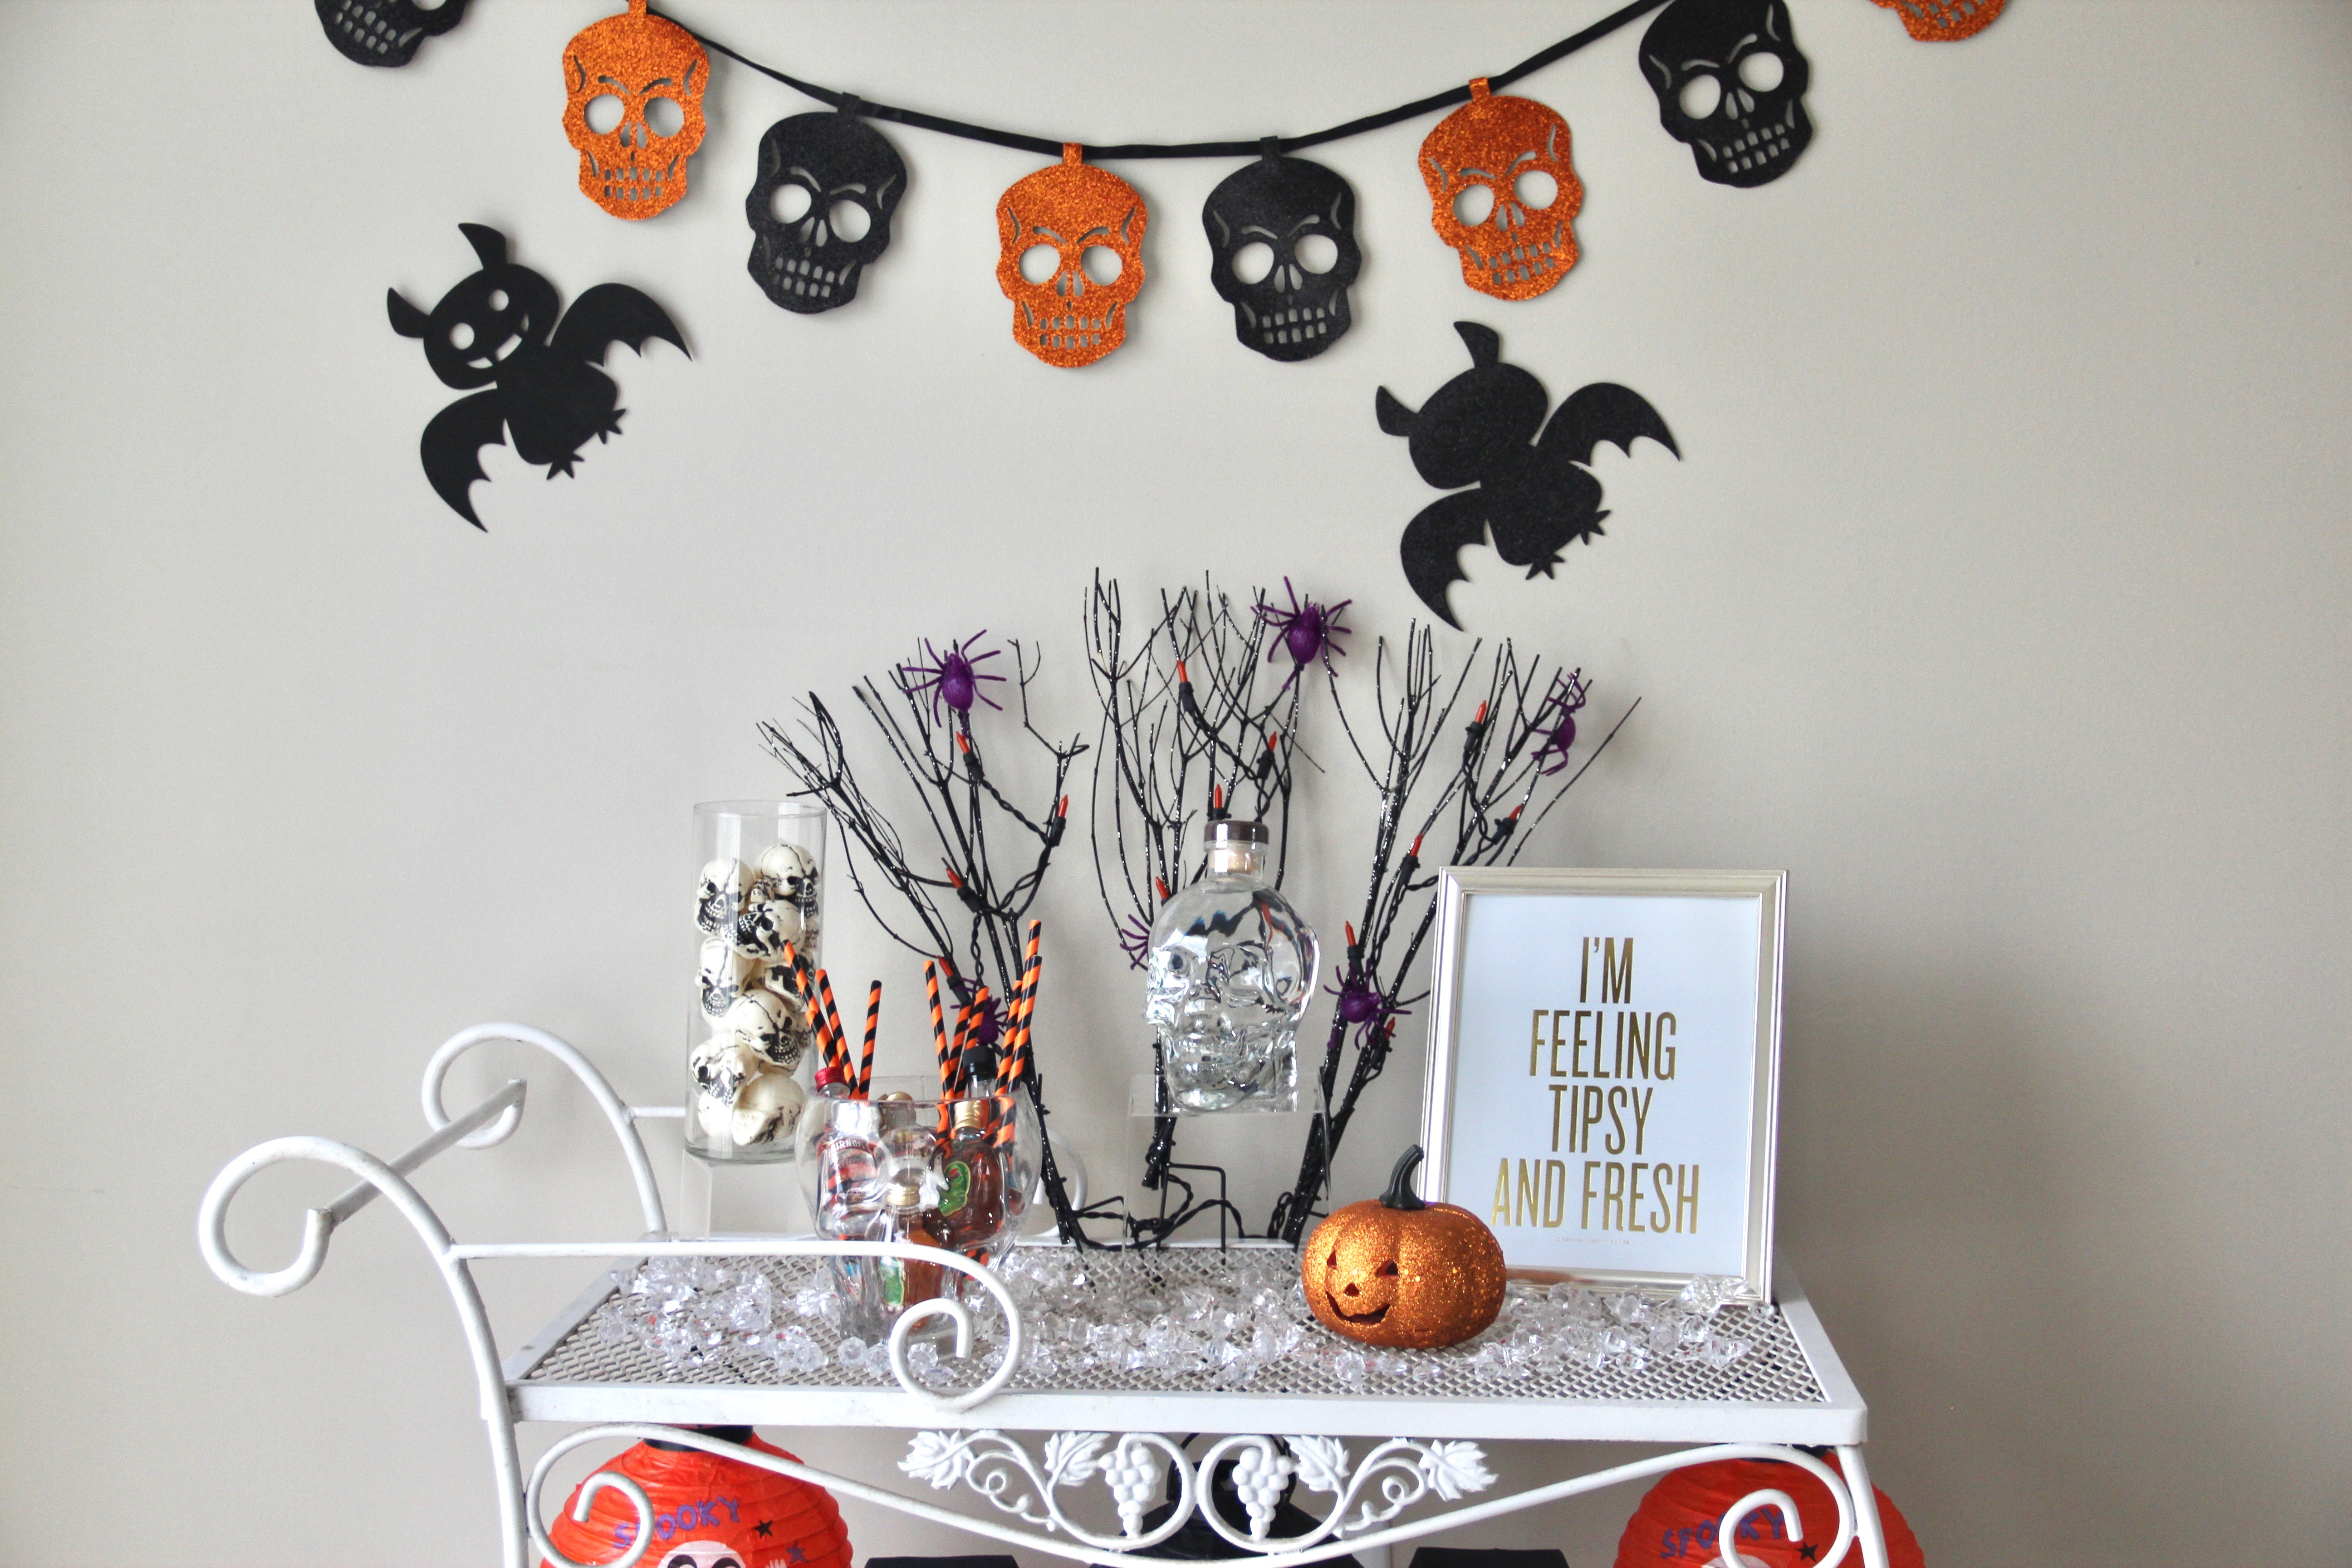
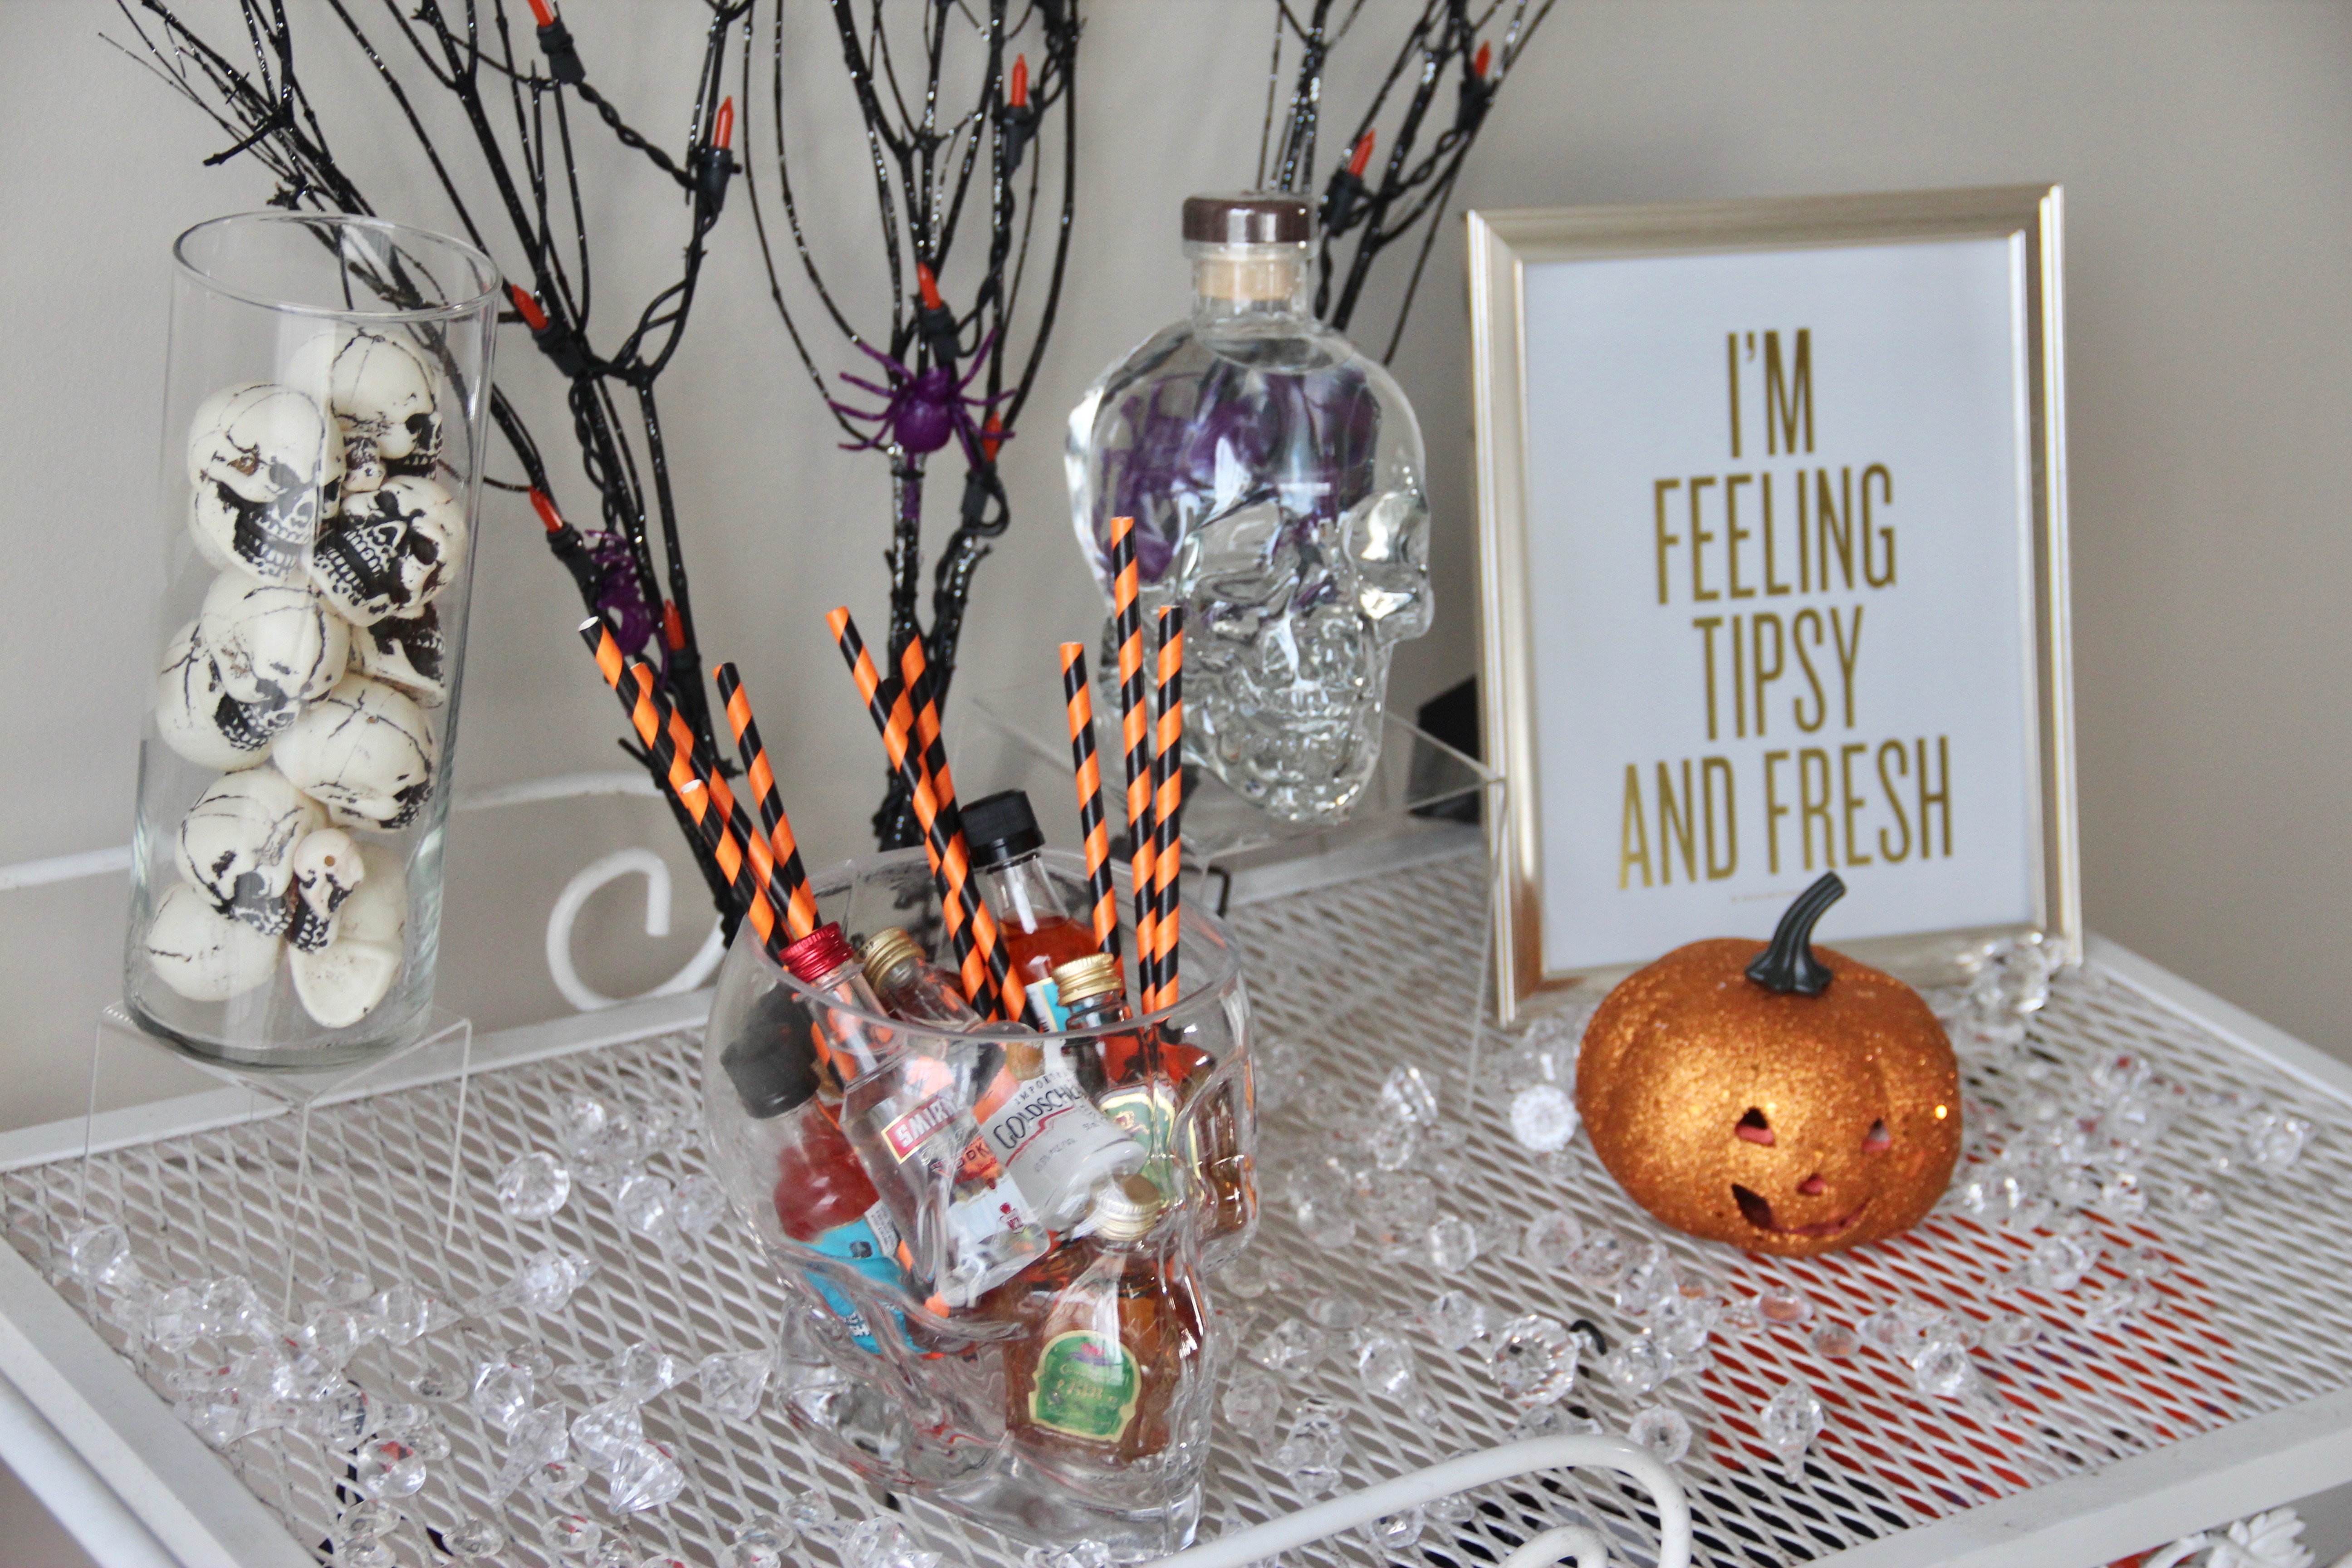
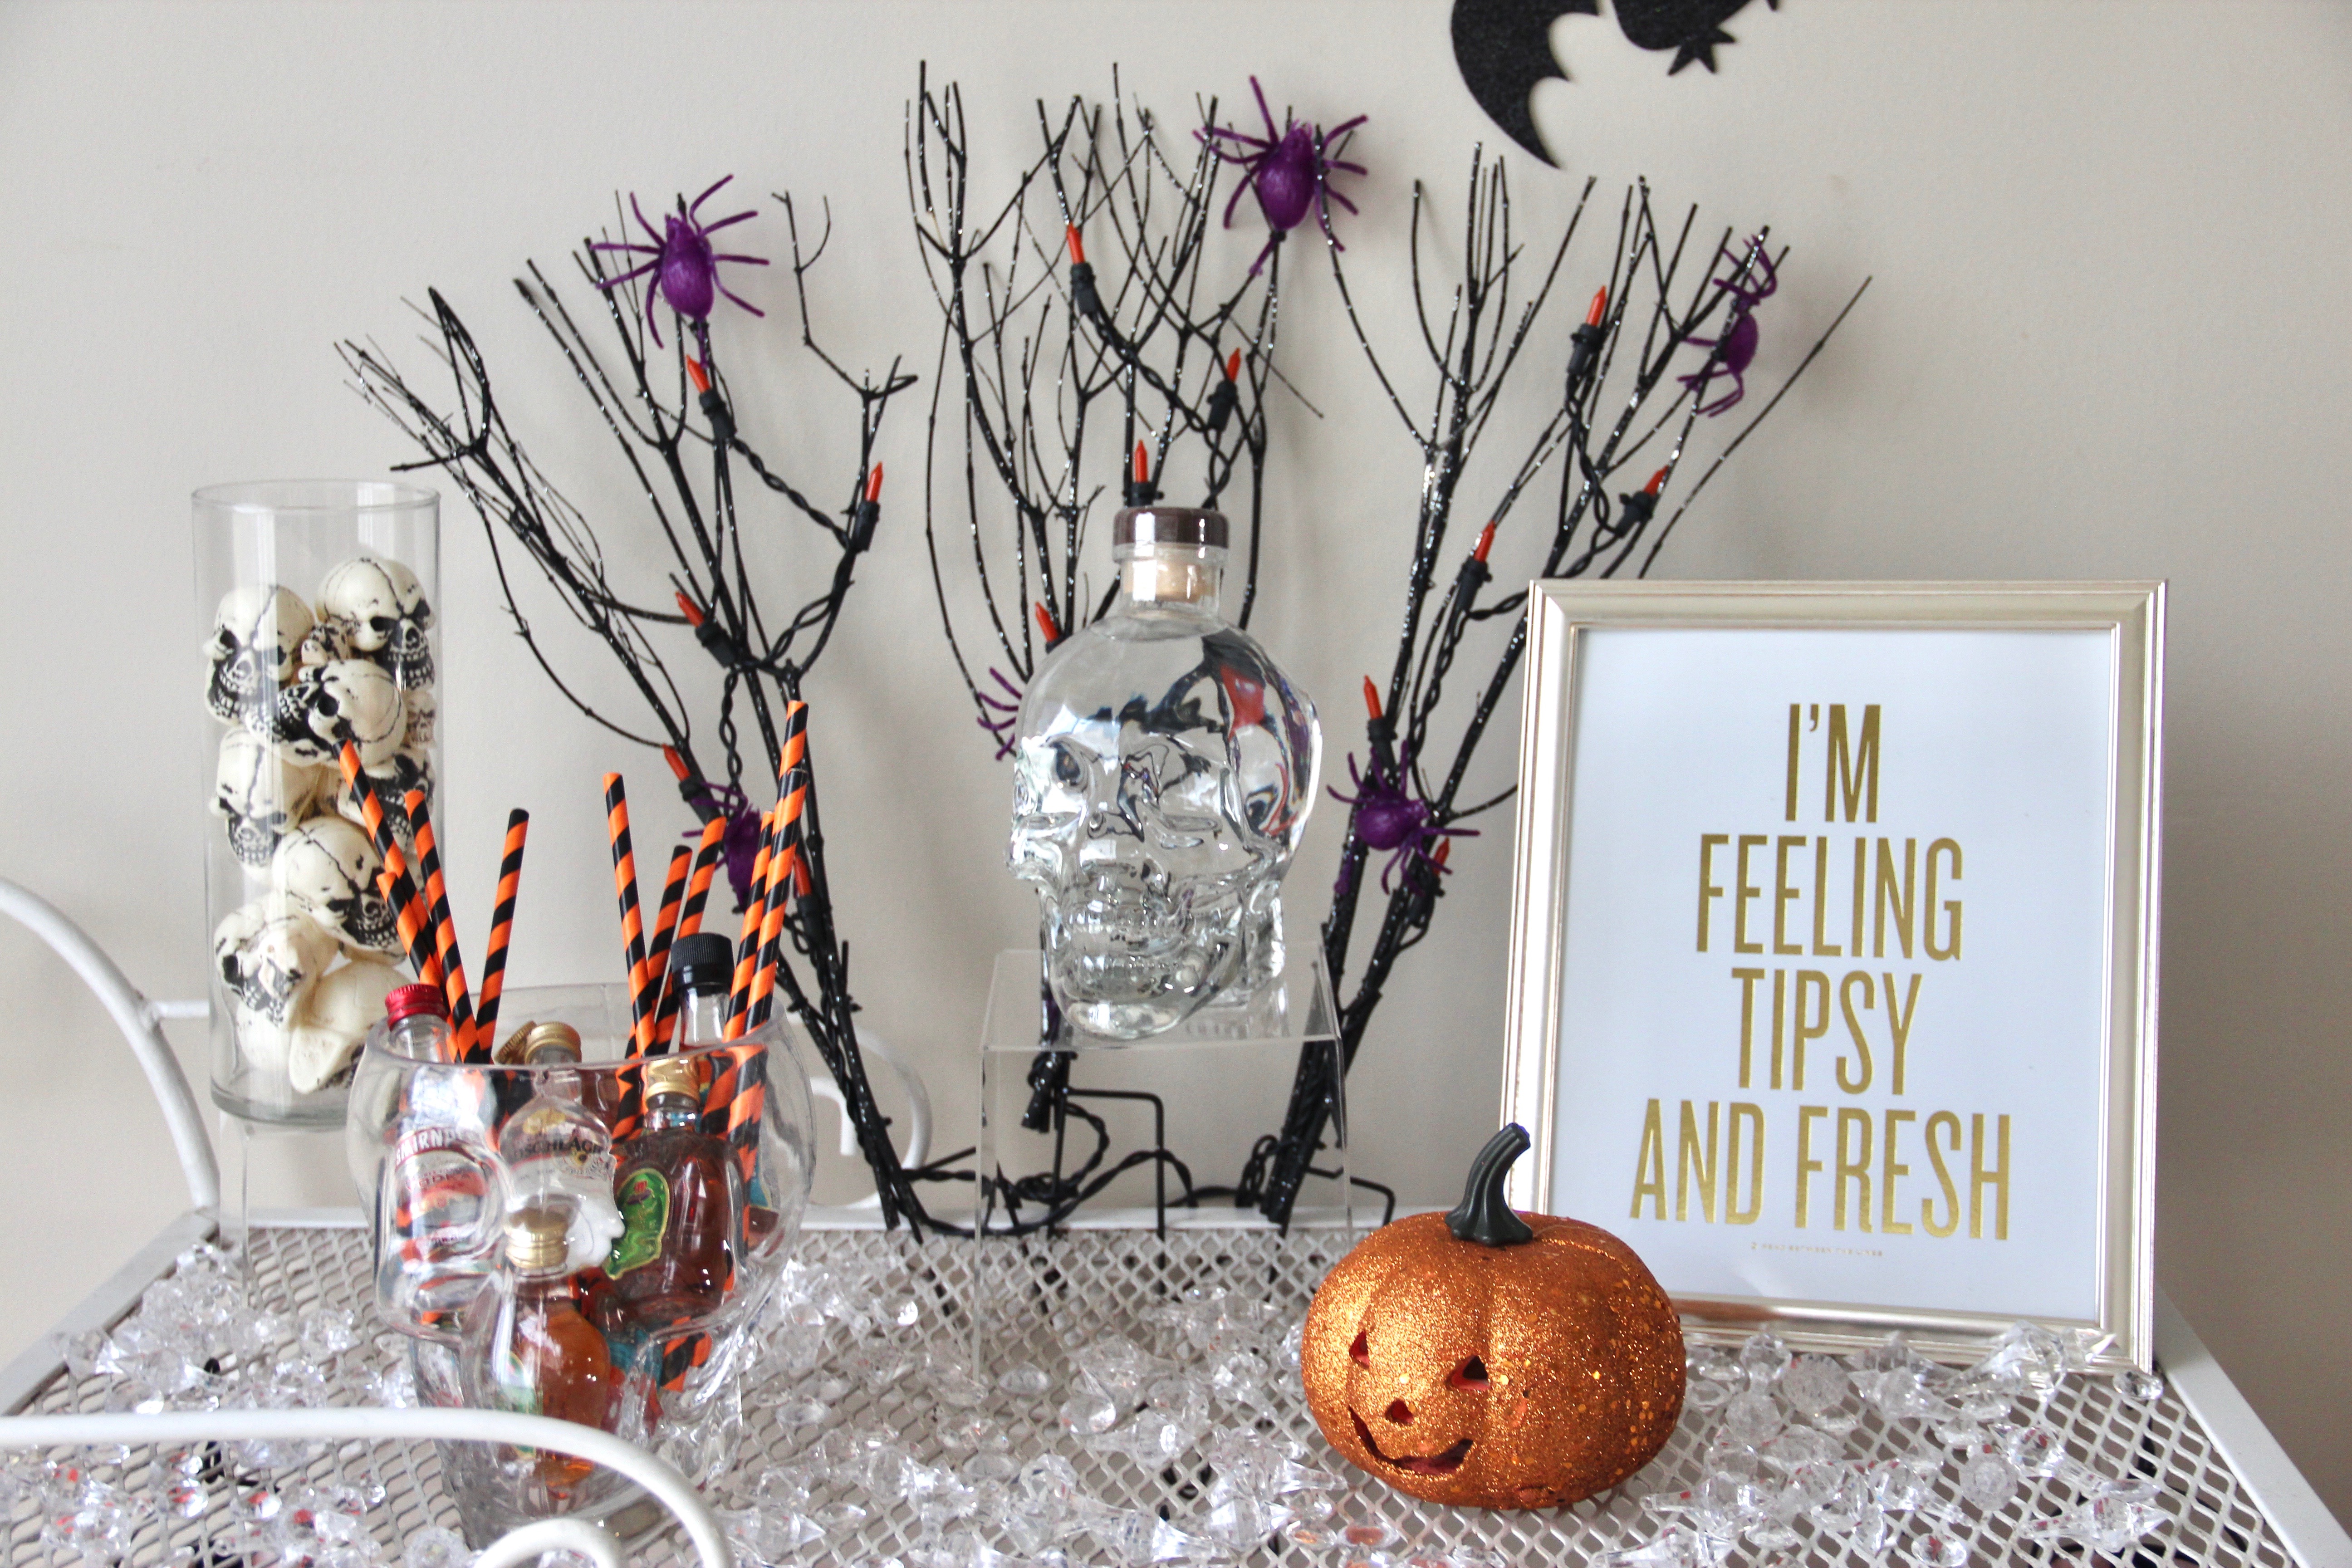
Yes, yes, Halloween is over. However, if you and your friends are similar to us, and ours, the themed parties may not be quite finished yet. If you’re trying to gather some last minute decor ideas, (hey, everything is at least 50% off now, so why not stock up for next year?!) then see below! This was a super easy and fun setup I put together on our bar cart. The majority of the items came from our local Dollar General, however, I’ve included links below to some of the other items for your convenience:


Click any of the following for links to the items: Small Skulls; Crystal Skull Candy BowlAcrylic Crystals


*See Our About Page for Blonde Boss Babe’s Affiliate Link Policy and Disclosure Statement.

SaveSave

Post, Pin, Share:
Blog, DIY Projects, Home Decor, Moving, The Home

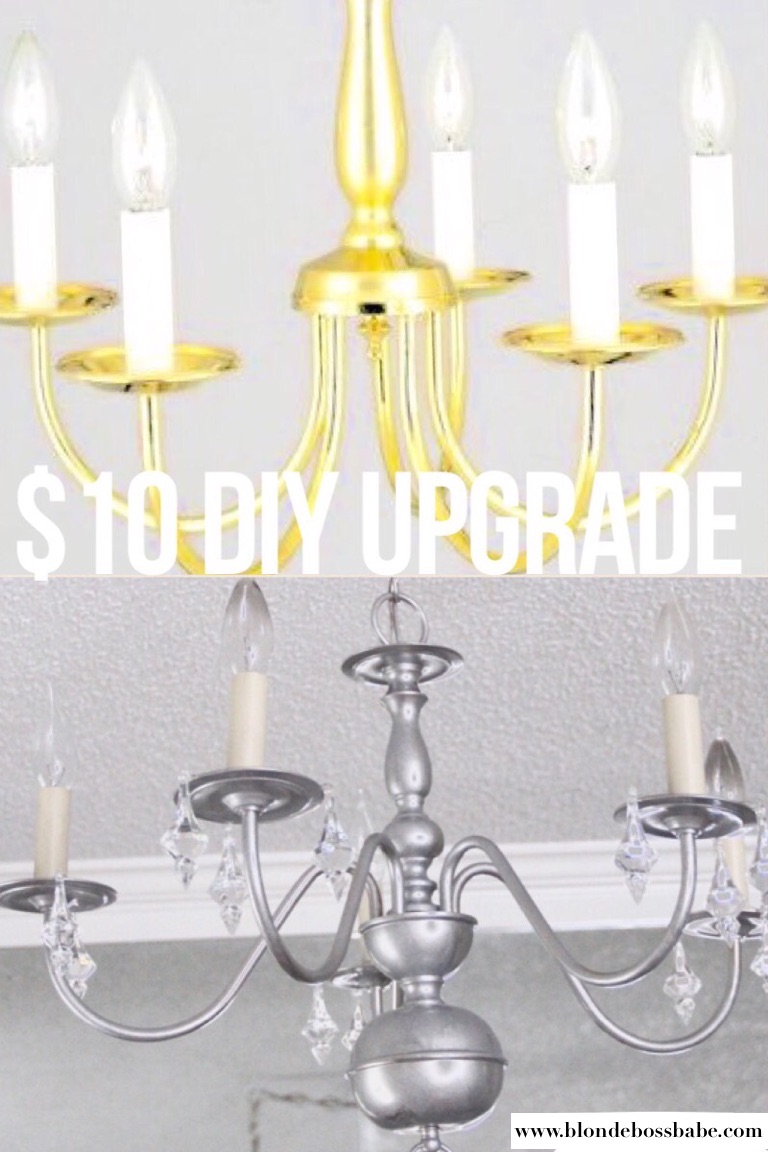
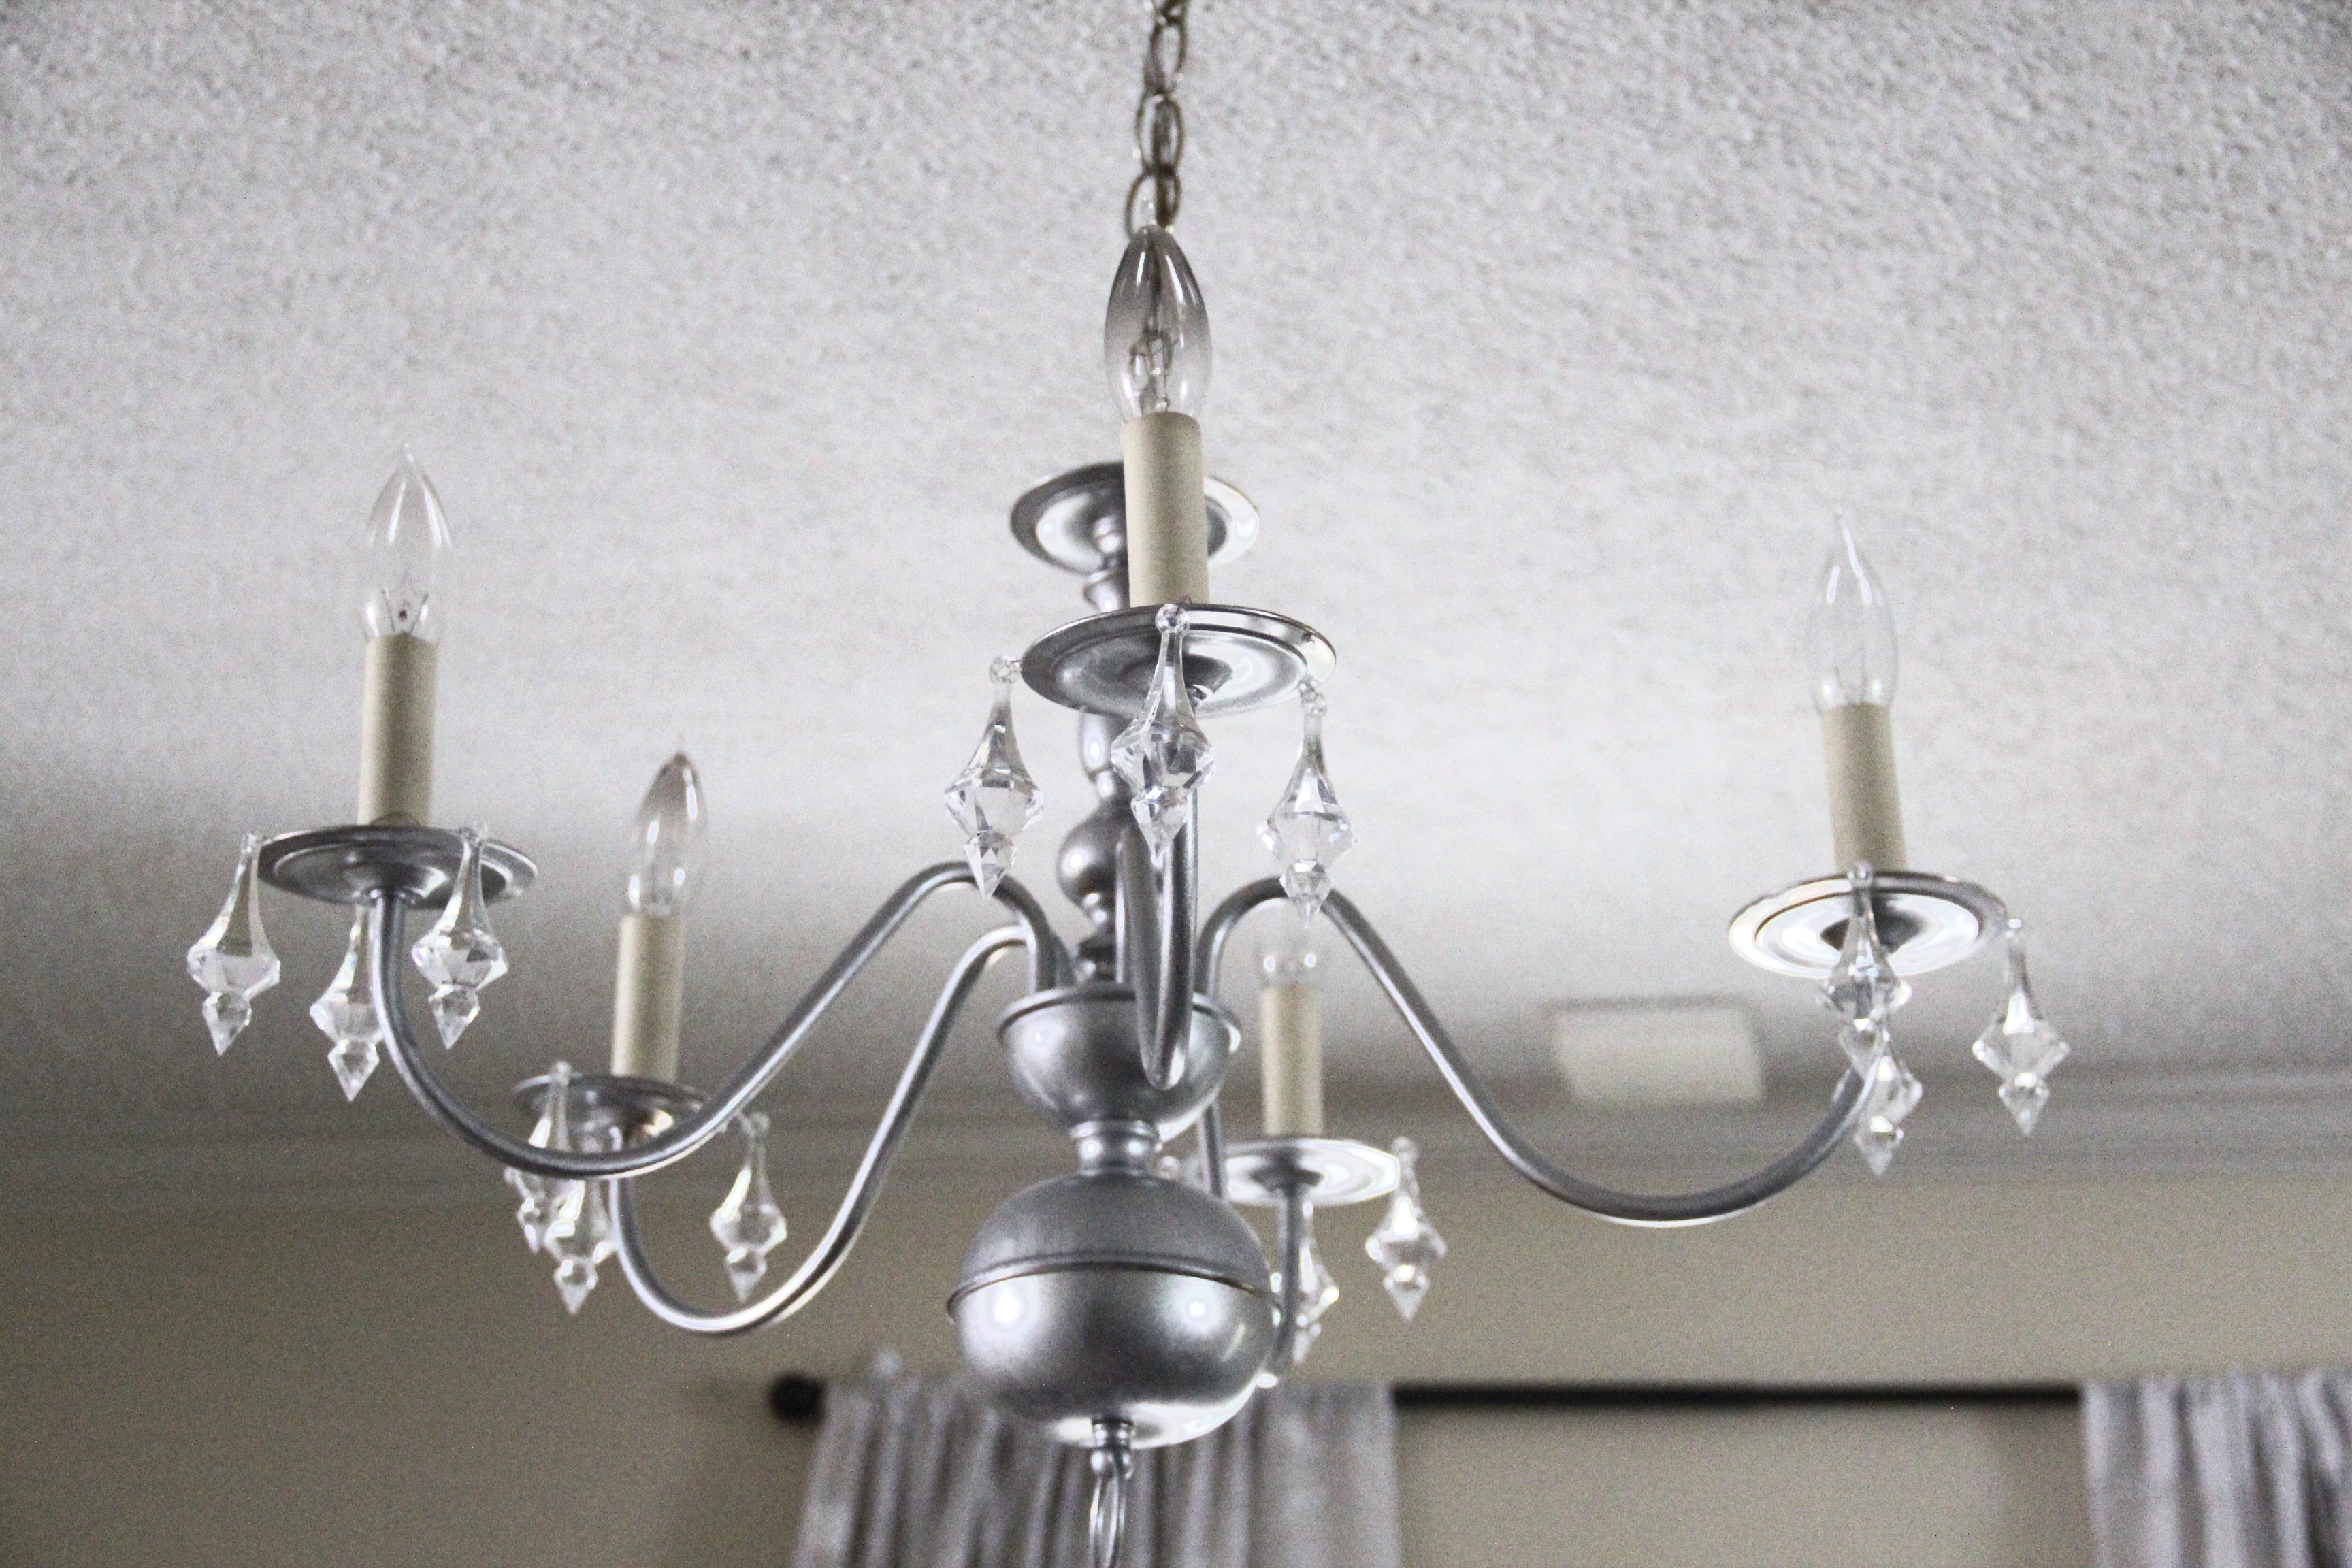
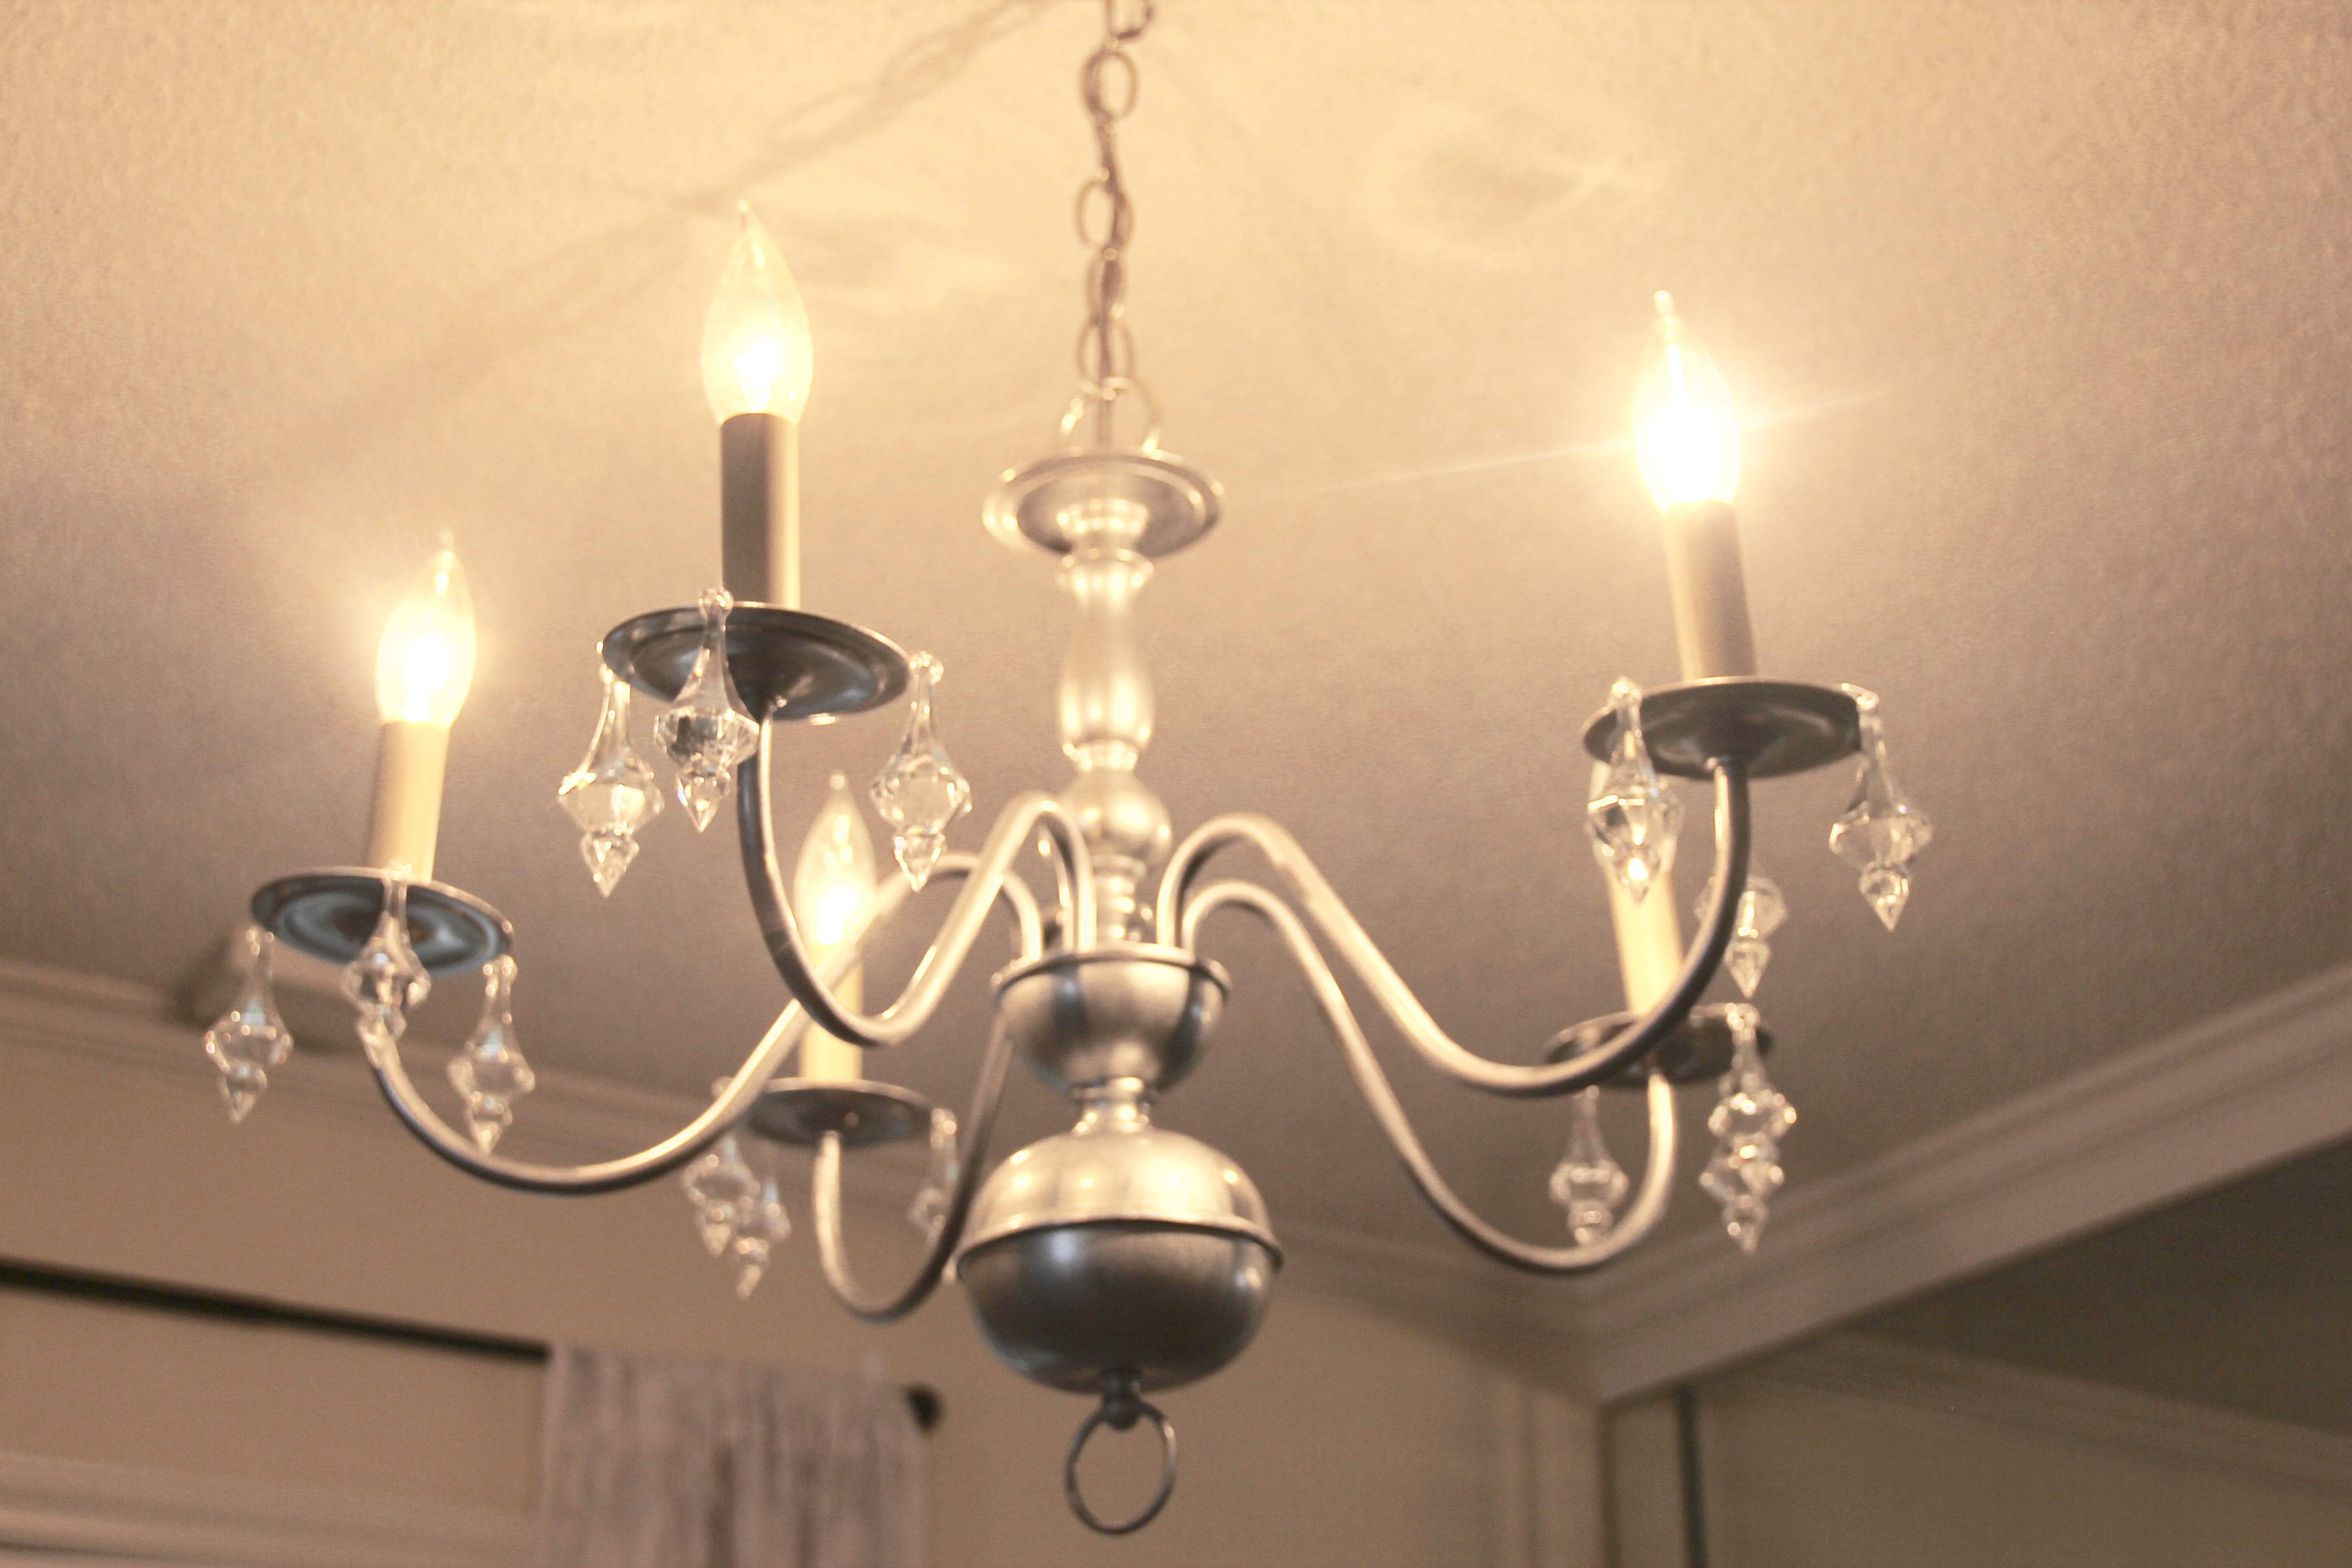
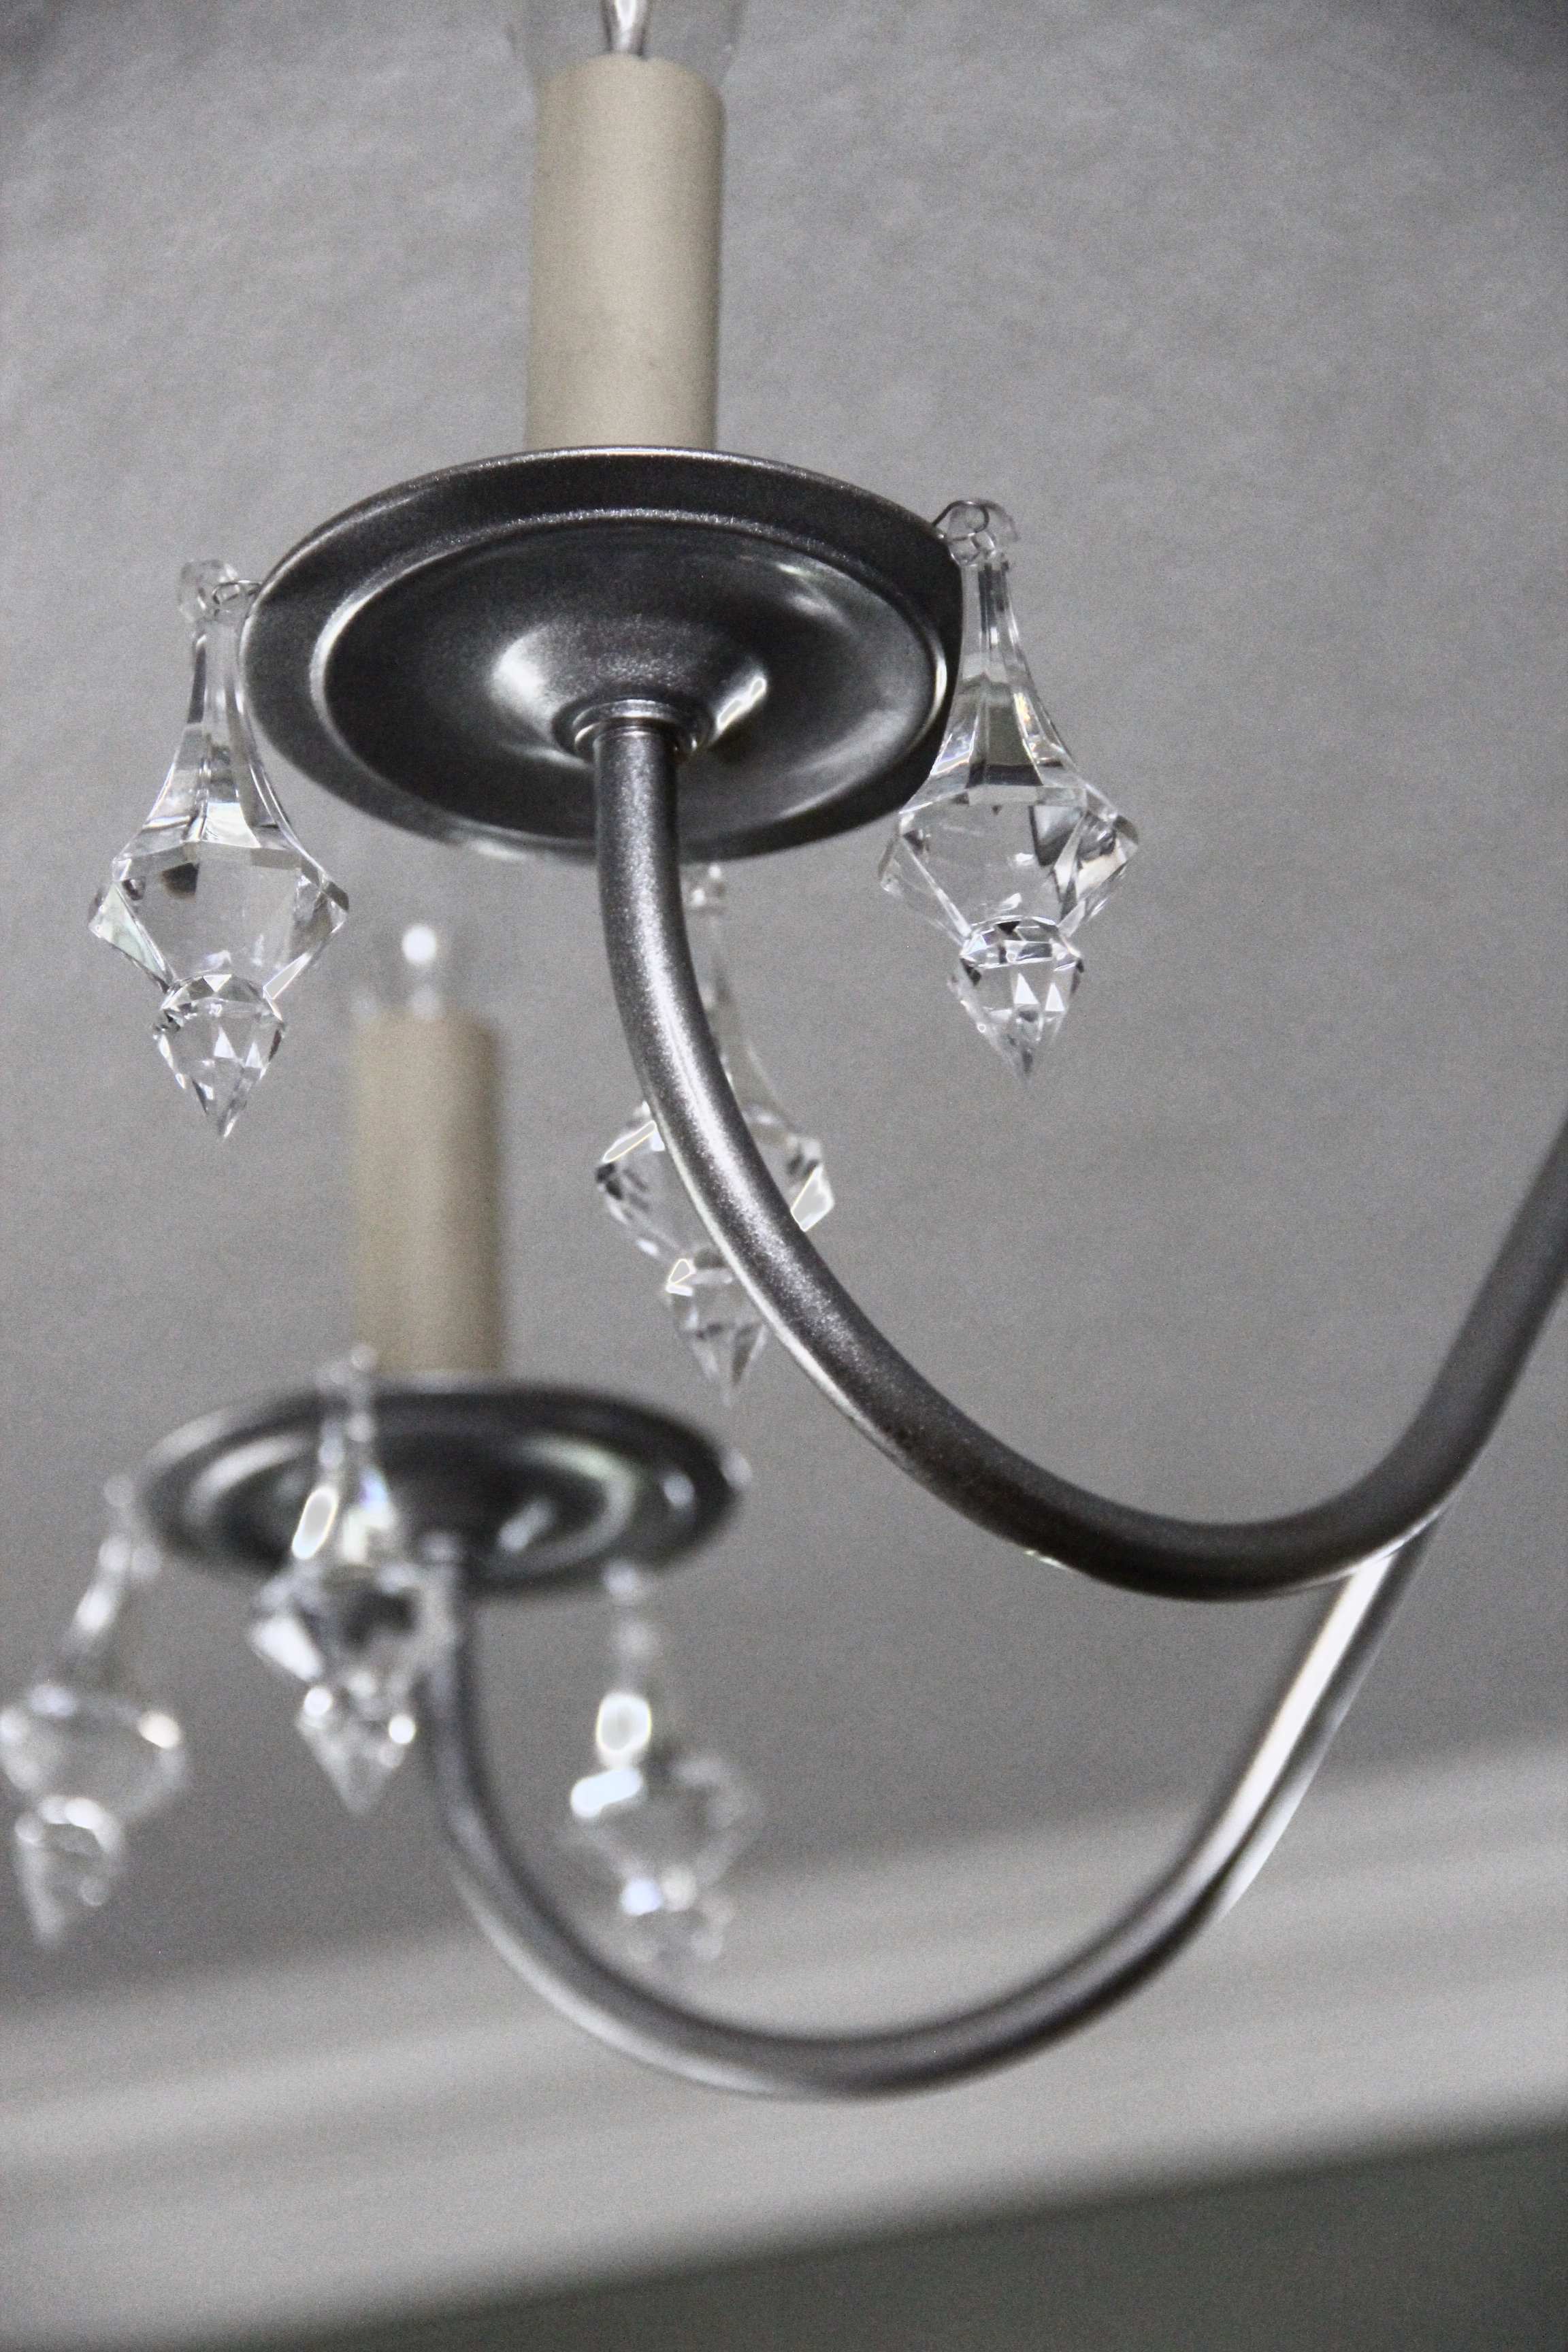
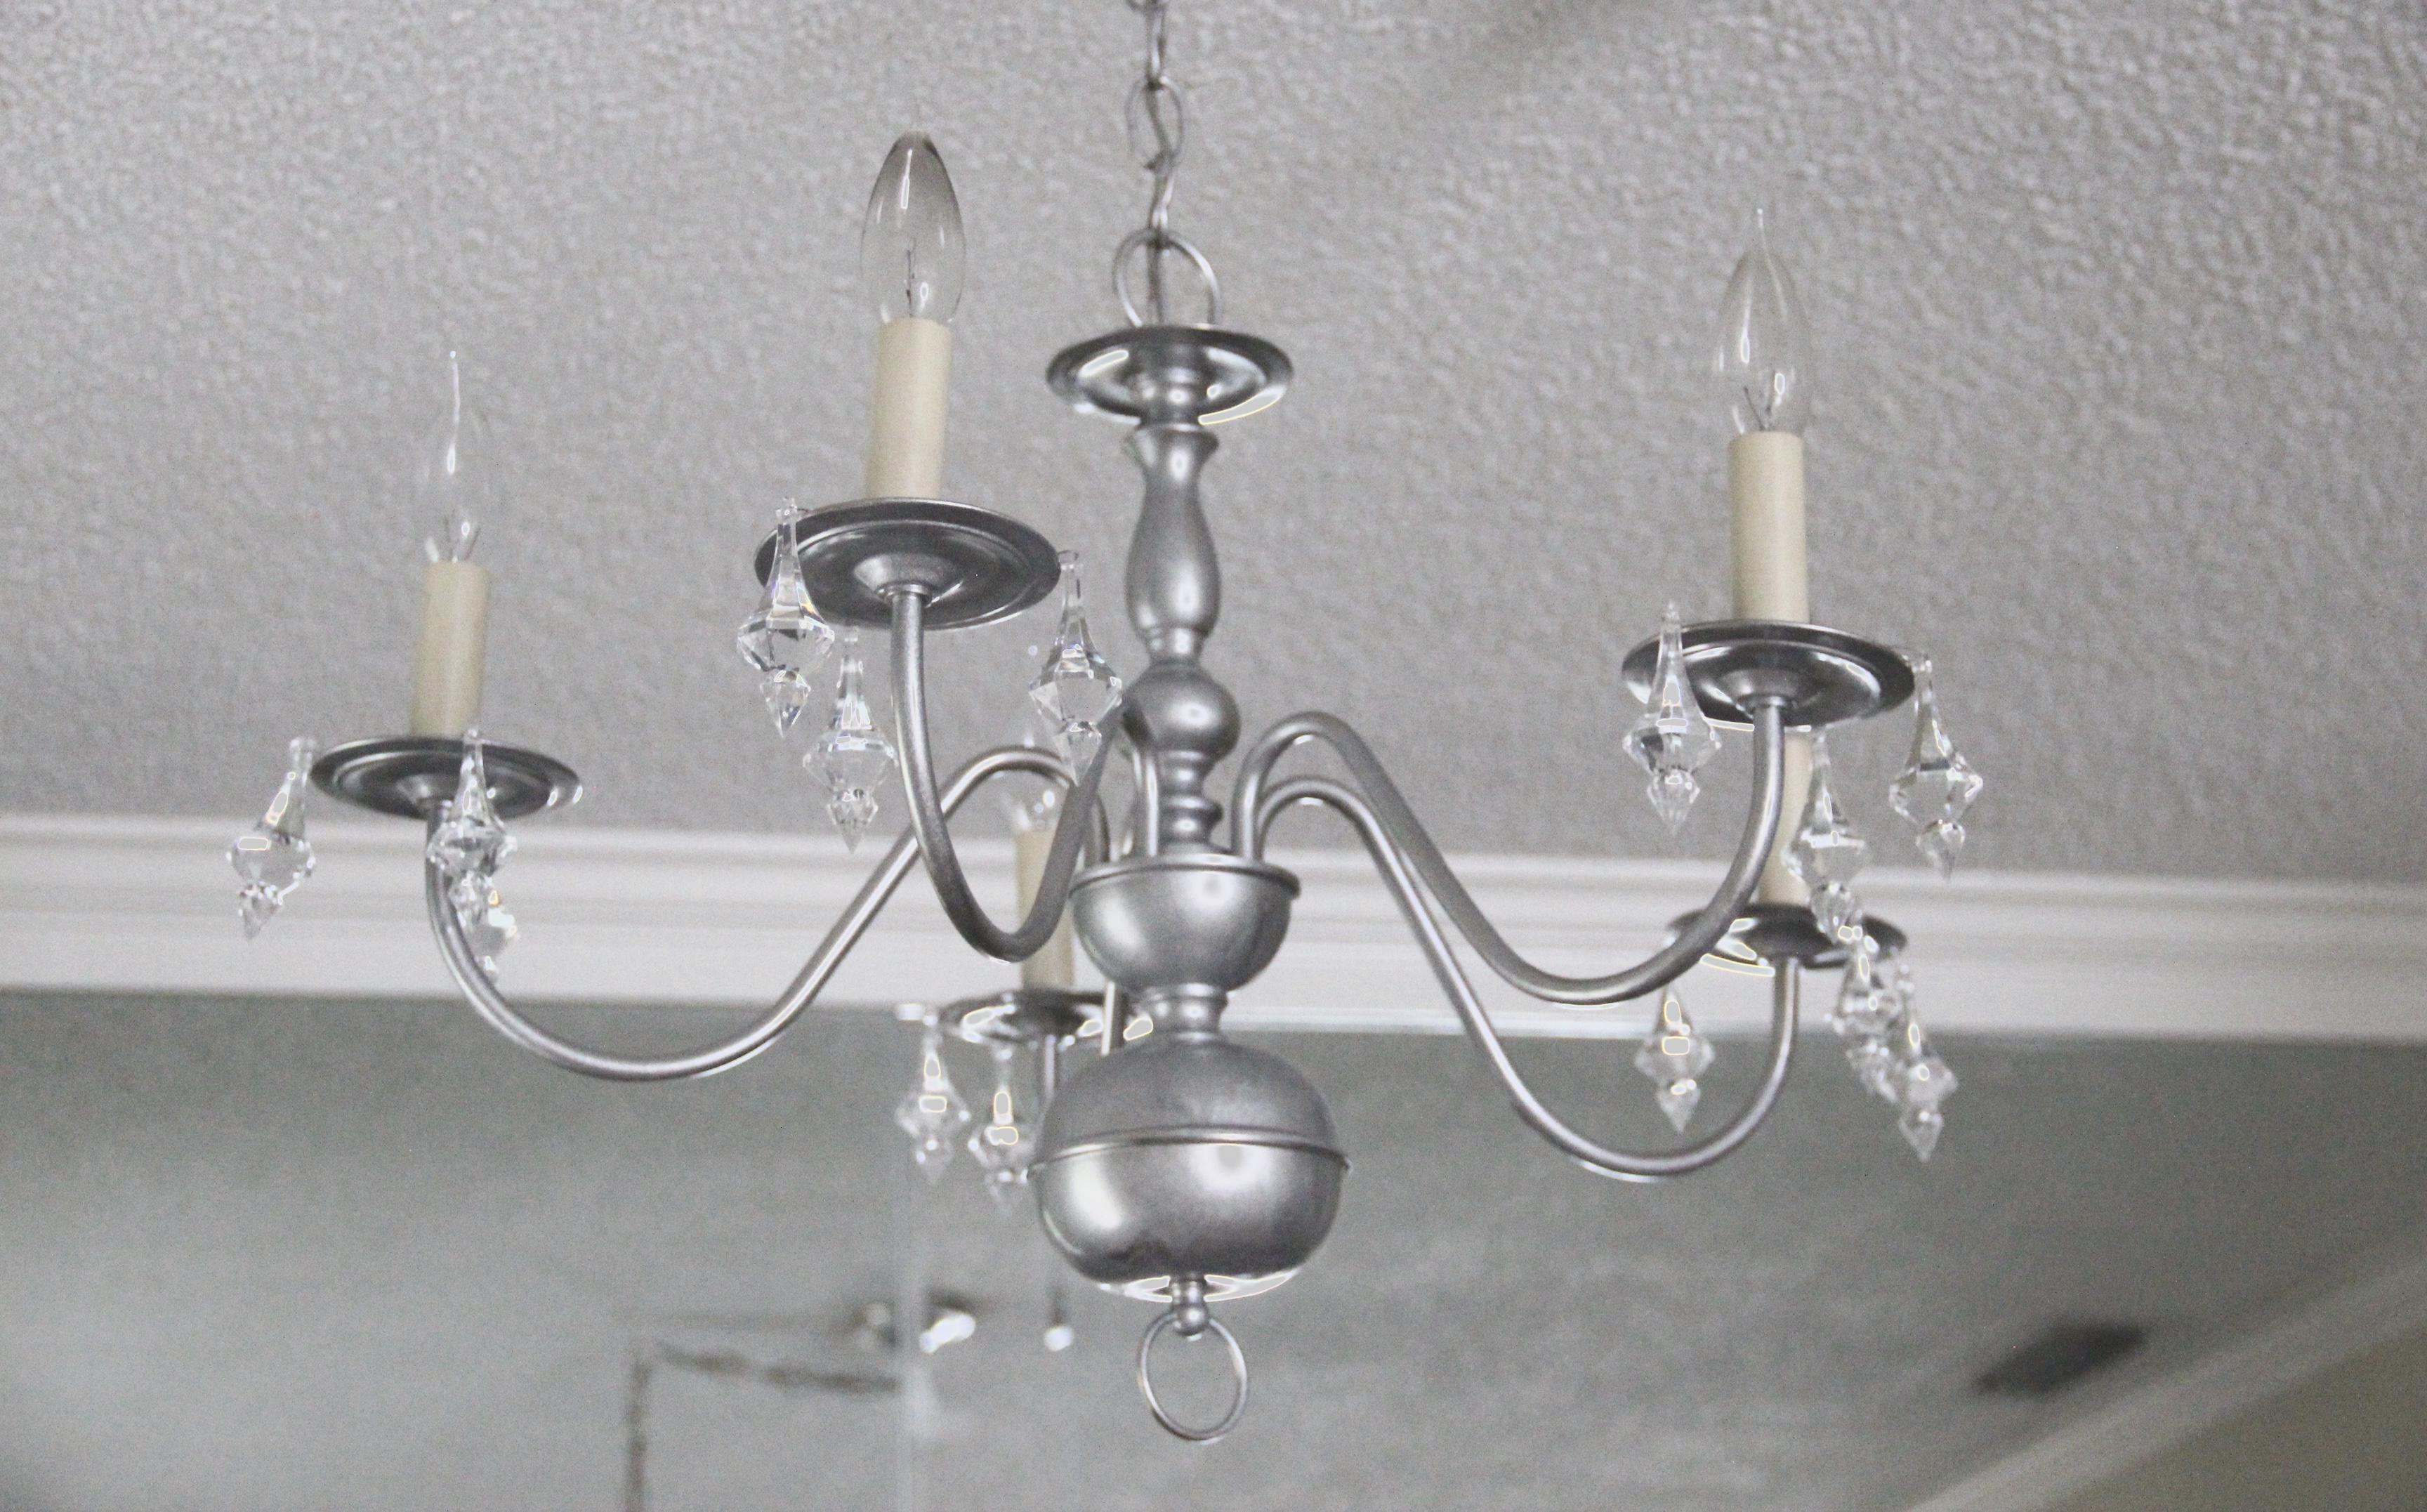
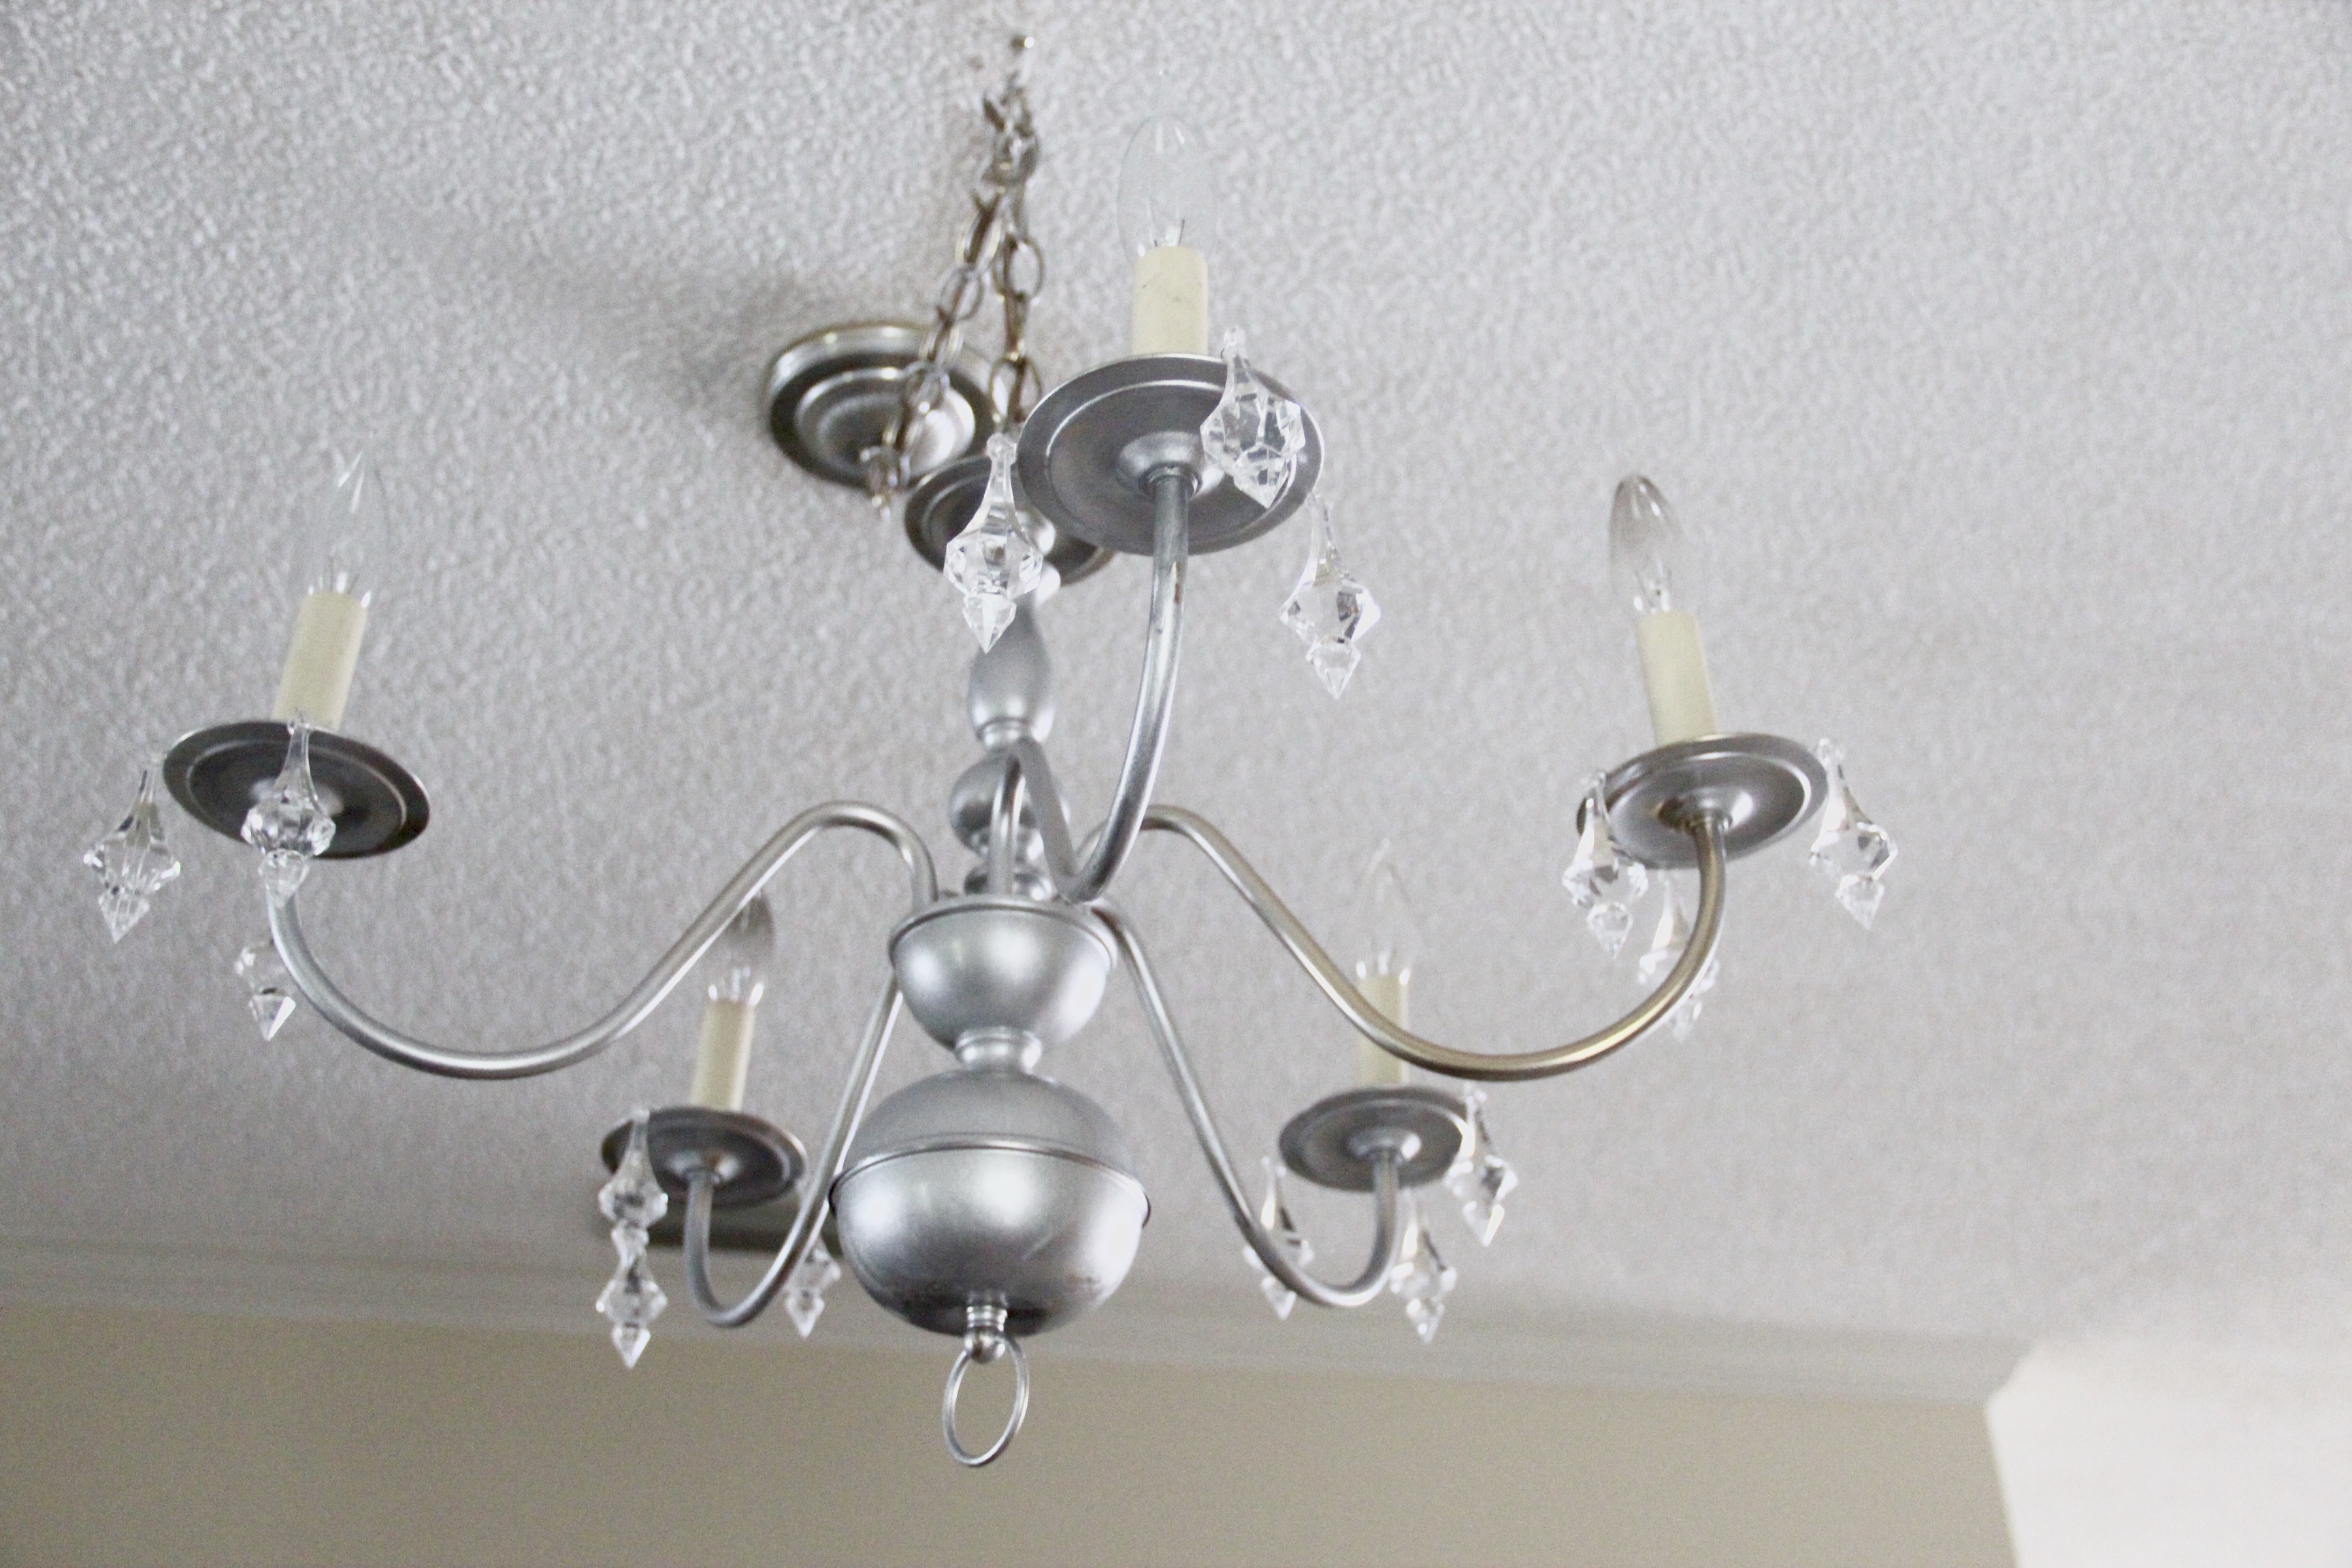
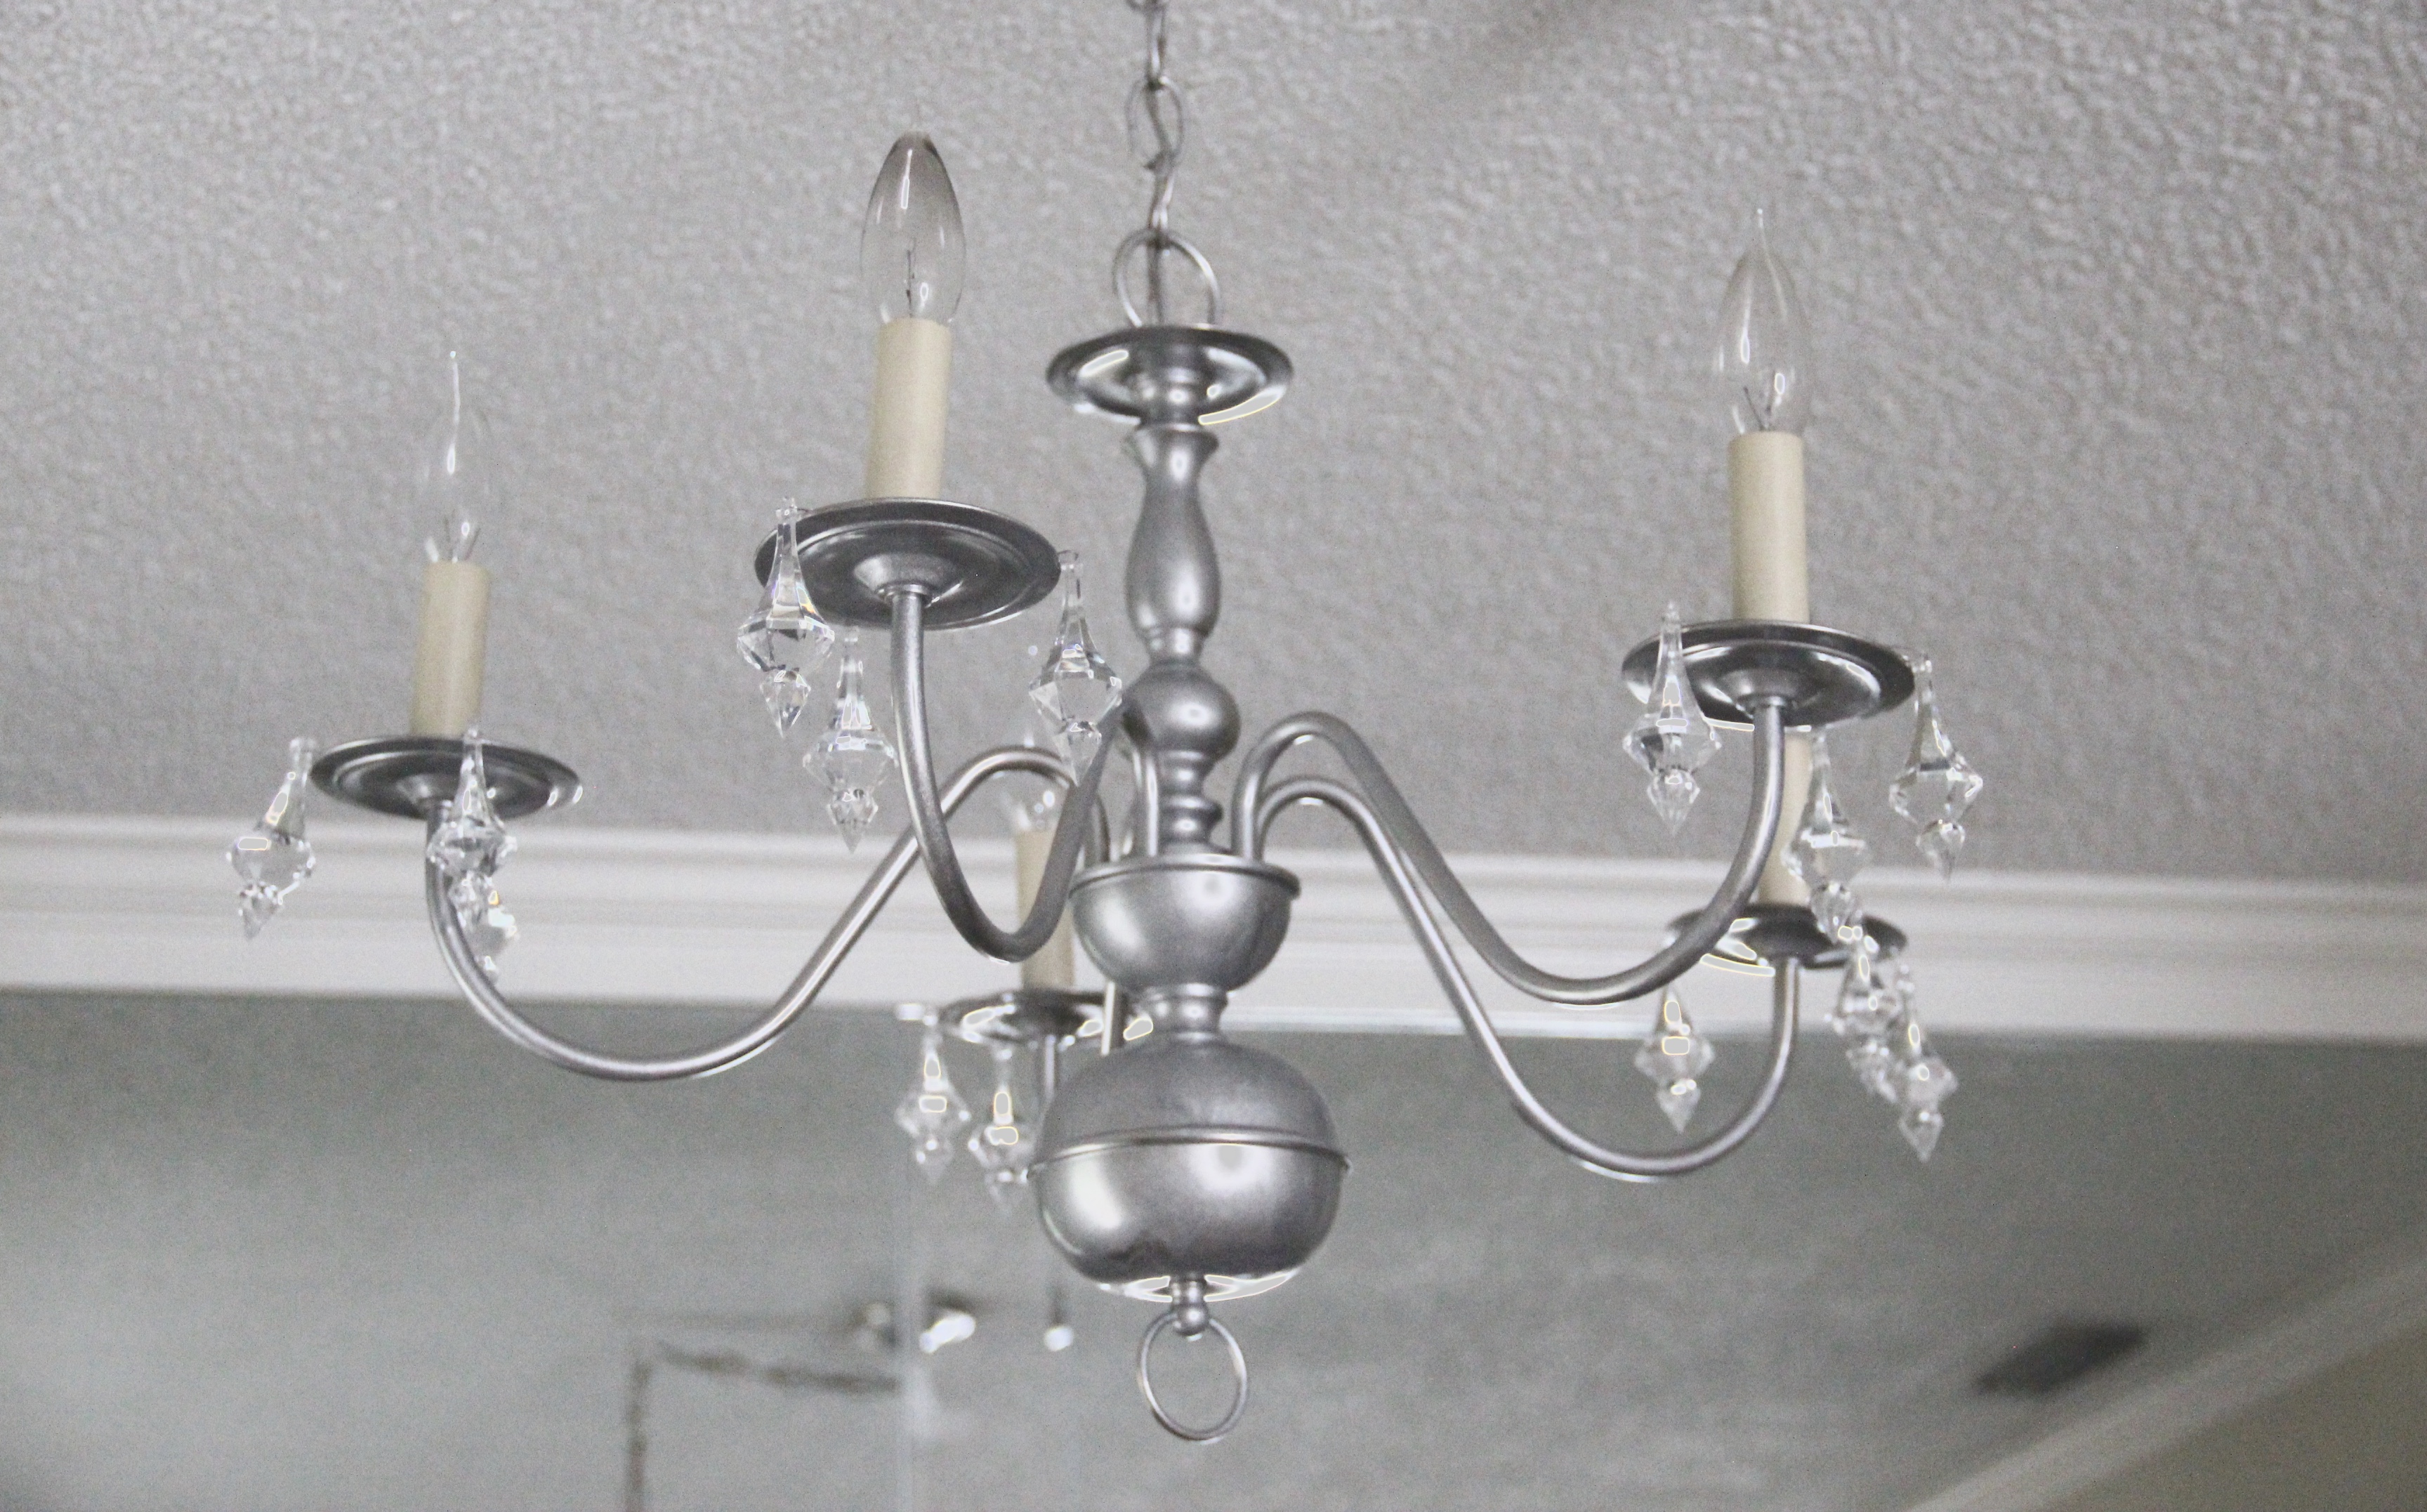
$10 DIY to a $200 Chandelier

So this is quite possibly one of my favorite DIY projects so far, simply because I love chandeliers but really don’t love their price tags ($350 is average? Not good when you’re on a moving budget!) In total, this project cost me about $10. I already had a lot of the supplies thanks to their versatility and reusability on a wide range of projects. BUT even if you are starting from scratch, this DIY project is still very kind to the wallet and easy on the eyes 🙂

Supplies:

Blue Painter’s Tape

Silver Metallic Spray Paint 

Mess Towels or Tarp to cover the floor (Dollar General)

Cardboard

Mod Podge in Gloss

Aluminum Foil or Saran Wrap

Acrylic or Actual Crystal Pieces (I used acrylic ones here for much less than crystal!)

Small Paint Brush

Silver Metallic Acrylic Paint

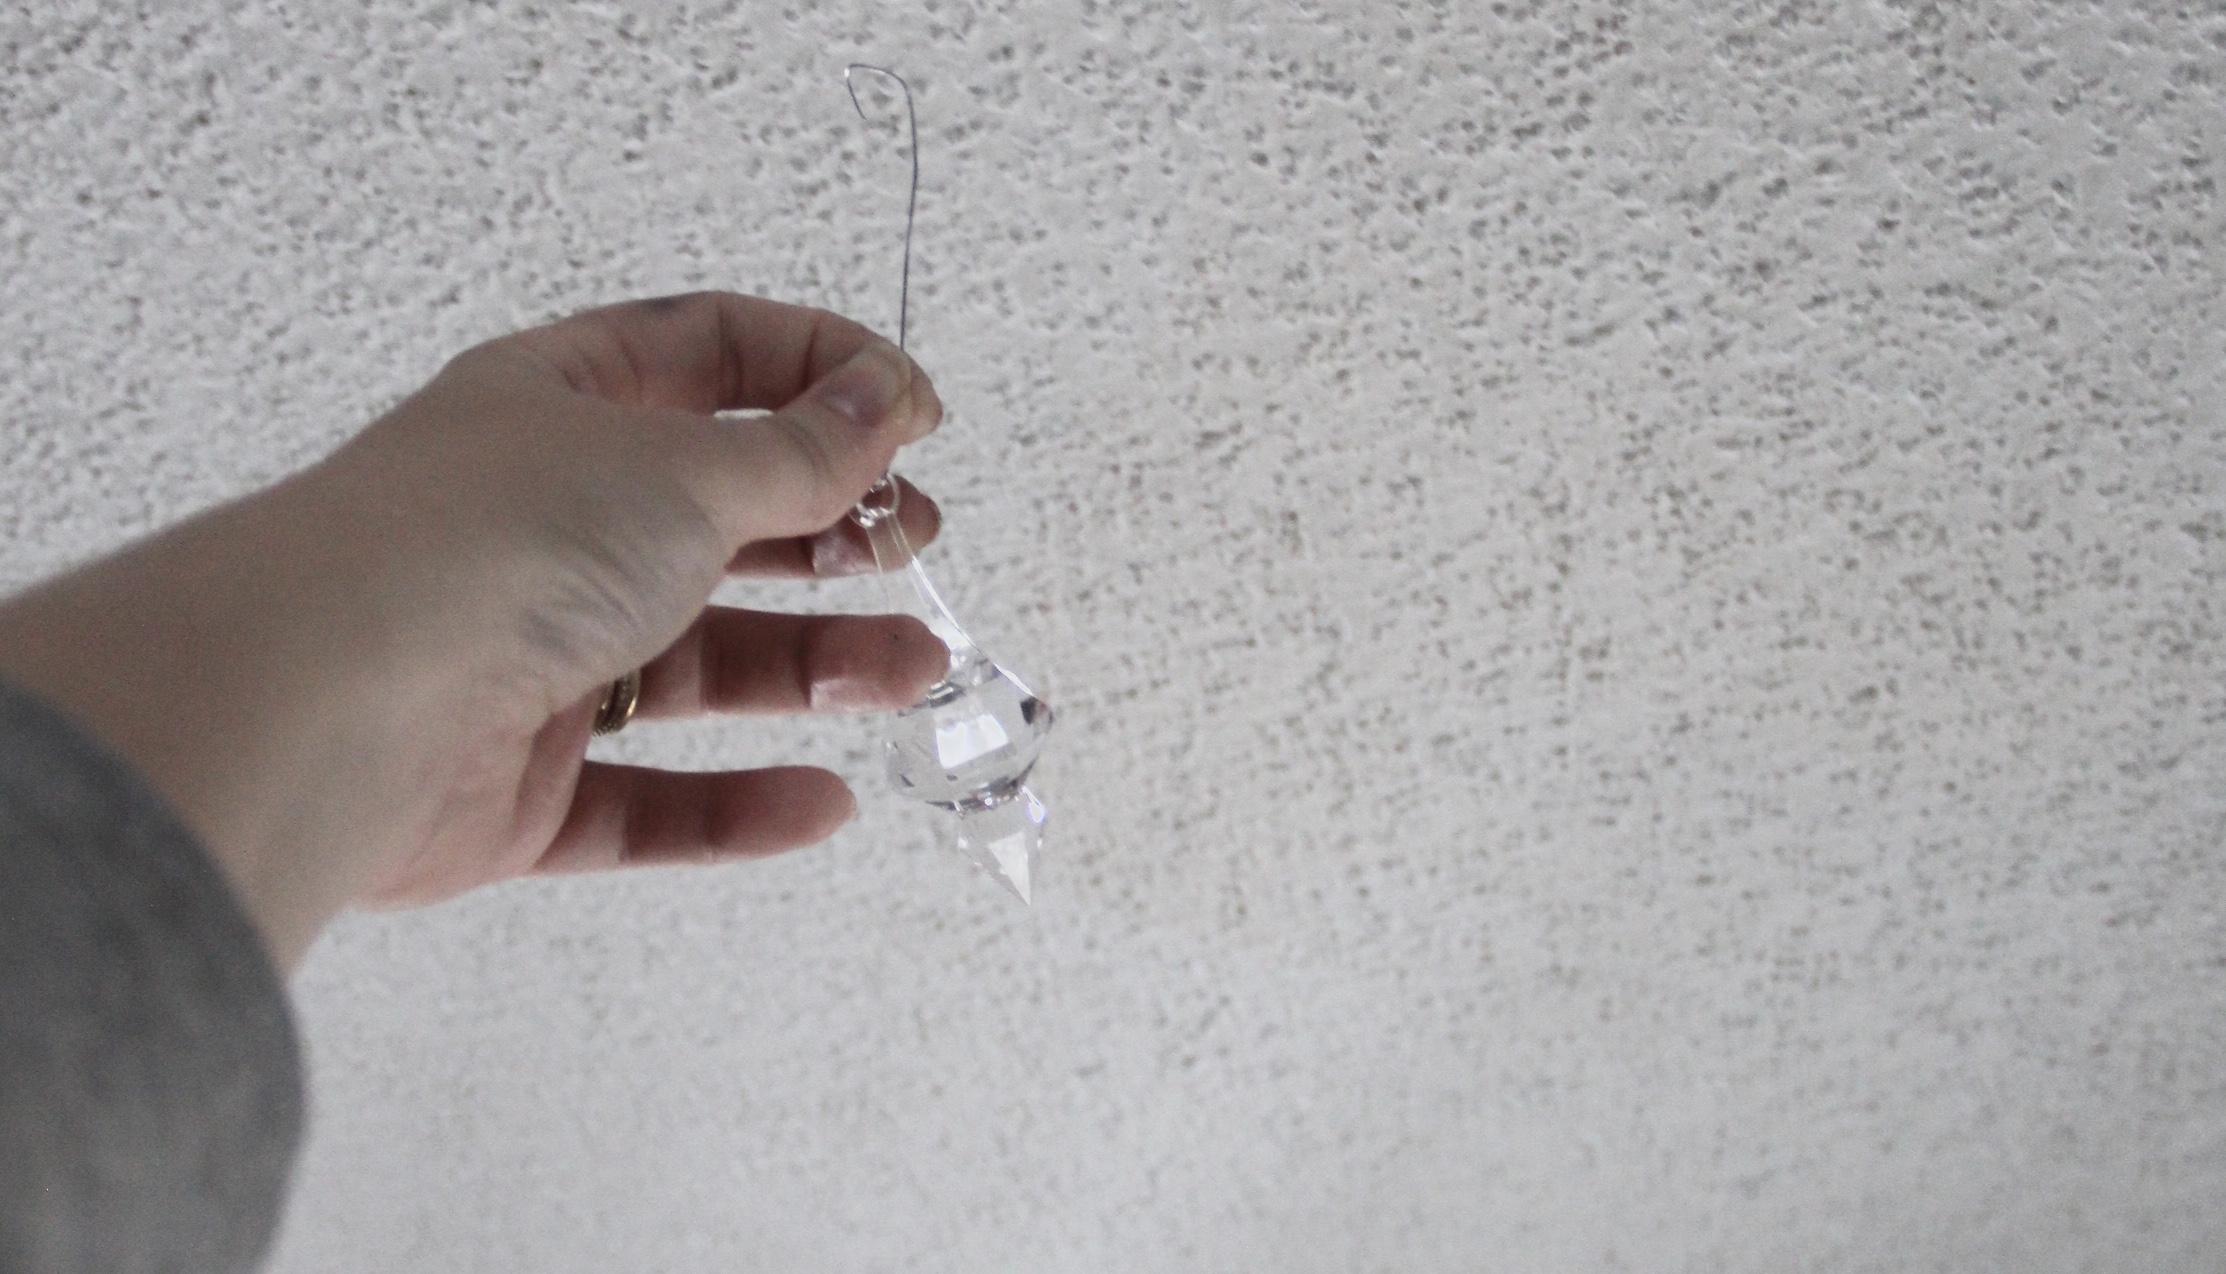
Thin wire (Christmas Ornament Hooks work perfectly)

Special Note: Before you begin, if you are comfortable removing the chandelier from the ceiling, do that and take this project outside. However, if you are like me, and prefer not to mess with the wiring/electrical mess, get a sturdy step ladder or chair and make sure it is secure before you start. Stay safe y’all!

Step 1: Clean the chandelier. Wipe that ugly thing down, and make sure to get into all the nooks and crannies that hold dust. It’s important not to skip this step, because you want the spray paint A. Not to clump, and B. To actually adhere to the fixture.

Step 2: Using the saran wrap or aluminum foil, seal off the light bulbs and their respective bases, and secure with the blue painter’s tape. You definitely do not want spray paint getting into any electrical portion of your chandelier, or onto the white bases!

Step 3: Cover the floor/tables/furniture/remove ANYTHING you do not want paint to get on. Since we are doing this inside, this is very important, as spray paint tends to travel more than you would think.

Step 4: Hold the cardboard behind the chandelier, and begin spraying! Move the cardboard as you move with the spray paint as a shield from the spray traveling beyond the chandelier. Even strokes are best, and be sure to let each layer dry before layering on the next stroke, as it will drip excessively if not. Some dripping is normal and is totally okay!

Step 5: Allow the paint to dry ~ 30 minutes or so

Step 6: Seal using Mod Podge in Gloss, by taking a small to medium paint brush and coating it on. Allow to dry ~ 30-40 minutes.

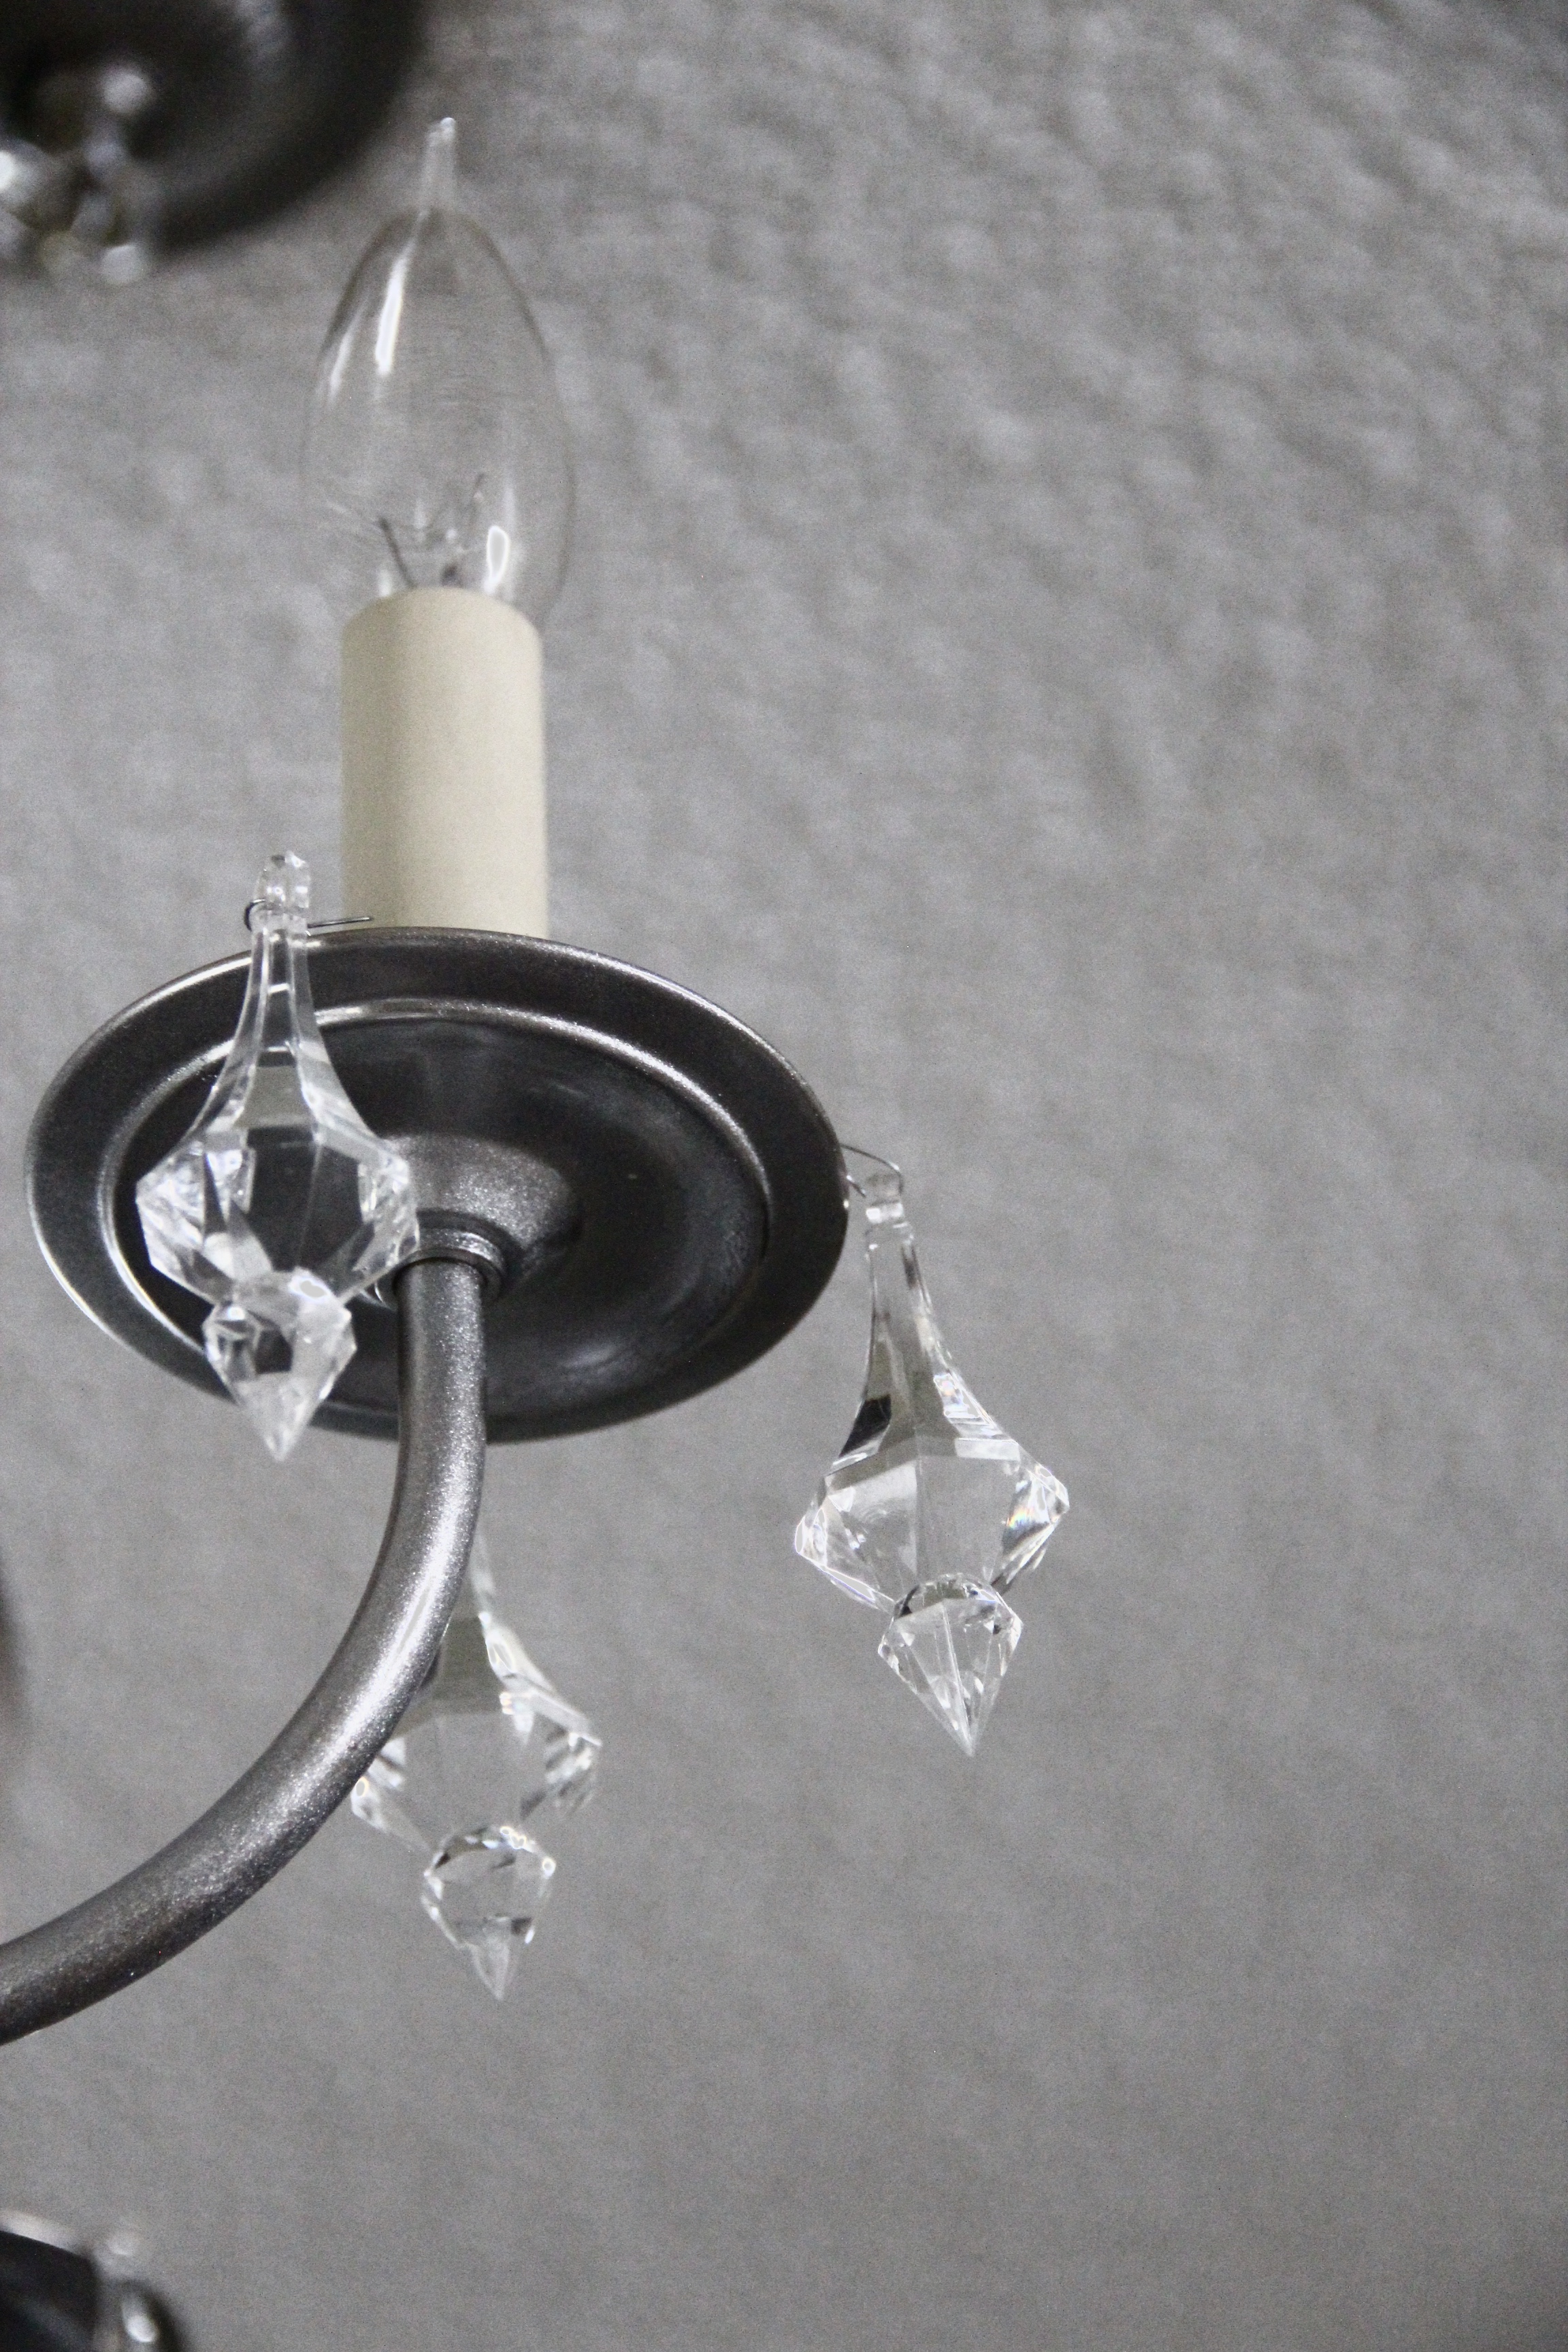
Step 7: Using your acrylic or crystal pieces, take the hooks and literally hook them around the lights’ bases. The wire will not show if this is done properly. Do three around each base (or more if you prefer).

That’s it! 7 easy steps to a totally upgraded, yet cost effective chandelier!


Additional Tip: If you see any spots you missed with the spray, take metallic acrylic paint and simply go over them with a brush!


Featured Supplies: 


Post, Pin, Share: