Browse Tag by paint
Beauty, Blog, Fashion, Instagram Roundup, The Home

June Instagram Roundup

Blonde Boss Babe June 2017 Instagram roundup


 Console Table | Chair


Office Chair | Leopard print Throw | Rug


Mercury Glass | Console Table | Lamp Dupe


Leaning Shelves | Pink Heels | Black Heels | Nude Heels | Blue Heels 


Tie-up Espadrille Wedges | Rug 


Diptyque Candle | Gold Paperclips


Diptyque Candle | Chanel Perfume | Marble & Gold Vanity Tray


Faux Garland | Pink Accent Roses | White Accent Rose Sprays


Metallic Gold & White Leopard Pillow | Leaning Shelves 


DIY lace floral teepee


Porcelain Plate Set Dupe | Porcelain Pitcher Dupe


Goodness gracious, y’all, with a new month came a new round of crazy schedules – funny how we always hope that the summer season will bring more rest than busyness but usually the opposite is true! In this post I’ve linked up all the details from the most popular/asked about Instagram posts from the month of June – as always, if there’s something I’ve missed that you would like more information on, feel free to comment below and I’ll add the related info to this post! July Instagram roundup coming in the next few days! 

SaveSave

SaveSave

SaveSave

SaveSave

SaveSave

SaveSave

SaveSave

SaveSave

SaveSave

SaveSave

Post, Pin, Share:
Blog, DIY Projects, Home Decor, Party Decor, The Home

DIY Gold Unicorn Memo Holder


Happy Wednesday, y’all! We are halfway through the week, so officially almost to the weekend (Woo!) Today’s DIY is SO fun for many different reasons – it can be used for holding pictures, encouraging notes, a to-do list, or even as someone’s placeholder in a themed party, the options you have out of this simple 3-step DIY are endless 🙂

To get started you’ll need:

Supplies 

Rust-Oleum Gold Spray Paint

Hot Glue Gun & Glue

Gold Paperclips 

Unicorns


Step 1: Get out your paperclips and plug in your hot glue gun! For this part, you can choose to either straighten out one side of the paperclip or leave as it is depending on where on the unicorn you want your clip to be. Once you’ve decided, glue it into place. Repeat this step with as many as desired.


Step 2: In a well-ventilated location (preferably outside if possible) begin spray painting your unicorn memo holders. Lightly spray the first layer, letting it set for about 10 minutes or so before continuing. Repeat until desired coverage is reached – after which wait about 40 minutes before handling.


Step 3: Decide what you will use your new gold note/memo/photo/place holders for! I’ve included some ideas below:


(Marble & Gold vanity tray DIY linked here)

Getting ready to complete this DIY? Don’t forget your supplies!


& if you liked this post – sharing is caring  🙂 – please feel free to pin/tweet/text/share the image below: 

SaveSave

SaveSave

SaveSave

SaveSave

SaveSave

SaveSave

SaveSave

SaveSave

SaveSave

SaveSave

SaveSave

SaveSave

SaveSave

SaveSave

SaveSave

SaveSave

SaveSave

SaveSave

SaveSave

SaveSave

Post, Pin, Share:
Blog, Home Decor, Moving, The Home

Home Office Sneak Peek

Oh my gosh, we are so excited to finally be in our new home –  it’s unreal. J is over the moon about the land, whereas I am on cloud nine now thanks to my new home office. In some of my previous posts I mention the sunroom in our old condo a lot. It had a great amount of natural light which made it perfect for studying. However, it was completely open to the living room, meaning no noise separation and no ability to “put away” AKA hide my papers/binders/etc. whenever company would arrive. So, when we began looking for potential properties, a space that could be converted into a home office was at the absolute top of my list.

I’ll be sharing more as everything gets unpacked and set up, but here’s a brief sneak peek of my new home office:


Looking forward to sharing more soon!

**UPDATE: For more recent office views & links to featured items check out: Spring 2017 Home Office Tour & January 2017 Office Preview

Post, Pin, Share:
Blog, DIY Projects, Home Decor, Moving, The Home

$10 DIY to a $200 Chandelier

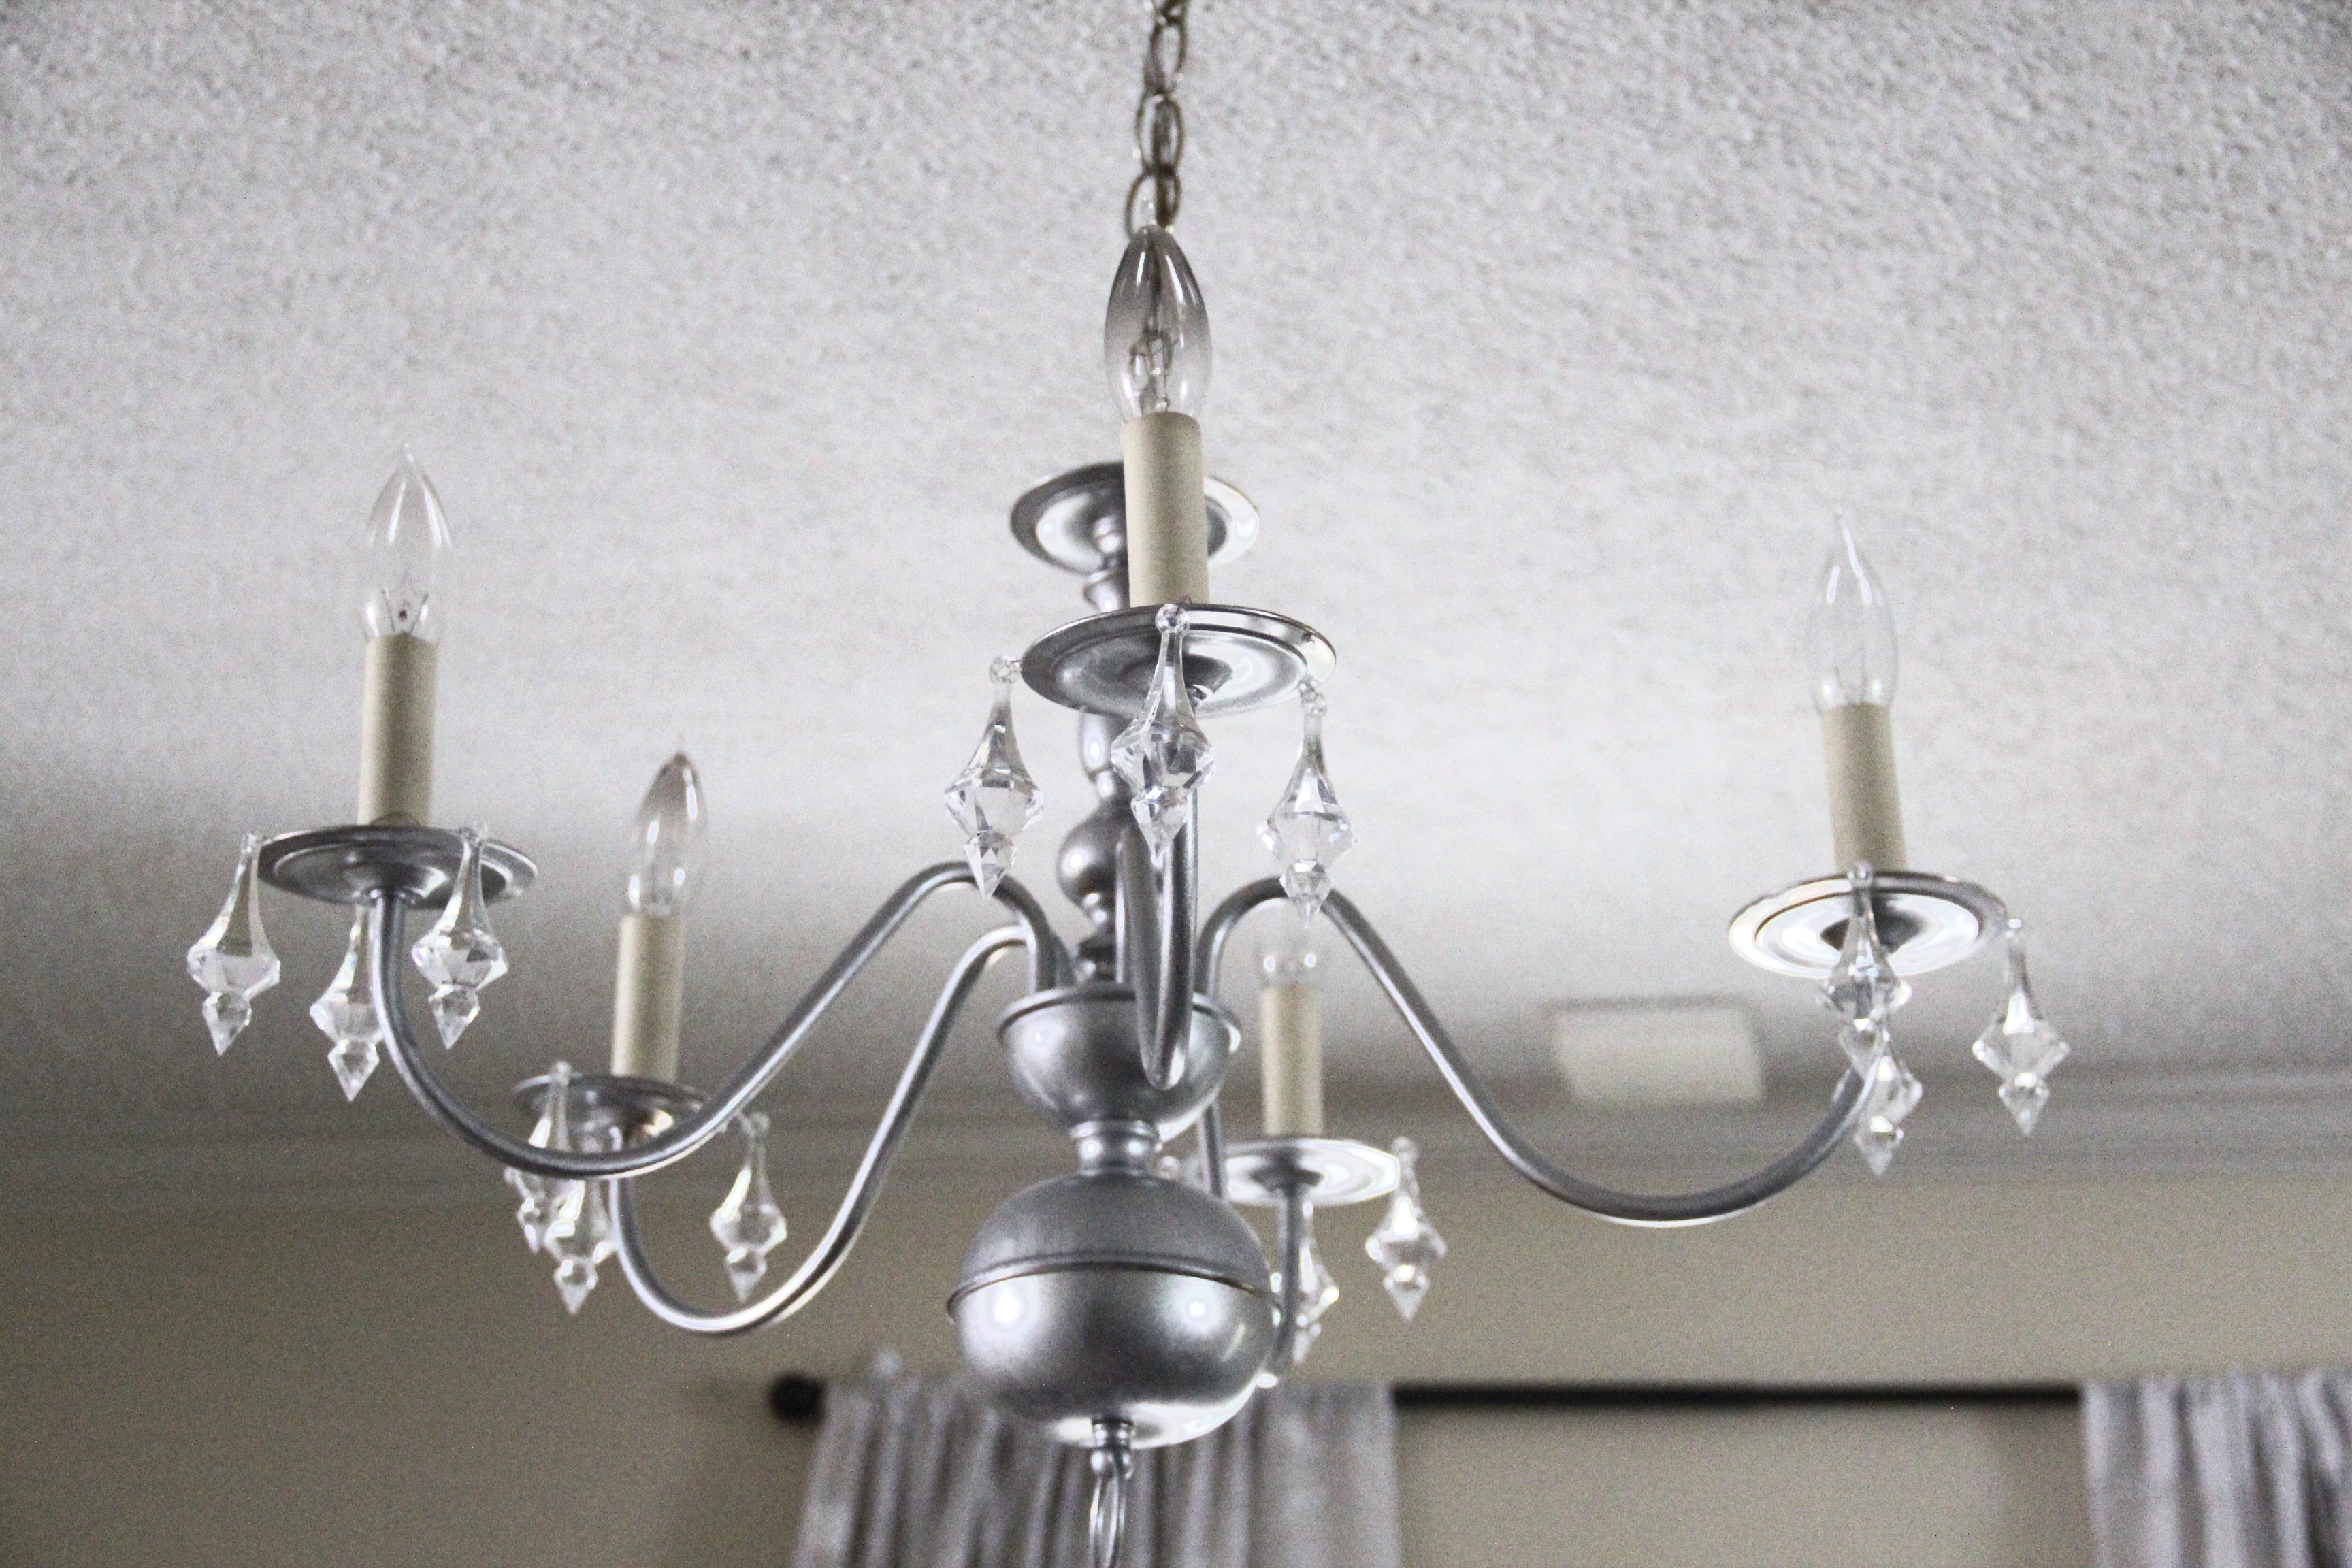
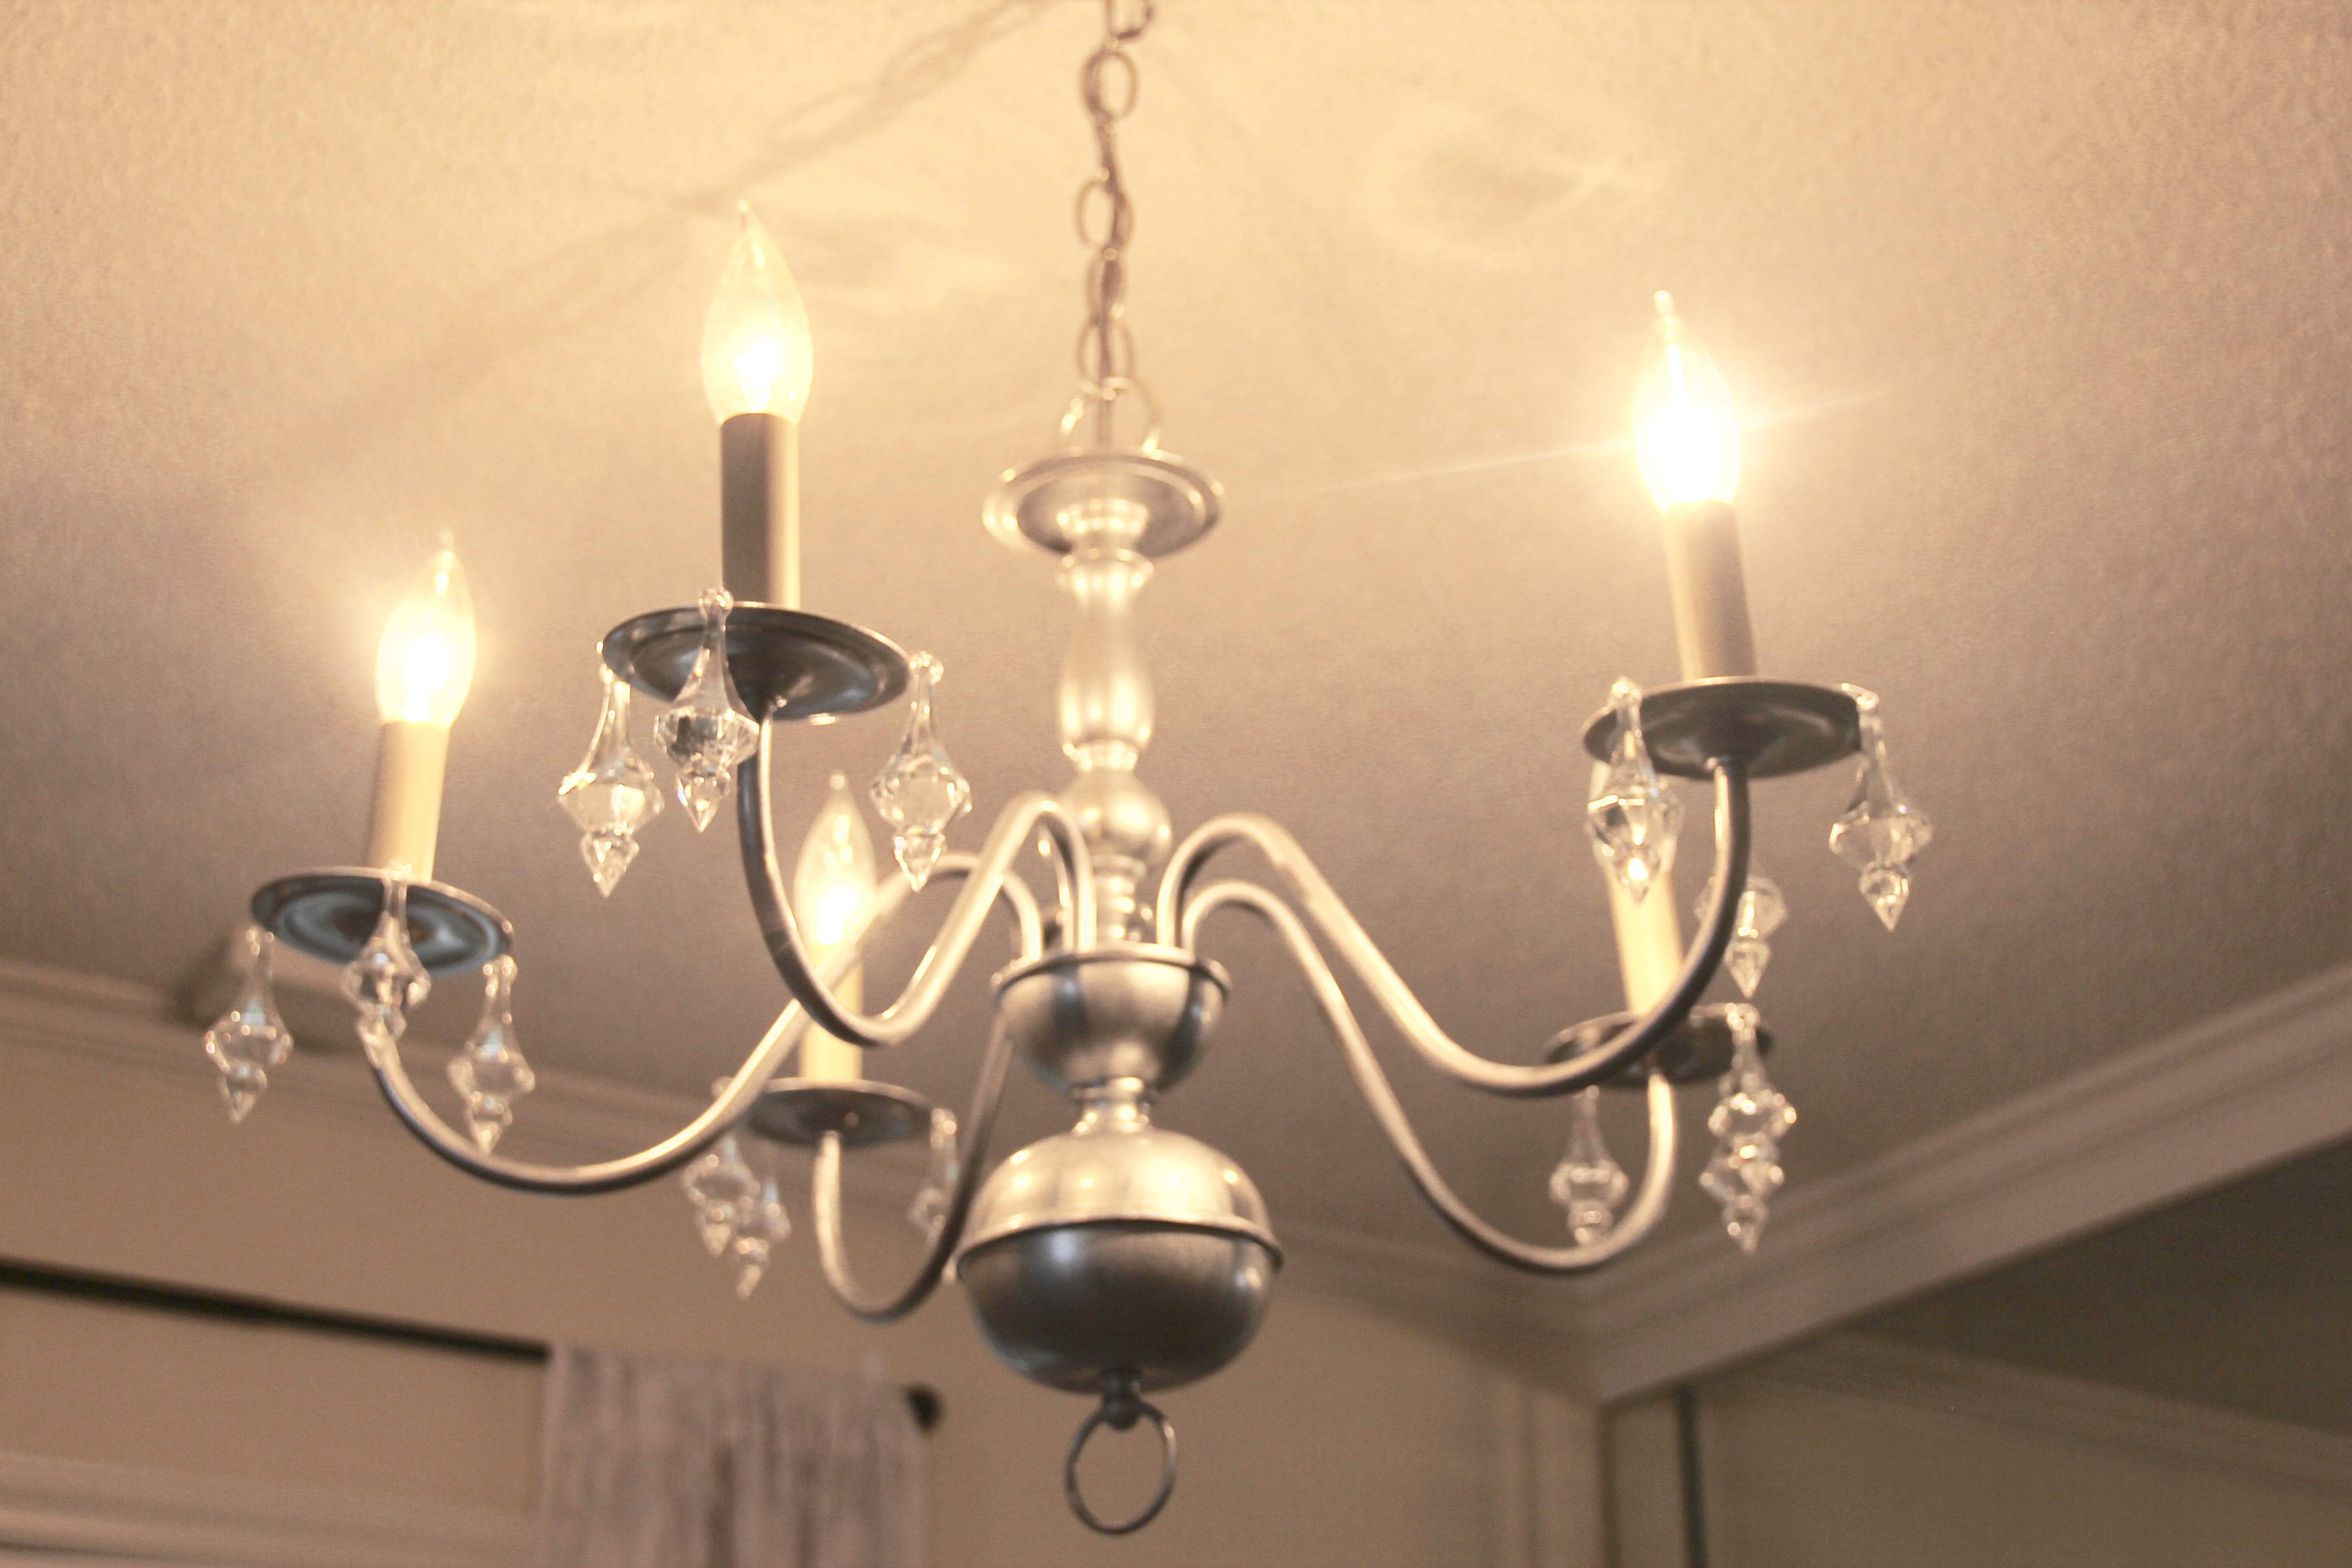
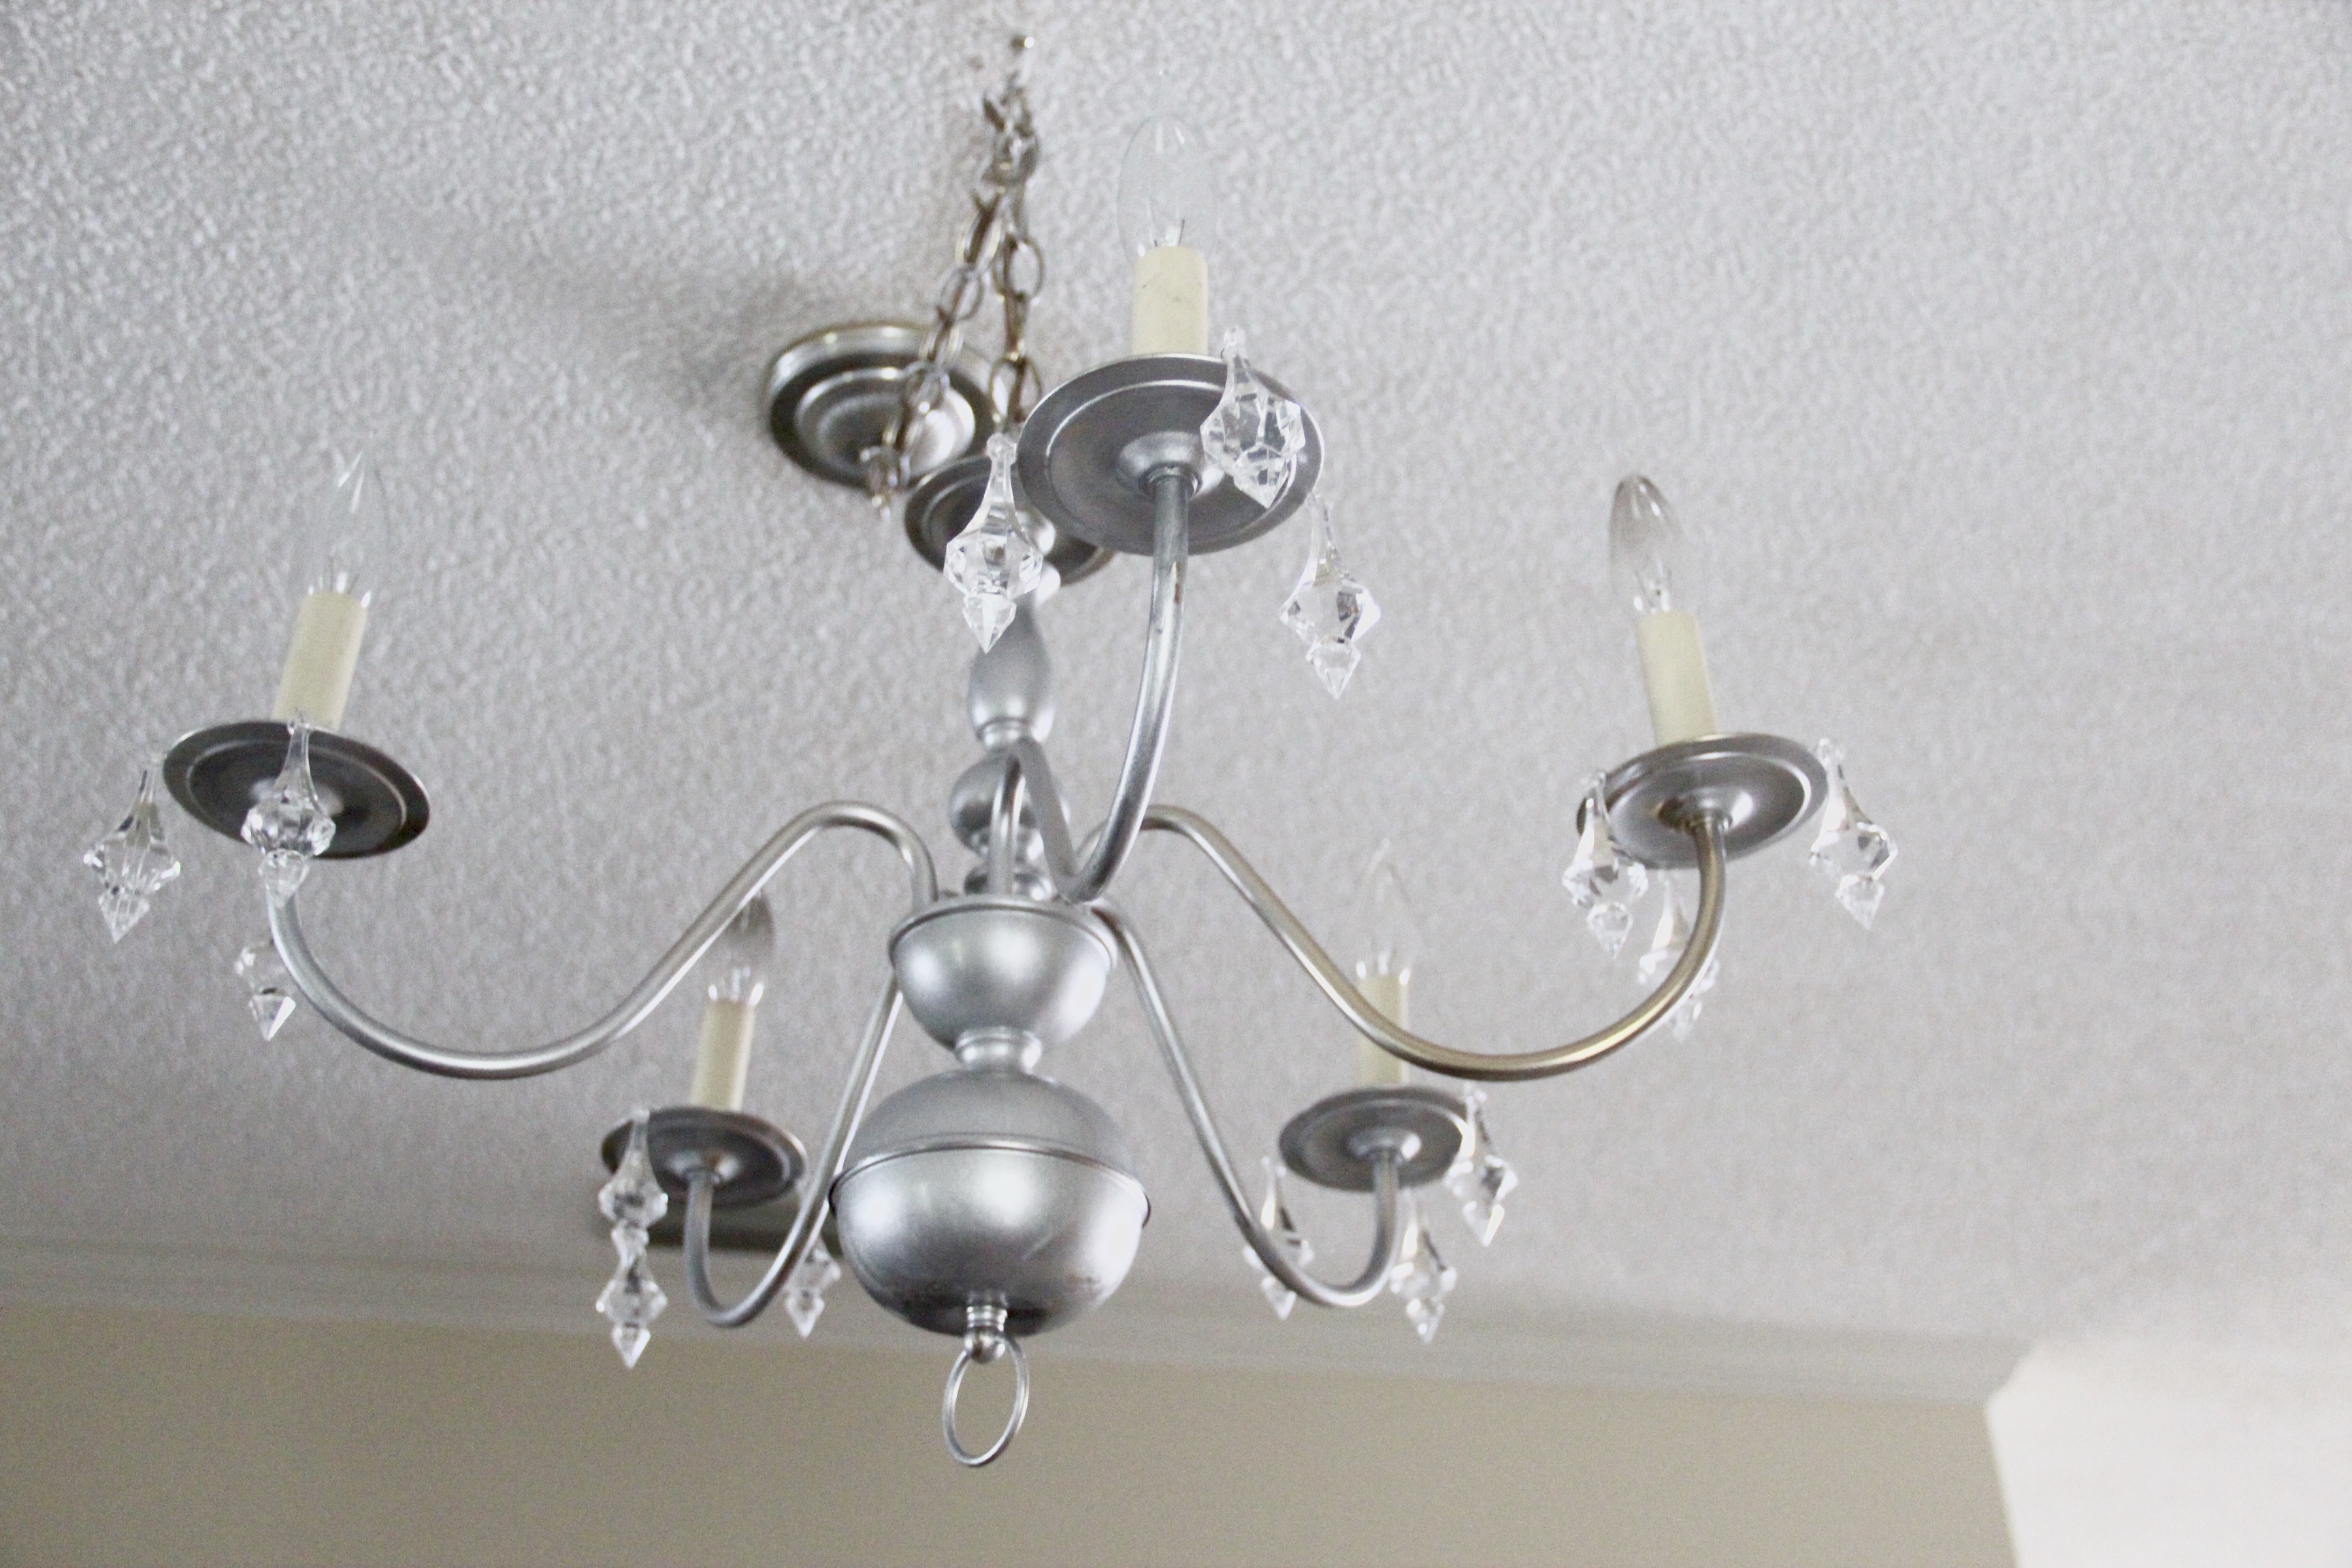
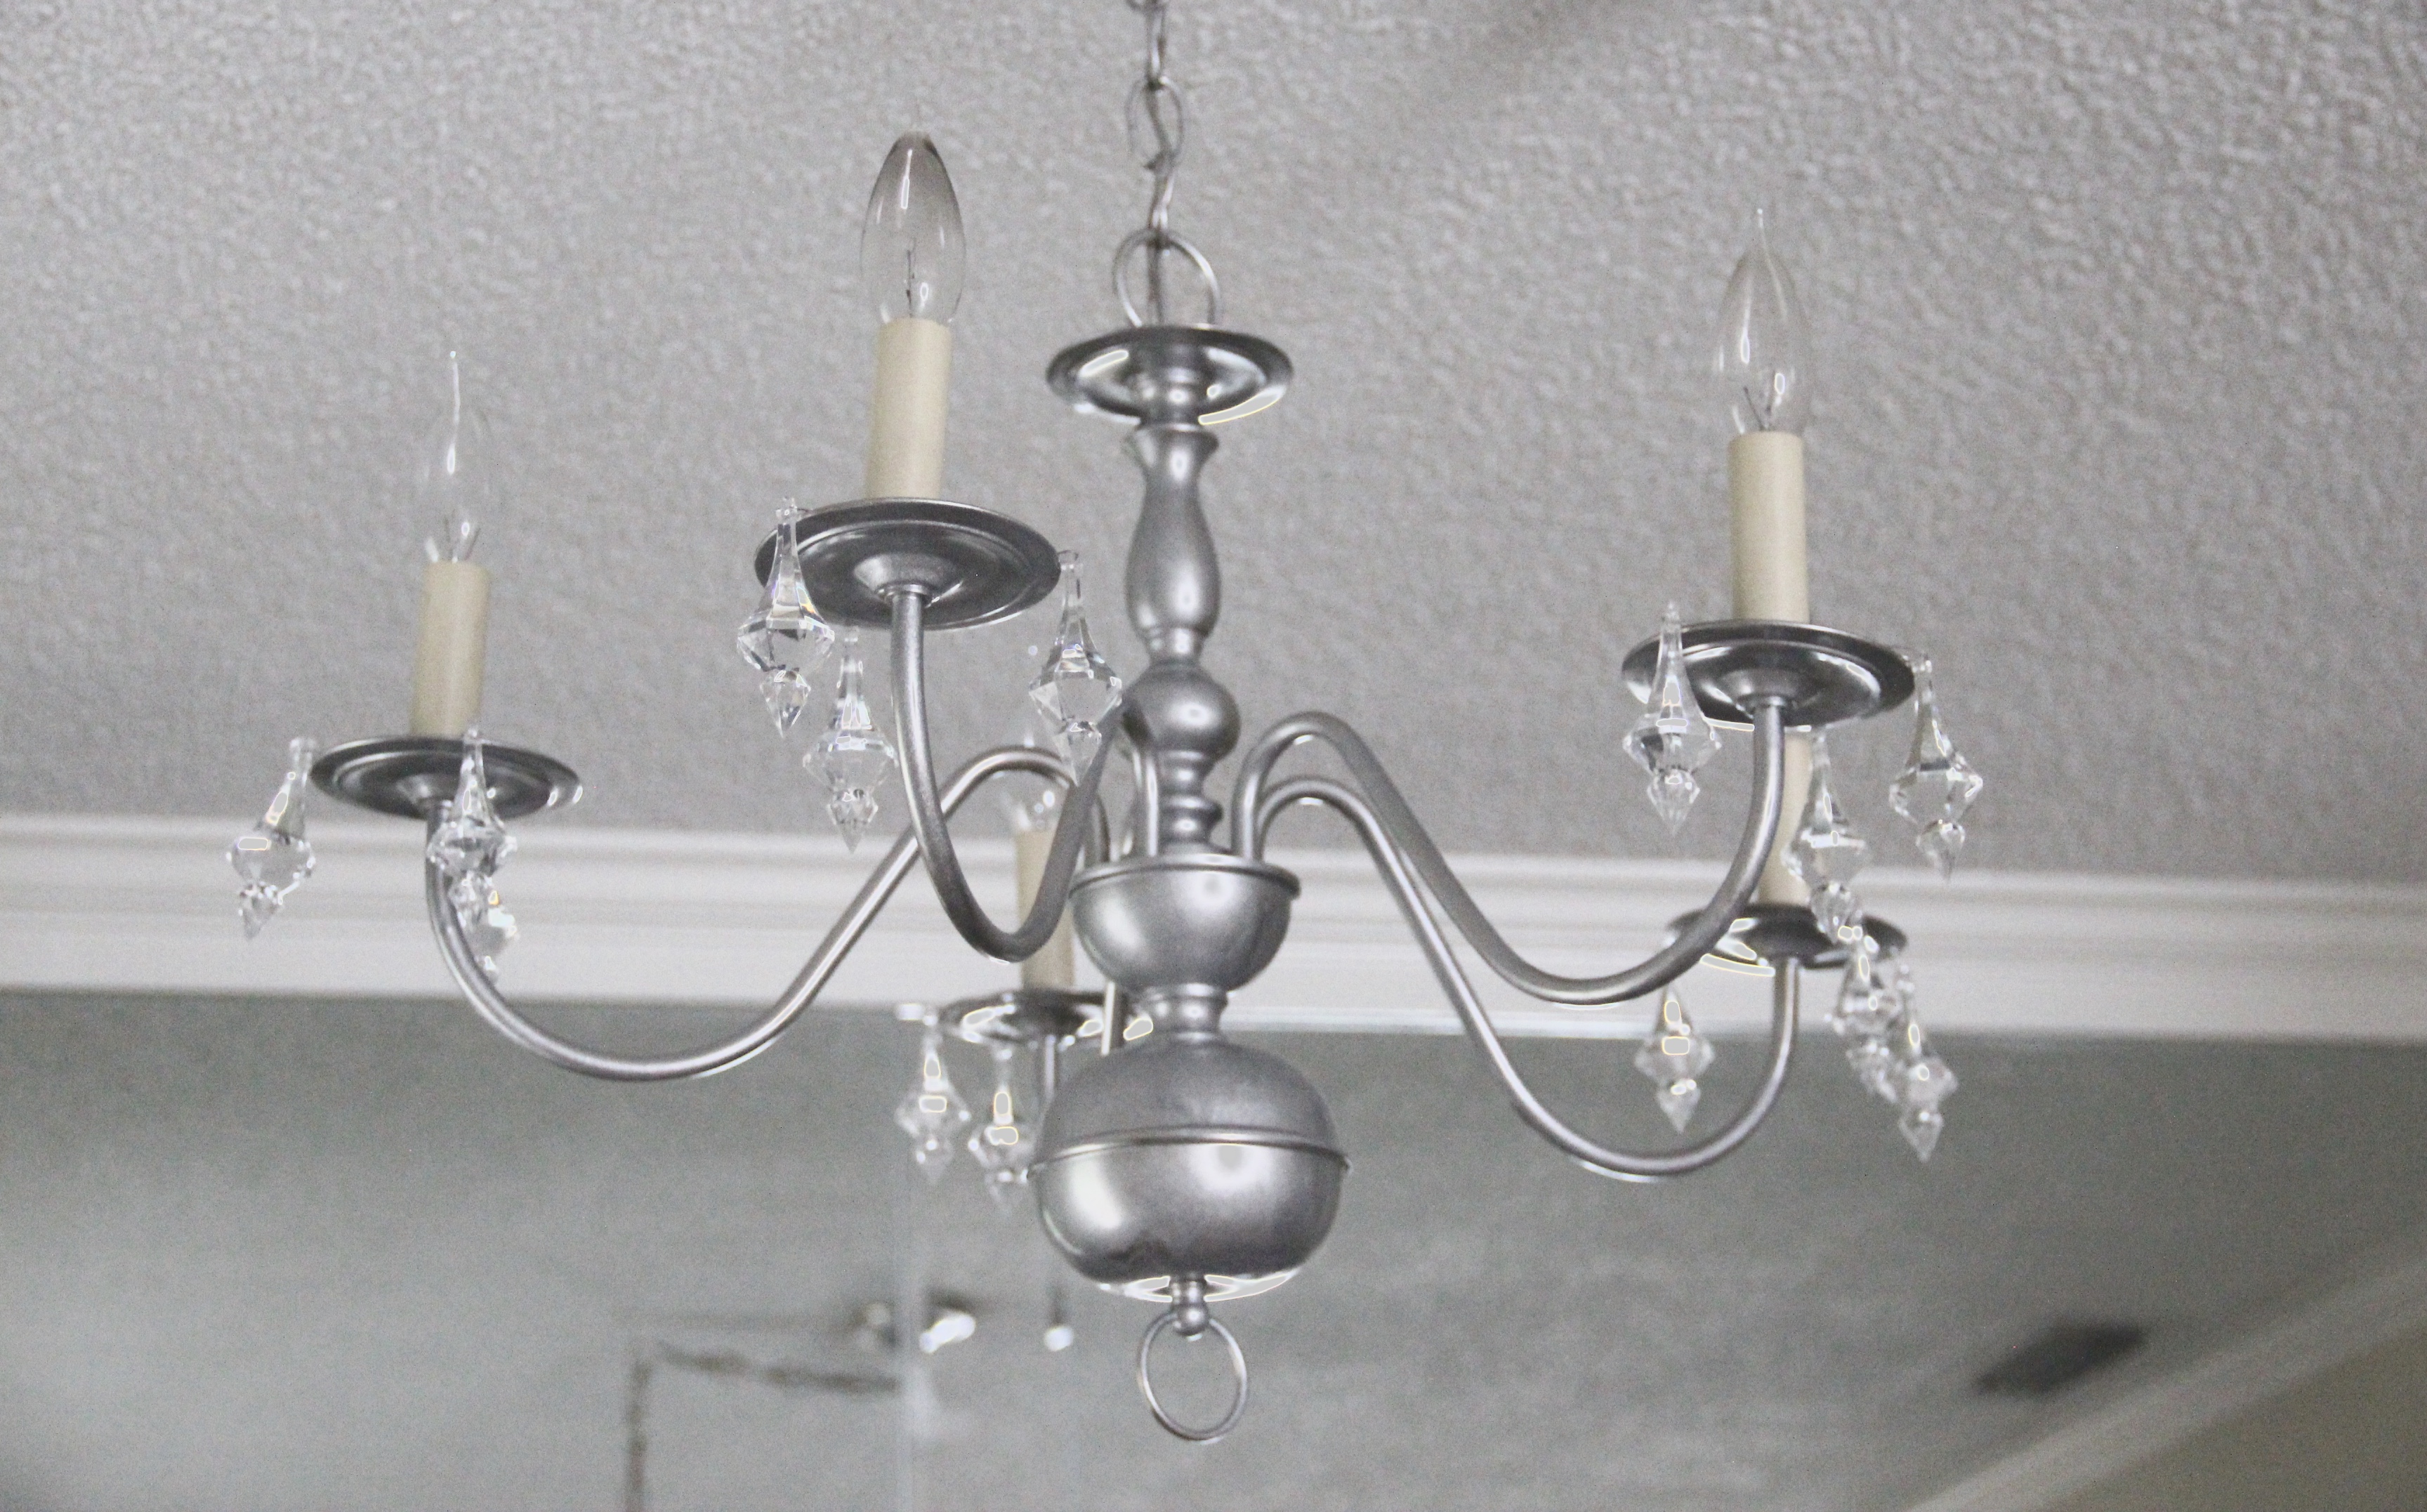
So this is quite possibly one of my favorite DIY projects so far, simply because I love chandeliers but really don’t love their price tags ($350 is average? Not good when you’re on a moving budget!) In total, this project cost me about $10. I already had a lot of the supplies thanks to their versatility and reusability on a wide range of projects. BUT even if you are starting from scratch, this DIY project is still very kind to the wallet and easy on the eyes 🙂

Supplies:

Blue Painter’s Tape

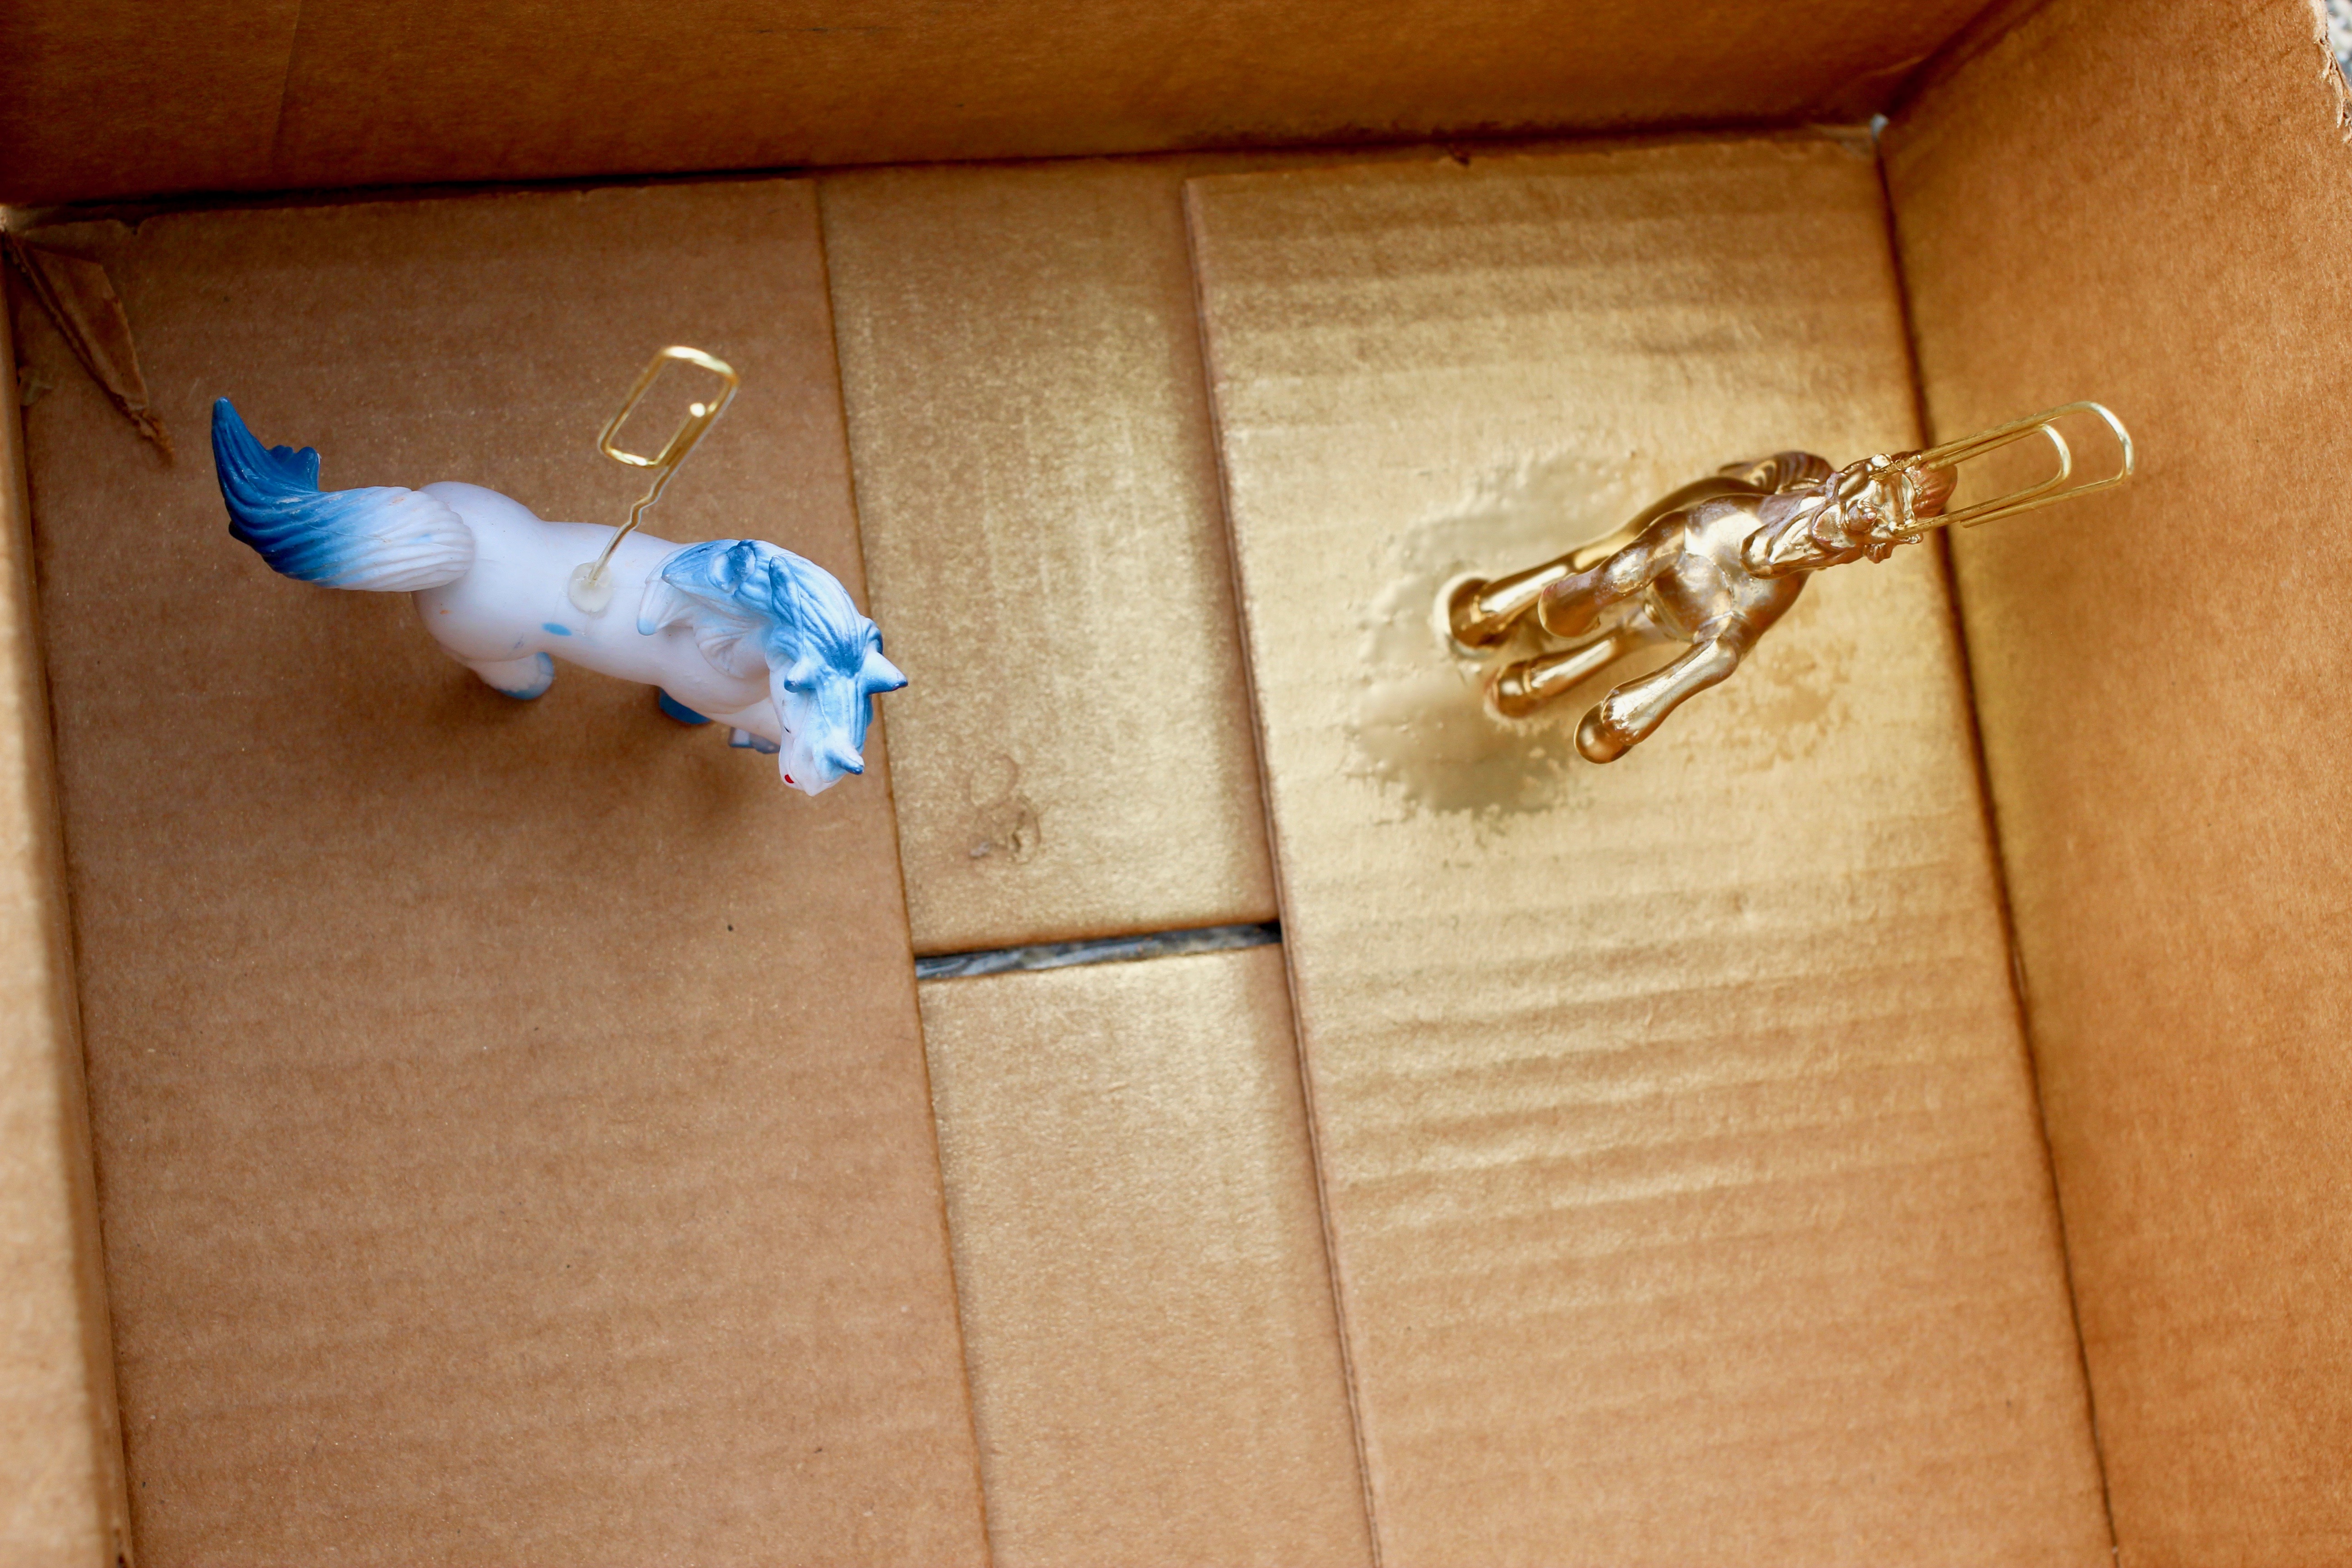
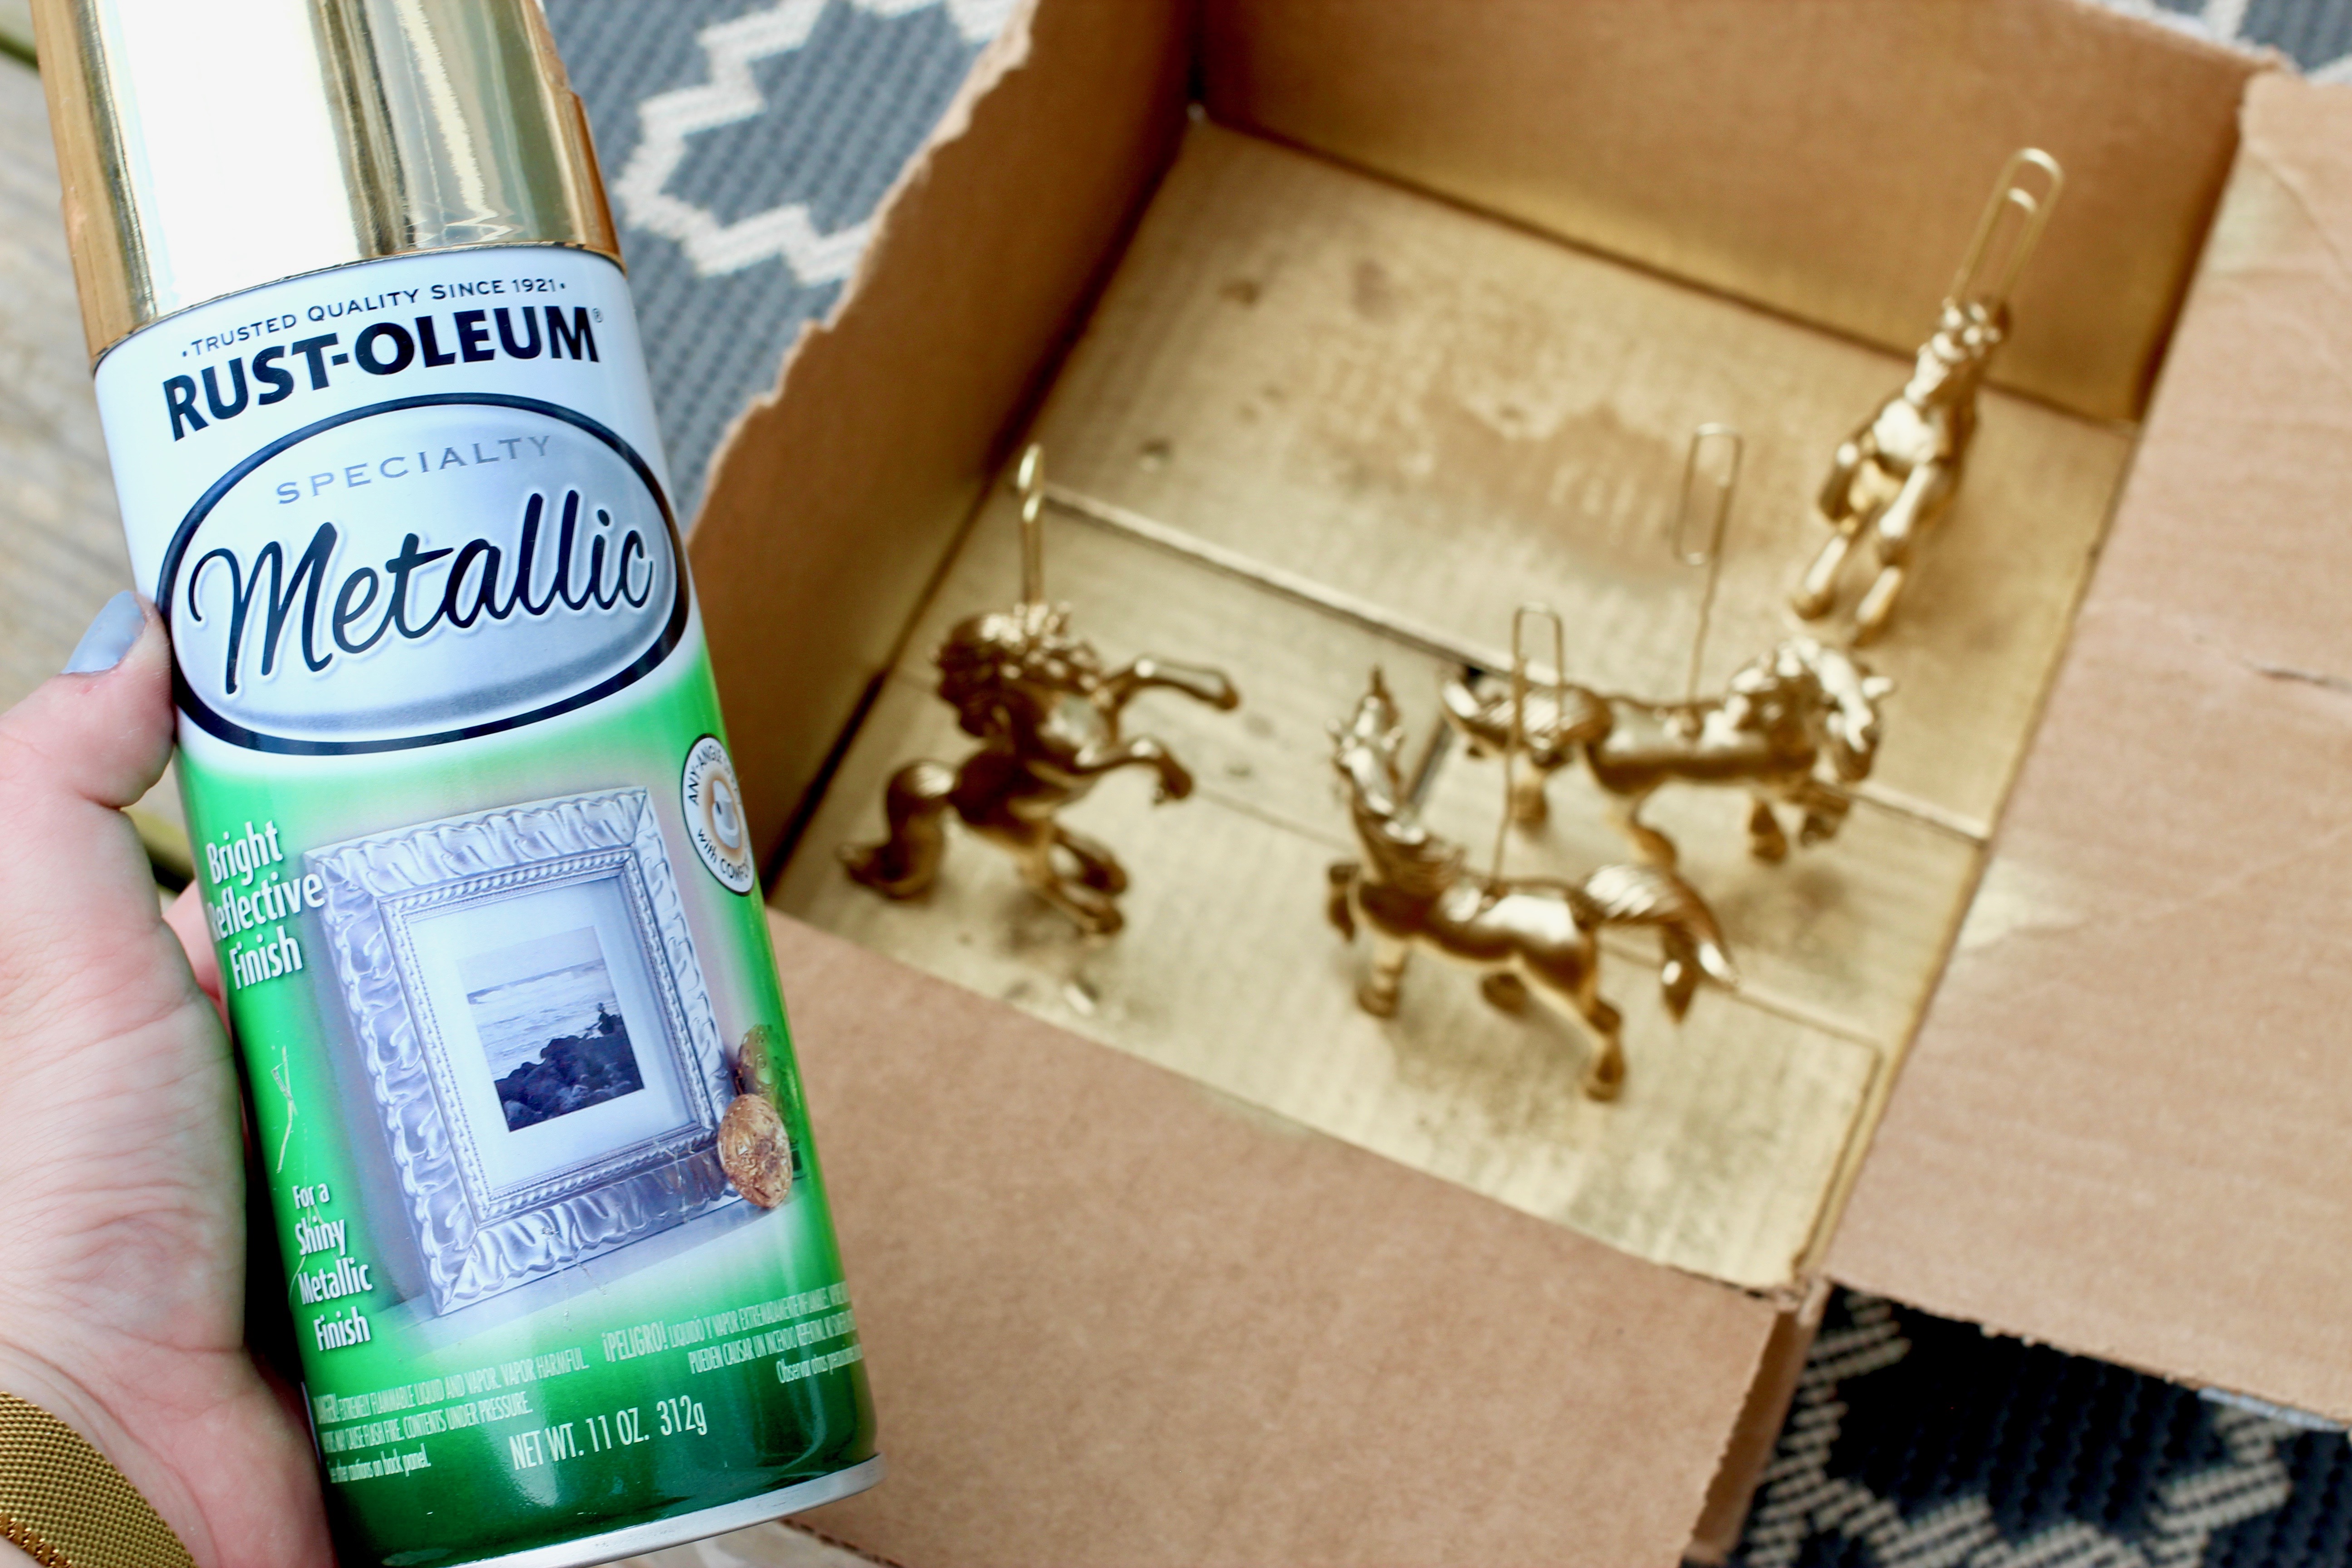
Silver Metallic Spray Paint 

Mess Towels or Tarp to cover the floor (Dollar General)

Cardboard

Mod Podge in Gloss

Aluminum Foil or Saran Wrap

Acrylic or Actual Crystal Pieces (I used acrylic ones here for much less than crystal!)

Small Paint Brush

Silver Metallic Acrylic Paint

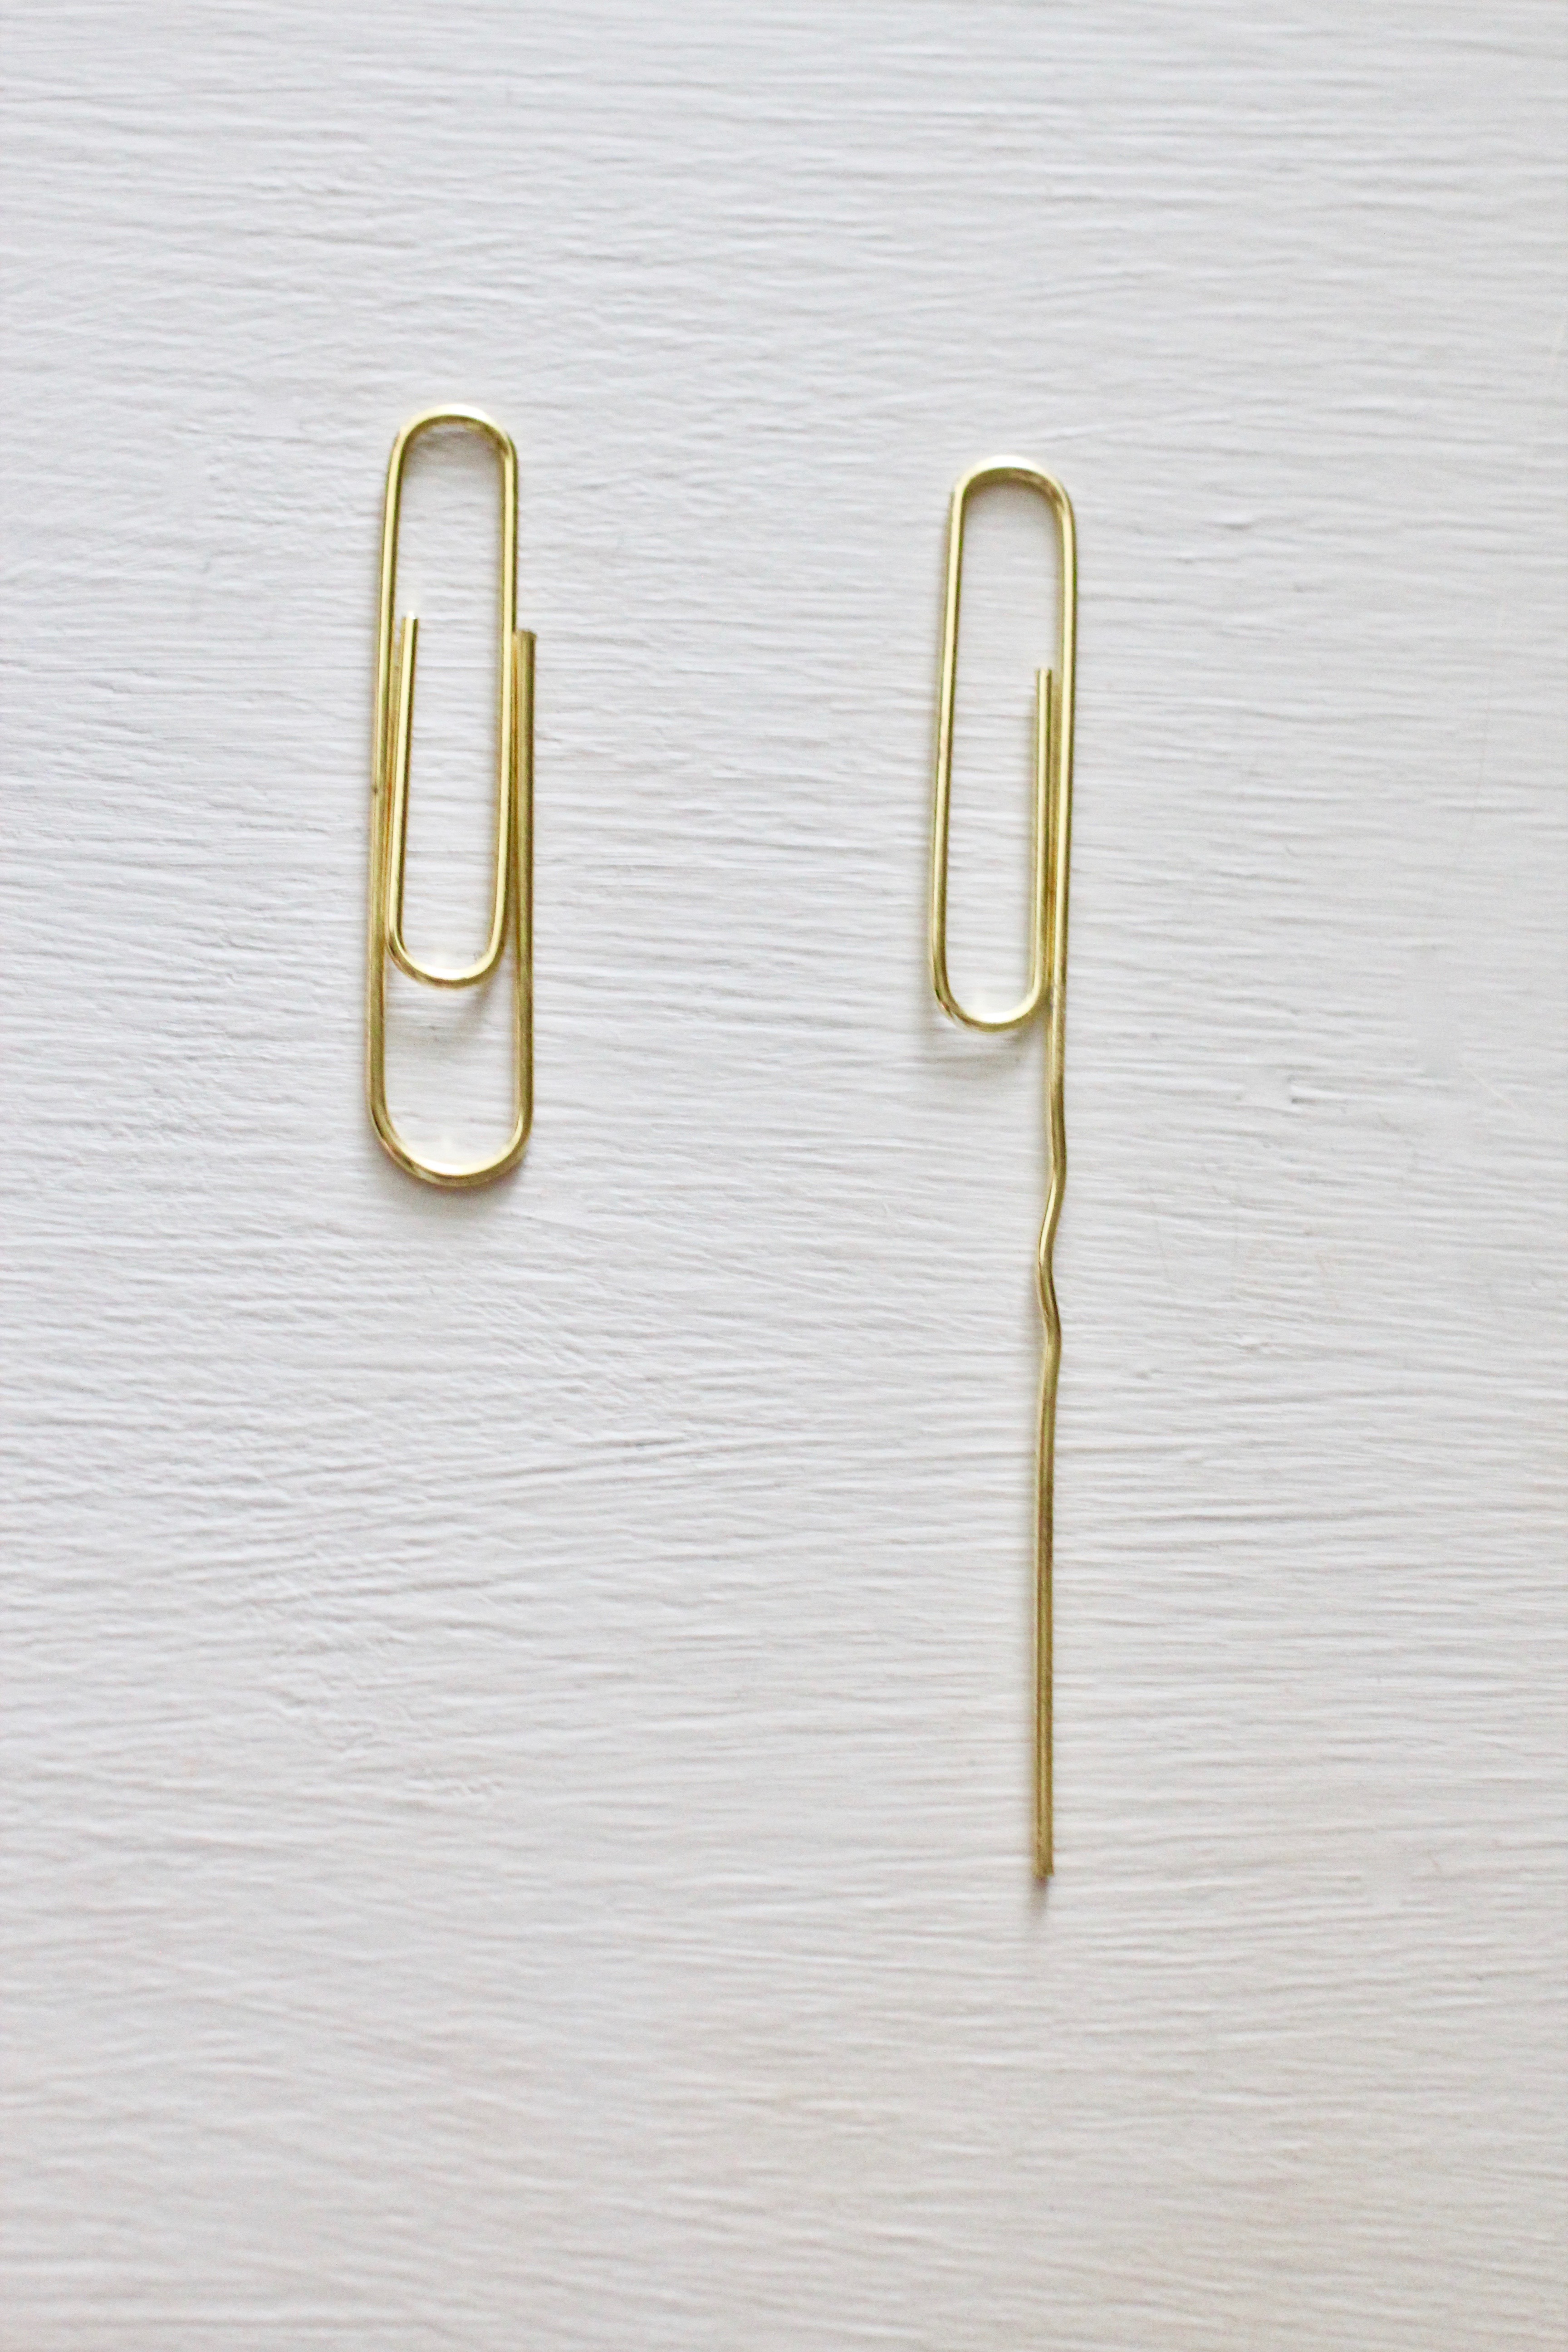
Thin wire (Christmas Ornament Hooks work perfectly)

Special Note: Before you begin, if you are comfortable removing the chandelier from the ceiling, do that and take this project outside. However, if you are like me, and prefer not to mess with the wiring/electrical mess, get a sturdy step ladder or chair and make sure it is secure before you start. Stay safe y’all!

Step 1: Clean the chandelier. Wipe that ugly thing down, and make sure to get into all the nooks and crannies that hold dust. It’s important not to skip this step, because you want the spray paint A. Not to clump, and B. To actually adhere to the fixture.

Step 2: Using the saran wrap or aluminum foil, seal off the light bulbs and their respective bases, and secure with the blue painter’s tape. You definitely do not want spray paint getting into any electrical portion of your chandelier, or onto the white bases!

Step 3: Cover the floor/tables/furniture/remove ANYTHING you do not want paint to get on. Since we are doing this inside, this is very important, as spray paint tends to travel more than you would think.

Step 4: Hold the cardboard behind the chandelier, and begin spraying! Move the cardboard as you move with the spray paint as a shield from the spray traveling beyond the chandelier. Even strokes are best, and be sure to let each layer dry before layering on the next stroke, as it will drip excessively if not. Some dripping is normal and is totally okay!

Step 5: Allow the paint to dry ~ 30 minutes or so

Step 6: Seal using Mod Podge in Gloss, by taking a small to medium paint brush and coating it on. Allow to dry ~ 30-40 minutes.

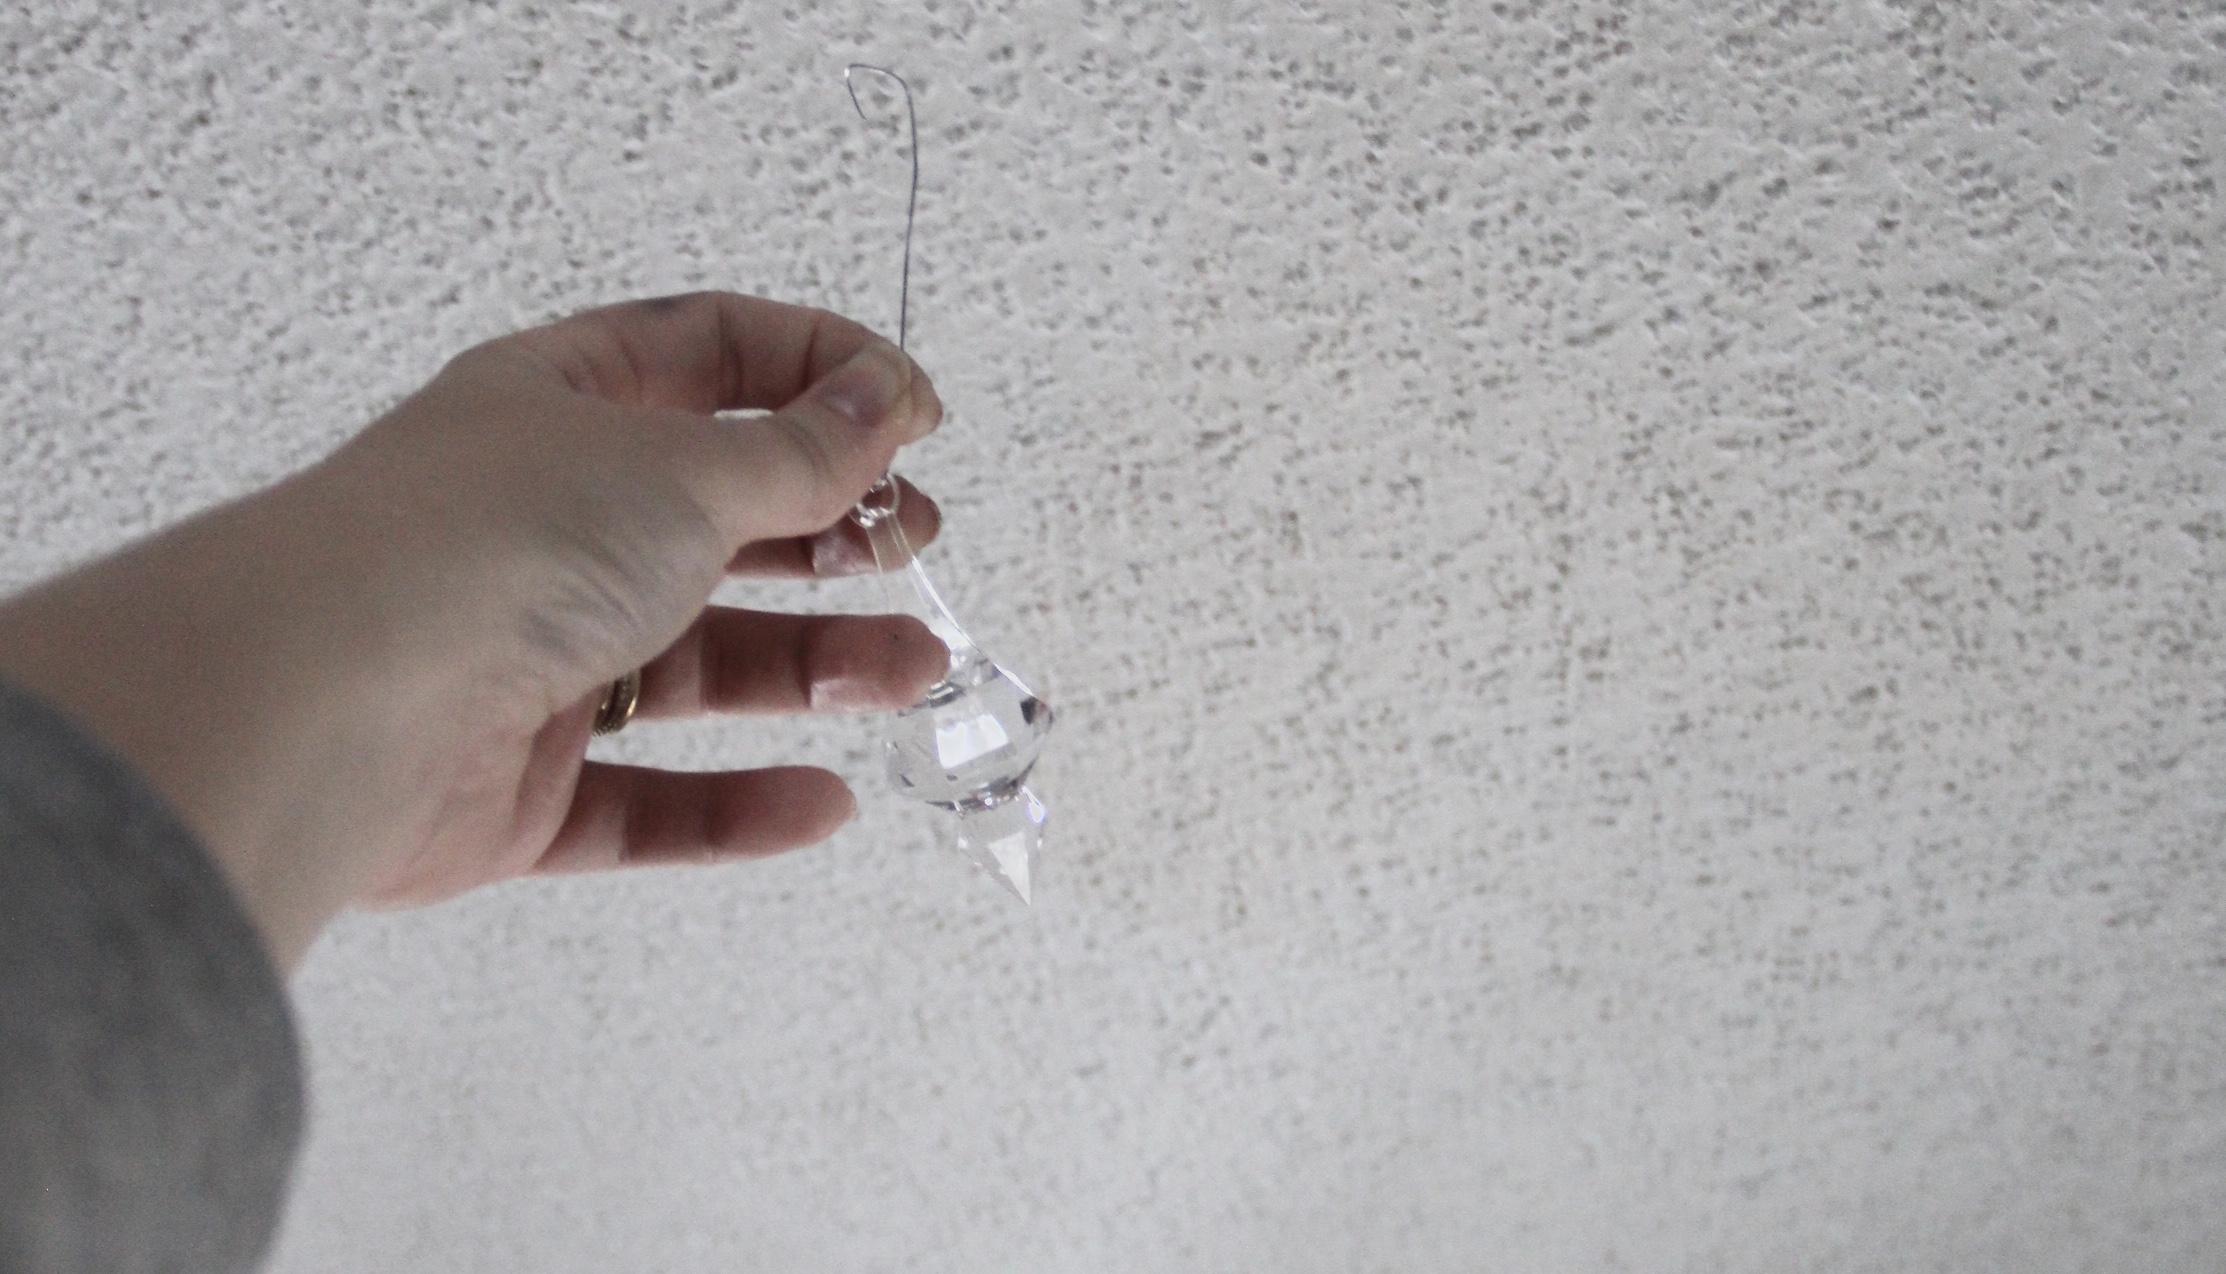
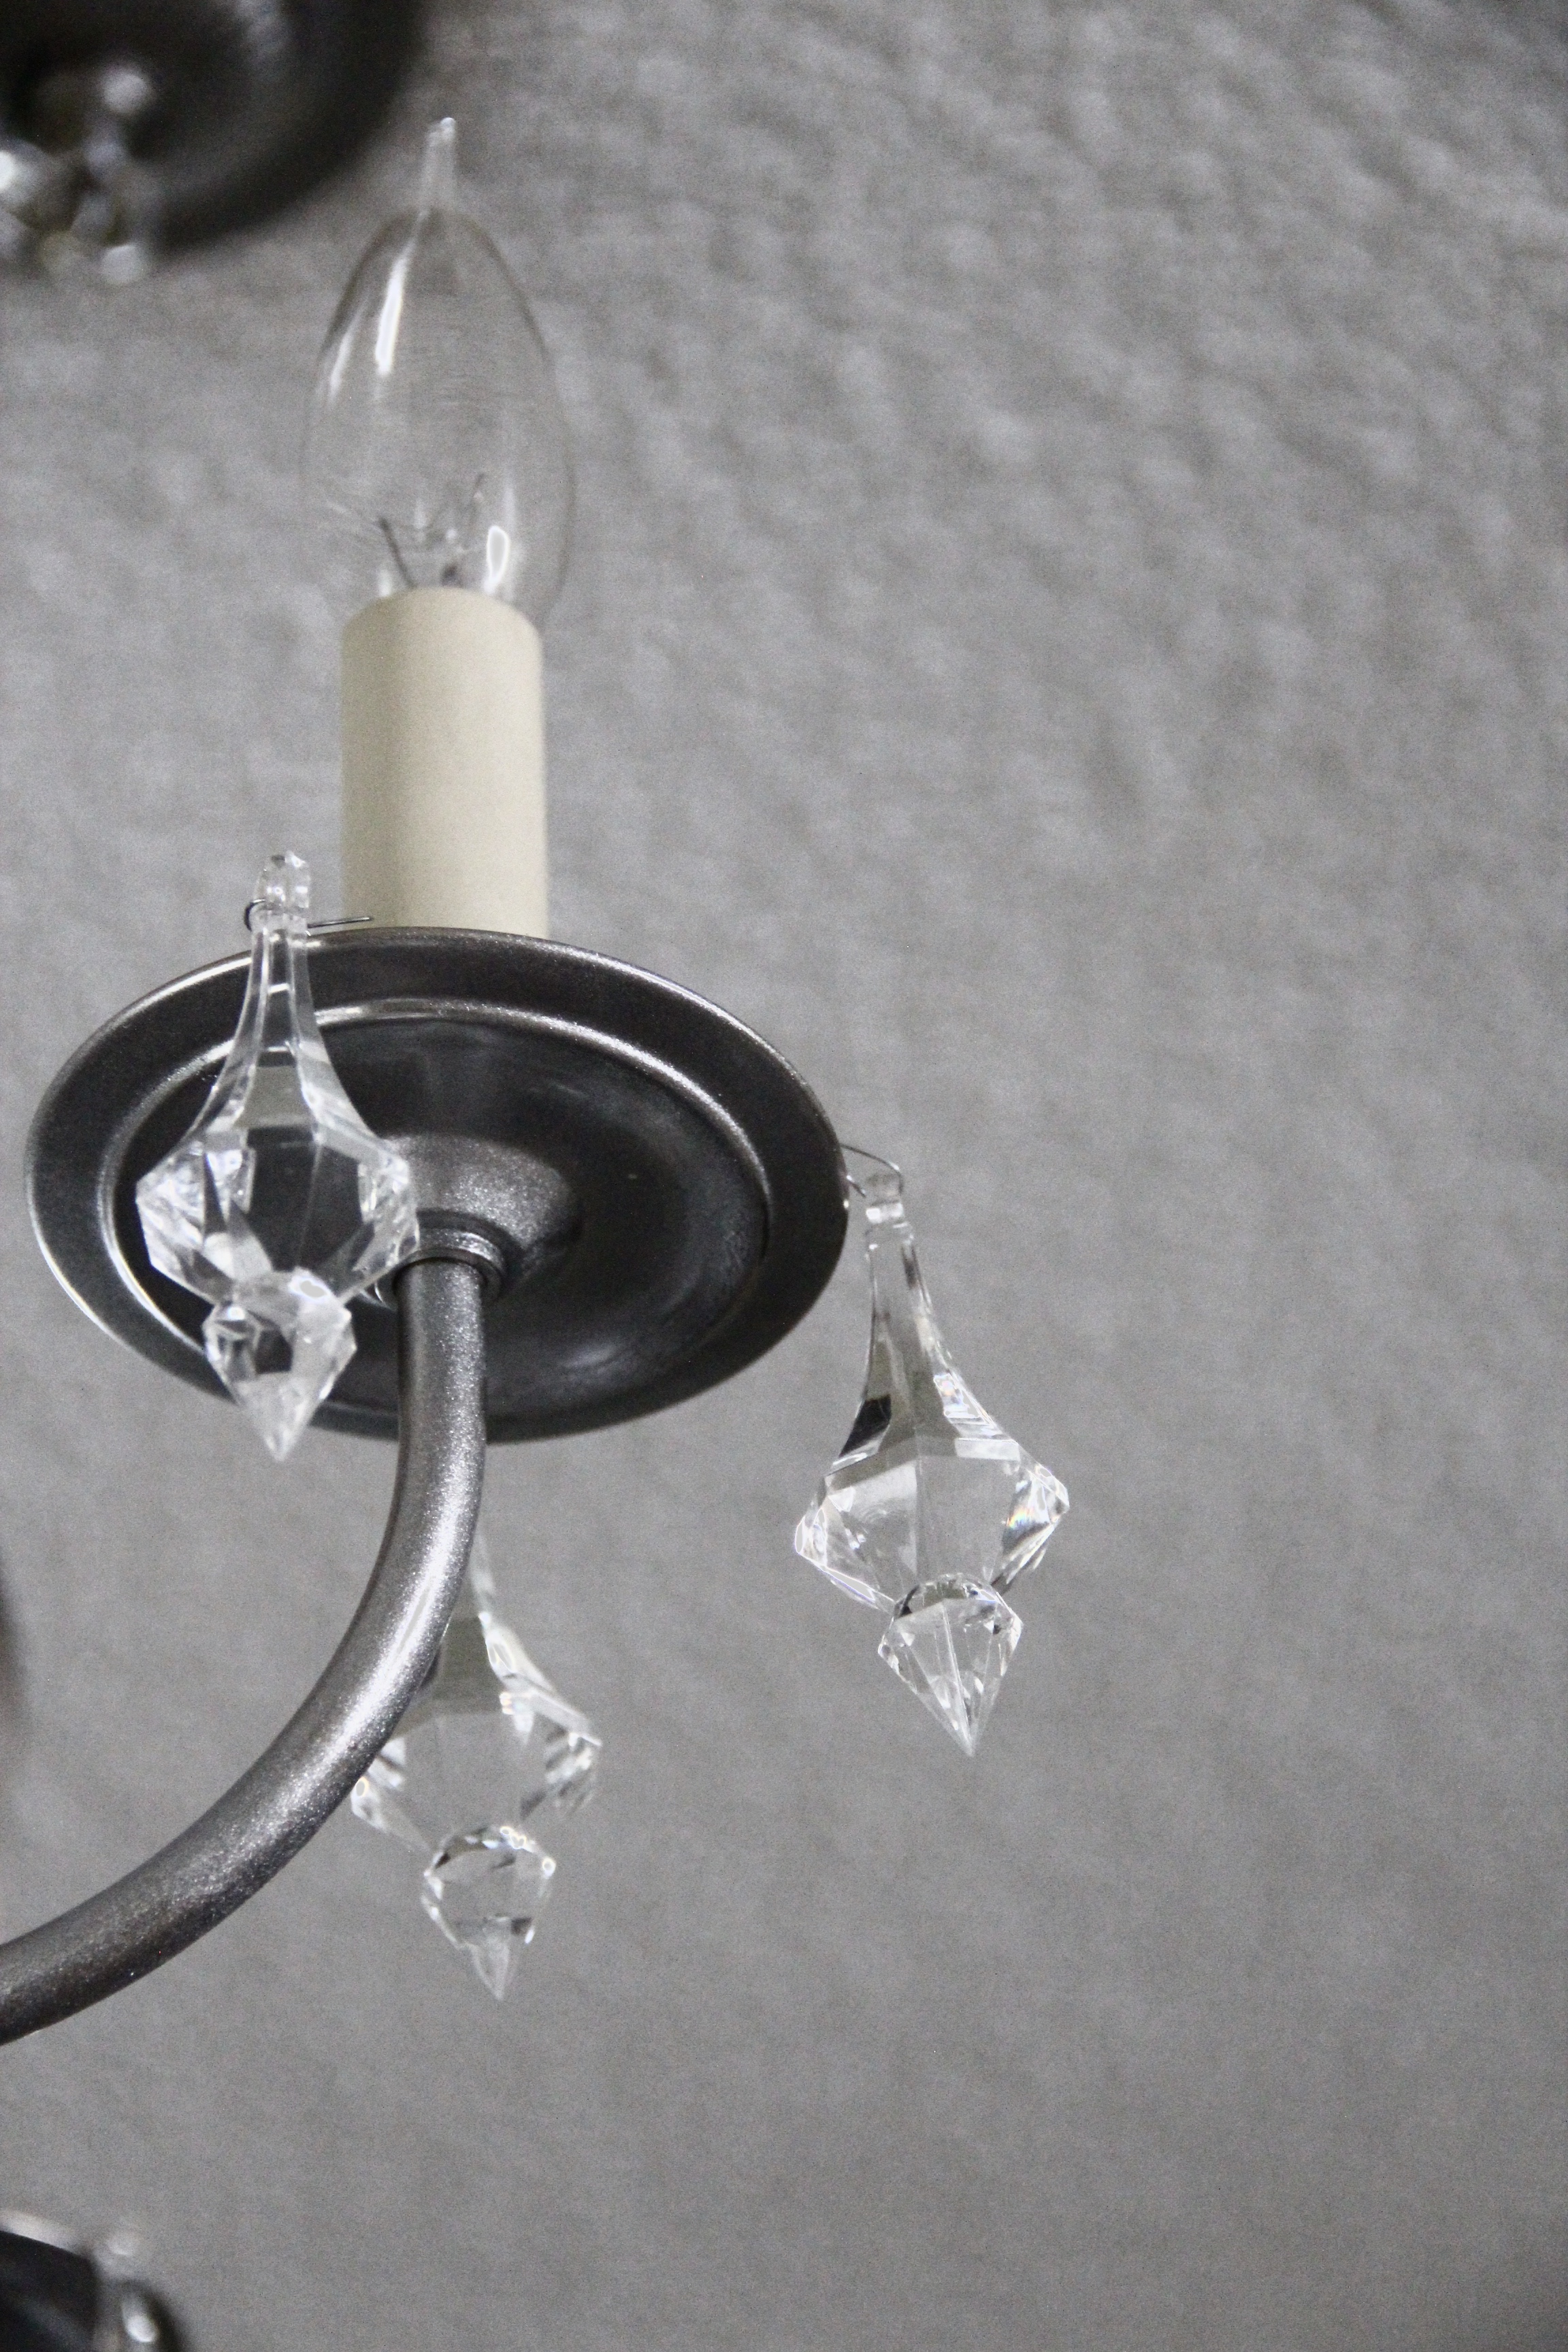
Step 7: Using your acrylic or crystal pieces, take the hooks and literally hook them around the lights’ bases. The wire will not show if this is done properly. Do three around each base (or more if you prefer).

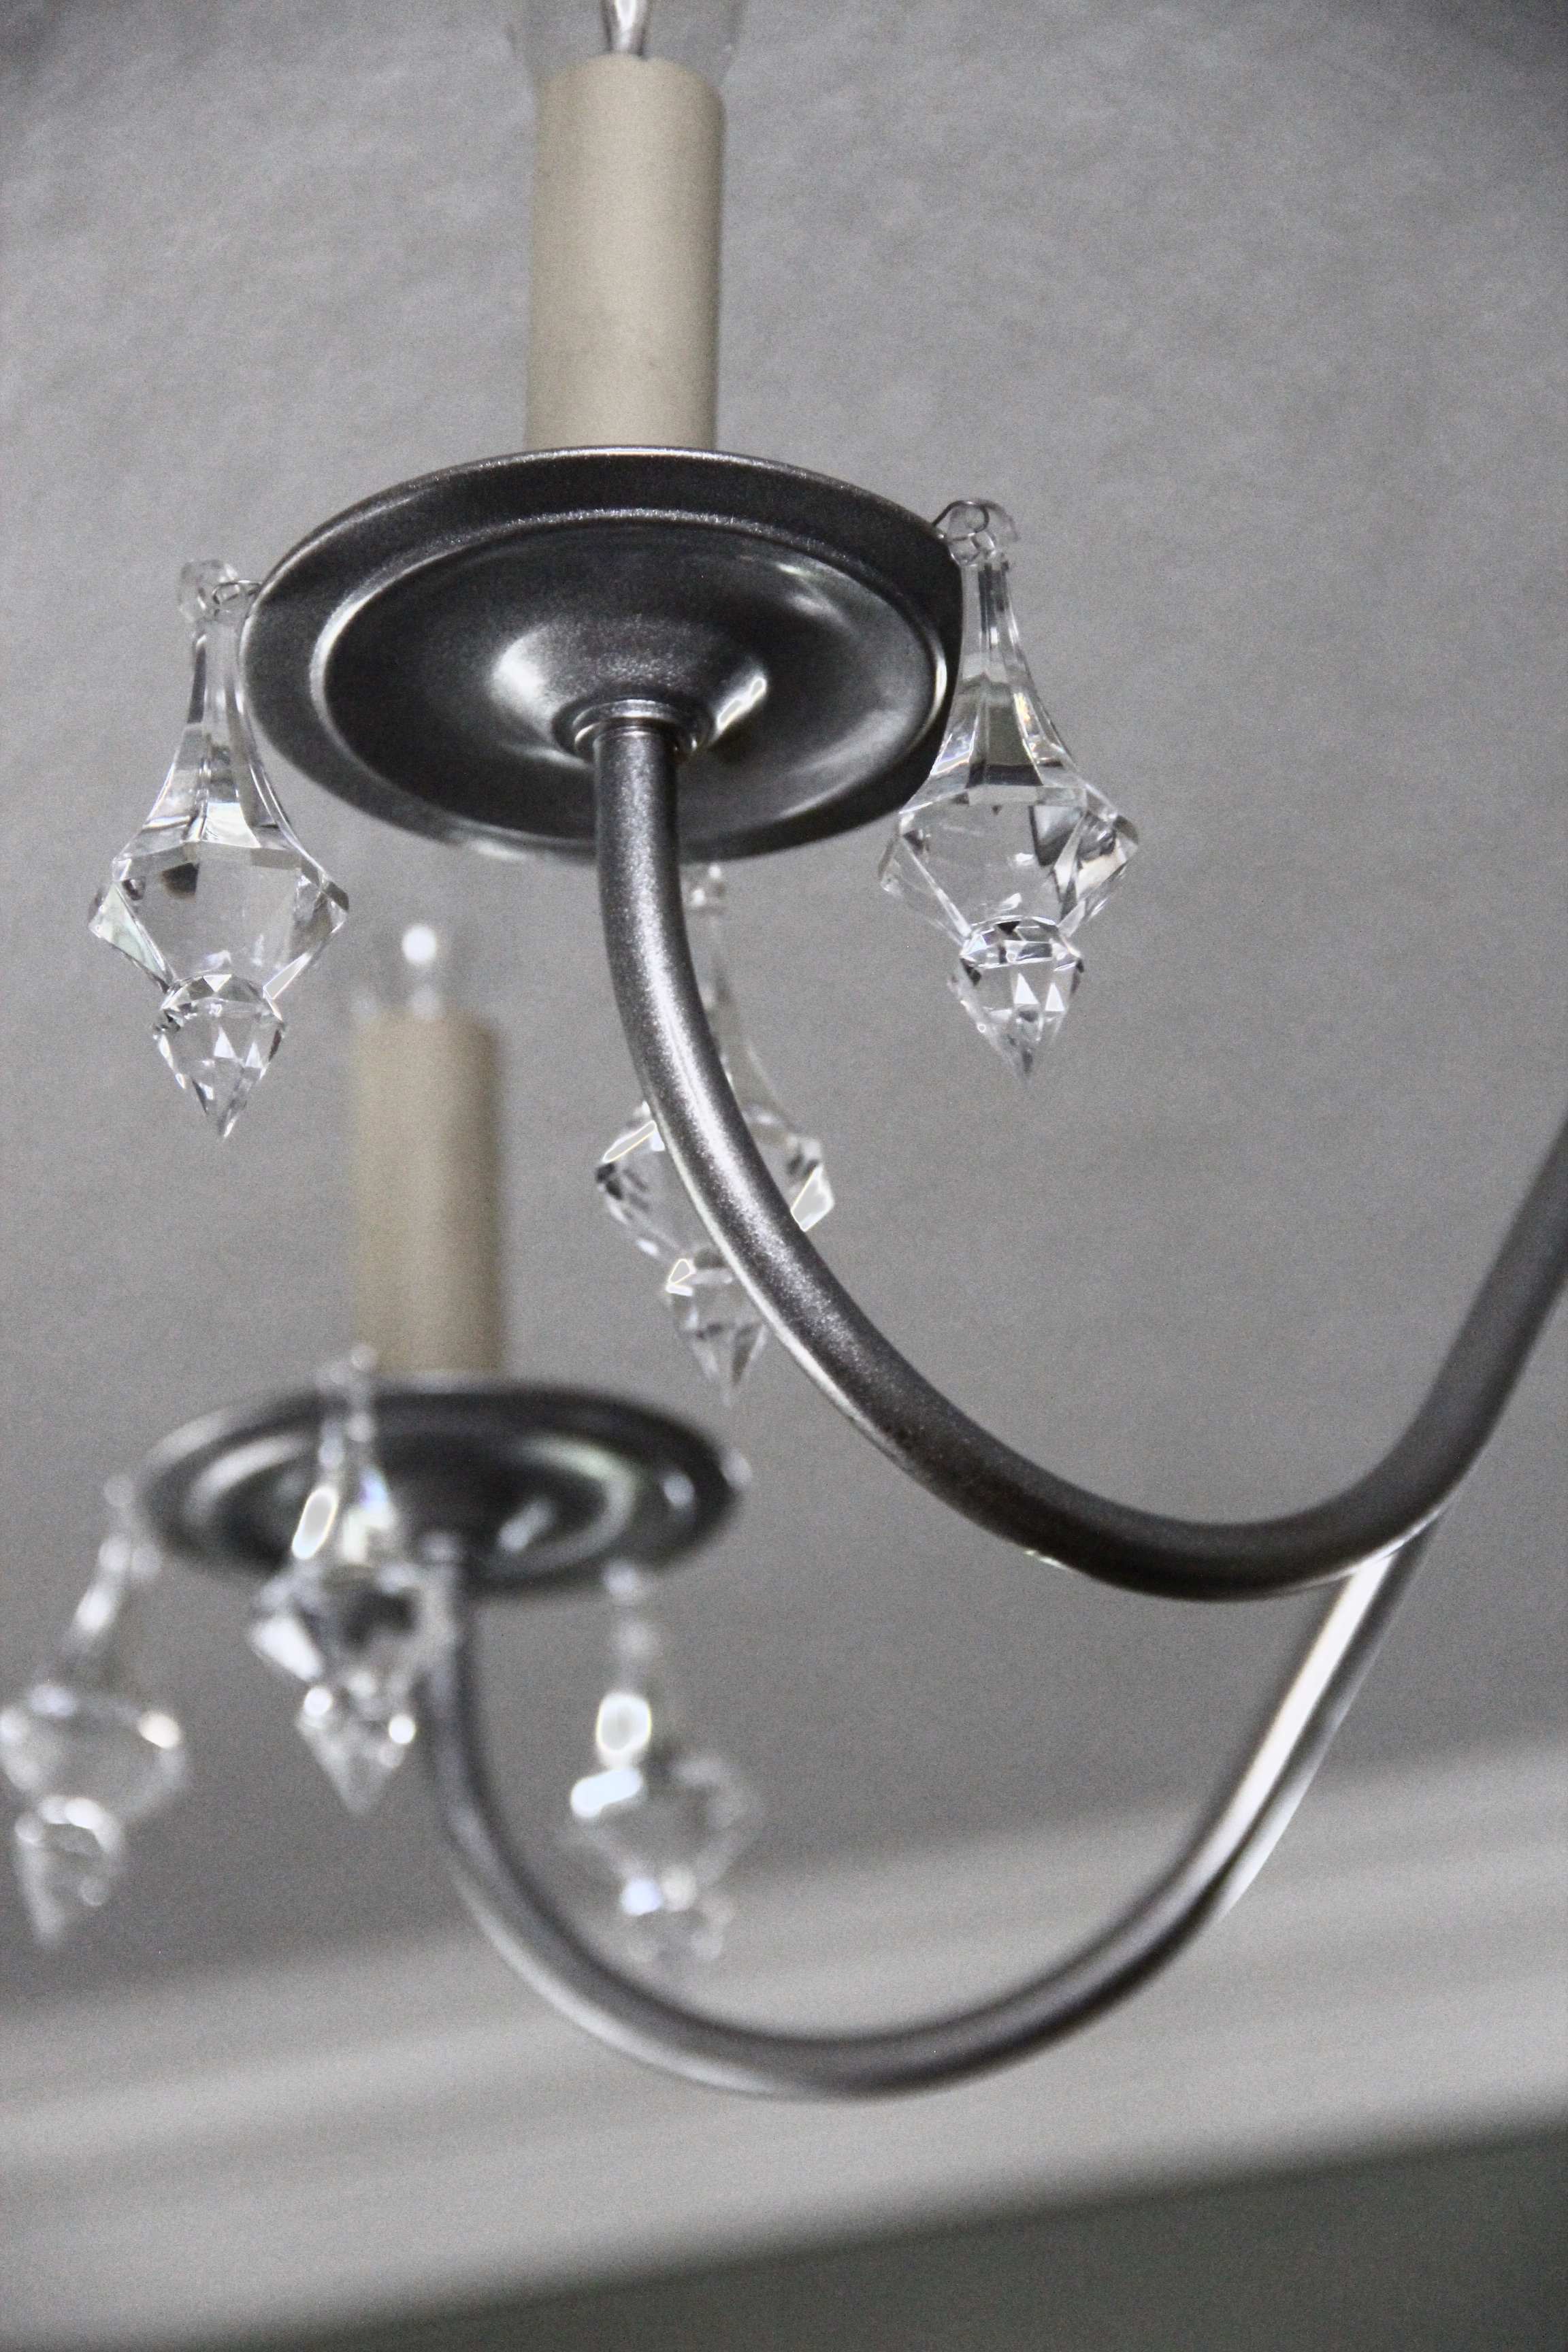
That’s it! 7 easy steps to a totally upgraded, yet cost effective chandelier!


Additional Tip: If you see any spots you missed with the spray, take metallic acrylic paint and simply go over them with a brush!


Featured Supplies: 


Post, Pin, Share: