Browse Tag by home
Adulting, Beauty, Blog

Clean Your Makeup Brushes Like a Pro

how to deep clean your makeup brushes and prevent breakouts

Oh goodness, sometimes nothing is worse than waking up with a fresh breakout or ending your day with two new “friends” on your cheek (UGH). While blemishes on the skin can be caused by a number of issues, one easy fix that is often forgotten is simply deep cleaning your makeup brushes on a regular basis. I definitely don’t mind being the first to admit that I don’t deep clean mine nearly as often as I should, so I totally understand a crazy schedule getting in the way of consistency here. Thankfully though, these 3 steps take literally less than five minutes, and if completed in the afternoon (aka after work, school, gym, etc.) your brushes will be fresh, dry, and ready-to-go by the next morning. 

For super clean brushes, I always recommend using the Daily Clarifying Shampoo by Suave, because it’s formulated in such a way that it’s gentle enough for contact with skin yet powerful enough for cleansing oily hair; essentially the perfect combo for delicate brushes covered in makeup and other unmentionable gunk. Ideally, these steps should be completed once a week, but if all else fails, at least try to use a daily cleanse spray. The one I like to use by bareMinerals is linked here

To deep clean your makeup brushes, I recommend:

Daily Clarifying Suave Shampoo

 Makeup Cleaner Silicon Finger-Glove

Tower Tree Standing Dryer

Let’s get clean!

how to really deep clean your makeup brushes

clean your makeup brushes like a pro


Step 1: Squirt the Daily Clarifying Suave Shampoo directly onto the silicon finger glove. Turn on the faucet & with the brush angled downwards, begin gently scrubbing the bristles against the glove’s ridges. For smaller brushes, focus the bristles more on the compact round ridges than the larger linear ones. 


clean your makeup brushes like a pro


Step 2: Add more shampoo if needed & continue gently scrubbing until run-off water is clear. Squeeze out excess water from bristles and place brush into the tower tree holder to dry. 


Step 3: Repeat steps 1-2 for remaining brushes & allow  at least 2 hours for the brushes to dry (as mentioned earlier, it’s usually best to clean your brushes in the evening so they have enough time to fully dry out before you need them again the next day) 


Beauty tools used in this post: 


Enjoyed this post? Pin/Share/Tweet any image above or the image below: 

clean your makeup brushes in 3 easy steps

*This post may contain affiliate links, for more information please see Blonde Boss Babe’s full disclosure statement in the About section of the blog. 

Post, Pin, Share:
Adulting, Blog, School, The Home

Top 5 Strategies for Increasing Productivity


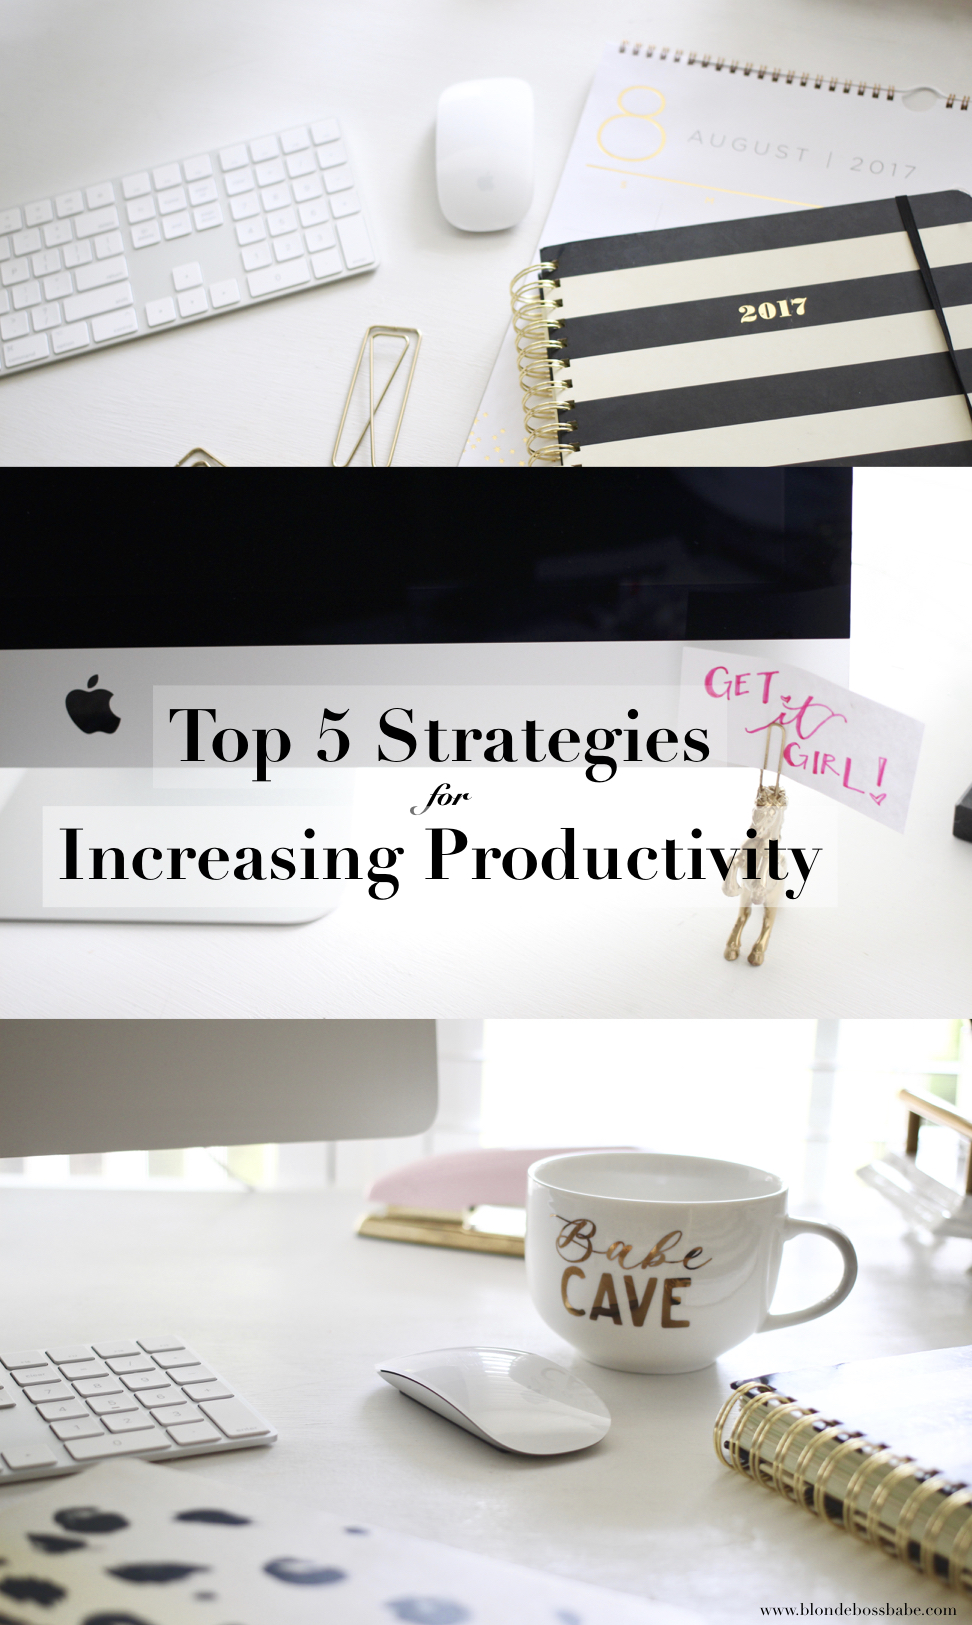
Increasing productivity in your workspace, whether it’s a home office or an open cubicle, is so essential to effectively using your time and making the workweek a bit more manageable. These 5 strategies, focus on increasing efficacy and efficiency, and all incorporate the same themes: self-care and self-awareness – both of which are super important for healthy & positive productivity. If you’re ready to rev up your workspace, let’s get started:

1.Learn your distractions…and beat them.

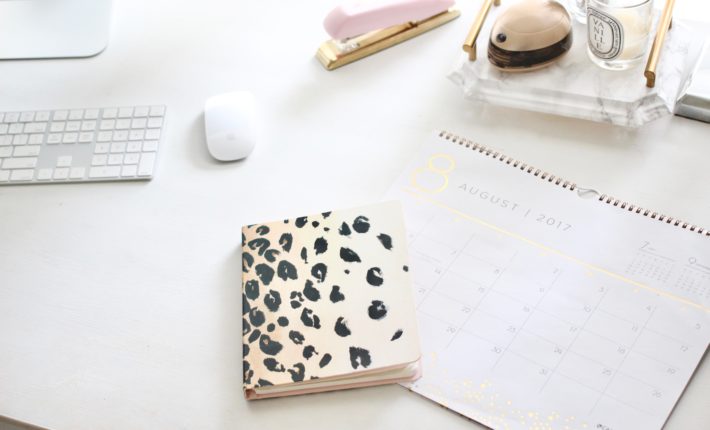
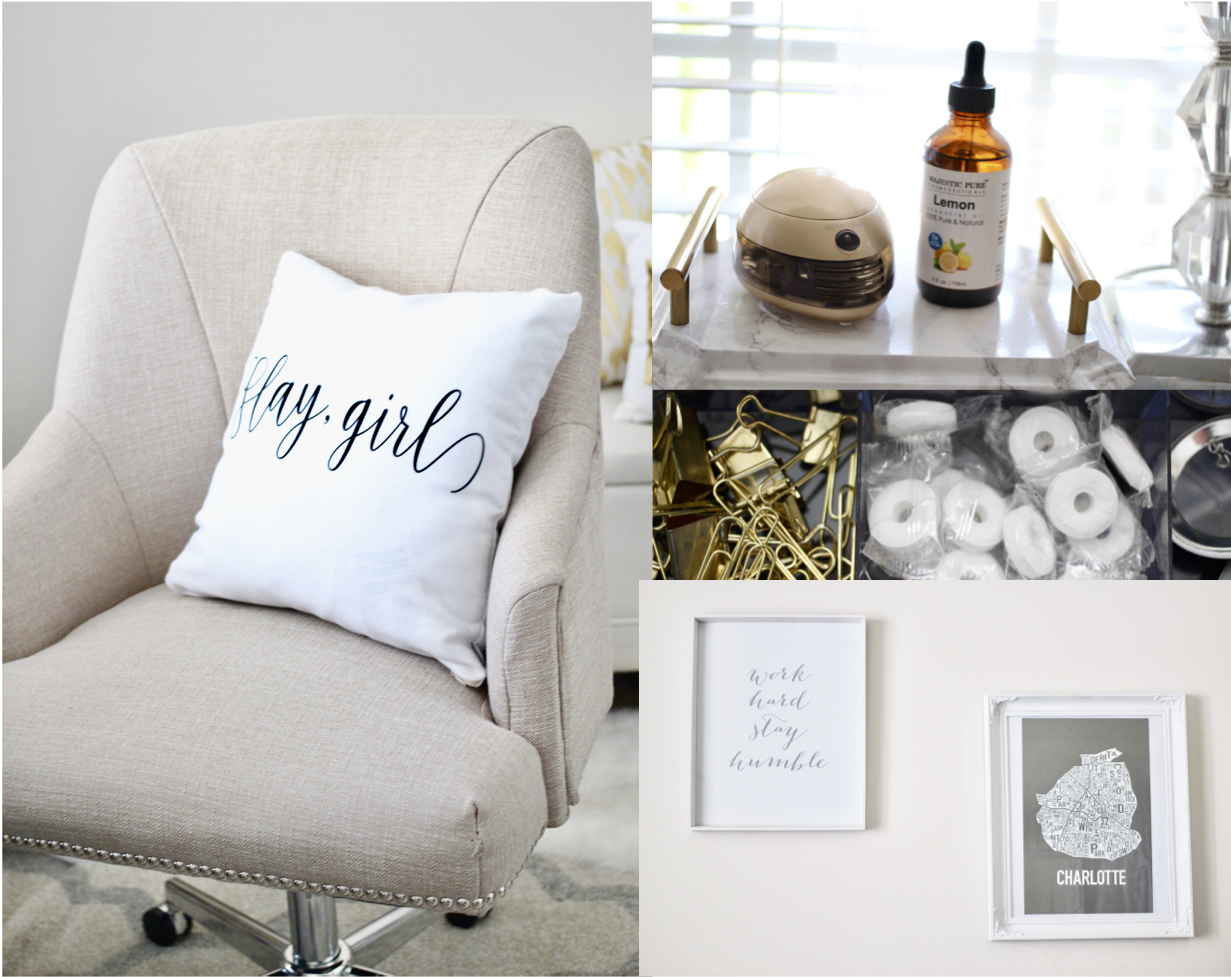
Y’all, it took me forever to realize that visual clutter is a huge distraction and source of anxiety for me. Cleaning up that clutter is a great way to procrastinate from what really needs to be done since it makes you feel like you are doing something productive. Technically, yes you are, but in all reality, you’re just putting off what you need to be working on at that time. Once I figured this out, I made sure to clean up my desk space at the end of every day. Coming into a fresh and clean workspace each morning has boosted my productivity so much, especially on days when I know I there’s a ton of work to finish. So whether it’s clutter, or checking social media too often, learn your distractions and create methods that limit them.

2. Focus on your five senses. 

Sight, touch, sound, smell, and taste. OH yes, the big 5 within the top 5. Sight = Creating a space you don’t mind (at minimum) but actually enjoy spending time in for work. Work is work, so it isn’t always fun. Simple touches, like a favorite pillow or fun print hung on the wall can go a long way to boosting your mood. Touch = If you are uncomfortable physically, you won’t be at your best mentally. Is your back hurting? Invest in a good desk chair, seriously it’s worth it. Mine is by Serta and it has honestly been one of the best & most important purchases for the home office. Sound = Learning what helps/hurts your productivity (see #1 again). Some people can work well with the TV on in the background, while others need absolute silence. Personally, I love to have acoustic guitar songs streaming on Pandora. Find your groove and use it to your advantage. Smell = Y’all already know how much I love diptyque candles (from this post) and 90% of the time that’s exactly what I have burning in my workspace. However, sometimes when I find I’m getting a little too cozy I will put a couple drops of lemon essential oil into my diffuser instead. Lemon is supposed to be helpful in increasing energy and focus, and I know that at the very least, it wakes up my senses and makes my space feel extra fresh. Lastly, Taste = Fresh mints in your desk drawers are lifesavers (hehe see what I did there?) lolz sorry, but seriously it’s the same idea as teachers passing out mints before tests – something about how refreshing they are promotes clarity which means better productivity for you.

3. MOVE!

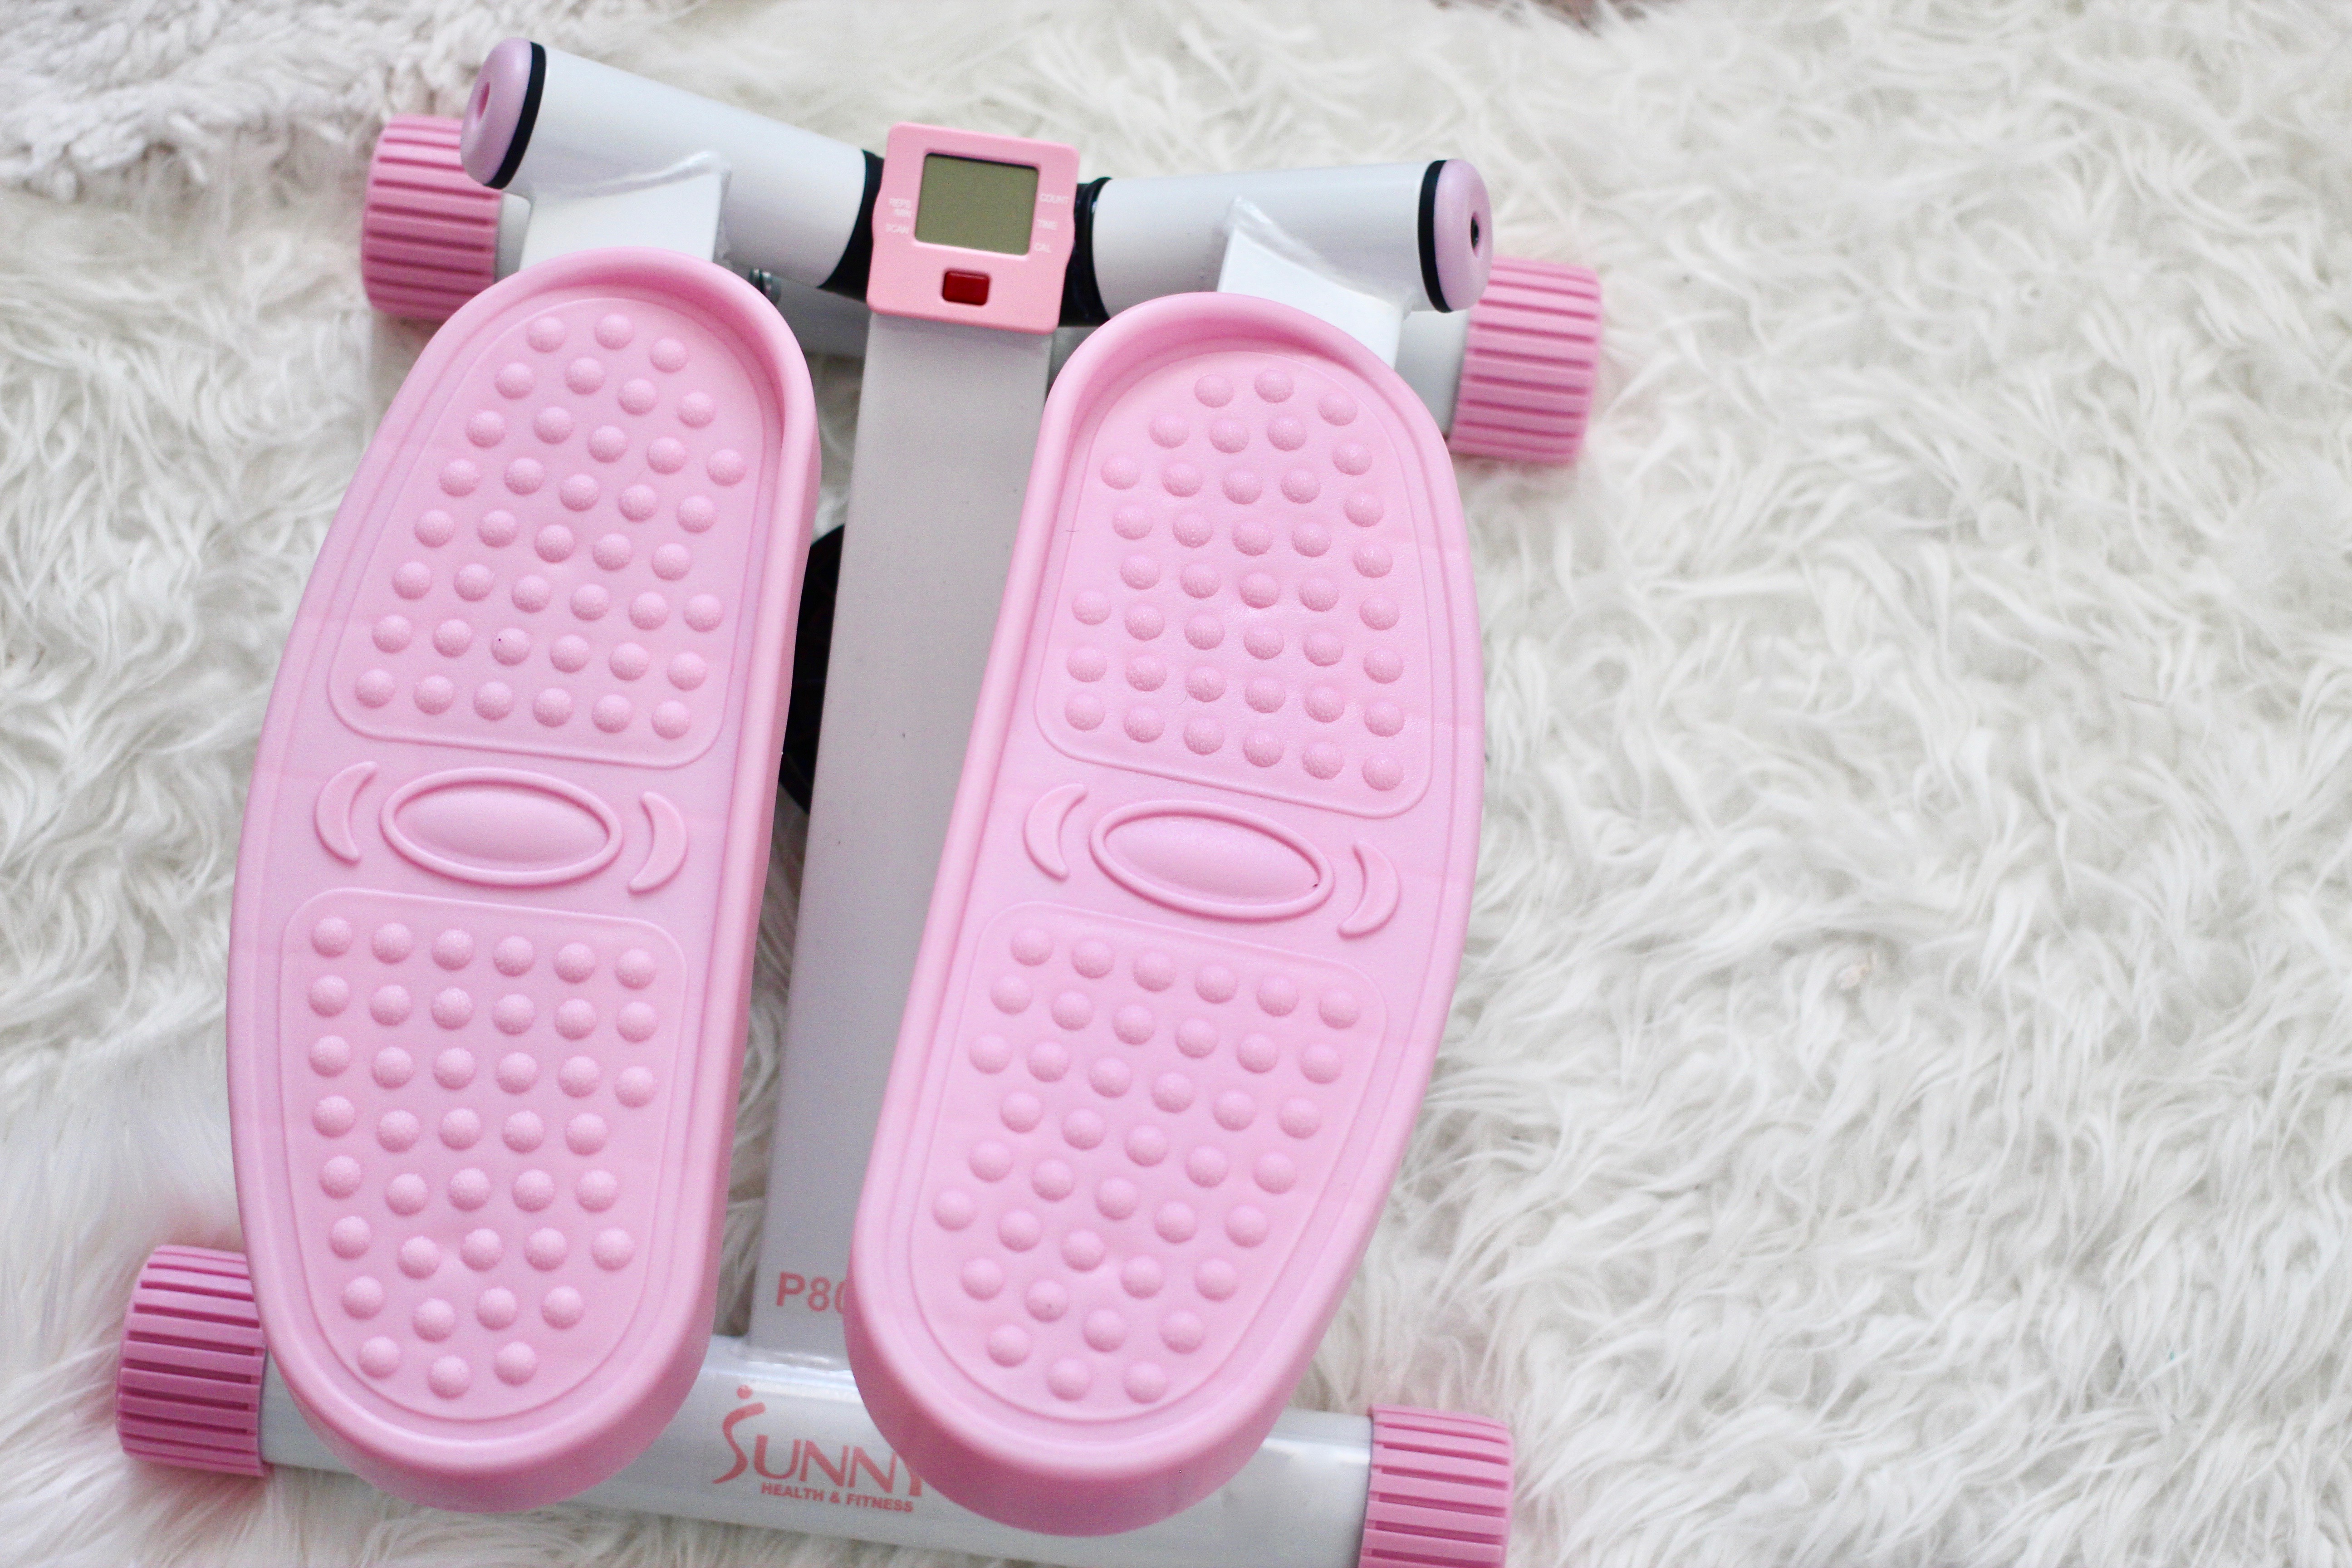
If you work from home or are currently holding a job where you are required to be in a seat all day, try to incorporate movement as much as possible. Set reminders on your computer, phone, or tablet. These can either be hourly, or at specific times during the day. Personally, I set mine for 10 am & 3 pm everyday because that tends to be the time I hit a wall and begin to slump in productivity. At home, I keep a stepper beside my desk, as well as a bike desk that I purchased last year during Amazon Prime Day (SO worth the investment). If your office space doesn’t have room for either of those options, a mini cycle that fits under your desk may be ideal. This one is essentially silent; so even if you are in an open cubicle, you won’t be disturbing the person next to you. (WIN)

4. Know your tasks before you begin.

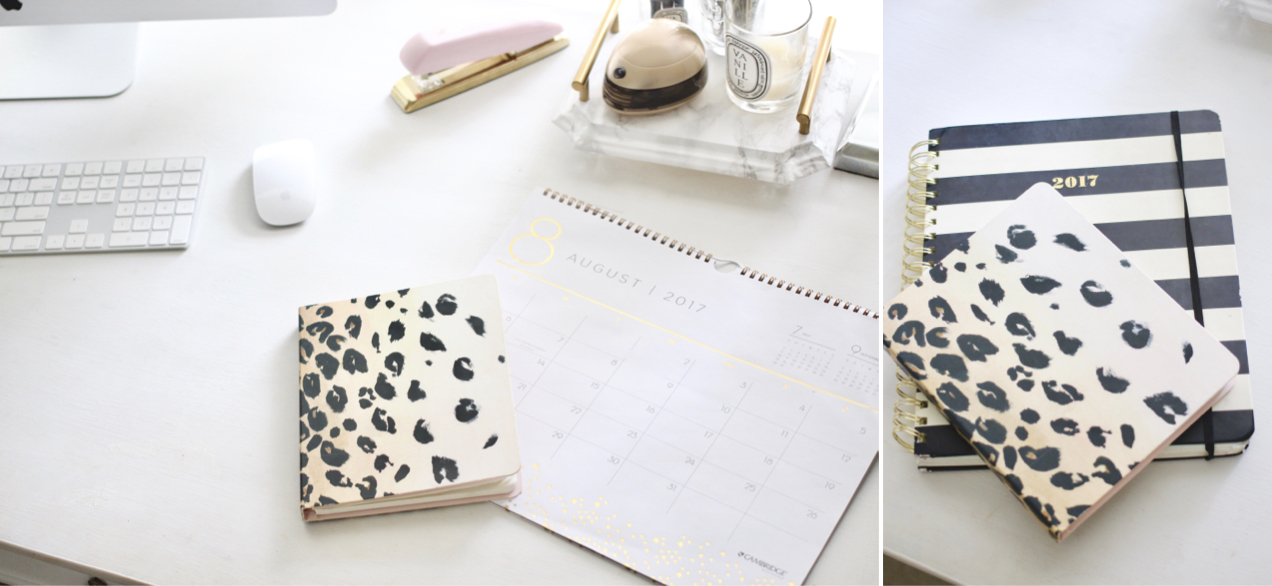
Often, if we sit down without a plan, what we had in our heads the night before turns into an hour of browsing Amazon, and another hour or two scrolling through social media and sharing funny videos with friends. Make a list, stick to the list, and keep it where you can see it. This agenda by Kate Spade is huge and holds all of my important dates as well as daily/weekly/monthly tasks & goals. I also keep a mini bullet journal in this notebook – it’s the perfect size to throw in my purse or keep in the car when I’m on the go and need to jot something down quickly.

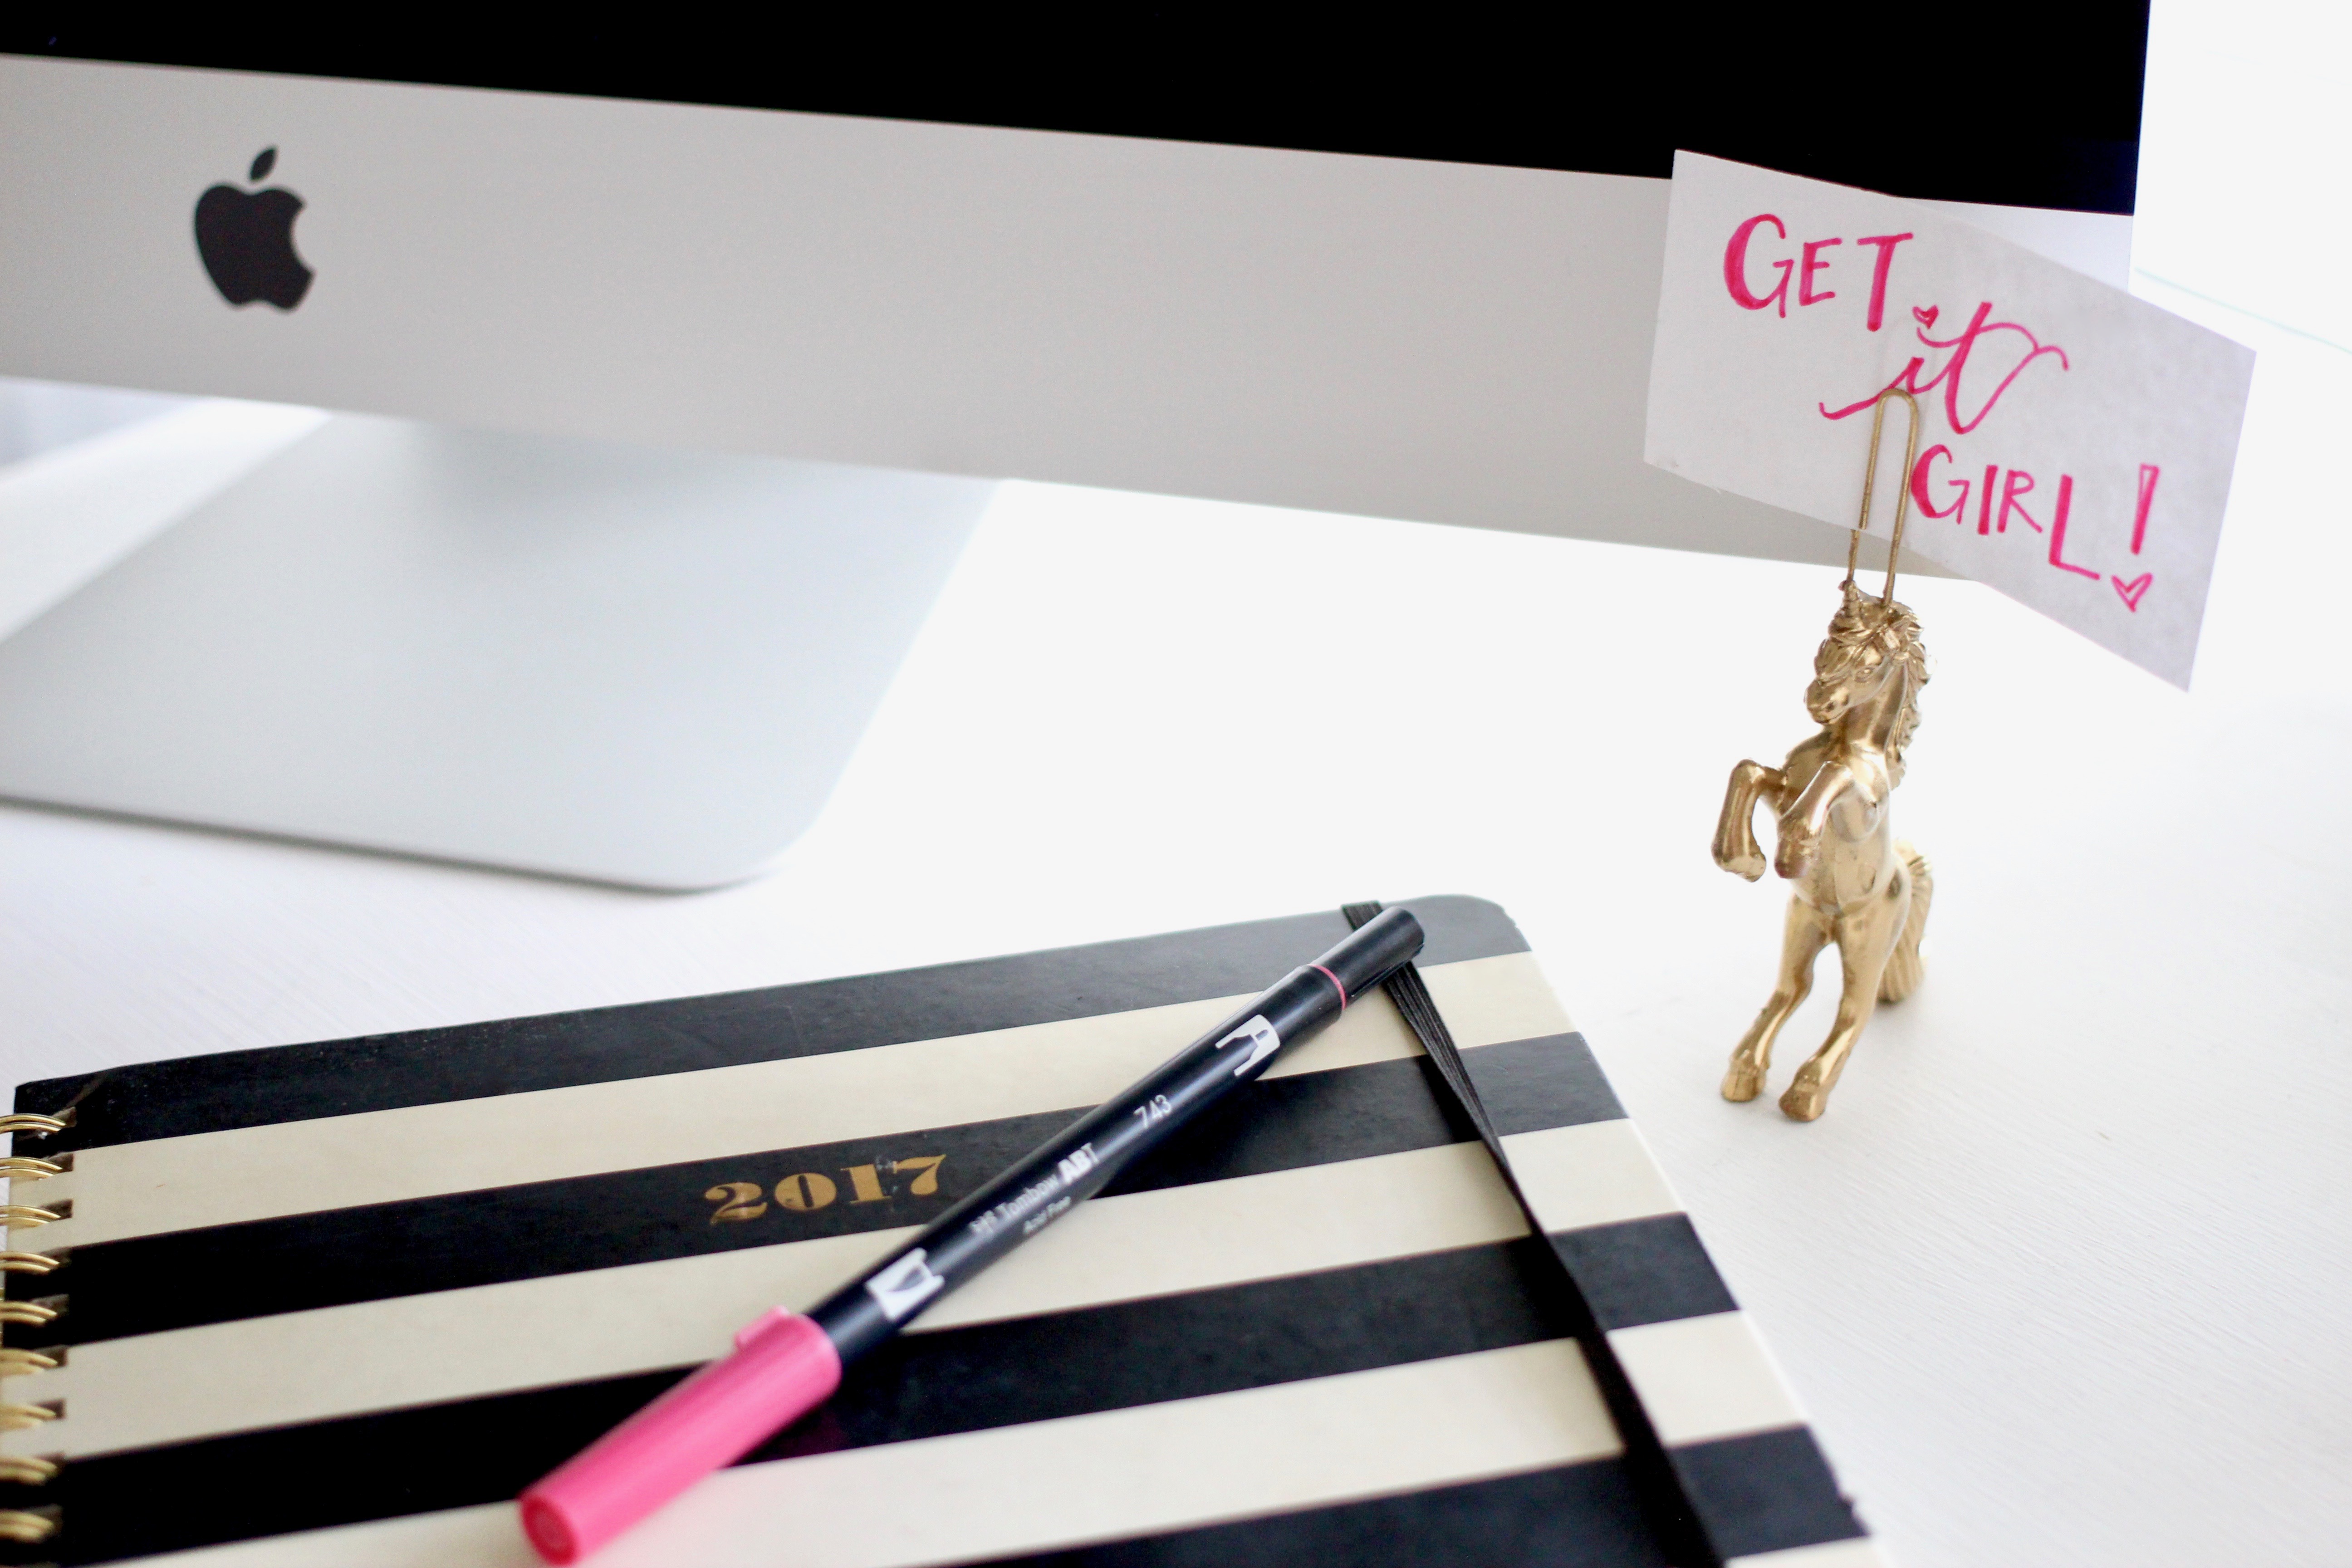
5. Encourage yourself. 

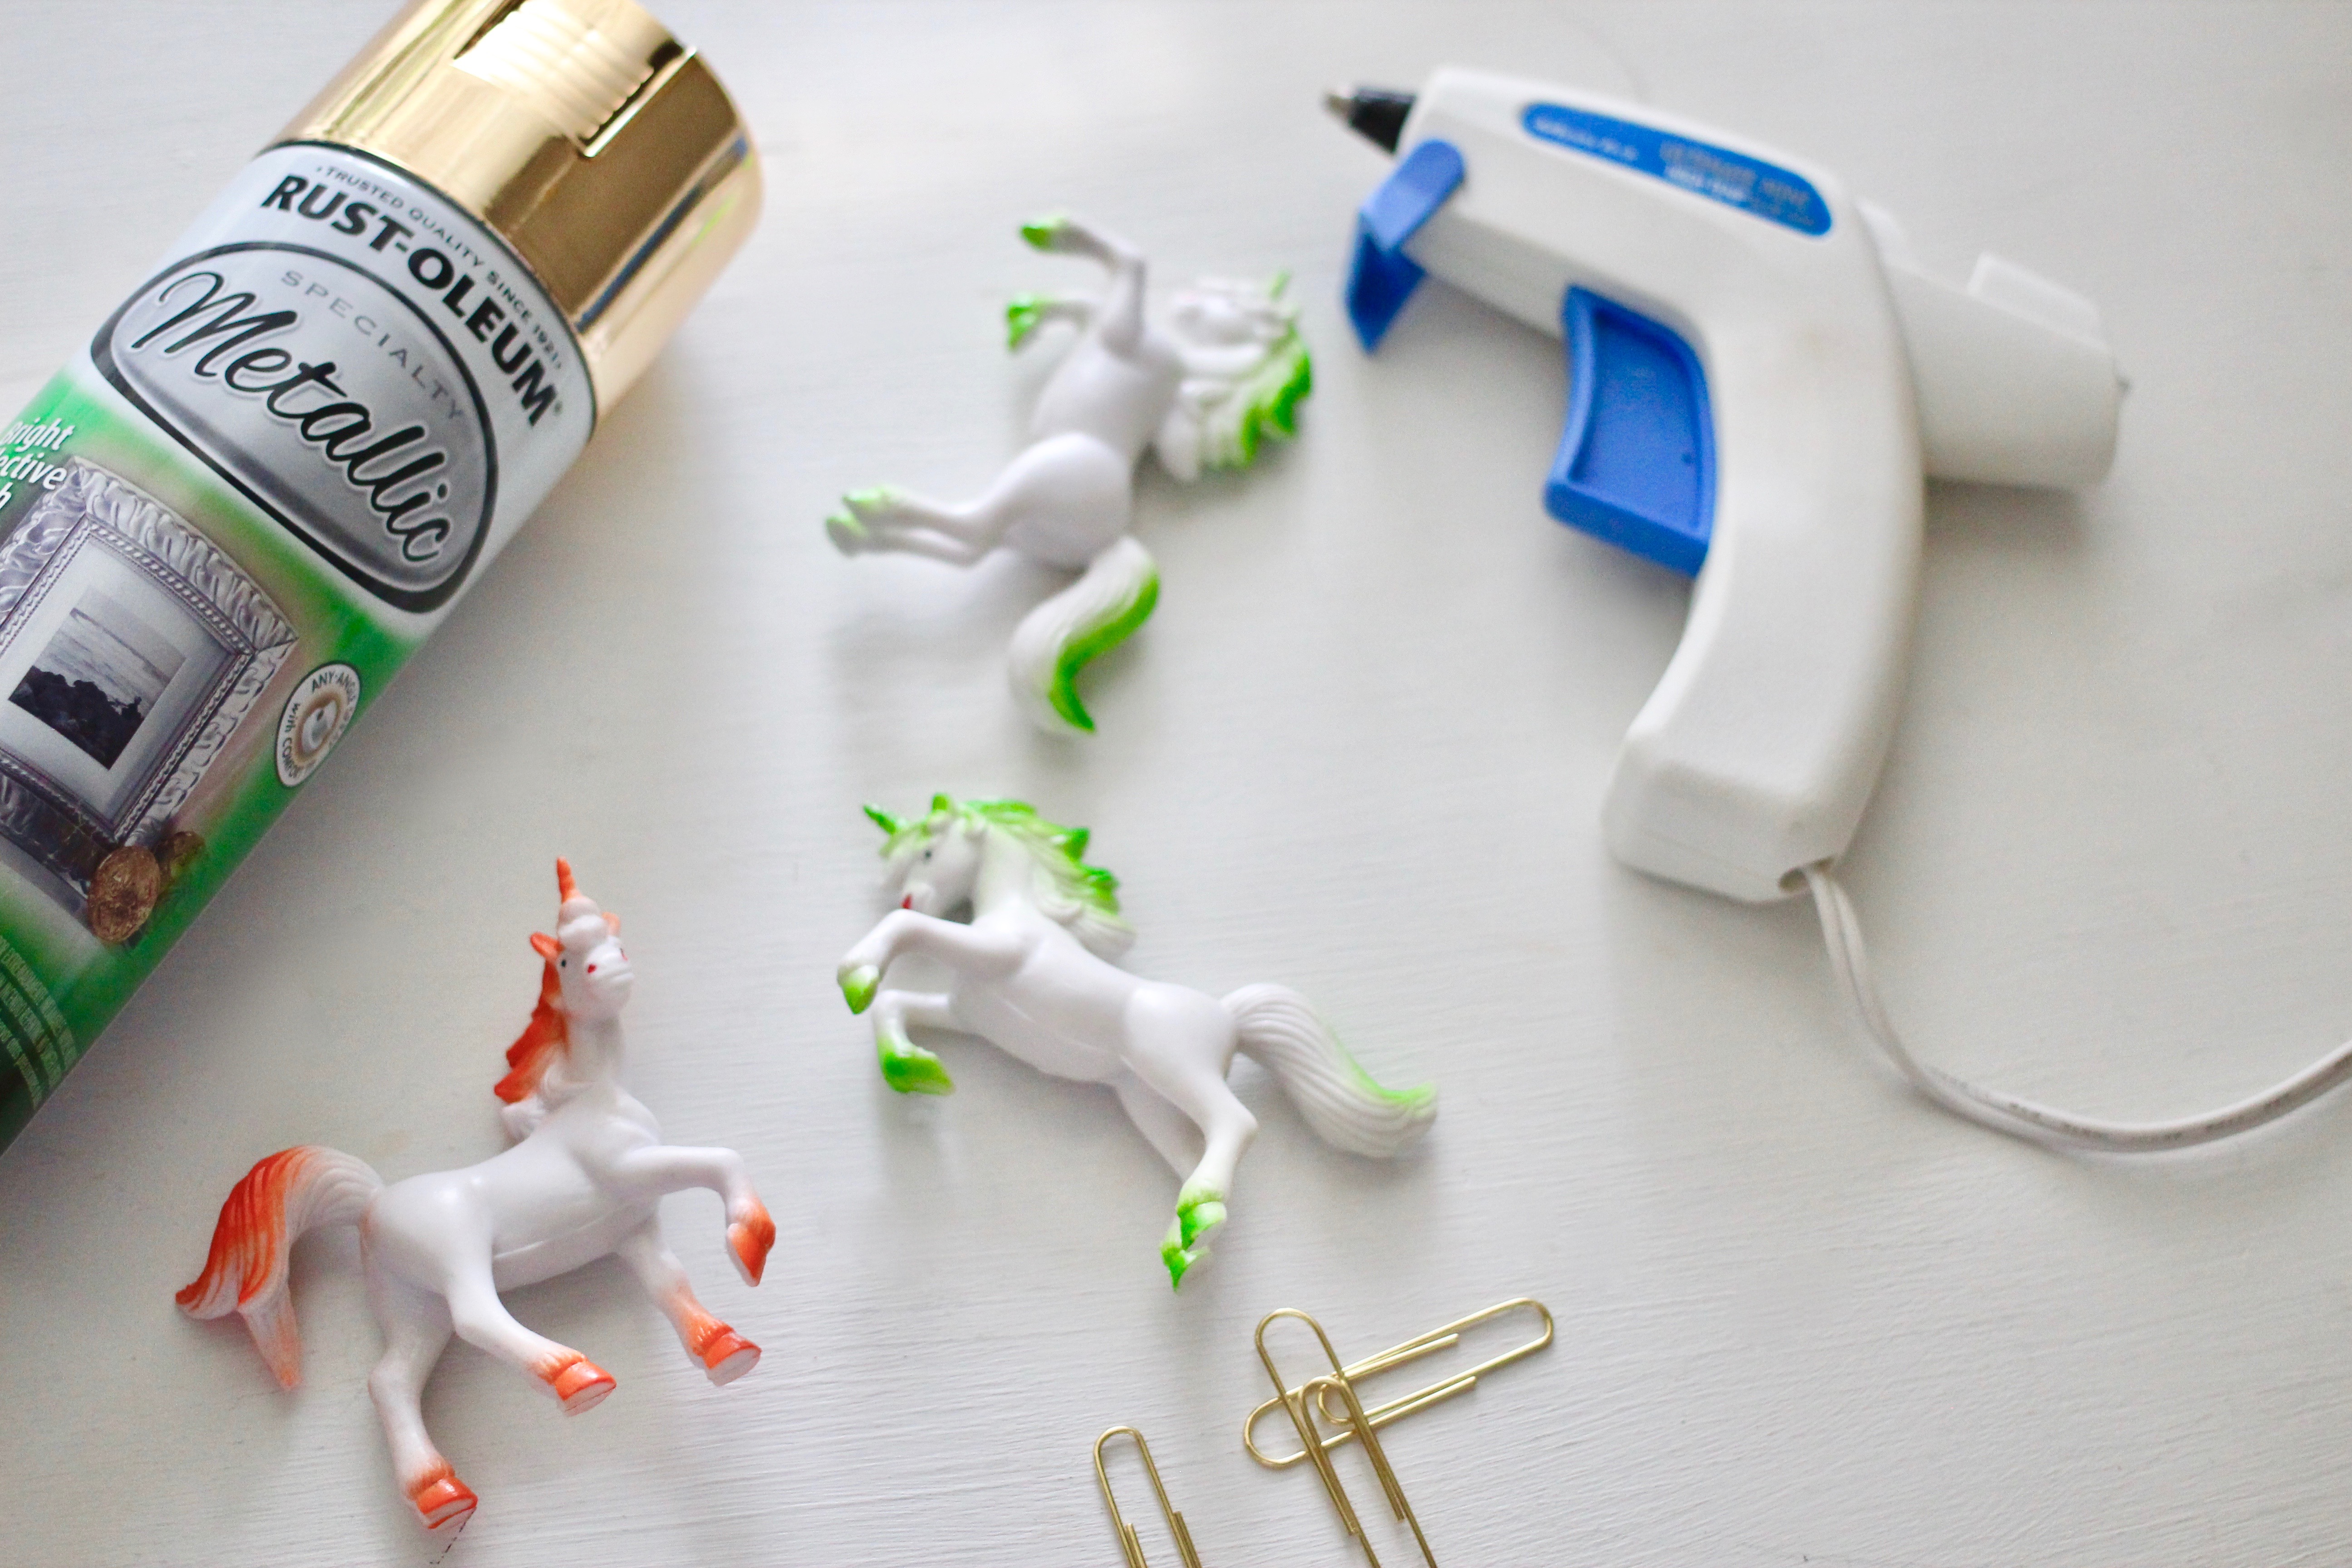
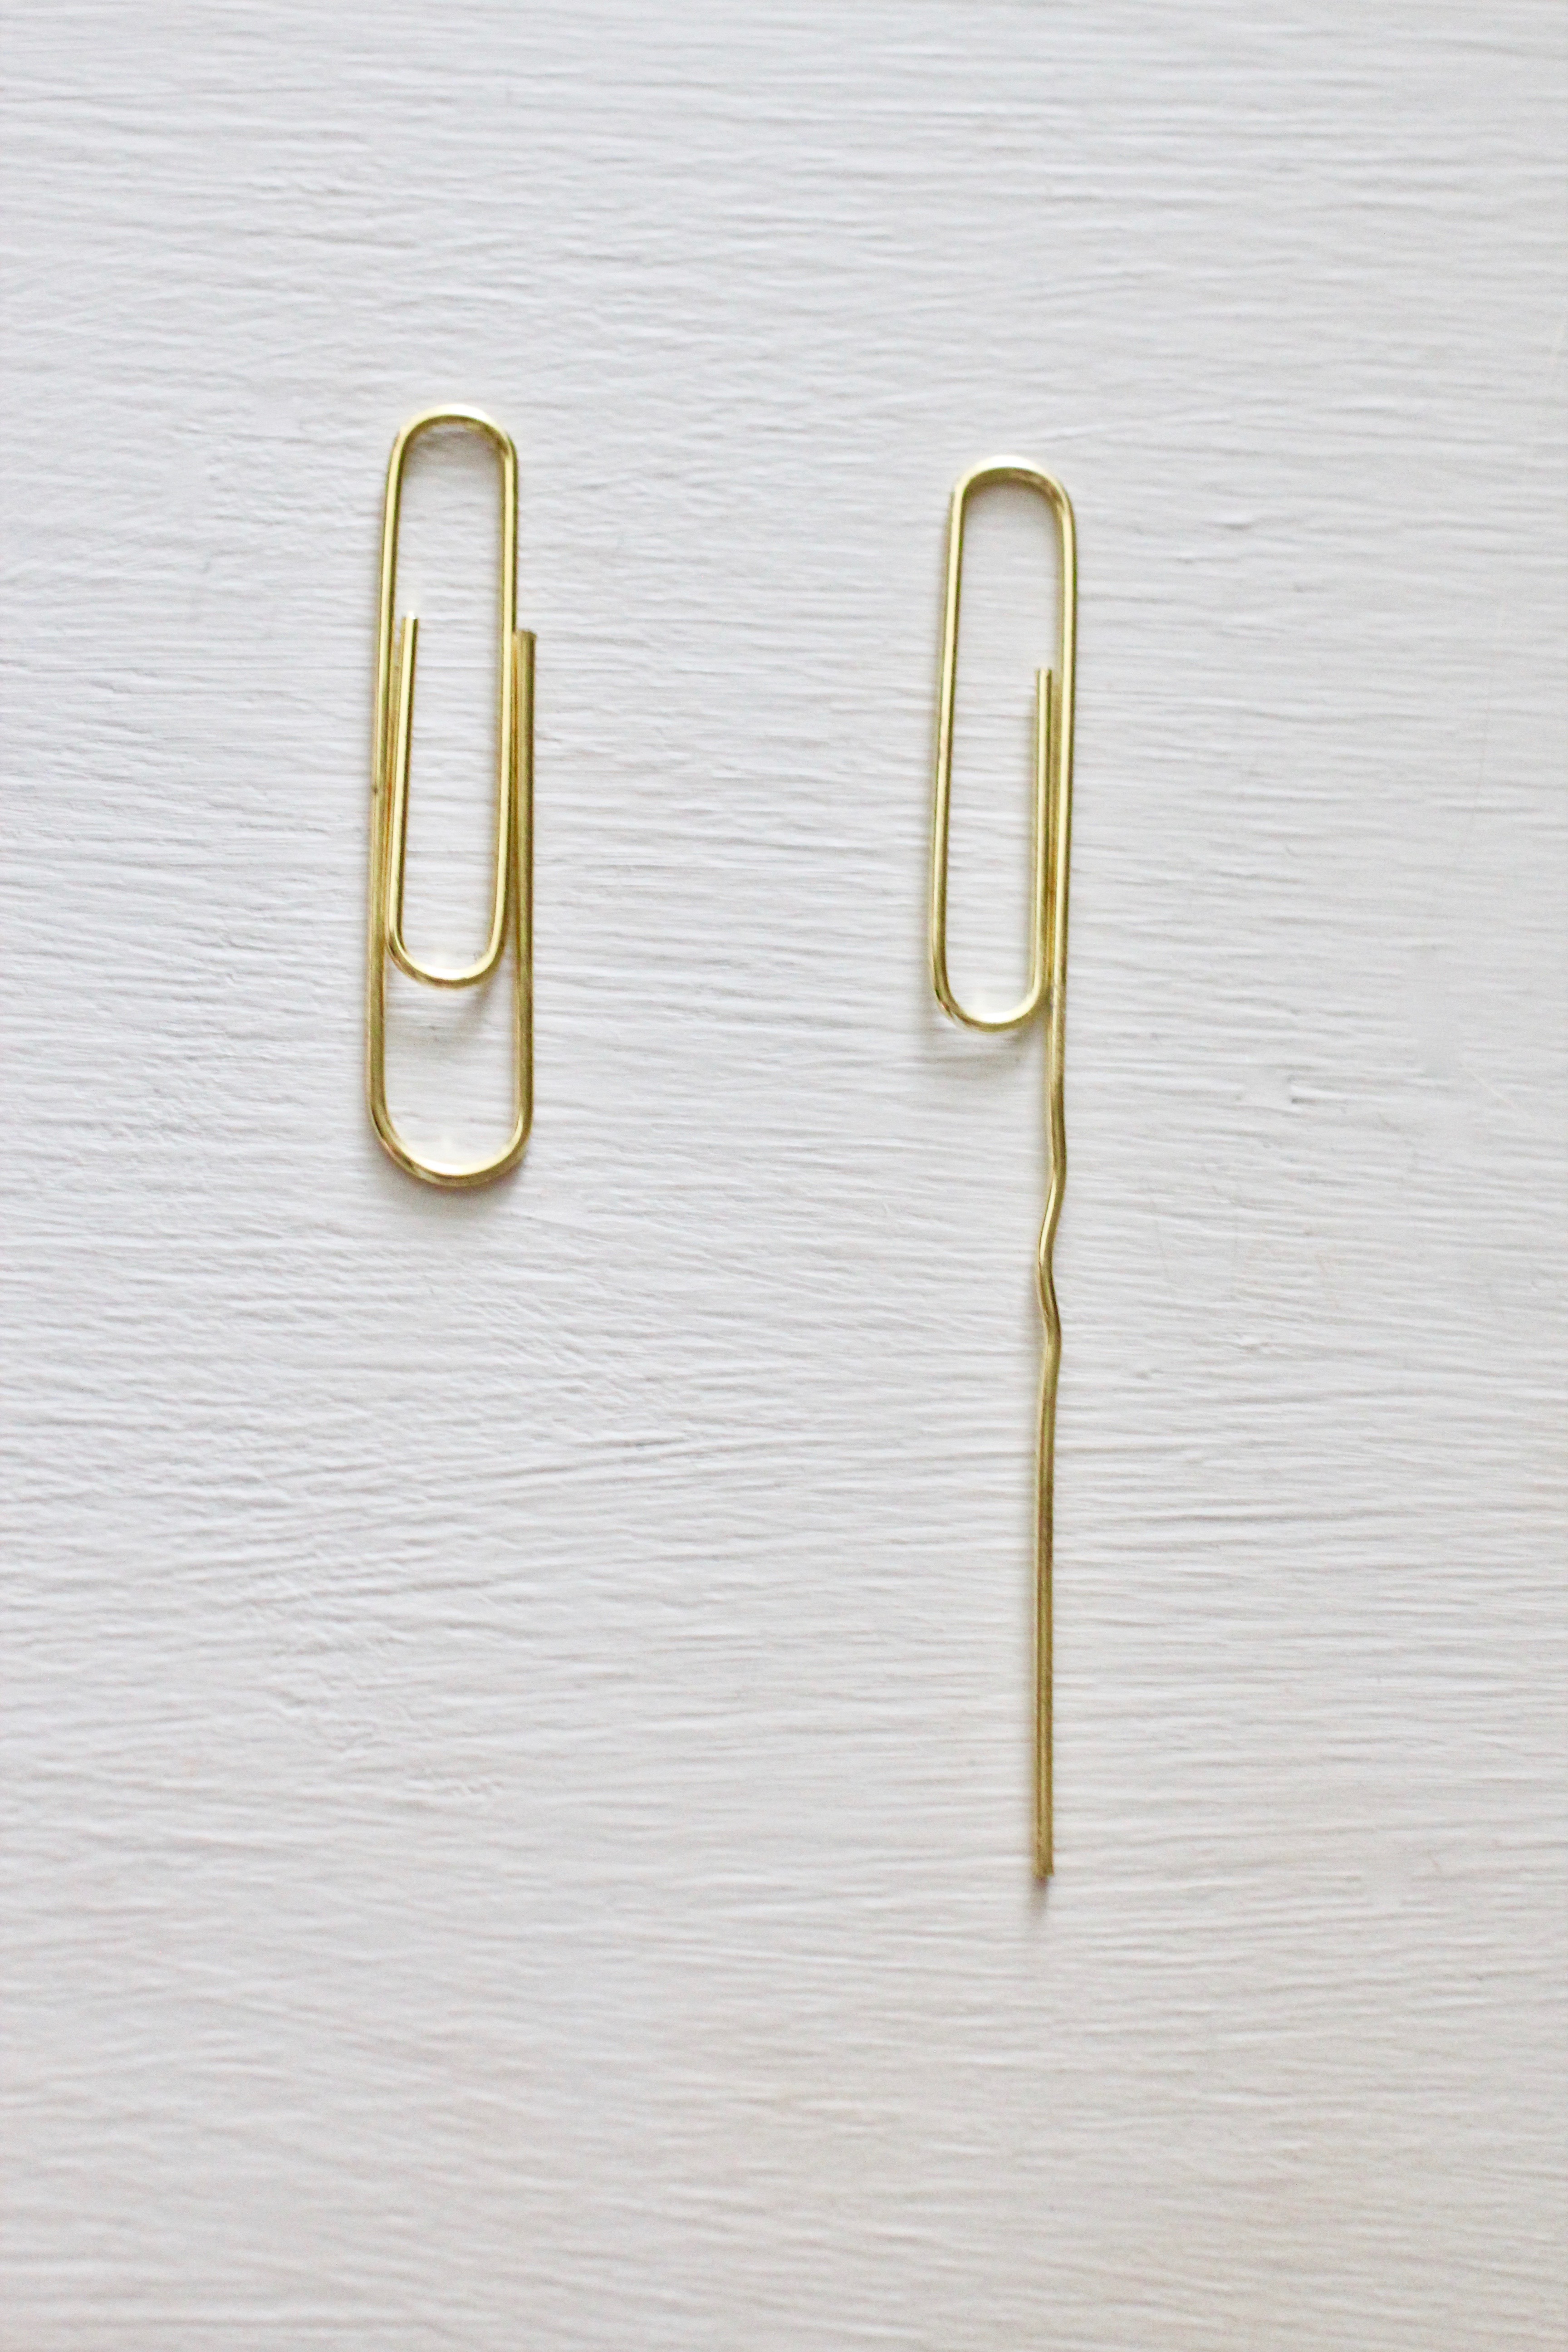
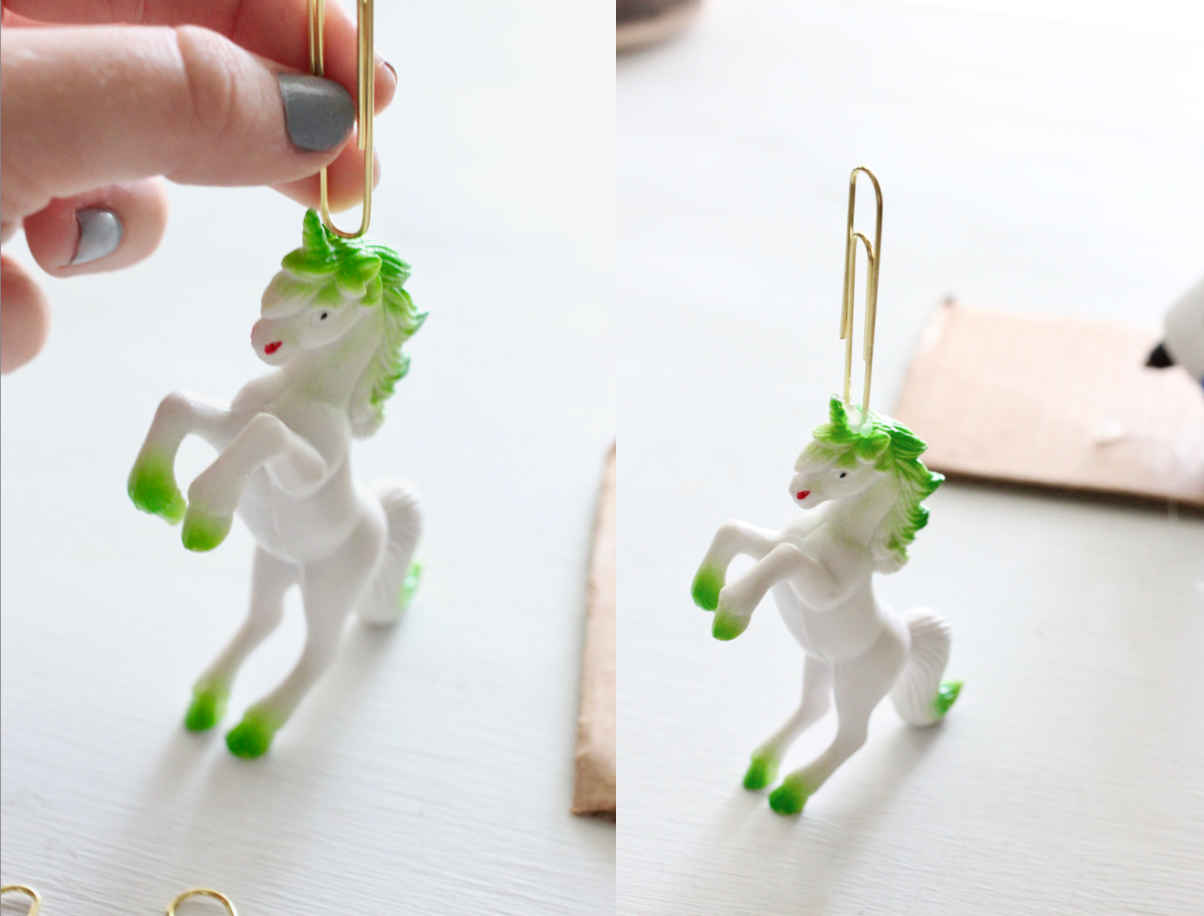
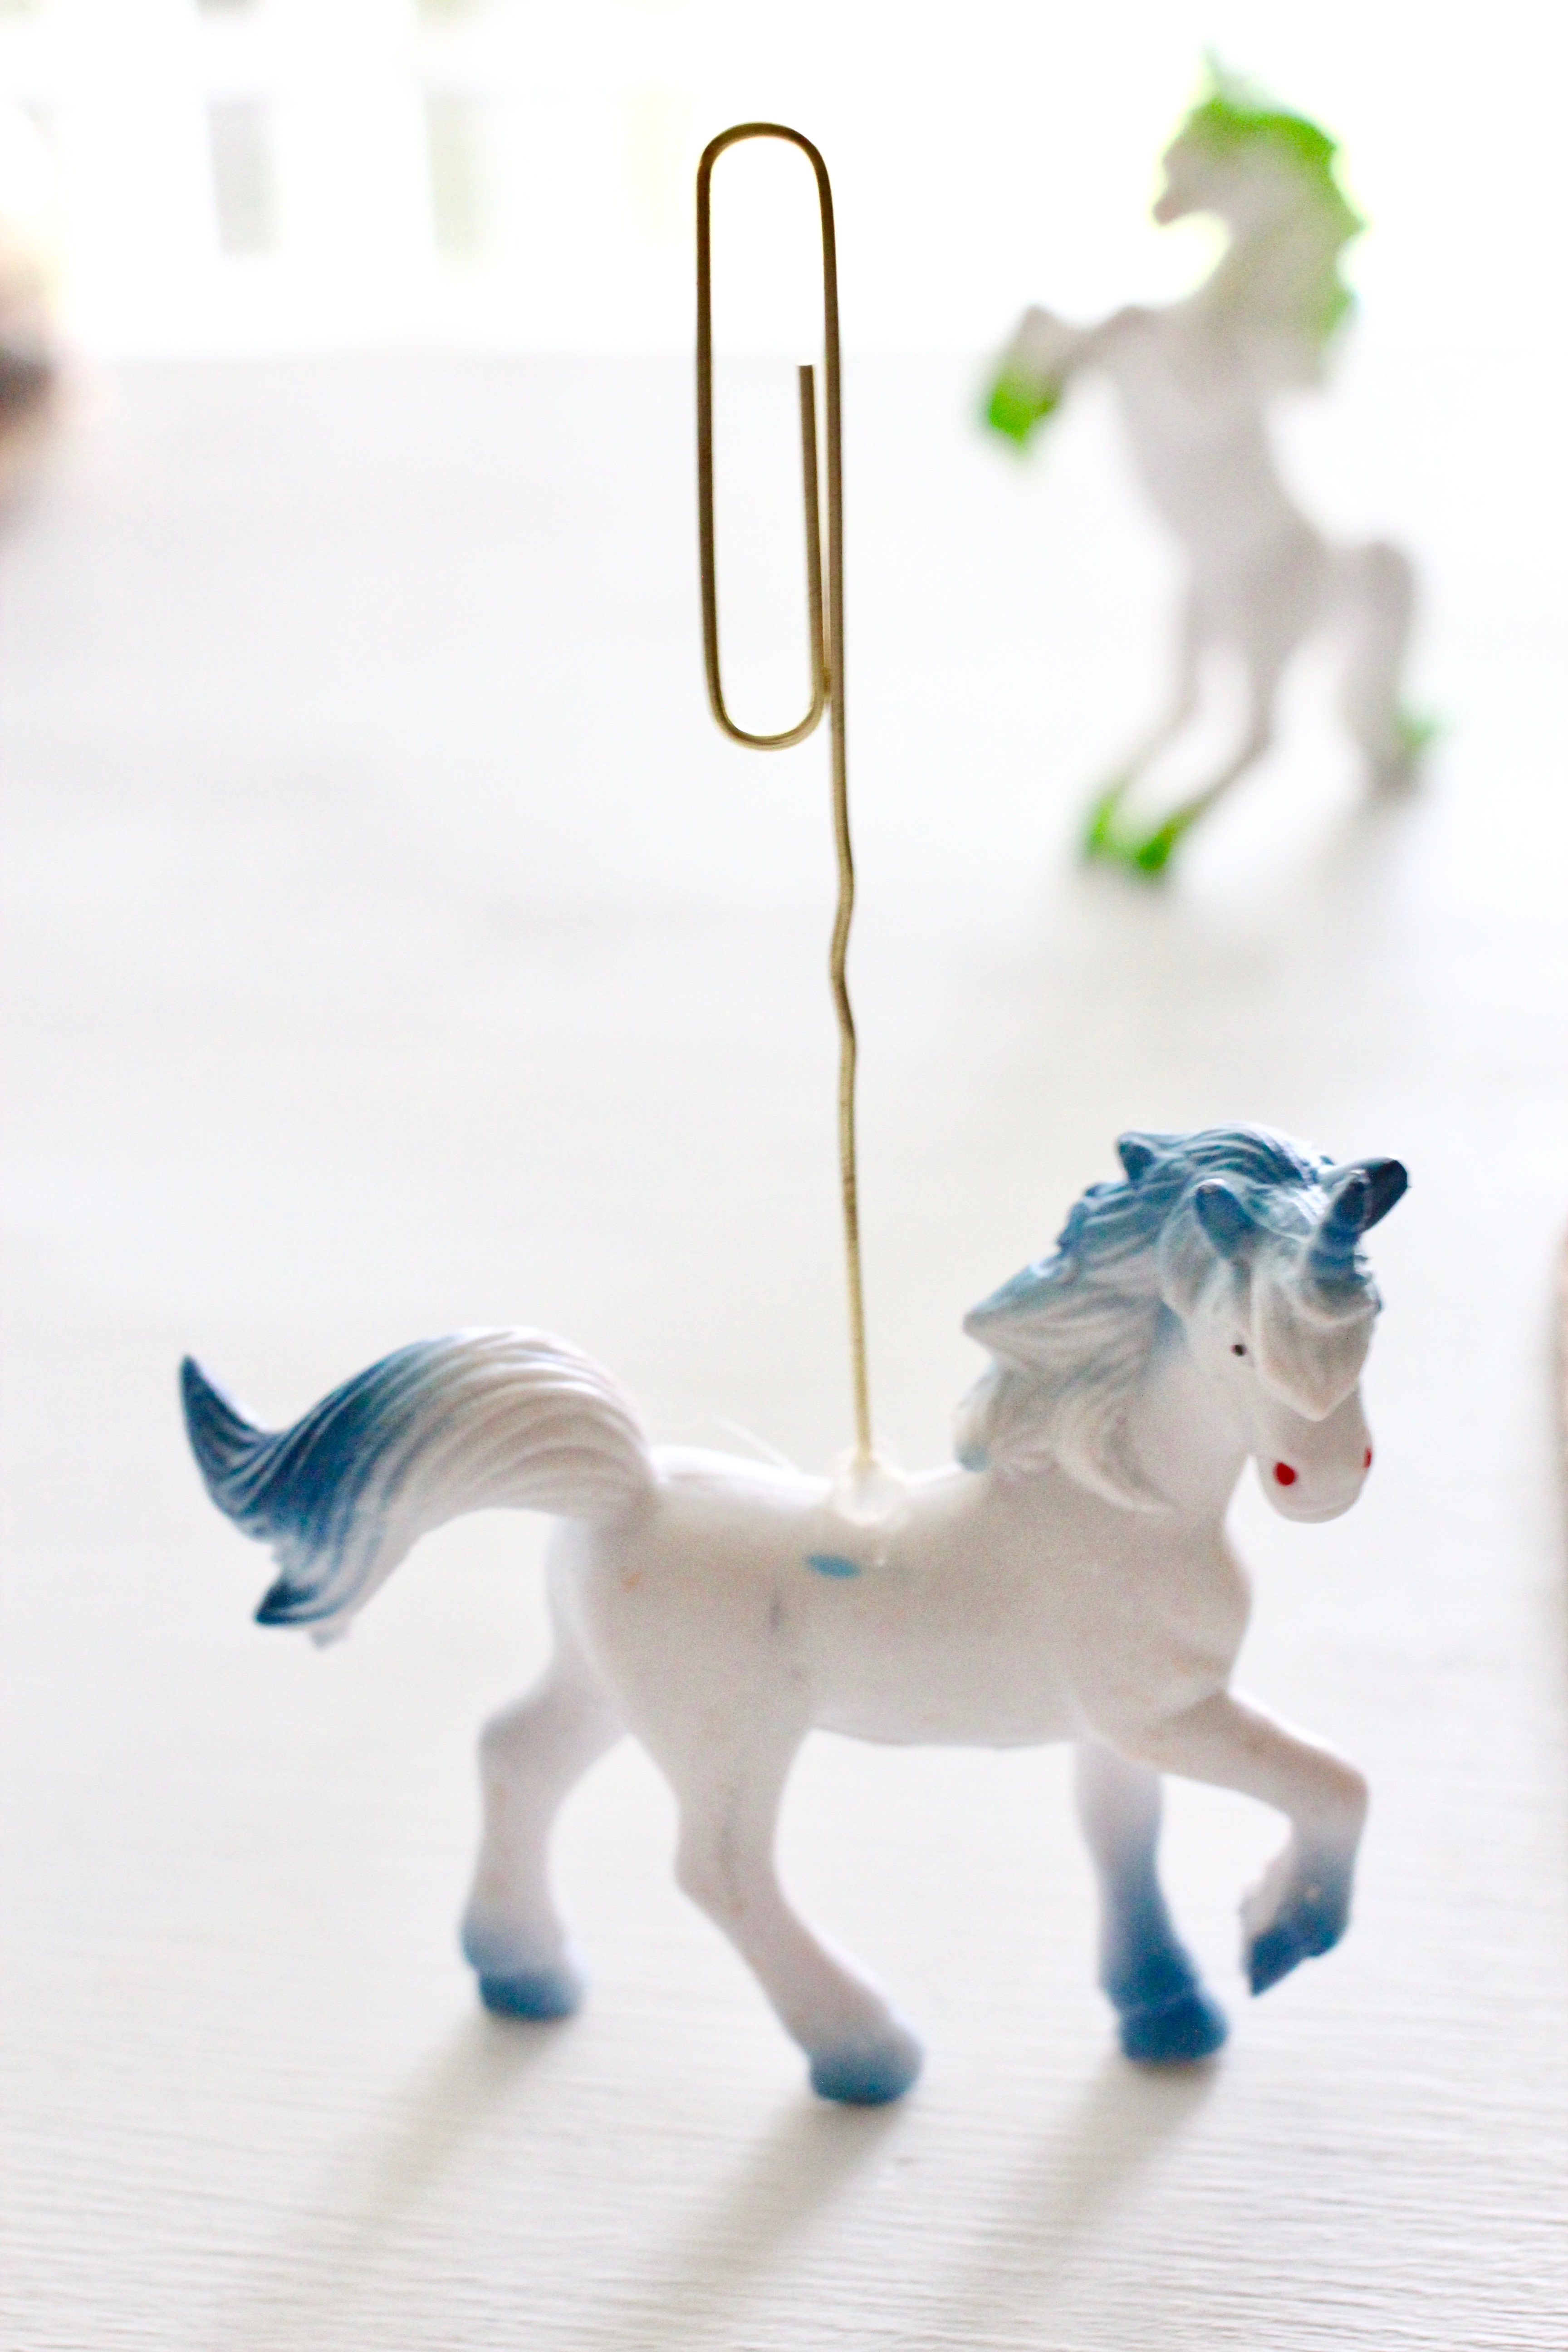
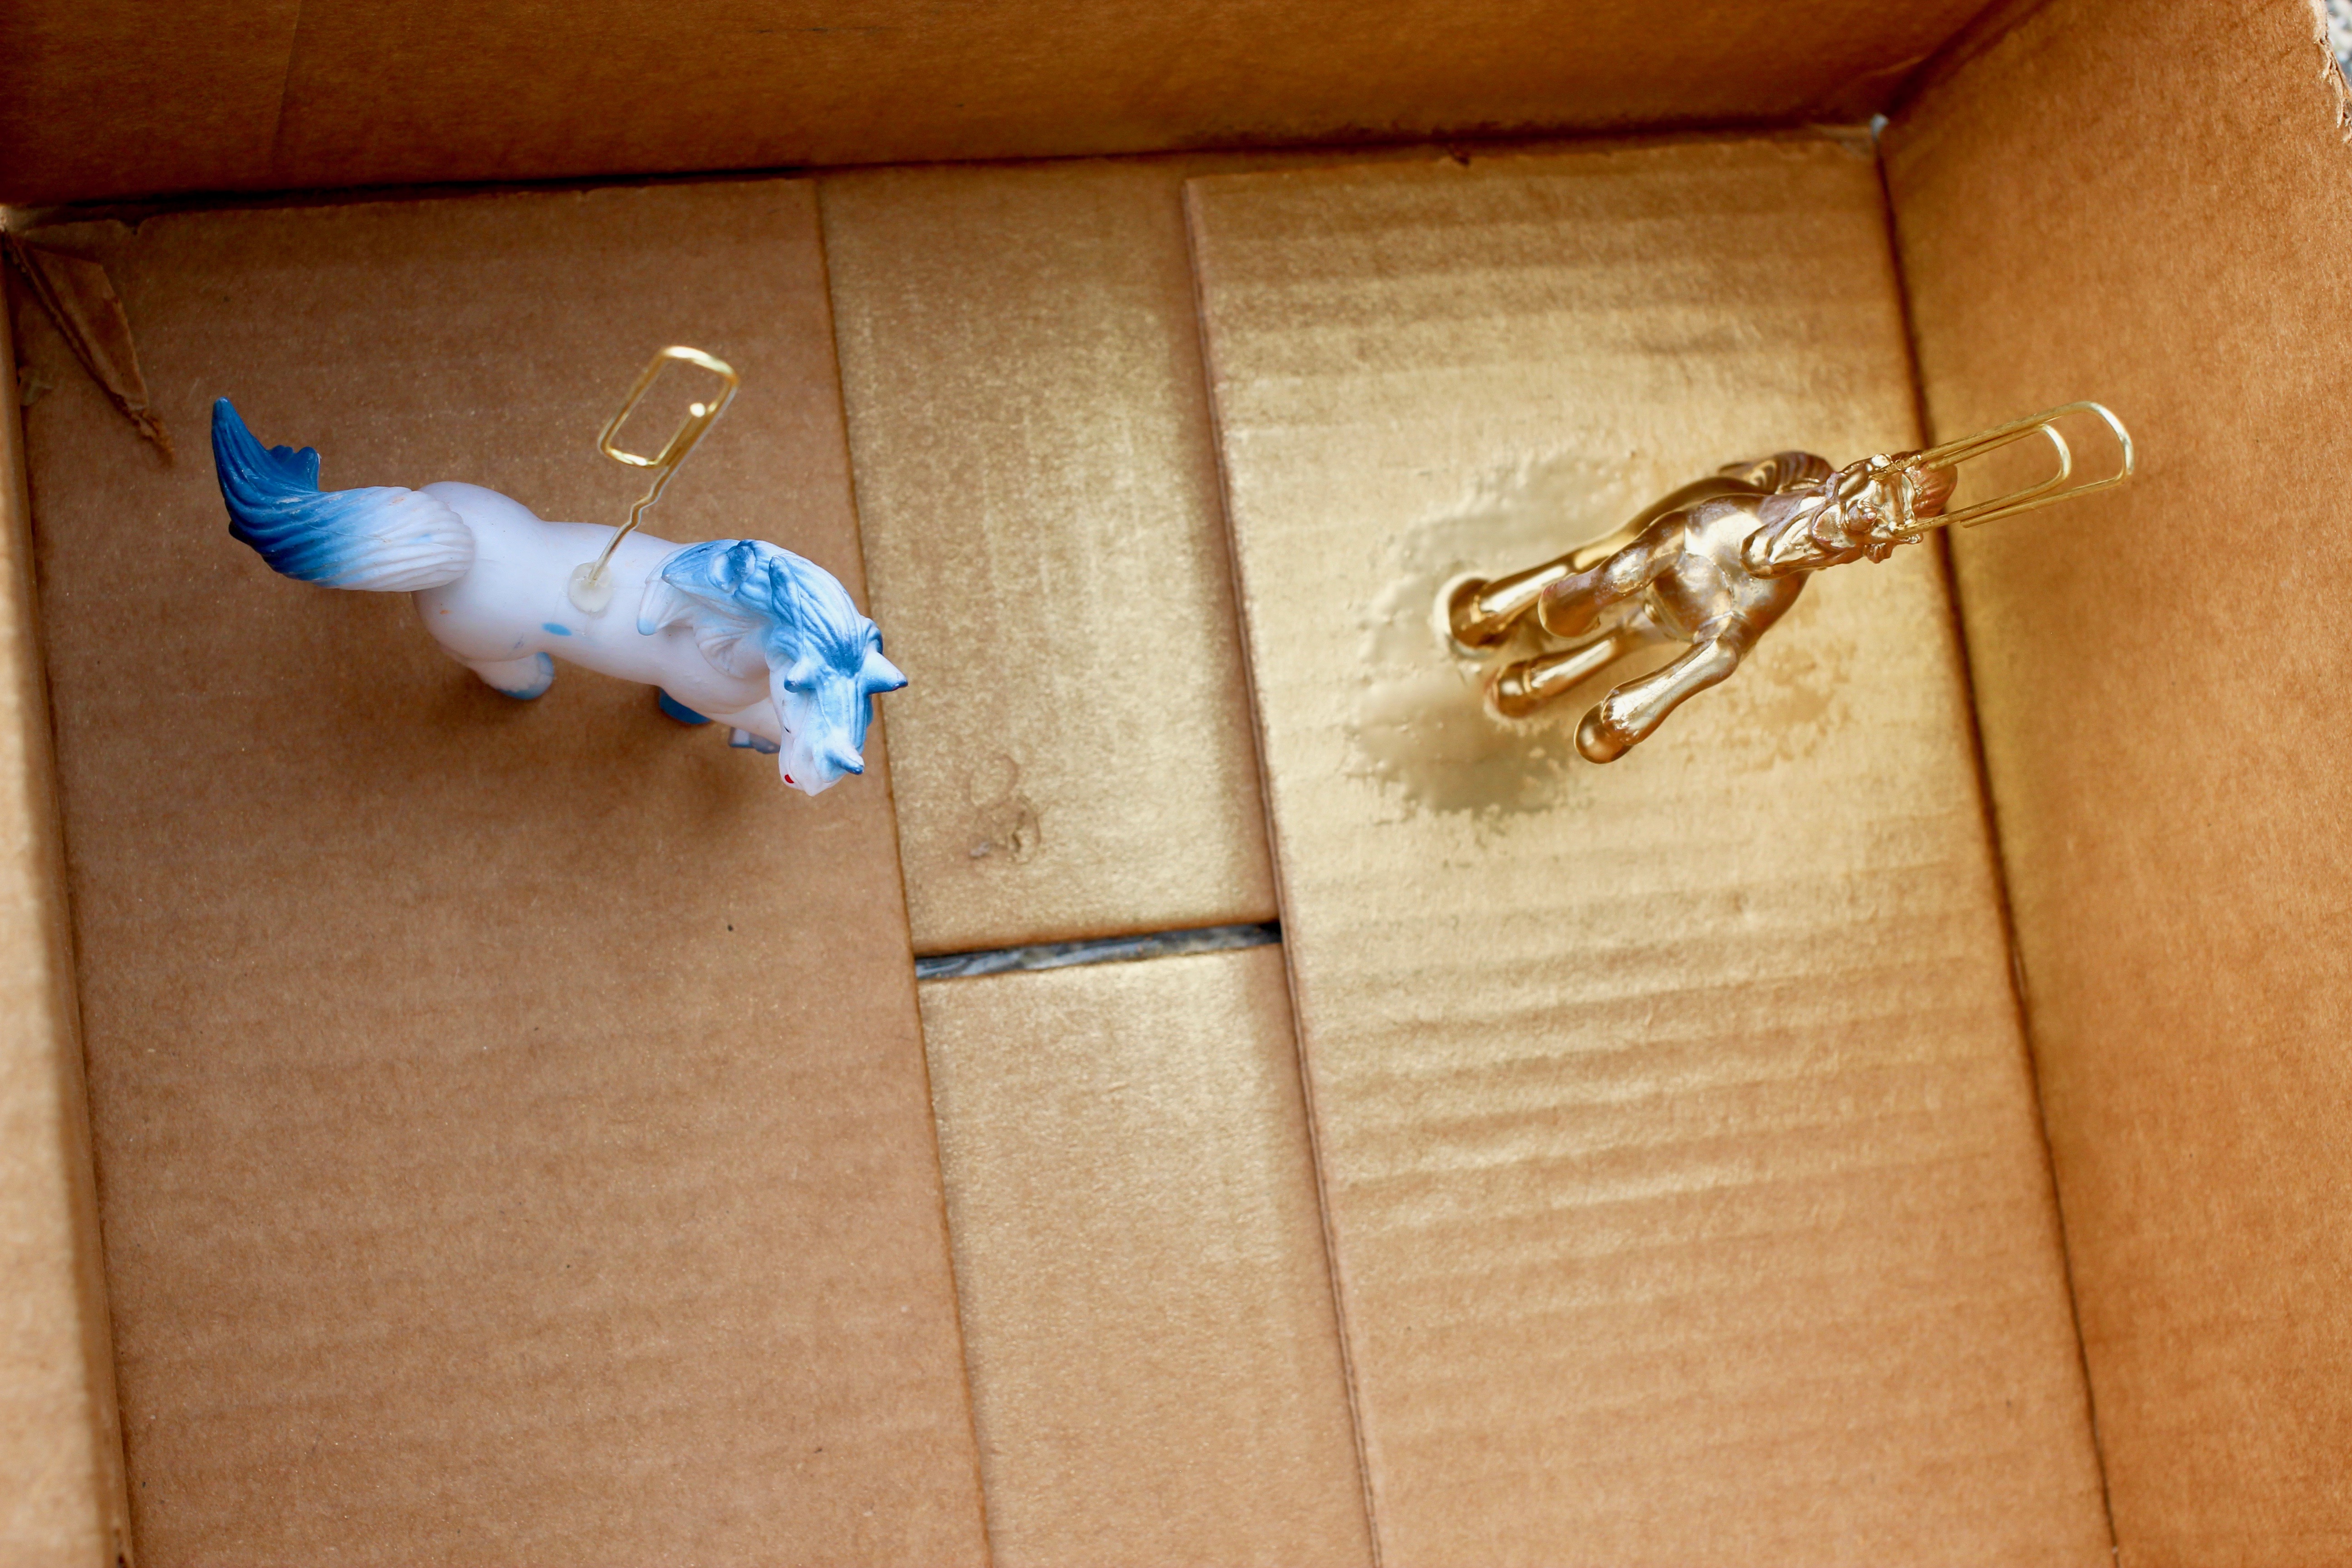
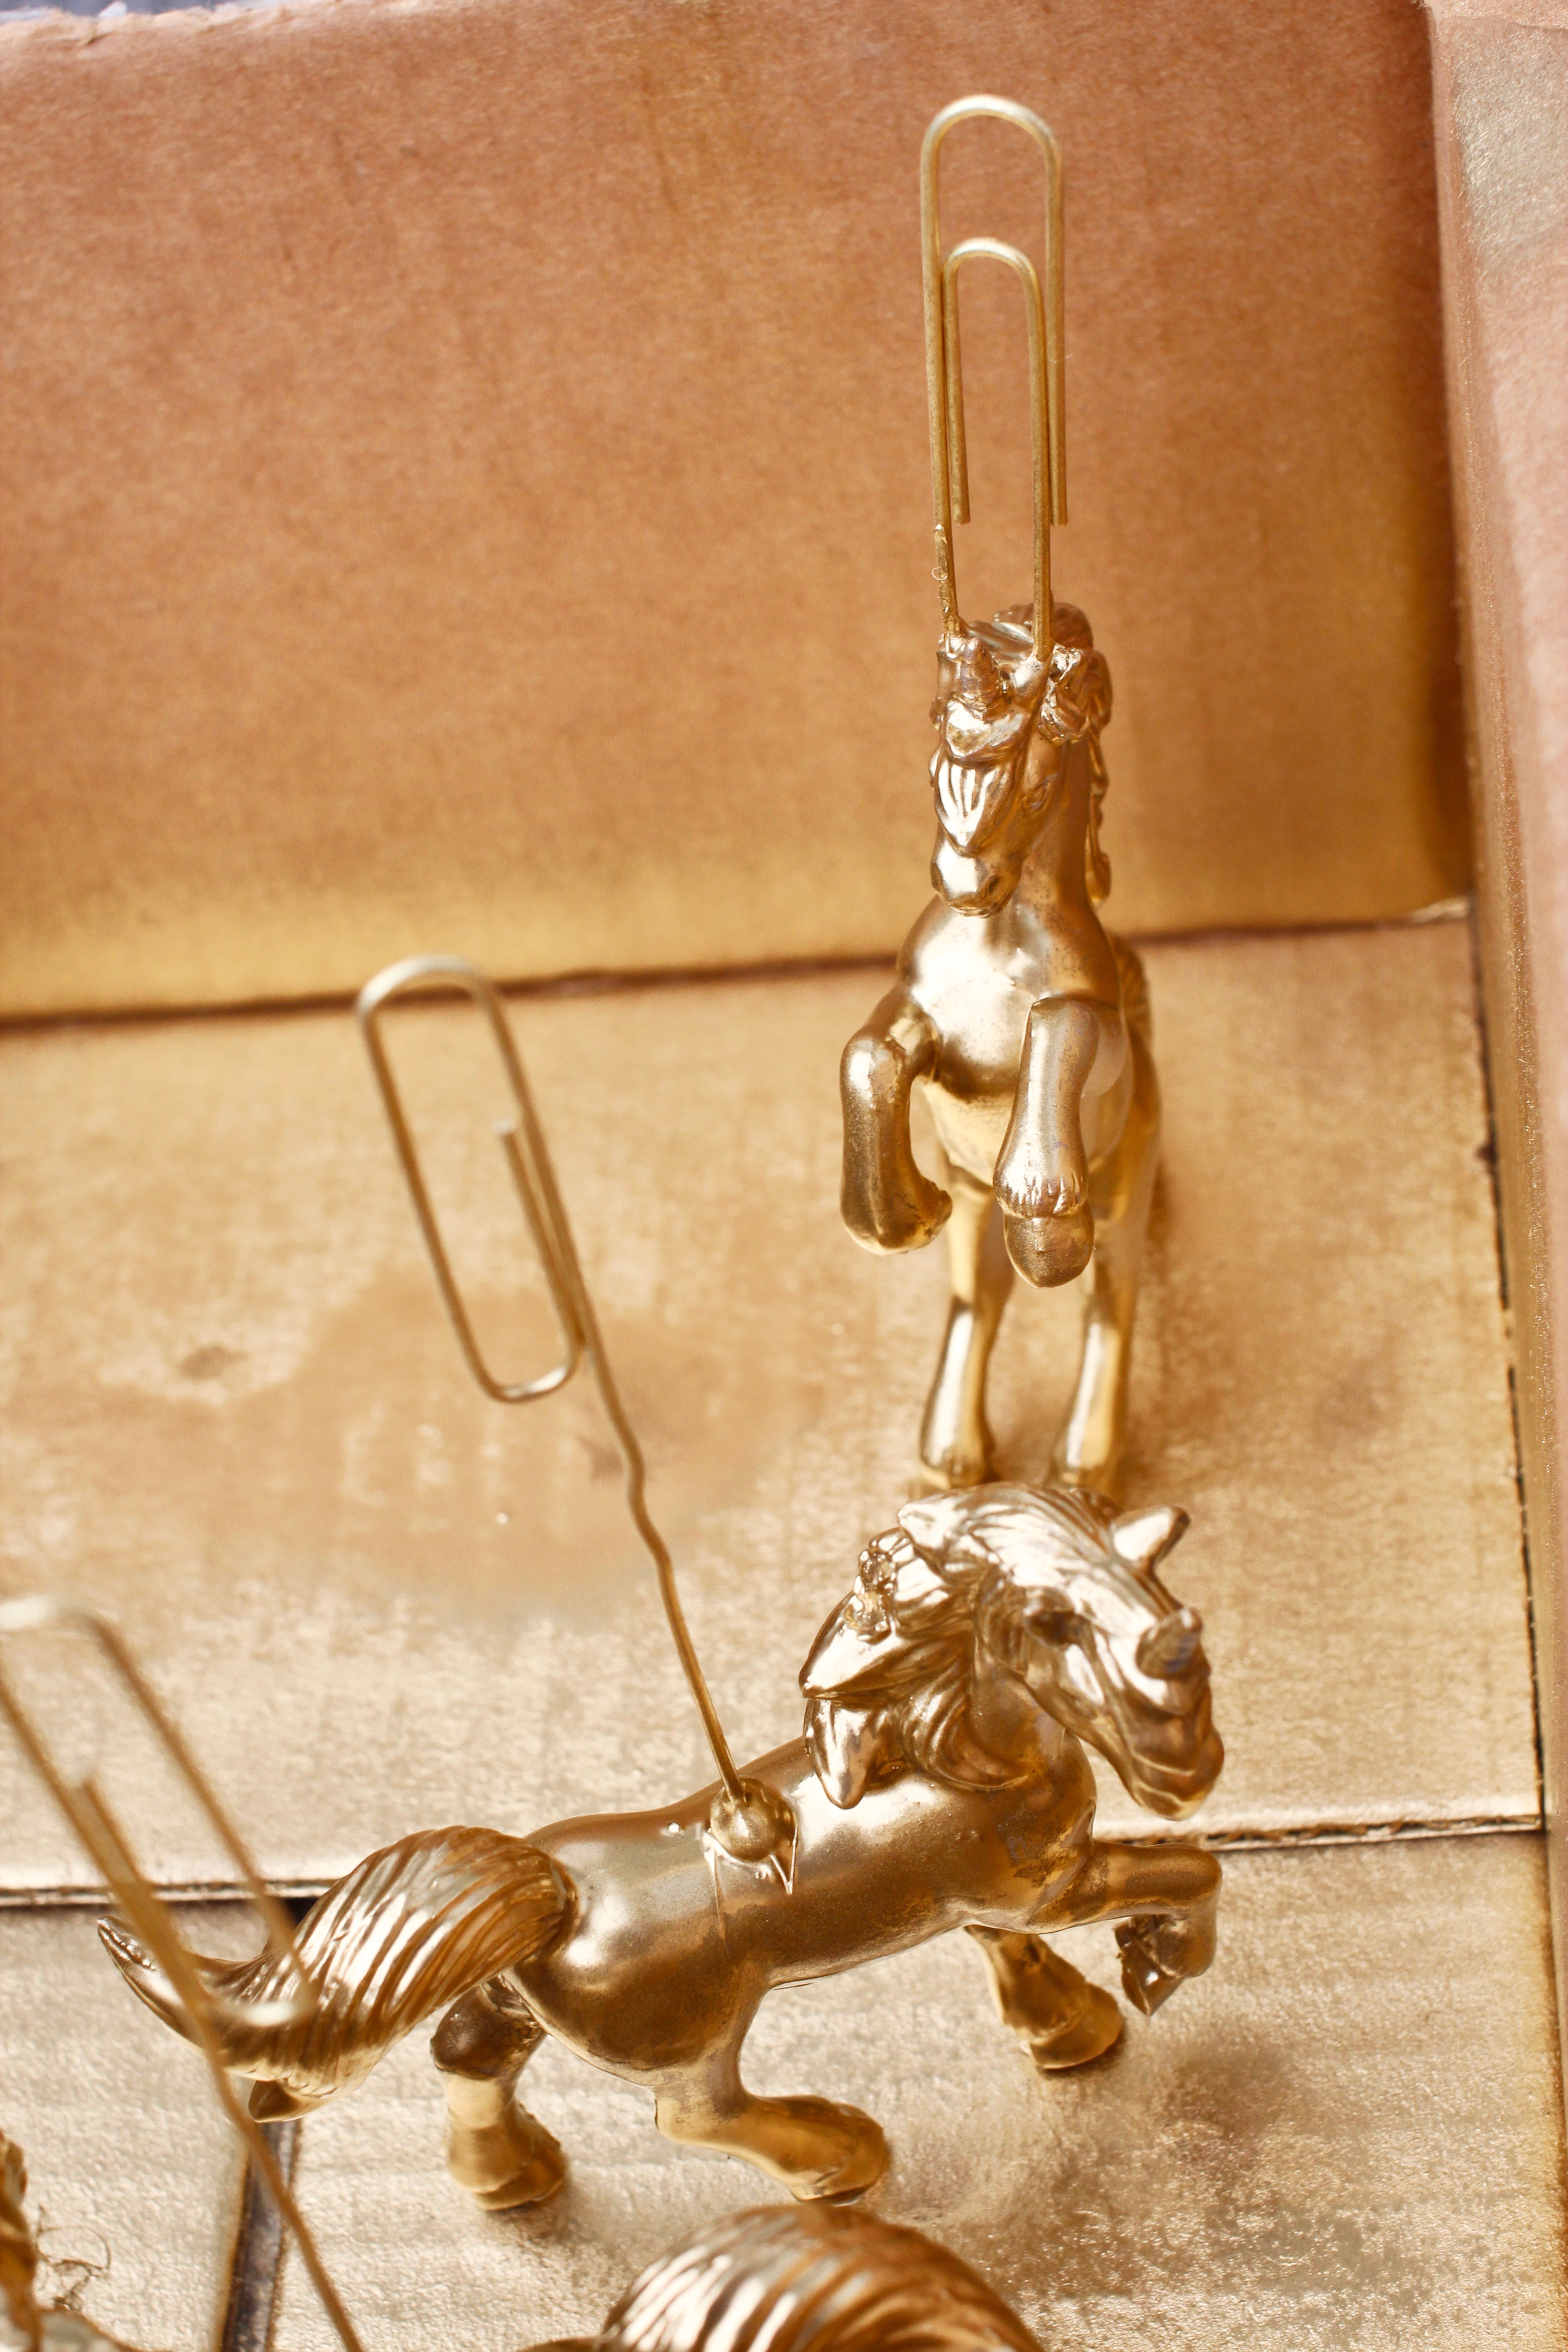
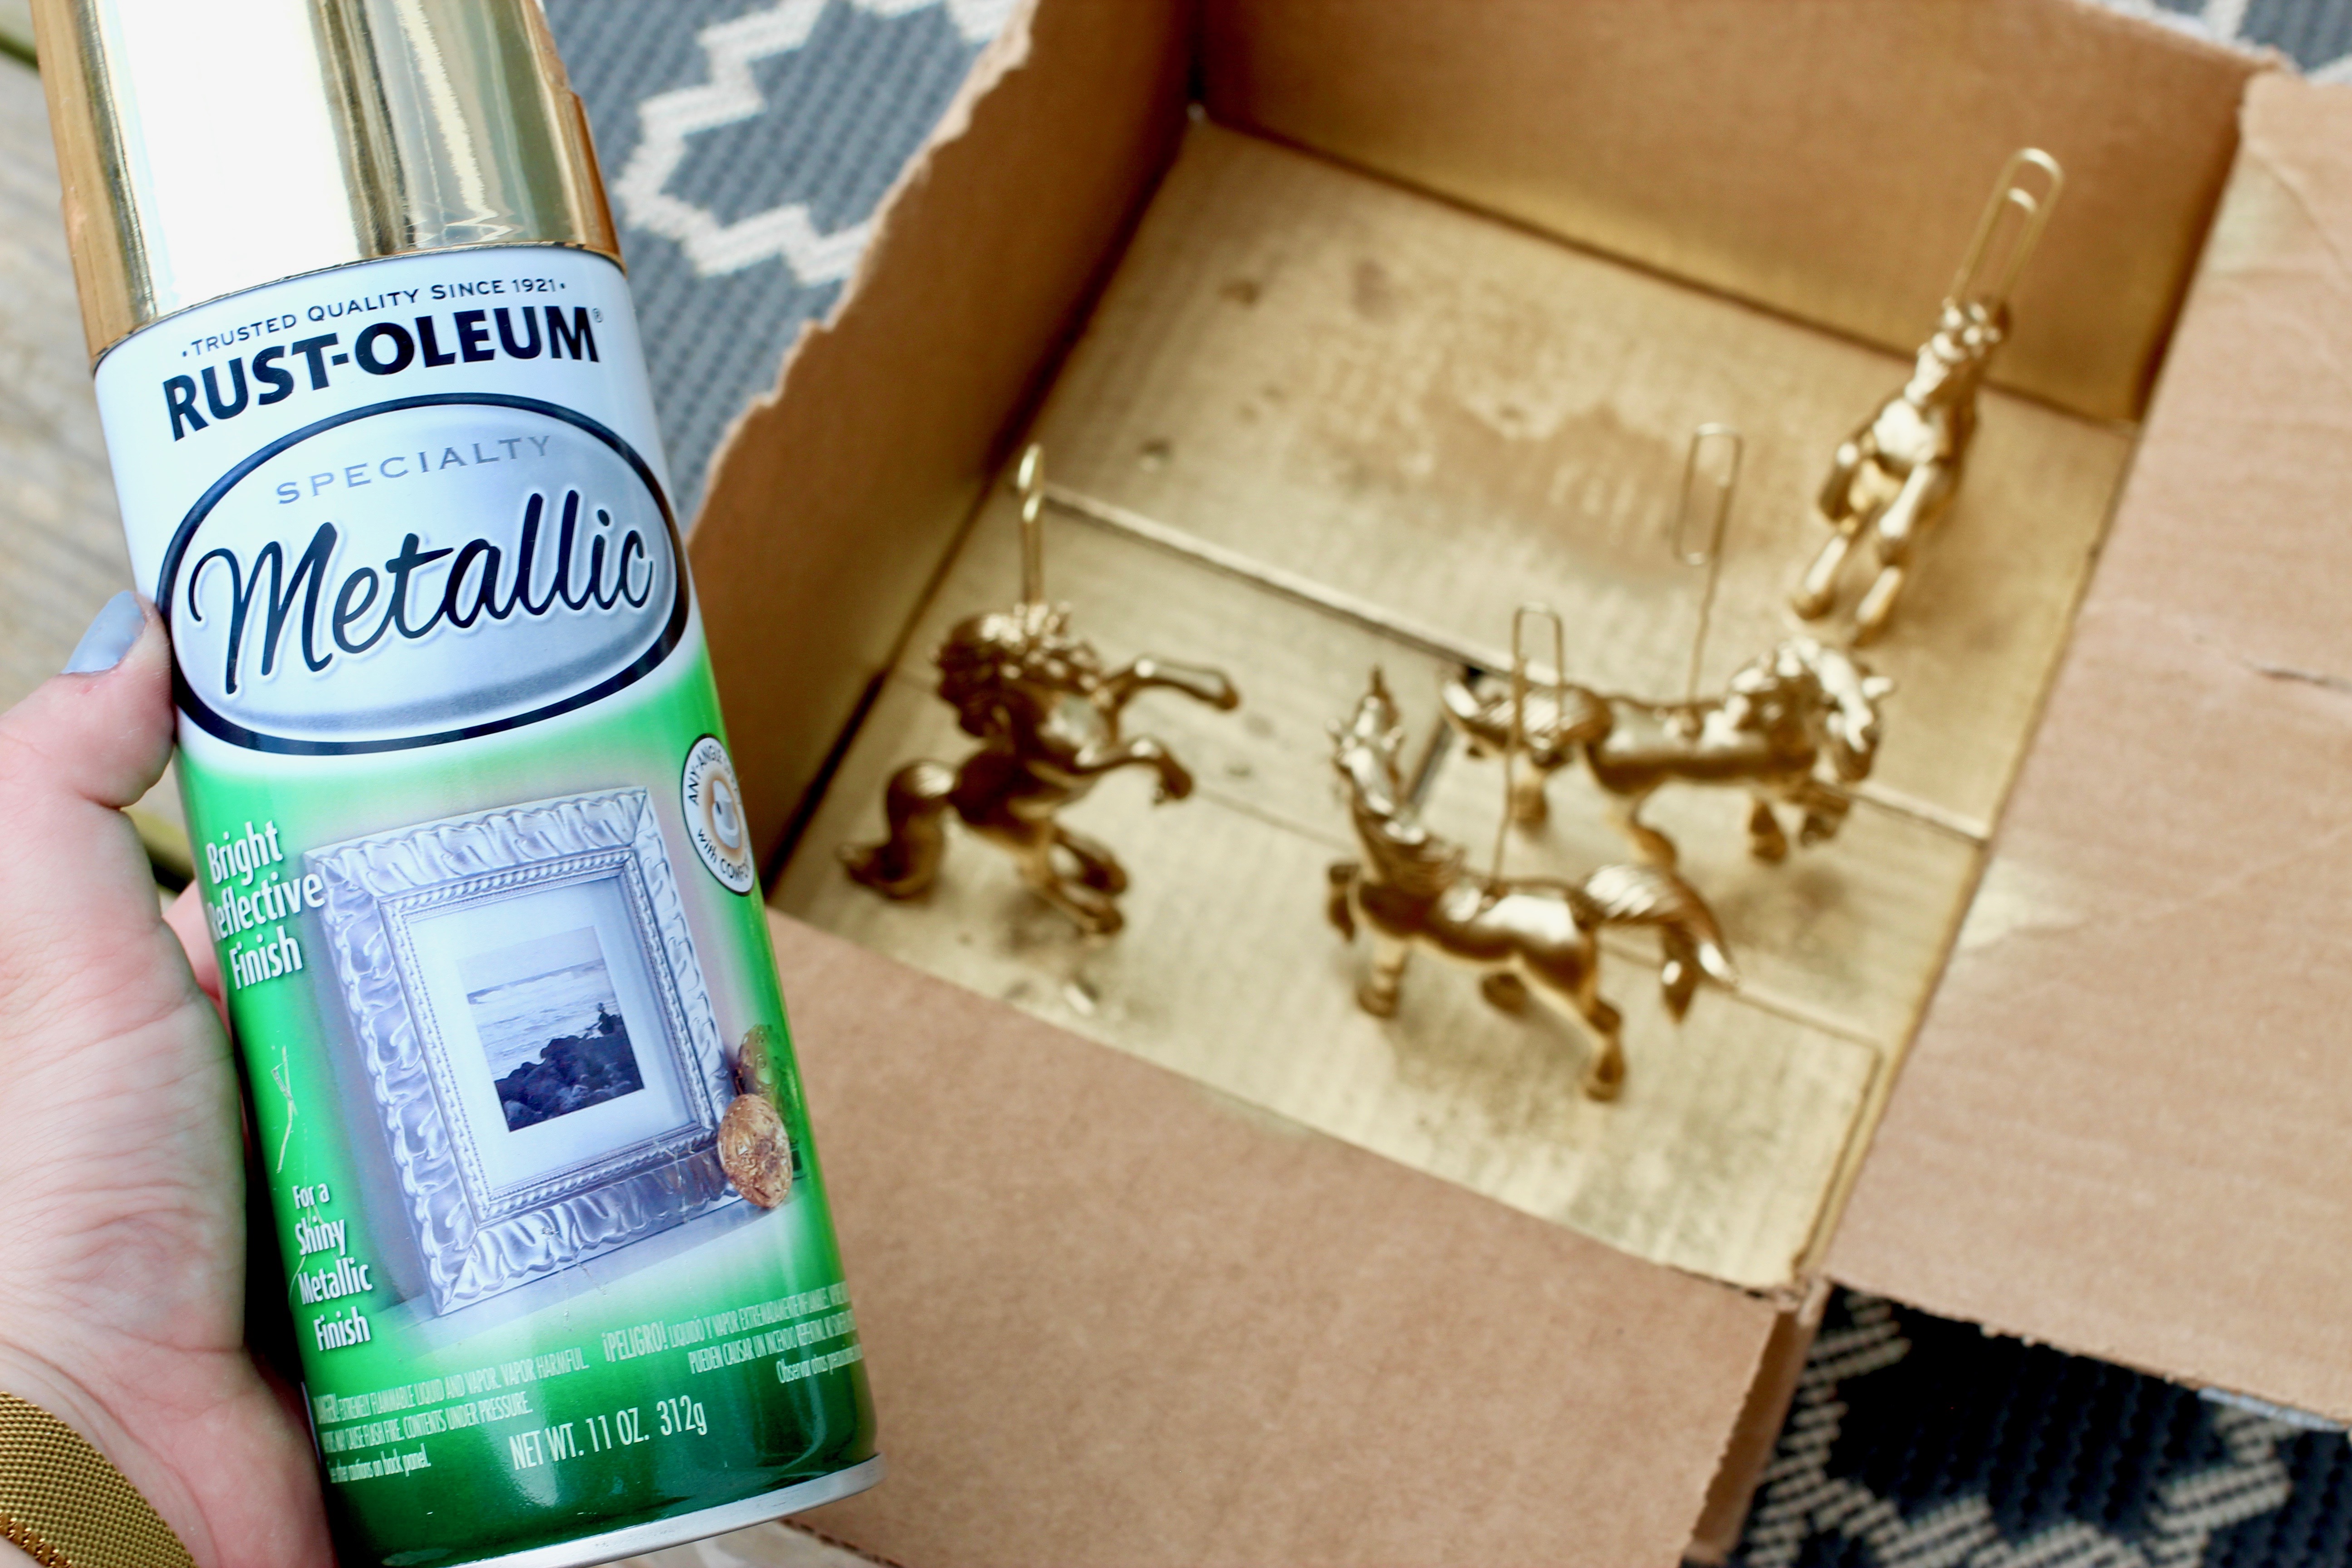
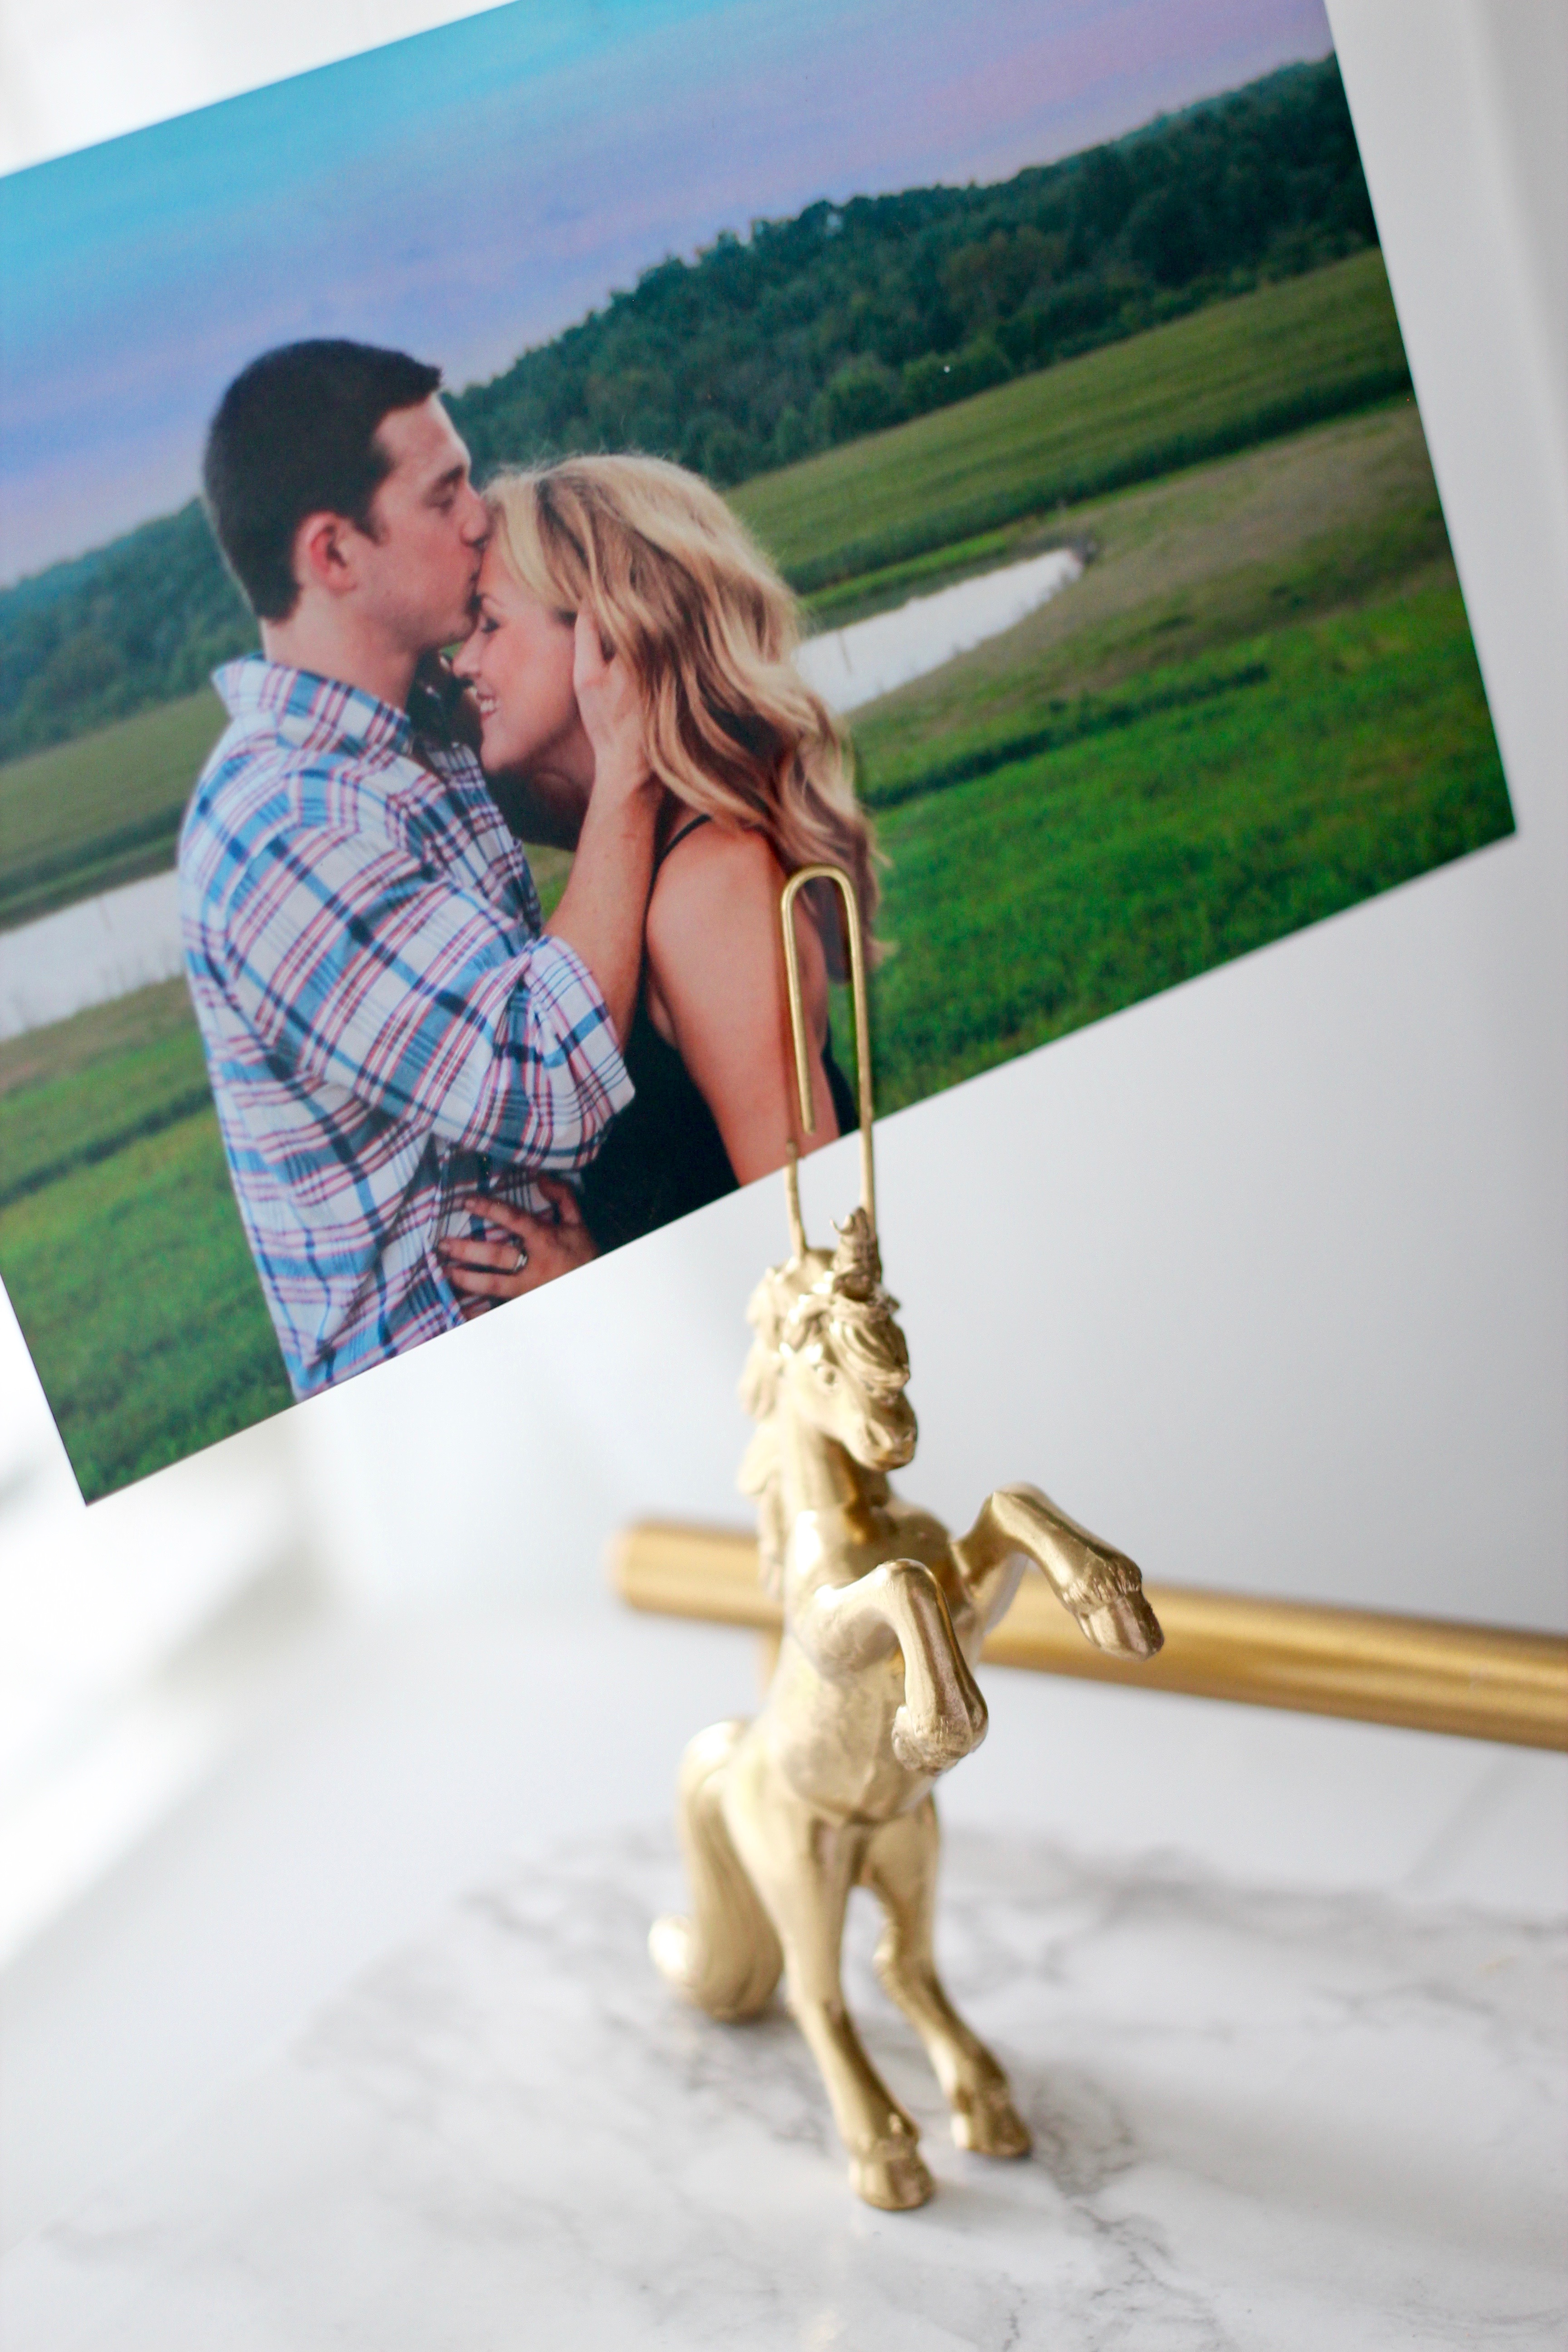
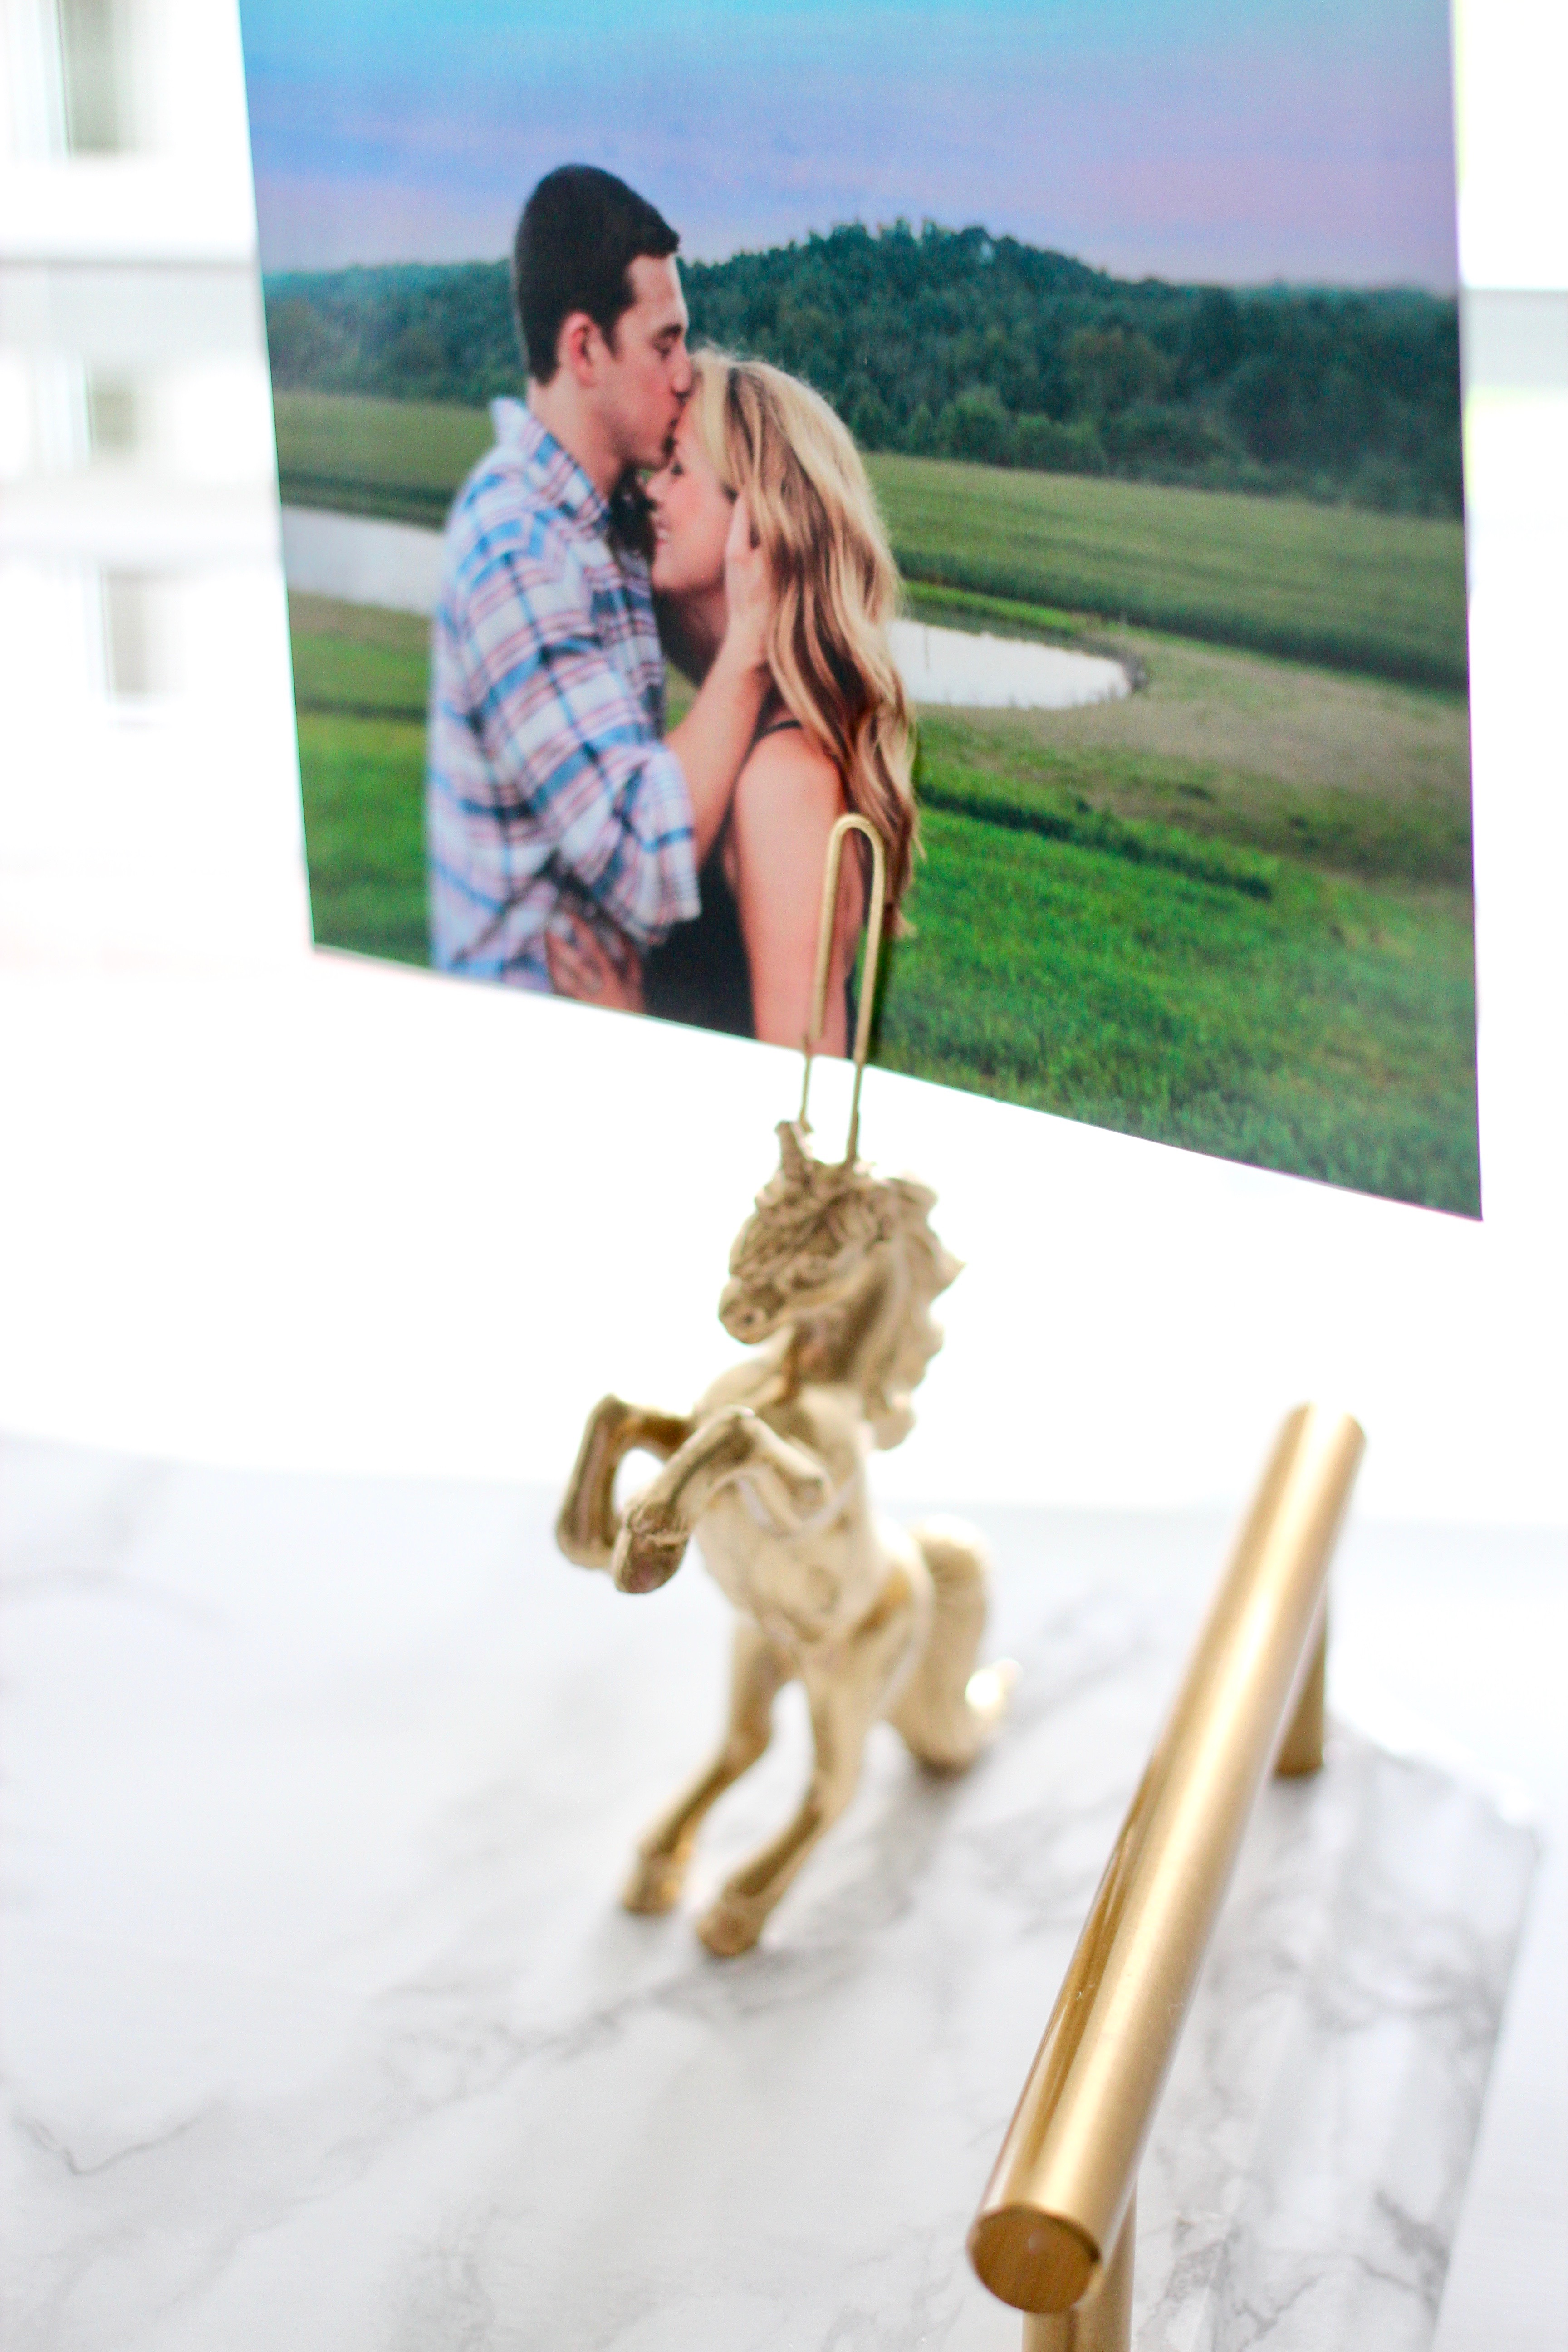
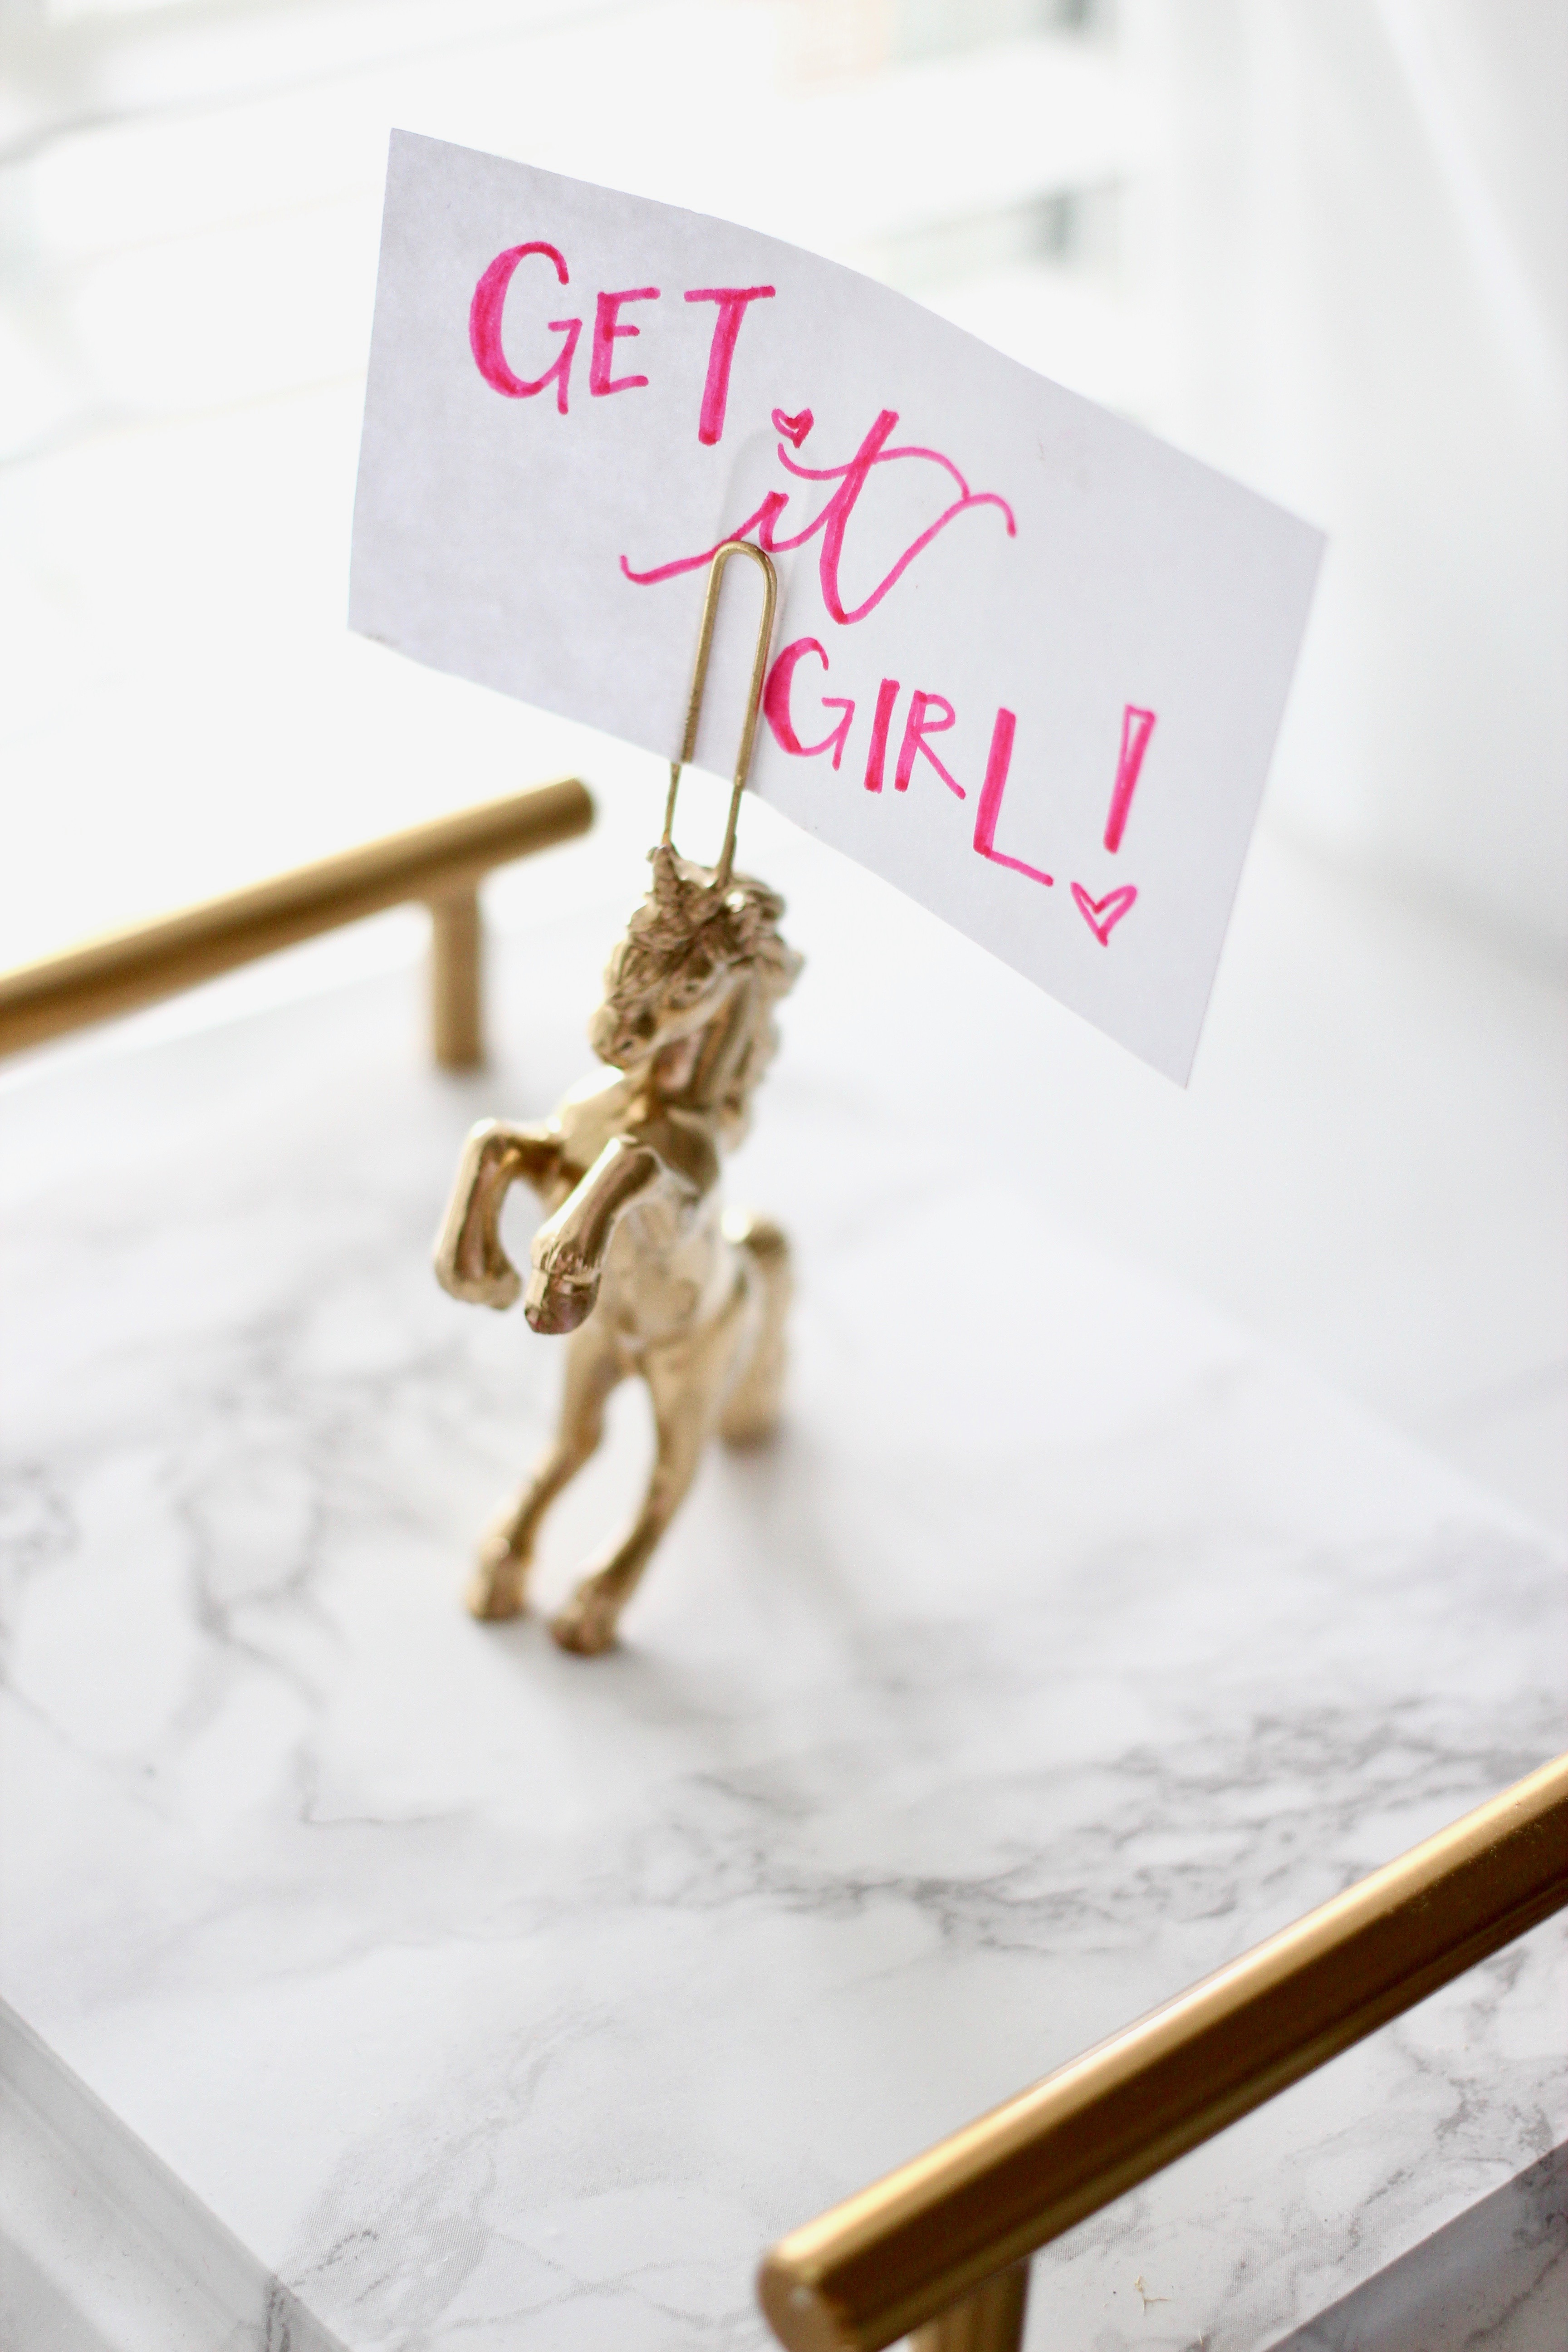
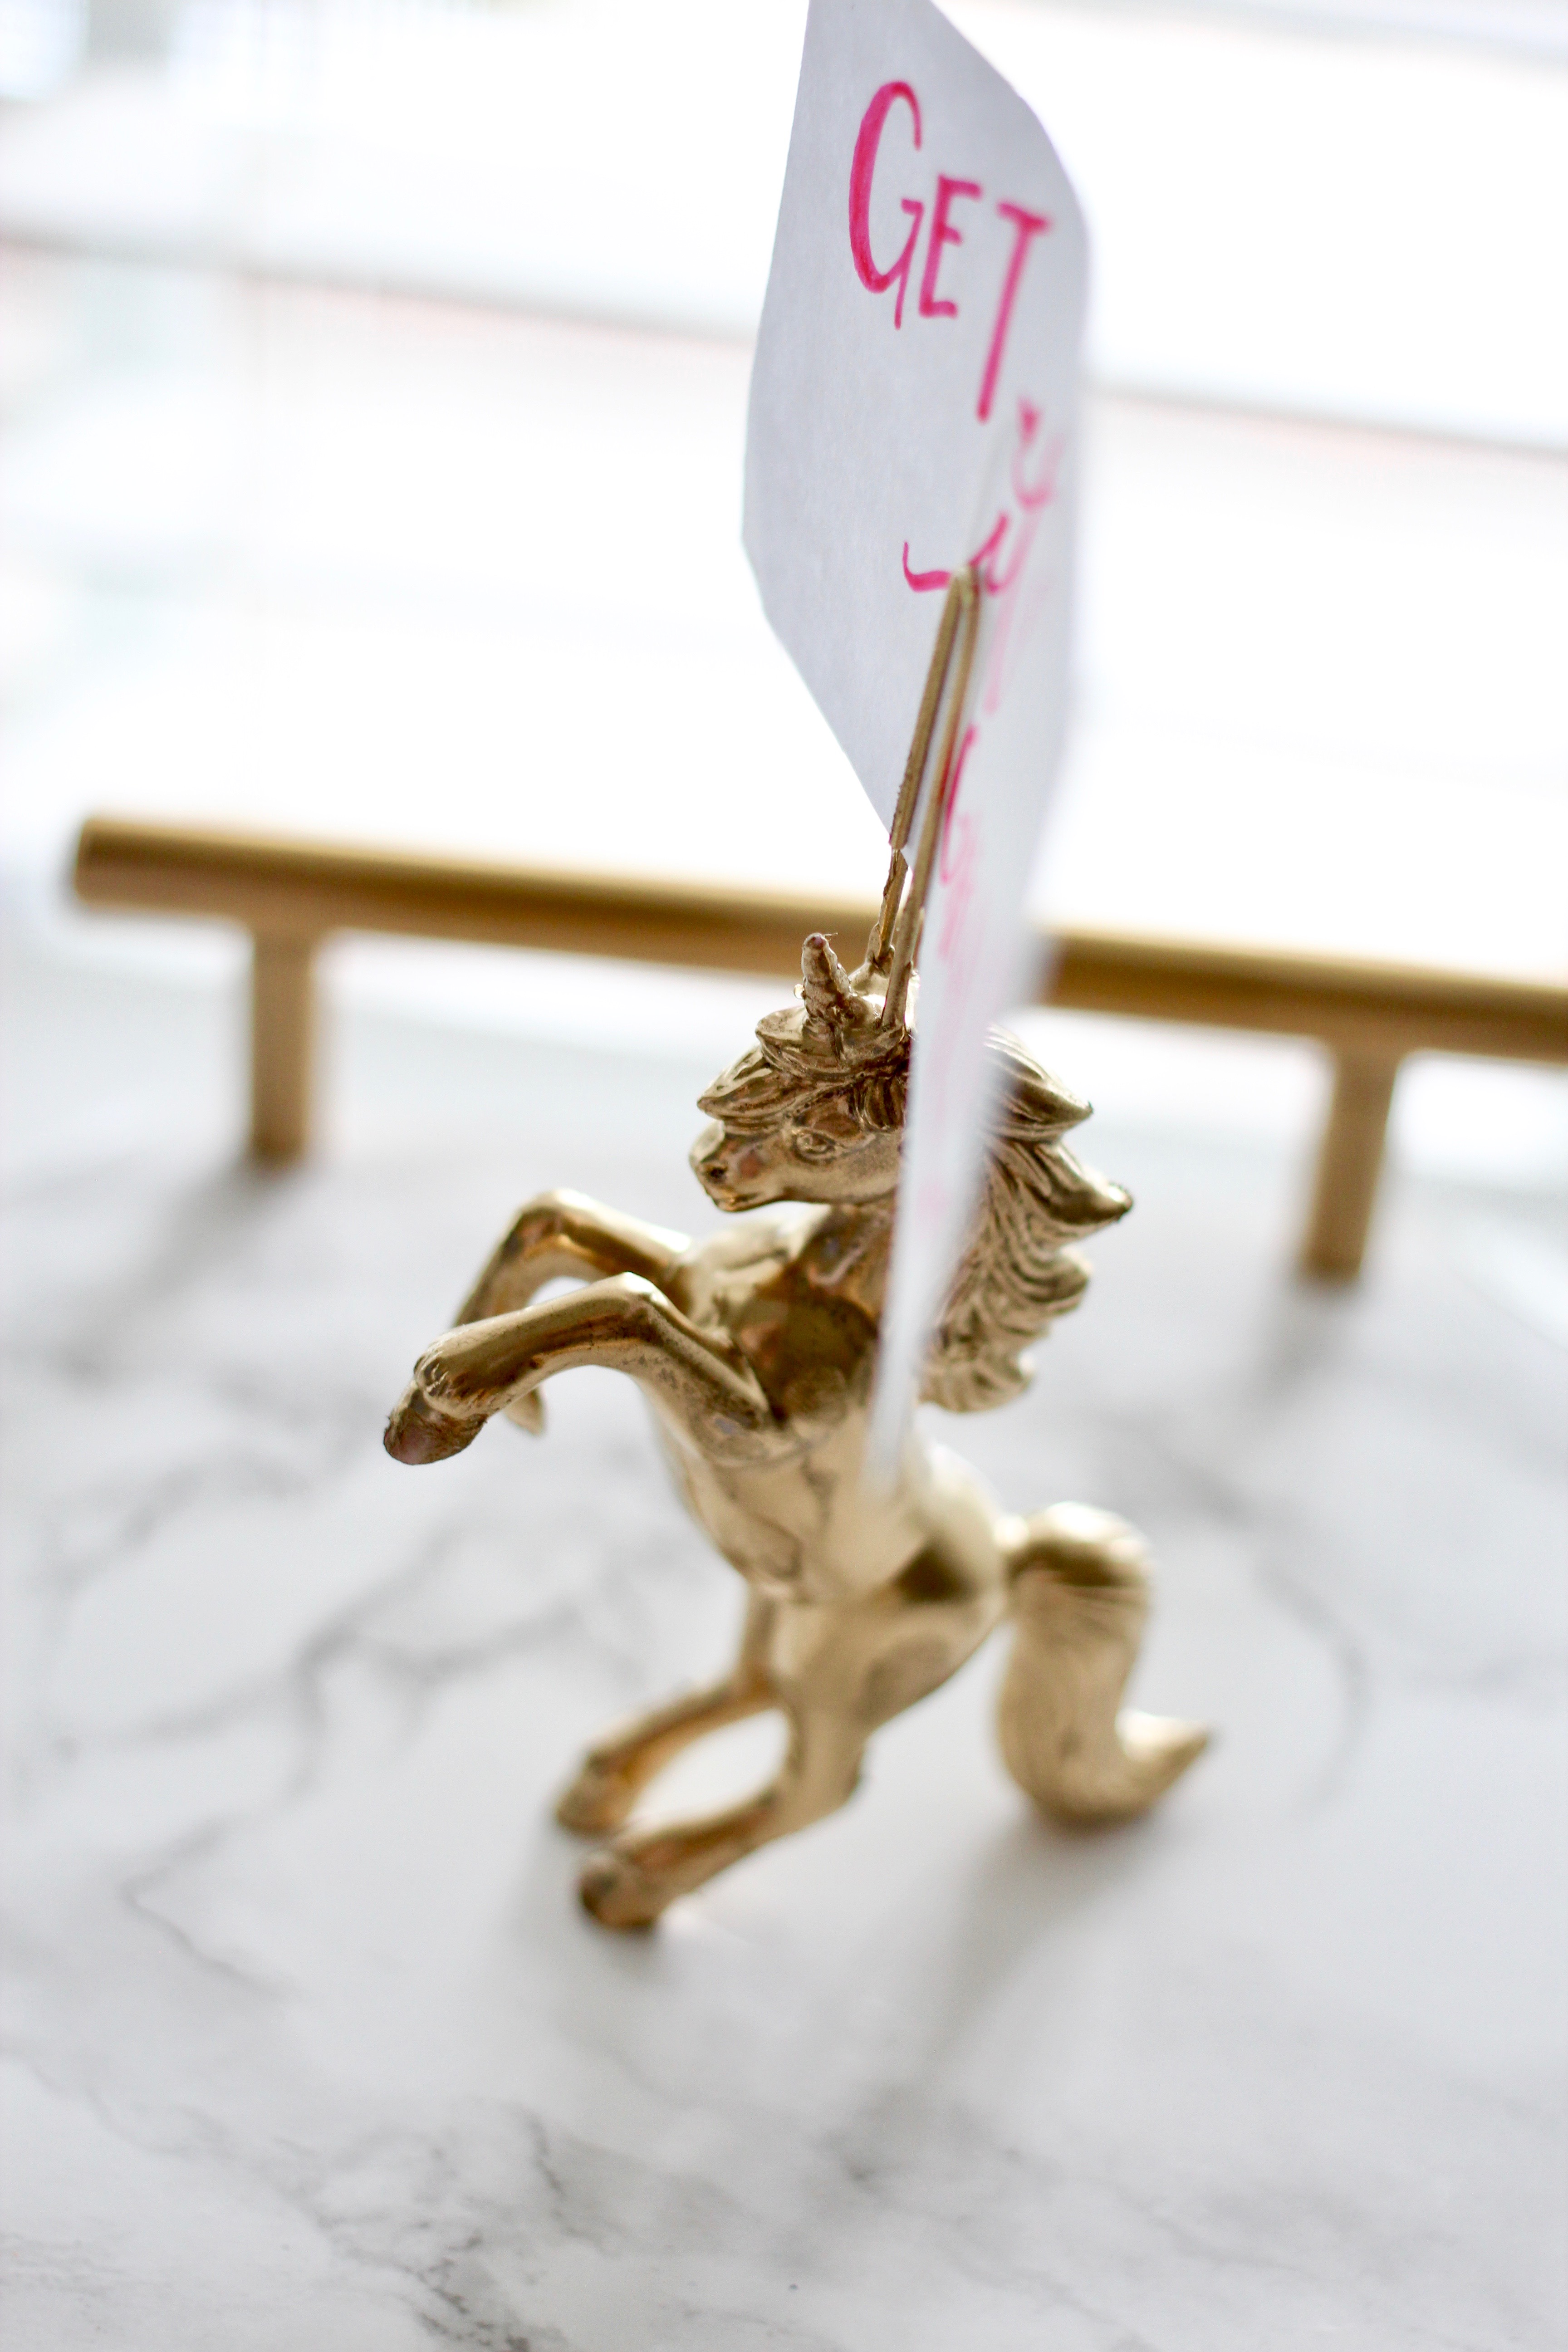
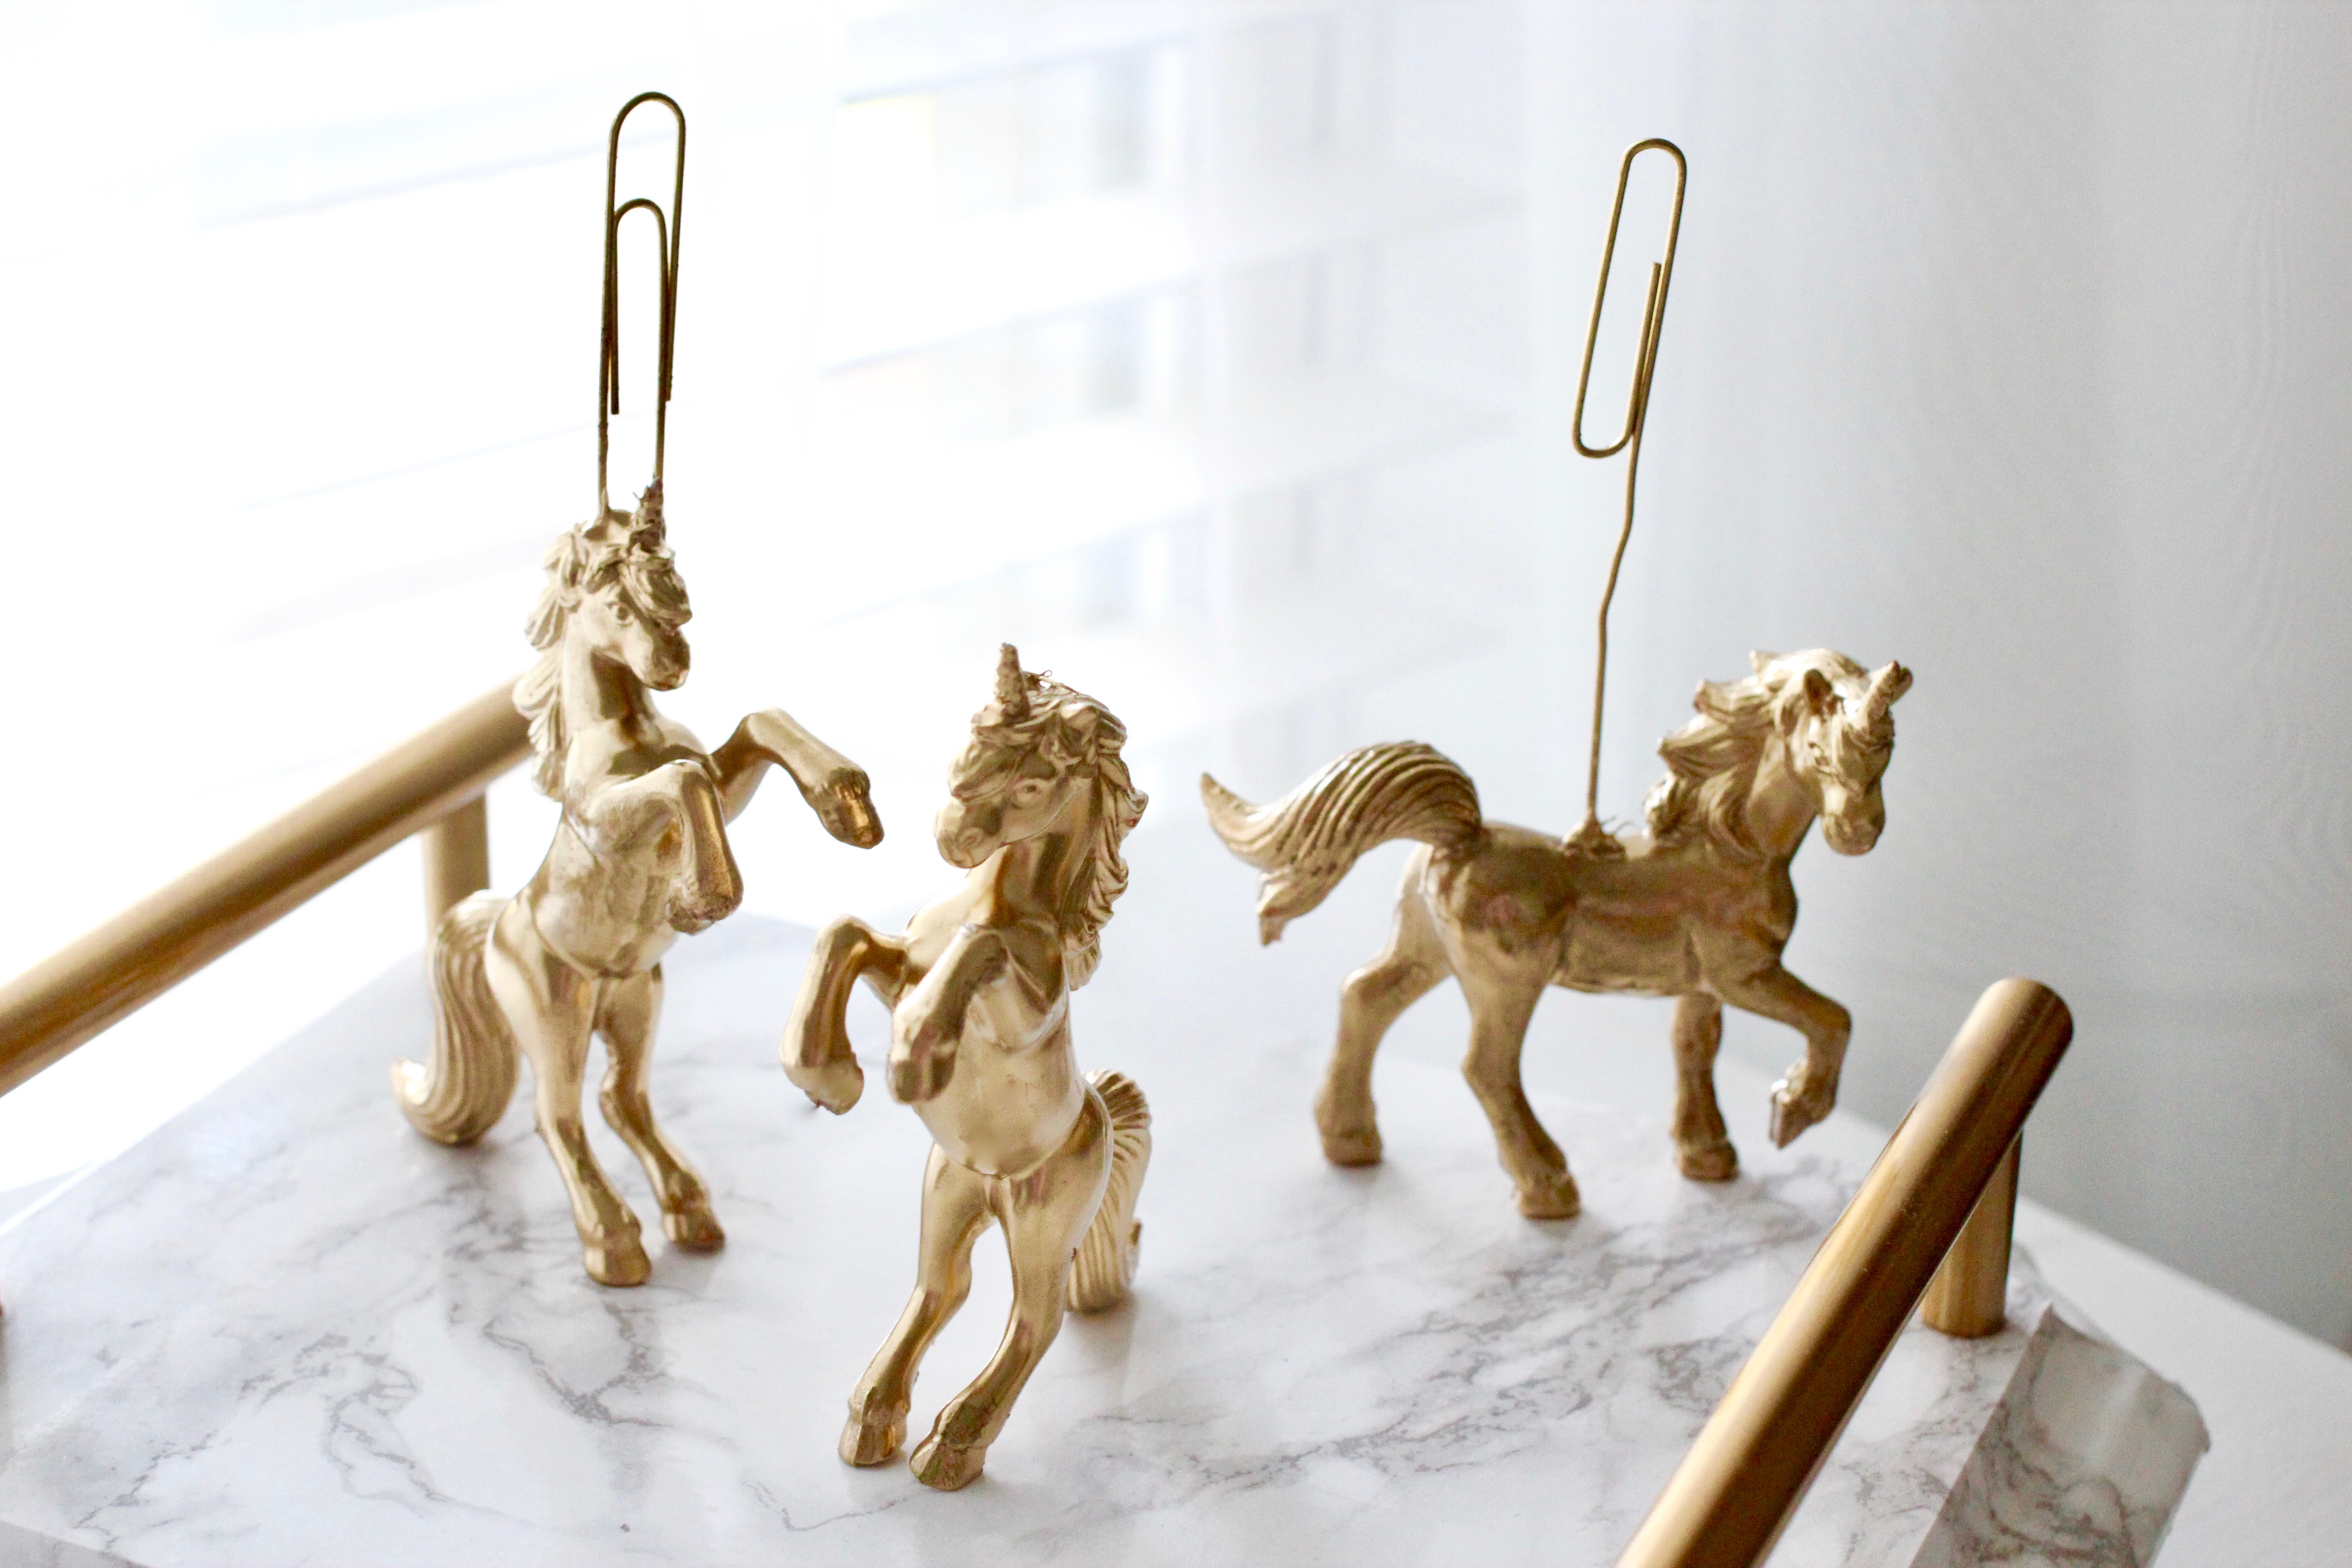
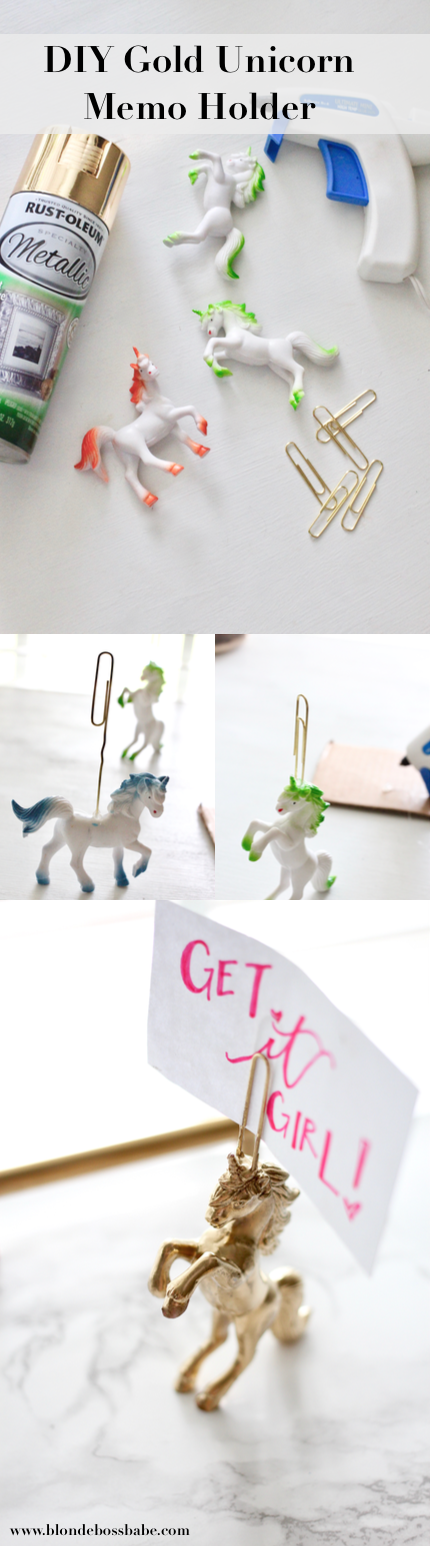
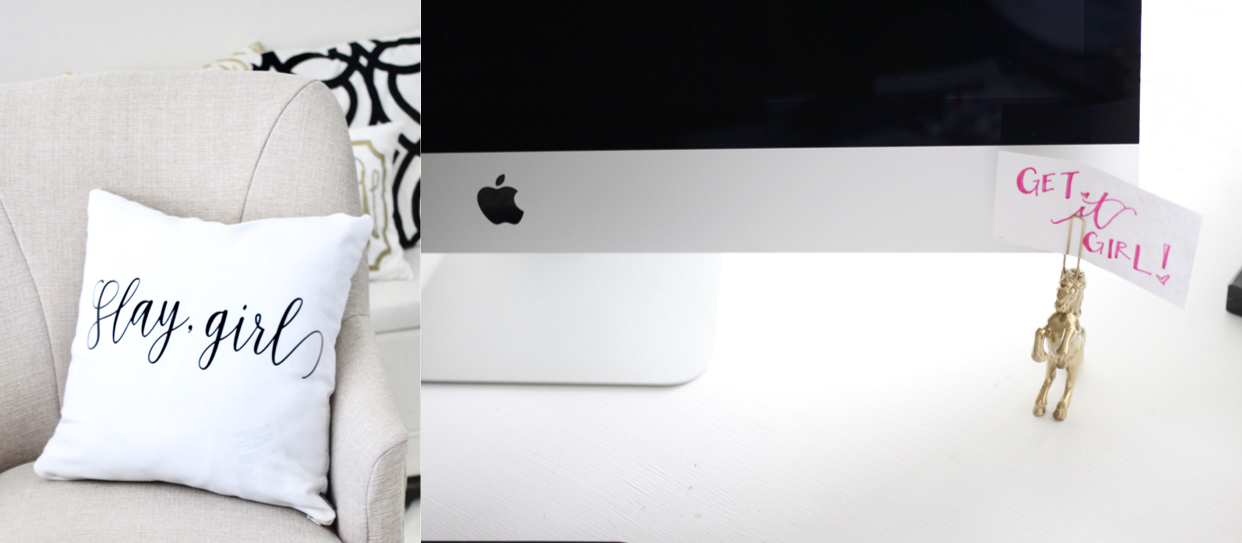
You are your own biggest cheerleader, and you are also your own worst critic. If you spent more time than you meant to checking your email or completed a task totally wrong, don’t beat yourself up about it. Keep reminders in your space that you can do this, whether through quotes, notes from friends, or even favorite photos. If you feel yourself going down the slippery slope of self-doubt even with those reminders in your space, take a 20 minute break and go somewhere else in your home or to a coffee shop you love. Learning what hurts and helps your productivity can take time, and that’s okay! Some things that work for others may not work for you & that’s okay too! You got this. (For cute DIY memo holders to brighten up your space – check out this post)

That’s the end of my top 5 methods for increasing productivity in the workspace. What are your favorite strategies? I would love if you shared them in the comments below!


Featured in this post: 


SaveSave

SaveSave

SaveSave

SaveSave

SaveSave

SaveSave

SaveSave

SaveSave

SaveSave

SaveSave

SaveSave

SaveSave

SaveSave

SaveSave

SaveSave

SaveSave

SaveSave

SaveSave

SaveSave

SaveSaveSaveSave

SaveSave

SaveSave

SaveSave

Post, Pin, Share:
Blog, The Home, Updates

Dining Room Update

dining room

Happy end of July, y’all! If you’ve been following the Blonde Boss Babe blog for a while now, then you already know just how excited I am to share this update to our dining room!

For the last 2 1/2  years, J and I have been using a table I bought during undergrad from another student. It had already been through a lot by the time it came to me, but it served its purpose and fit in our tiny condo so it worked for us. Then when we moved into the house we are in now, I really started hoping we could replace it with a set that would seat more people without overwhelming the space. Lucky enough, a local family moving across the state decided they wanted to buy all new furniture for their new home and posted this set online for a steal, which as you can see I jumped all over asap 🙂

Right now I’m trying to decide if I want to put a rug in here or leave it as is. Let me know if you have any opinions on what I should choose! I’m currently looking at this one & this one. Looking forward to hearing your thoughts!


Items featured in this post:

SaveSave

SaveSave

SaveSave

SaveSave

SaveSave

Post, Pin, Share:
Blog, DIY Projects, Home Decor, Party Decor, The Home

DIY Gold Unicorn Memo Holder


Happy Wednesday, y’all! We are halfway through the week, so officially almost to the weekend (Woo!) Today’s DIY is SO fun for many different reasons – it can be used for holding pictures, encouraging notes, a to-do list, or even as someone’s placeholder in a themed party, the options you have out of this simple 3-step DIY are endless 🙂

To get started you’ll need:

Supplies 

Rust-Oleum Gold Spray Paint

Hot Glue Gun & Glue

Gold Paperclips 

Unicorns


Step 1: Get out your paperclips and plug in your hot glue gun! For this part, you can choose to either straighten out one side of the paperclip or leave as it is depending on where on the unicorn you want your clip to be. Once you’ve decided, glue it into place. Repeat this step with as many as desired.


Step 2: In a well-ventilated location (preferably outside if possible) begin spray painting your unicorn memo holders. Lightly spray the first layer, letting it set for about 10 minutes or so before continuing. Repeat until desired coverage is reached – after which wait about 40 minutes before handling.


Step 3: Decide what you will use your new gold note/memo/photo/place holders for! I’ve included some ideas below:


(Marble & Gold vanity tray DIY linked here)

Getting ready to complete this DIY? Don’t forget your supplies!


& if you liked this post – sharing is caring  🙂 – please feel free to pin/tweet/text/share the image below: 

SaveSave

SaveSave

SaveSave

SaveSave

SaveSave

SaveSave

SaveSave

SaveSave

SaveSave

SaveSave

SaveSave

SaveSave

SaveSave

SaveSave

SaveSave

SaveSave

SaveSave

SaveSave

SaveSave

SaveSave

Post, Pin, Share: