Browse Tag by decor
Blog, Halloween, Party Decor, Seasonal Decor, The Home

Easy Glam Halloween Centerpiece

glam halloween centerpiece

glam halloween centerpiece

easy glam halloween decor


simple chic halloween decorations

luxe halloween decor

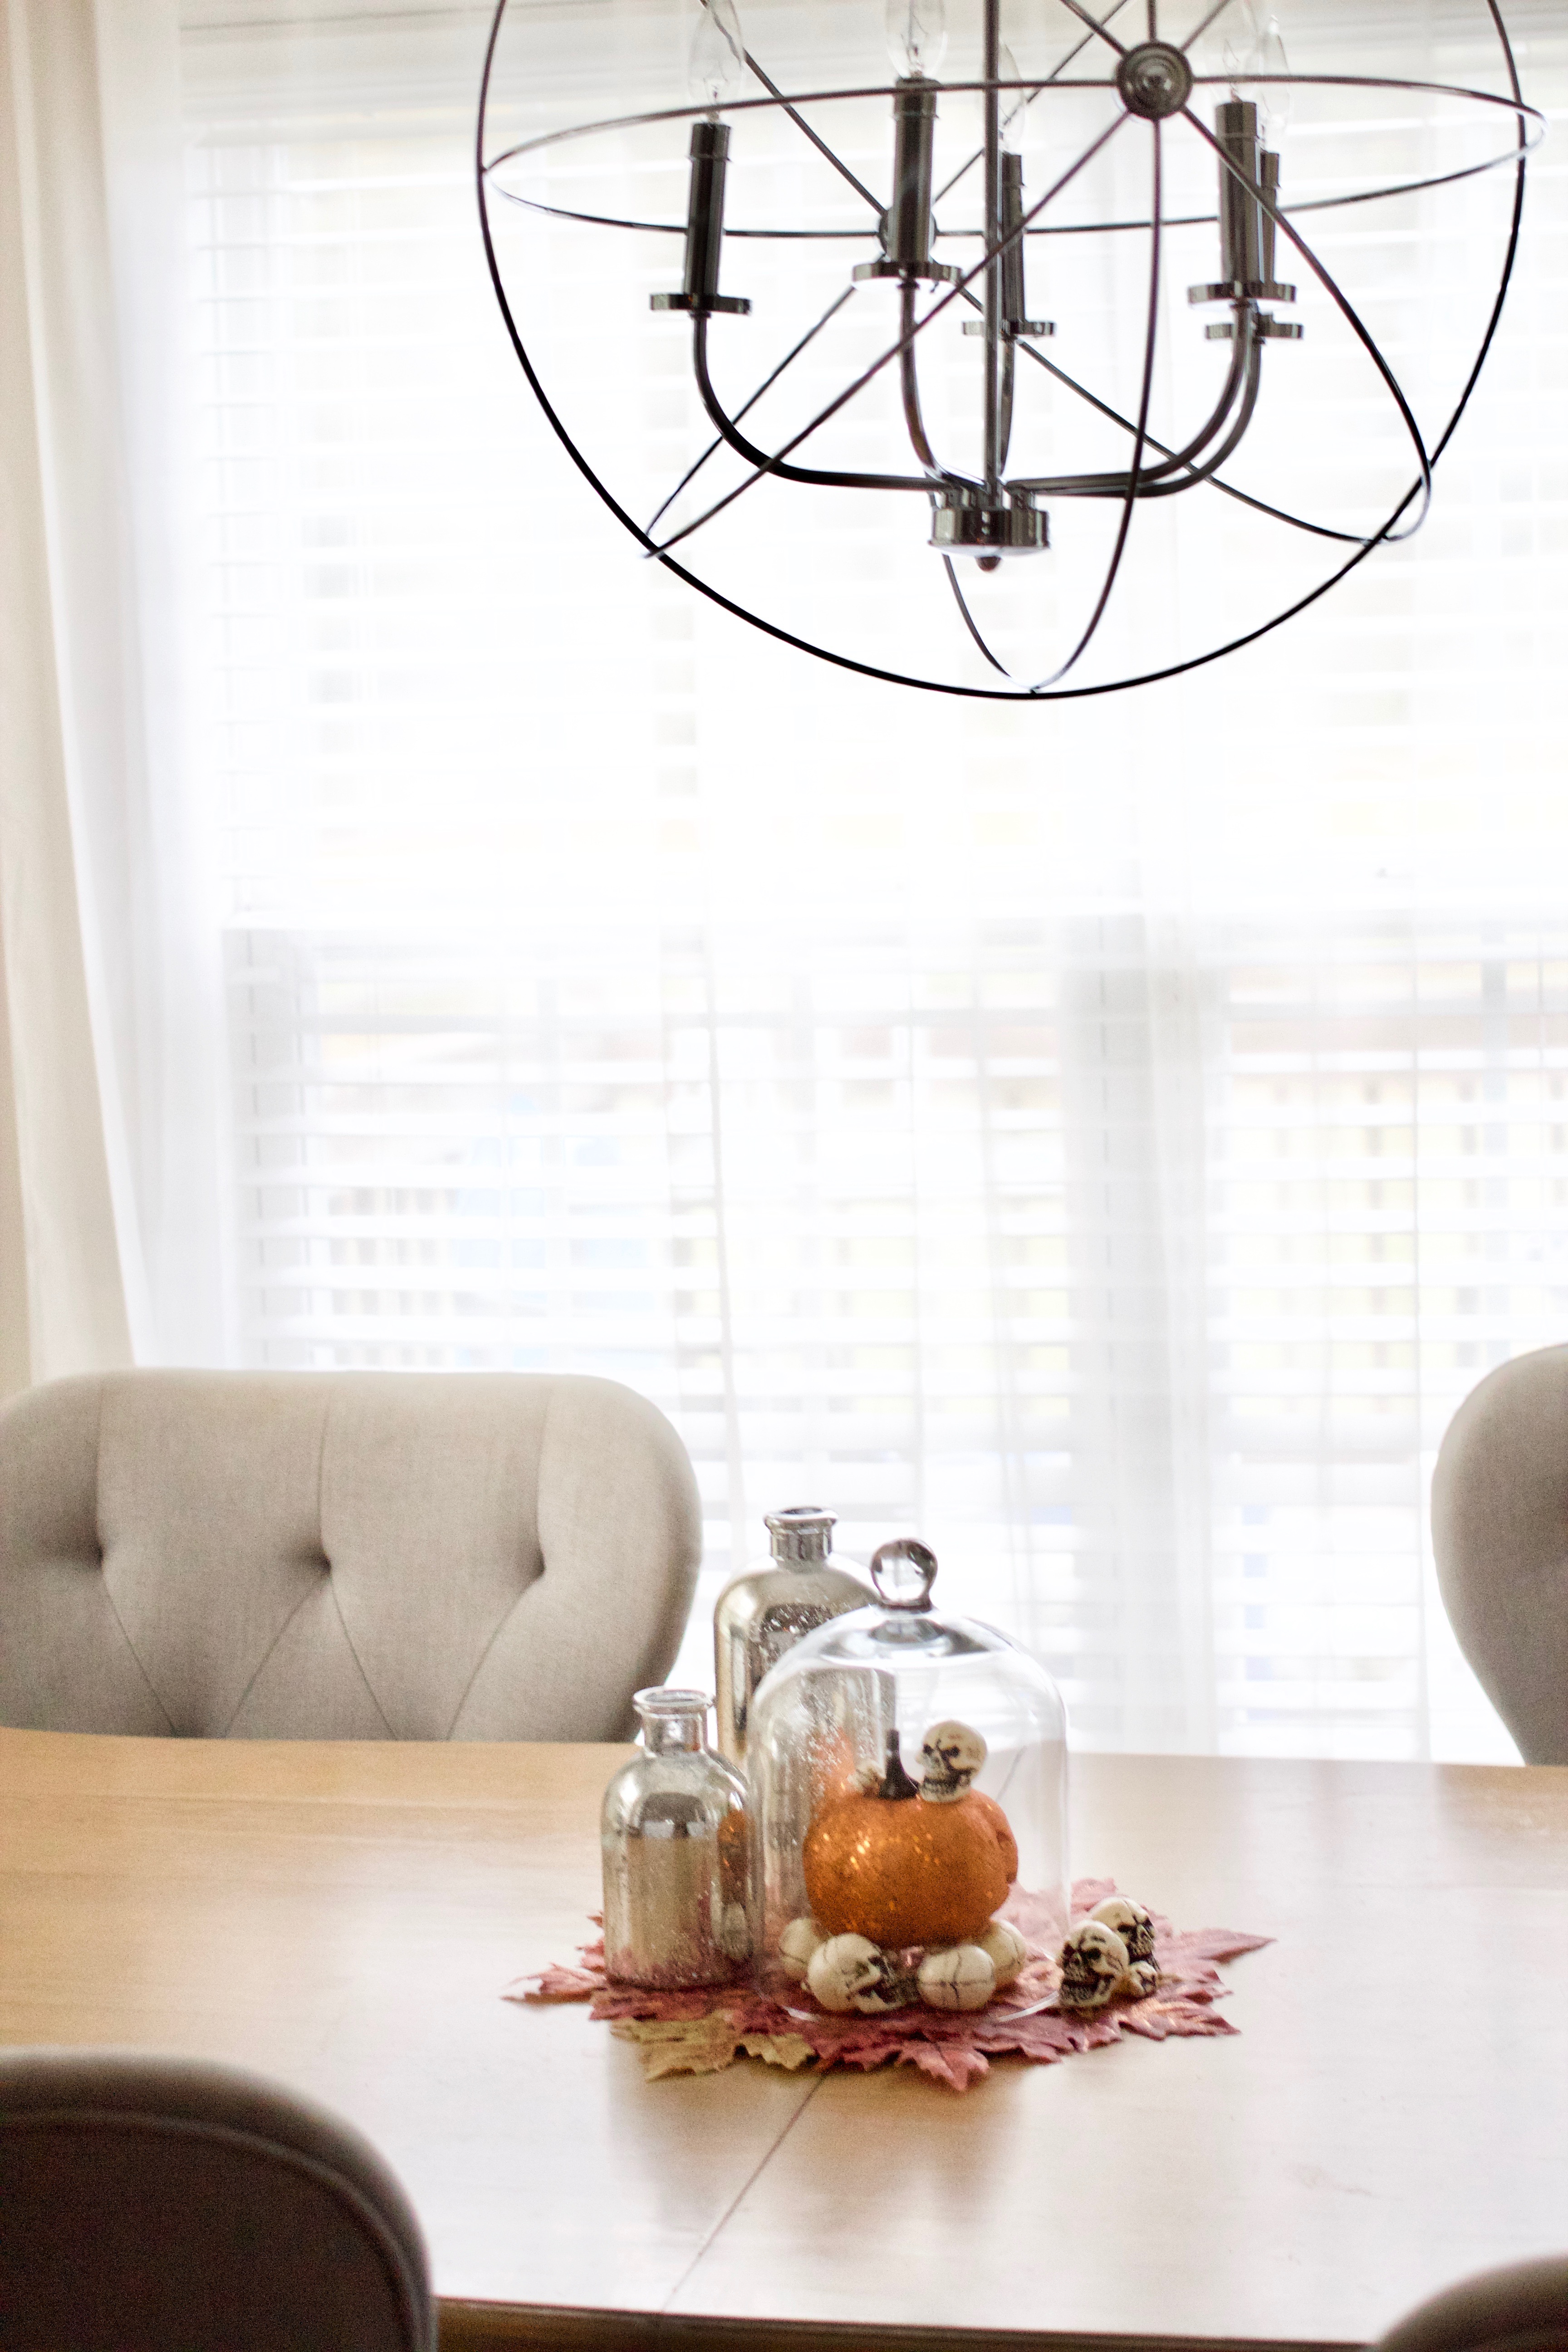
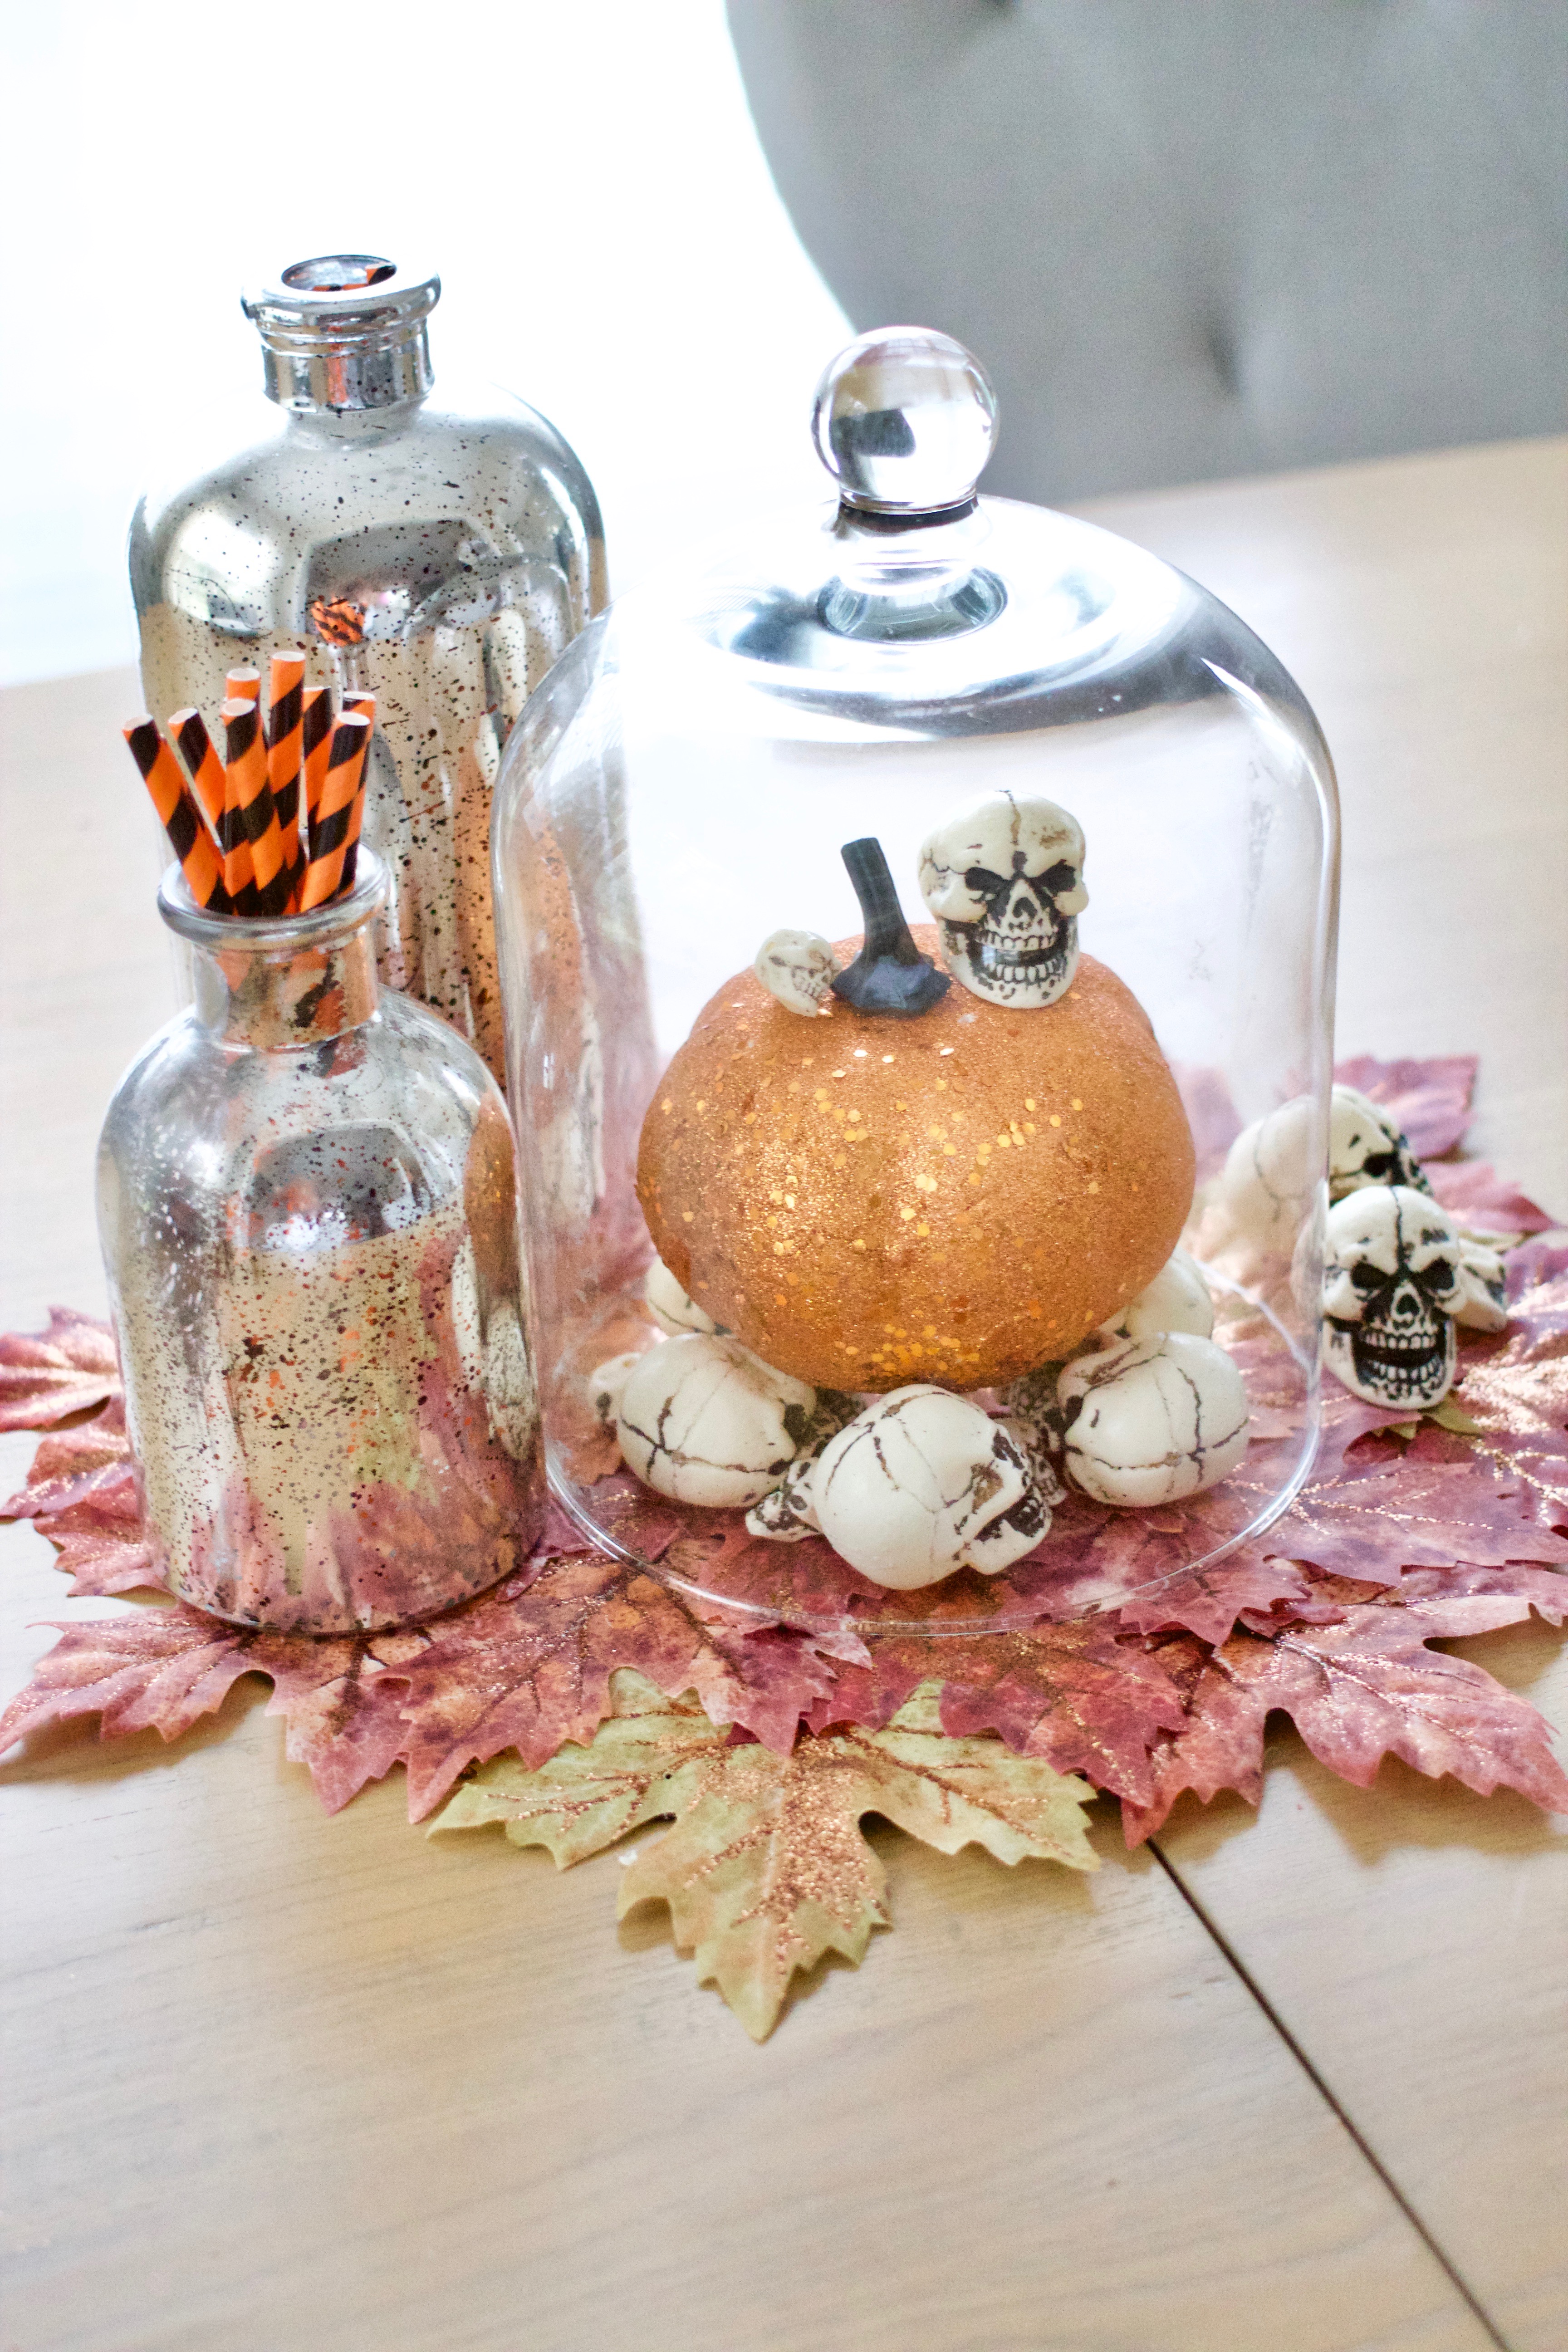
Less than 1 week till Halloween! As fun as this holiday can be, it can also sometimes be a bit of a pain to decorate for – especially if you generally prefer neutral-everything. This year, I wanted to do something festive in our dining room that wouldn’t detract from the rest of the space in our home. Ideally, I was also aiming to incorporate pieces we already have out in our home all year so that excess storage would be minimized. Y’all… I am a home decor-hoarder. It is SO hard for me to get rid of home decor items, so the less “seasonal” pieces I purchase each year, the better!

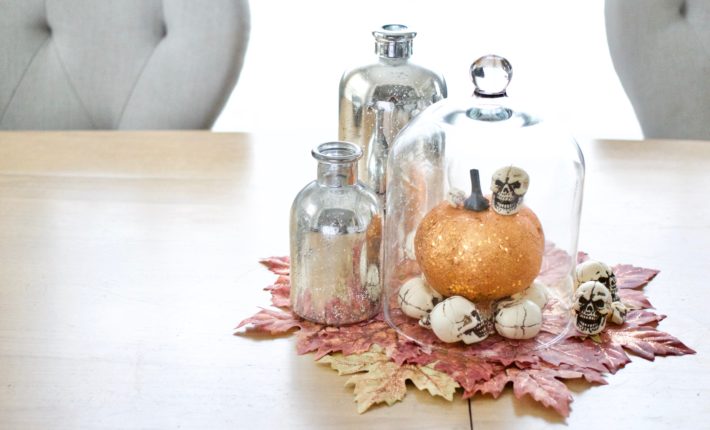
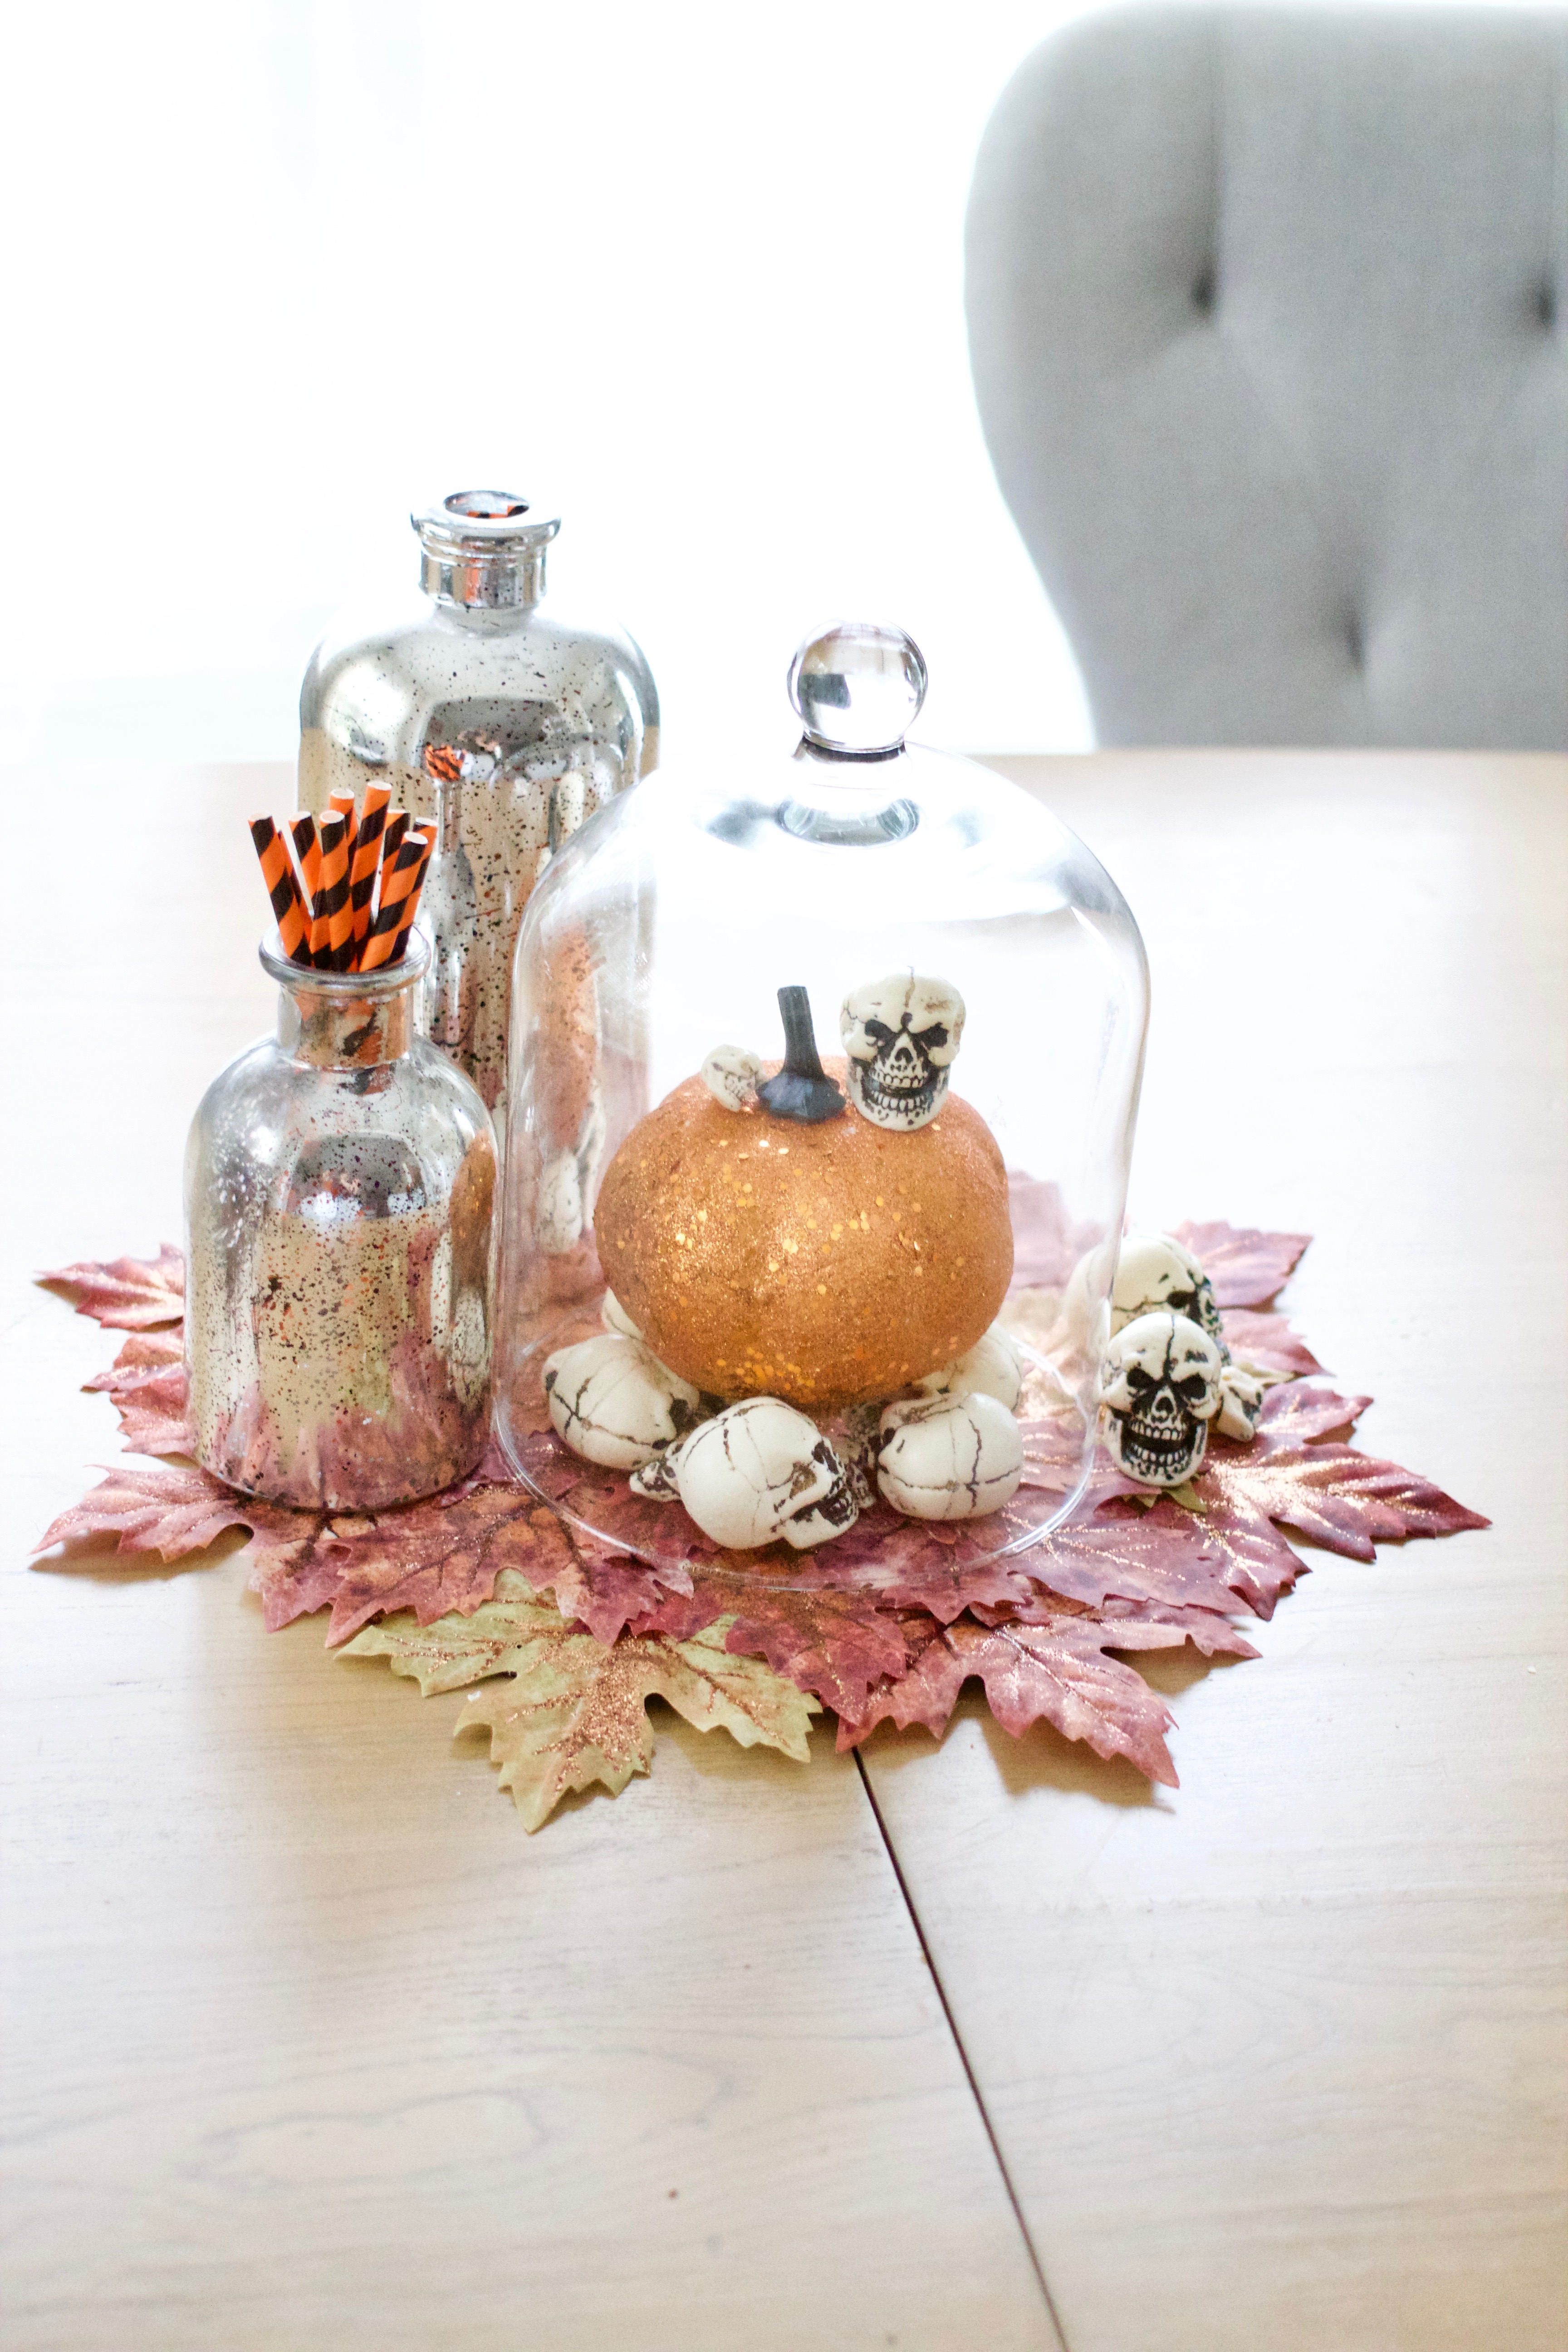
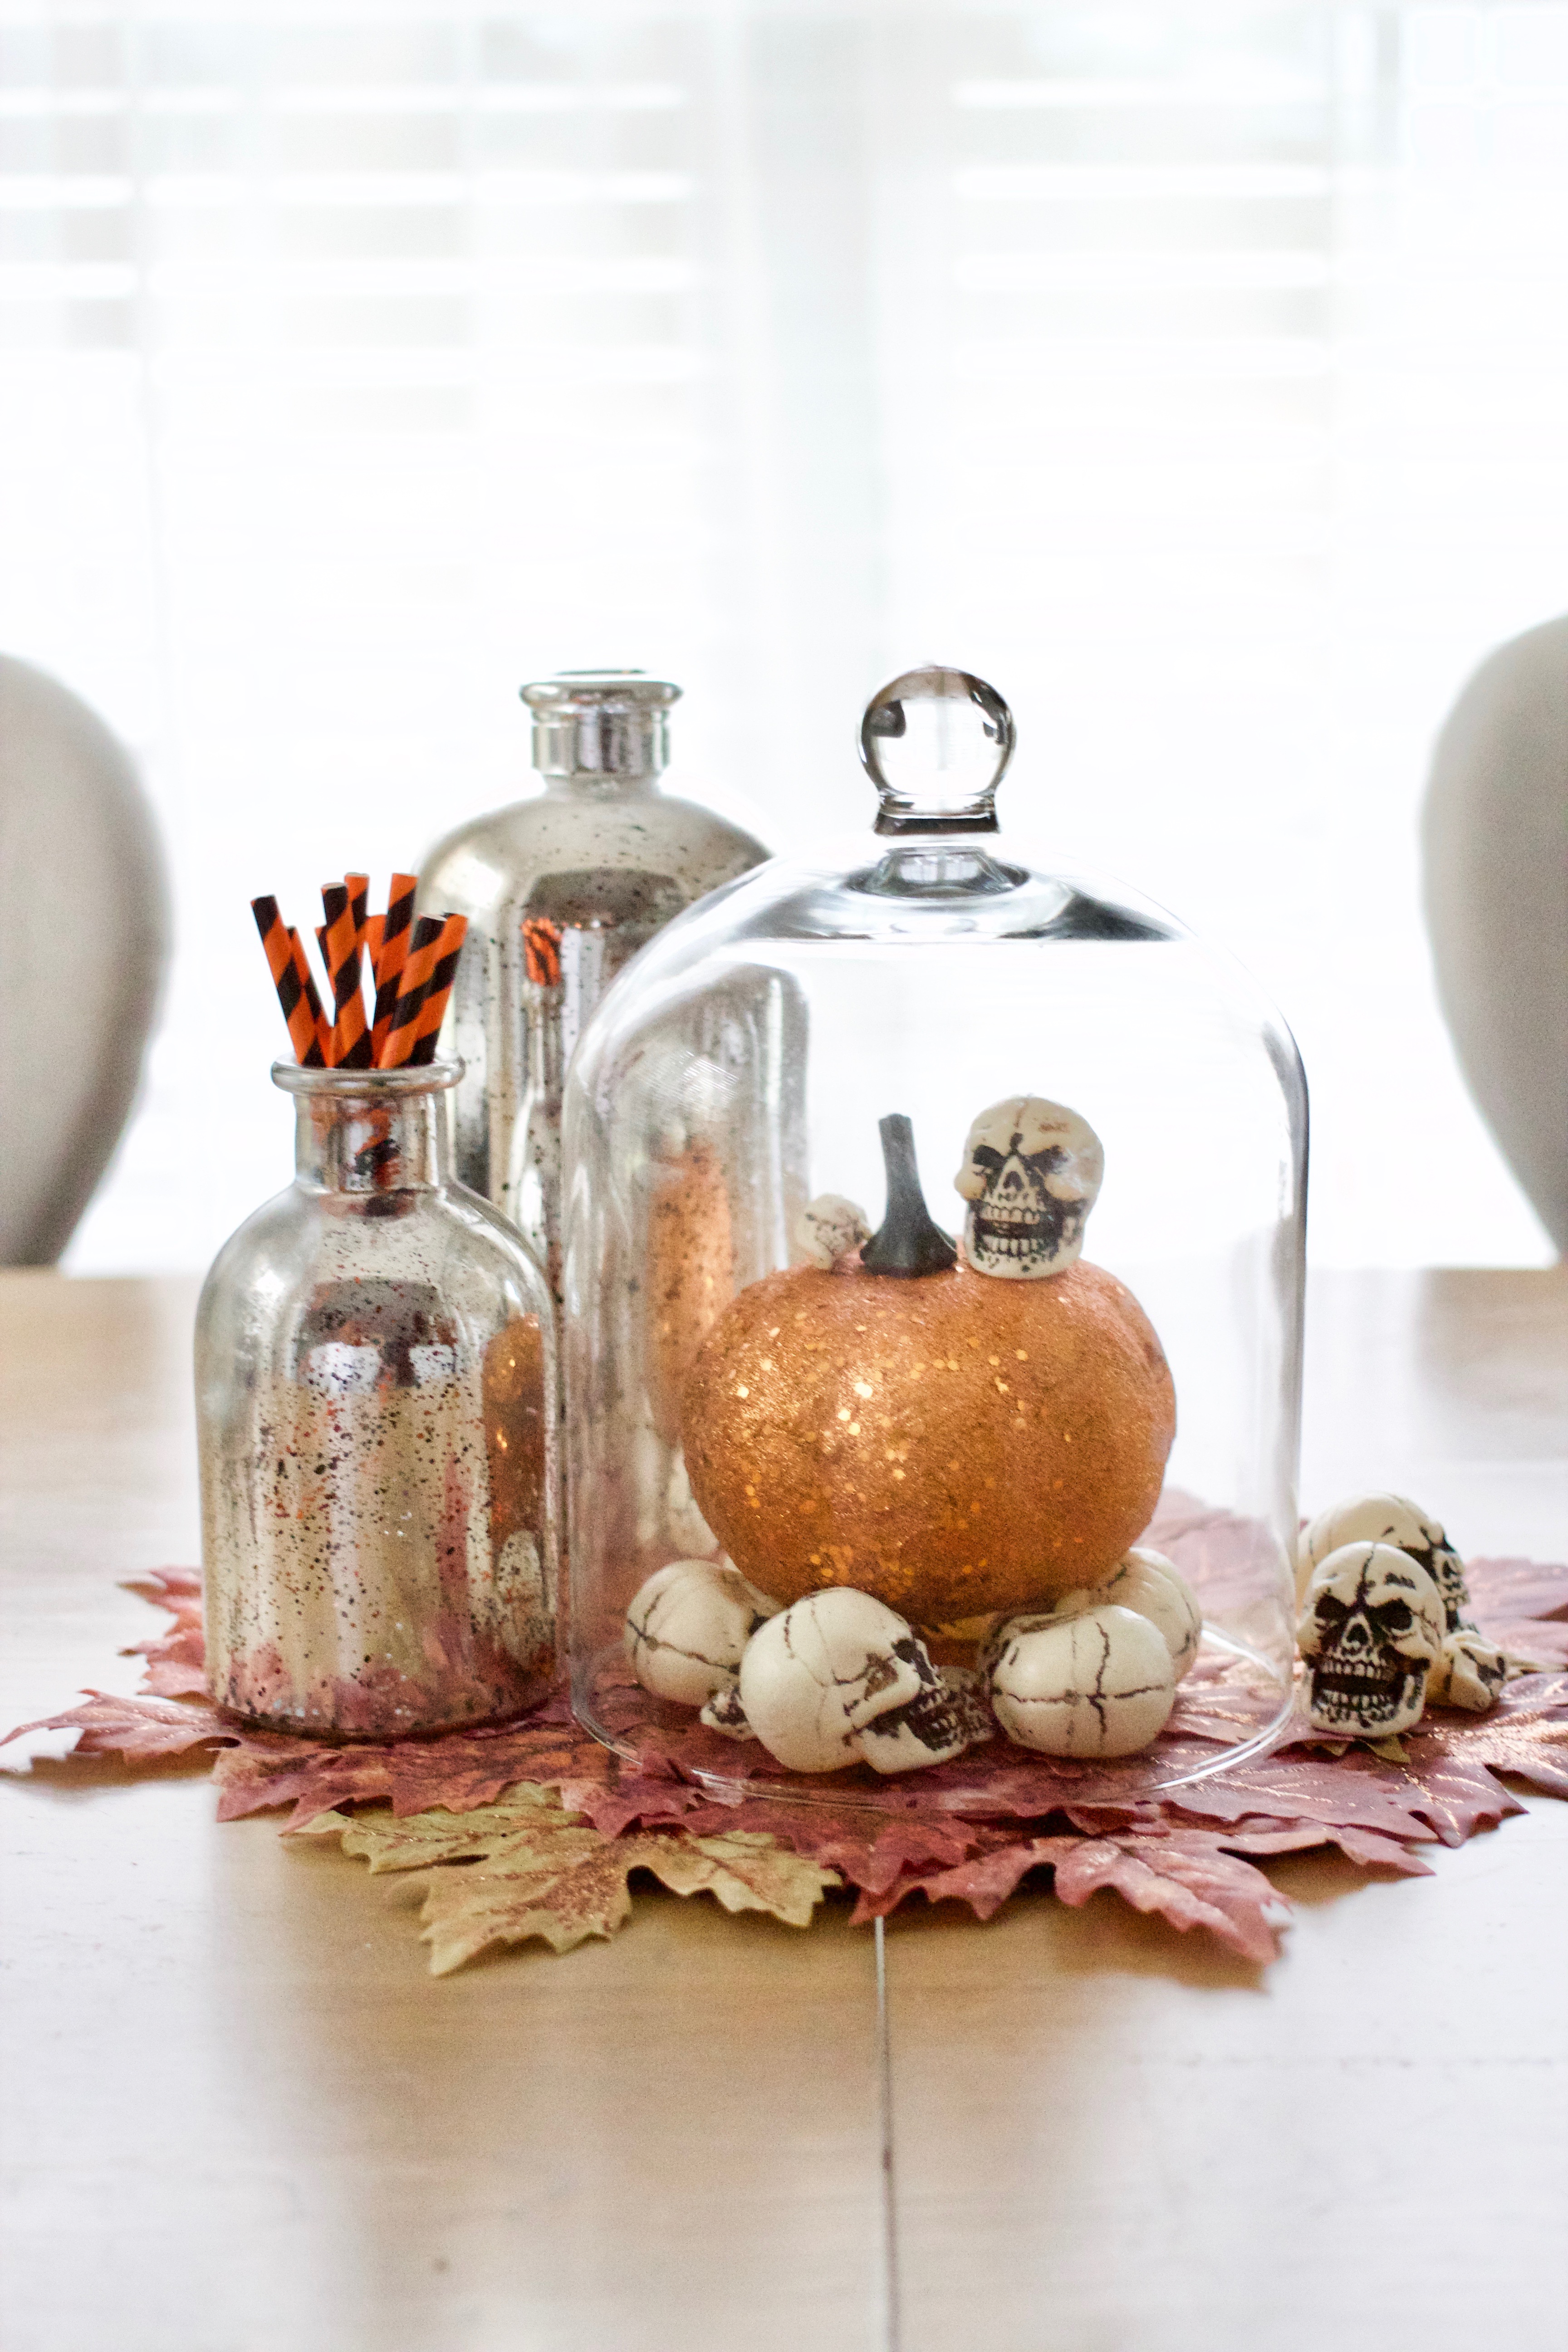
The only “new” item in this centerpiece is the leaf place setting from Michael’s. They’re very inexpensive, and by purchasing only one for use as a centerpiece you’re going to be extra budget-friendly – PLUS it can be reused for Thanksgiving themed centerpieces too. If the skulls look familiar, it’s because they’re from the same set I used for last year’s Halloween Bar Cart post. I LOVE them. They’re super lightweight and very versatile. I am seriously considering snagging a few more sets to use as filler in the glass apothecary jars we have on our console table. Speaking of glass, this glass dome is perfect for everyday decor, whether over a candle or on top of coffee table books. The mercury jars are also out year round in home. I grabbed these two from HomeGoods, but found similar ones with removable tops and have linked them here and here.

Looking for more quick and easy Halloween ideas? Check this simple mantel decor post for more fun inspo!

Shop the Post: 


SaveSave

SaveSave

SaveSave

SaveSaveSaveSave

Post, Pin, Share:
Blog, DIY Projects, Home Decor

Simple Fall Door Hanger DIY

easy diy fall decor

simple burlap wreath

fall monogram wreath

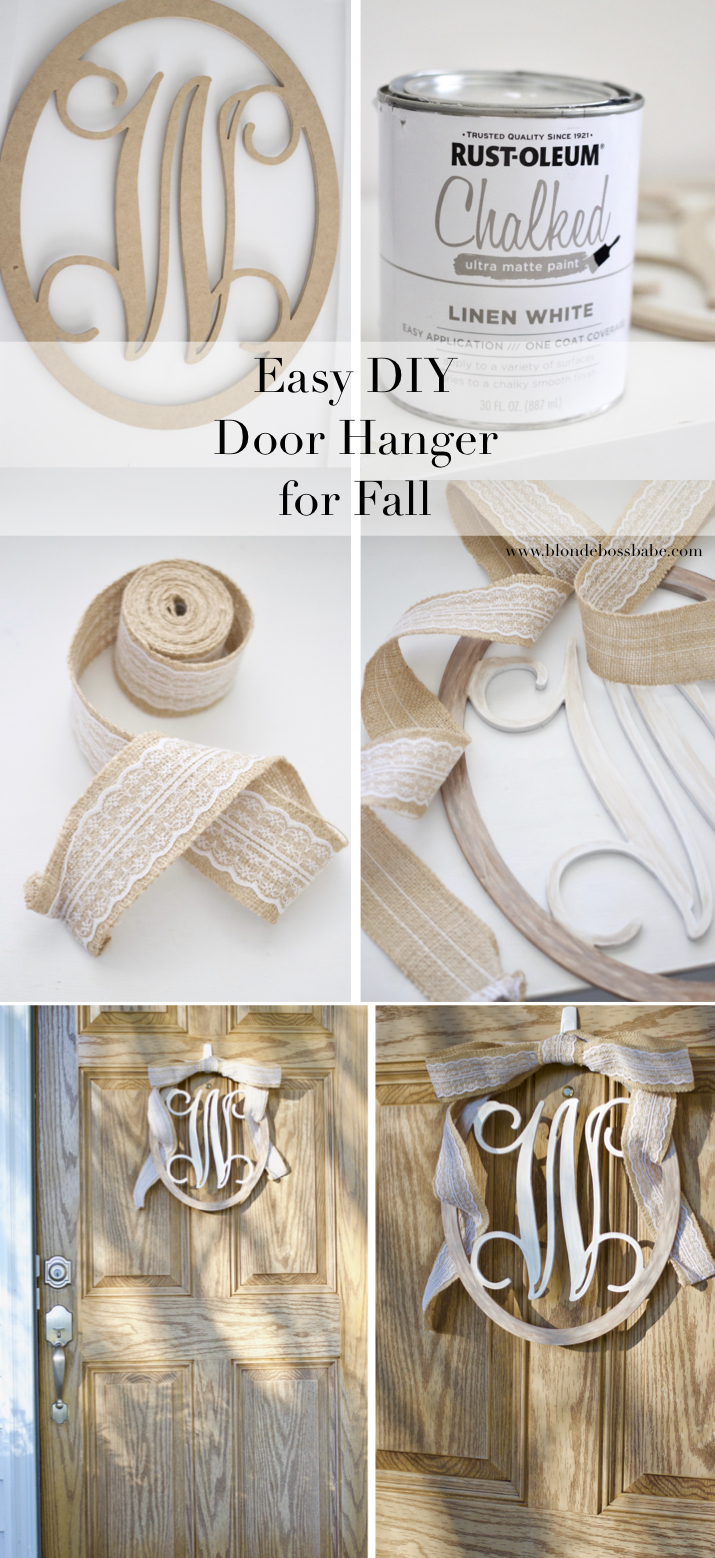
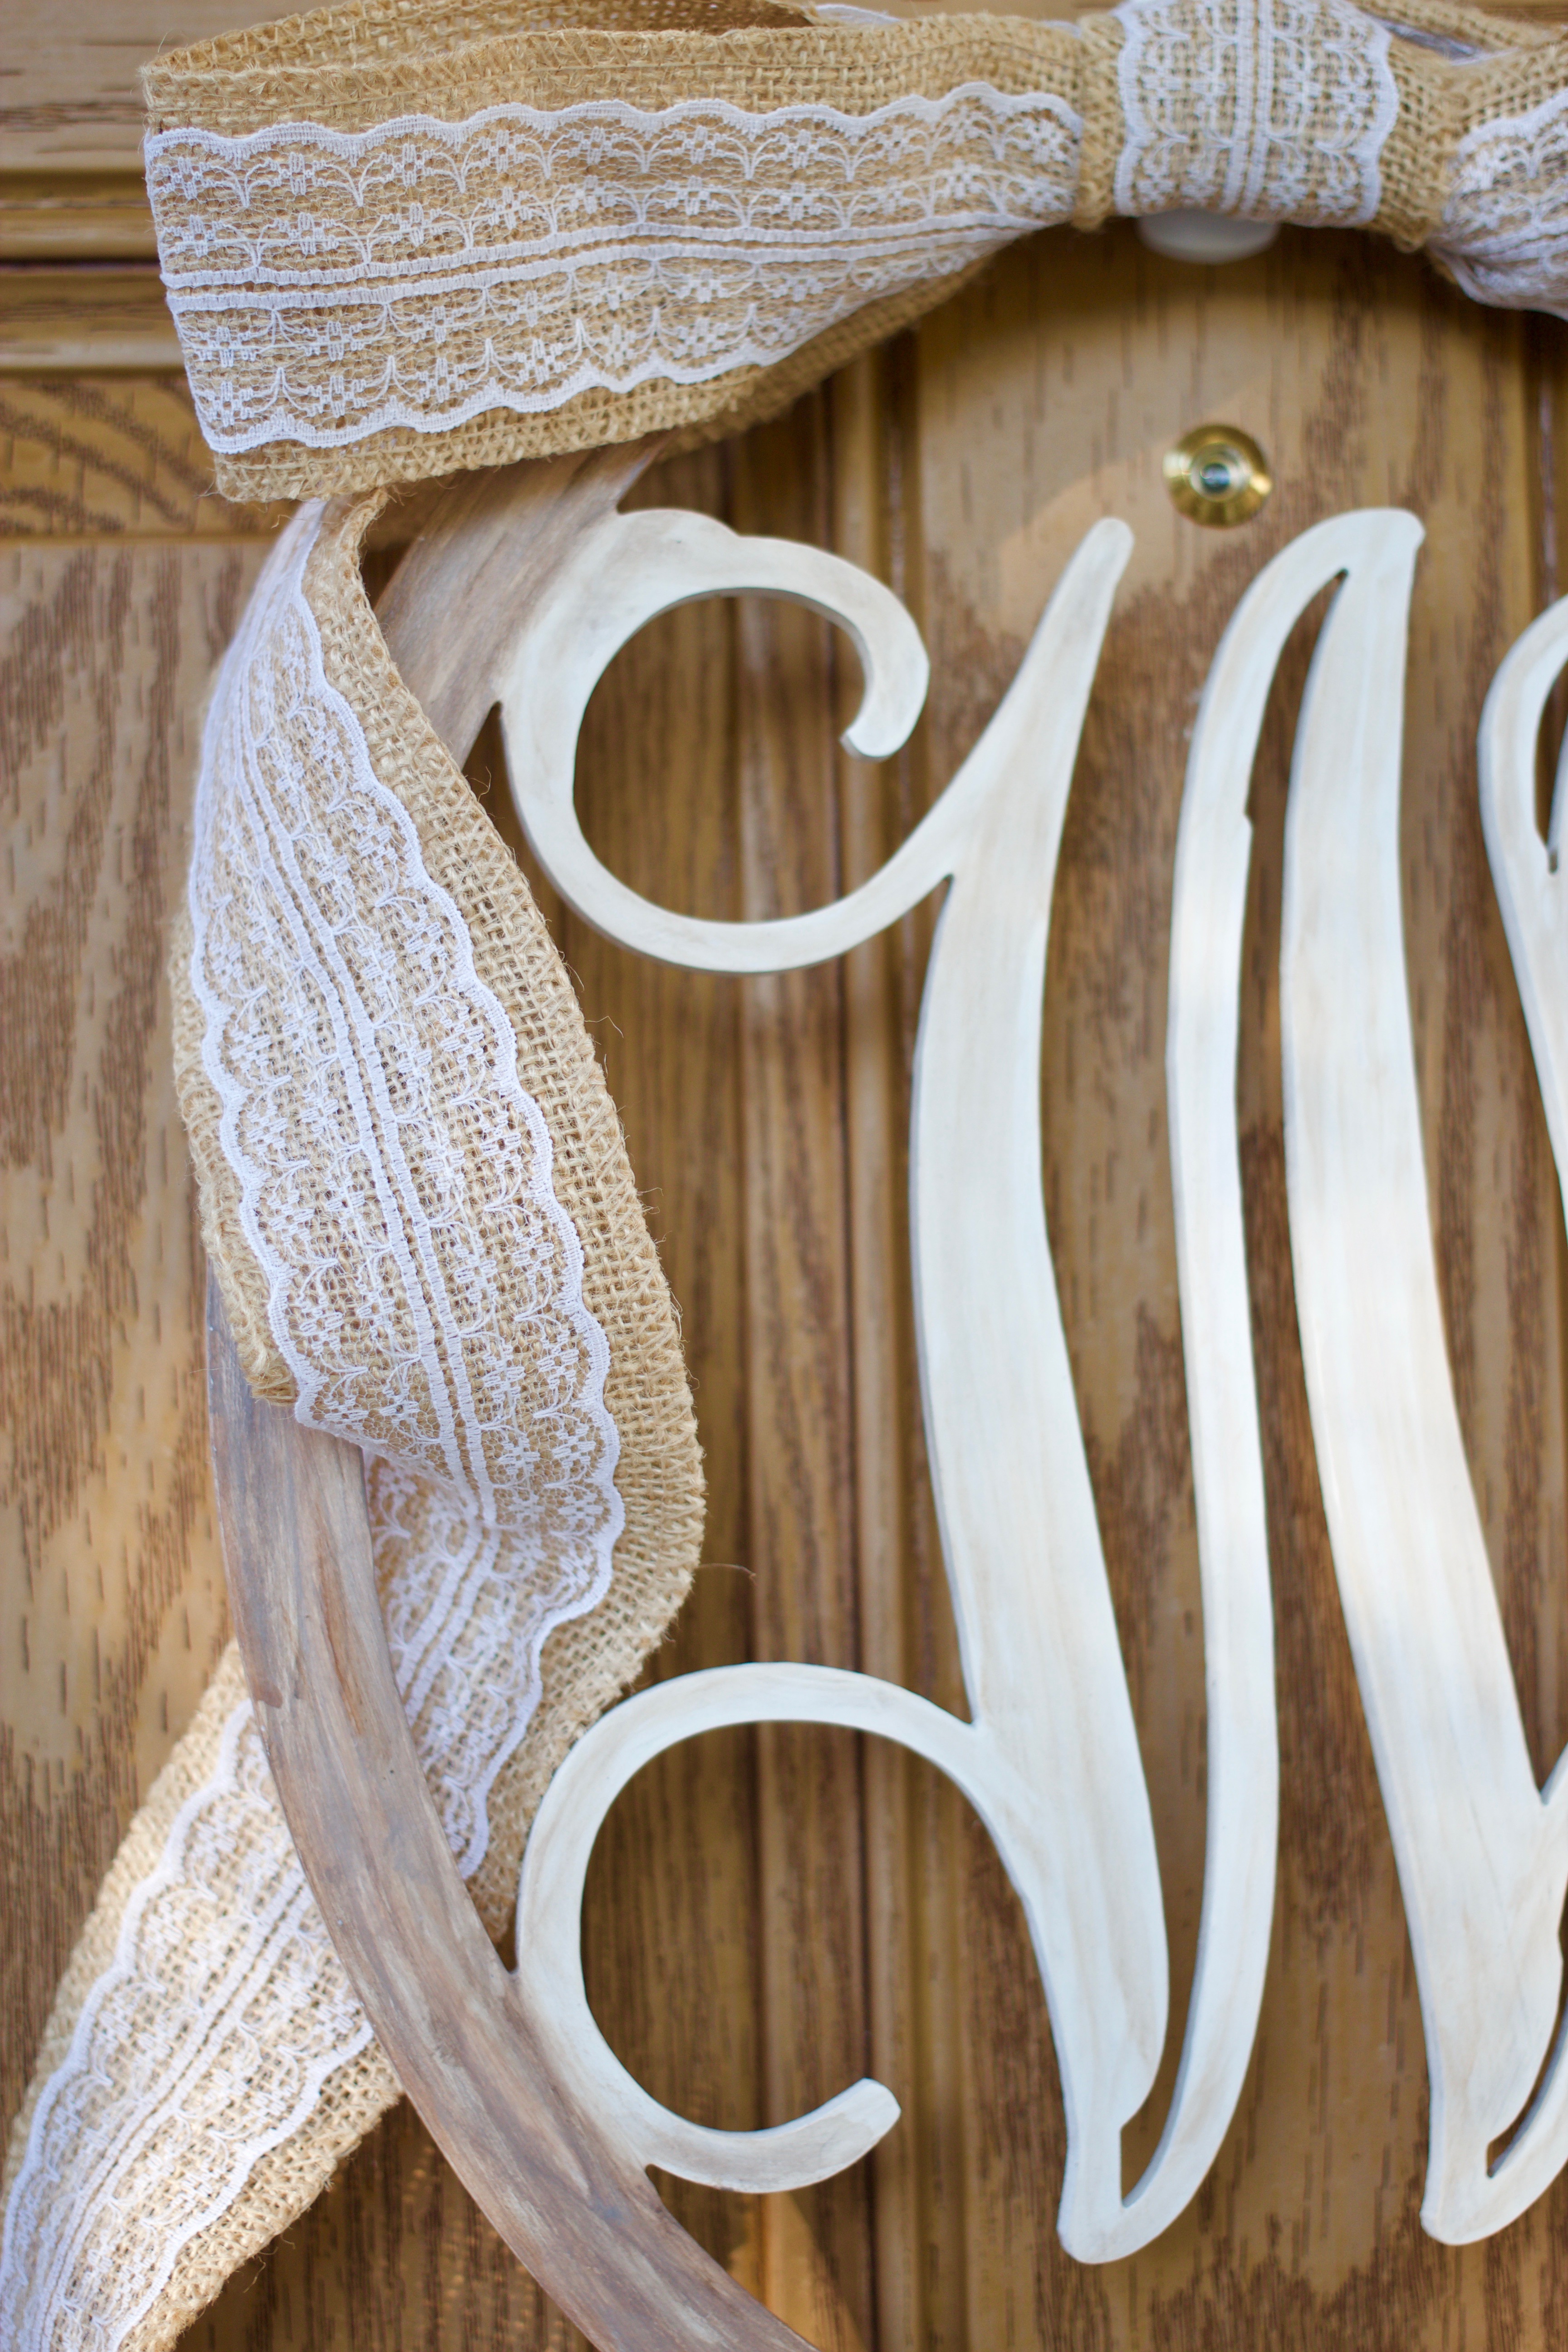
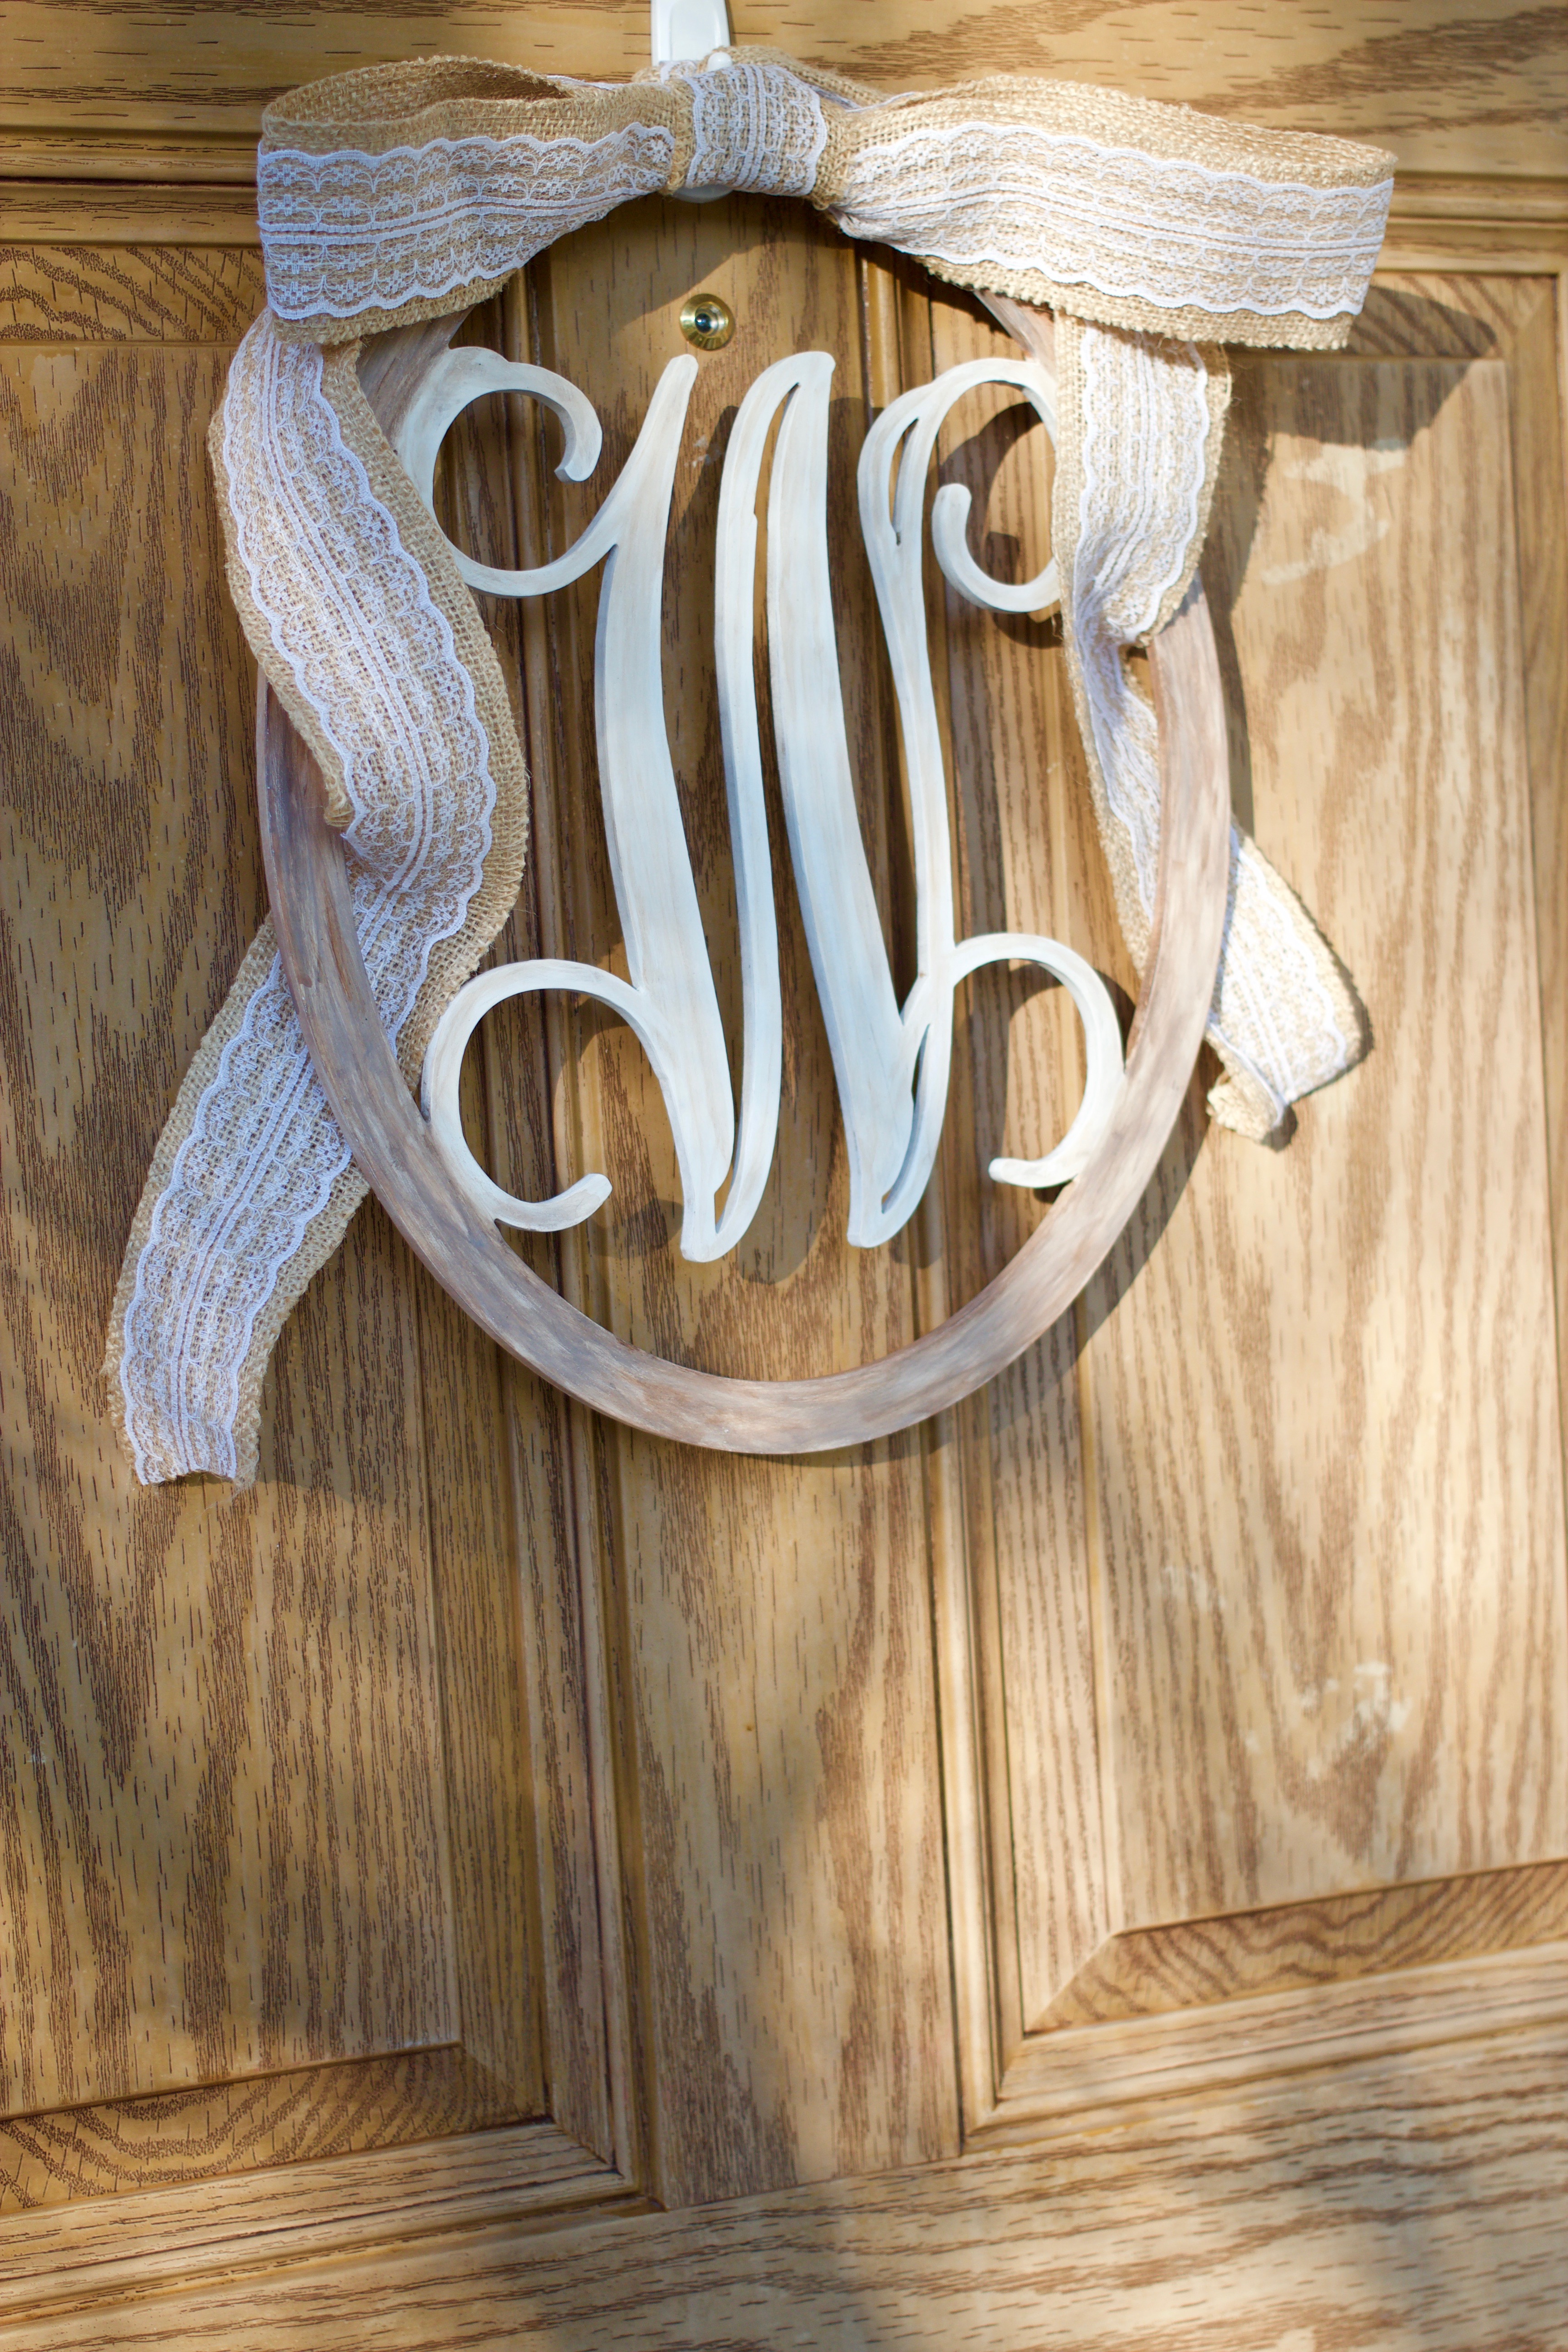
Now that it’s October, I am so excited to finally feel like we are in the real fall season! Although I am all about the pumpkin spice and hayride life this time of the year, I have never been a huge fan of orange – so when it comes to decor, I try my best to steer clear of that color as much as possible. Even so, I seriously considered making this wreath specific to Halloween, but as you can see, instead, opted to go a more neutral route for a couple reasons: 1. Limit the orange (oops. I tried to love it, y’all), and 2. keep this season’s decor a little more low-maintenance. The less stuff we need to take down/repack at the end of October – the better! Can I get an Amen?! As always, I’ve included my supplies below, followed by the 5 simple steps to complete this DIY. Keep in mind that this project is super customizable – so feel free to switch up your colors & choice of ribbon to your heart’s content!

Supplies: 

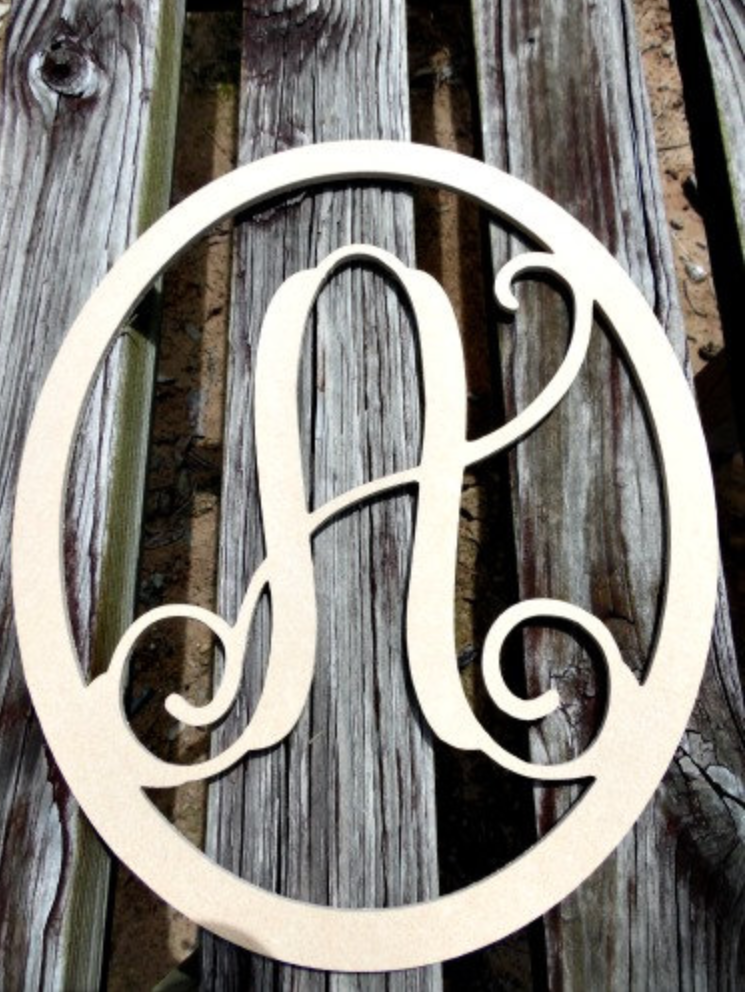
Unfinished Initial (I used the 15″ size in this project)

Chalk Paint in Linen (y’all, I have used this same can since APRIL!)

Foam and Acrylic Brush Set

Burlap & Lace Ribbon

Acrylic Paint in White, Light Brown & Dark Brown (I used paint I had leftover from other projects but if you are starting from scratch, I recommend this set to save some $$ and get all your basic colors at once)

Finishing Protective Spray in Satin

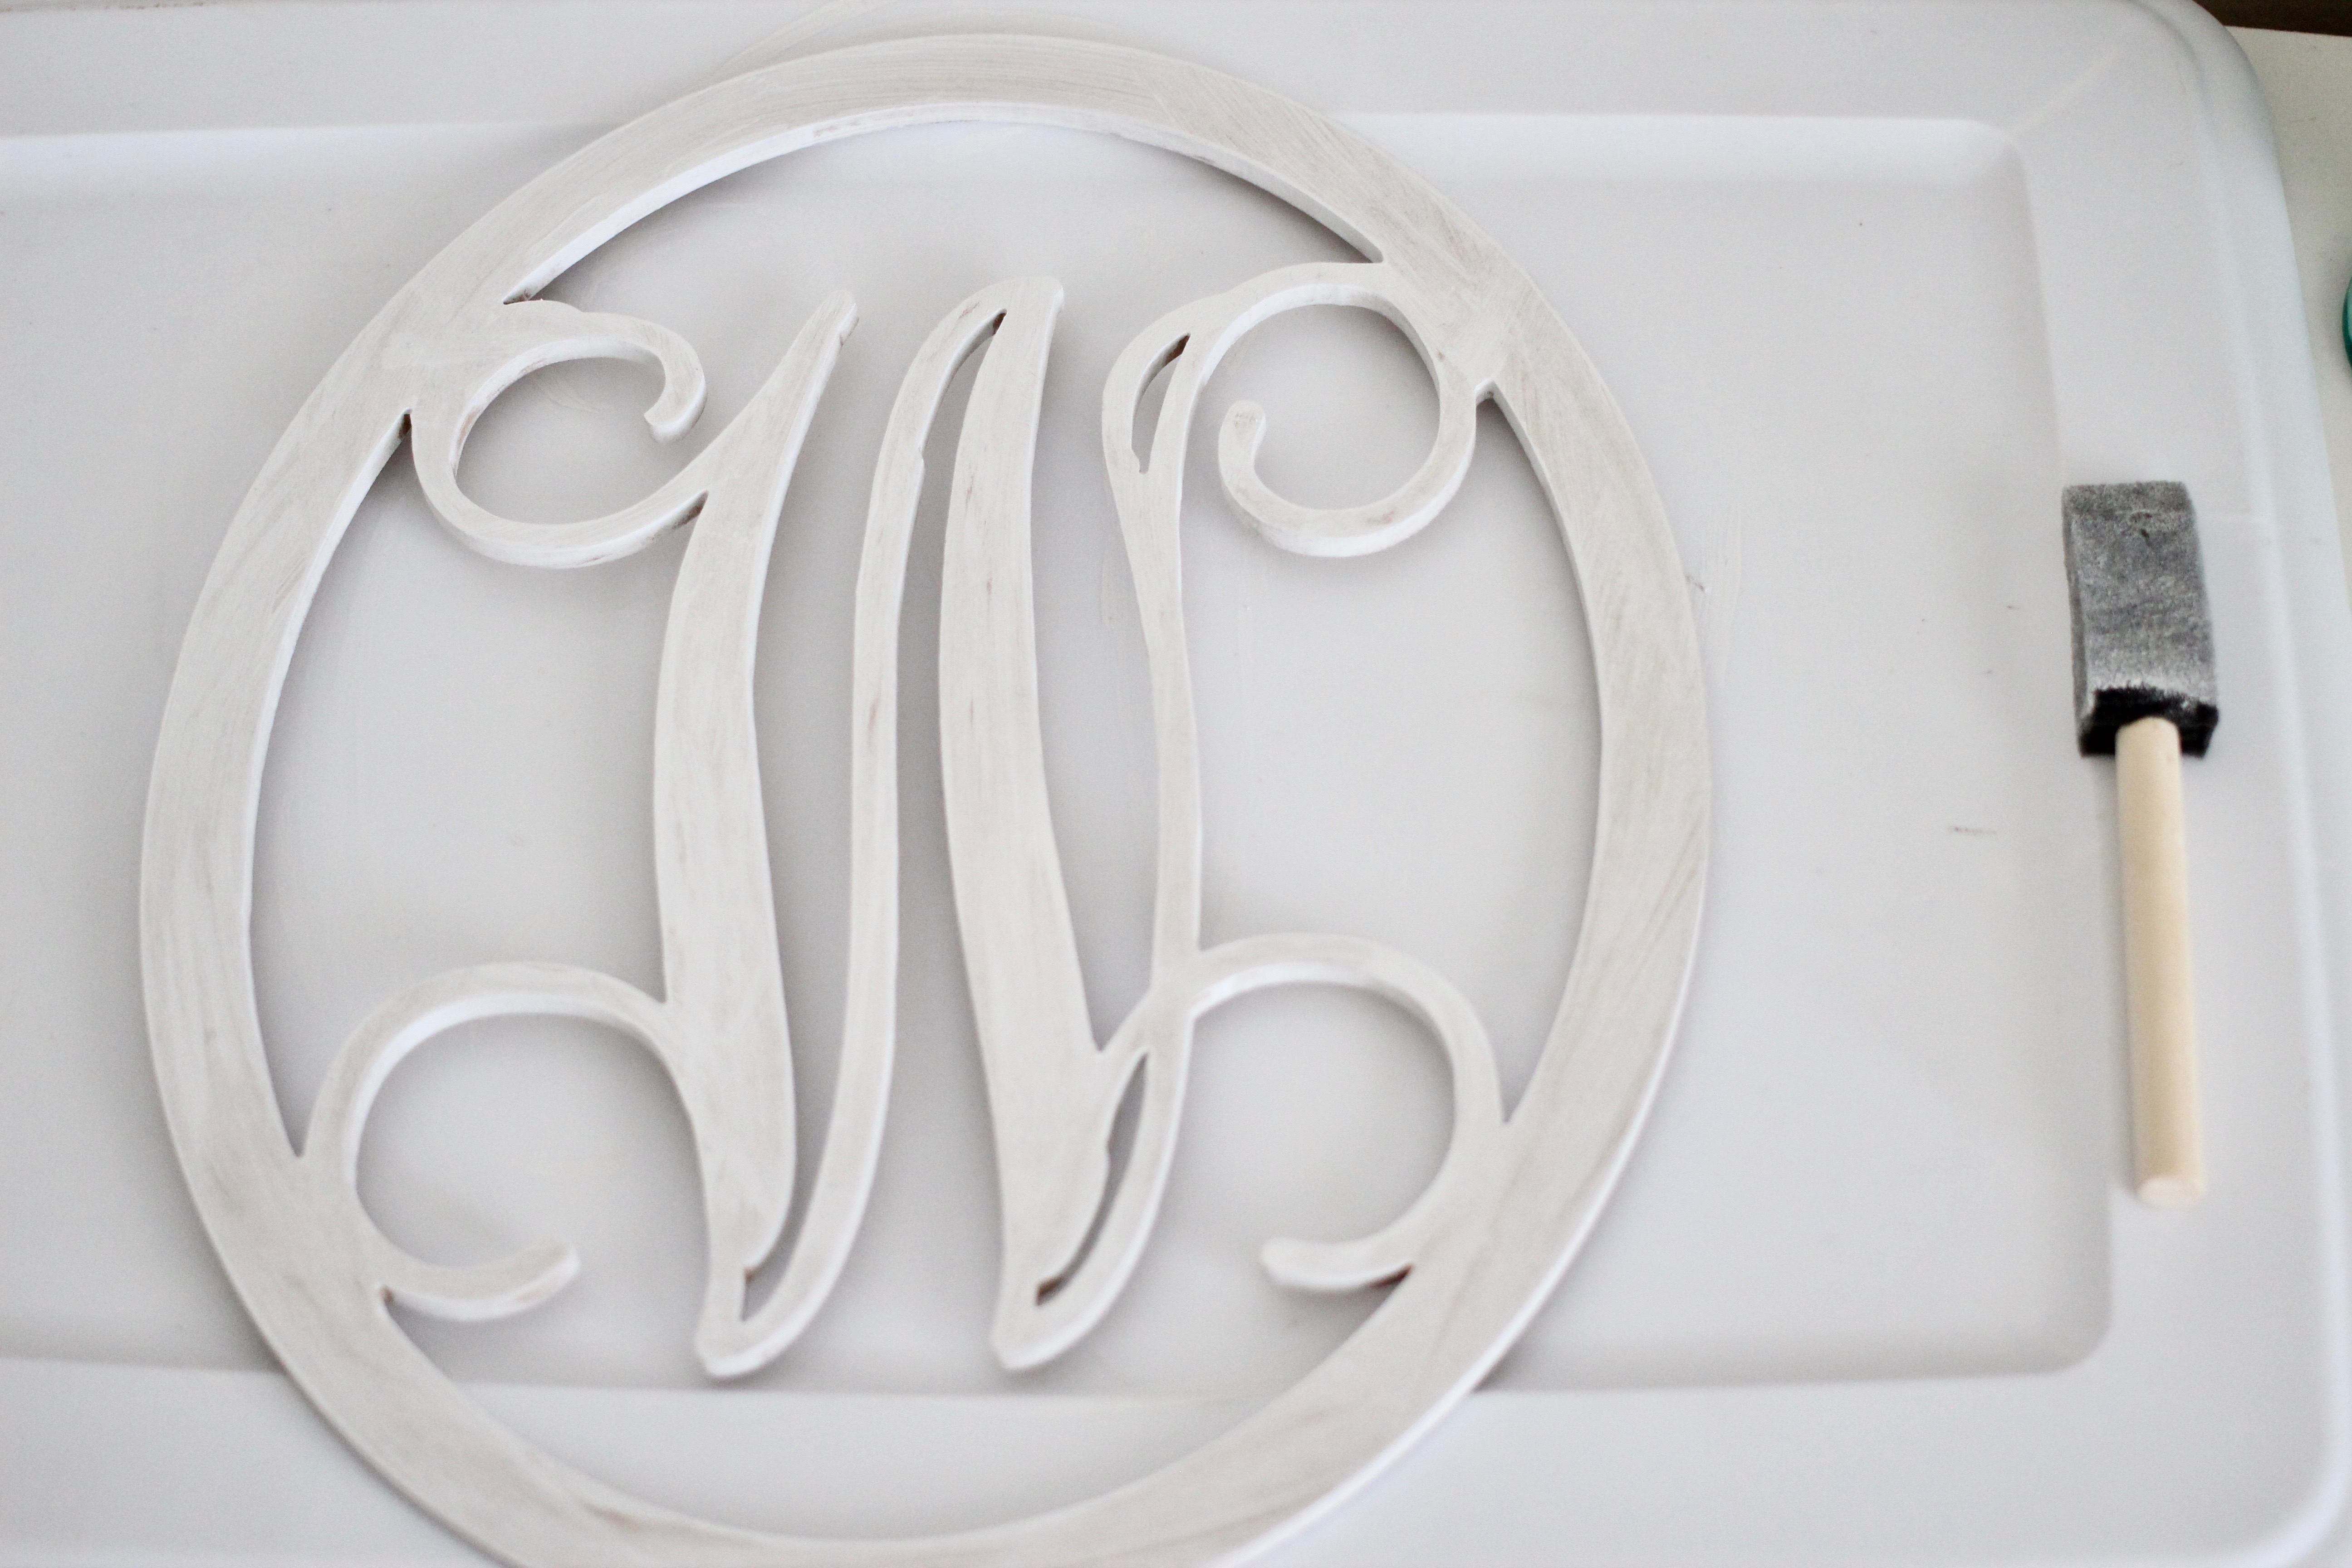
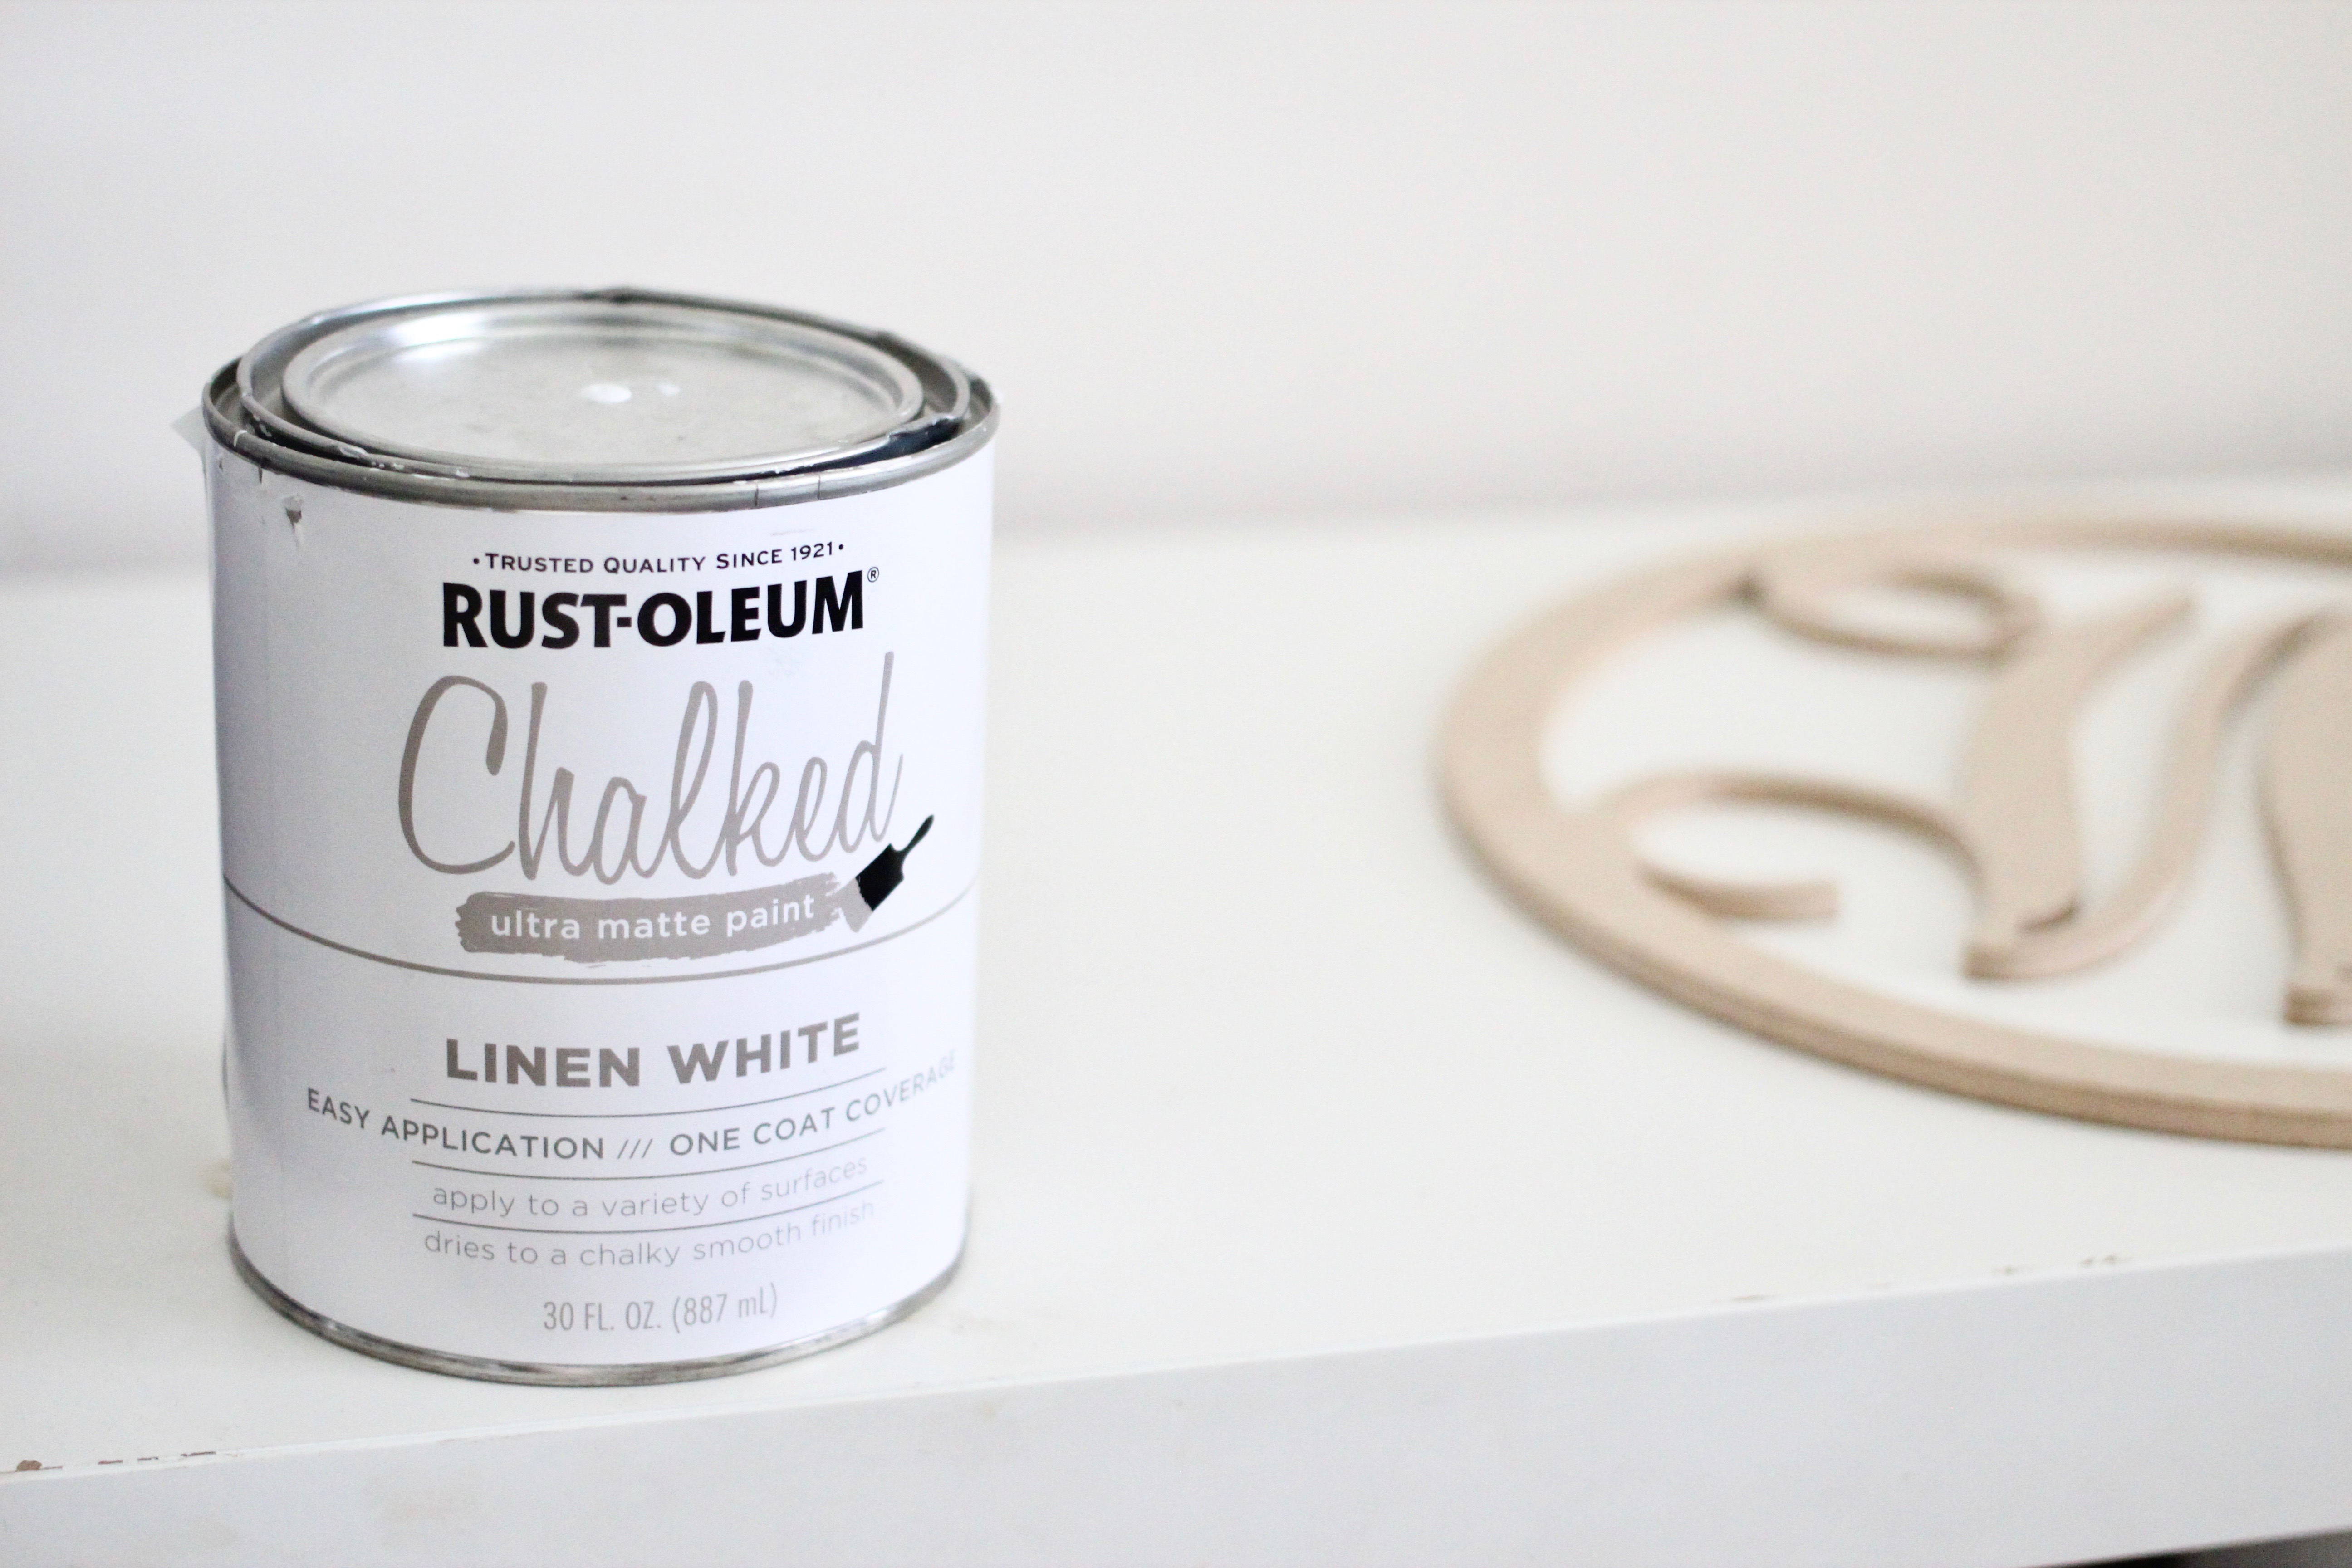
Step 1: Get out your unfinished initial/monogram (this company has so many options on Etsy that are super inexpensive). As you can see, the back of the initial has a small opening for hanging – if you are planning on securing your finished project using that opening, I recommend that you do not paint that part. Begin painting the initial using your chalk paint and foam brush. Allow the first layer to dry & repeat until desired coverage is reached – I did about 3 layers in total.

monogram diy


chalk paint for diy fall wreath

step 1 of diy fall door hanger

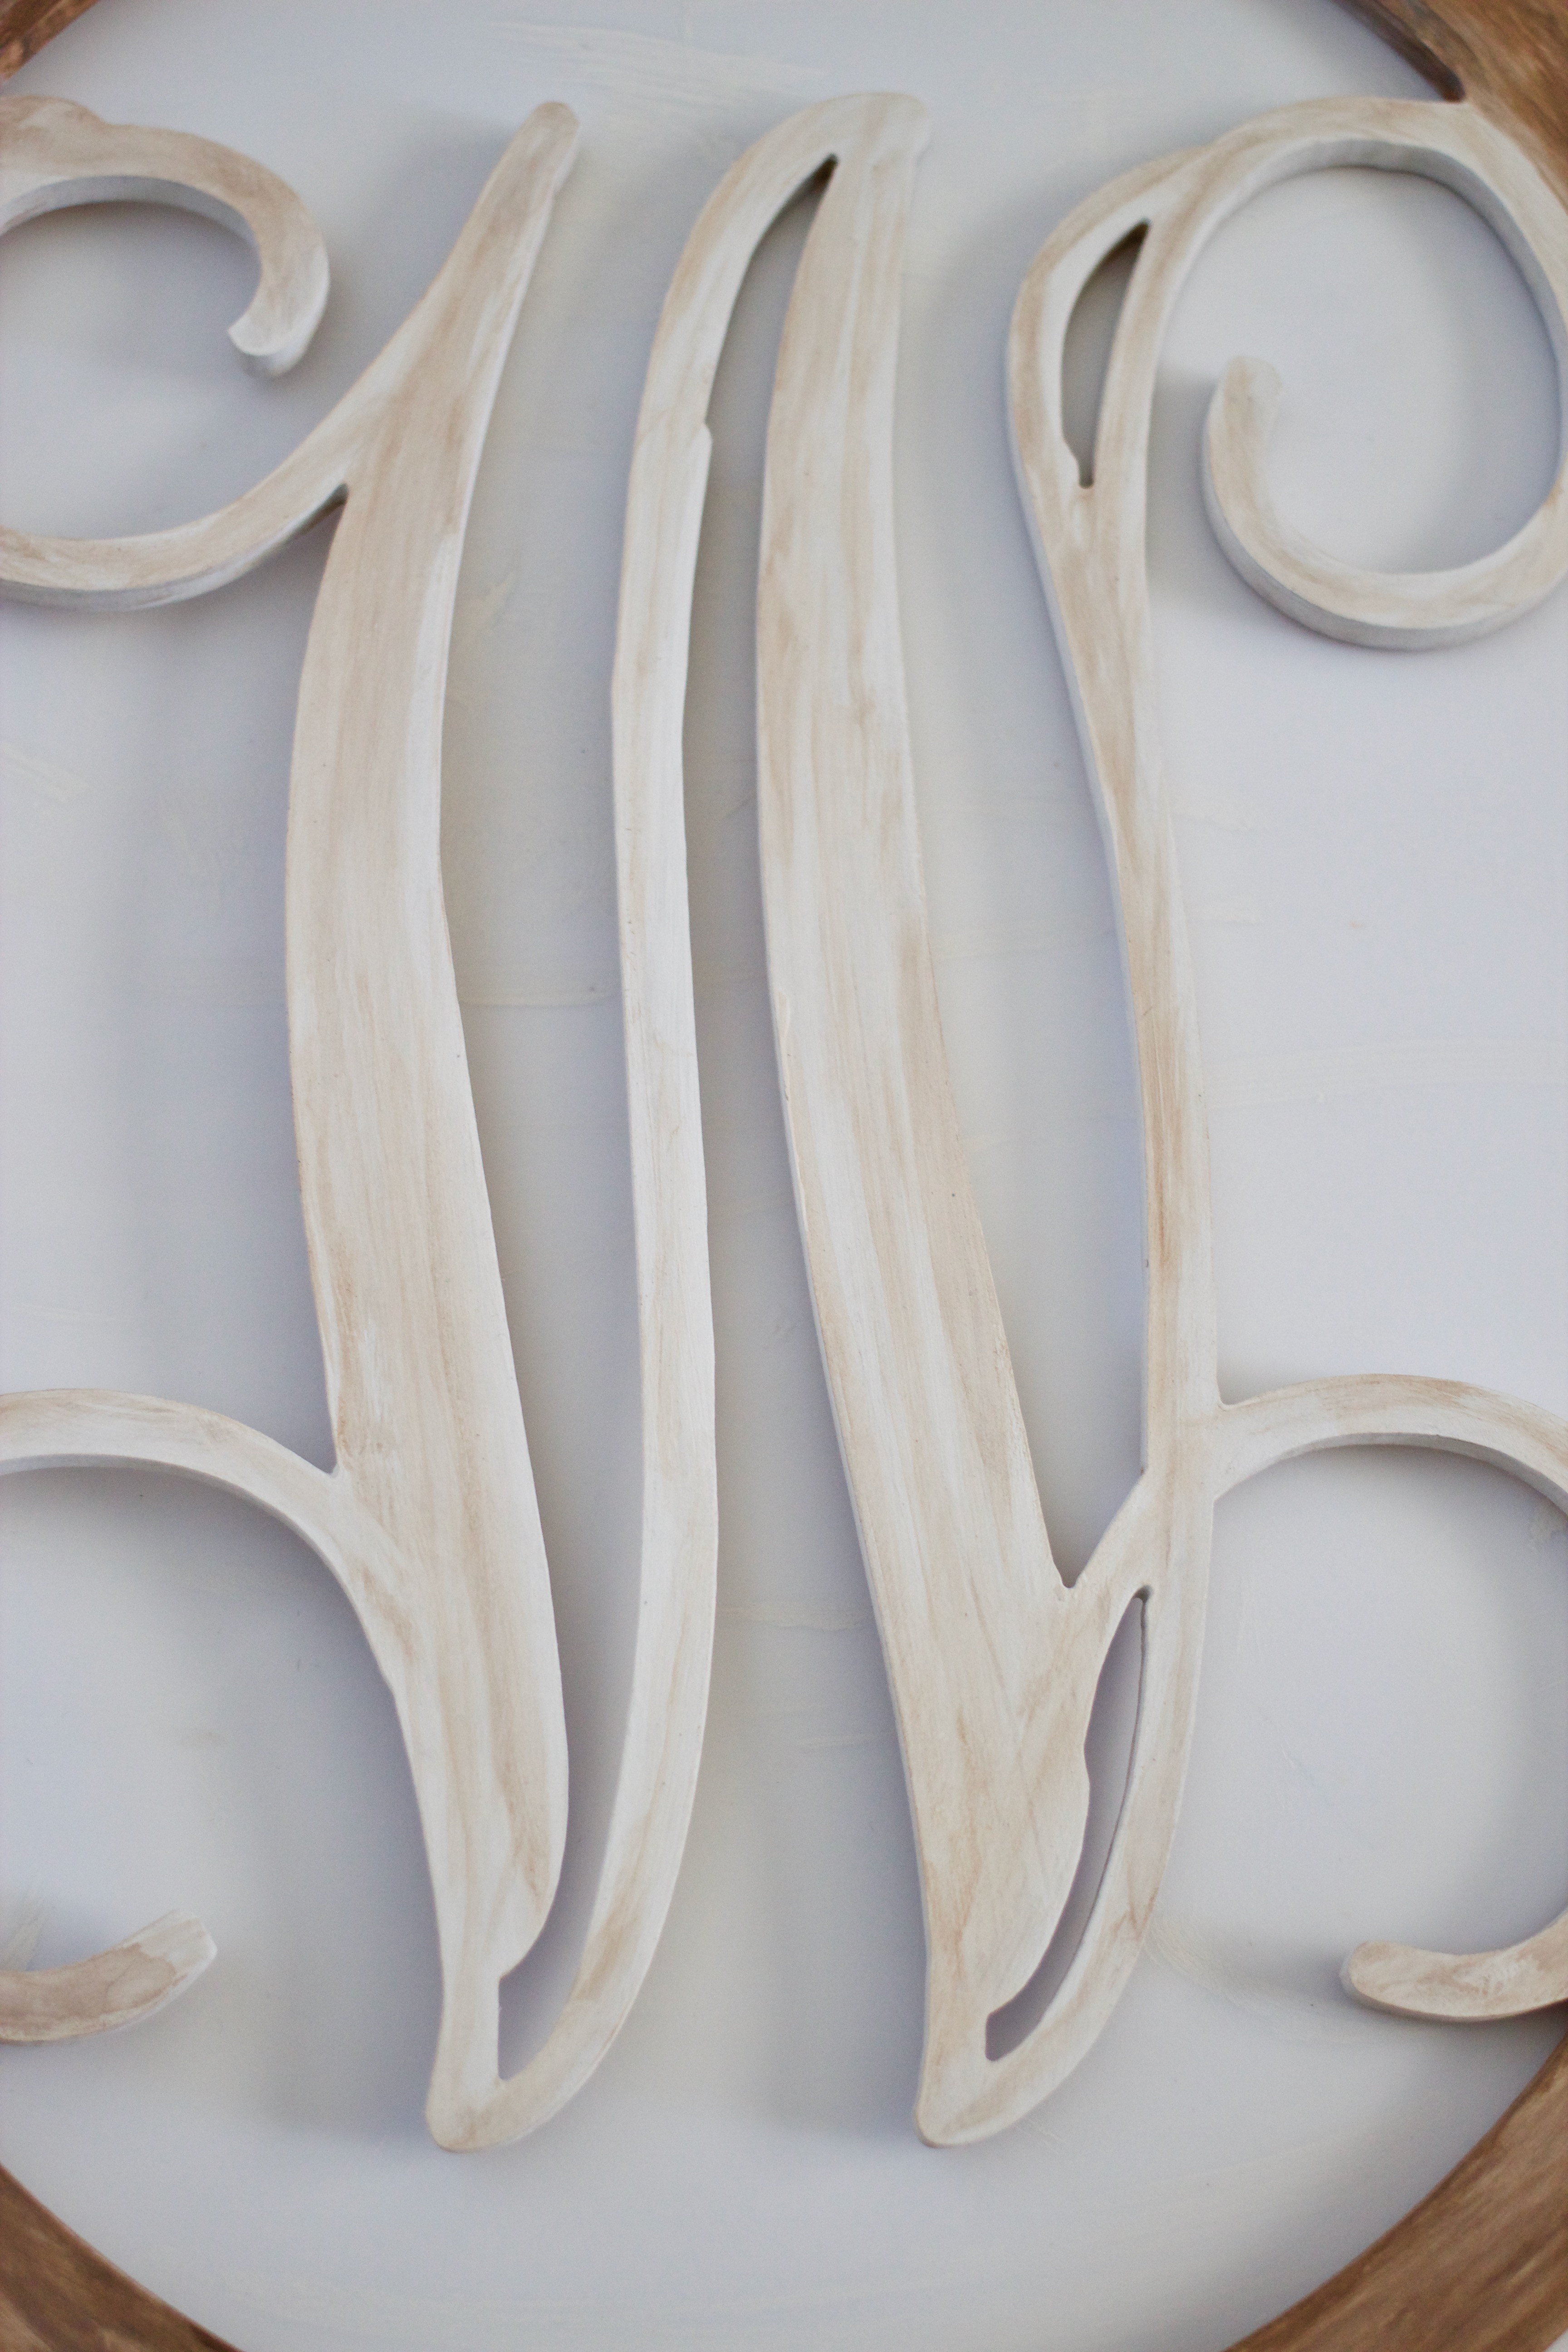
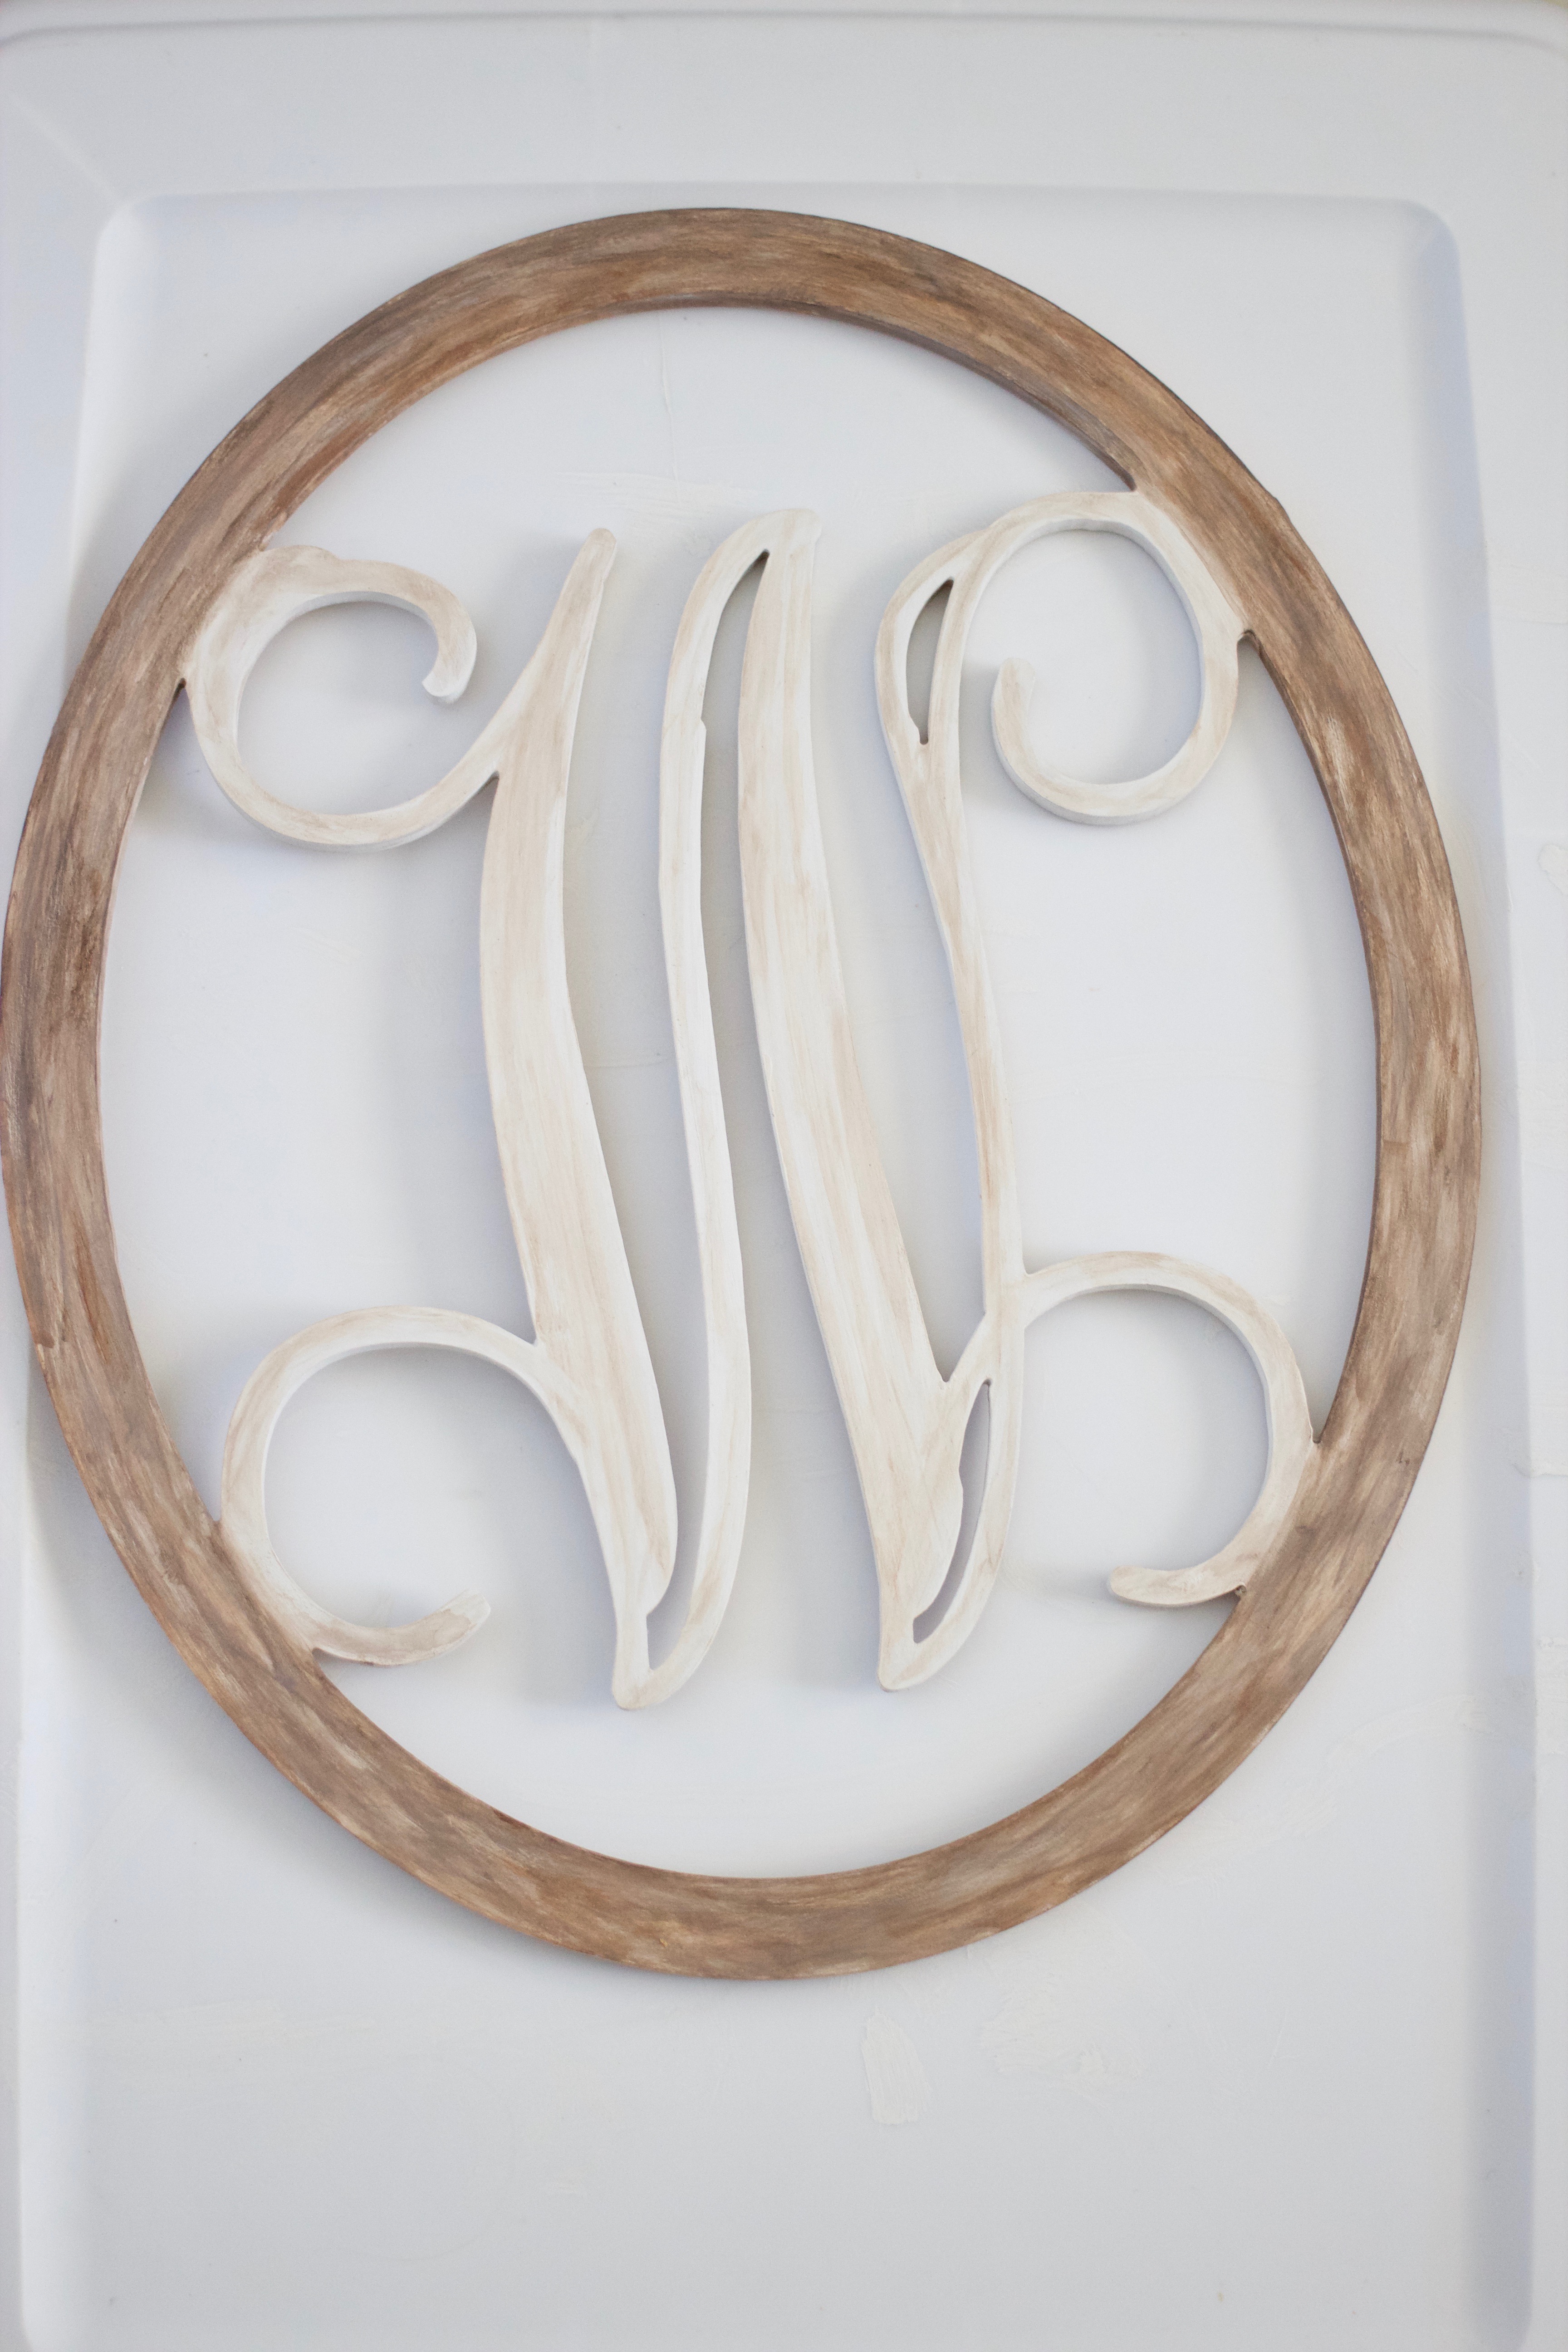
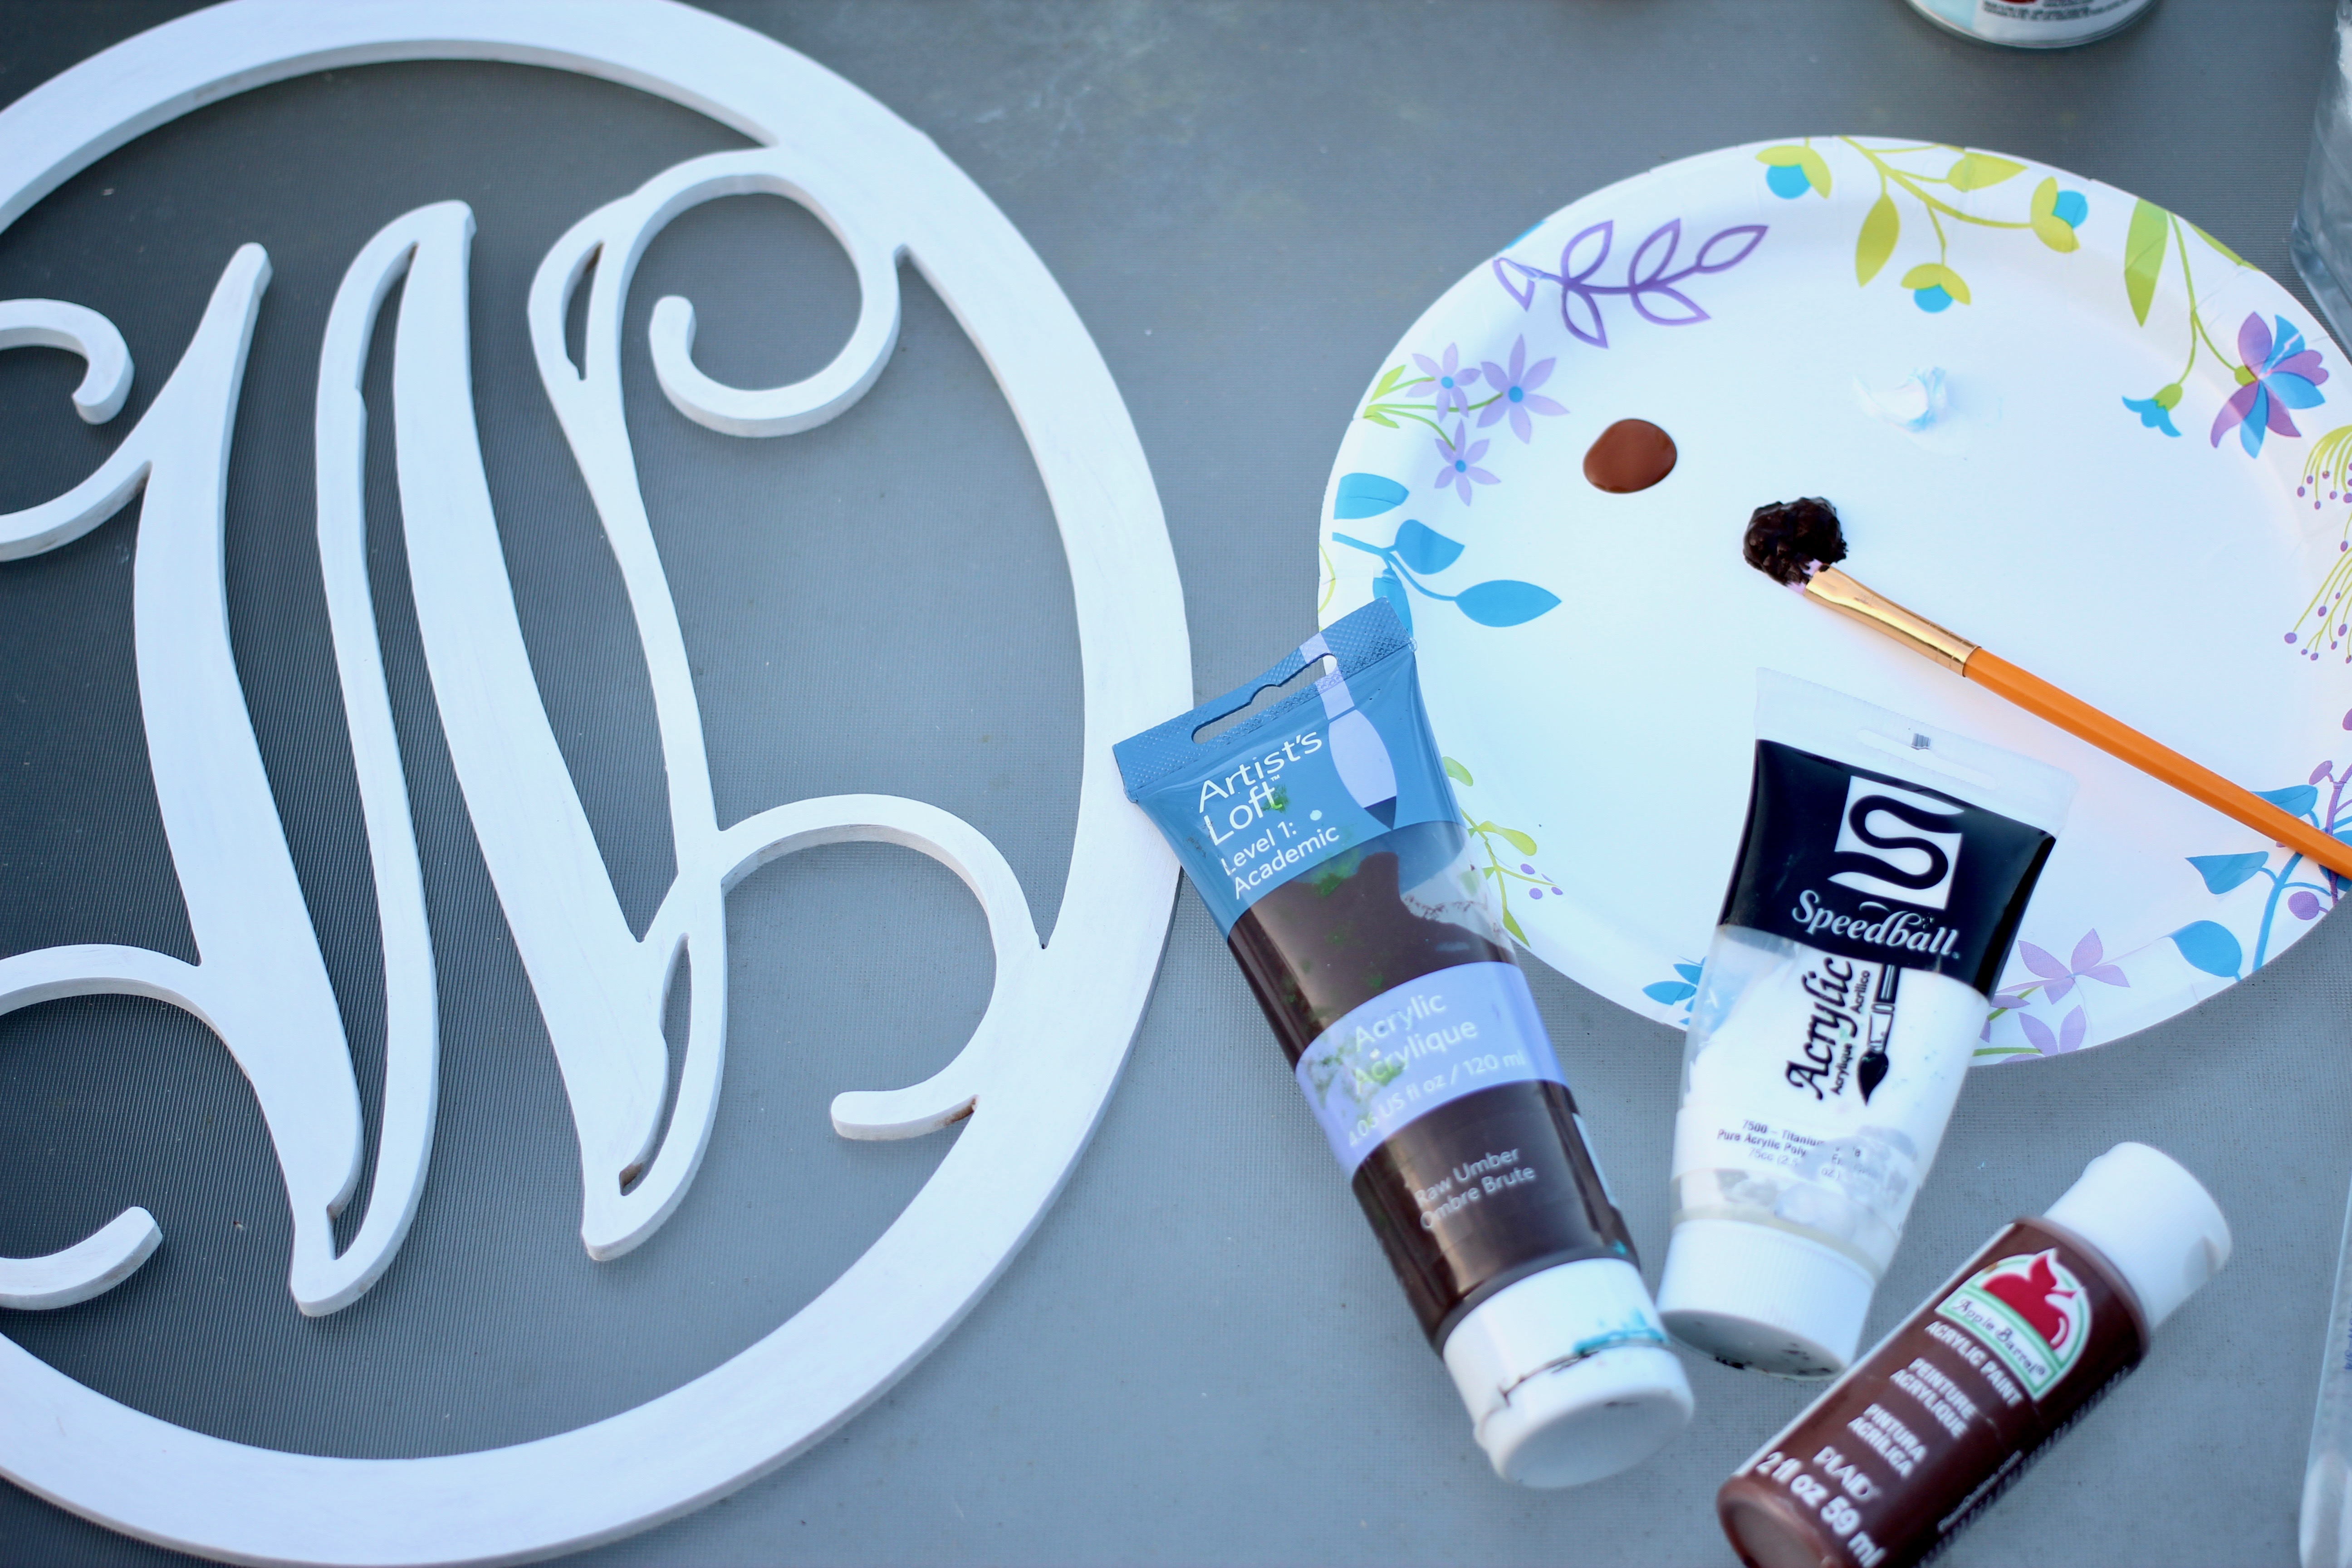
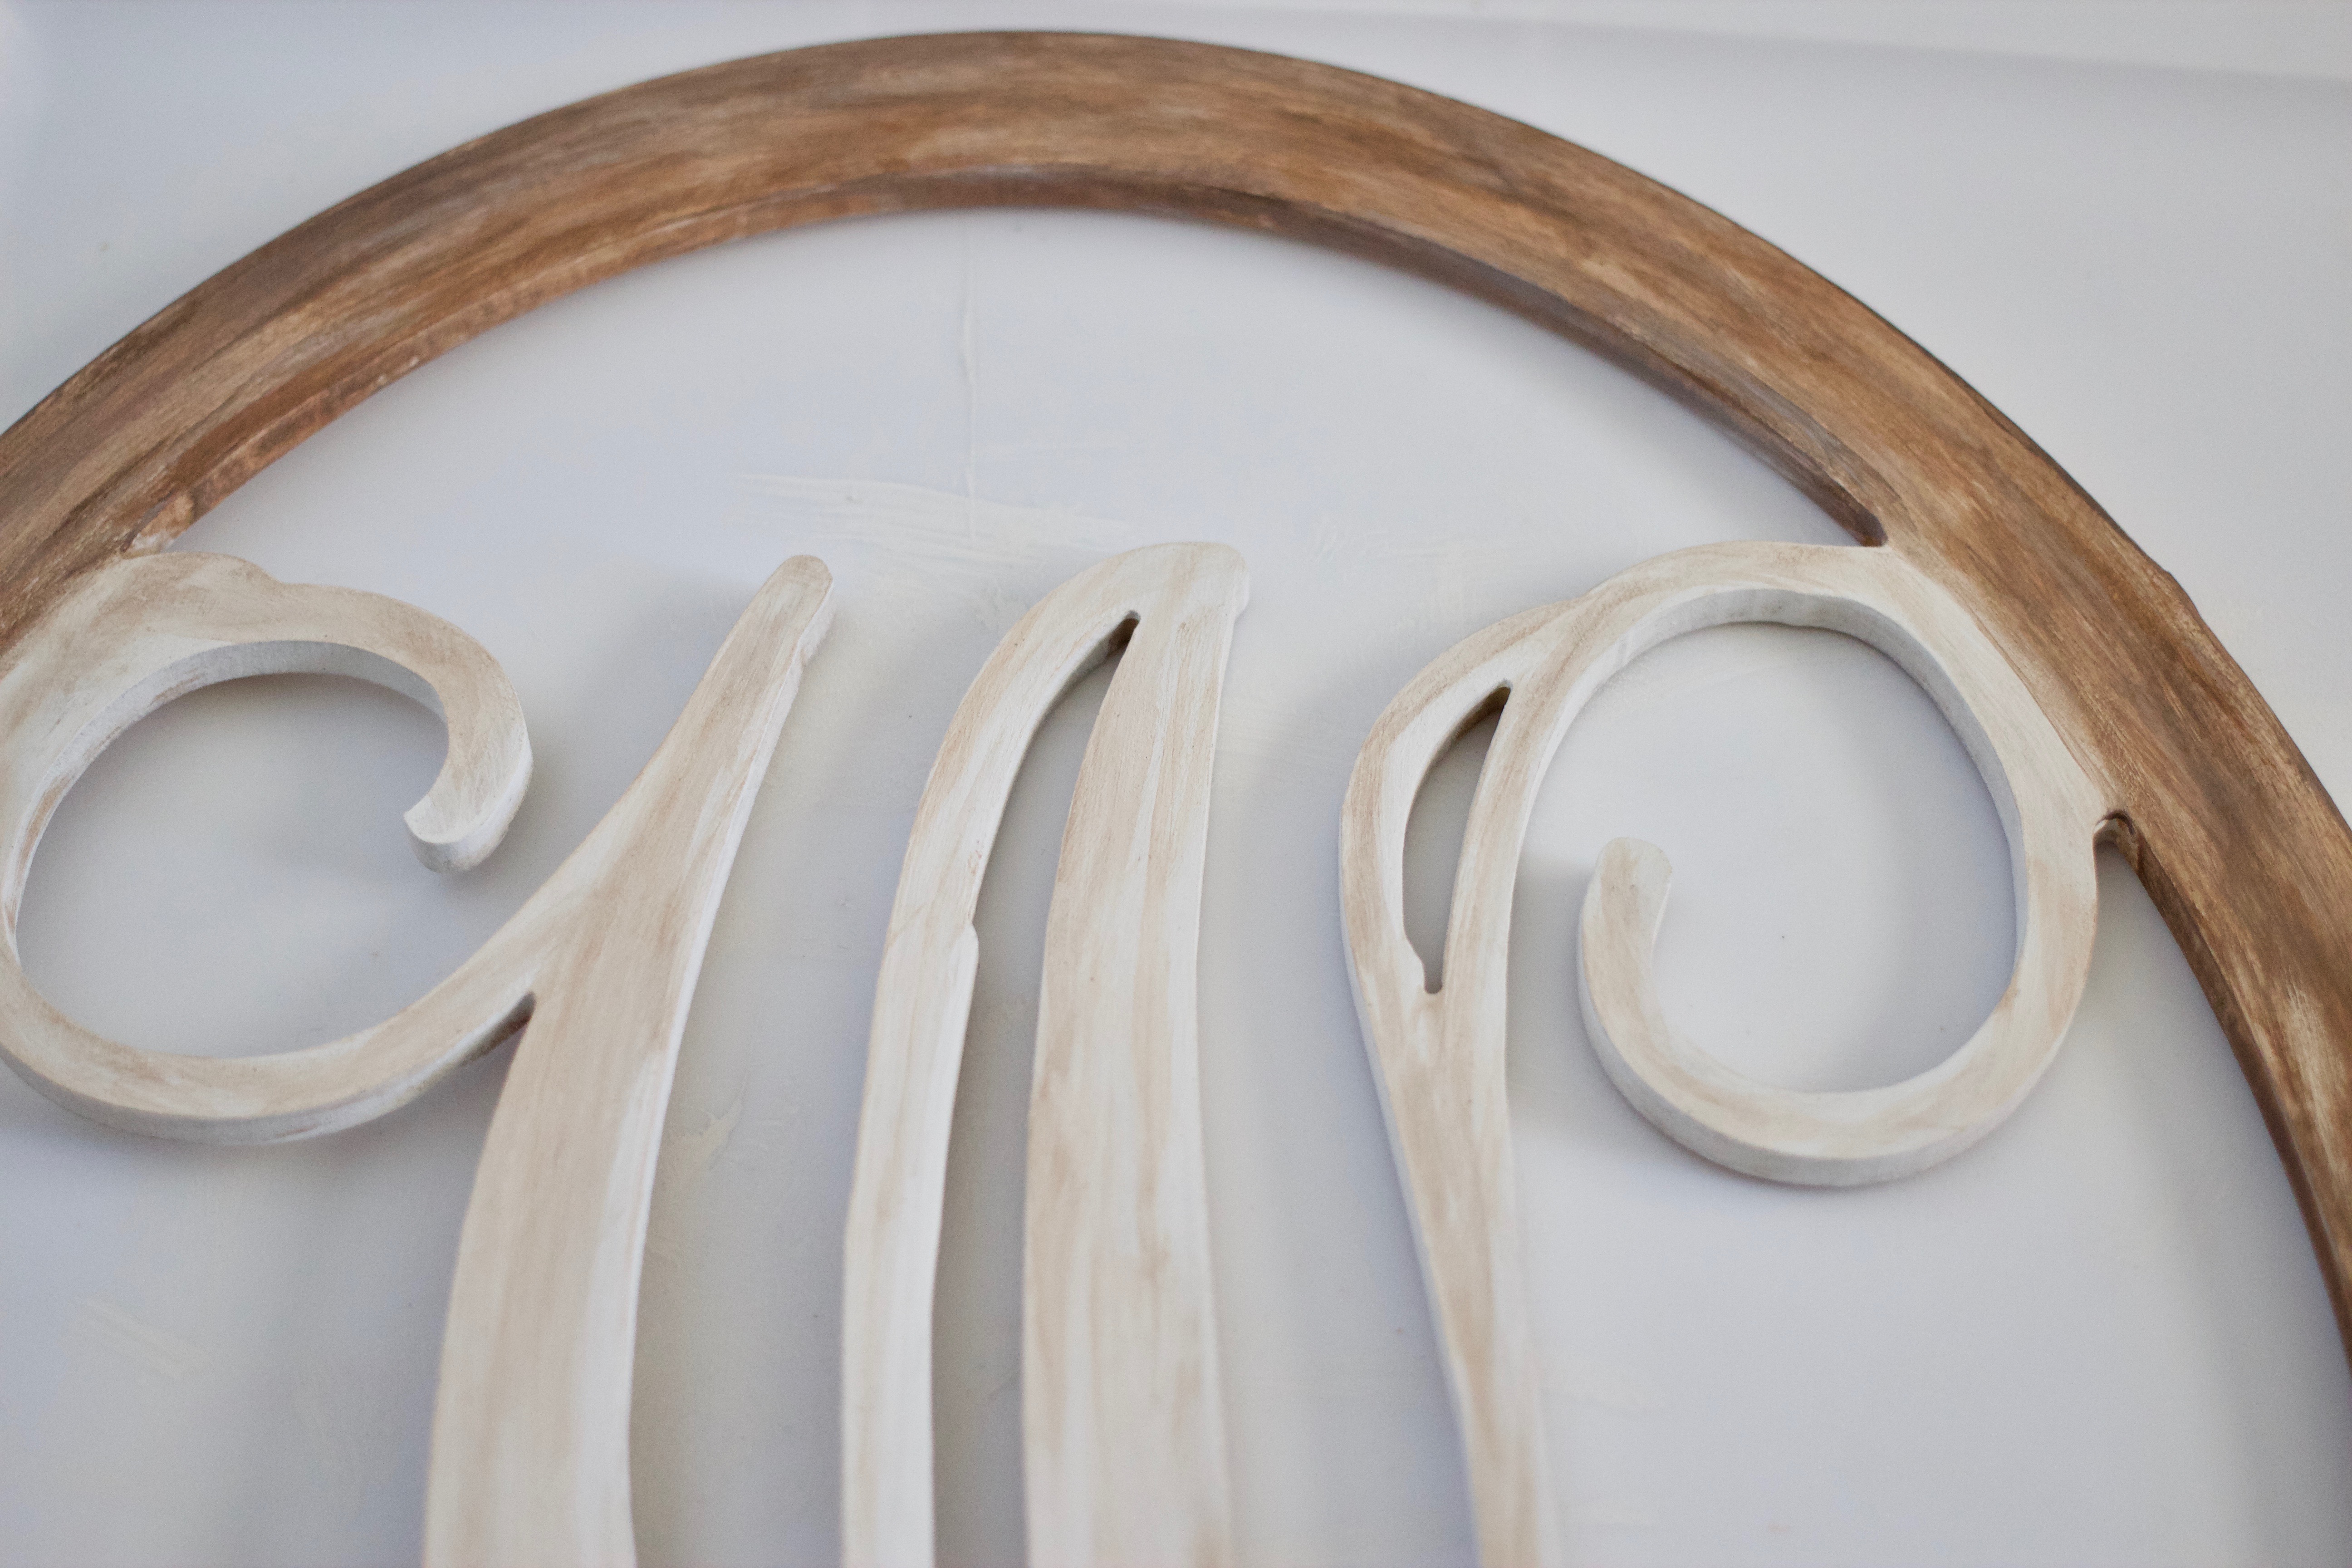
Step 2: After the chalk paint has dried, grab your acrylic paints in brown, dark brown, and white, along with a couple paper towels, small cup of water, and paper plate for mixing. Dip your brush in water before applying the paint as this will help in creating a faux wood grain appearance. Using the lighter shade of brown first, begin streaking it around the circular portion of the initial – always going in the same direction. Follow by adding in dashes of the deeper brown, blending it in with your brush. If you want more of the worn look, take one of the paper towels and firmly rub it across different portions of the freshly painted oval. Then, using the light shade of brown, dip your brush back into the water and very gently streak it in different areas of the letter itself to complete the rustic look.
diy fall monogram door hanger

DIY fall monogram

diy fall monogram

diy fall monogram

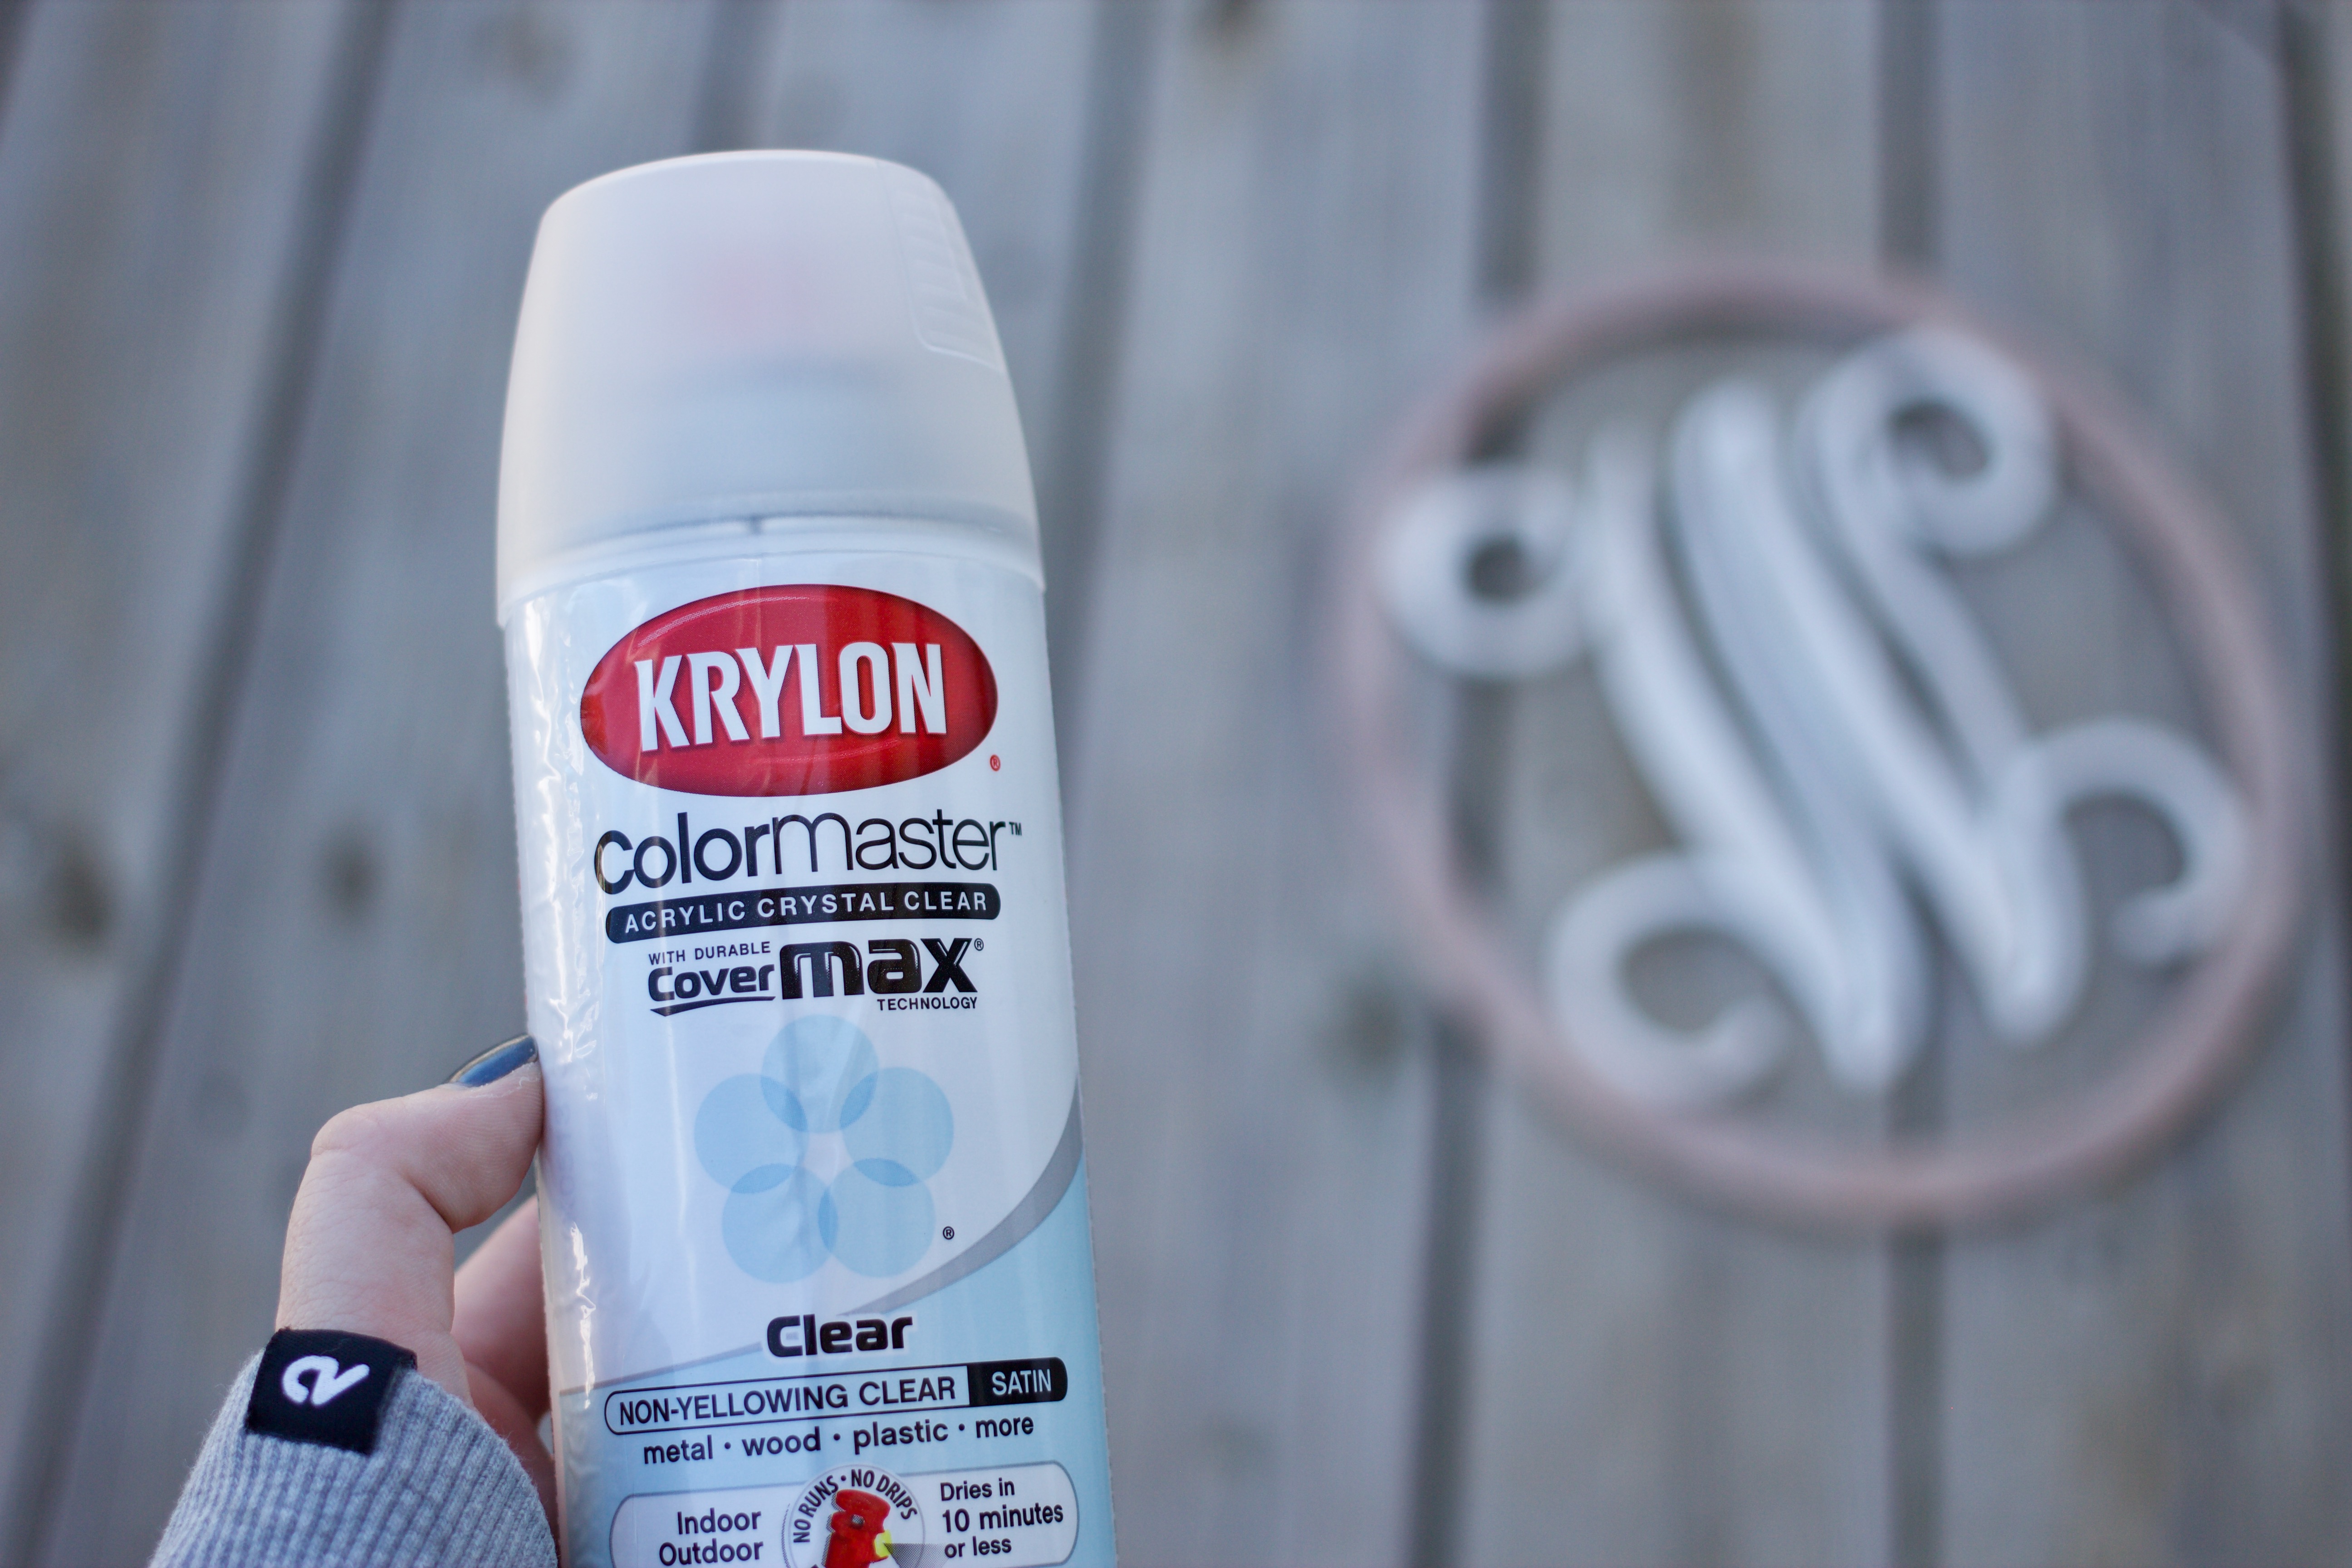
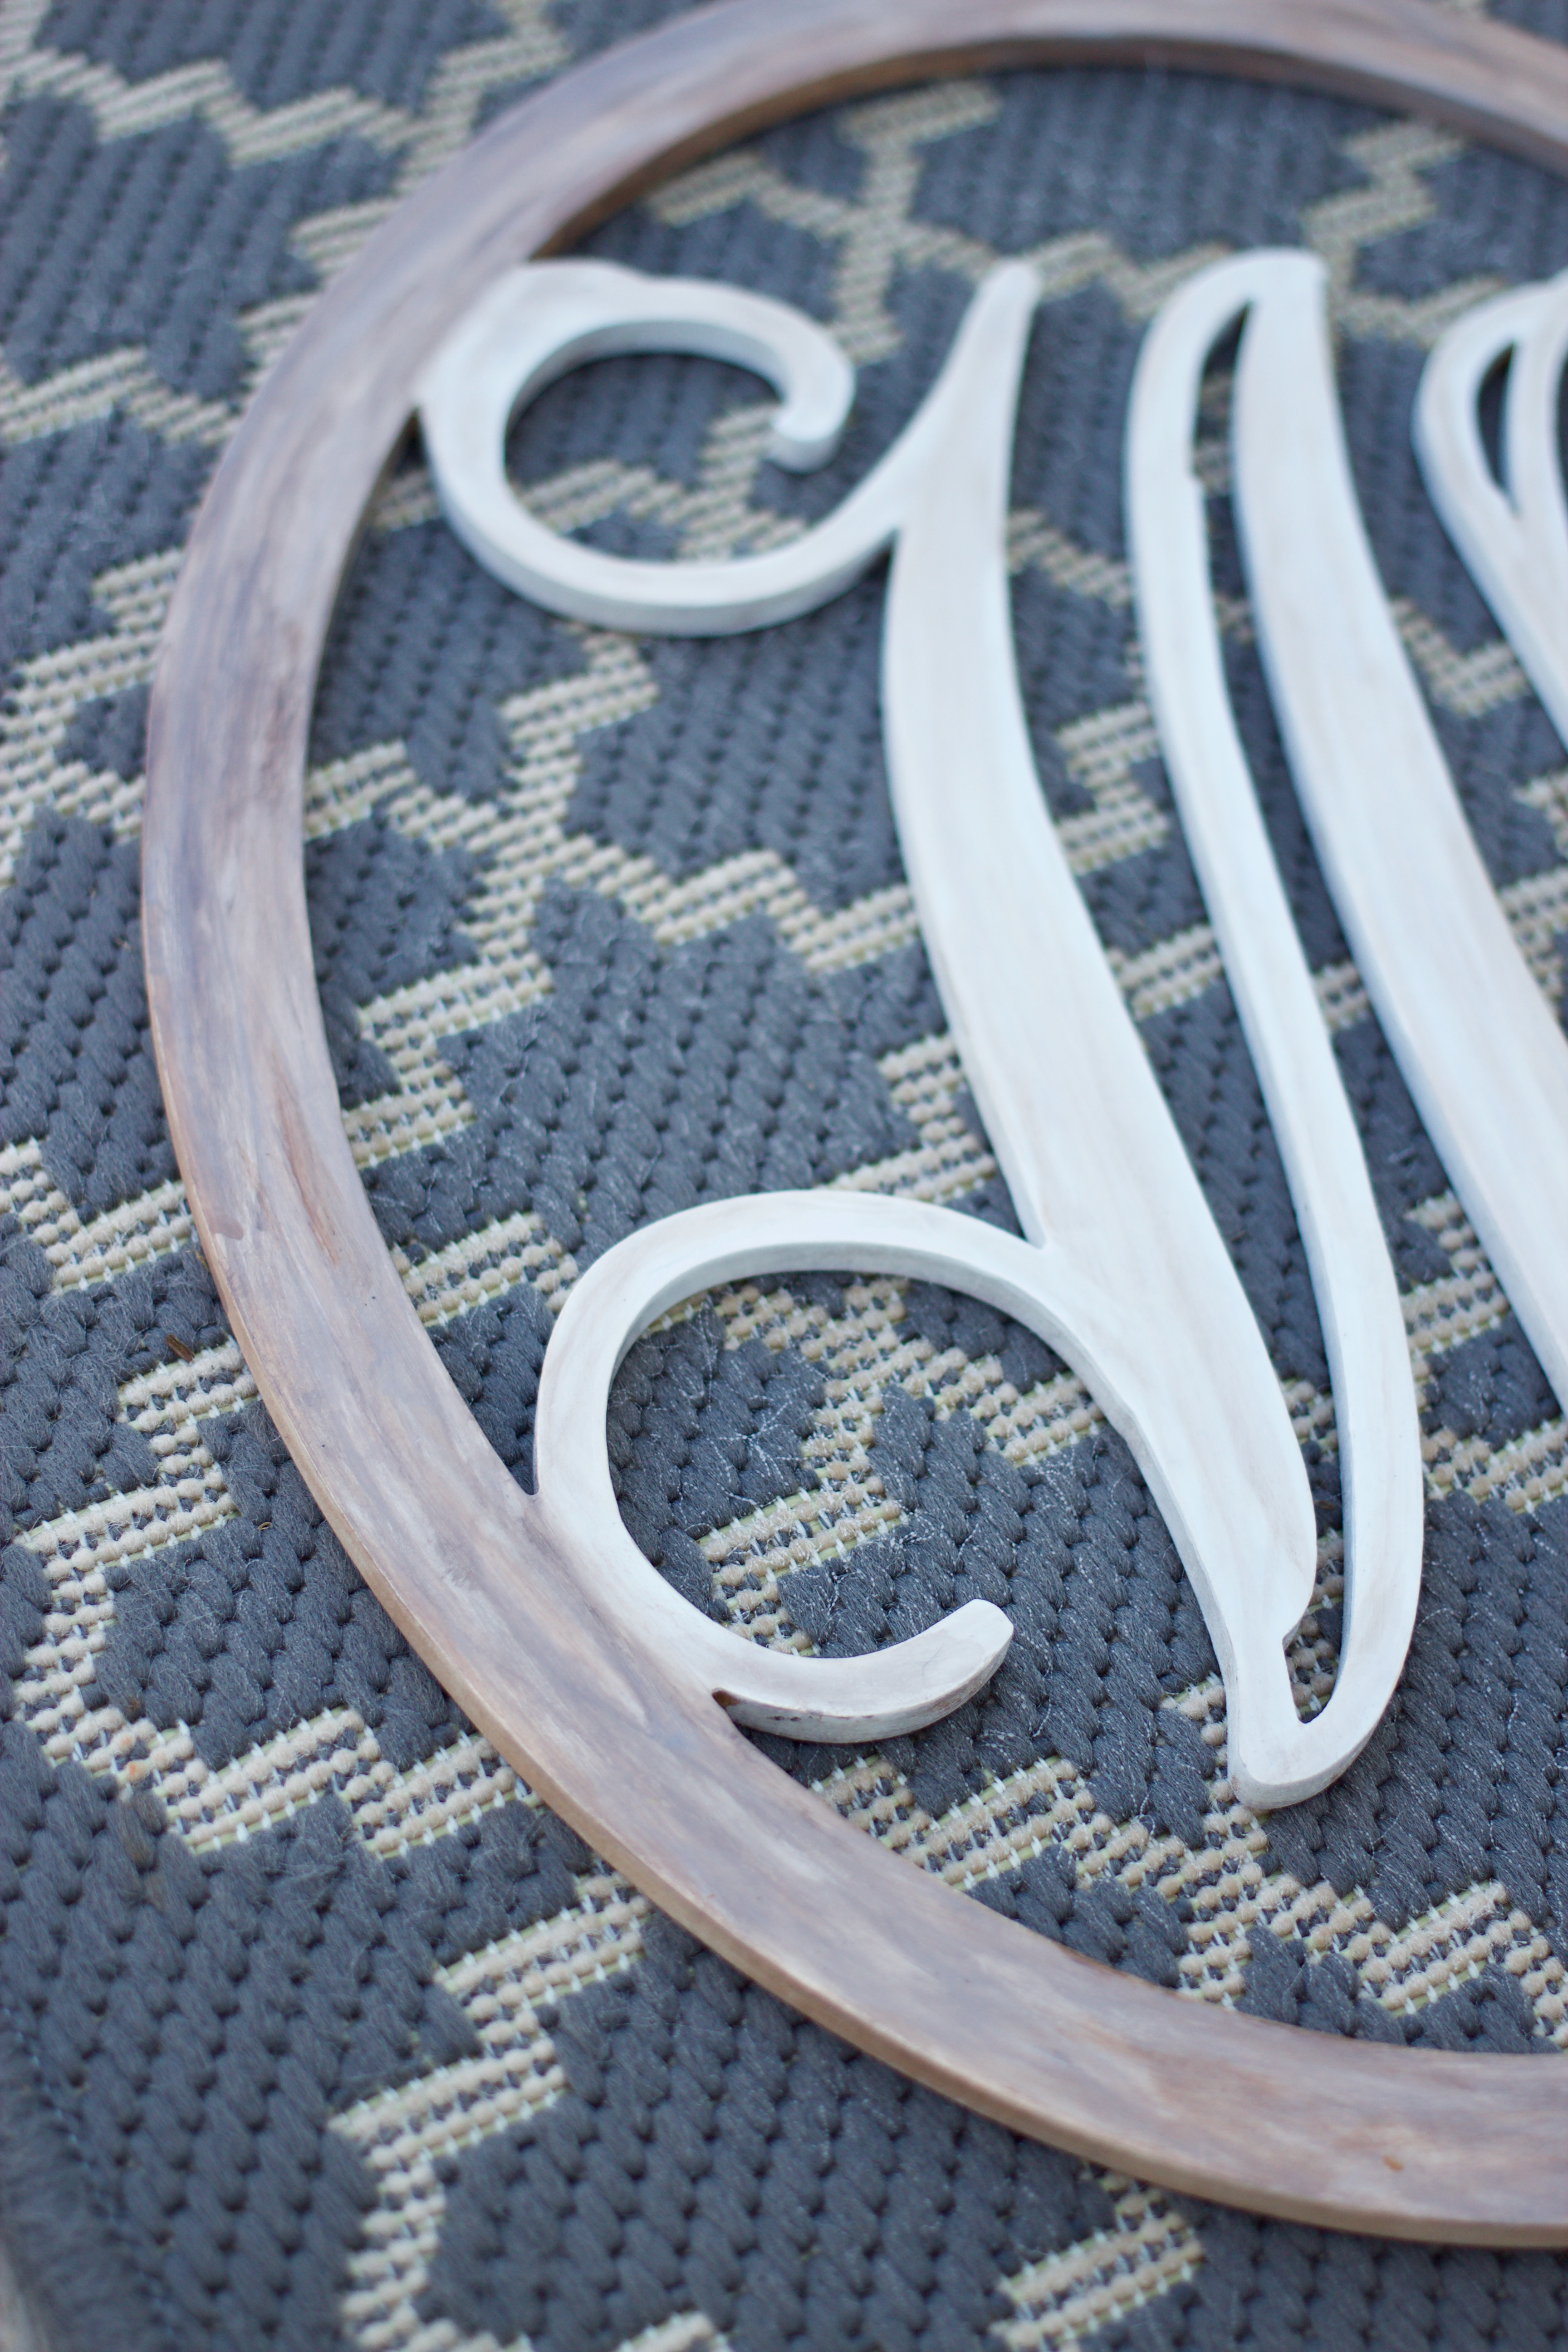
Step 3: Once the acrylic paint has dried, grab your finishing spray – this step is key for protecting your work, especially if you plan on putting your finished fall piece out where it will be exposed to the elements. In a well-ventilated place (preferably outside) spray one layer, wait 30 minutes, then spray another. This sealant will dry to the touch in 10 minutes, but I recommend giving it another 30 or so to set before handling.
easy diy fall decor

easy diy fall decor

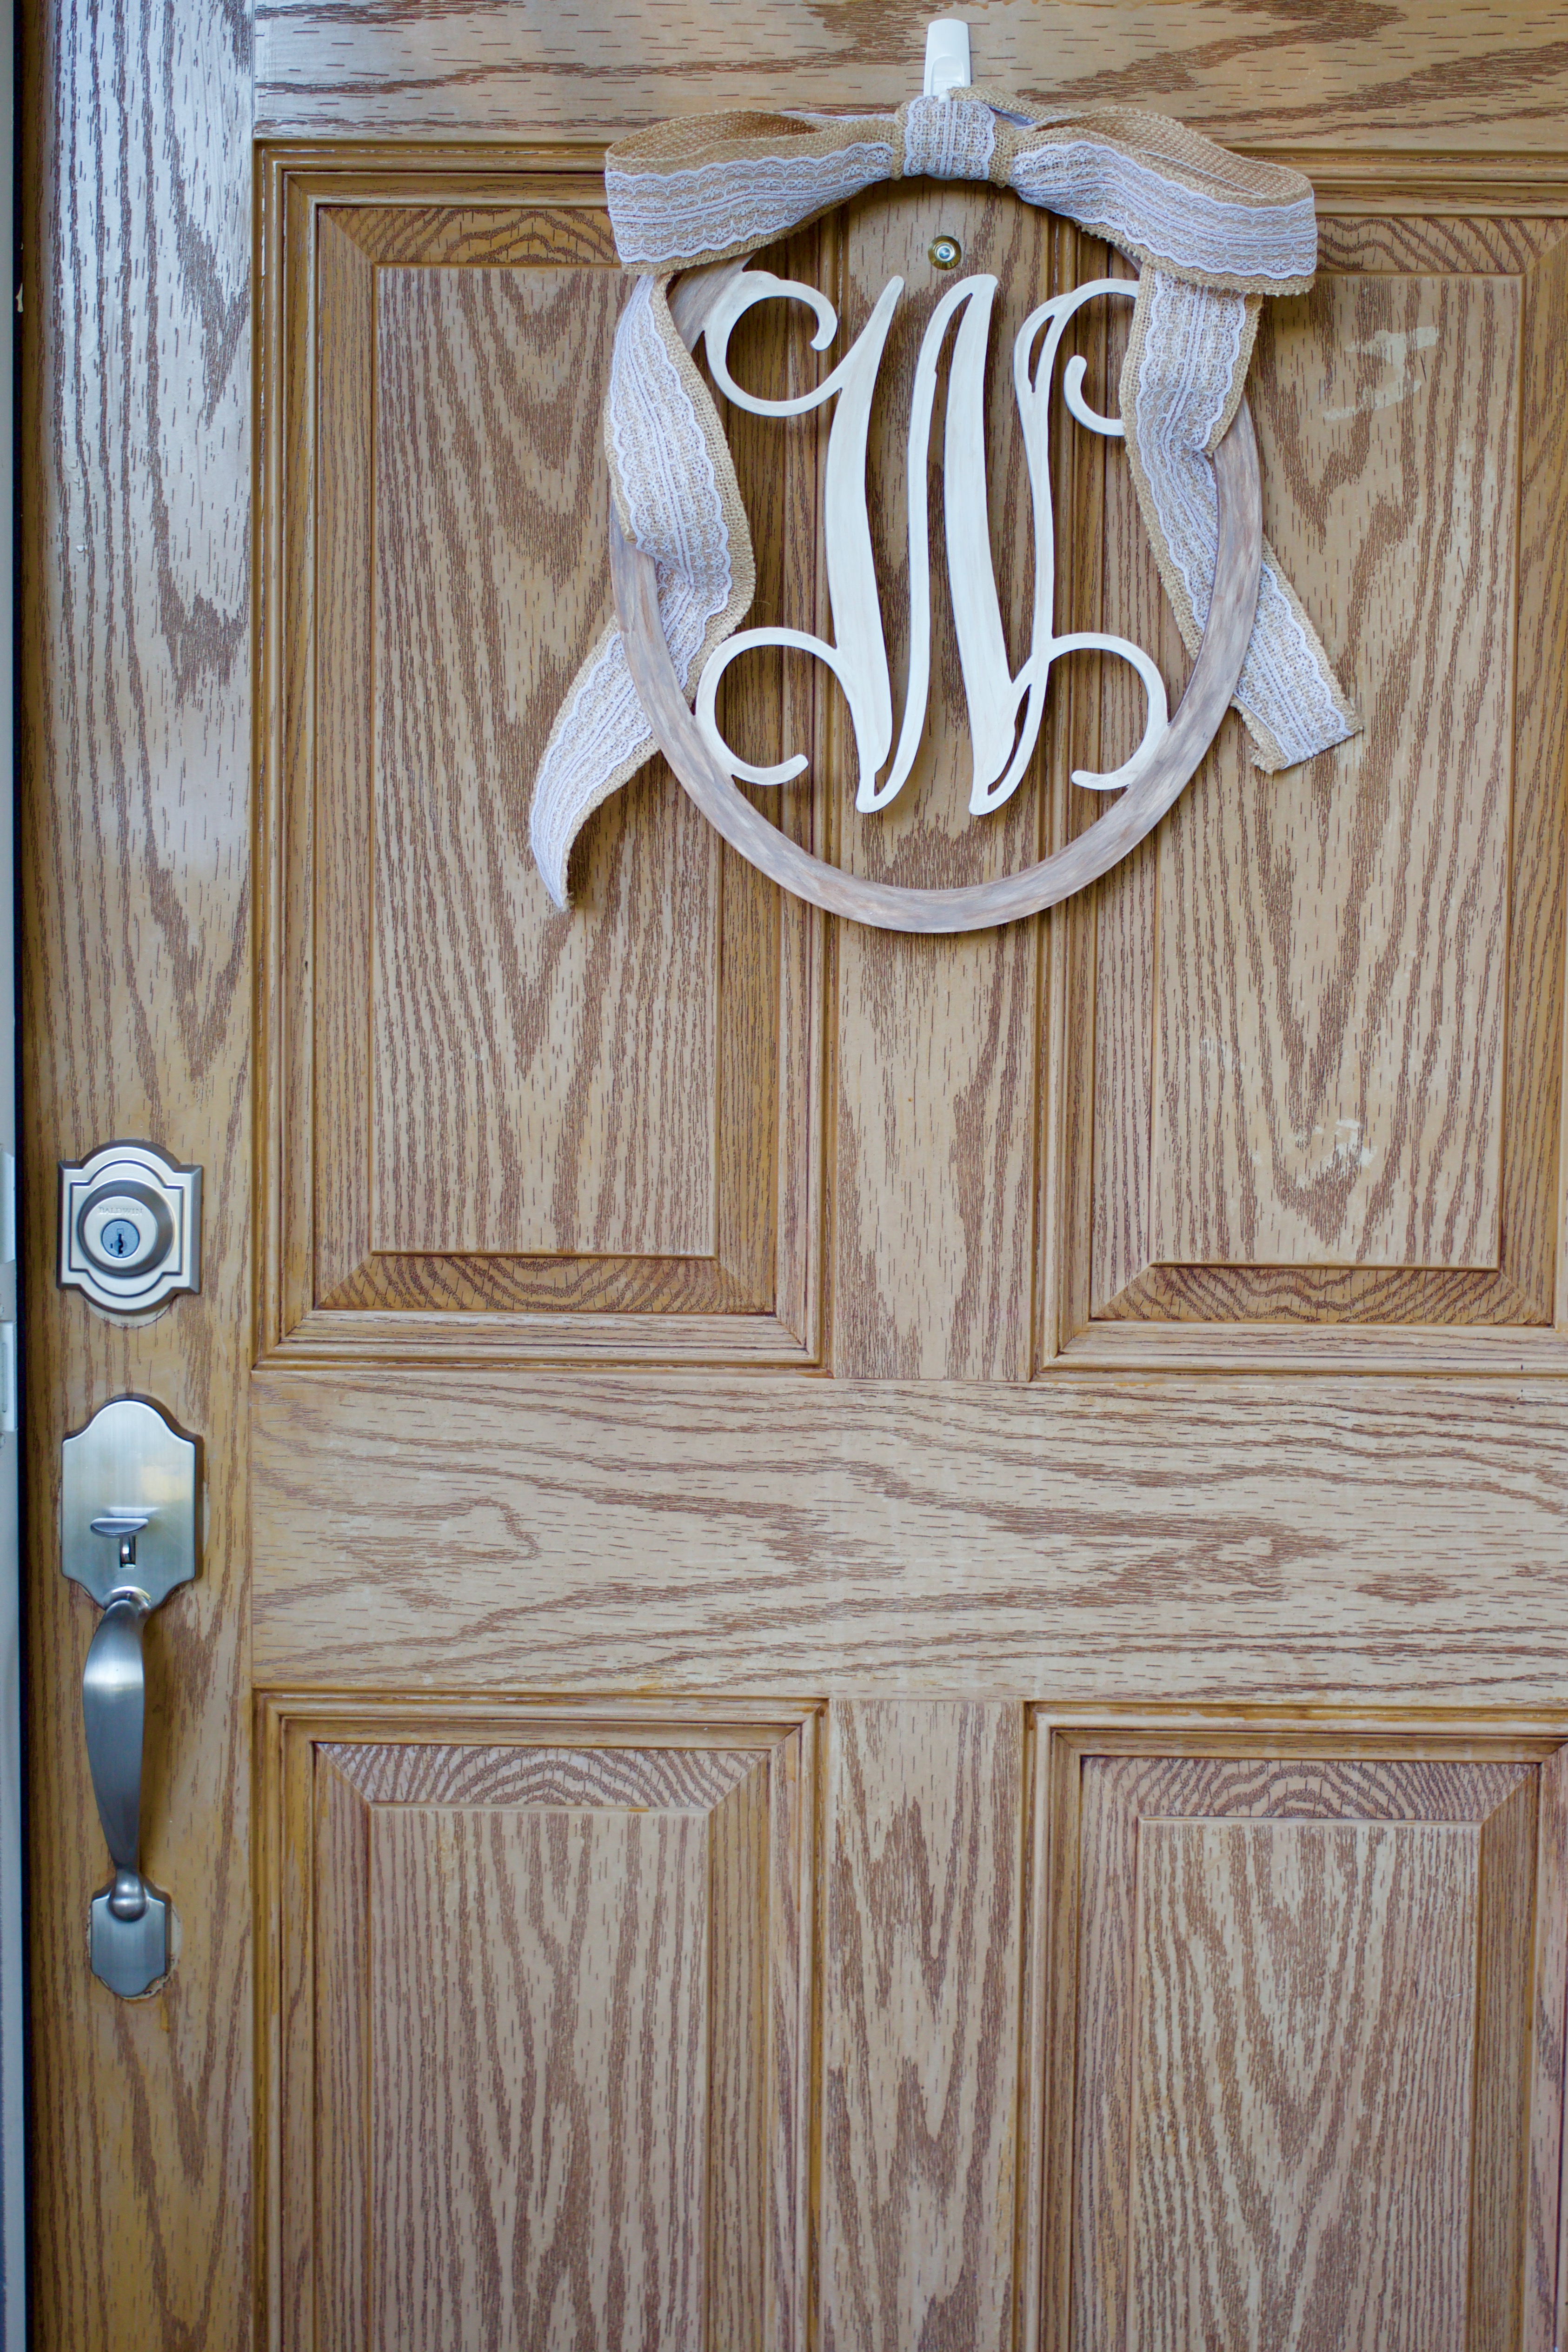
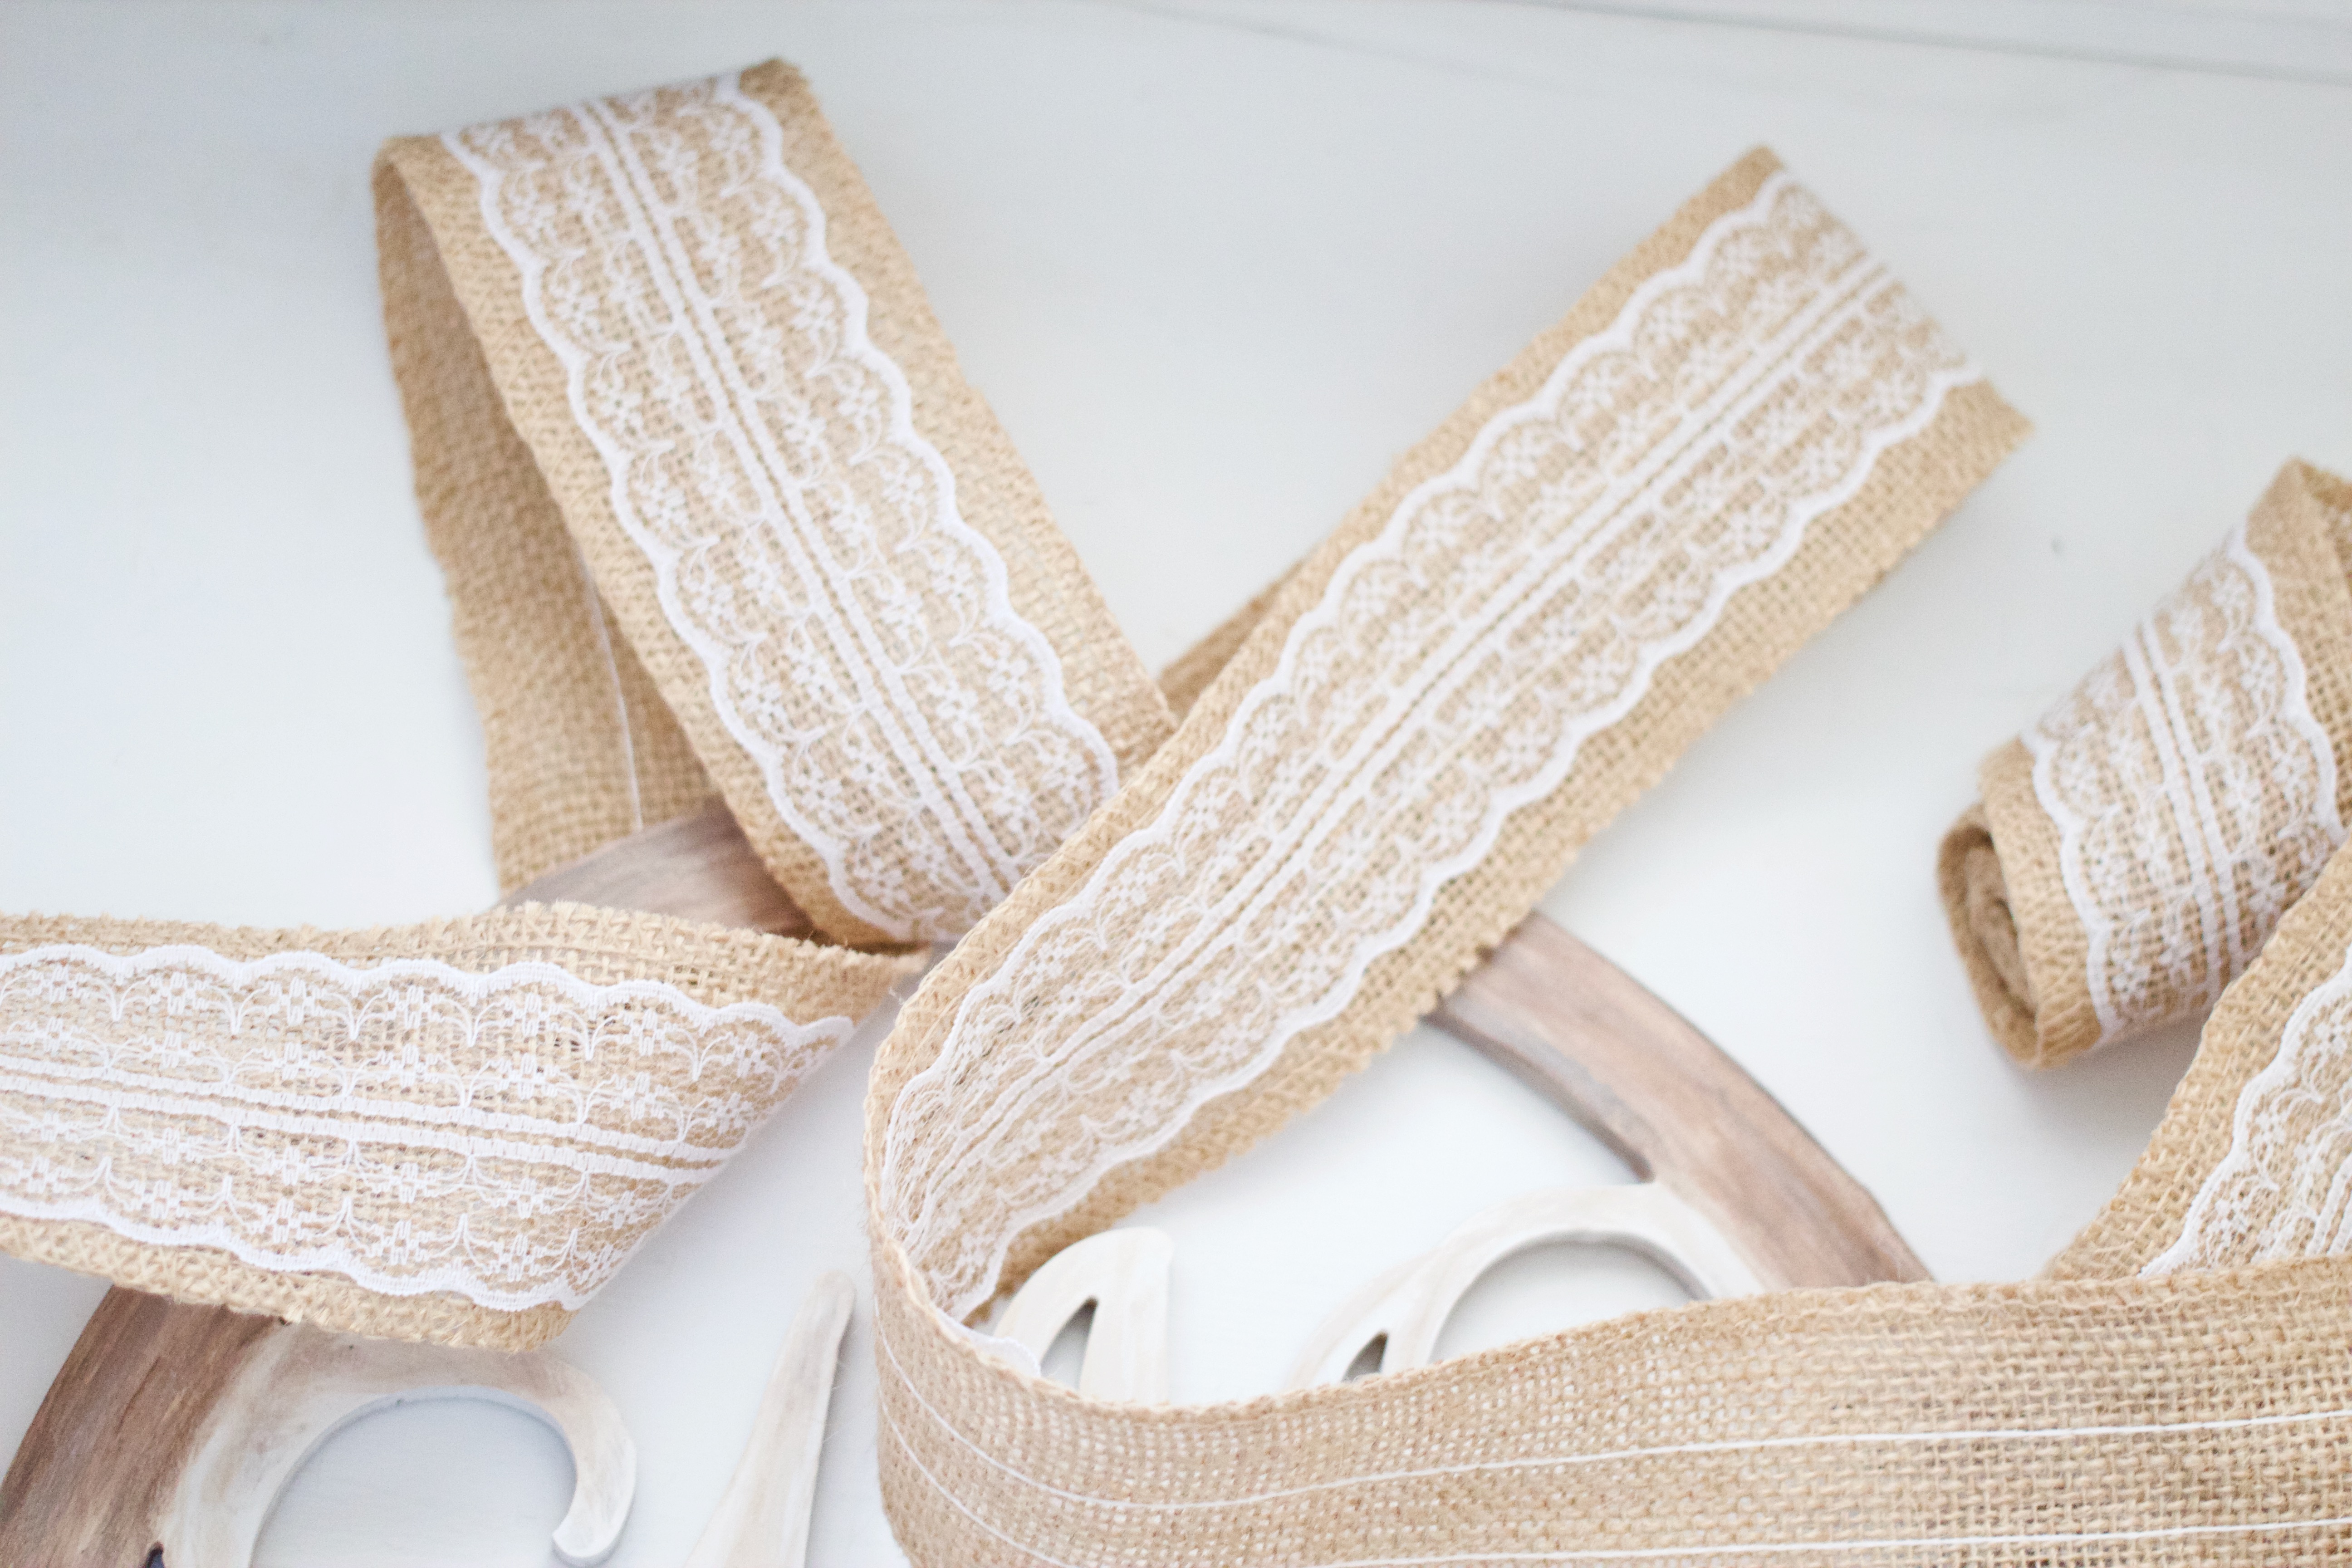
Step 4: If your sealant has dried, it’s ribbon time! Burlap and lace are perfect for all seasons, but especially for fall and winter. Before cutting your ribbon, test out the size you think you will want your bow to be by wrapping the ribbon in from the back and looping it the same way for the other side of the bow. Fold each end of the bow to make its ears. When satisfied with placement/proportion, cut the ribbon to size; securing the bow to the initial by tying a double-knot in the back. On either side of the bow, adjust the parallel ribbon pieces to fit your preference.

easy diy fall decor

easy diy fall decor

Step 5: All that’s left is to hang your completed fall monogram door hanger & you’re all done! (Side note: Our front door has a screen door in front of it, which is why I did not treat the ribbon. If yours does not, a quick layer of Scotchgard should do the trick!)

easy diy fall decor

easy diy fall decor

easy diy fall decor

Hope y’all enjoyed this DIY! More fall posts will be headed your way soon & even though I definitely made it sound like I do, I pinky-promise I don’t always completely limit the orange in our house for Halloween/October, check out last year’s Halloween Bar Cart & Mantel posts for proof 🙂

Supplies for this project: 
 

Not ready to get started? Pin this project to complete it later:easy diy fall decor


SaveSave

SaveSave

SaveSave

SaveSave

SaveSave

SaveSave

SaveSave

SaveSave

SaveSave

SaveSave

SaveSaveSaveSave

SaveSave

SaveSave
Post, Pin, Share:
Adulting, Blog, Lifestyle, Relationships, The Home

DIY Guest Welcome Basket

Happy September, y’all! We are so pumped for the cooler weather and all that it brings! J and I love to have people over, and the fall season is ideal for creating a cozy space perfect for hosting guests.

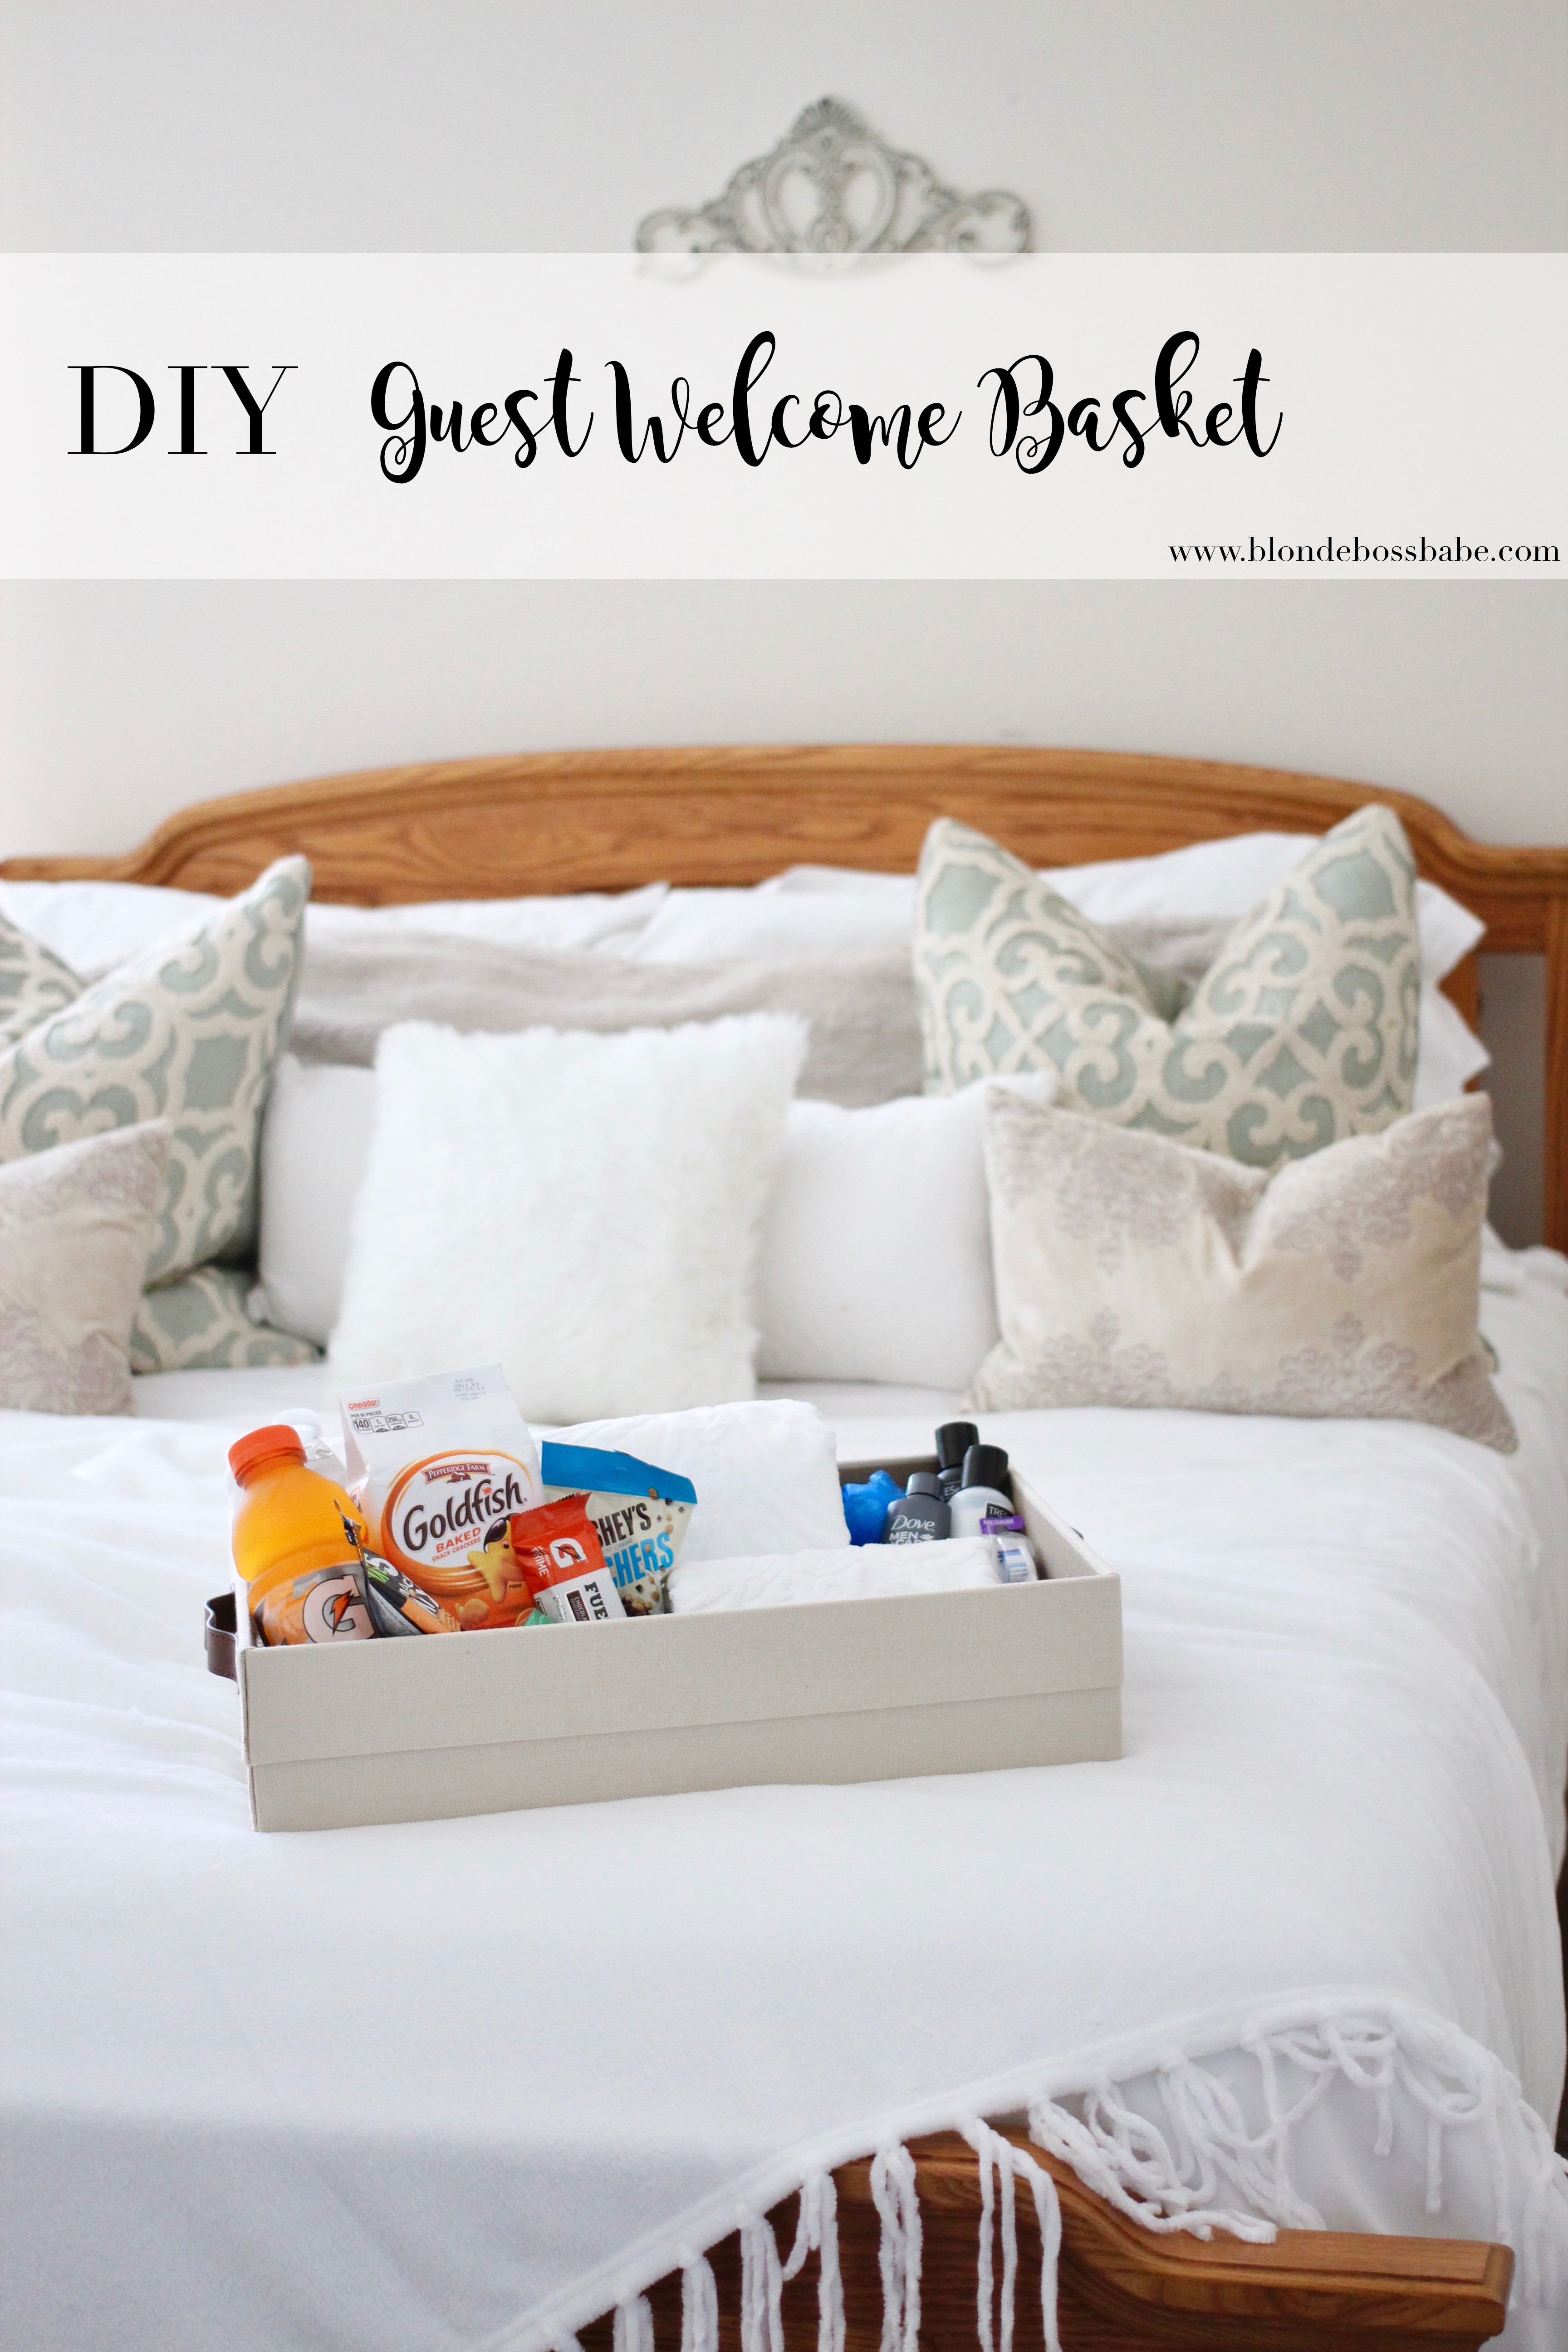
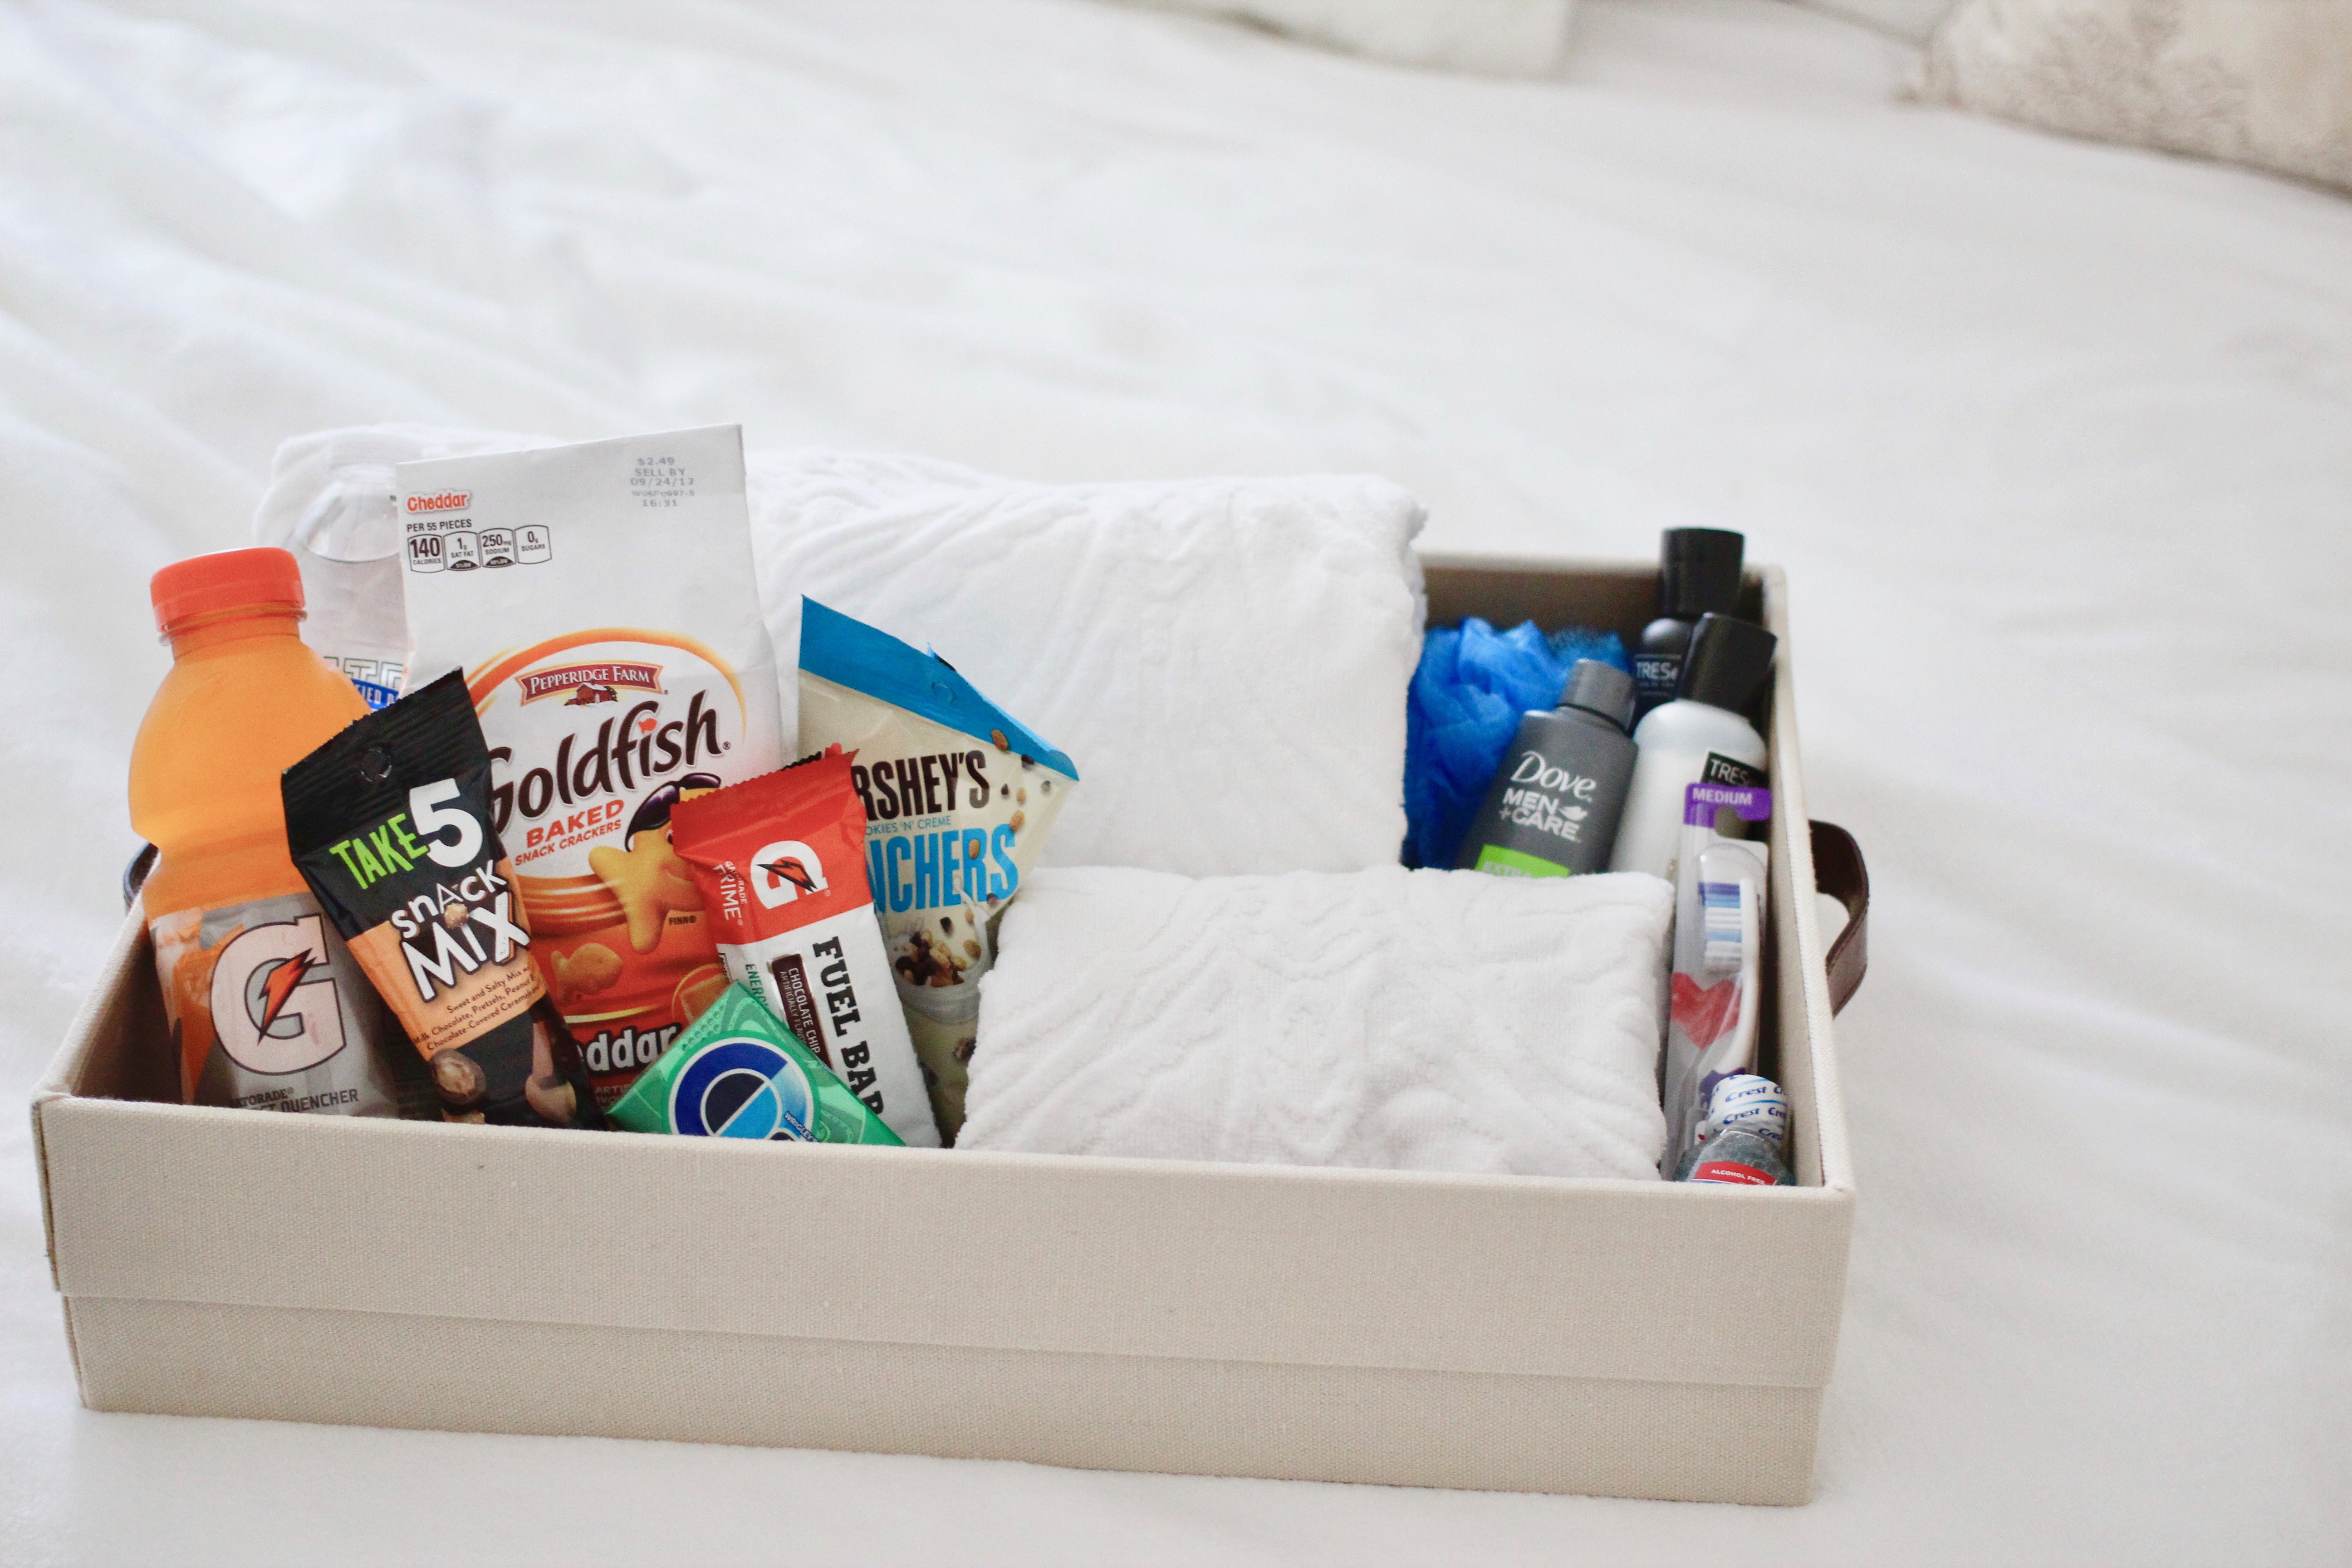
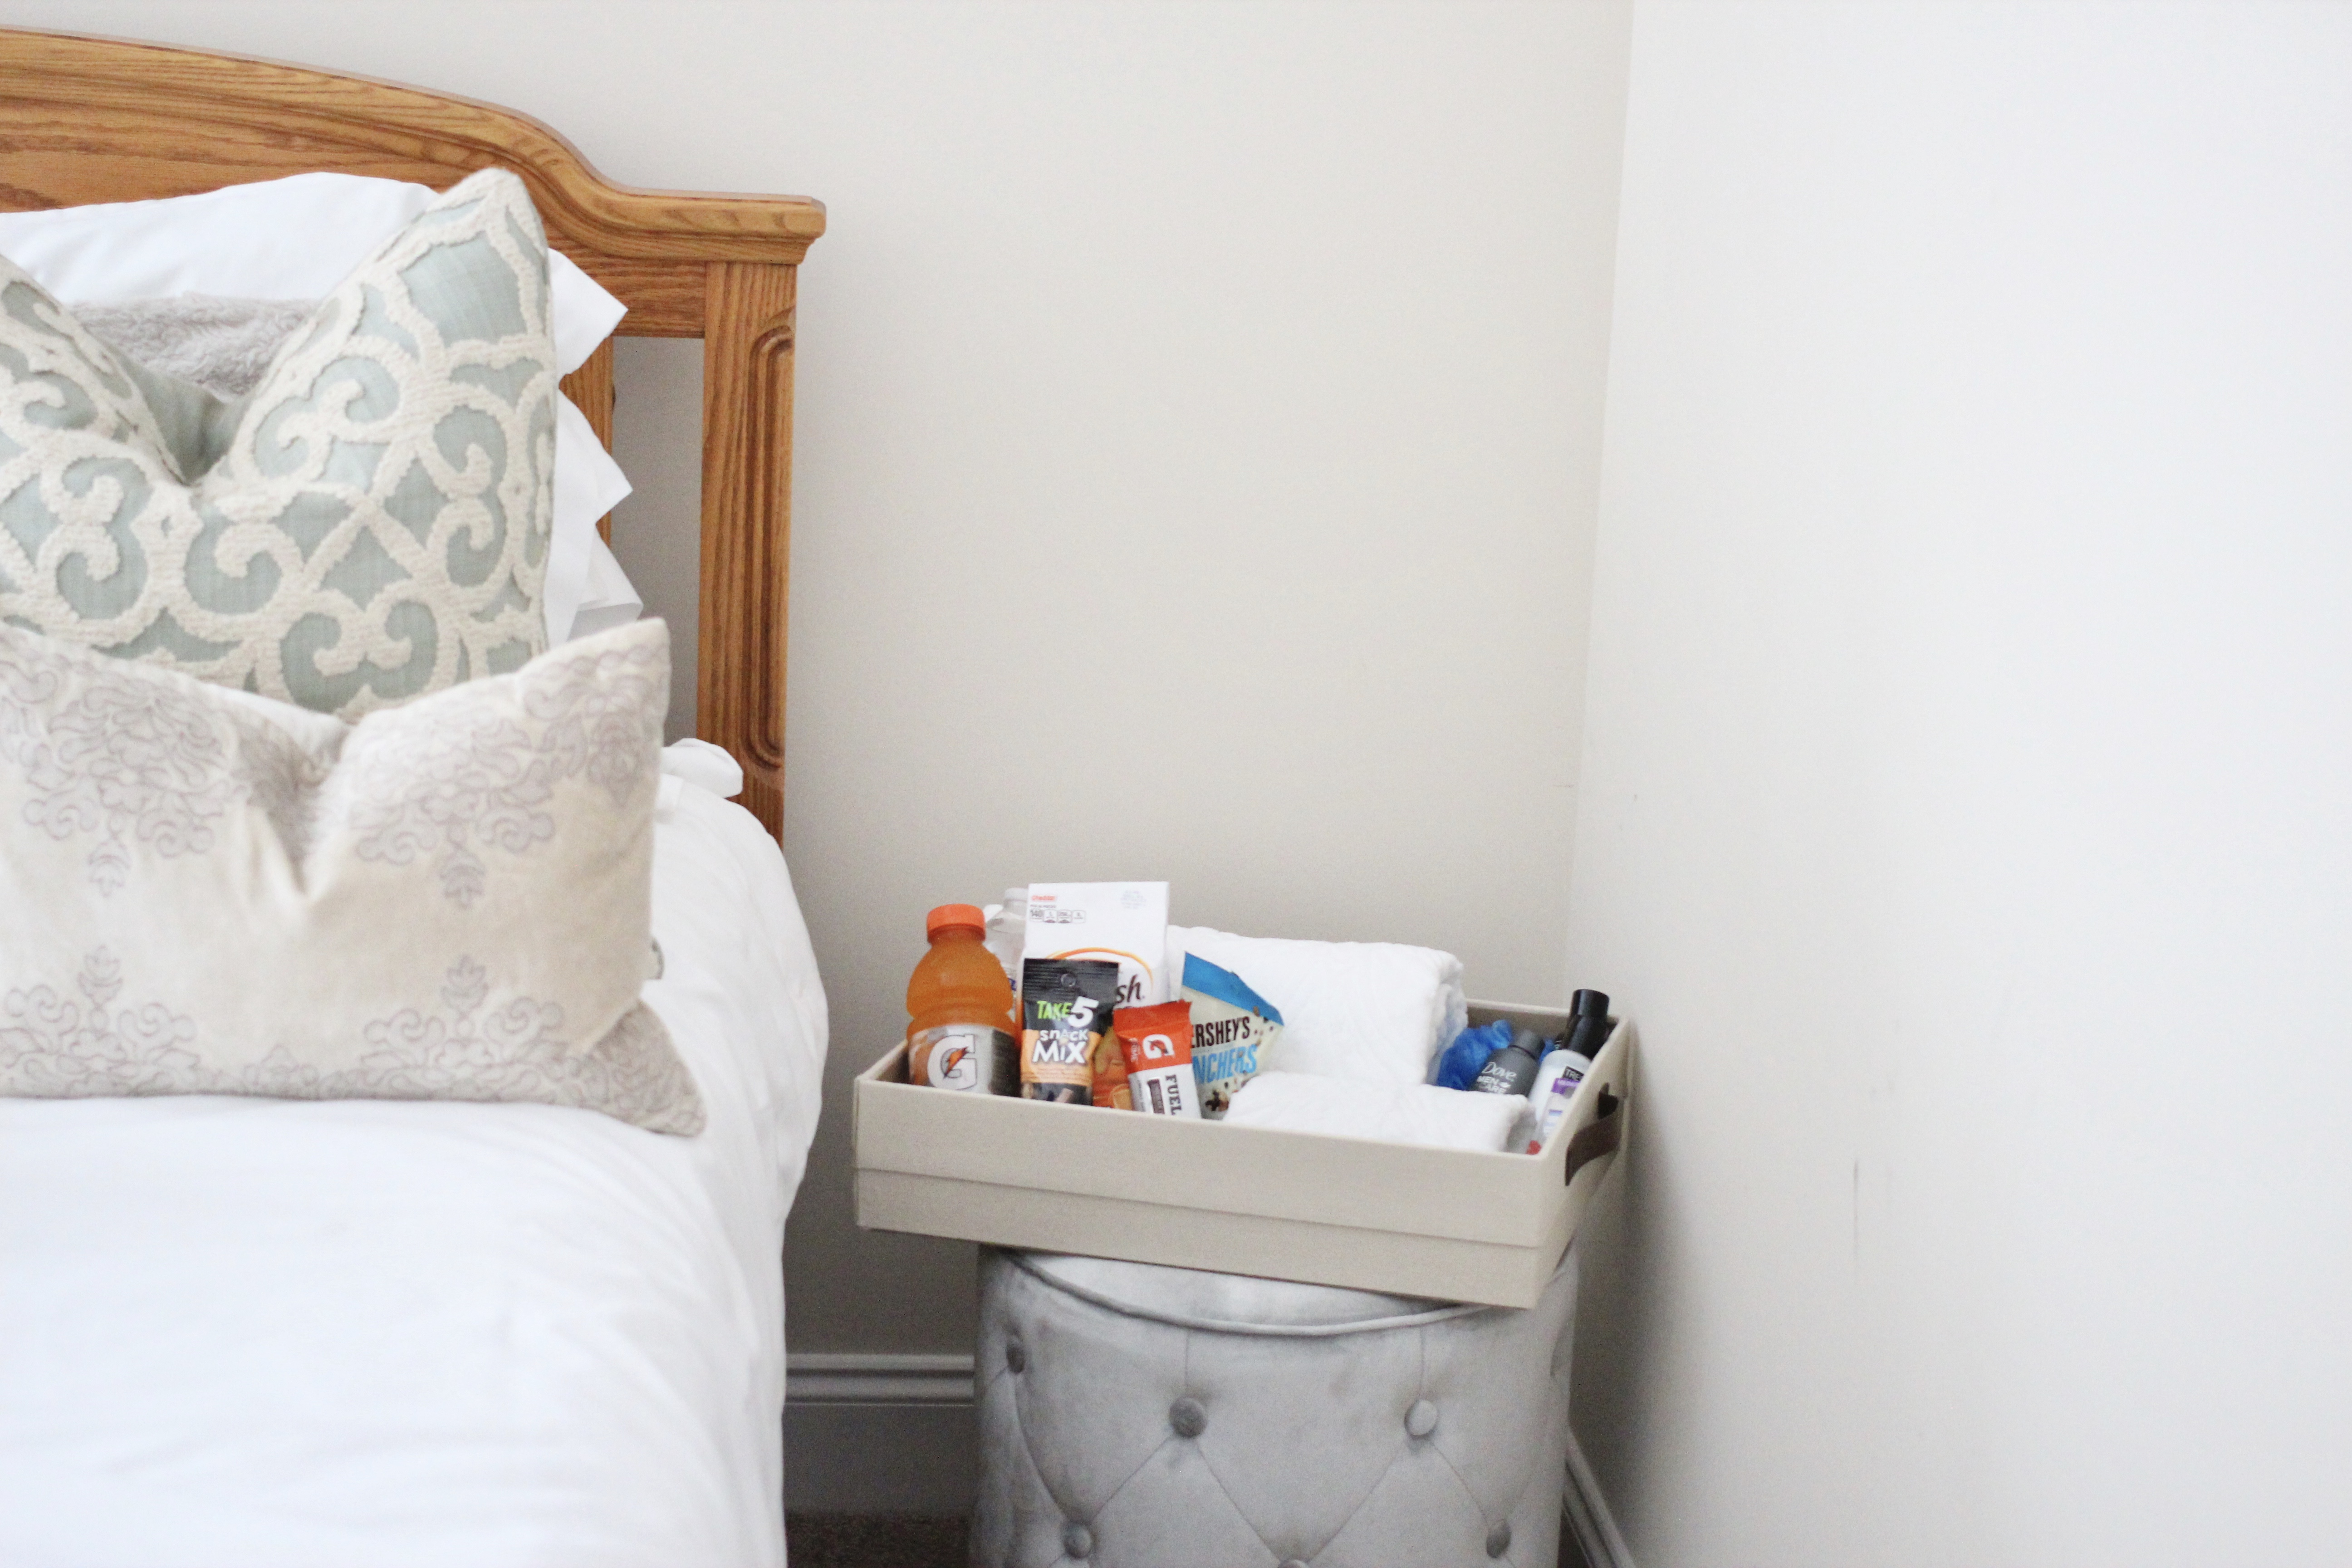
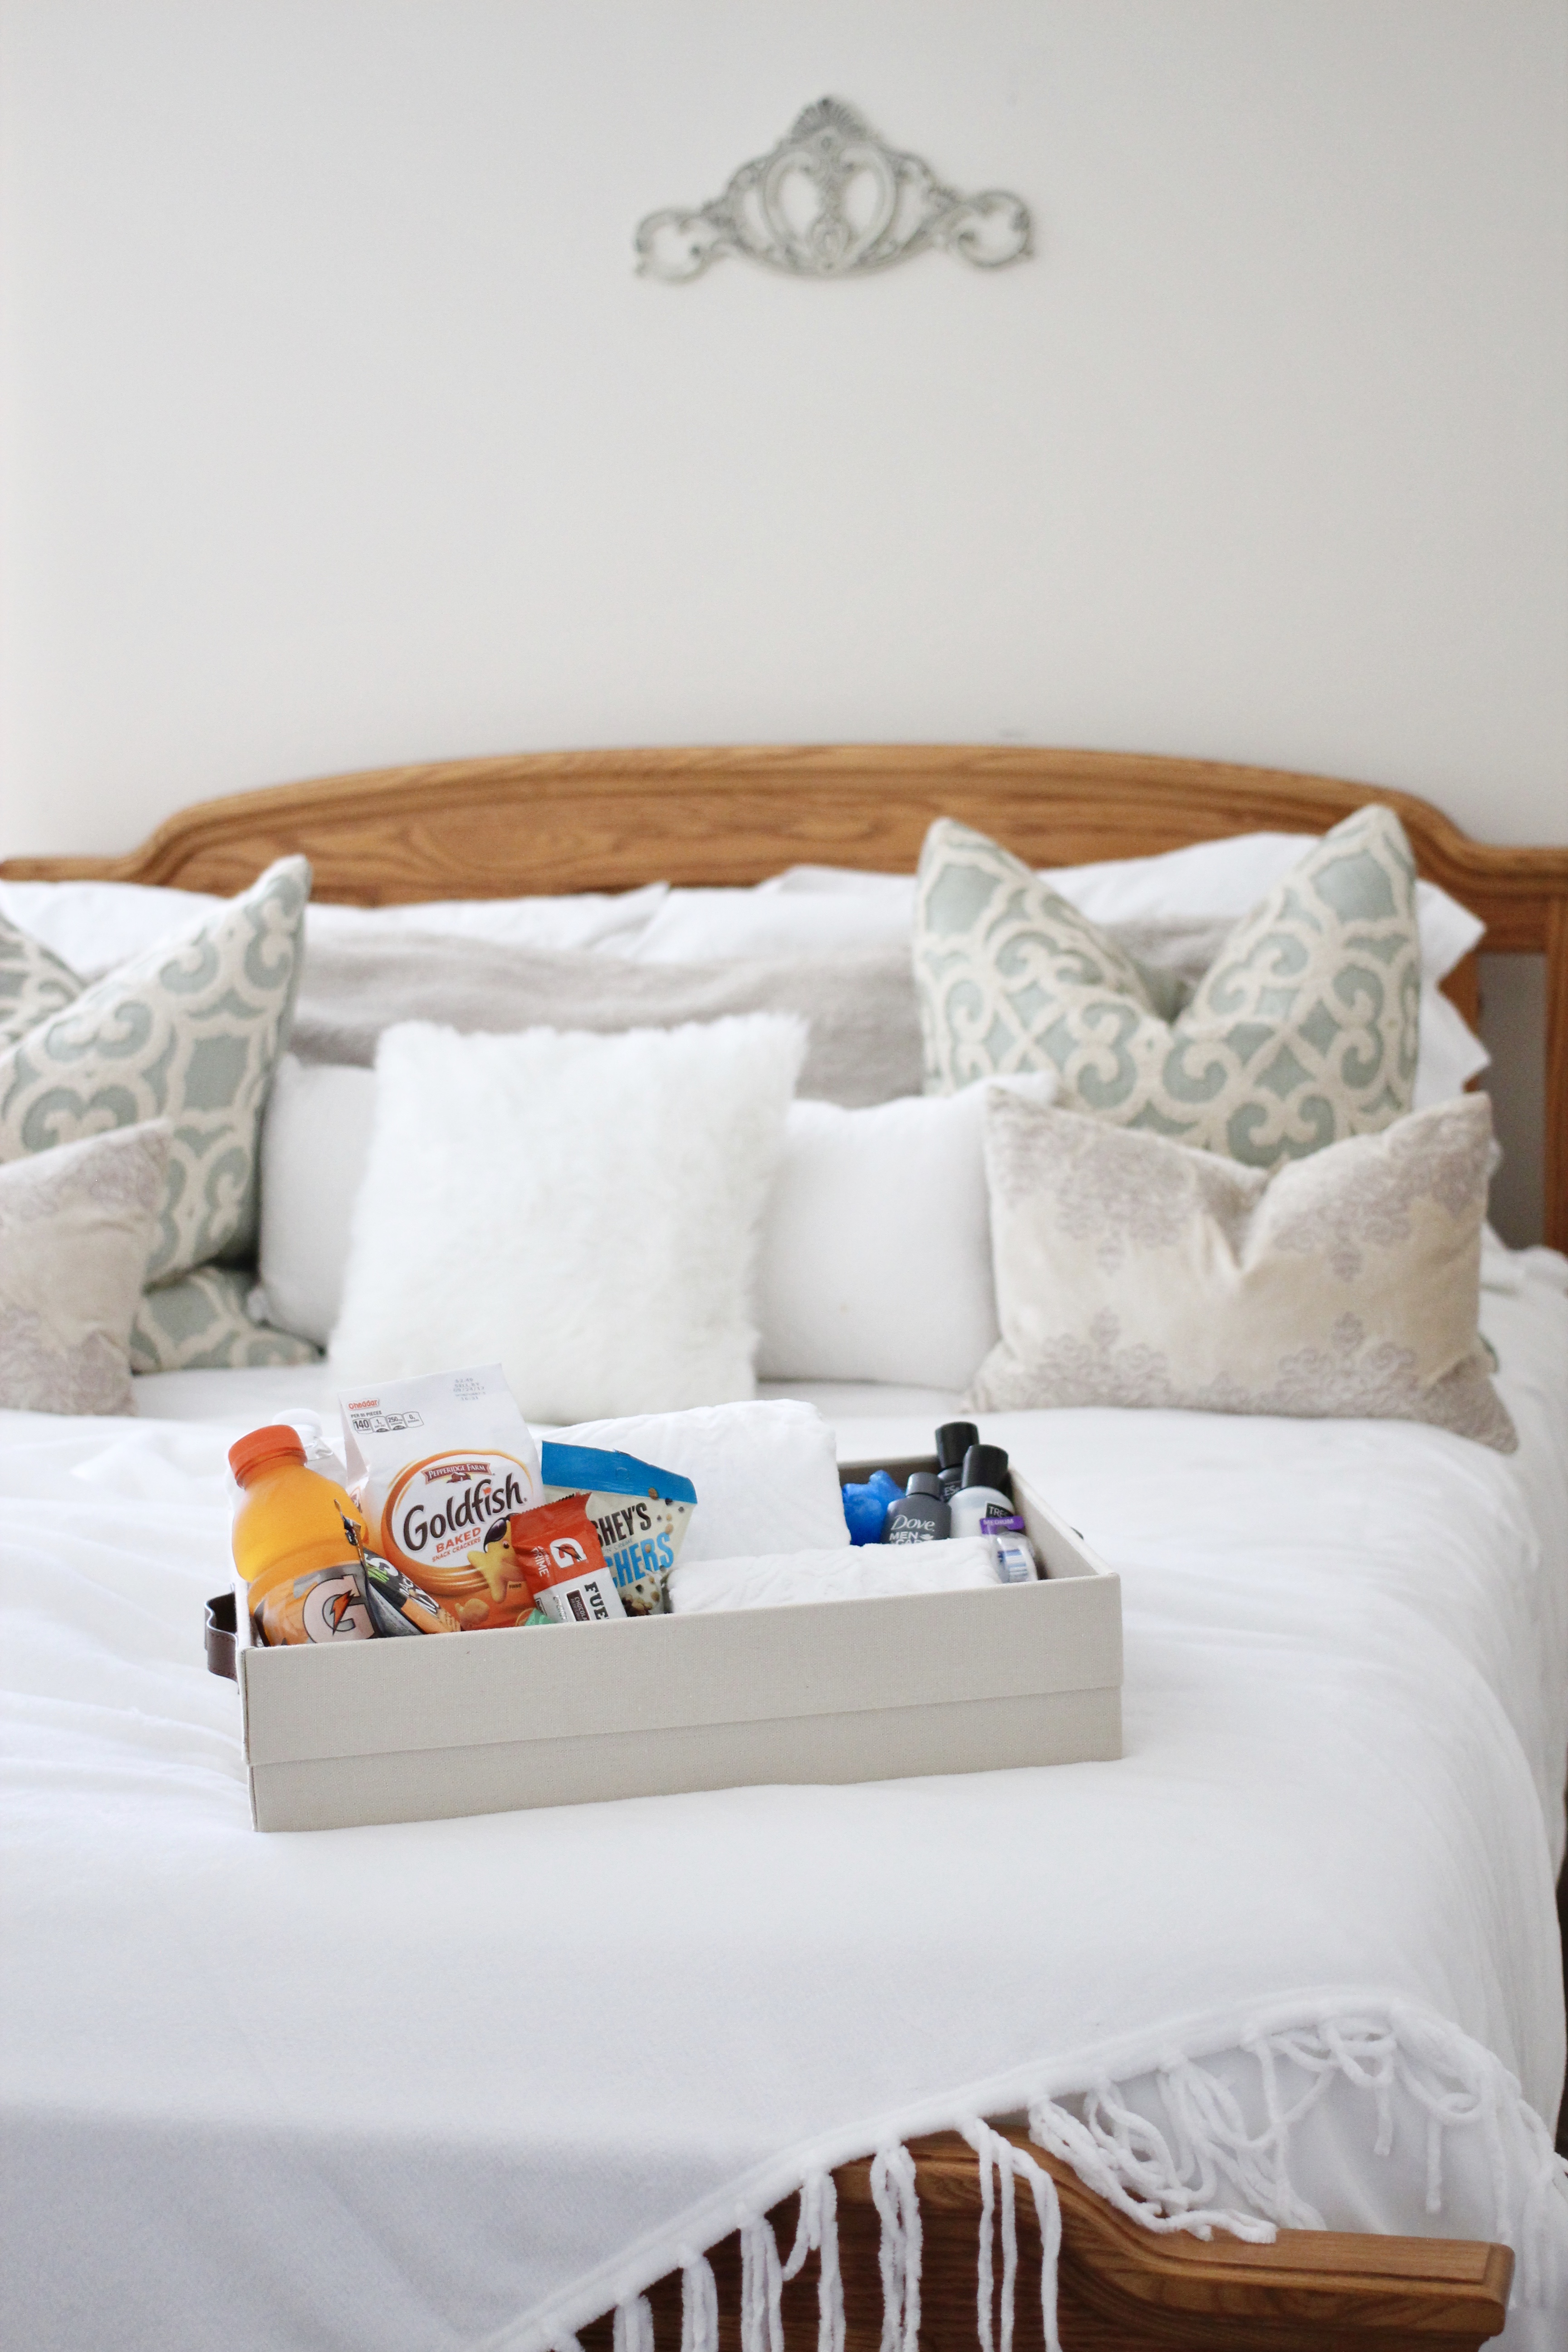
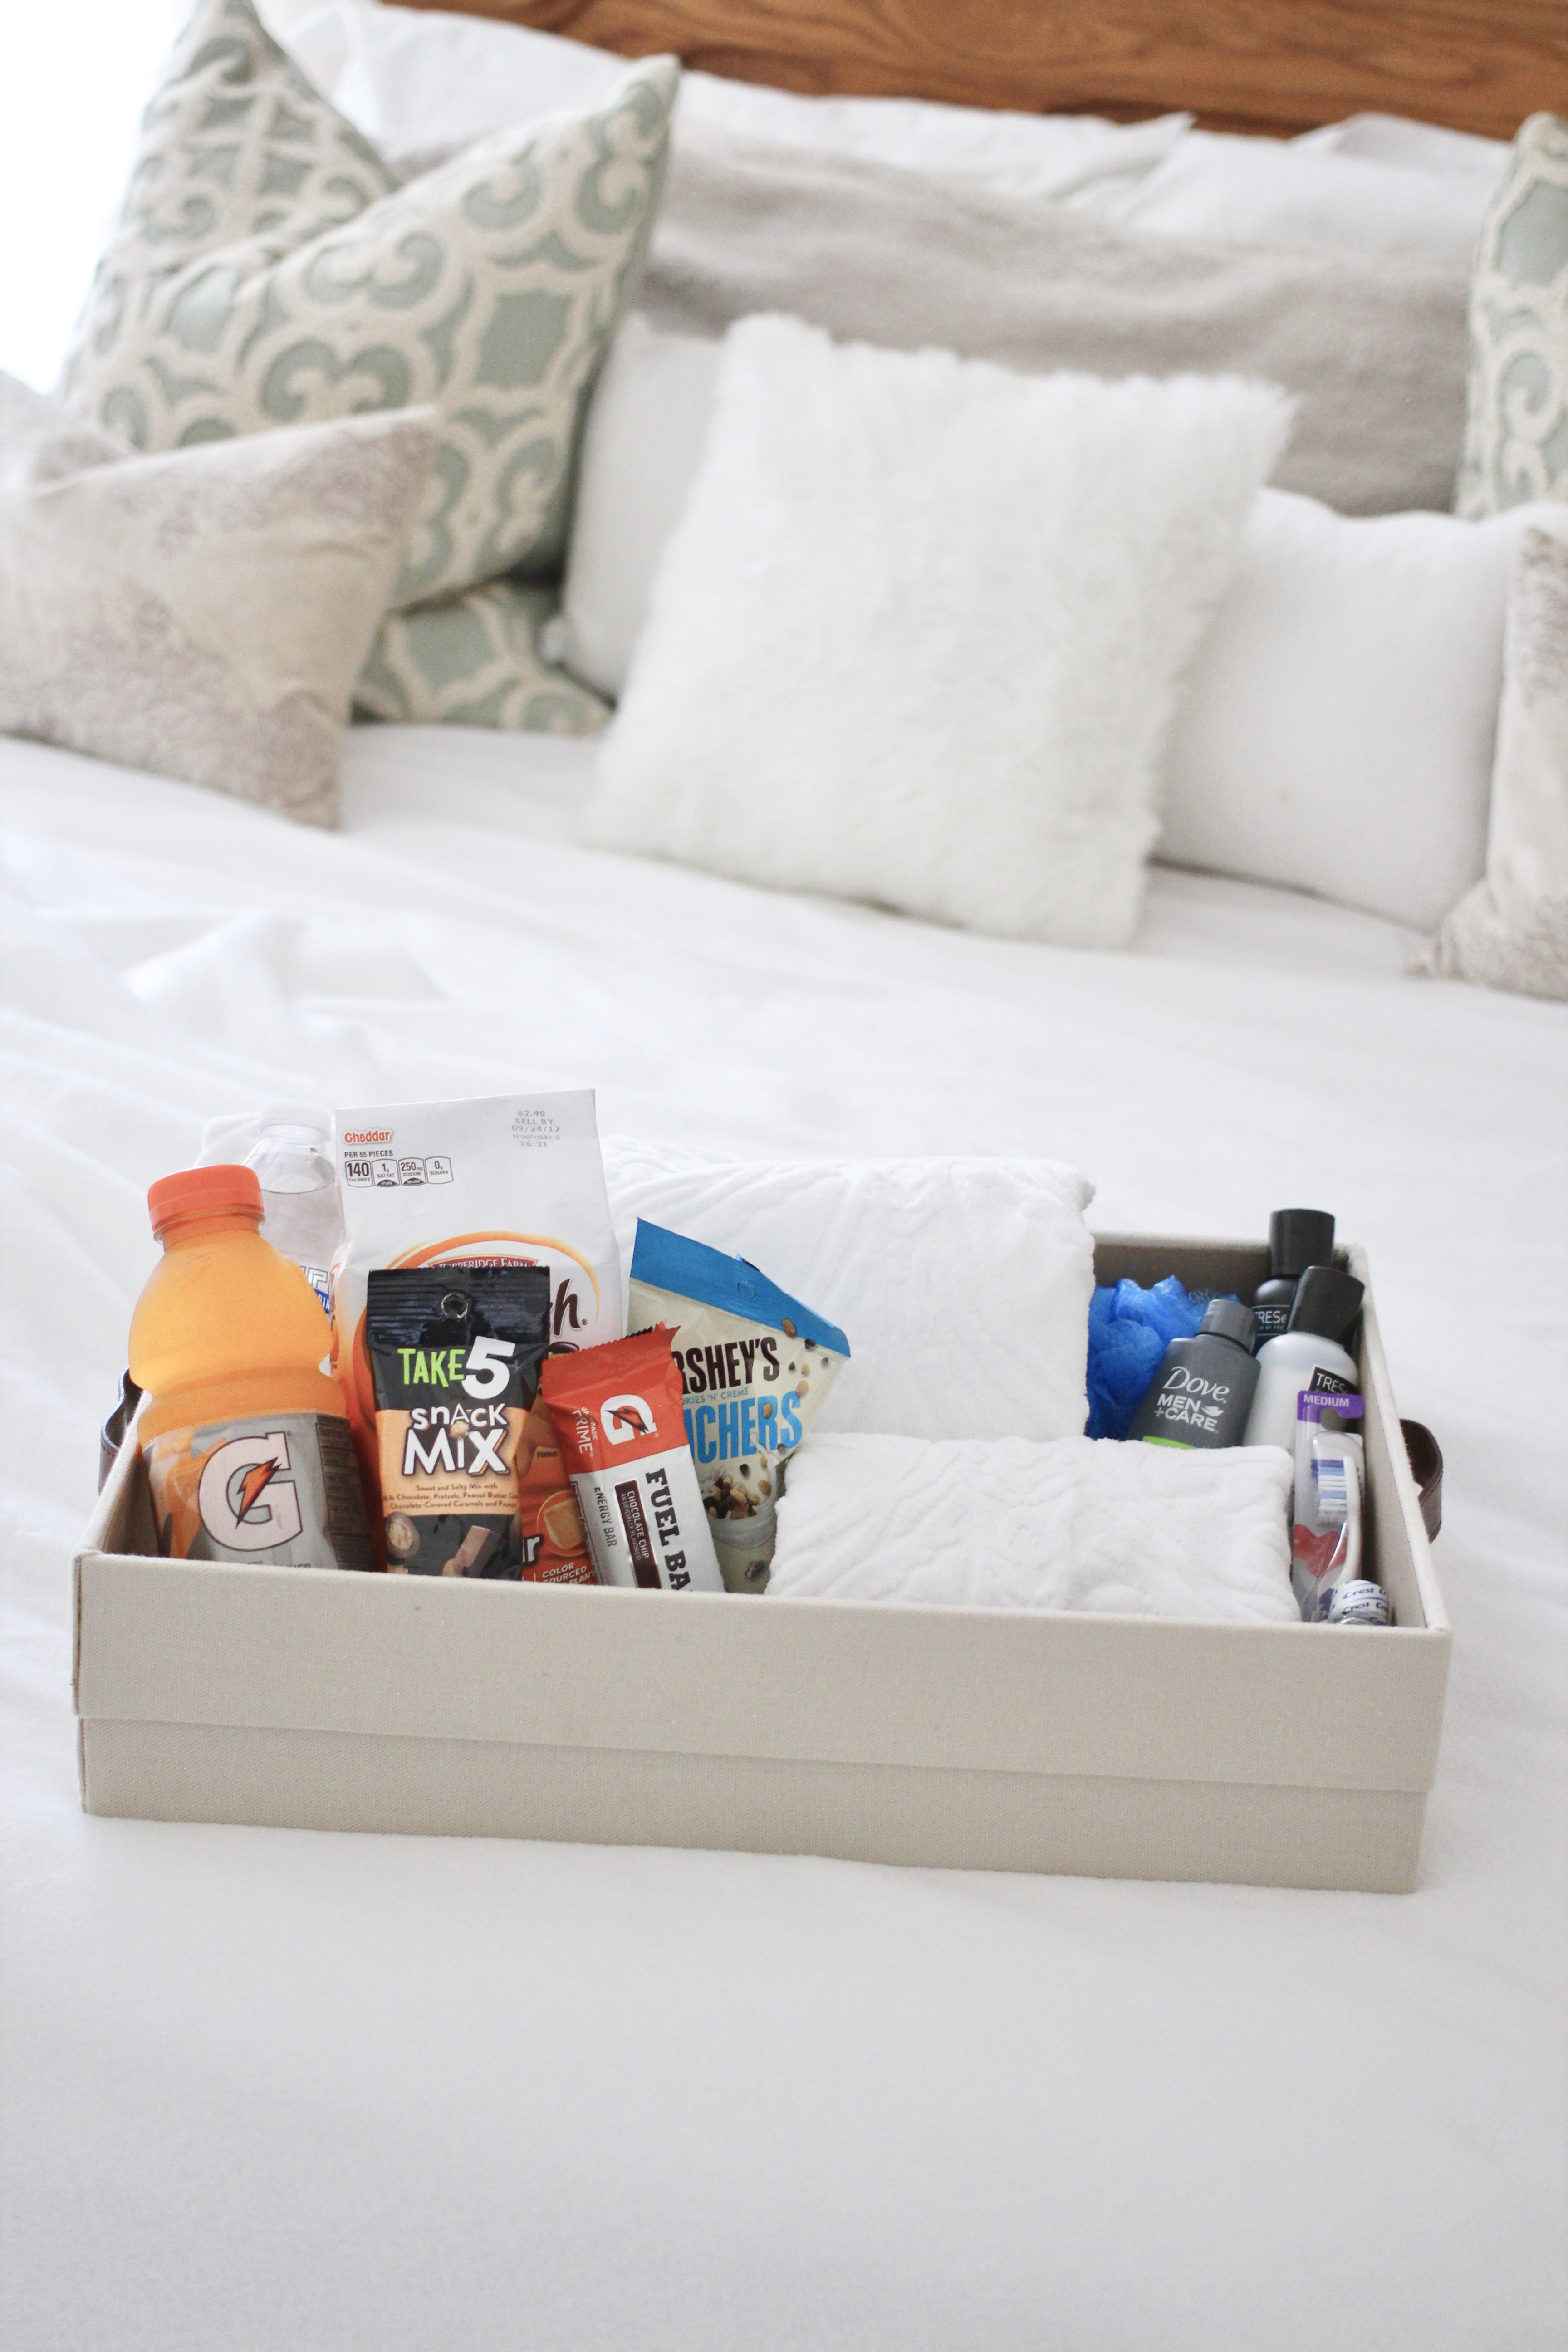
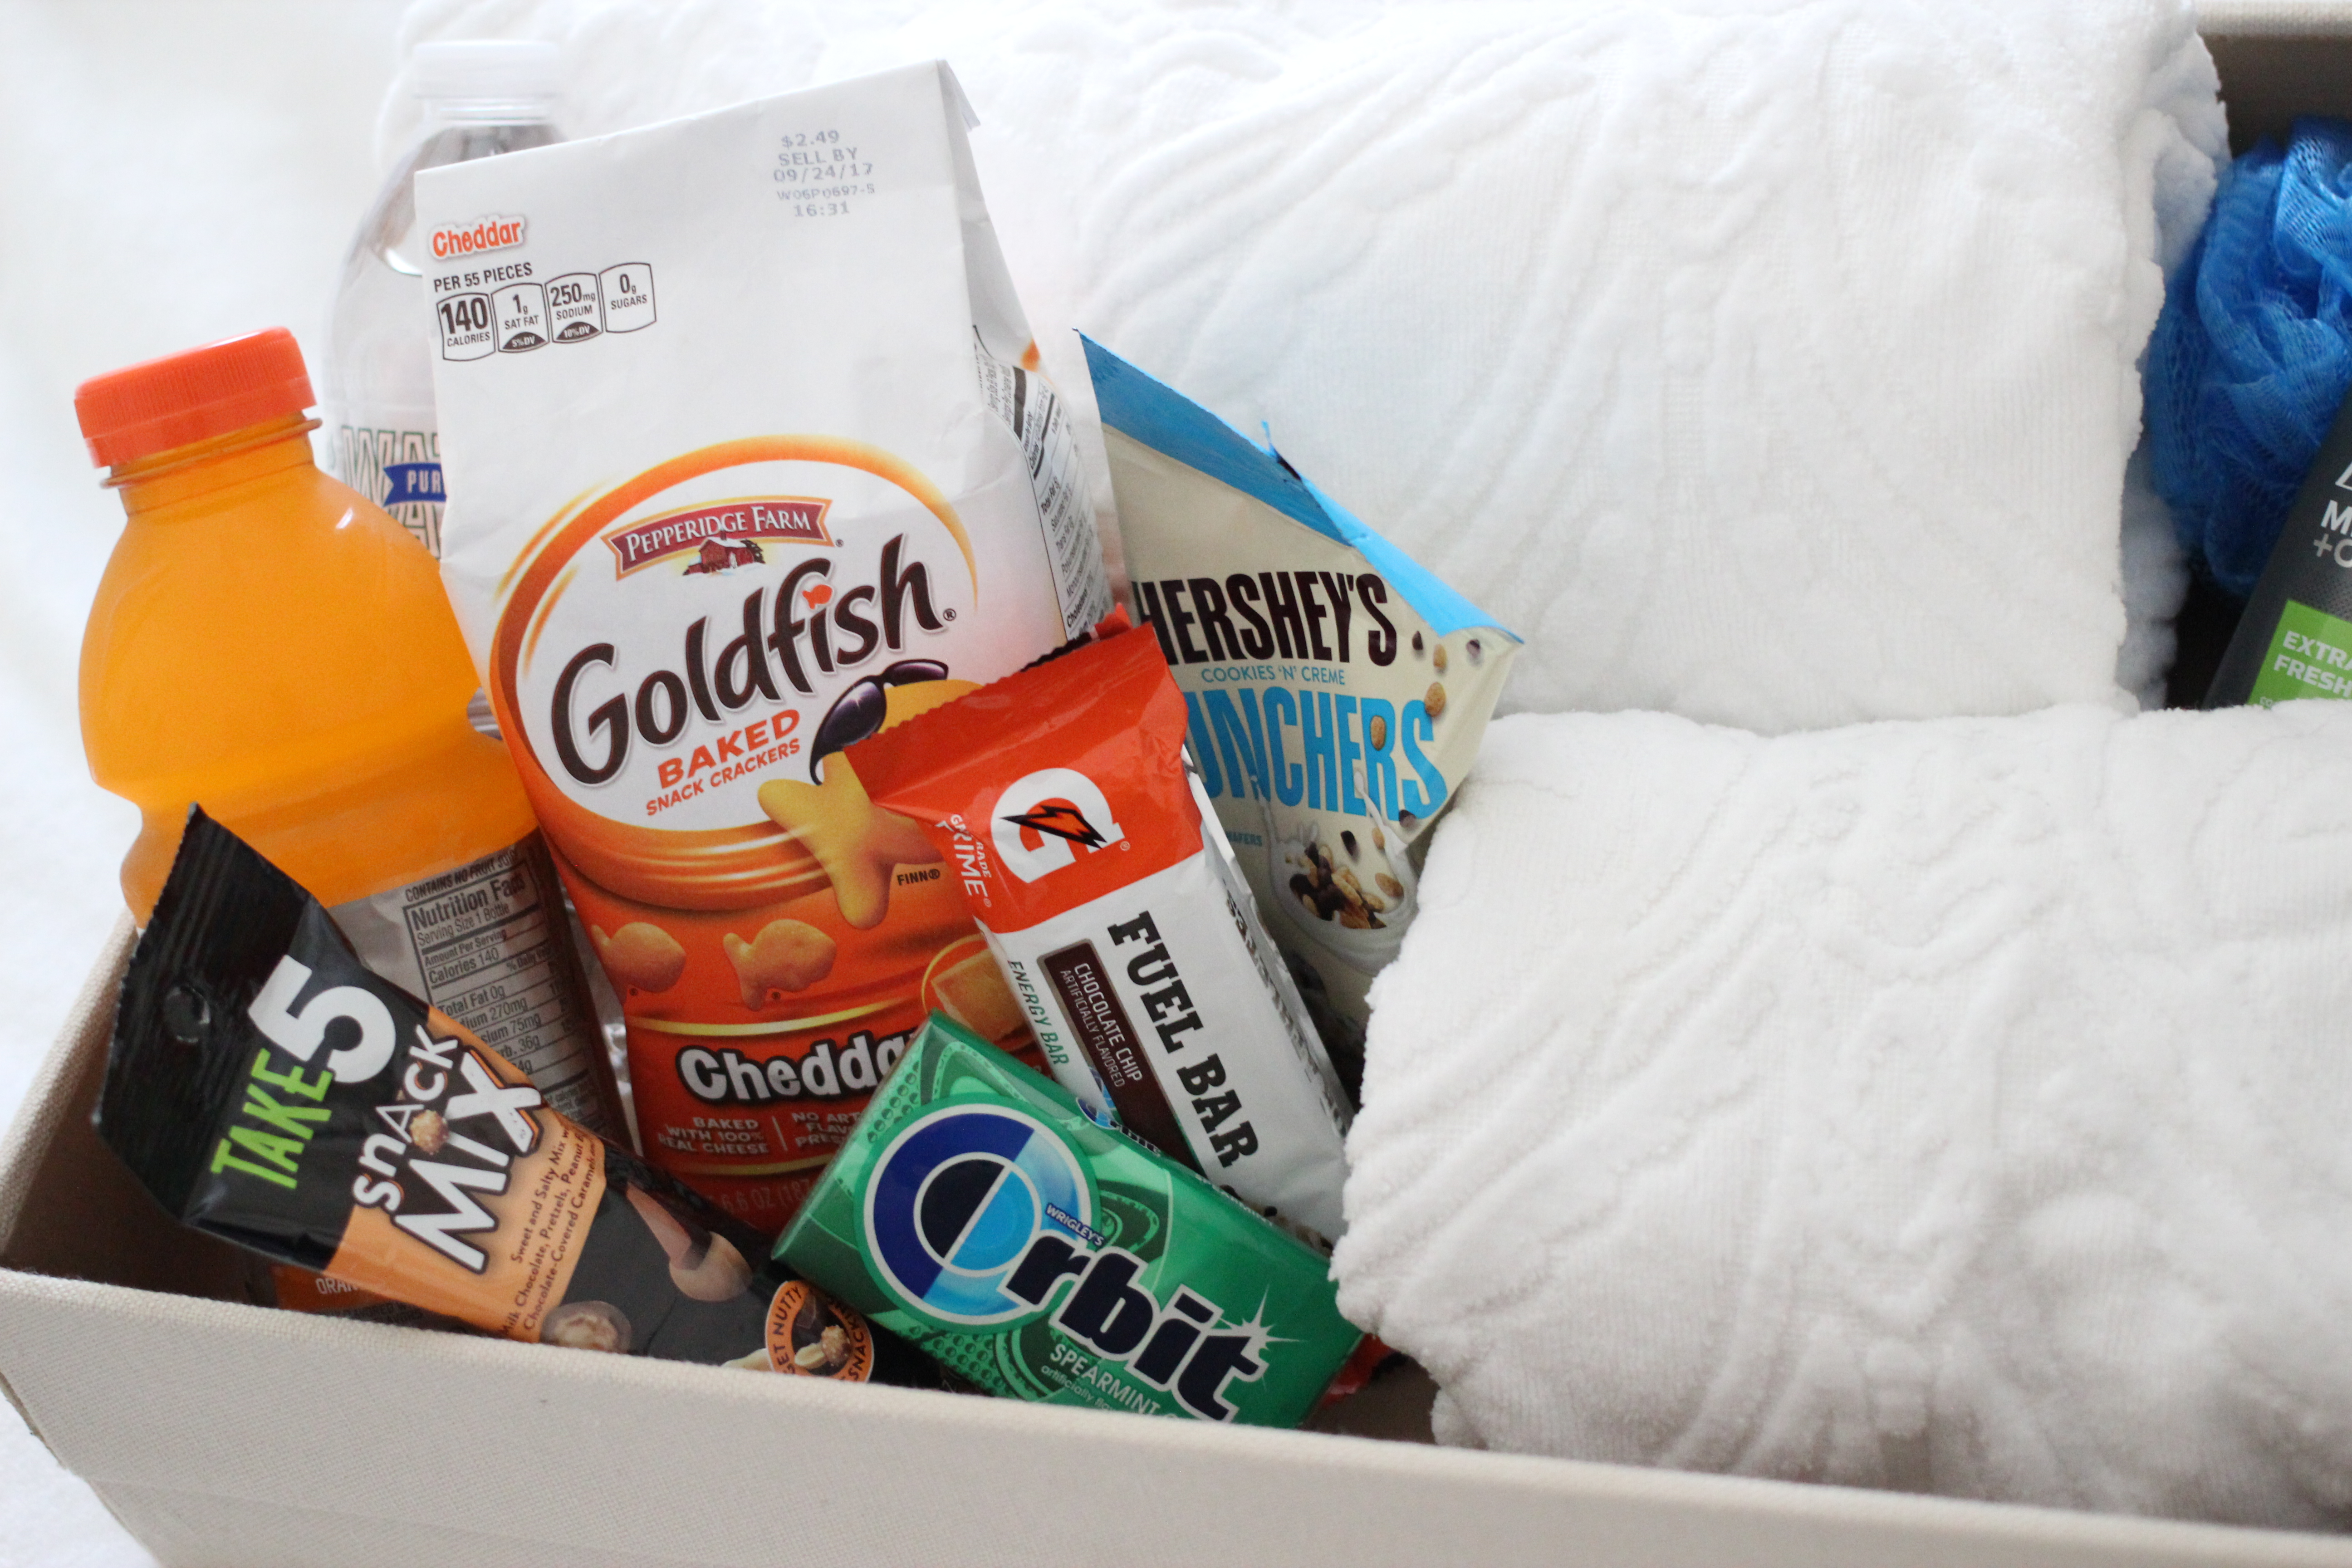
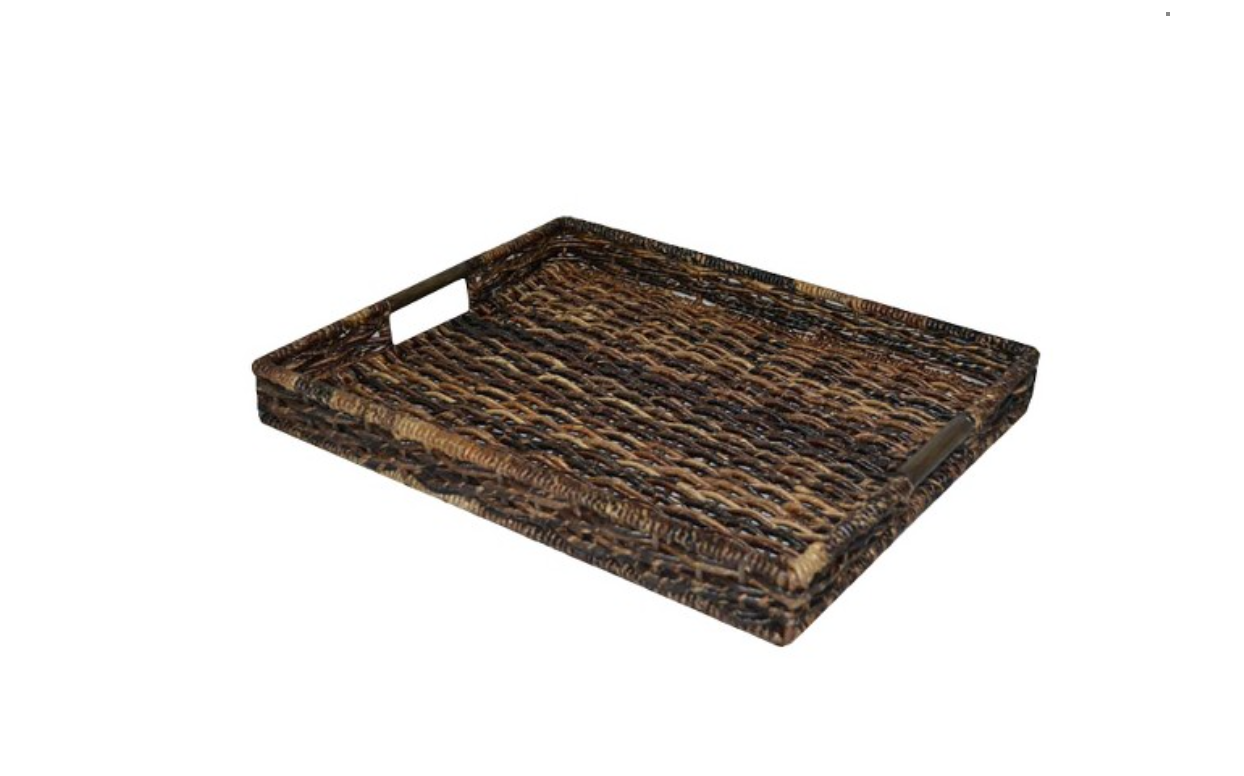
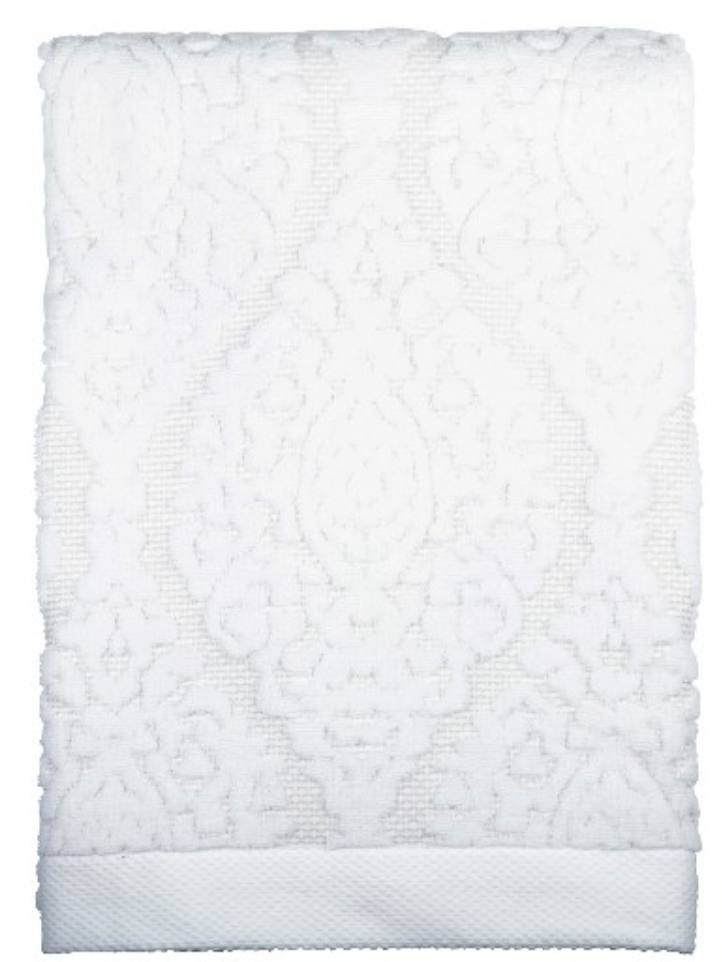
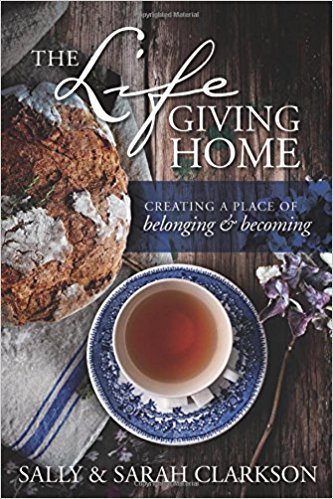
Today I wanted to share with y’all one of our favorite things to do for overnight guests: the welcome basket. If you’ve read Make Your Home Cozier with These 3 Books  then you already know how much I love The Lifegiving Home, which is full of tips on creating a space for you and your family that your guests will love too. Part of those tips focus on how uncomfortable it can be for overnight guests to ask for certain items, like towels, shampoo, or even food. Sometimes people don’t want to impose or cause an inconvenience when it really wouldn’t be a problem at all. We have found that something as simple as this basket (original unavailable – similar ones here and here) with travel shampoo/conditioner, fresh towels (we love these from Target – so pretty!), personalized snacks, water & gatorade, has made all the difference in how welcome and cozy our guests feel coming into our home.

Putting together these baskets is super fun for the hosts too – you can be as simple or extravagant as you want, and totally personalize each item to the person who is coming to stay 🙂


Shop this Post: 


SaveSave

Post, Pin, Share:
Adulting, Beauty, Blog, DIY Projects, Gifts, Home Decor, Lifestyle, Moving, Party Decor, School, The Home, Updates

Blogging Lessons Part 1

Before launching Blonde Boss Babe, I had no idea how many technical skills I would need to learn to start and maintain a successful blog. This November will mark one year since I migrated platforms from wordpress.com to wordpress.org, which I recently realized I didn’t even do 100% correctly. LOLZ. How did it take me this long to find out? Well, all of the images from my posts pre-November 2016 disappeared from public view but would show when I was logged in working on the site. Ironically, this little bit of a nightmare has come with a lot of blessing mixed into the mess. Manually re-inserting the images into each post has provided an opportunity for me to look back on how much the blog has progressed, clean up/delete less than ideal content, and reminisce on some favorite projects. Of the 20+ posts affected, here are the few that made the cut (click the image to be taken to the post): 


 While I still have so many more things to learn about this crazy complex – yet super fun platform, in a post soon-to-come, I will be sharing with y’all some of the key steps that would have GREATLY simplified this process. So, if you have any blogging questions about launching a site, working with companies, or even designing a logo – feel free to comment them below this post or contact me here. I will try to answer as many as possible in the posts to come on this topic. 

SaveSave

SaveSave

SaveSave

SaveSave

SaveSaveSaveSave

SaveSave

SaveSave
SaveSaveSaveSave

SaveSaveSaveSave

SaveSaveSaveSave

Post, Pin, Share: