Browse Tag by students
Adulting, Blog, Fitness, Lifestyle

5 Tips to Make (and Keep!) Your New Year’s Resolutions

5 tips new years resolutions

There’s always more than one reason why a new year’s resolution may fail, and it may not even be the result of what you would think or expect. If you’re determined to keep yours this new year, but feeling a little worried as to whether or not you’ll actually be able to, begin using the five easy tips below to transform your motivation & help you meet your new year’s goals! 

1. Start Now

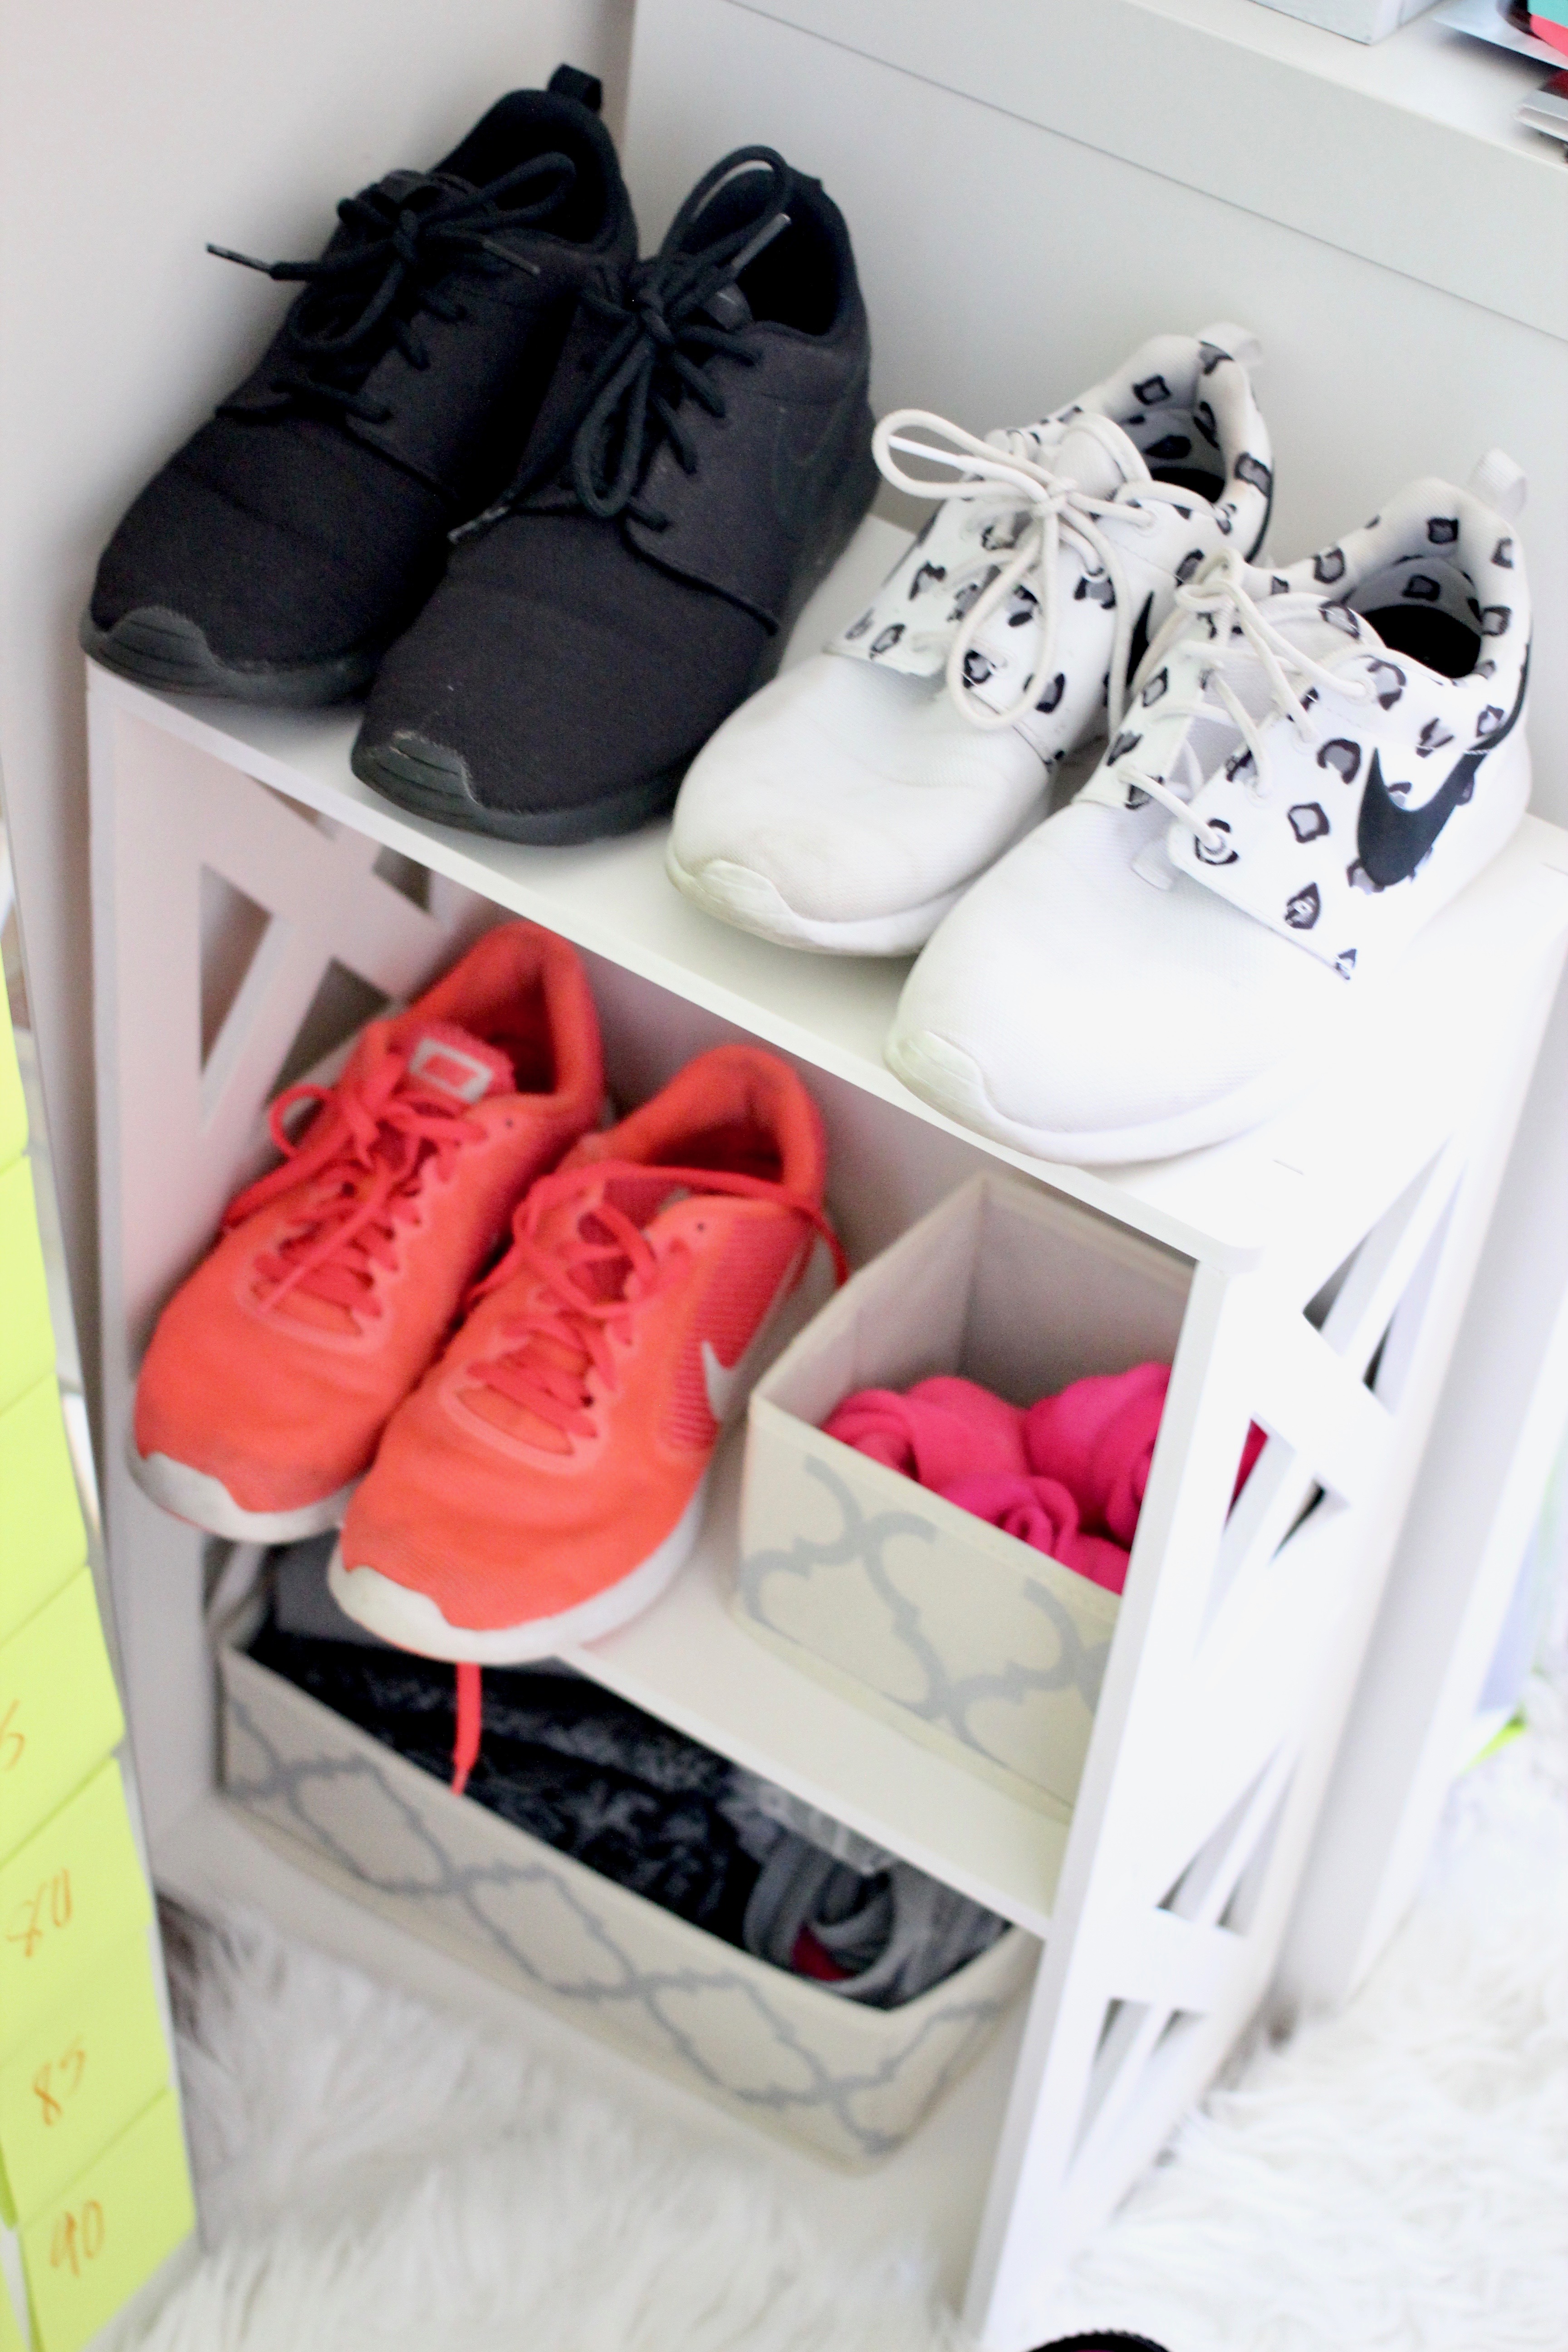
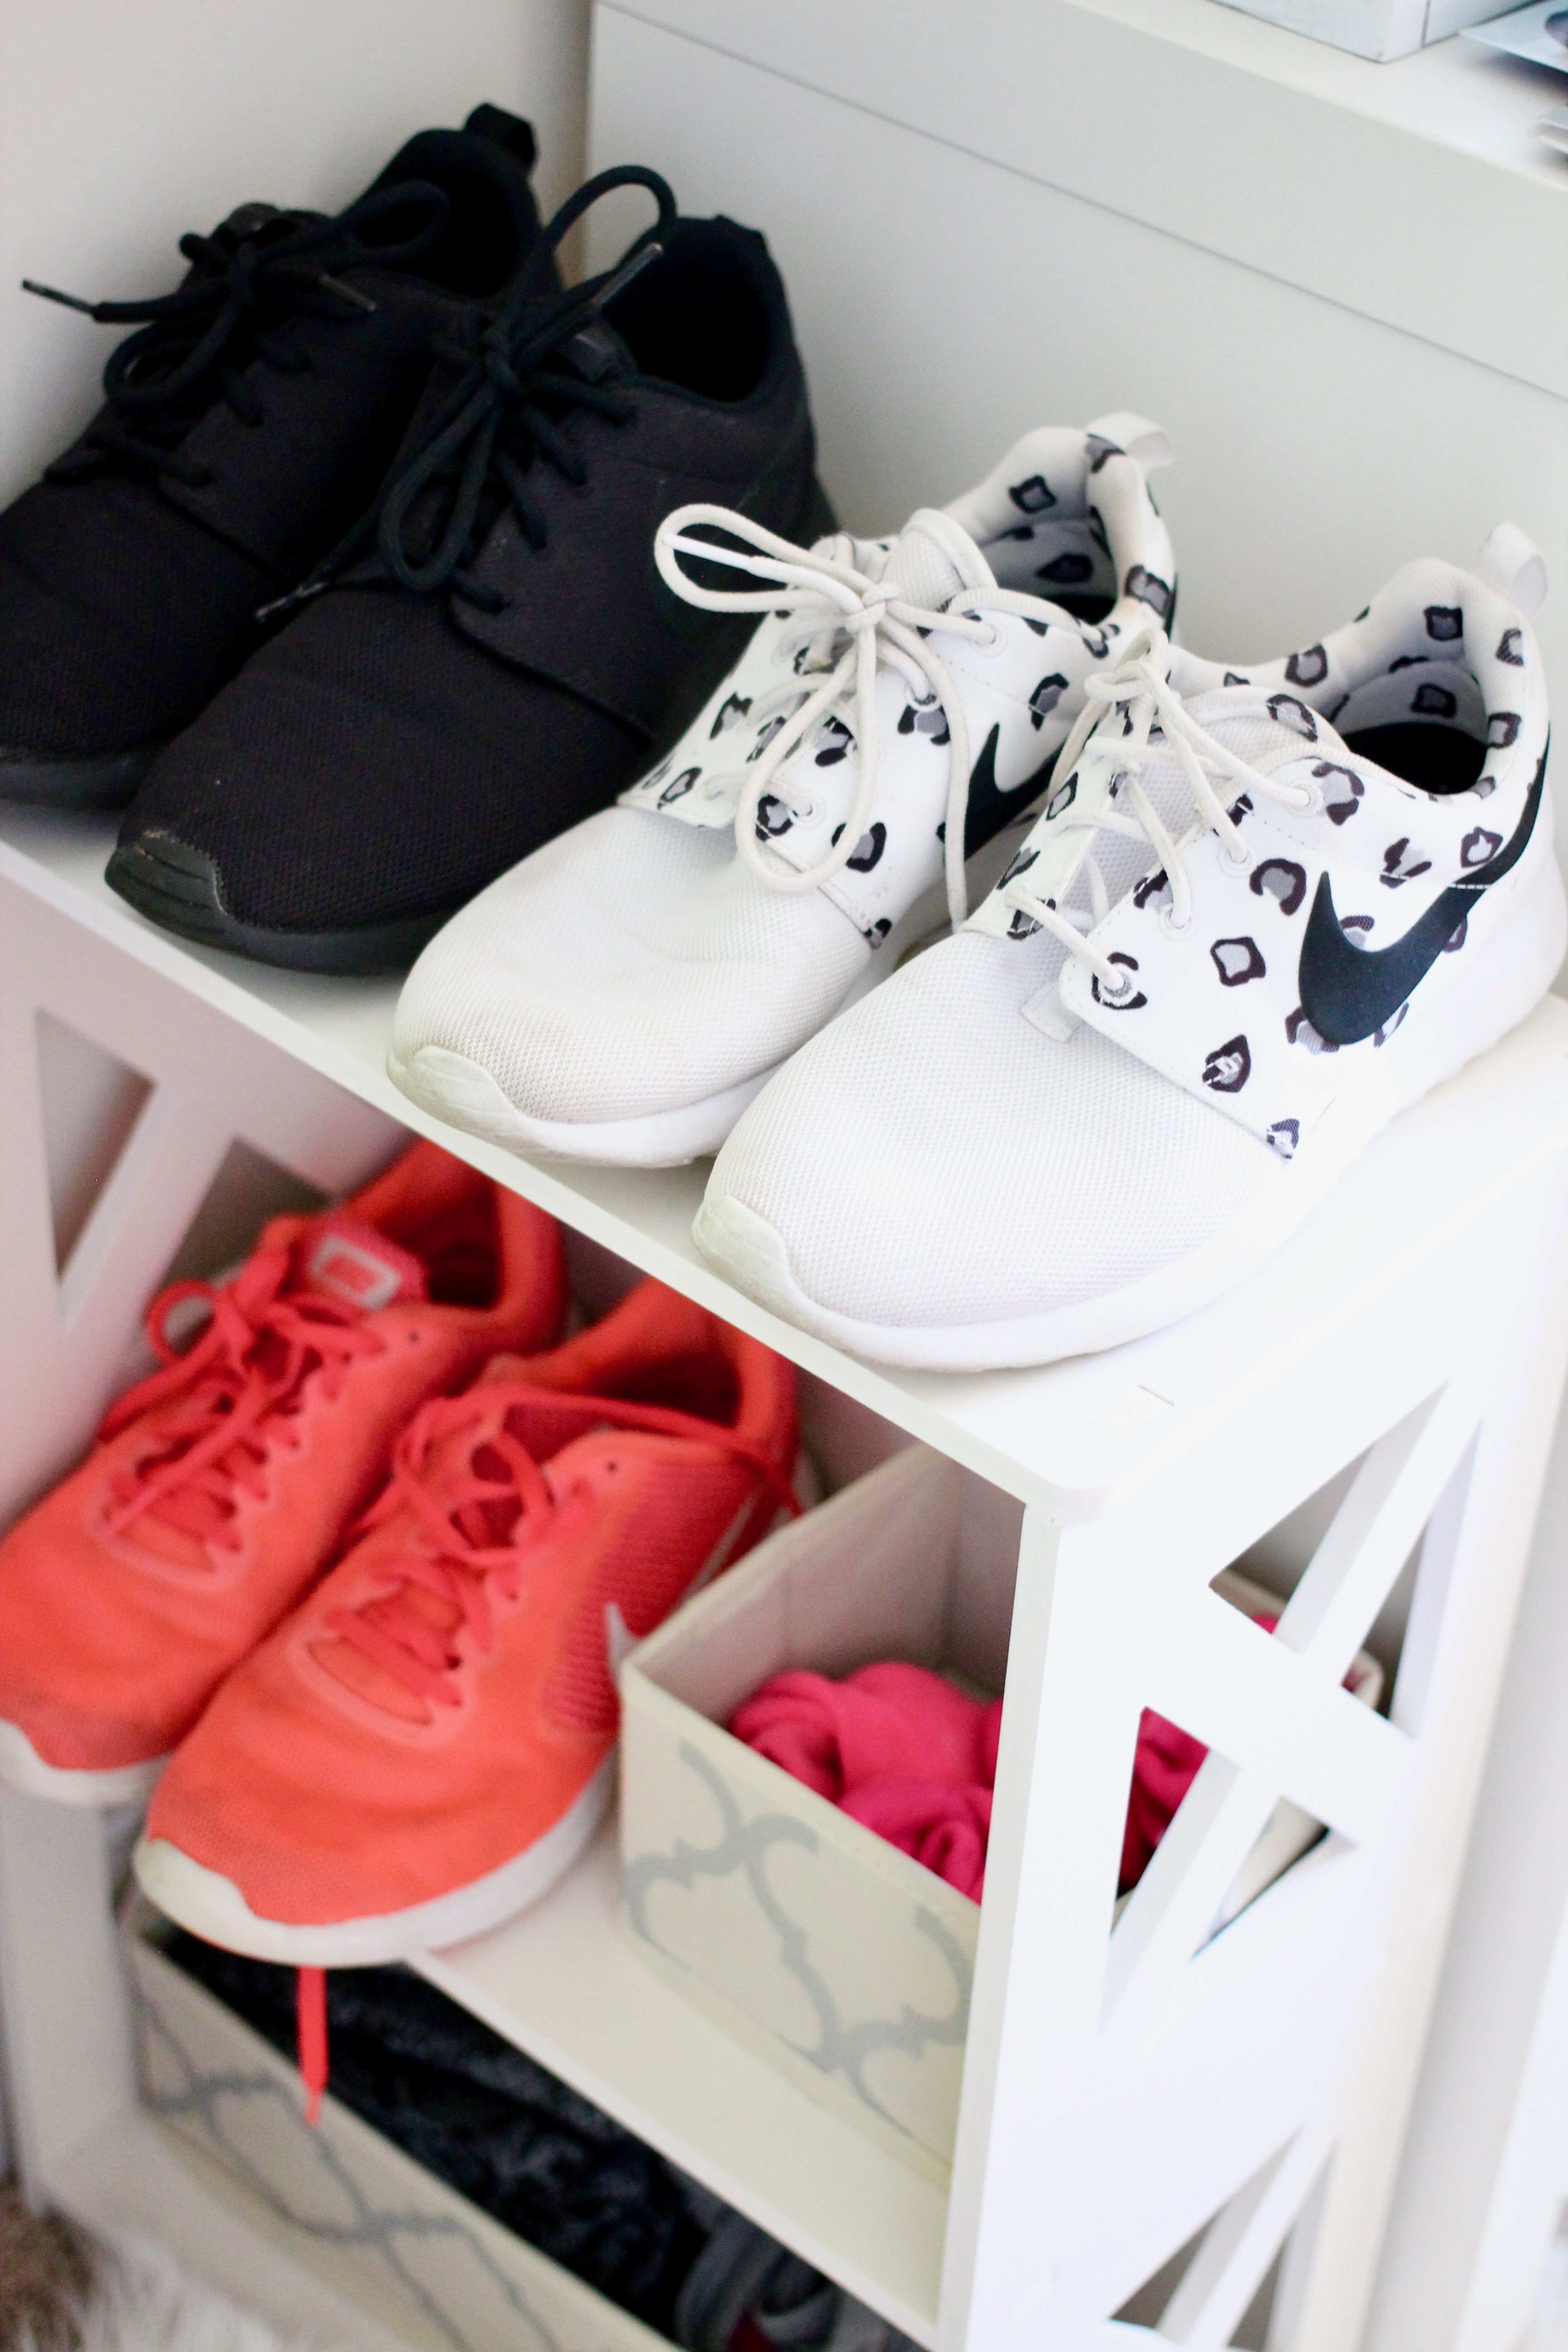
When it comes to resolutions, there is seriously no better time than the present to get started on what you want to change. Don’t wait until January 1st, or 5th, or 16th to get started on what you would like to see different this next year. If your resolution is one that quite literally cannot begin until the start of the new year, begin making preparations for it now. If your goal is improved fitness: Clean out your fridge, make your lists, create an organized corner with your go-to equipment and gear, and see #4 to get an accountability partner lined up – whatever you need to do to ensure that when you do start, you are equipped and ready to do so successfully.

quatrefoil bins fitness resolution

new year's fitness resolutions

2. Frame Your Resolutions with Attainable Goals

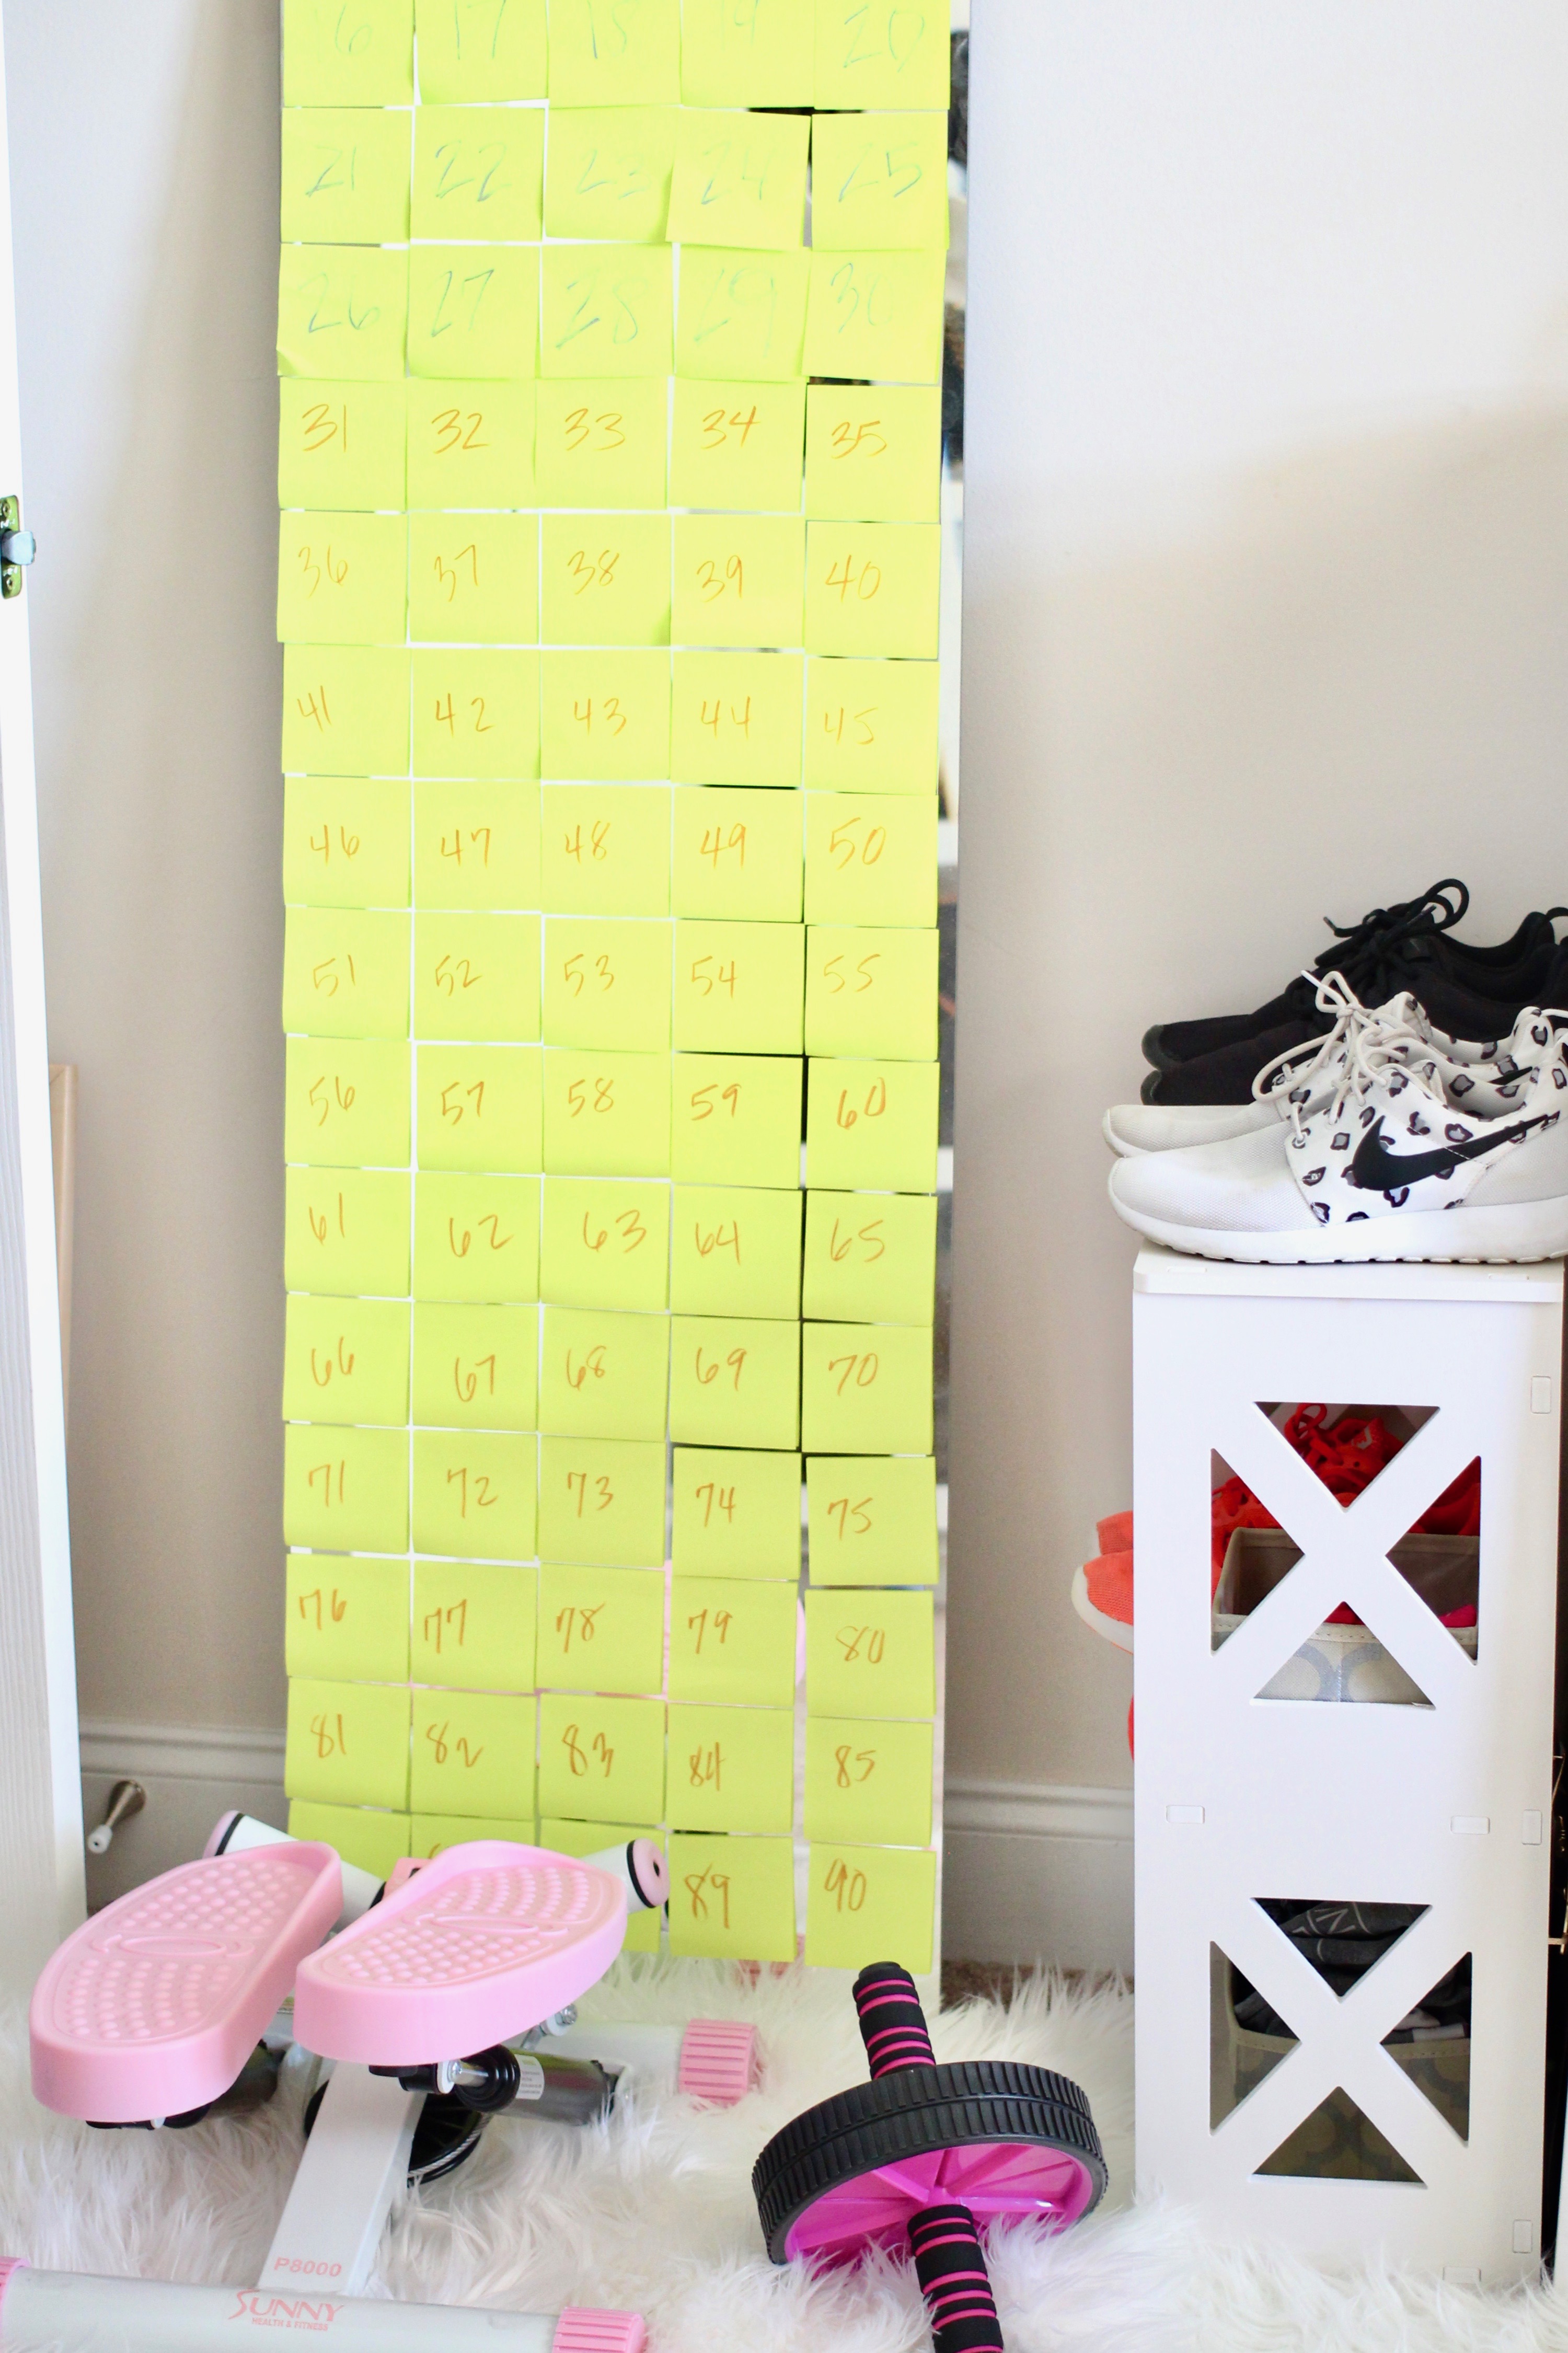
It’s great to have a longterm/ideal goal, but without attainable goals incorporated in that process, it’s often just too easy to give up and quit the whole thing. One way to avoid that is by changing how you frame what your ultimate goal actually is. For instance, if your goal is to “lose X weight,” reframe that to be “live a healthier lifestyle.” This automatically allows for a number of smaller goals that are so much easier to attain, like: (1) Exercise for 30 minutes a day; (2) Drink X amount of water; or even (3) Get into a better sleep schedule by going to bed by 10pm every night. Personally, if I have a fitness goal, I love to stick numbered post-it notes on a mirror. For each day I follow through with the plan, I get to remove one post-it. This is a visual reminder of the changes I’m making, which helps so much when the physical changes haven’t started to show yet. Plus, it’s a much healthier mindset since it allows you to be proud of your progress instead of so focused on the end result that you feel overwhelmed and disappointed when the number isn’t yet reaching what you want.

post-it note fitness help motivation

3. Create Rewards for Yourself

This tip pairs with #2 to support your motivation to keep your resolutions. Continuing with the example used in #2: Did you drink X number of water consistently 5 of 7 days this week? Great! Go get your nails done to celebrate, pick up some flowers from your local grocery store (my favorite reward!), or put on that movie you love to watch but haven’t seen in a while. Incorporate these rewards into your calendar so you know exactly when, and exactly what you have to look forward to when you meet certain goals.

new years resolutions rewards

4. Get an Accountability Partner ASAP

Whatever your resolutions for the new year may be, it can never hurt to have someone in your corner cheering you on throughout the process – reminding you why you started, especially when you lose motivation and feel like throwing in the towel. This person can be anyone from your spouse (for me, J is a great source of steady accountability), co-worker, or close friend. Whoever he or she may be, make sure you clearly communicate your personal goals, include how you are planning on reaching them, and what exactly you want that person to do/tell you when you are doing well, and when you aren’t doing so great. Everyone communicates differently, so what may feel supportive to them may not be as helpful for you – so it may be best to go over this at the start rather than after hurt feelings or miscommunications have occurred. 

5 tips to make and keep your new year's resolutions

5. Write out Daily Reminders

Never forget that you are in control of whether or not you meet these goals. If you’re feeling anxious or overwhelmed, write out what is in your control, and what is not. For everything that is in your control, write a single sentence of how you know you can and will handle it. For everything that is not, draw a single line through to remind yourself that your focus needs to be on what you can control rather than what you cannot. Then, at the bottom of the page, write 3 things that you are proud of or that bring you joy. It’s okay if these positive reminders repeat from the day before – what matters most is that you choose to believe and apply them.

get it girl

Whether it’s fitness or something else, any resolution is going to take time to become a consistent part of your life, so go after it and enjoy the process. This time next year, you’ll be so glad you did.

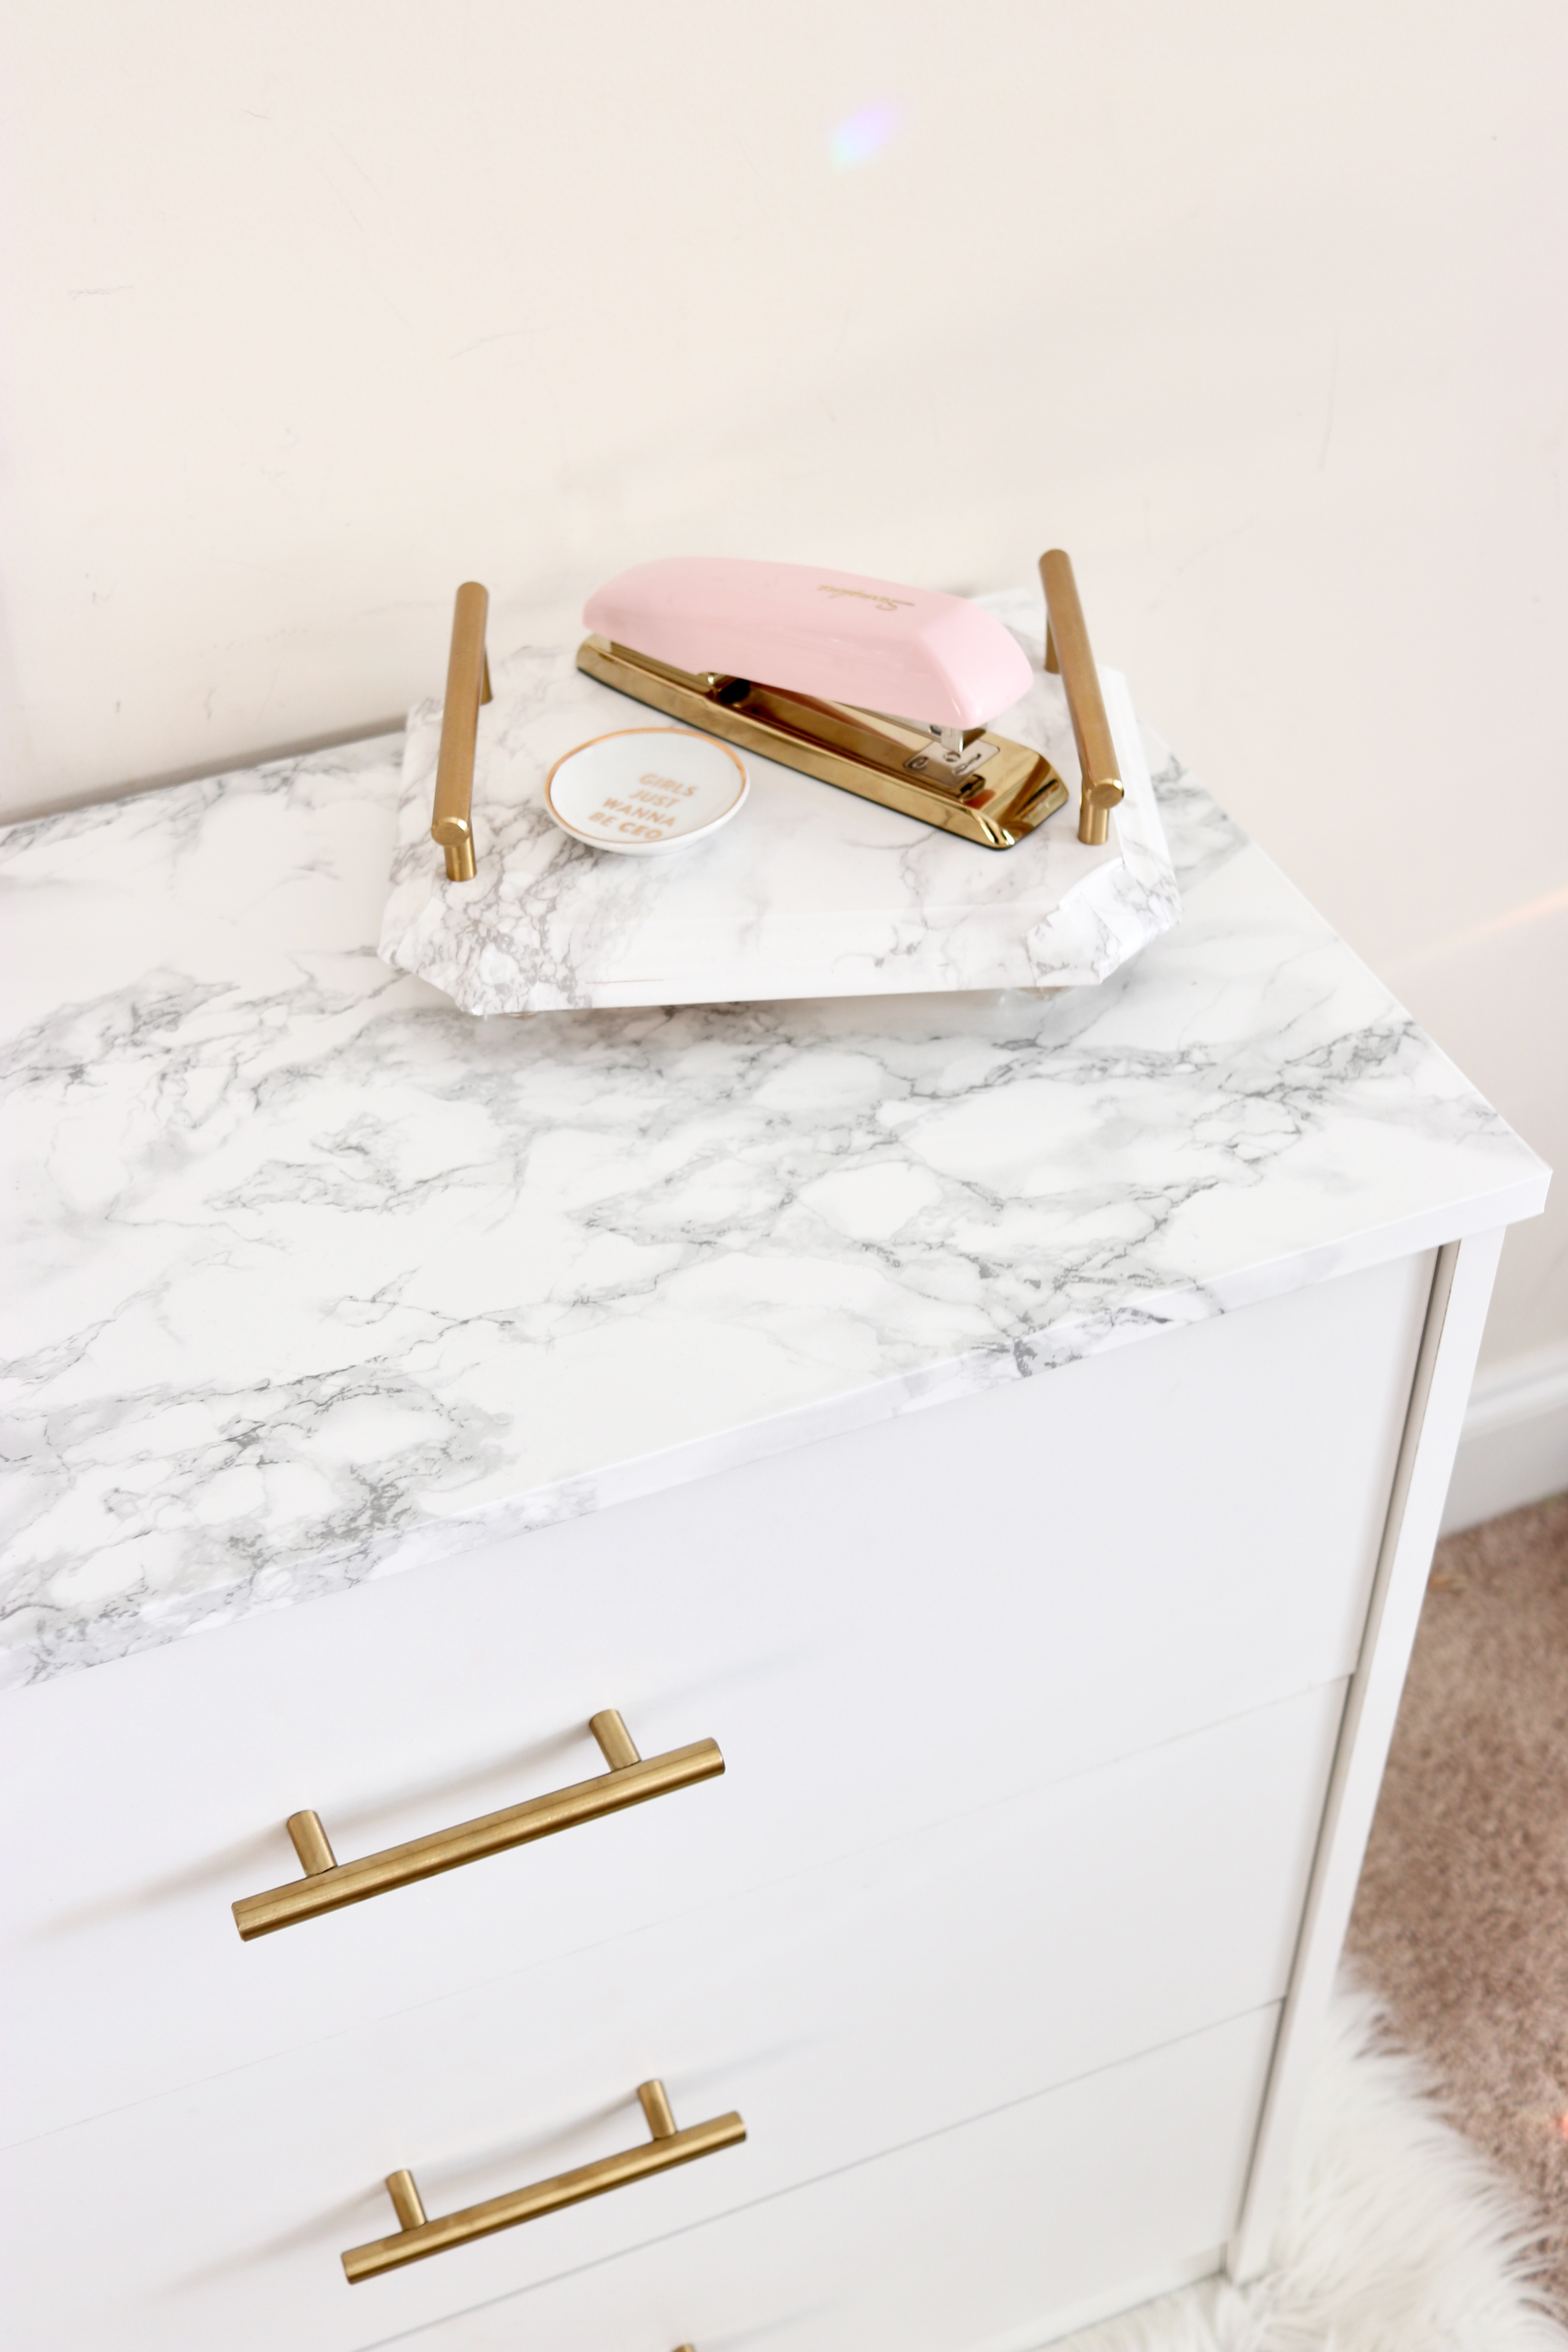
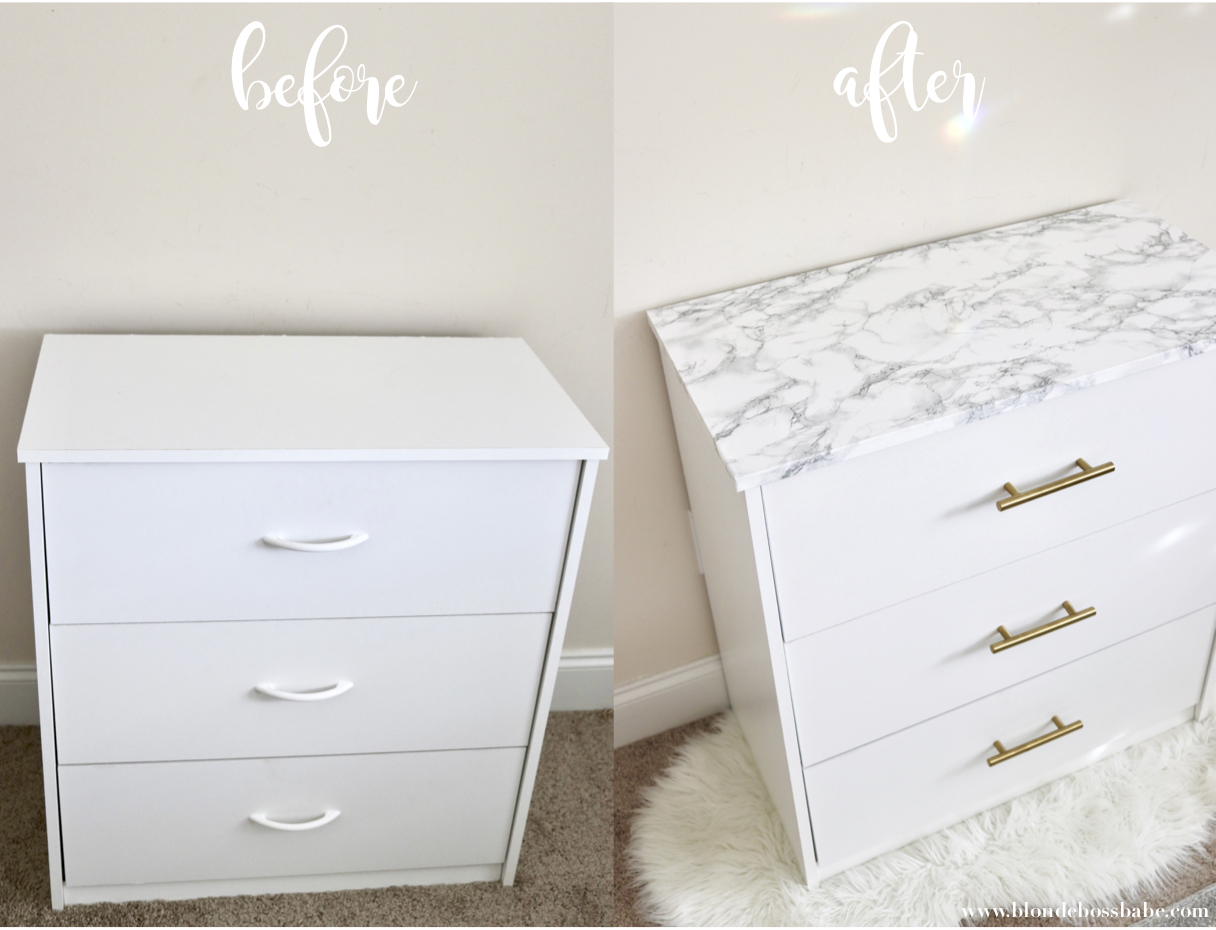
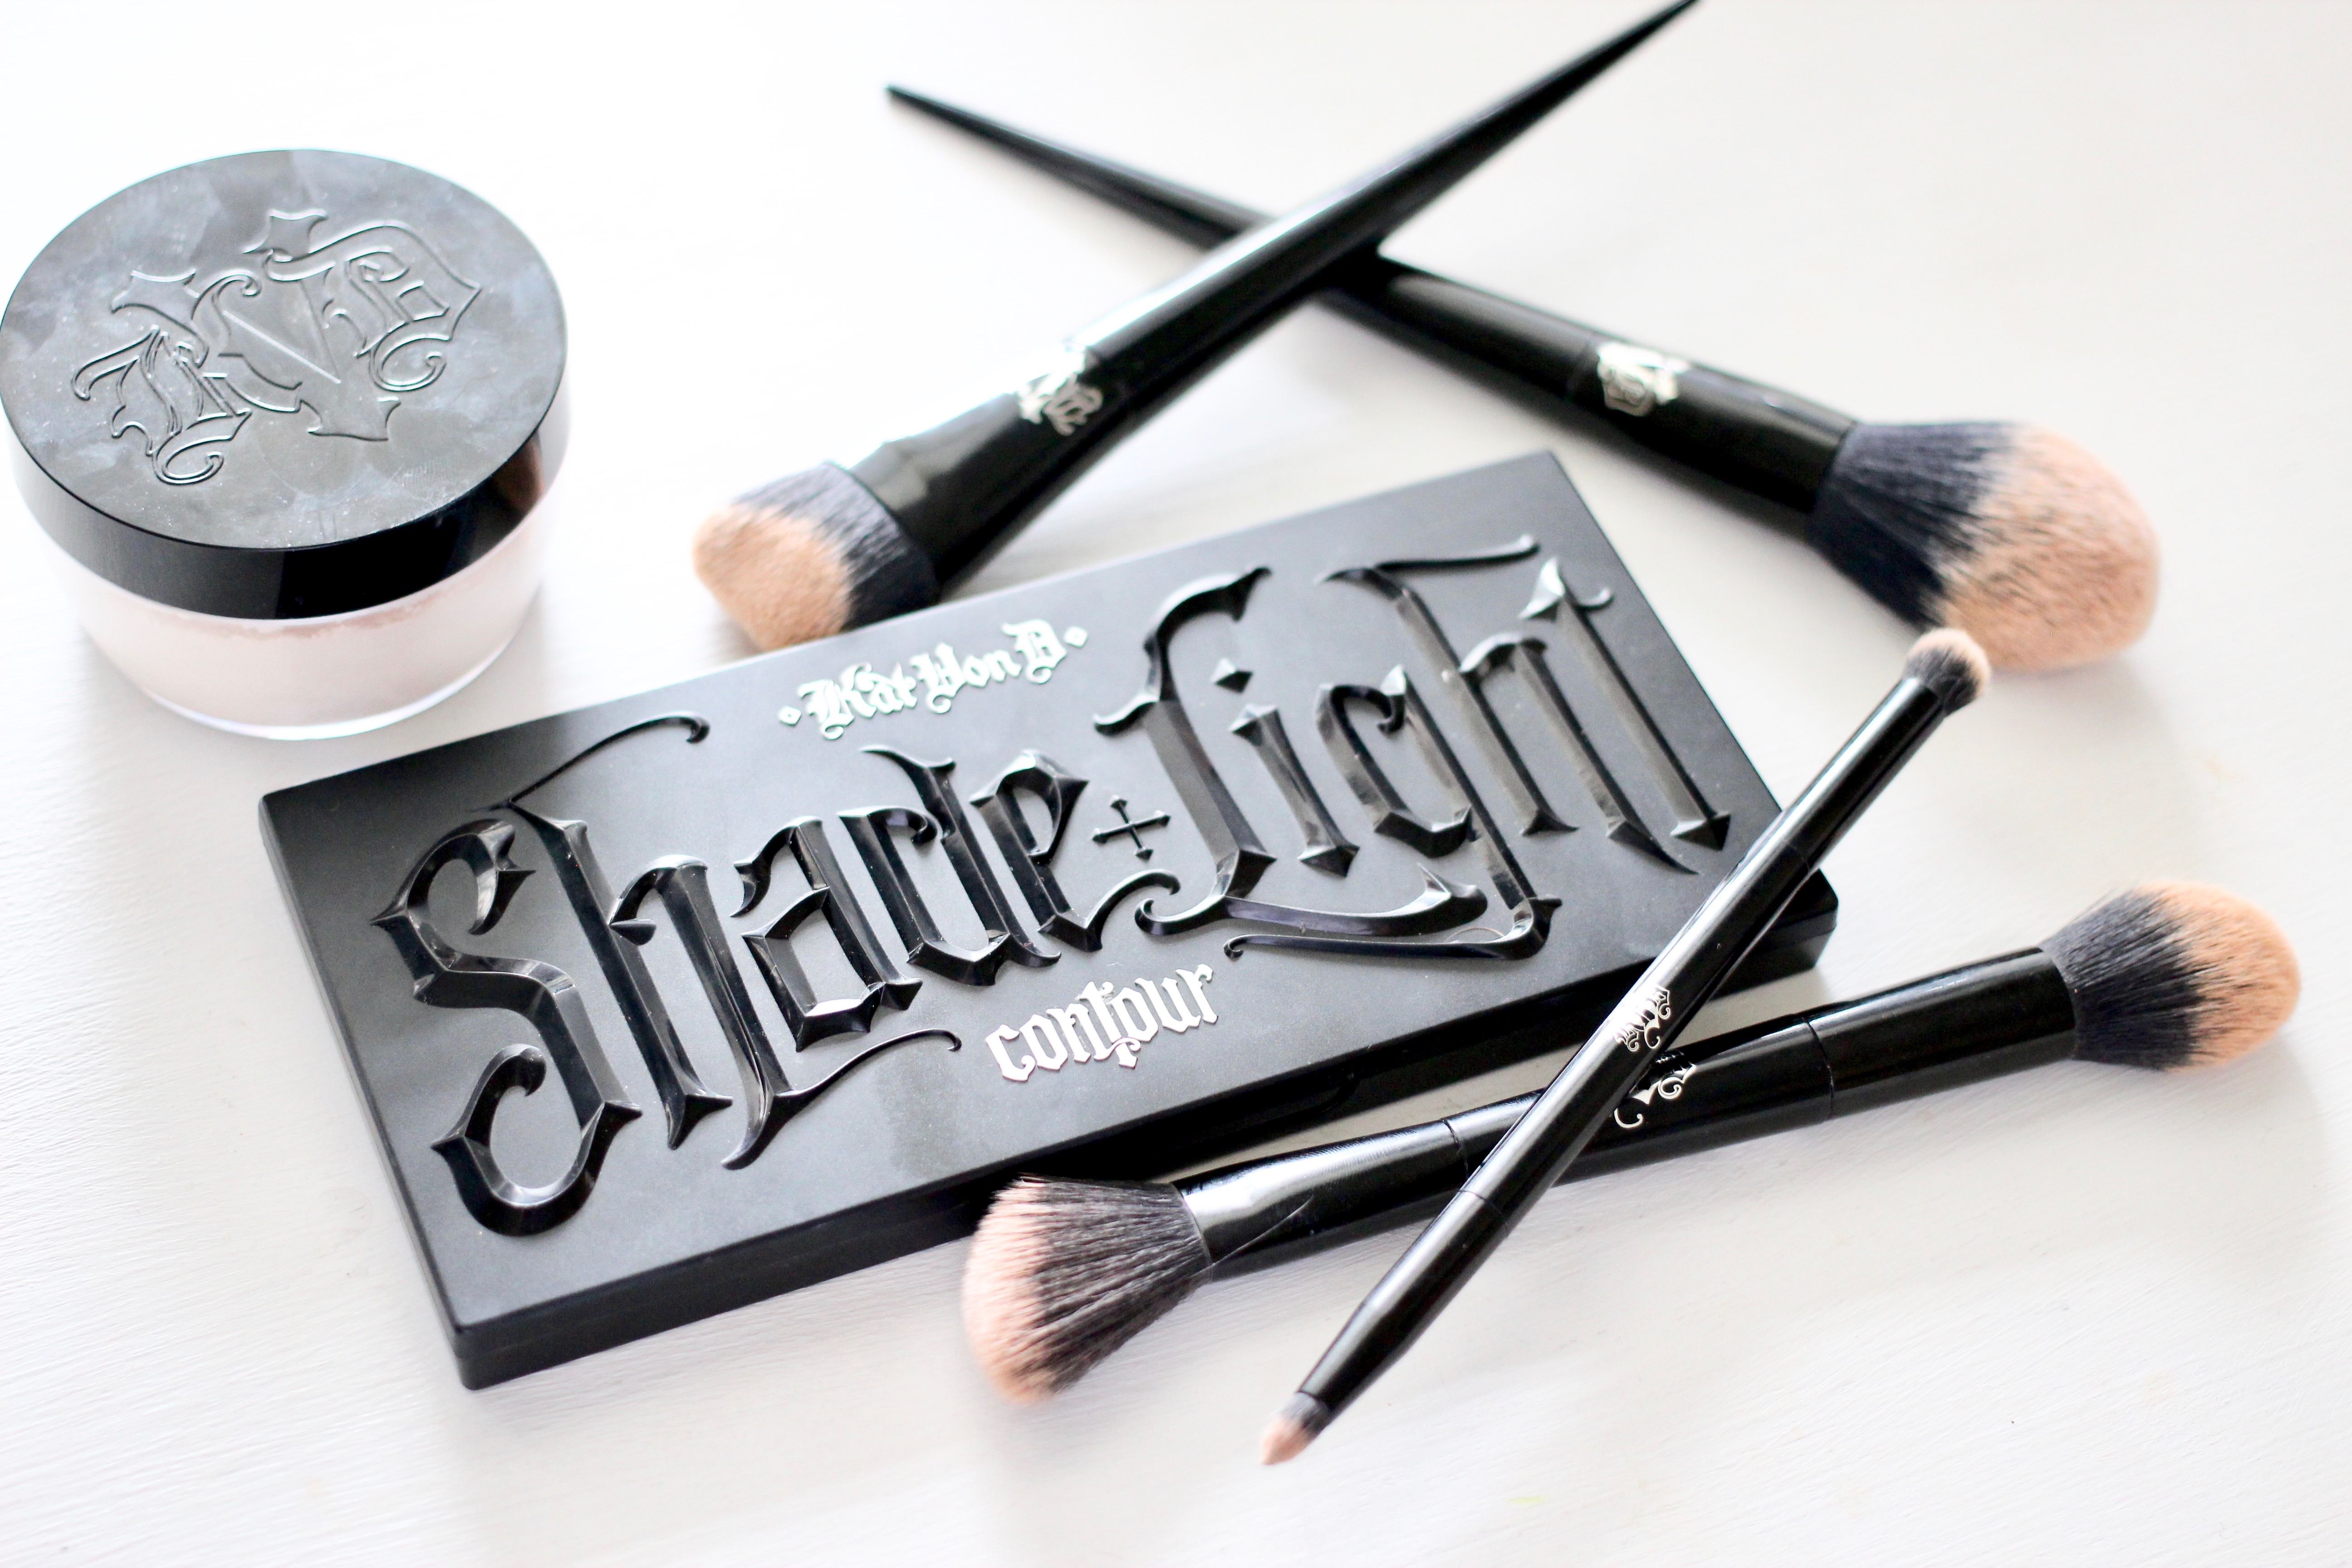
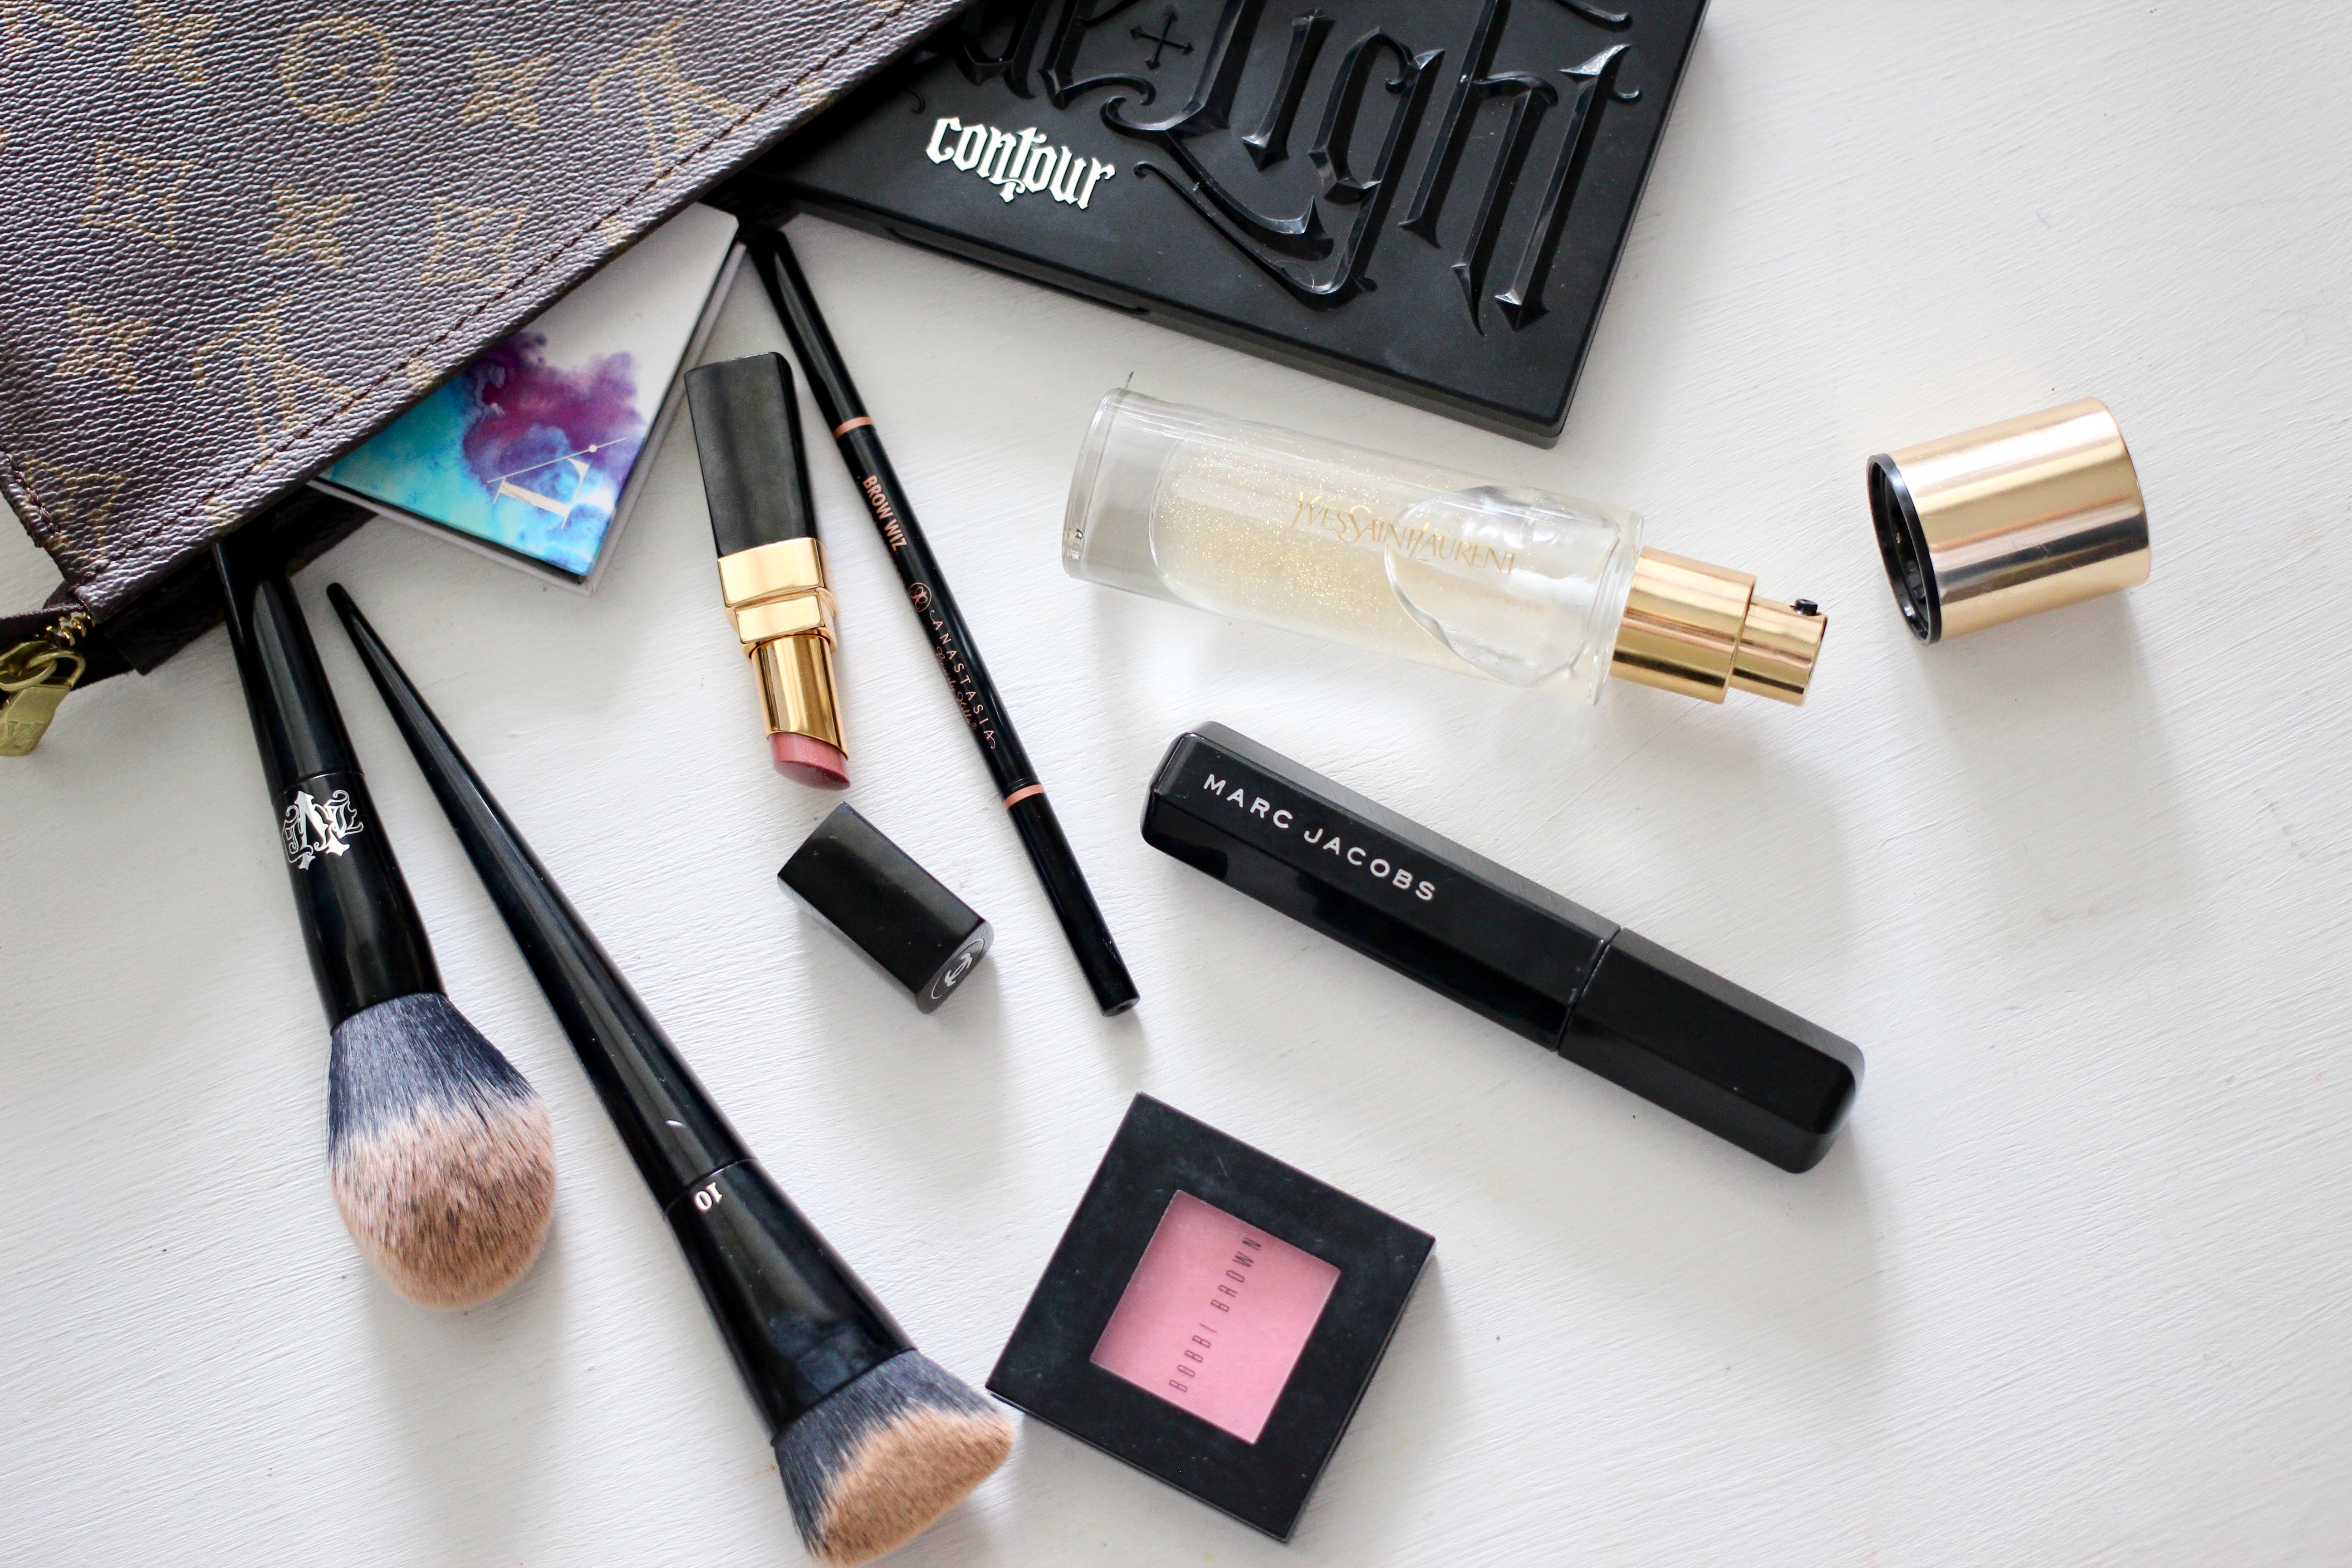
Shop the featured items in the post:

xoxo, M

SaveSave

SaveSave

SaveSave

SaveSaveSaveSave

SaveSaveSaveSave

Post, Pin, Share:
Blog, DIY Projects, Home Decor

Marble & Gold Drawer DIY

the 15 minute marble and gold white drawer hack diy

marble and gold drawer hack diy

Hey y’all, happy Wednesday :). This project took a total of 15 minutes to complete – seriously! It’s definitely my fastest DIY/hack to date! As most of you know, I love marble and gold home projects, and this one absolutely has a significant impact on any space you choose to use it in – whether a home office, glam room, or even a closet! If you’re ready to get started, the 3 easy steps and supplies are included below – if not, pin the image above to save the project for later!

Supplies for this Project:

Set of Drawers 

Marble Contact Paper x 1

Putty Knife

Scissors

Brass Pulls 

Screwdriver

Step 1: Following the included instructions, completely assemble the set of drawers, skipping only the drawer pull step. (I installed the drawer pulls without thinking – lolz – so don’t waste your time doing the same thing!)

mainstays drawers hack

Step 2: Wipe down and dry the top of the dresser. This removes any dust and allows for your contact paper to adhere more securely! Next, line up your marble contact paper, and cut to size **Be sure to leave enough overlap to fold the marble sticker down underneath the edges. Then, using your putty knife, apply and smooth out the contact paper. Cut a single slit at the edge of the front corners, if needed, for folding the sticker and applying it to the drawer set.

white drawer marble hack

marble contact paper

marble contact paper

marble contact paper

marble drawer hack

marble drawer hack

marble contact paper drawer hack

Step 3: Add your brass pulls, securing them with your screwdriver.

gold drawer pulls marble hack

brass drawer pulls white drawer diy

diy marble and gold drawer hack

DIY marble and gold drawer hack

glam marble and gold drawer diy

glam marble and gold drawer diy hack

Step 4: You’re done! Now, where to place your beautiful DIY?! It’s great in a home office, vanity area, glam room, bedroom, or even in your closet for some extra luxe 🙂

For extra inspo, I’ve included some fun options below:

glam marble and gold vanity

glam marble and gold vanity

glam office set up

glam office set up

glam office set up

glam office set up

glam home office set up

BonusUse the leftover brass pulls to complete the marble and gold vanity tray DIY featured in the two images above 🙂

marble and gold drawer hack

Interested in more Marble & Gold DIY projects? Check out this Ikea Hyllis Hack

If you’re ready to complete your own version of this project? Don’t forget your supplies: 

SaveSave

SaveSave

SaveSave

SaveSave

SaveSave

SaveSave

SaveSave

SaveSave

SaveSave

SaveSave

SaveSaveSaveSave

SaveSave

SaveSave

SaveSave

SaveSave

SaveSave

SaveSave

SaveSave

SaveSave

SaveSave

SaveSave

SaveSave

SaveSave

SaveSave

SaveSave

Post, Pin, Share:
Blog, Recipes

Oreo Pumpkin Spice Balls Recipe

oreo pumpkin spice balls

oreo pumpkin spice balls

As many of y’all know, I am not the most confident when it comes to my *sKiLls* in the kitchen. A lot of this has to do with my current status as a very time-limited law student, but honestly a lot more of it has to do with the fact that I would rather not  face the inevitable post-meal cleanup if I can avoid it (honesty is the best policy, right?). In light of this, it may be surprising that I actually follow quite a few food blogs. After one of these blogs posted a video using a food processor to crunch up Oreo’s, I ordered this one thinking to myself that I would instantly begin using it and become a fabulous cook with tons of killer recipes. Welp if you follow my Instagram & keep up with the stories I post, you already know that this food processor sat in its box for the last 6 months – so long in fact that I actually forgot where it was and spent half the afternoon trying to locate it before testing out this recipe. Whoops.

Now that I have finally used it and have seen how quick & efficient it is, I am seriously obsessed and can’t believe I waited this long. If you have any favorite recipes involving a food processor – general, dessert, breakfast, whatever – that you love, please feel free to share in the comments below this post, I would love to try them!

Back to the Oreo pumpkin spice balls; I created this recipe on a whim and so pumped with how it turned out especially since it only uses 5 ingredients – 2 of which are completely optional based on your preference! I’ve included the ingredients/tools and step-by-step instructions in this post. Happy baking!

The ingredients for this recipe are:

Libby’s Canned Pumpkin (x1)

Box of Yellow Cake Mix (x1)

Super-stuffed Oreos (~15-20, processed with icing)

Pumpkin Spice Blend (optional – adds extra flavor)

White Chocolate Morsels (Don’t make the mistake I made by using these, instead use white chocolate bark – much easier to heat up!)

The kitchen tools I use for this recipe are:

KitchenAid Mixer

Mini Food Processor

Double-boiler

Mini-Cupcake Maker (also featured in this quiche recipe)

Glass Mixing Bowl

Hand Mixer

Baking Paper Sheets

oreo pumpkin spice balls

Instructions:

Step 1: In your mixer, combine the cake mix, canned pumpkin, and a generous amount of pumpkin spice. Mix until fully blended using the lowest speed setting. **ONLY use the powder from the cake mix, do not add any other ingredients from the yellow cake recipe on the box.

Step 2: Pour 1/4 cup increments of batter into the mini-cupcake maker, and bake for ten minutes.

Step 3: While the batter is baking, place Oreo’s (with their creme fillings attached) into the food processor and blend. Dump contents into glass mixing bowl.

Step 4: Remove baked cupcakes/muffins/batter from cupcake maker, and place in food processor. Process, then add to the ground up oreos in the glass mixing bowl. Blend together.

Step 5: Begin rolling the mix into half-dollar-sized balls, place on wax baking sheet.

Step 6: Melt white chocolate bark on stove using double-boiler. Using a tablespoon, pour the melted chocolate over each of the balls on the wax baking sheet. Allow to cool. (For faster cooling, place baking sheet in fridge for ~6-10 minutes.

VOILA! Easy and delicious Oreo Pumpkin Spice Balls for Fall! BONUS STEP: Grab cute straws like these – cut one end at angle, insert into oreo spice ball then cover with melted white chocolate and you have an oreo pumpkin spice cake pop!

oreo pumpkin spice balls

oreo pumpkin spice cake pop

oreo pumpkin spice balls

Kitchen Supplies Featured in This Recipe: 


SaveSave

SaveSave

SaveSave

SaveSave

SaveSave

SaveSave

SaveSave

SaveSave

SaveSave

SaveSave

SaveSave

Post, Pin, Share:
Beauty, Blog

Favorite Products for Everyday Makeup

Happy almost end-of-the-week, y’all! I hope everyone’s week has been amazing so far! This post all about daily makeup has been requested quite a bit. One of the main products asked about most consistently is: Foundation. After getting introduced to it by my friend, Callie (who is super fabulous and A LOT better at makeup than I am – check out her tutorial videos here), I became so hooked on the benefits of using this everyday. It’s a lot healthier for your skin, and has a greater amount of pigment than your typical foundations – meaning more coverage that blends naturally WITHOUT irritation or crazy breakouts. uhm. YAS. I’ve linked that and all of my other favorite products I use daily below. If you have any questions feel free to comment them at the end of this post or on my Instagram here.

…by the way, if you’re wondering how I get all the “gunk” out of these brushes, check out this other post here for the simple routine I follow.

Eyes & Brows

Marc Jacobs Velvet Mascara | Kat von D Eyeliner | Anastasia Brow Wiz (in blonde)

Face

YSL Primer | Limelight Foundation (in Gena Beige) | Kat von D Contour Kit & Lock-it Setting Powder | Bobbi Brown Blush (in Rose)

Lips

Chanel Rouge COCO Shine (in Reveuse) 

Tools

Gold Vanity Mirror, Kat von D Foundation Brush, Powder Brush, Dual Eyeshadow Brush

Shop featured items from this post


SaveSave

SaveSave

SaveSave

SaveSave

SaveSave

SaveSave

SaveSave

SaveSave

SaveSave

SaveSave

SaveSave

SaveSaveSaveSave

SaveSave

SaveSave

SaveSave

SaveSave

SaveSave

SaveSave

SaveSave

SaveSave

SaveSave

Post, Pin, Share: