Browse Tag by stress-free
Adulting, Beauty, Blog

Clean Your Makeup Brushes Like a Pro

how to deep clean your makeup brushes and prevent breakouts

Oh goodness, sometimes nothing is worse than waking up with a fresh breakout or ending your day with two new “friends” on your cheek (UGH). While blemishes on the skin can be caused by a number of issues, one easy fix that is often forgotten is simply deep cleaning your makeup brushes on a regular basis. I definitely don’t mind being the first to admit that I don’t deep clean mine nearly as often as I should, so I totally understand a crazy schedule getting in the way of consistency here. Thankfully though, these 3 steps take literally less than five minutes, and if completed in the afternoon (aka after work, school, gym, etc.) your brushes will be fresh, dry, and ready-to-go by the next morning. 

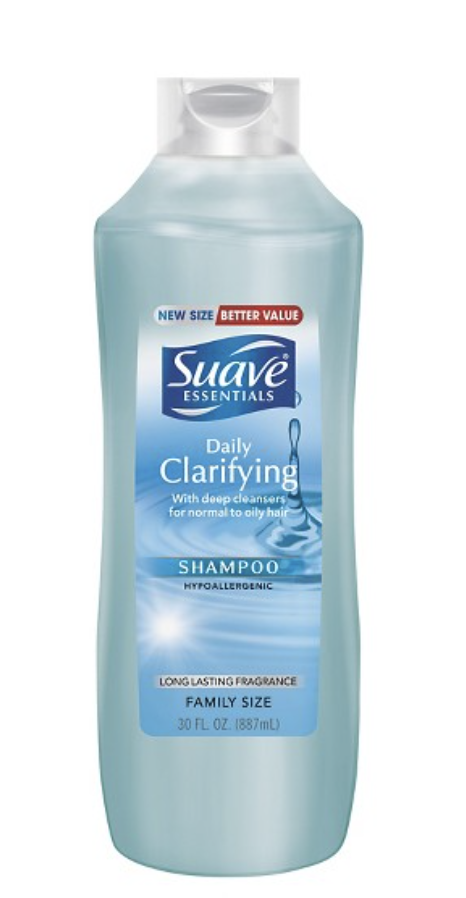
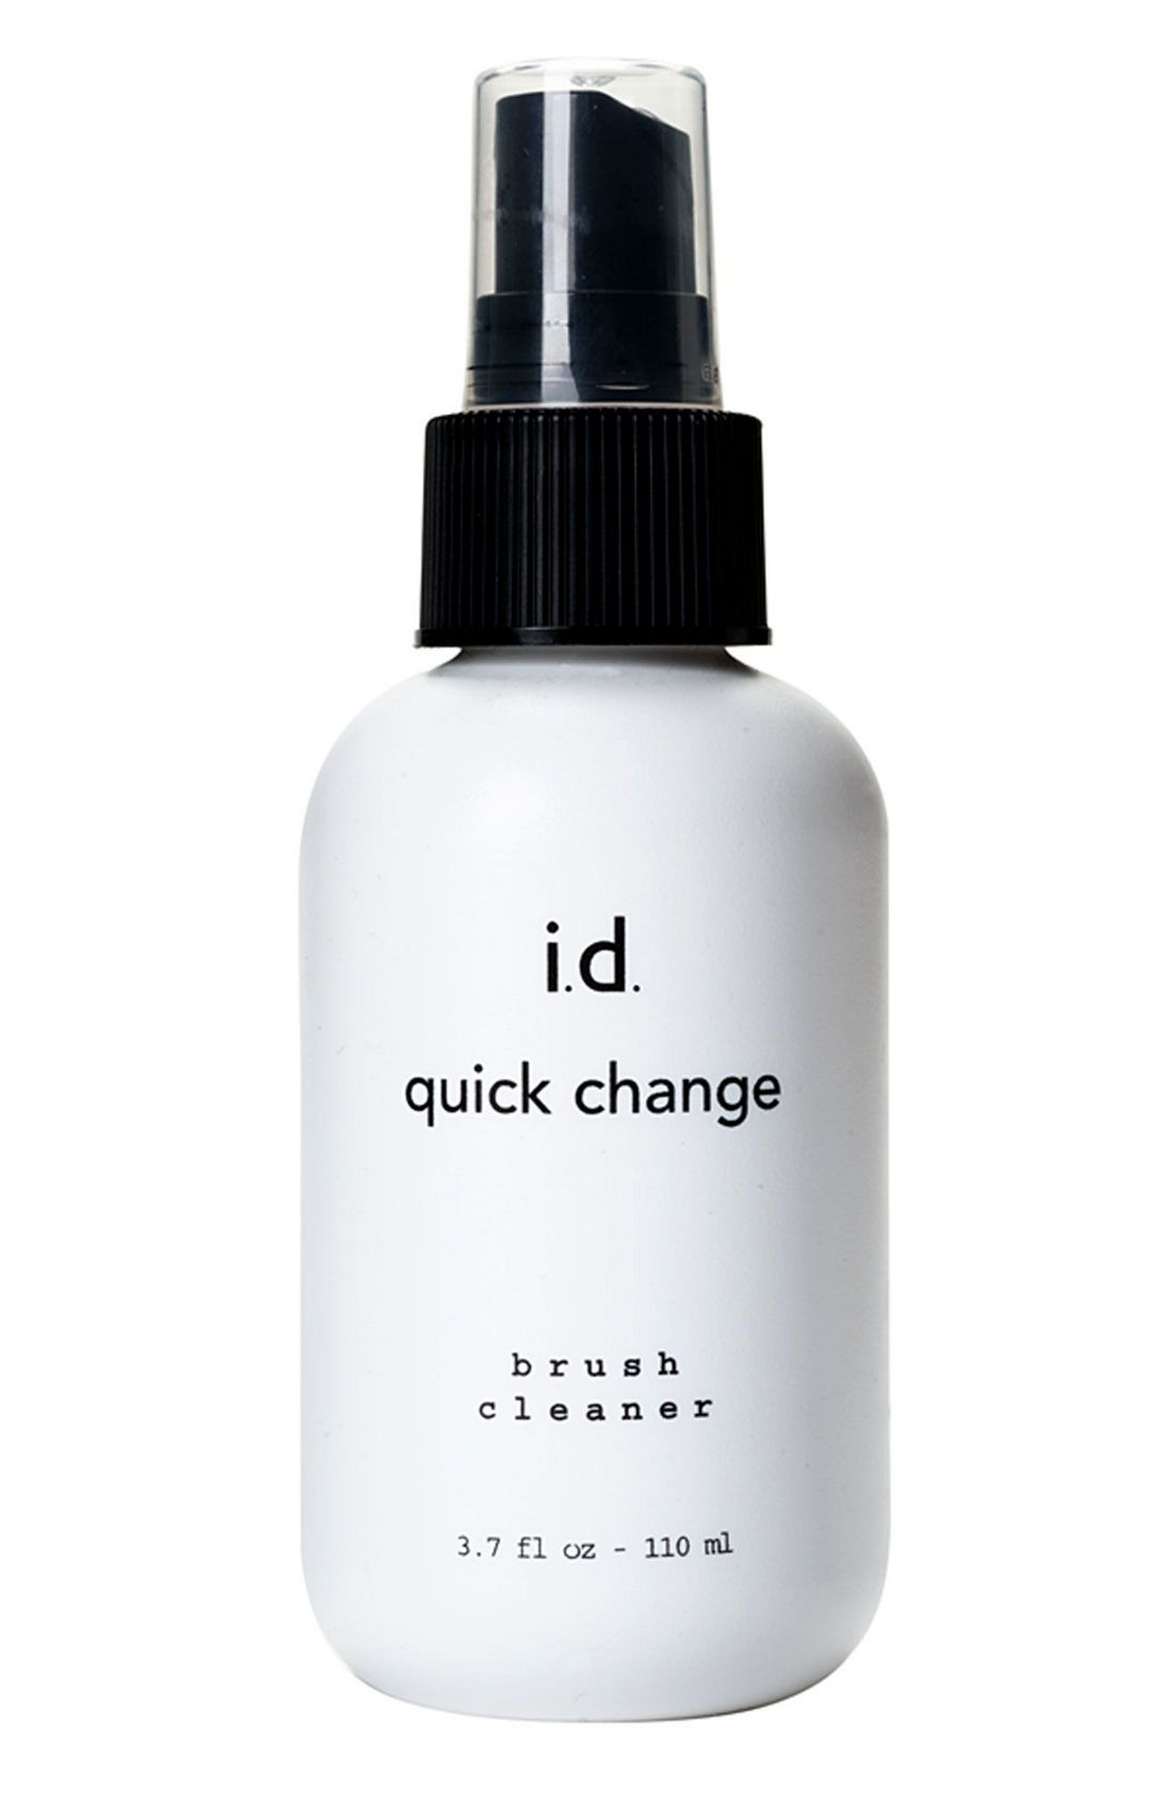
For super clean brushes, I always recommend using the Daily Clarifying Shampoo by Suave, because it’s formulated in such a way that it’s gentle enough for contact with skin yet powerful enough for cleansing oily hair; essentially the perfect combo for delicate brushes covered in makeup and other unmentionable gunk. Ideally, these steps should be completed once a week, but if all else fails, at least try to use a daily cleanse spray. The one I like to use by bareMinerals is linked here

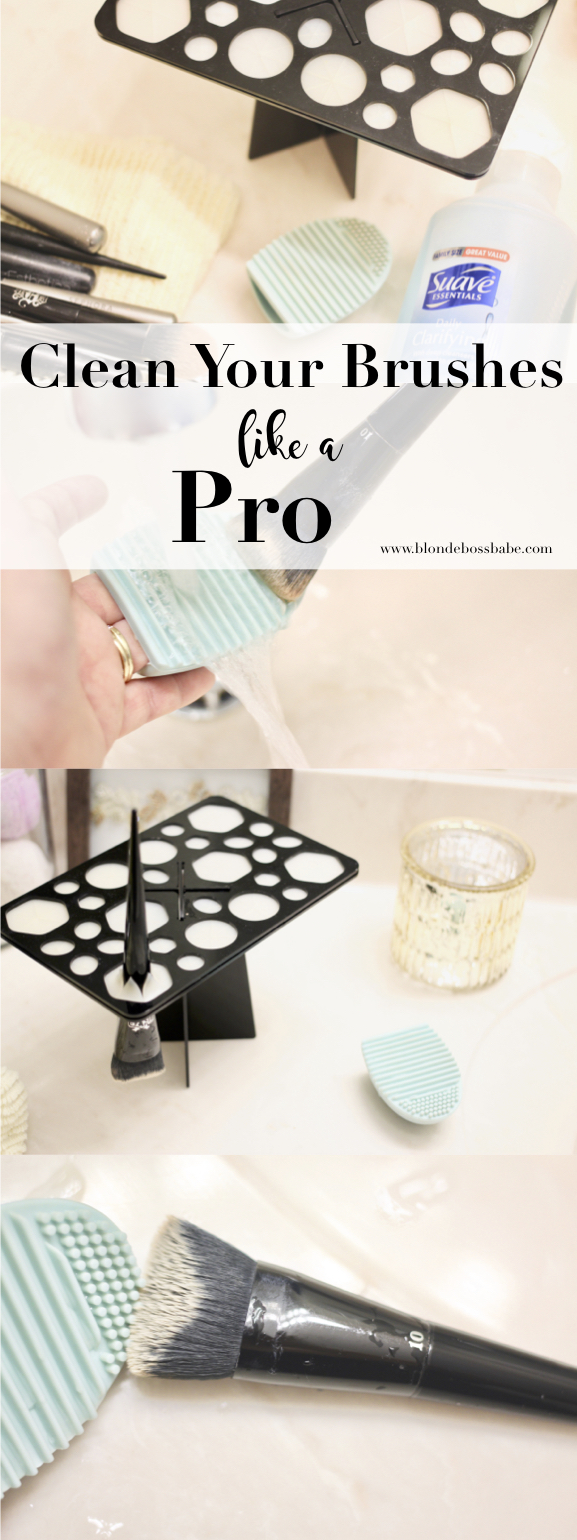
To deep clean your makeup brushes, I recommend:

Daily Clarifying Suave Shampoo

 Makeup Cleaner Silicon Finger-Glove

Tower Tree Standing Dryer

Let’s get clean!

how to really deep clean your makeup brushes

clean your makeup brushes like a pro


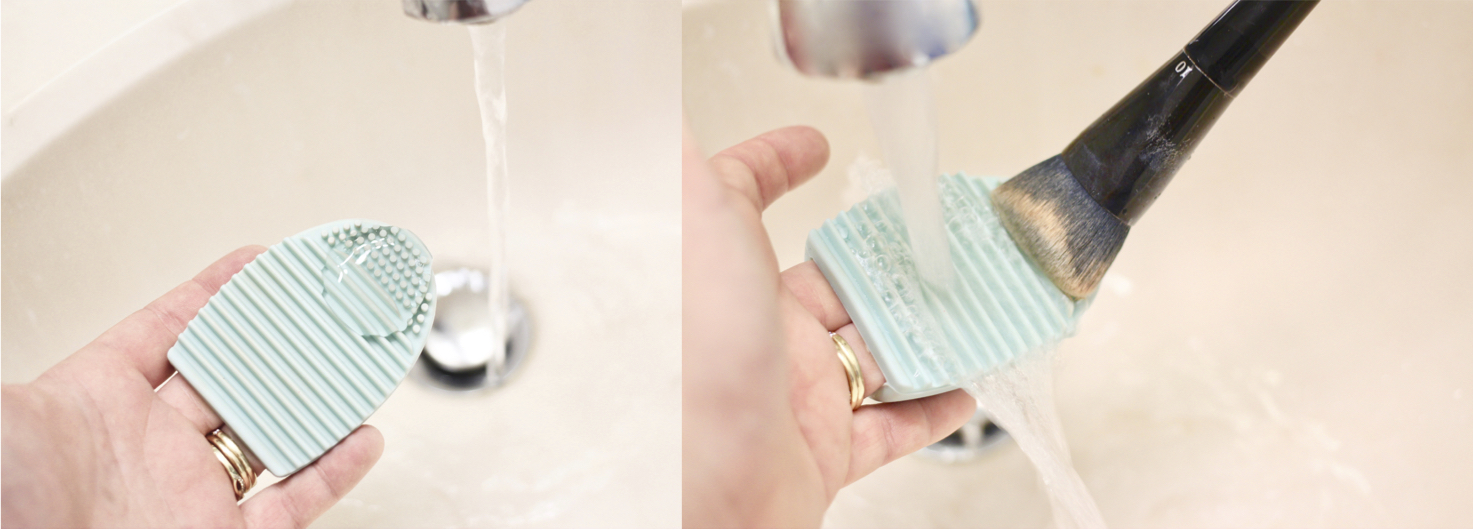
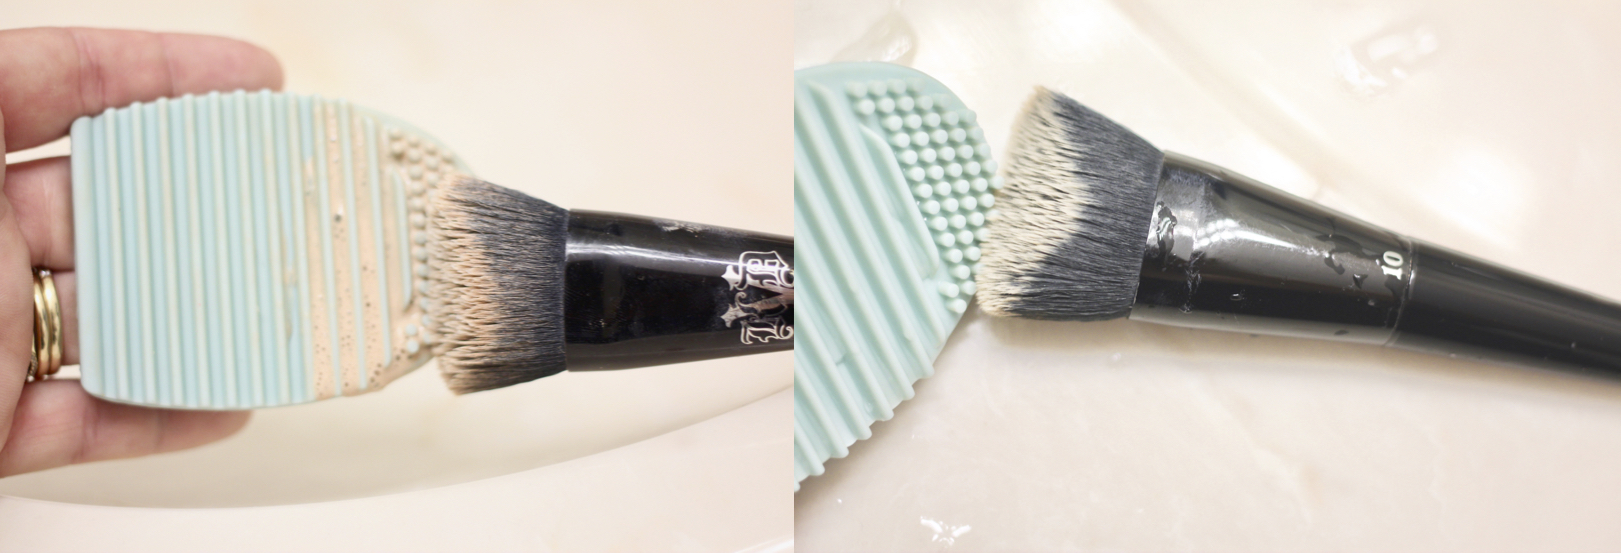
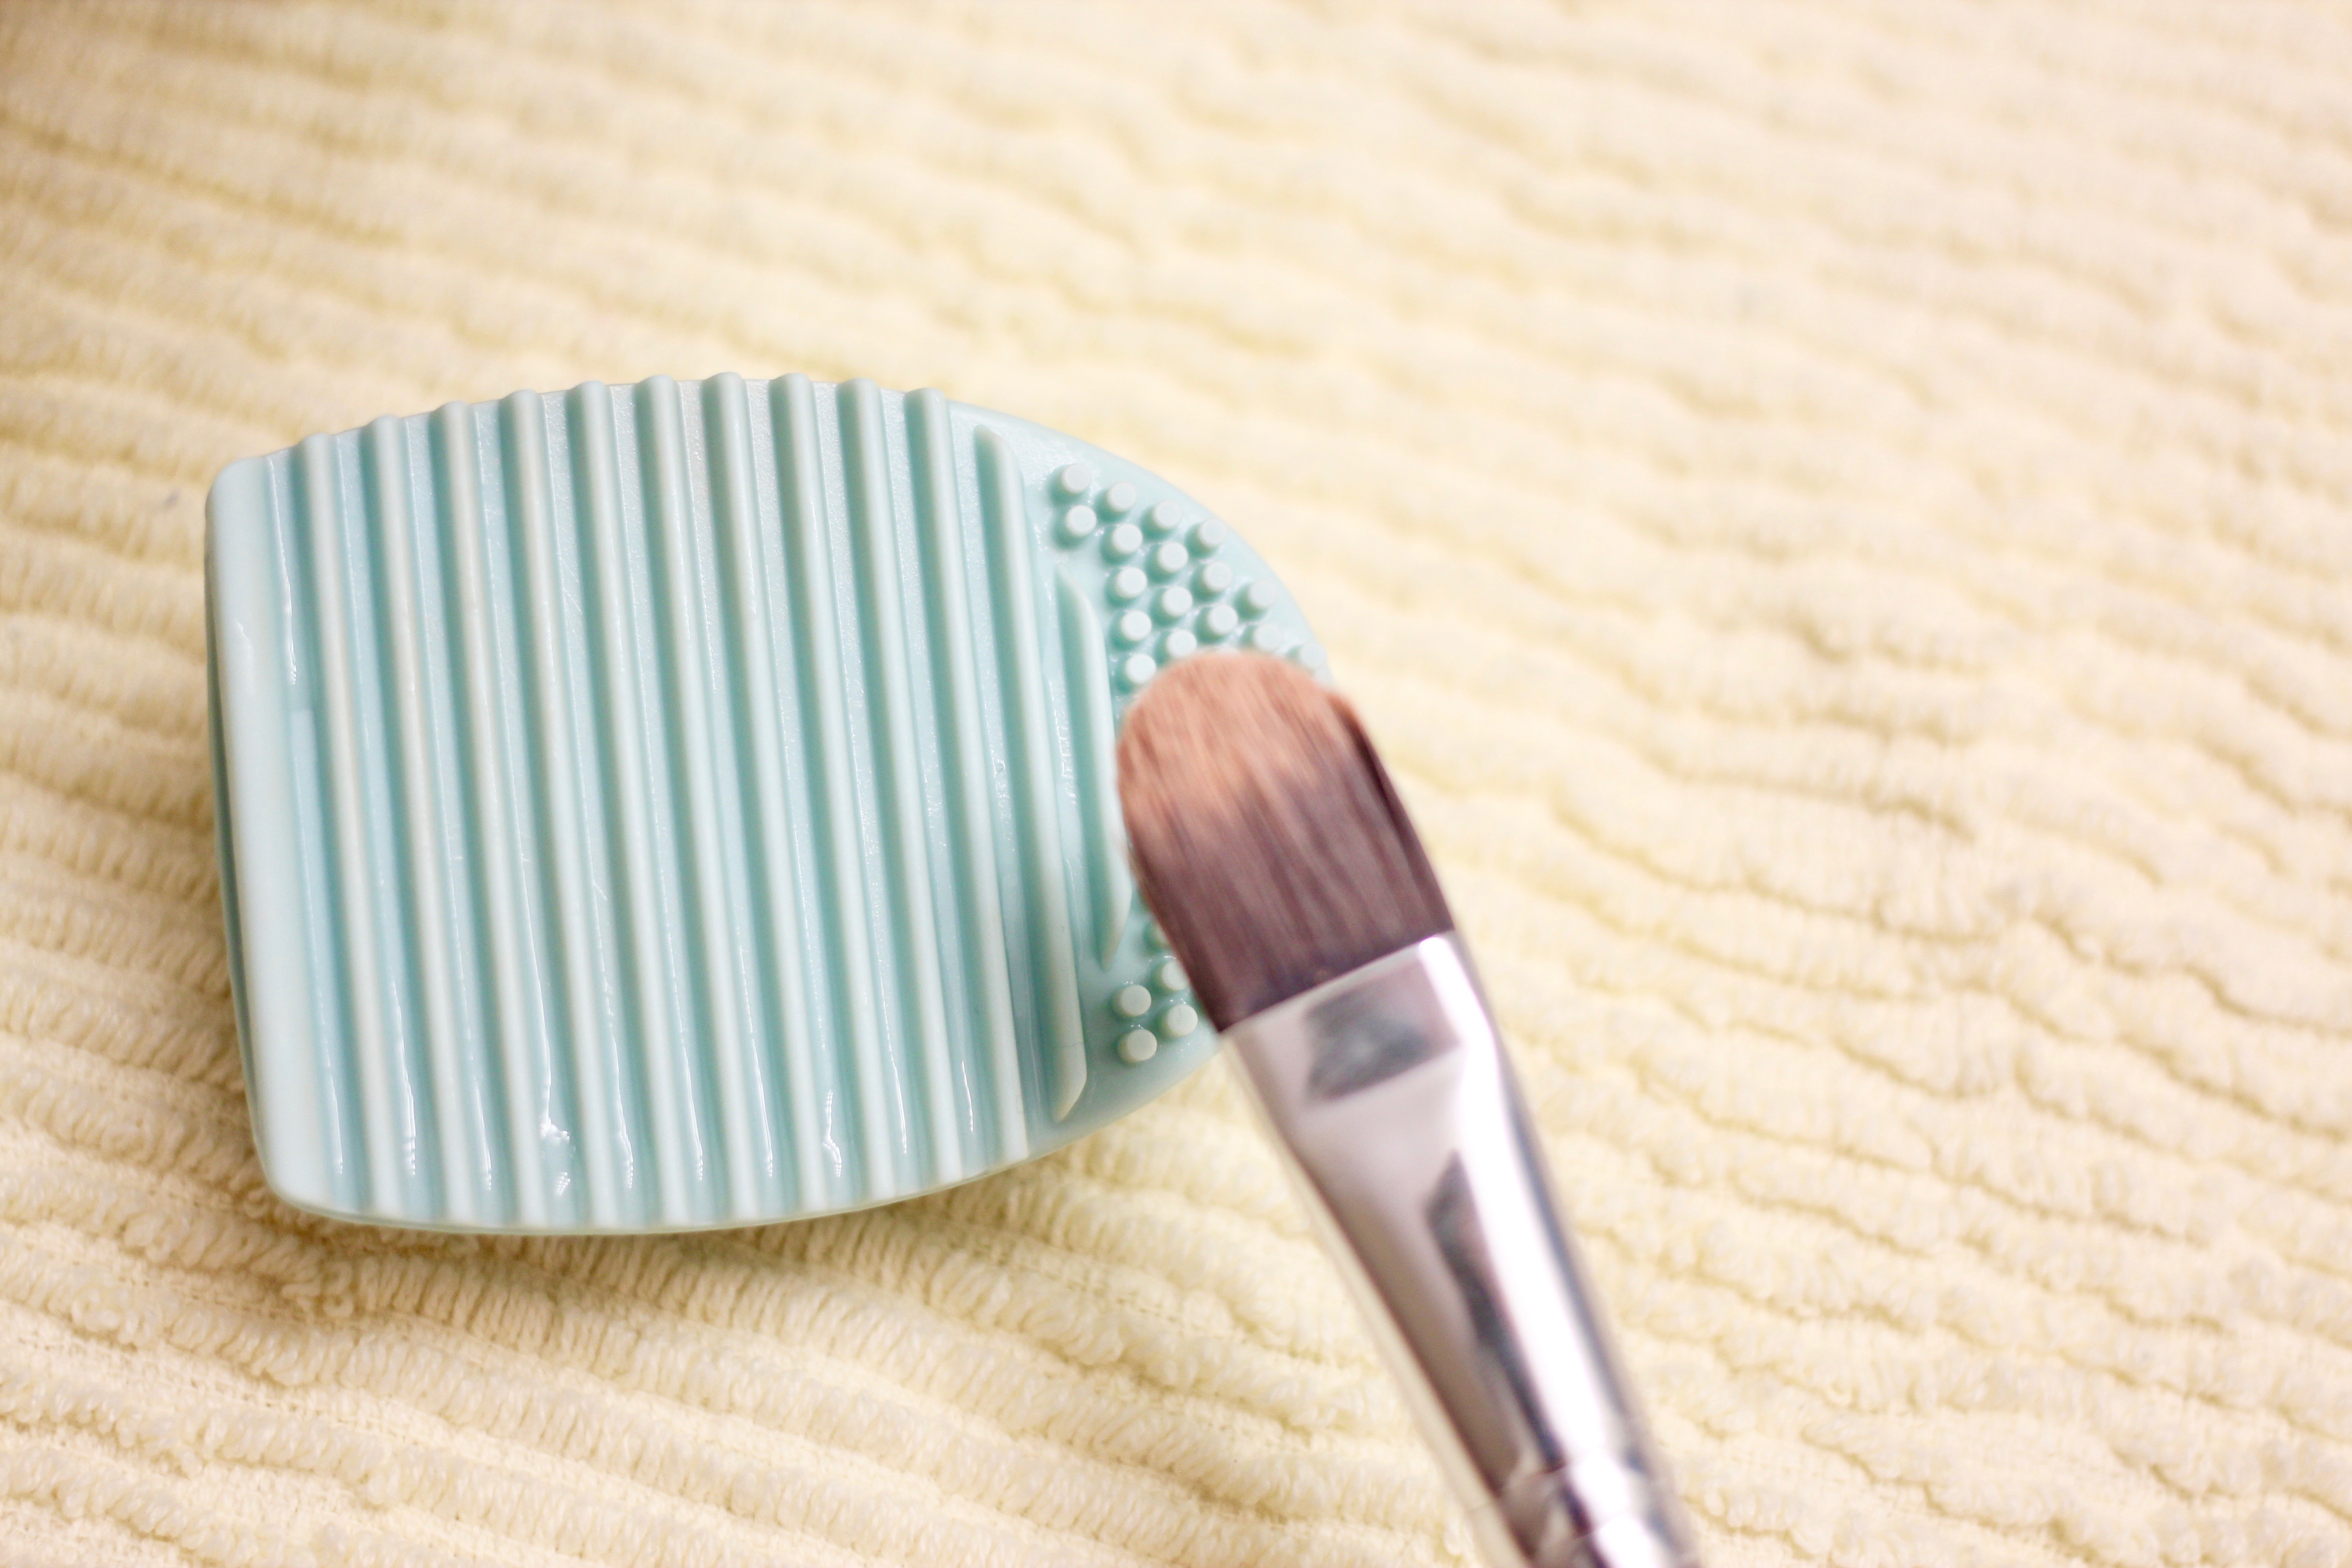
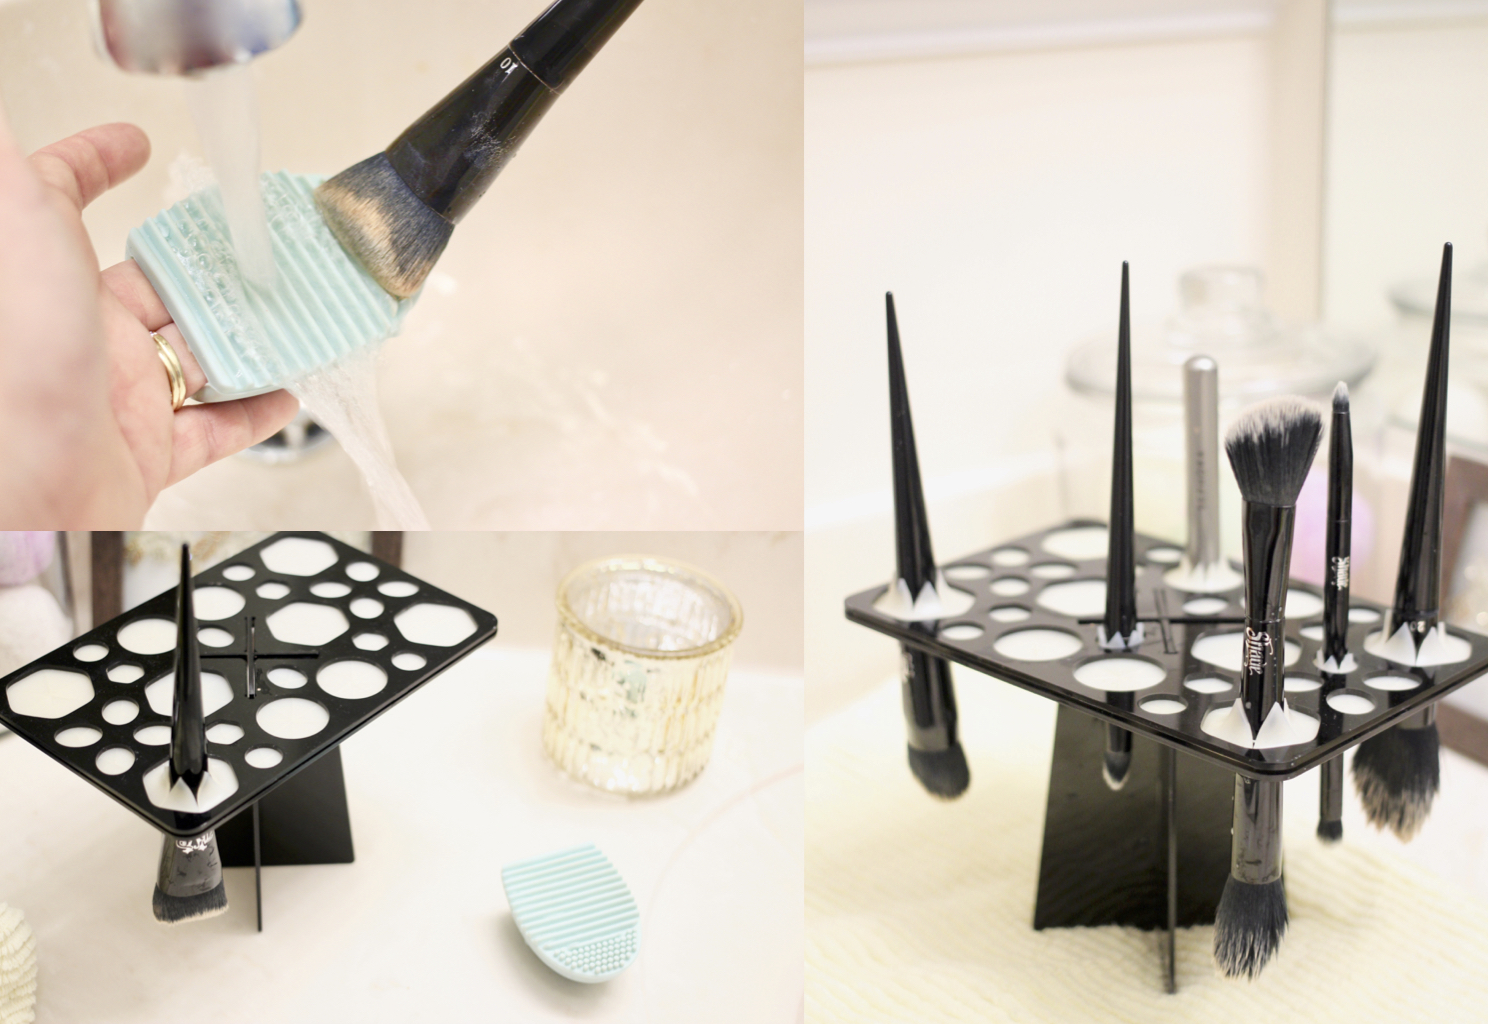
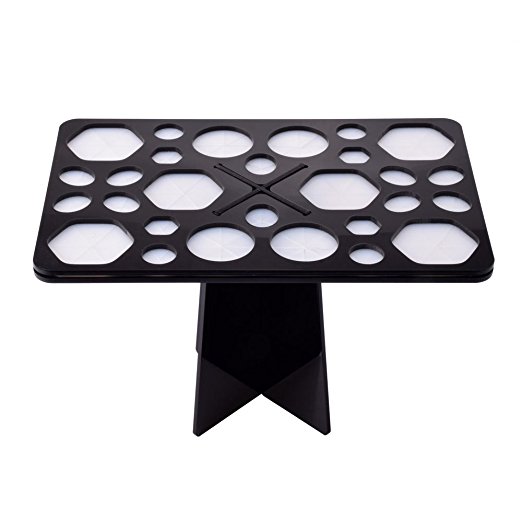
Step 1: Squirt the Daily Clarifying Suave Shampoo directly onto the silicon finger glove. Turn on the faucet & with the brush angled downwards, begin gently scrubbing the bristles against the glove’s ridges. For smaller brushes, focus the bristles more on the compact round ridges than the larger linear ones. 


clean your makeup brushes like a pro


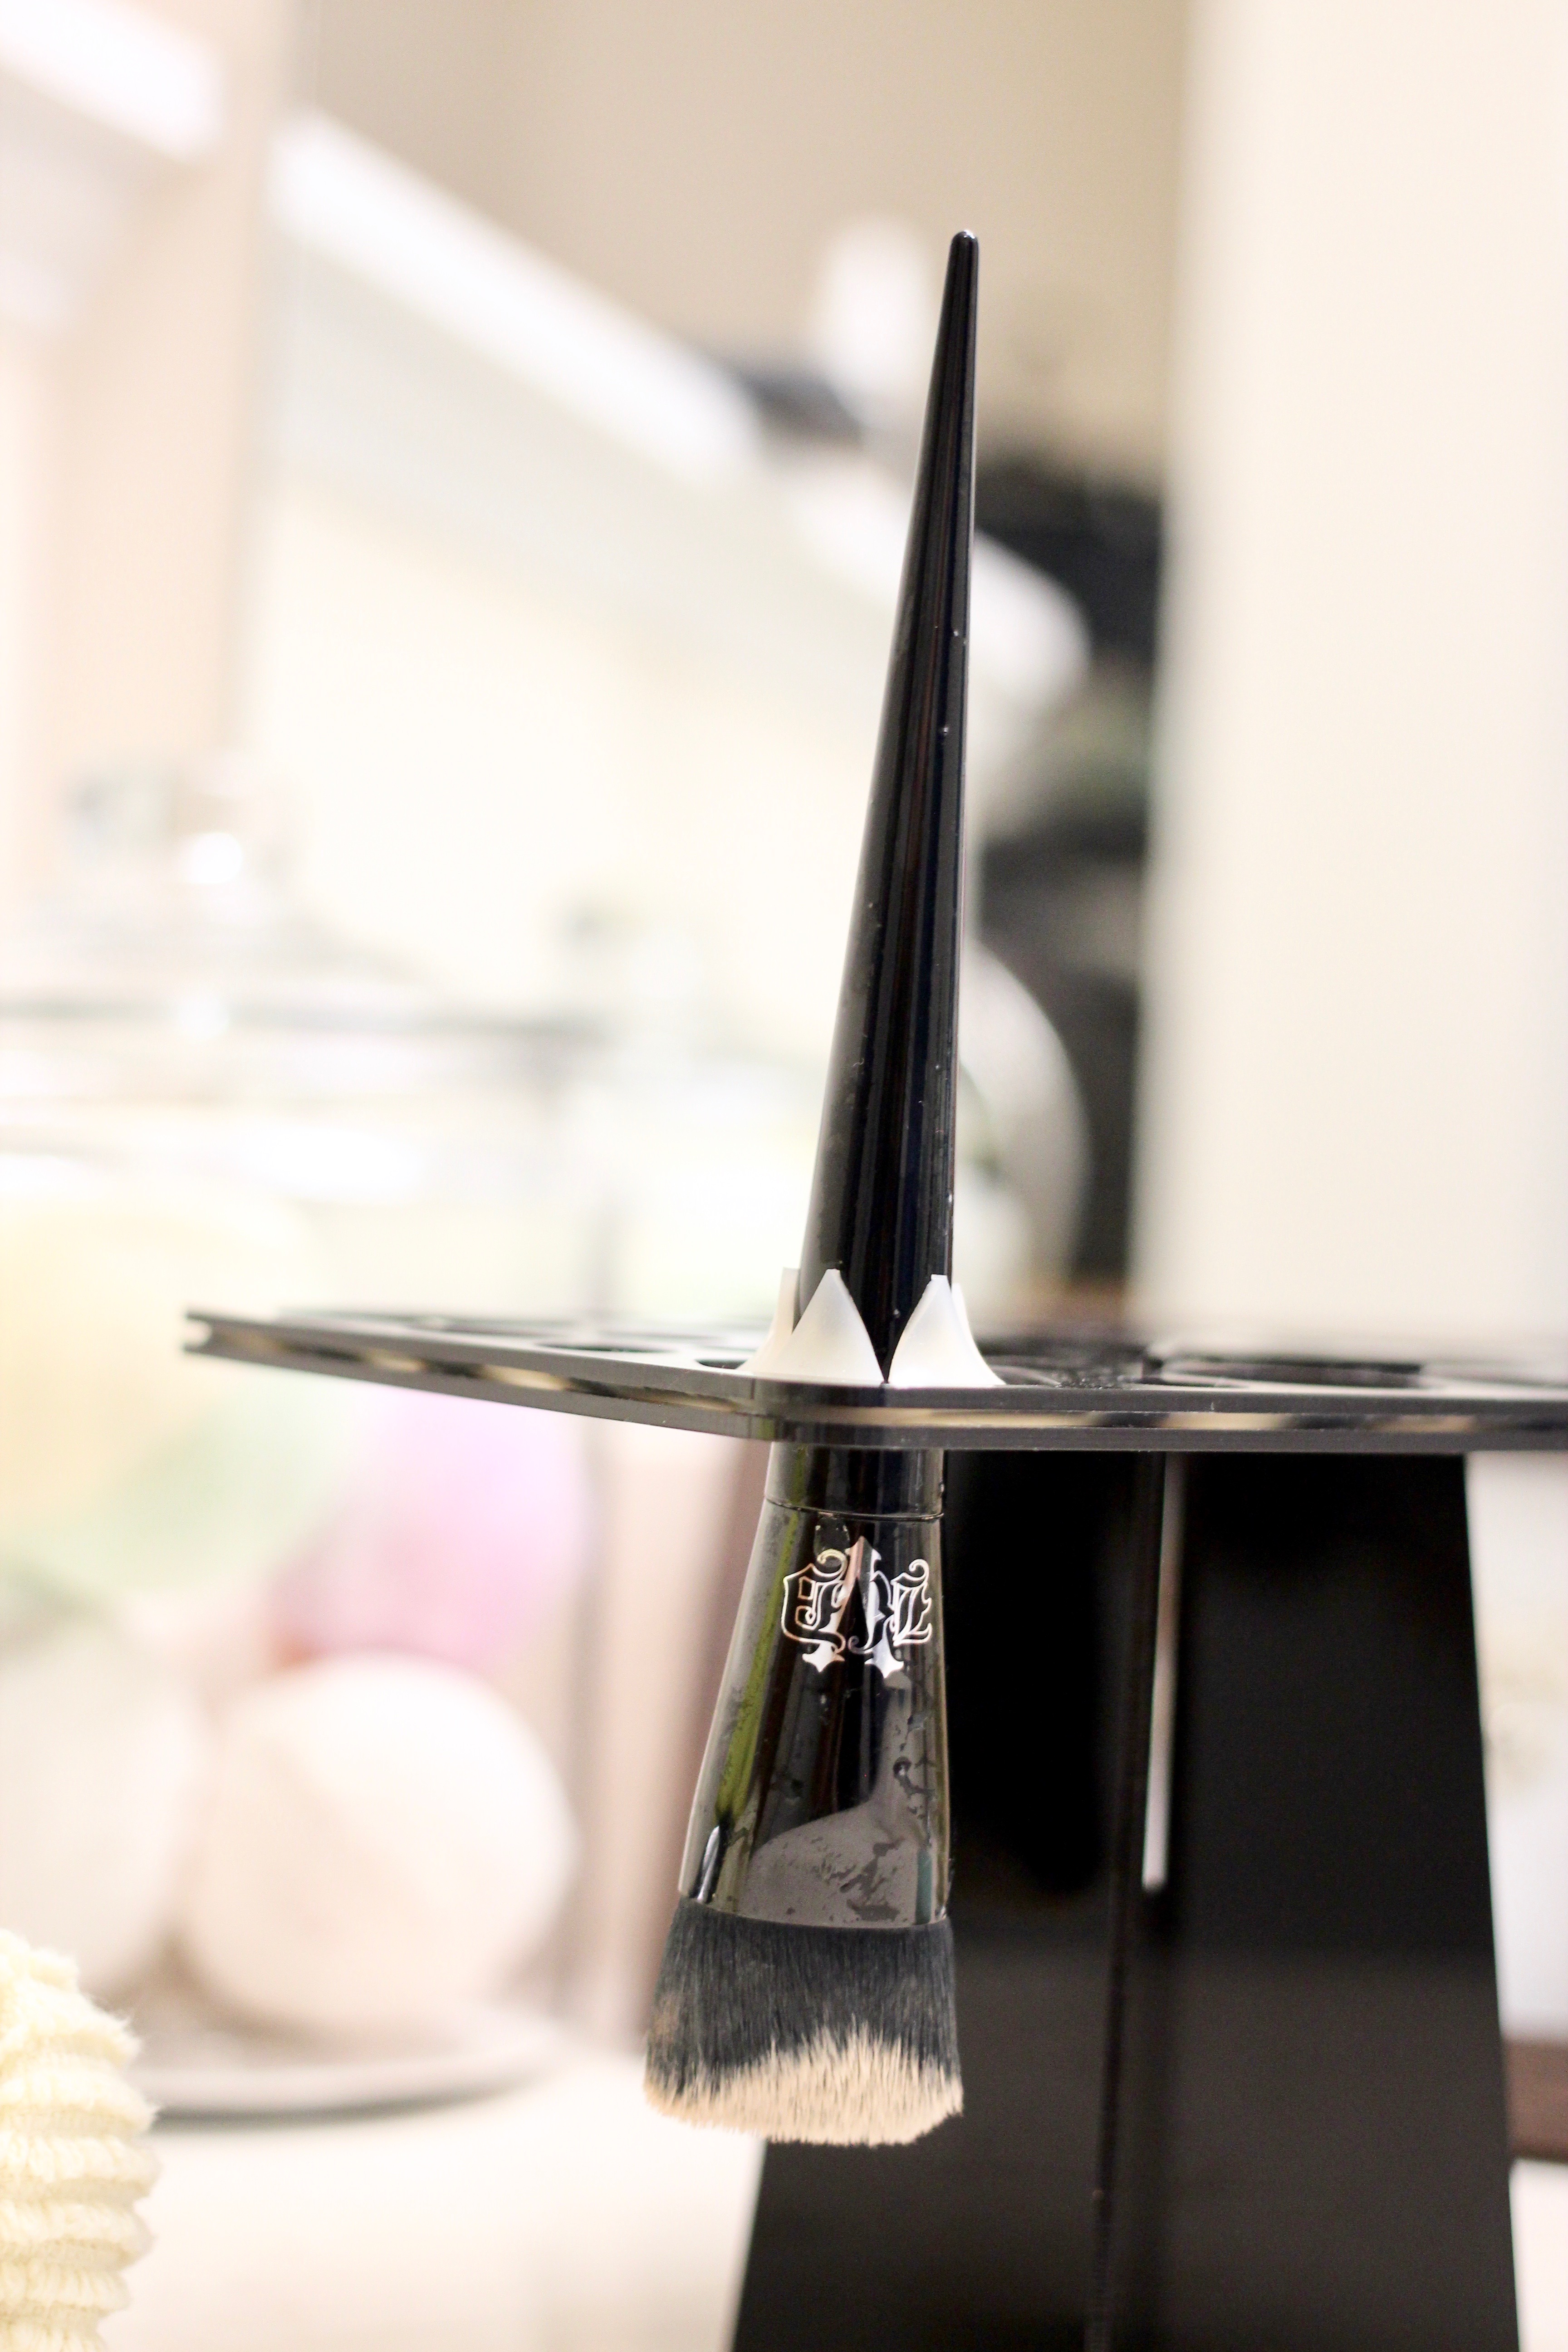
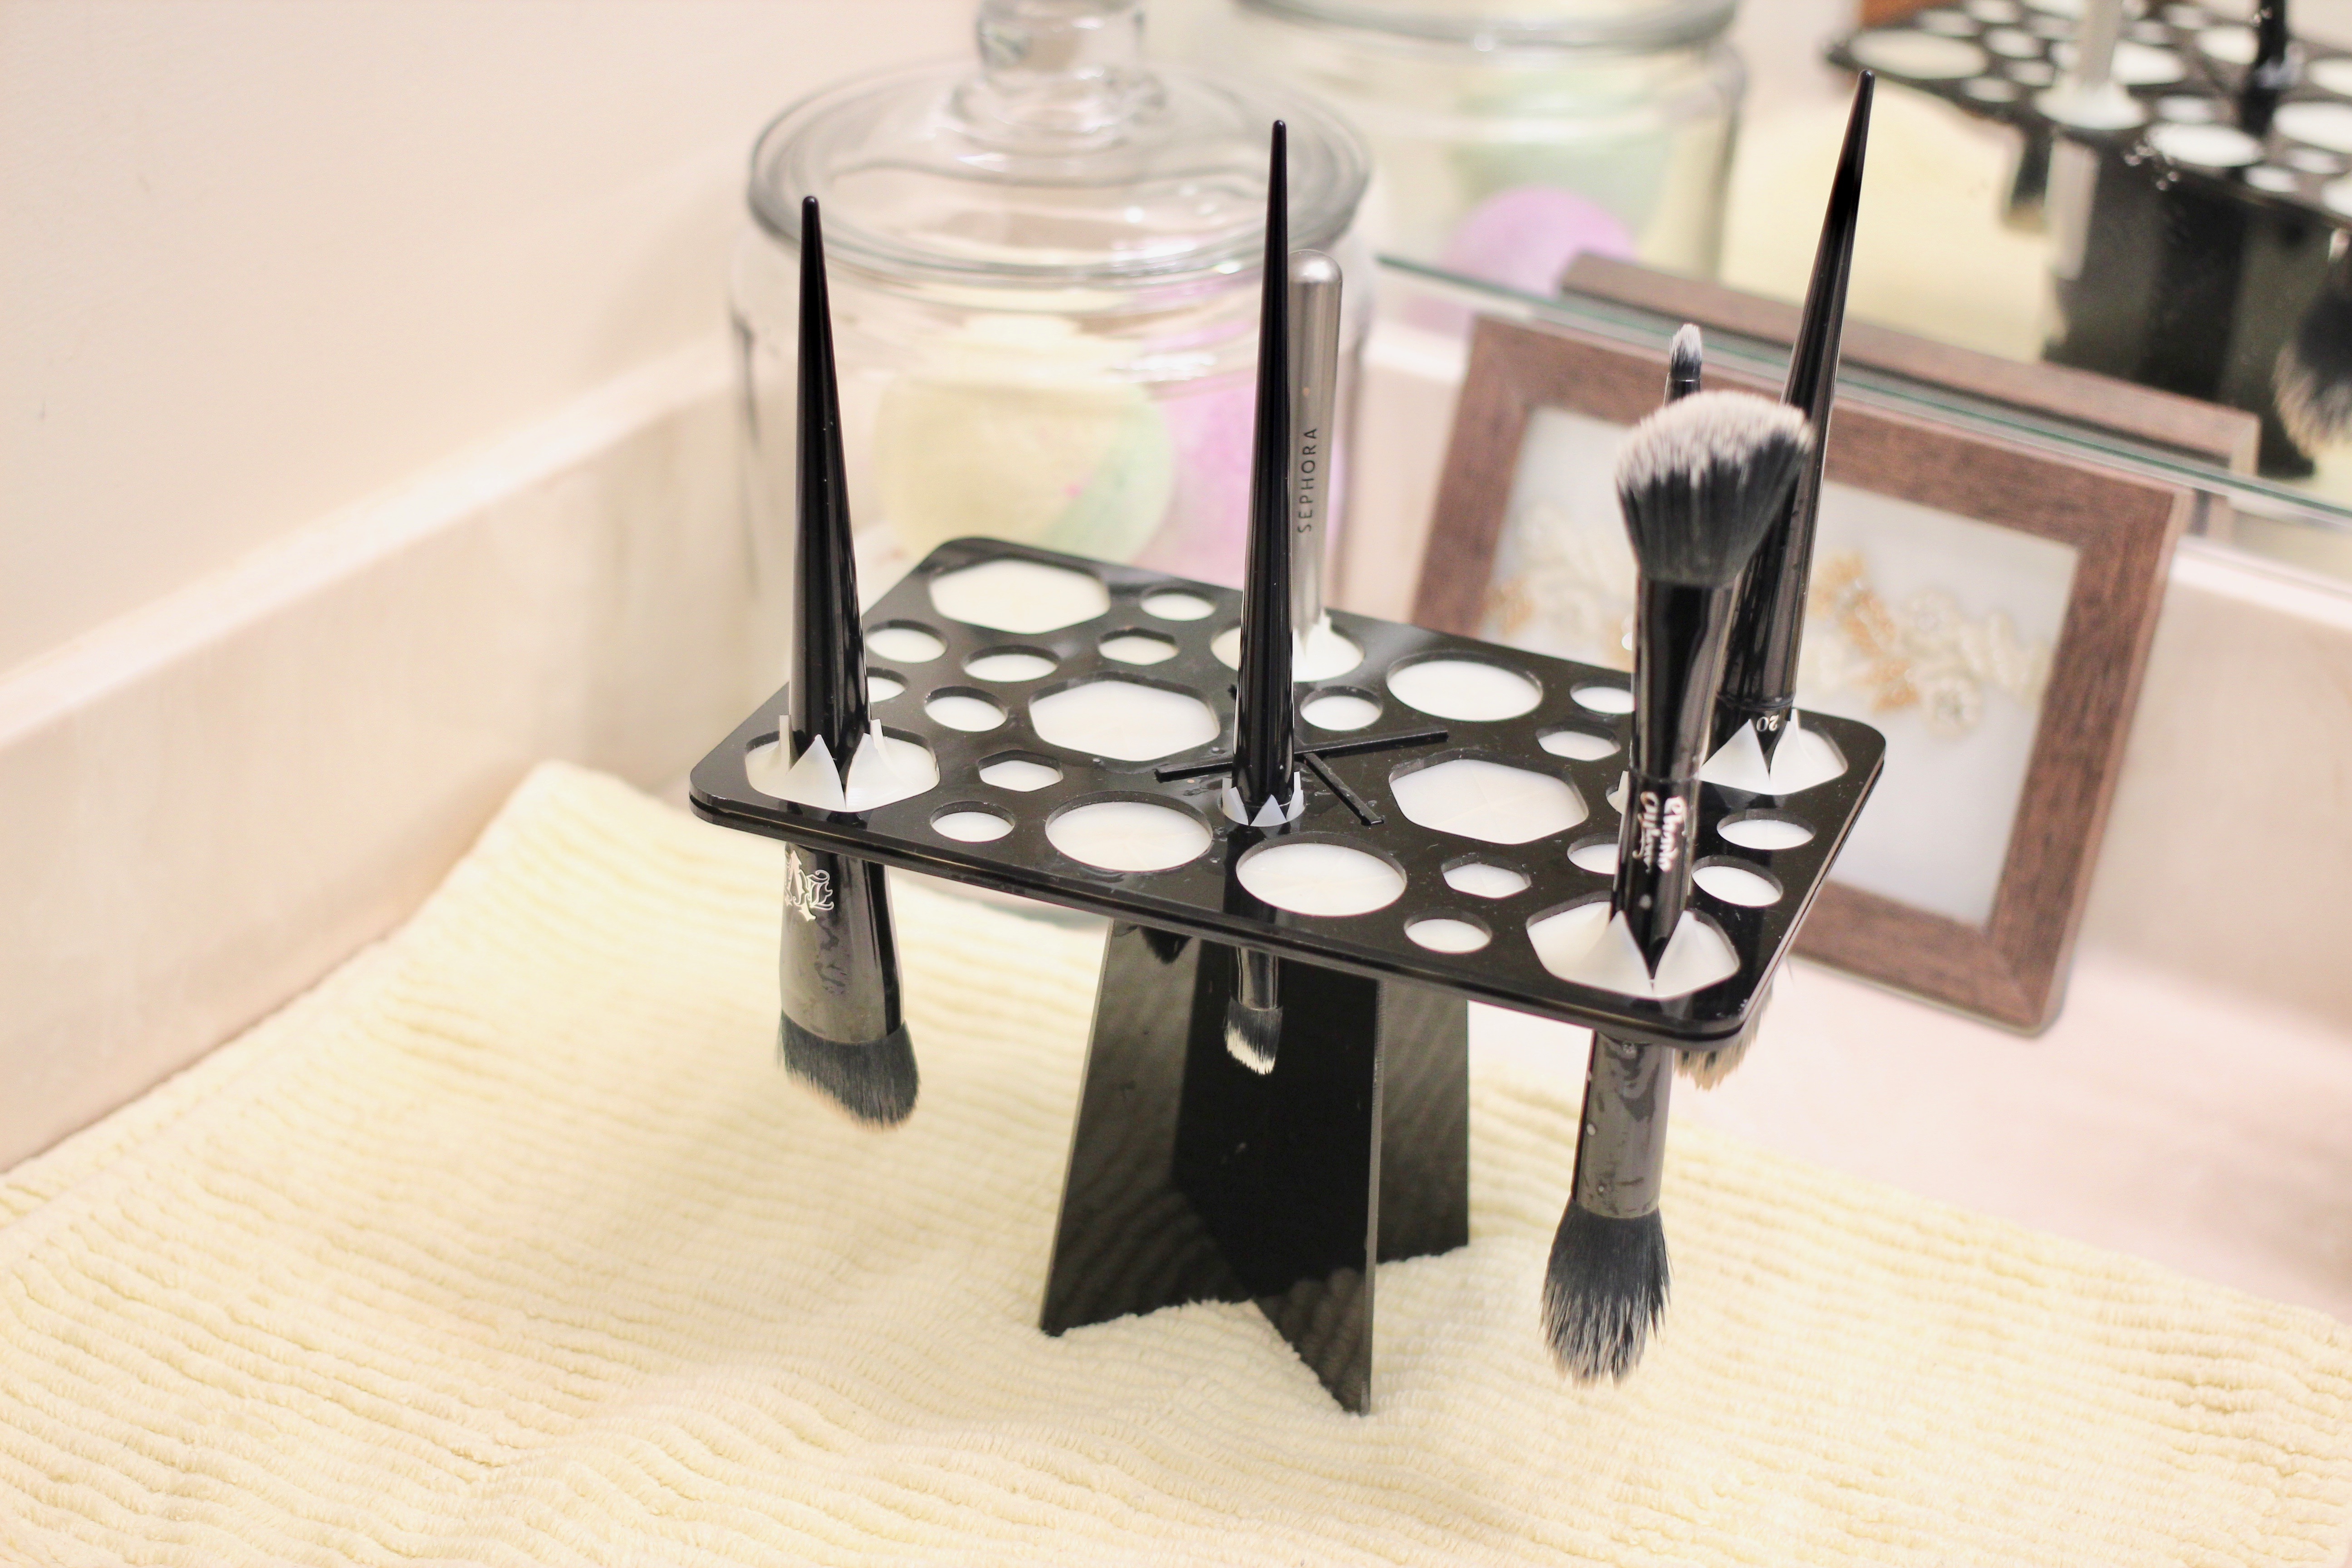
Step 2: Add more shampoo if needed & continue gently scrubbing until run-off water is clear. Squeeze out excess water from bristles and place brush into the tower tree holder to dry. 


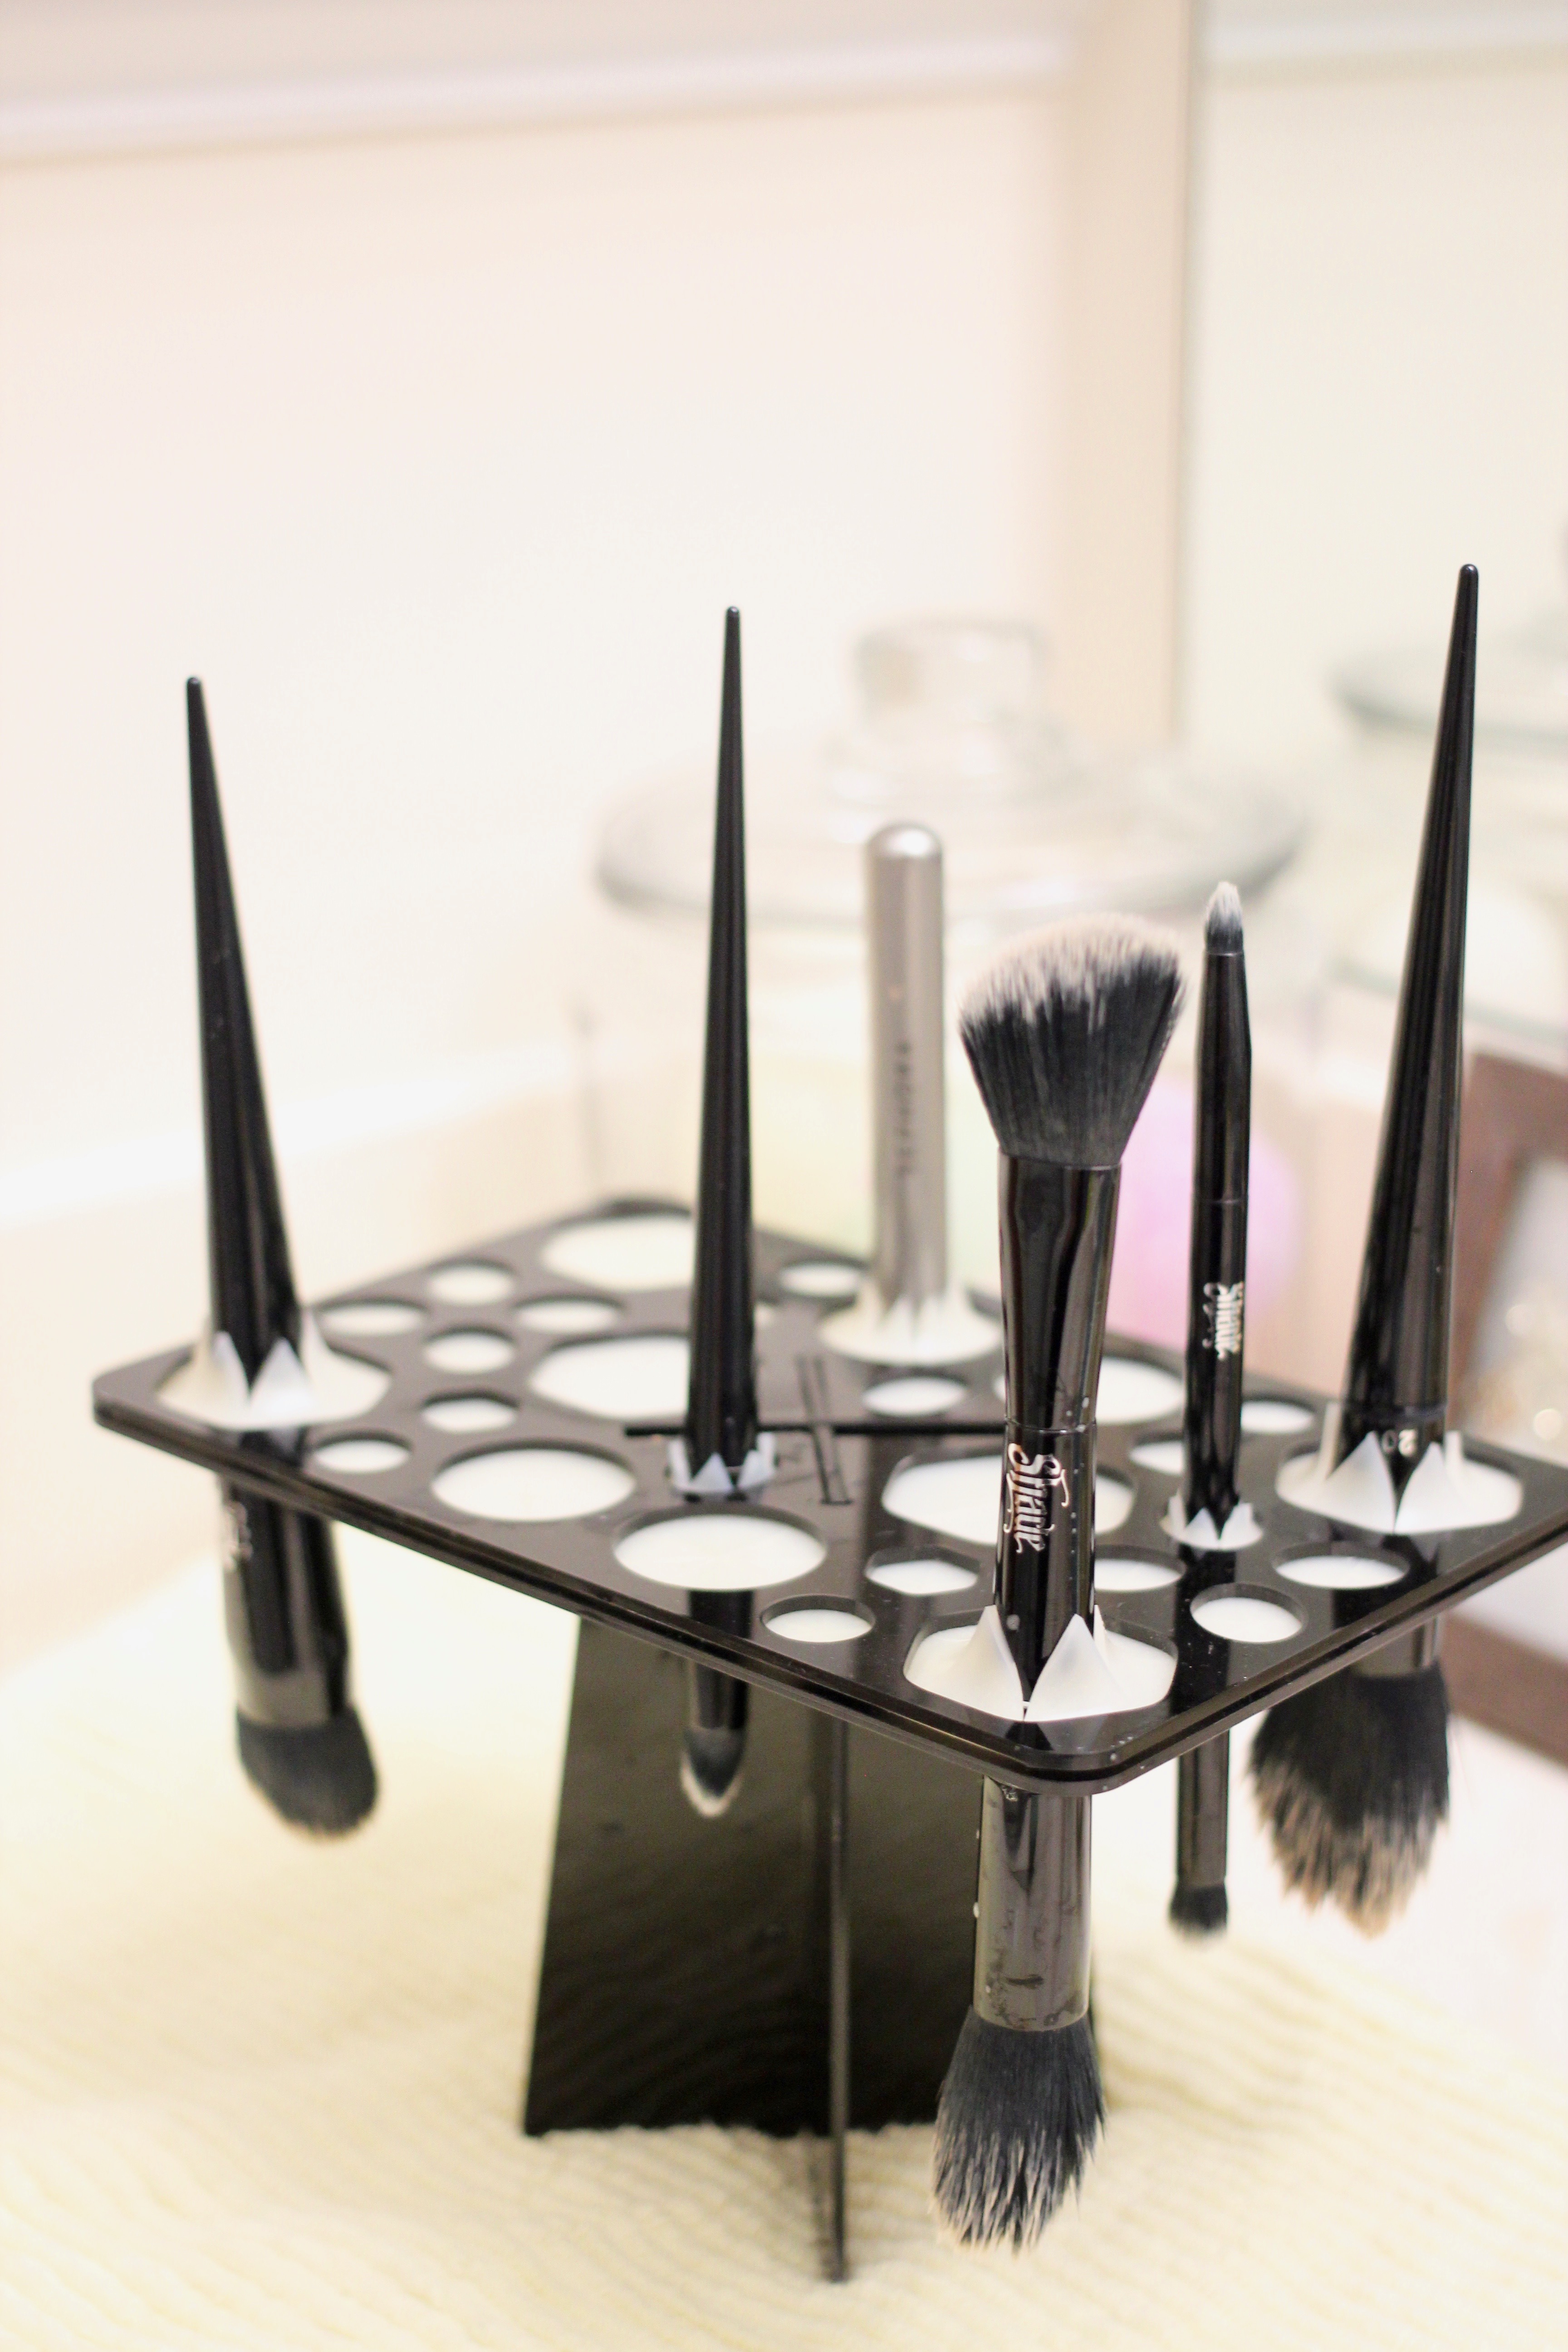
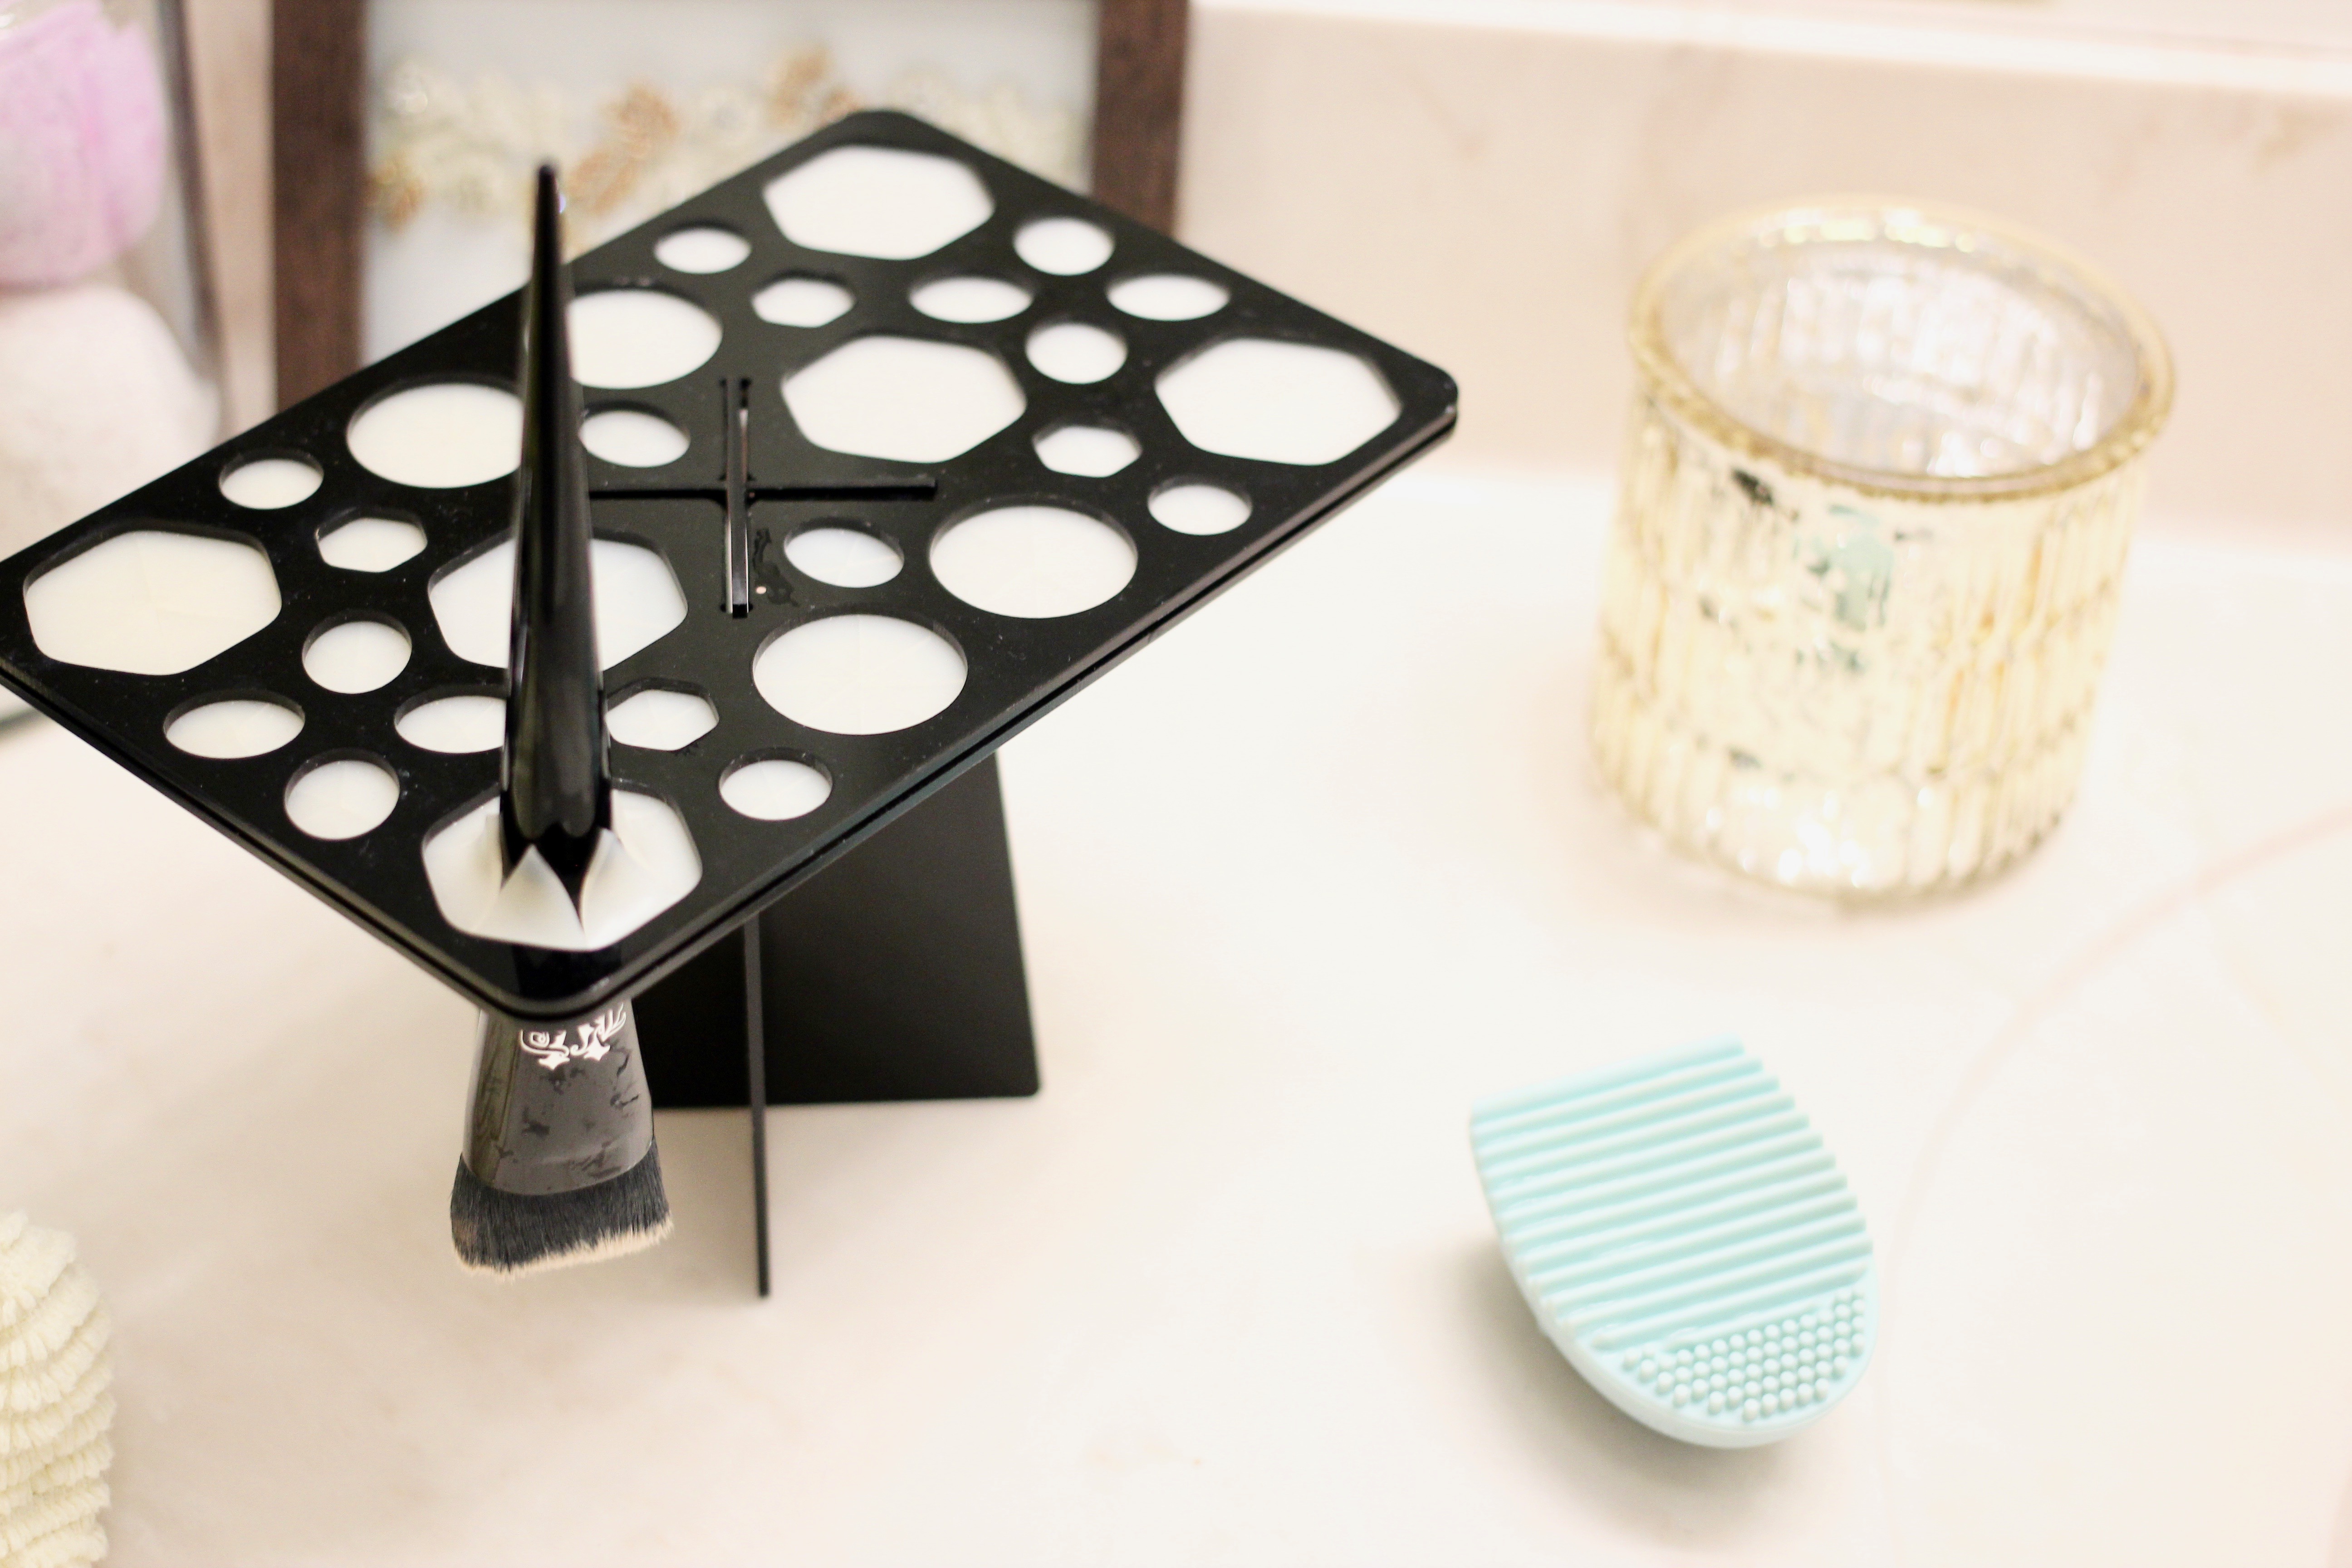
Step 3: Repeat steps 1-2 for remaining brushes & allow  at least 2 hours for the brushes to dry (as mentioned earlier, it’s usually best to clean your brushes in the evening so they have enough time to fully dry out before you need them again the next day) 


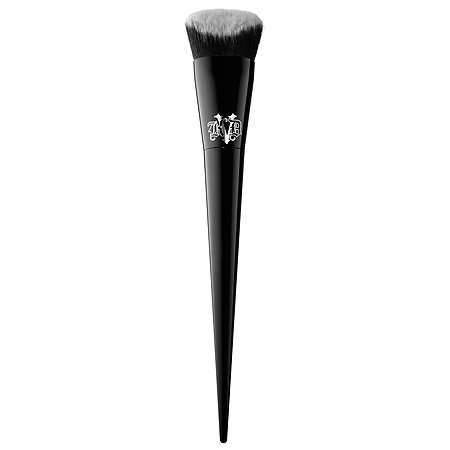
Beauty tools used in this post: 


Enjoyed this post? Pin/Share/Tweet any image above or the image below: 

clean your makeup brushes in 3 easy steps

*This post may contain affiliate links, for more information please see Blonde Boss Babe’s full disclosure statement in the About section of the blog. 

Post, Pin, Share:
Adulting, Blog, School, The Home

Top 5 Strategies for Increasing Productivity


Increasing productivity in your workspace, whether it’s a home office or an open cubicle, is so essential to effectively using your time and making the workweek a bit more manageable. These 5 strategies, focus on increasing efficacy and efficiency, and all incorporate the same themes: self-care and self-awareness – both of which are super important for healthy & positive productivity. If you’re ready to rev up your workspace, let’s get started:

1.Learn your distractions…and beat them.

Y’all, it took me forever to realize that visual clutter is a huge distraction and source of anxiety for me. Cleaning up that clutter is a great way to procrastinate from what really needs to be done since it makes you feel like you are doing something productive. Technically, yes you are, but in all reality, you’re just putting off what you need to be working on at that time. Once I figured this out, I made sure to clean up my desk space at the end of every day. Coming into a fresh and clean workspace each morning has boosted my productivity so much, especially on days when I know I there’s a ton of work to finish. So whether it’s clutter, or checking social media too often, learn your distractions and create methods that limit them.

2. Focus on your five senses. 

Sight, touch, sound, smell, and taste. OH yes, the big 5 within the top 5. Sight = Creating a space you don’t mind (at minimum) but actually enjoy spending time in for work. Work is work, so it isn’t always fun. Simple touches, like a favorite pillow or fun print hung on the wall can go a long way to boosting your mood. Touch = If you are uncomfortable physically, you won’t be at your best mentally. Is your back hurting? Invest in a good desk chair, seriously it’s worth it. Mine is by Serta and it has honestly been one of the best & most important purchases for the home office. Sound = Learning what helps/hurts your productivity (see #1 again). Some people can work well with the TV on in the background, while others need absolute silence. Personally, I love to have acoustic guitar songs streaming on Pandora. Find your groove and use it to your advantage. Smell = Y’all already know how much I love diptyque candles (from this post) and 90% of the time that’s exactly what I have burning in my workspace. However, sometimes when I find I’m getting a little too cozy I will put a couple drops of lemon essential oil into my diffuser instead. Lemon is supposed to be helpful in increasing energy and focus, and I know that at the very least, it wakes up my senses and makes my space feel extra fresh. Lastly, Taste = Fresh mints in your desk drawers are lifesavers (hehe see what I did there?) lolz sorry, but seriously it’s the same idea as teachers passing out mints before tests – something about how refreshing they are promotes clarity which means better productivity for you.

3. MOVE!

If you work from home or are currently holding a job where you are required to be in a seat all day, try to incorporate movement as much as possible. Set reminders on your computer, phone, or tablet. These can either be hourly, or at specific times during the day. Personally, I set mine for 10 am & 3 pm everyday because that tends to be the time I hit a wall and begin to slump in productivity. At home, I keep a stepper beside my desk, as well as a bike desk that I purchased last year during Amazon Prime Day (SO worth the investment). If your office space doesn’t have room for either of those options, a mini cycle that fits under your desk may be ideal. This one is essentially silent; so even if you are in an open cubicle, you won’t be disturbing the person next to you. (WIN)

4. Know your tasks before you begin.

Often, if we sit down without a plan, what we had in our heads the night before turns into an hour of browsing Amazon, and another hour or two scrolling through social media and sharing funny videos with friends. Make a list, stick to the list, and keep it where you can see it. This agenda by Kate Spade is huge and holds all of my important dates as well as daily/weekly/monthly tasks & goals. I also keep a mini bullet journal in this notebook – it’s the perfect size to throw in my purse or keep in the car when I’m on the go and need to jot something down quickly.

5. Encourage yourself. 

You are your own biggest cheerleader, and you are also your own worst critic. If you spent more time than you meant to checking your email or completed a task totally wrong, don’t beat yourself up about it. Keep reminders in your space that you can do this, whether through quotes, notes from friends, or even favorite photos. If you feel yourself going down the slippery slope of self-doubt even with those reminders in your space, take a 20 minute break and go somewhere else in your home or to a coffee shop you love. Learning what hurts and helps your productivity can take time, and that’s okay! Some things that work for others may not work for you & that’s okay too! You got this. (For cute DIY memo holders to brighten up your space – check out this post)

That’s the end of my top 5 methods for increasing productivity in the workspace. What are your favorite strategies? I would love if you shared them in the comments below!


Featured in this post: 


SaveSave

SaveSave

SaveSave

SaveSave

SaveSave

SaveSave

SaveSave

SaveSave

SaveSave

SaveSave

SaveSave

SaveSave

SaveSave

SaveSave

SaveSave

SaveSave

SaveSave

SaveSave

SaveSave

SaveSaveSaveSave

SaveSave

SaveSave

SaveSave

Post, Pin, Share:
Blog, DIY Projects, Home Decor, The Home

Easy DIY Bulletin Board

Lately, I’ve been a bit amazed at how much “extra” we have in the way of home decor pieces. One particular category of which is frames. I didn’t realize until we started the packing process, before our move this past summer (more on that here & here), how many extra frames we had stored. The two featured below are such good (and semi-embarrassing) examples. Both of these were purchased my junior year of undergrad at Michael’s, yet neither were ever hung. I loved the shape and style of them too much though to get rid of them, so they have survived not one, but now three moves (hence the blue tape protecting the glass) without ever being used.

Well, taste and style preferences change, and mine certainly have since my junior year at Carolina. I didn’t want to waste these frames though, so instead I decided to make one into a gold cheetah bulletin board, and the other into a matching frame for my favorite Charlotte print.

For this project you’ll need the following supplies:

1 yard of your choice fabric (I used metallic cheetah in gold)

Spray Paint & Grip

Cork Board Roll & Scissors

Staple Gun

*If you don’t have any extra frames available, you can skip the spray paint portion by snagging one already in the style/color you like. I’ve linked some similar ones herehere.

Step 1: Remove the cardboard backing and glass from the frame. Don’t throw away the backing, we will be using it in a later step. Also, when you lift up the little tabs, try to keep them from touching any part of the frame (other than where they’re connected of course). This will help prevent them from sticking to the frame when its spray painted.

Step 2: In a well-ventilated area, preferably outside, begin spraying your frame with the first coat of paint. Use smooth even strokes, covering the entire outer piece. Allow this first layer to set completely before spraying again. You may need be extra patient if your frame is plastic, as it takes a few extra rounds for the paint to appear as though it’s adhering to the piece. (One of the reasons I chose to use the chalk spray paint was that I hoped it would make these plastic frames look like wood – it totally worked!)

Step 3: Once your desired coverage is reached, set aside the frame to fully dry. It’s time to grab your frame’s cardboard backing and cork board roll! Unroll the cork board, and line it up with the cardboard backing. Be sure to keep it taut and flat. Cut the cork to fit your backing.

Step 4: Using your staple gun, staple down the edges of the cork to the cardboard backing. (As you can see, my backing needed extra strips of cork board, so it looks a little messy, but the fabric will cover this so don’t worry if yours looks similar to mine at this point in the project.)

Step 5: Get out your fabric, and lay the backing cork-side down. Cut the fabric to fit, leaving extra along the edges so that you can fold it down on the back. *Depending on how wrinkly your fabric is, you may want to steam it before securing it to the cork board.

Step 6: Grab your staple gun again and gently staple the edges of the fabric down to the cardboard side of the  frame backing. Take your time with this step so that you don’t end up with a massive crinkle down the middle of your new cork board.

Step 7: Flip it back over, and check to make sure everything is smooth and secure. Now you’re ready to put your new bulletin board into your freshly painted frame!

Step 8: All you have to do now is figure out where you want it displayed 🙂 I put mine in my home office. I’m a huge fan of symmetry in interior design so both frames are to the right and left of the main window in this space.


Supplies for this Project:


Have you just completed this, or any of the other projects featured on Blonde Boss Babe? If so, tag me! I would love to see your version!

Post, Pin, Share:
Adulting, Beauty, Blog, Gifts, Relationships, The Home

Gift Guide For The Bride-to-Be

Hey y’all! Not only are the holidays upon us, but the engagement season is as well! Have you, or one of your close friends, recently gotten engaged? Congratulations! This is the start of a crazy, yet very fun journey. To have the chance to look back on all of the wonderful (and at times stressful) moments is super special, which is why I LOVE the bride-to-be book to keep track of all of those precious memories.

Also, let’s be honest – what’s a reading/writing session of those memories without a great cup of coffee in your engaged mug. Although, to be fair, at times you’ll probably wish what you are drinking is contained in the diamond flask instead (hehe only halfway kidding). So, whether for yourself or a loved one, it’s celebrating time!

Shop The Post:


xoxo, M

Post, Pin, Share: