Browse Tag by spray paint
Blog, DIY Projects, Home Decor, The Home

Easy DIY Ikea Rast Nightstand Hack

Ikea Rast HackHey everyone, and happy New Year! I hope you all had a wonderful season of celebrating, and were hopefully able to squeeze some rest in-between the 
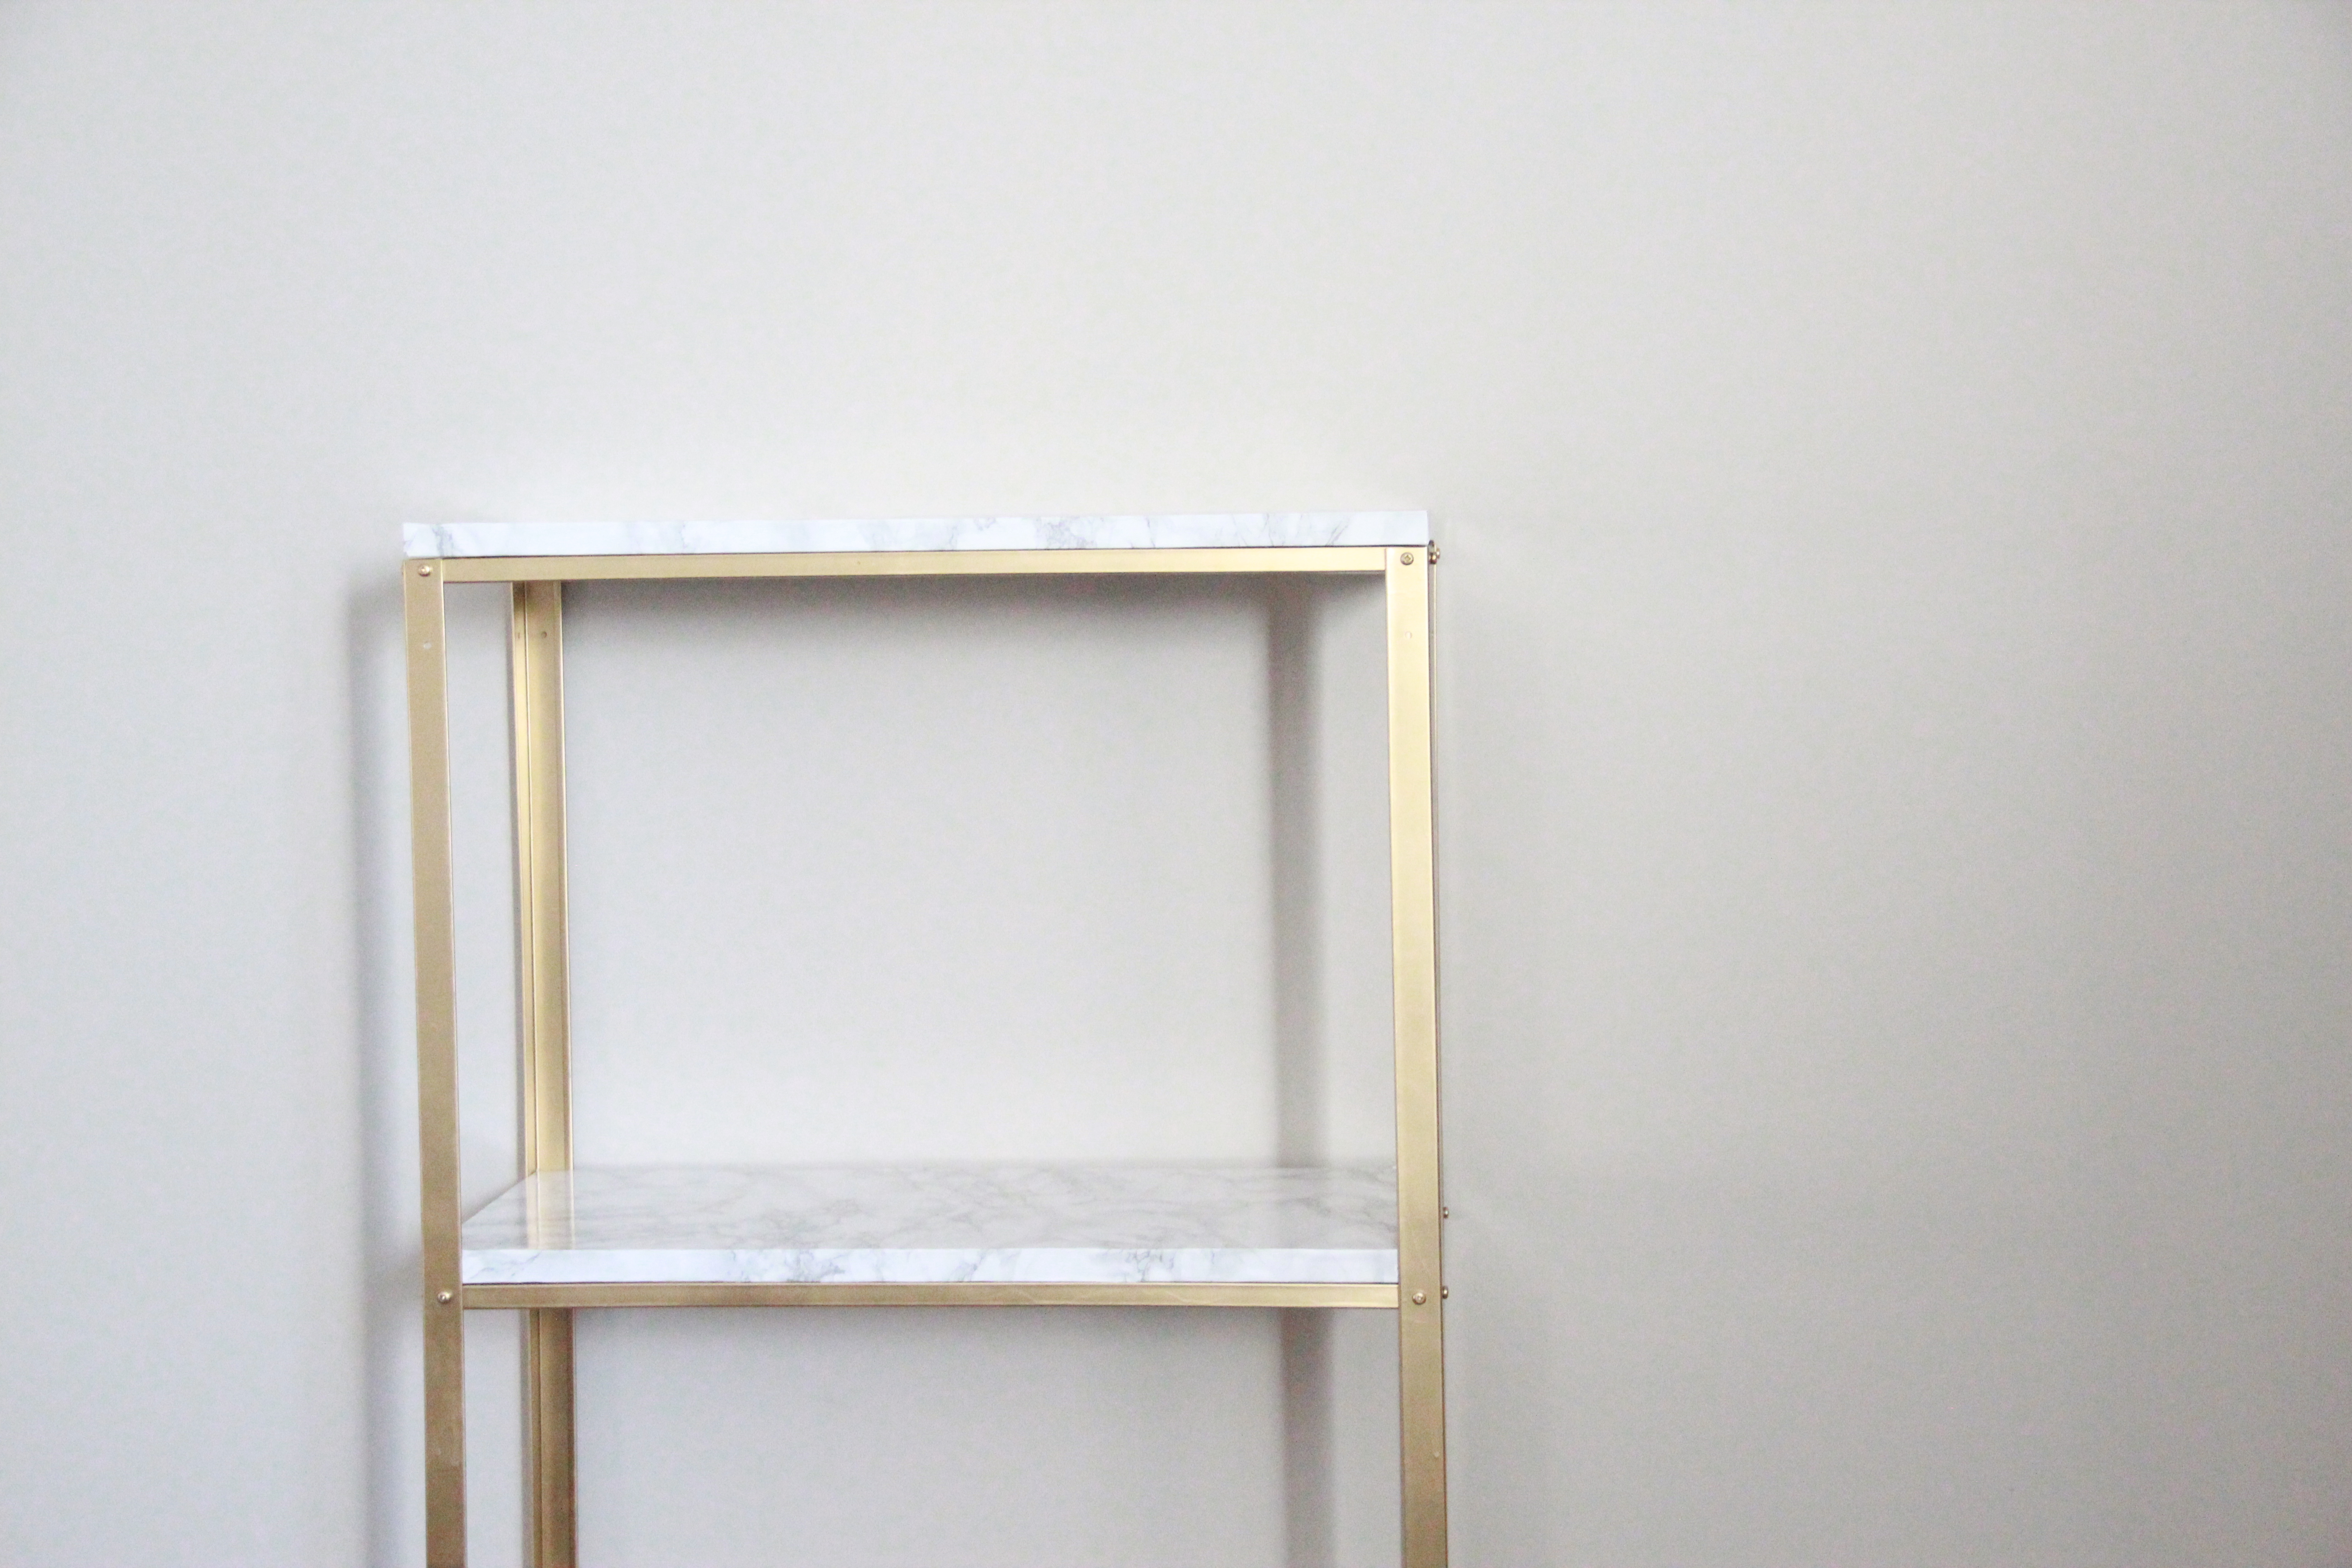
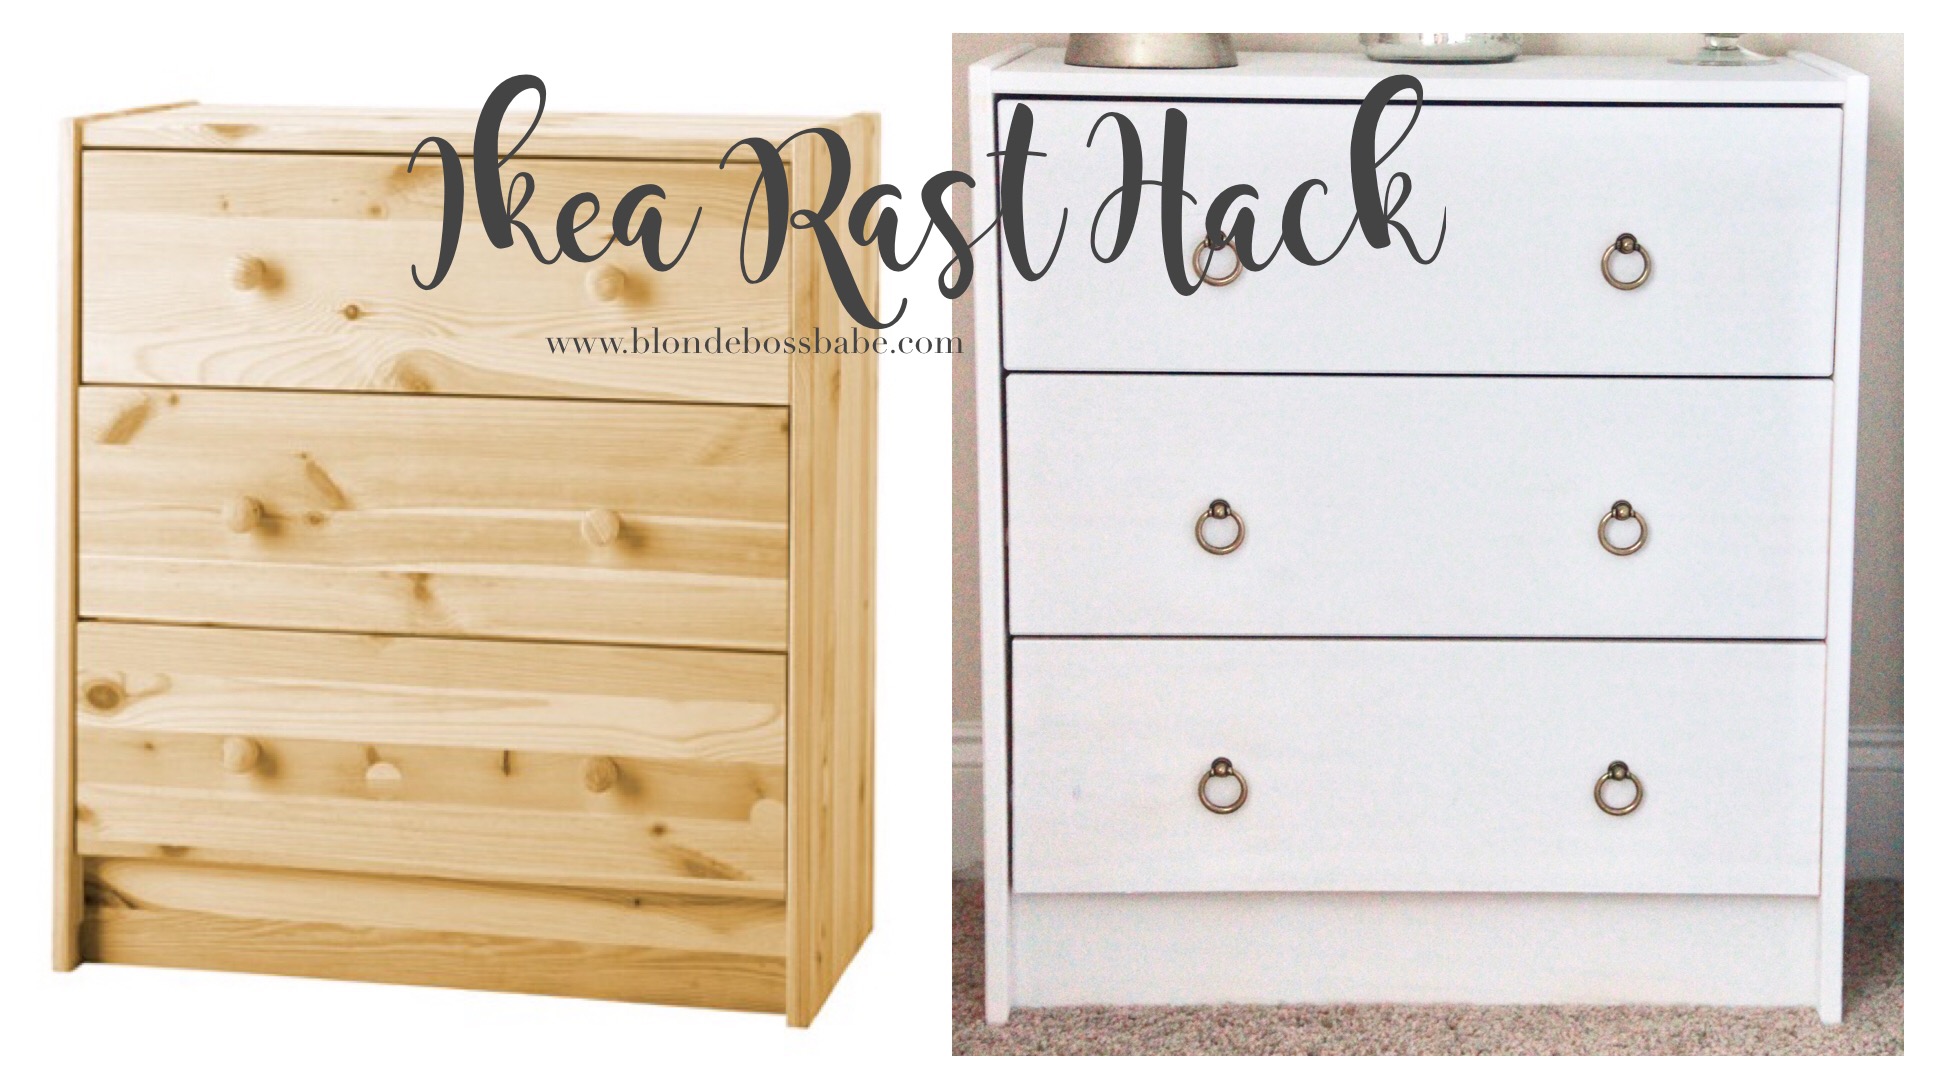
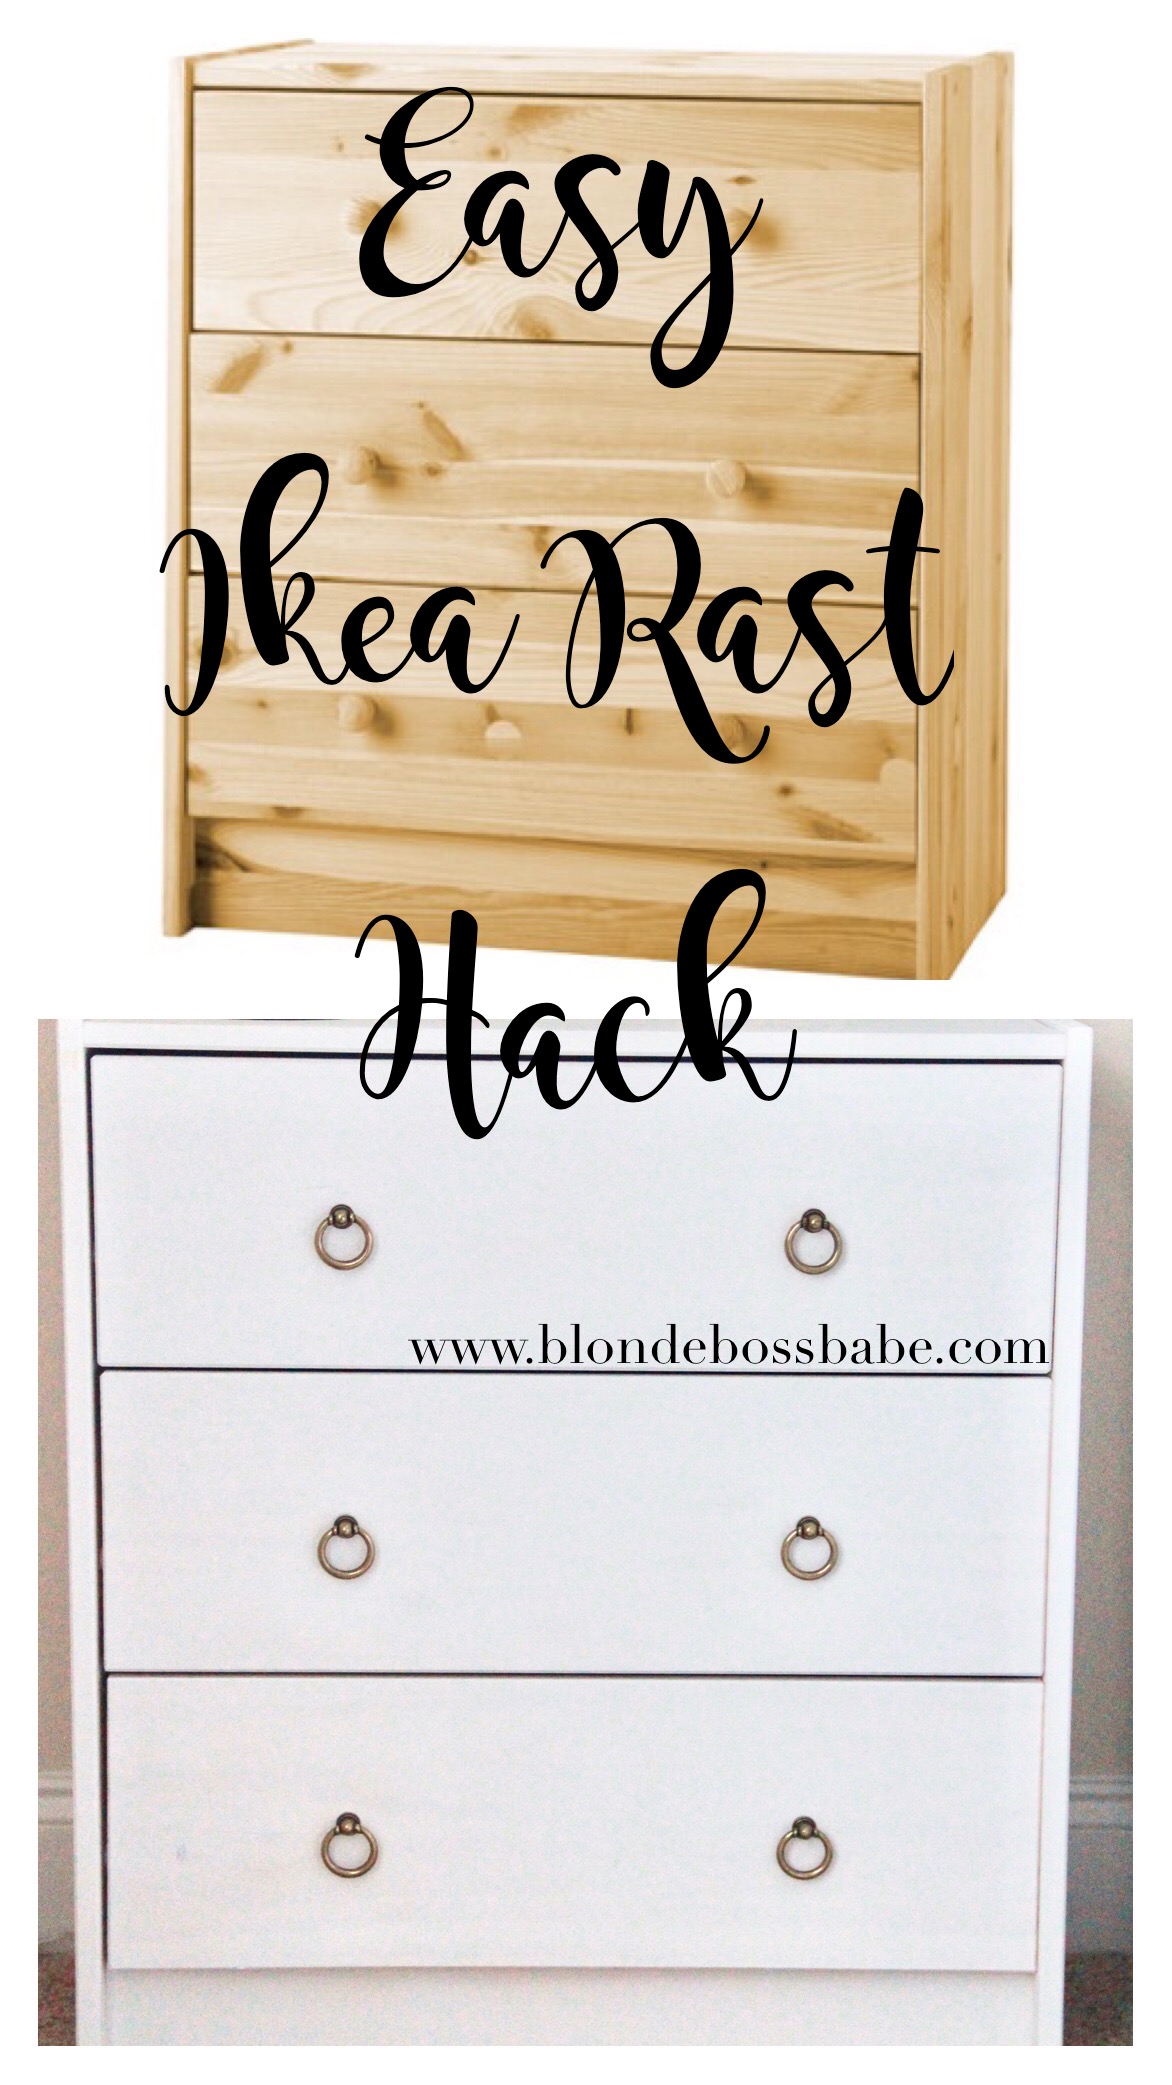
chaos fun of the holidays. Today’s Ikea hack is super easy and super cheap (two of my favorite things!) I had so much fun changing this piece up.

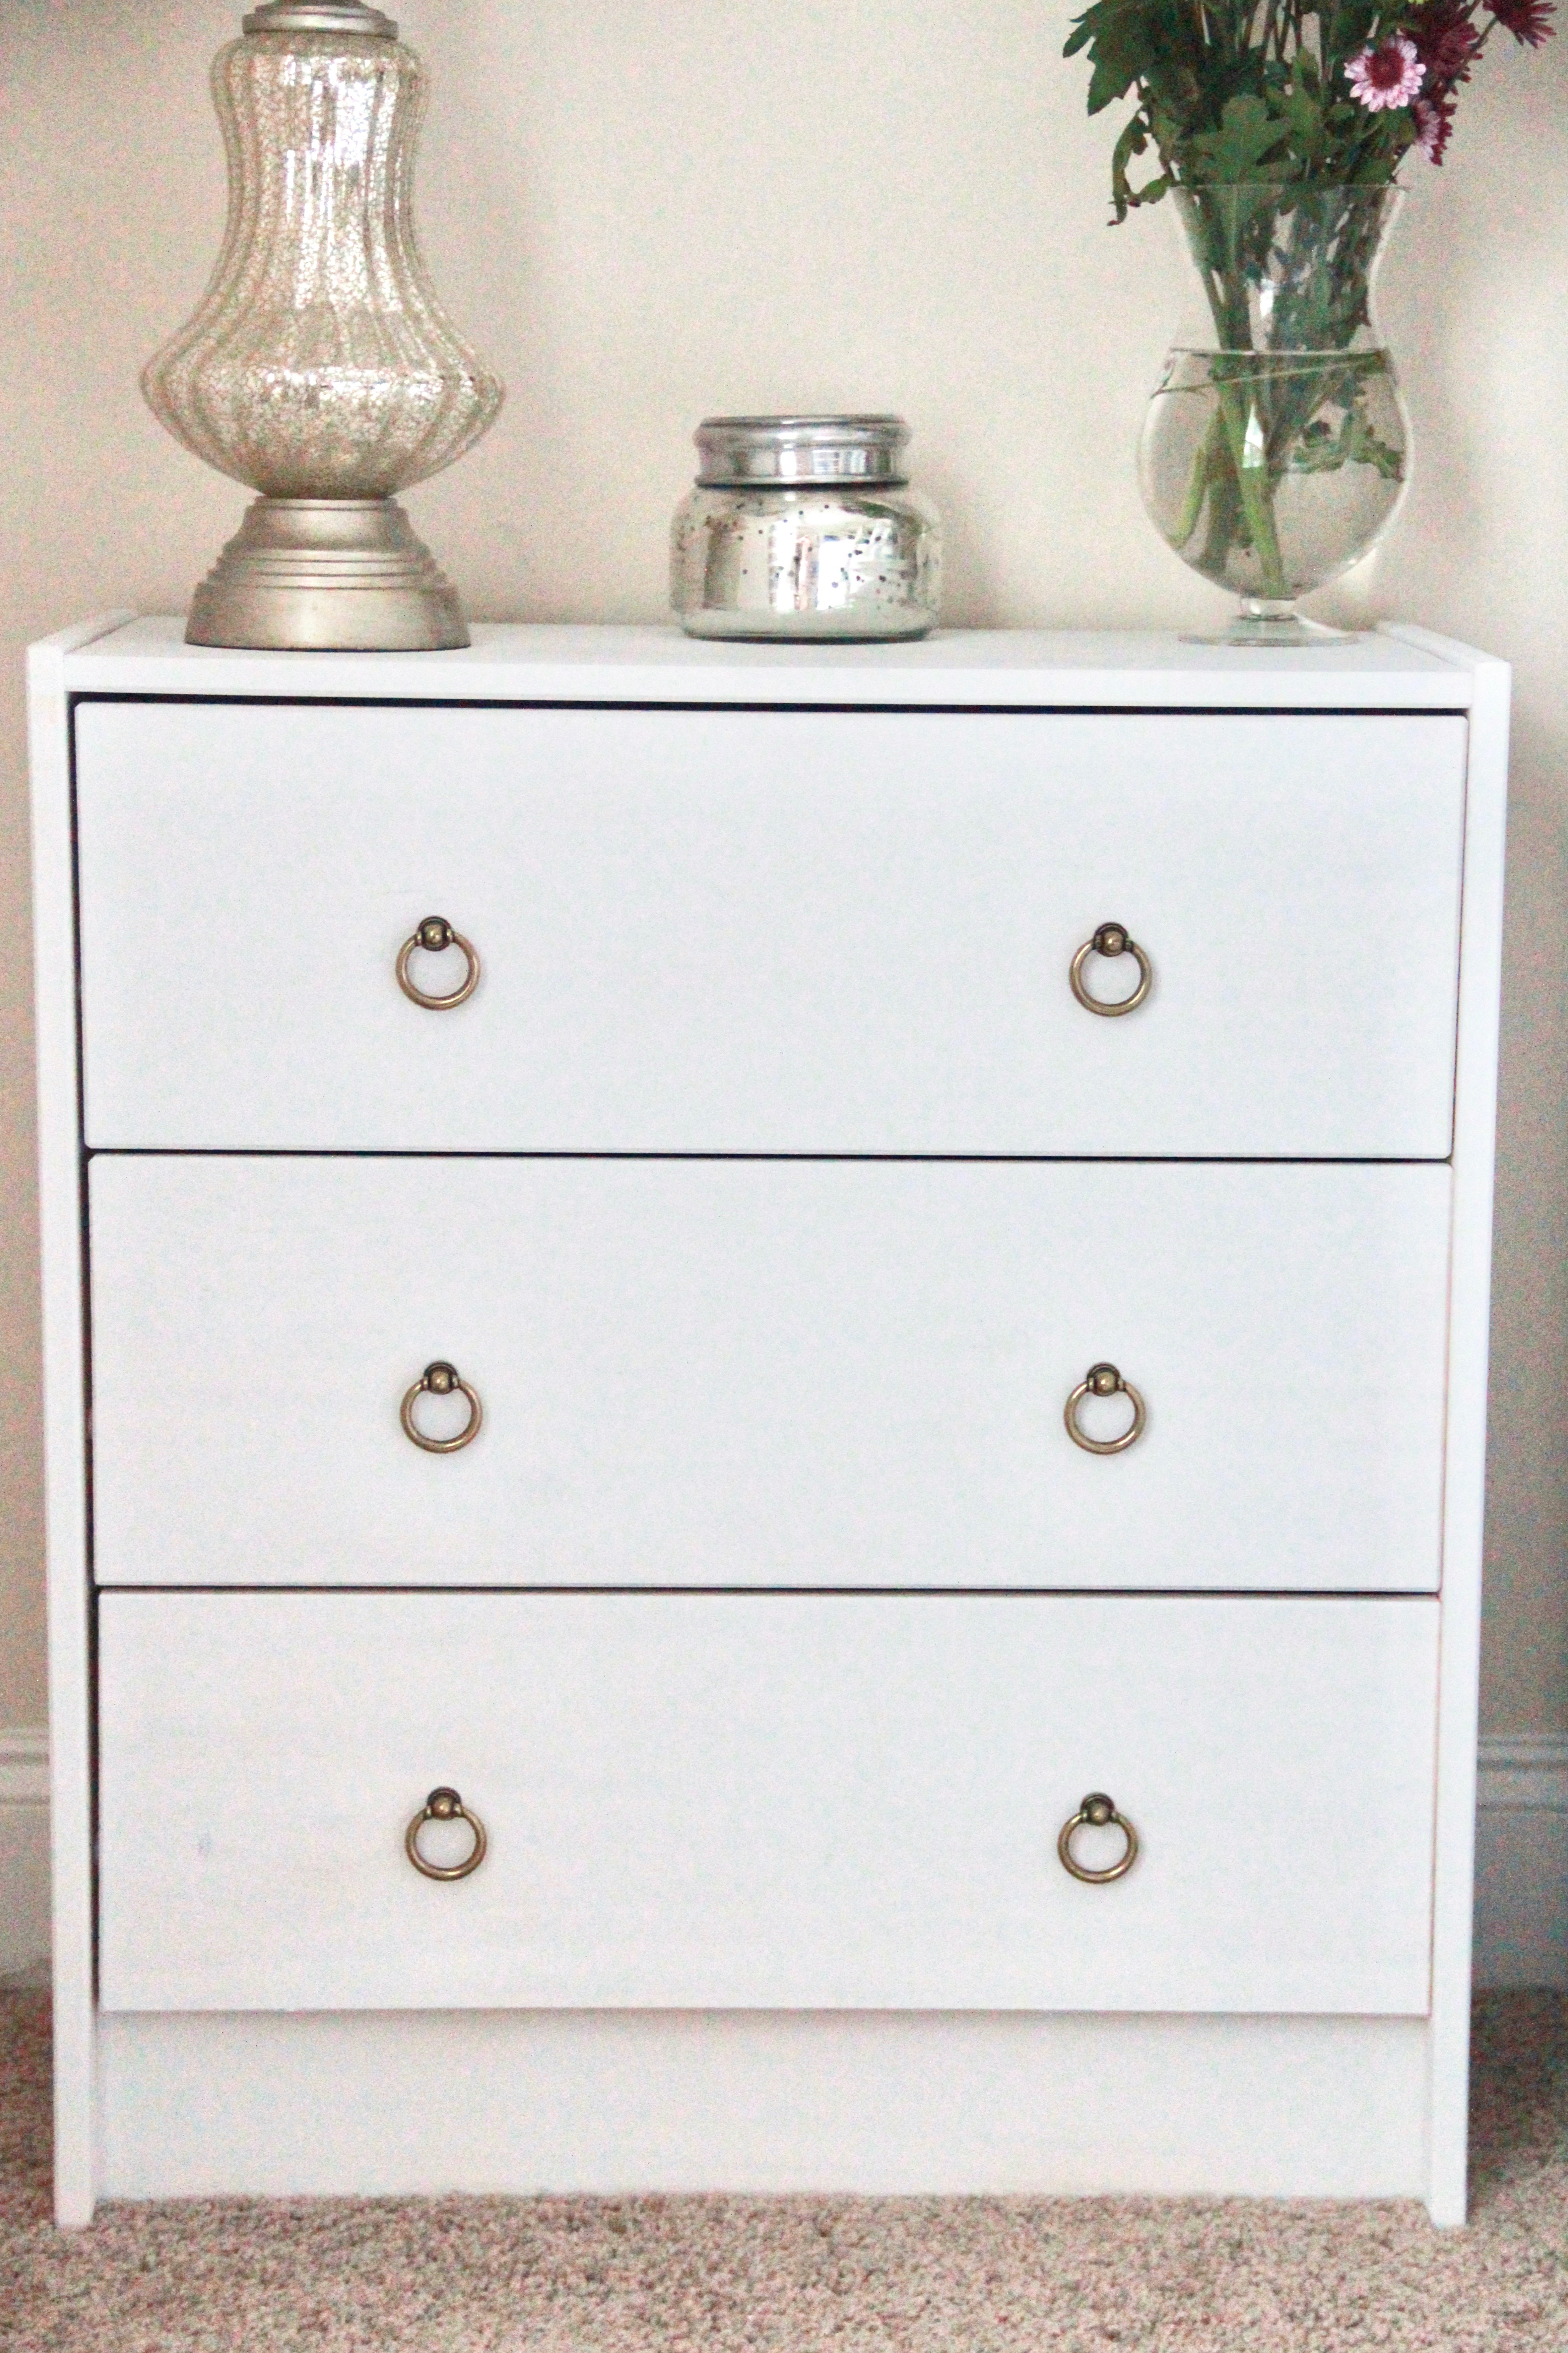
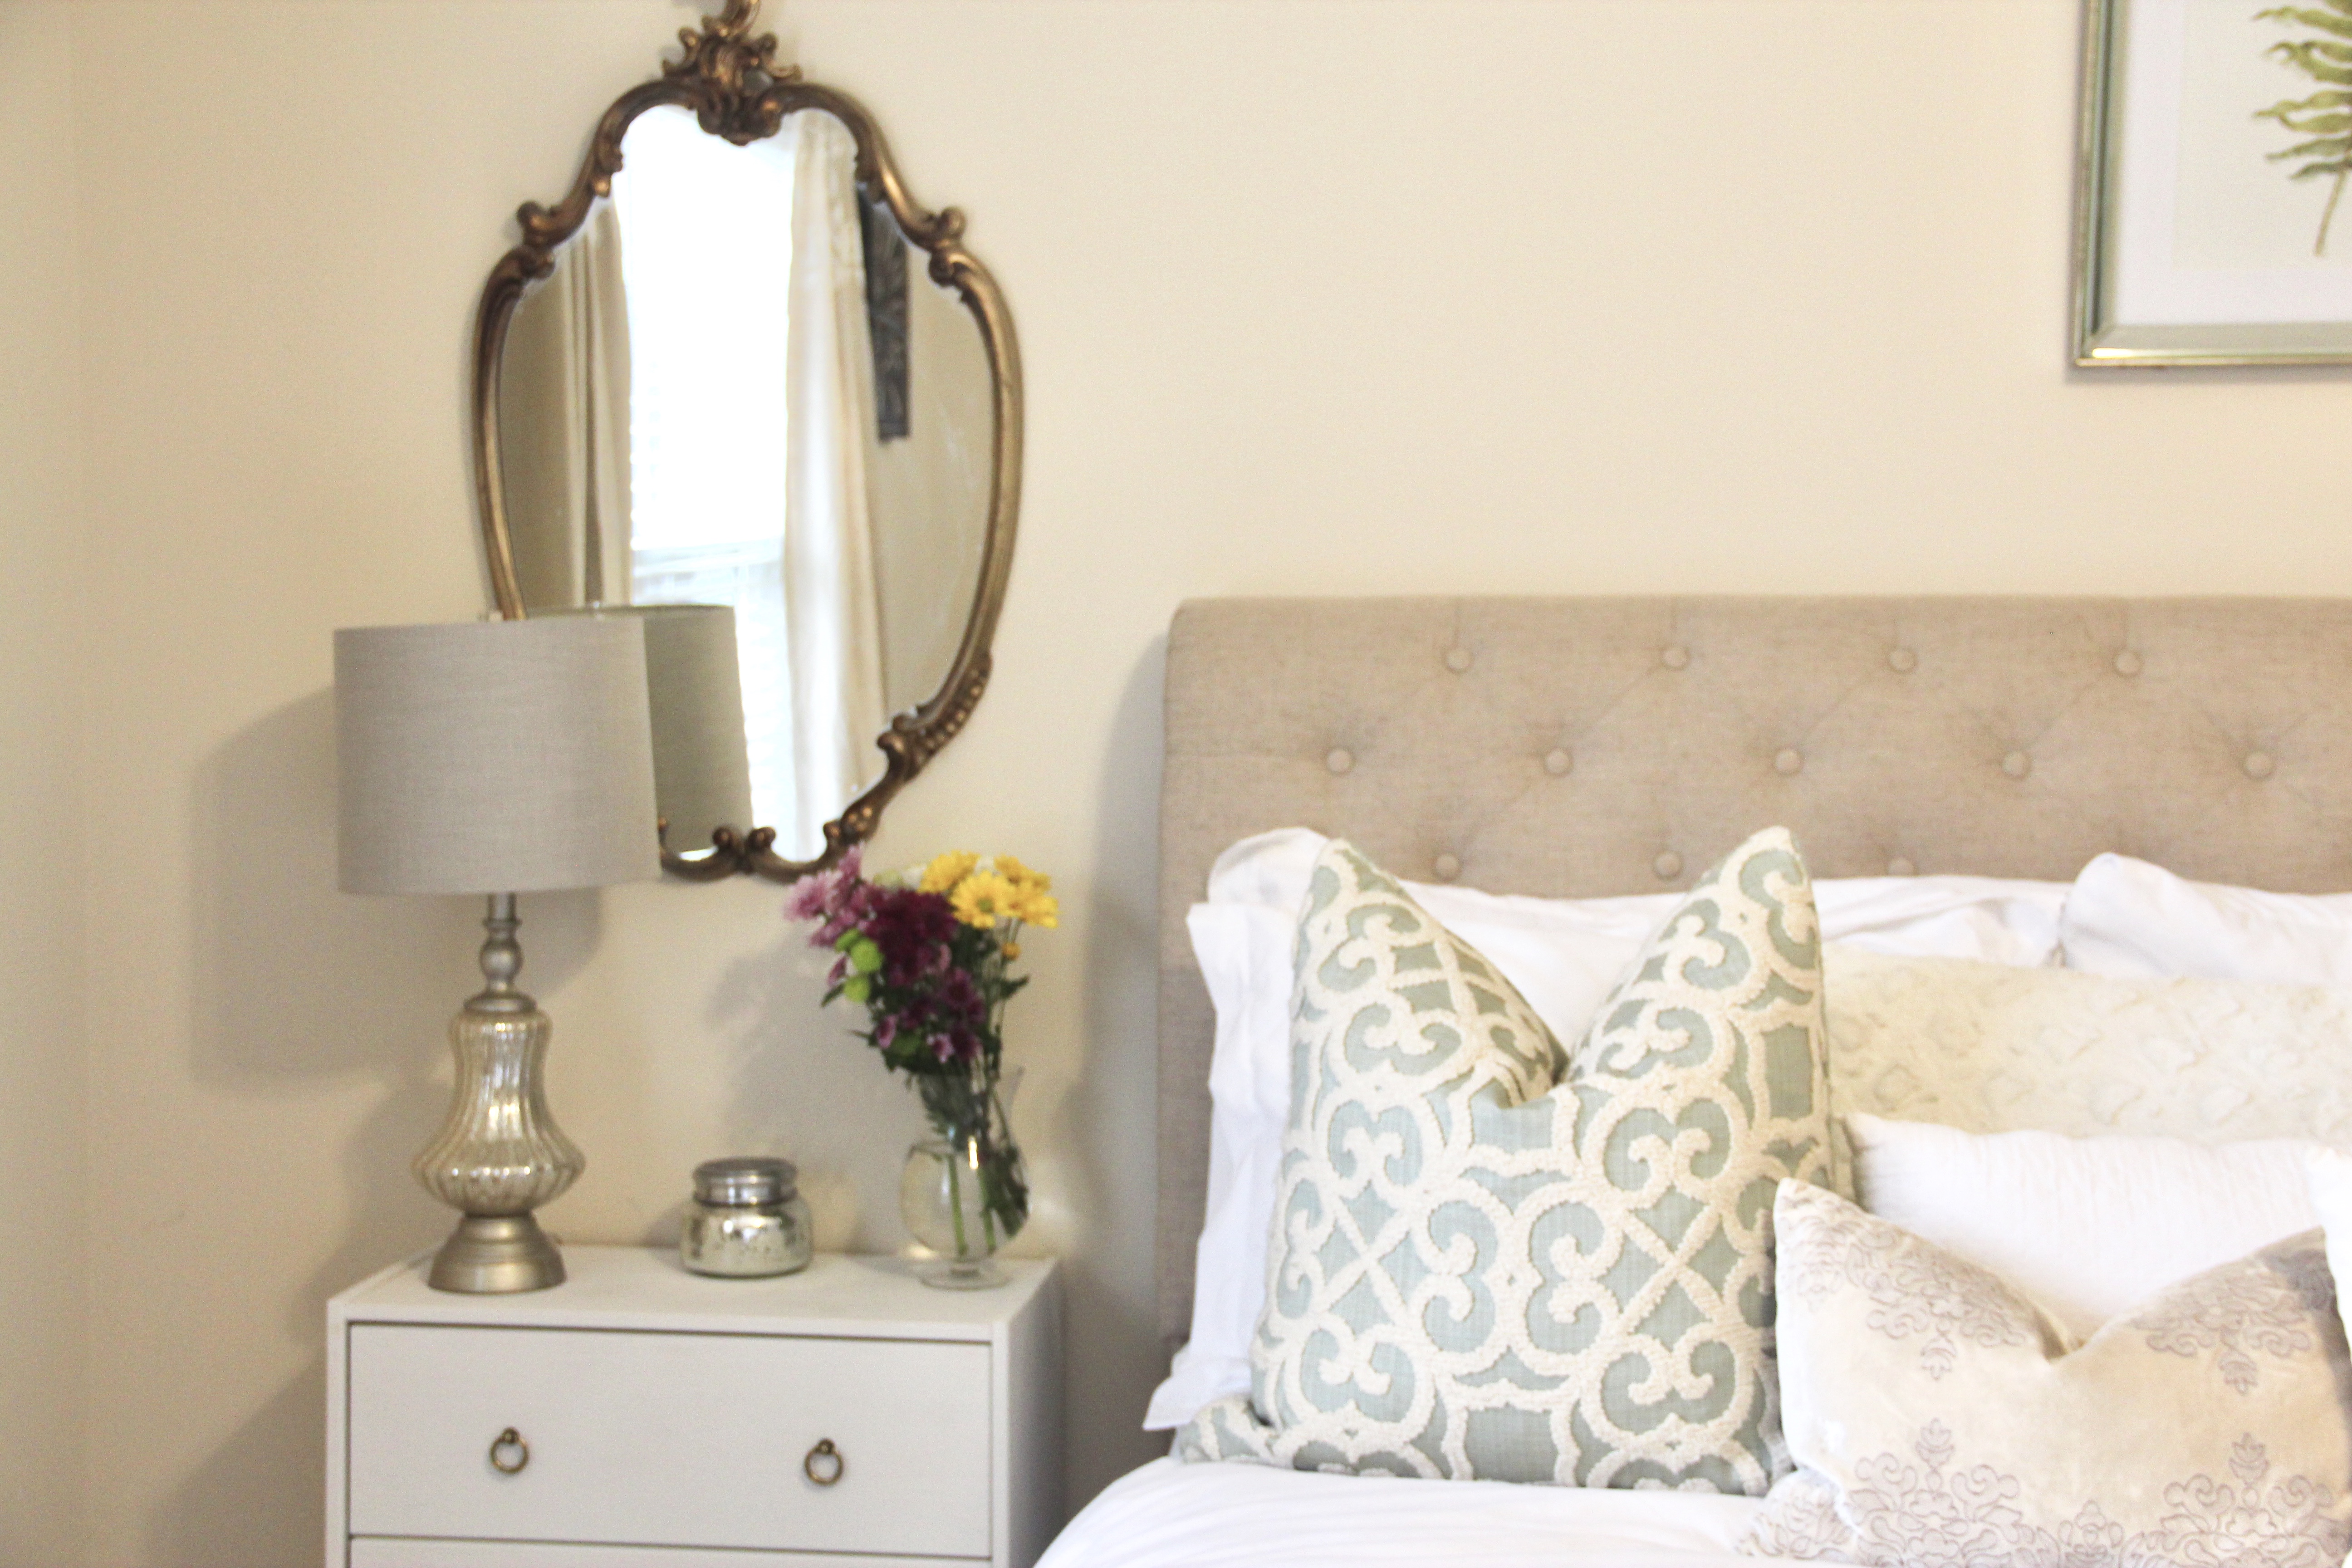
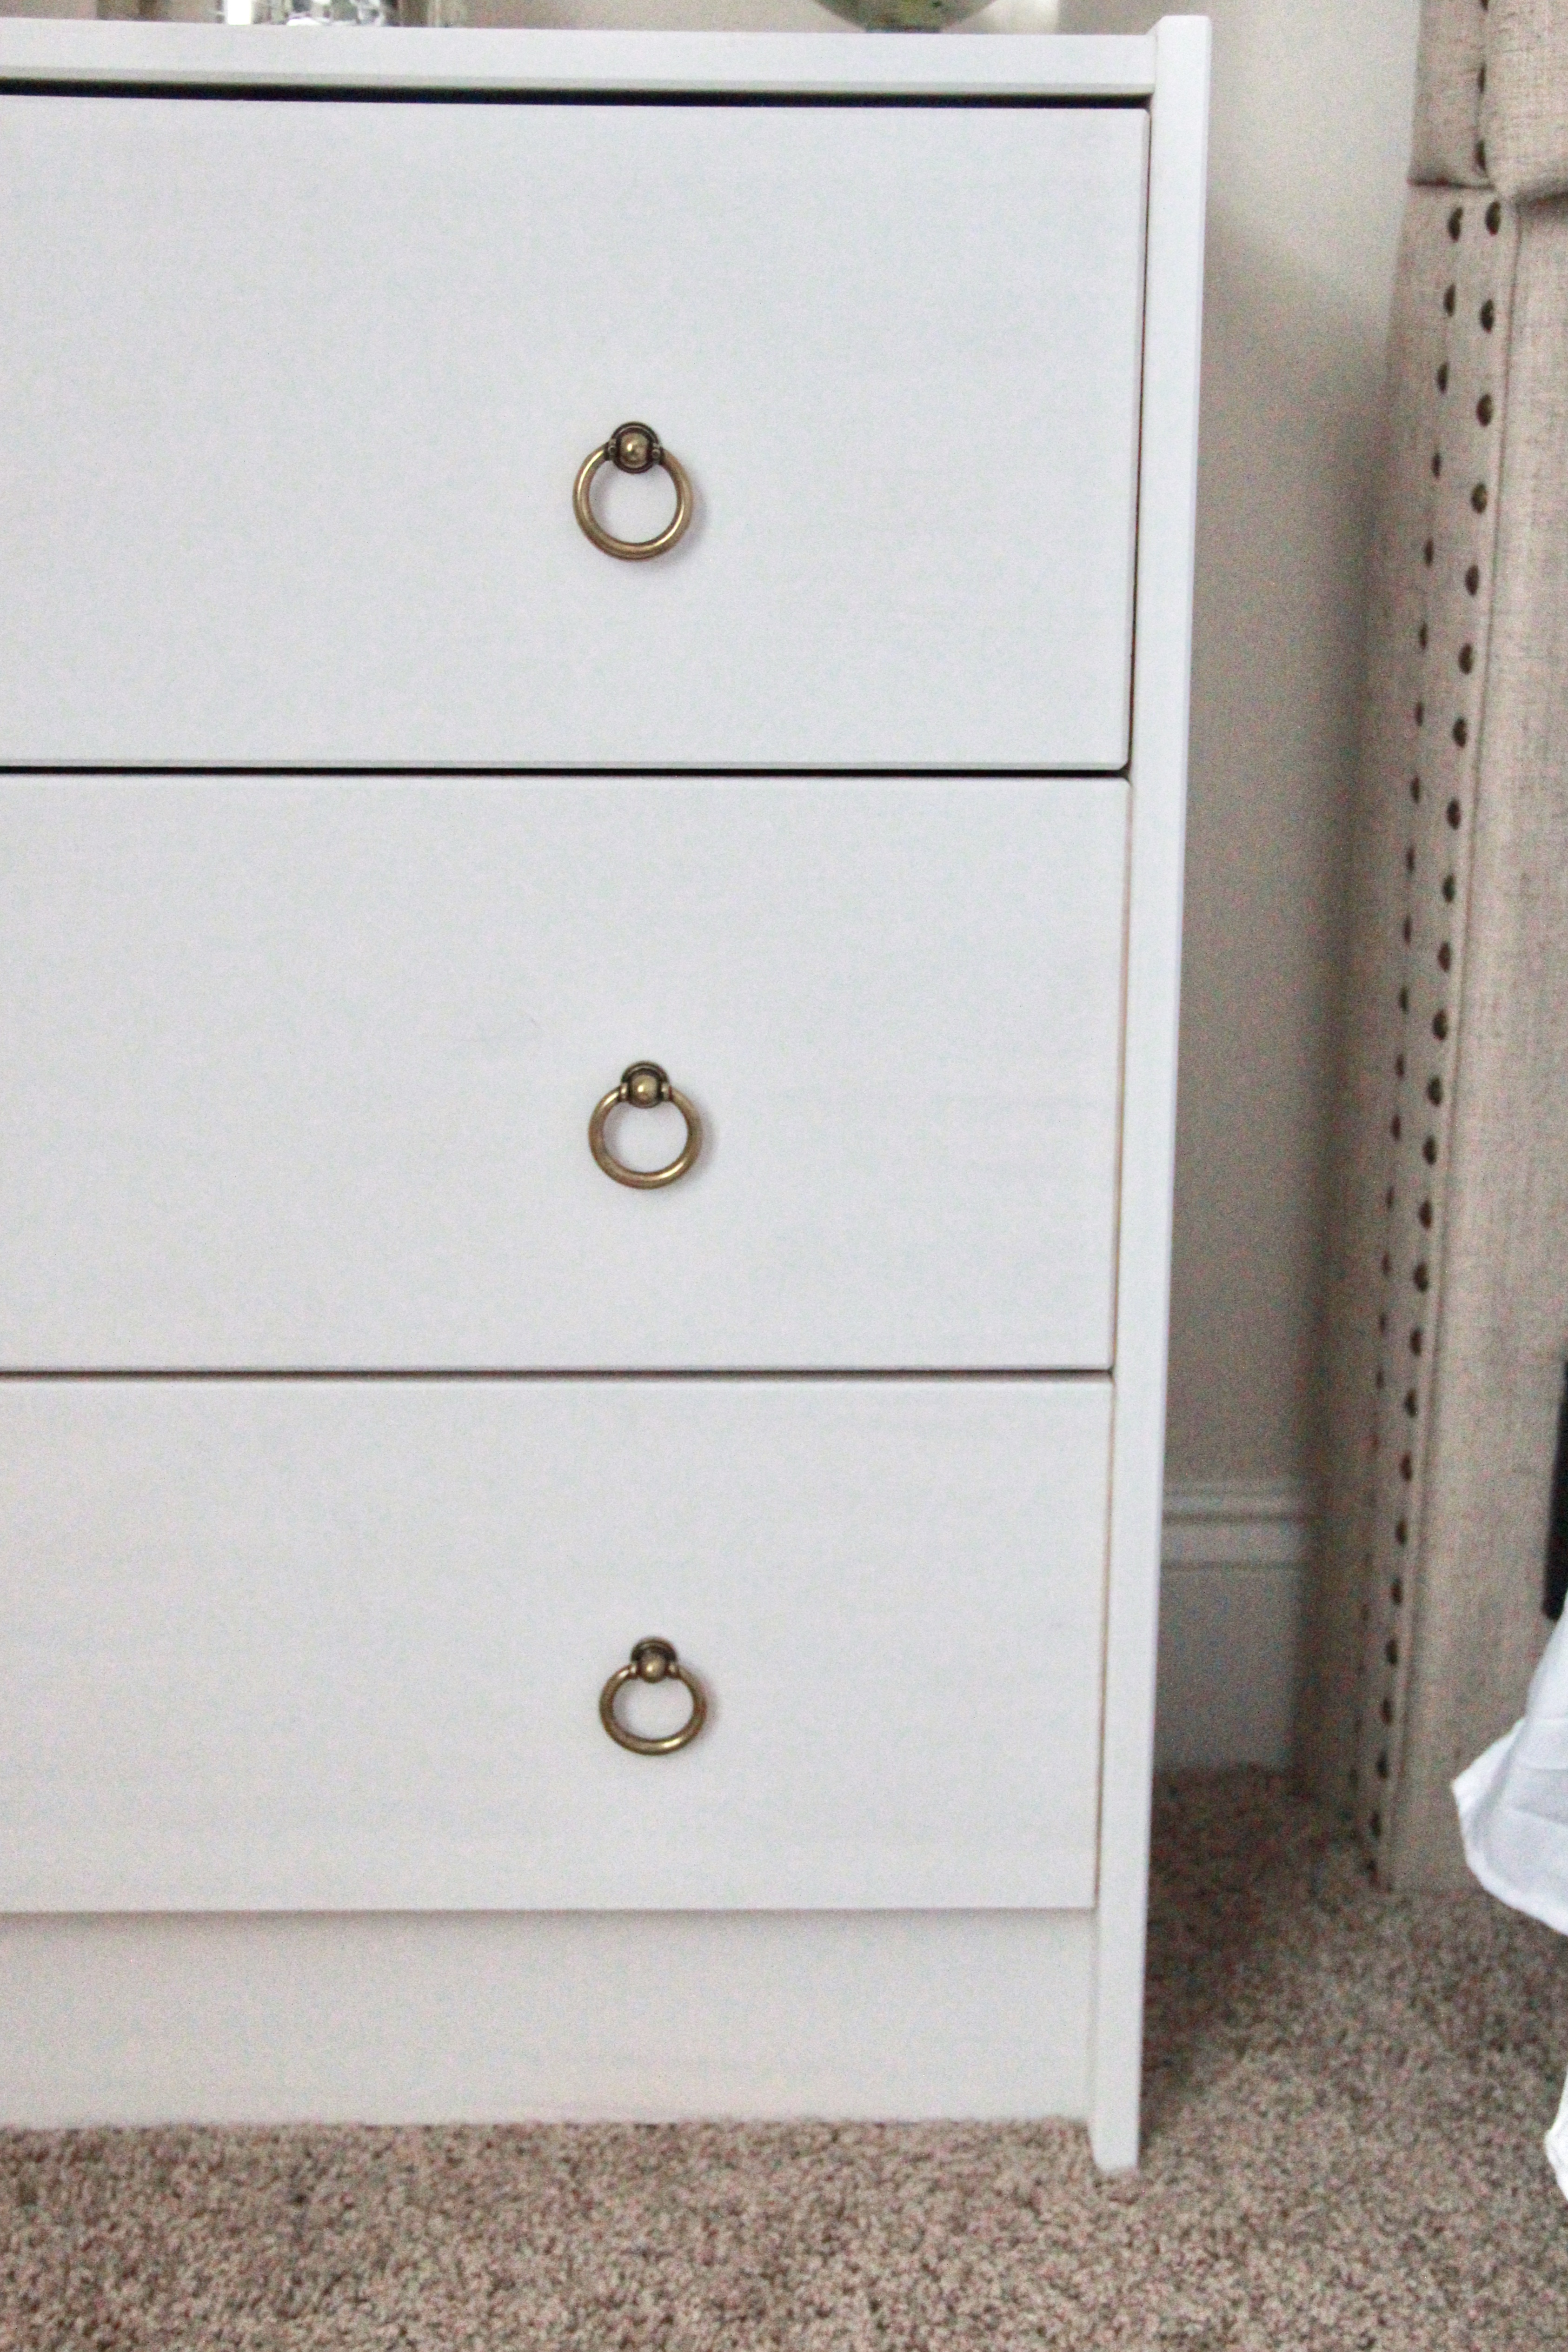
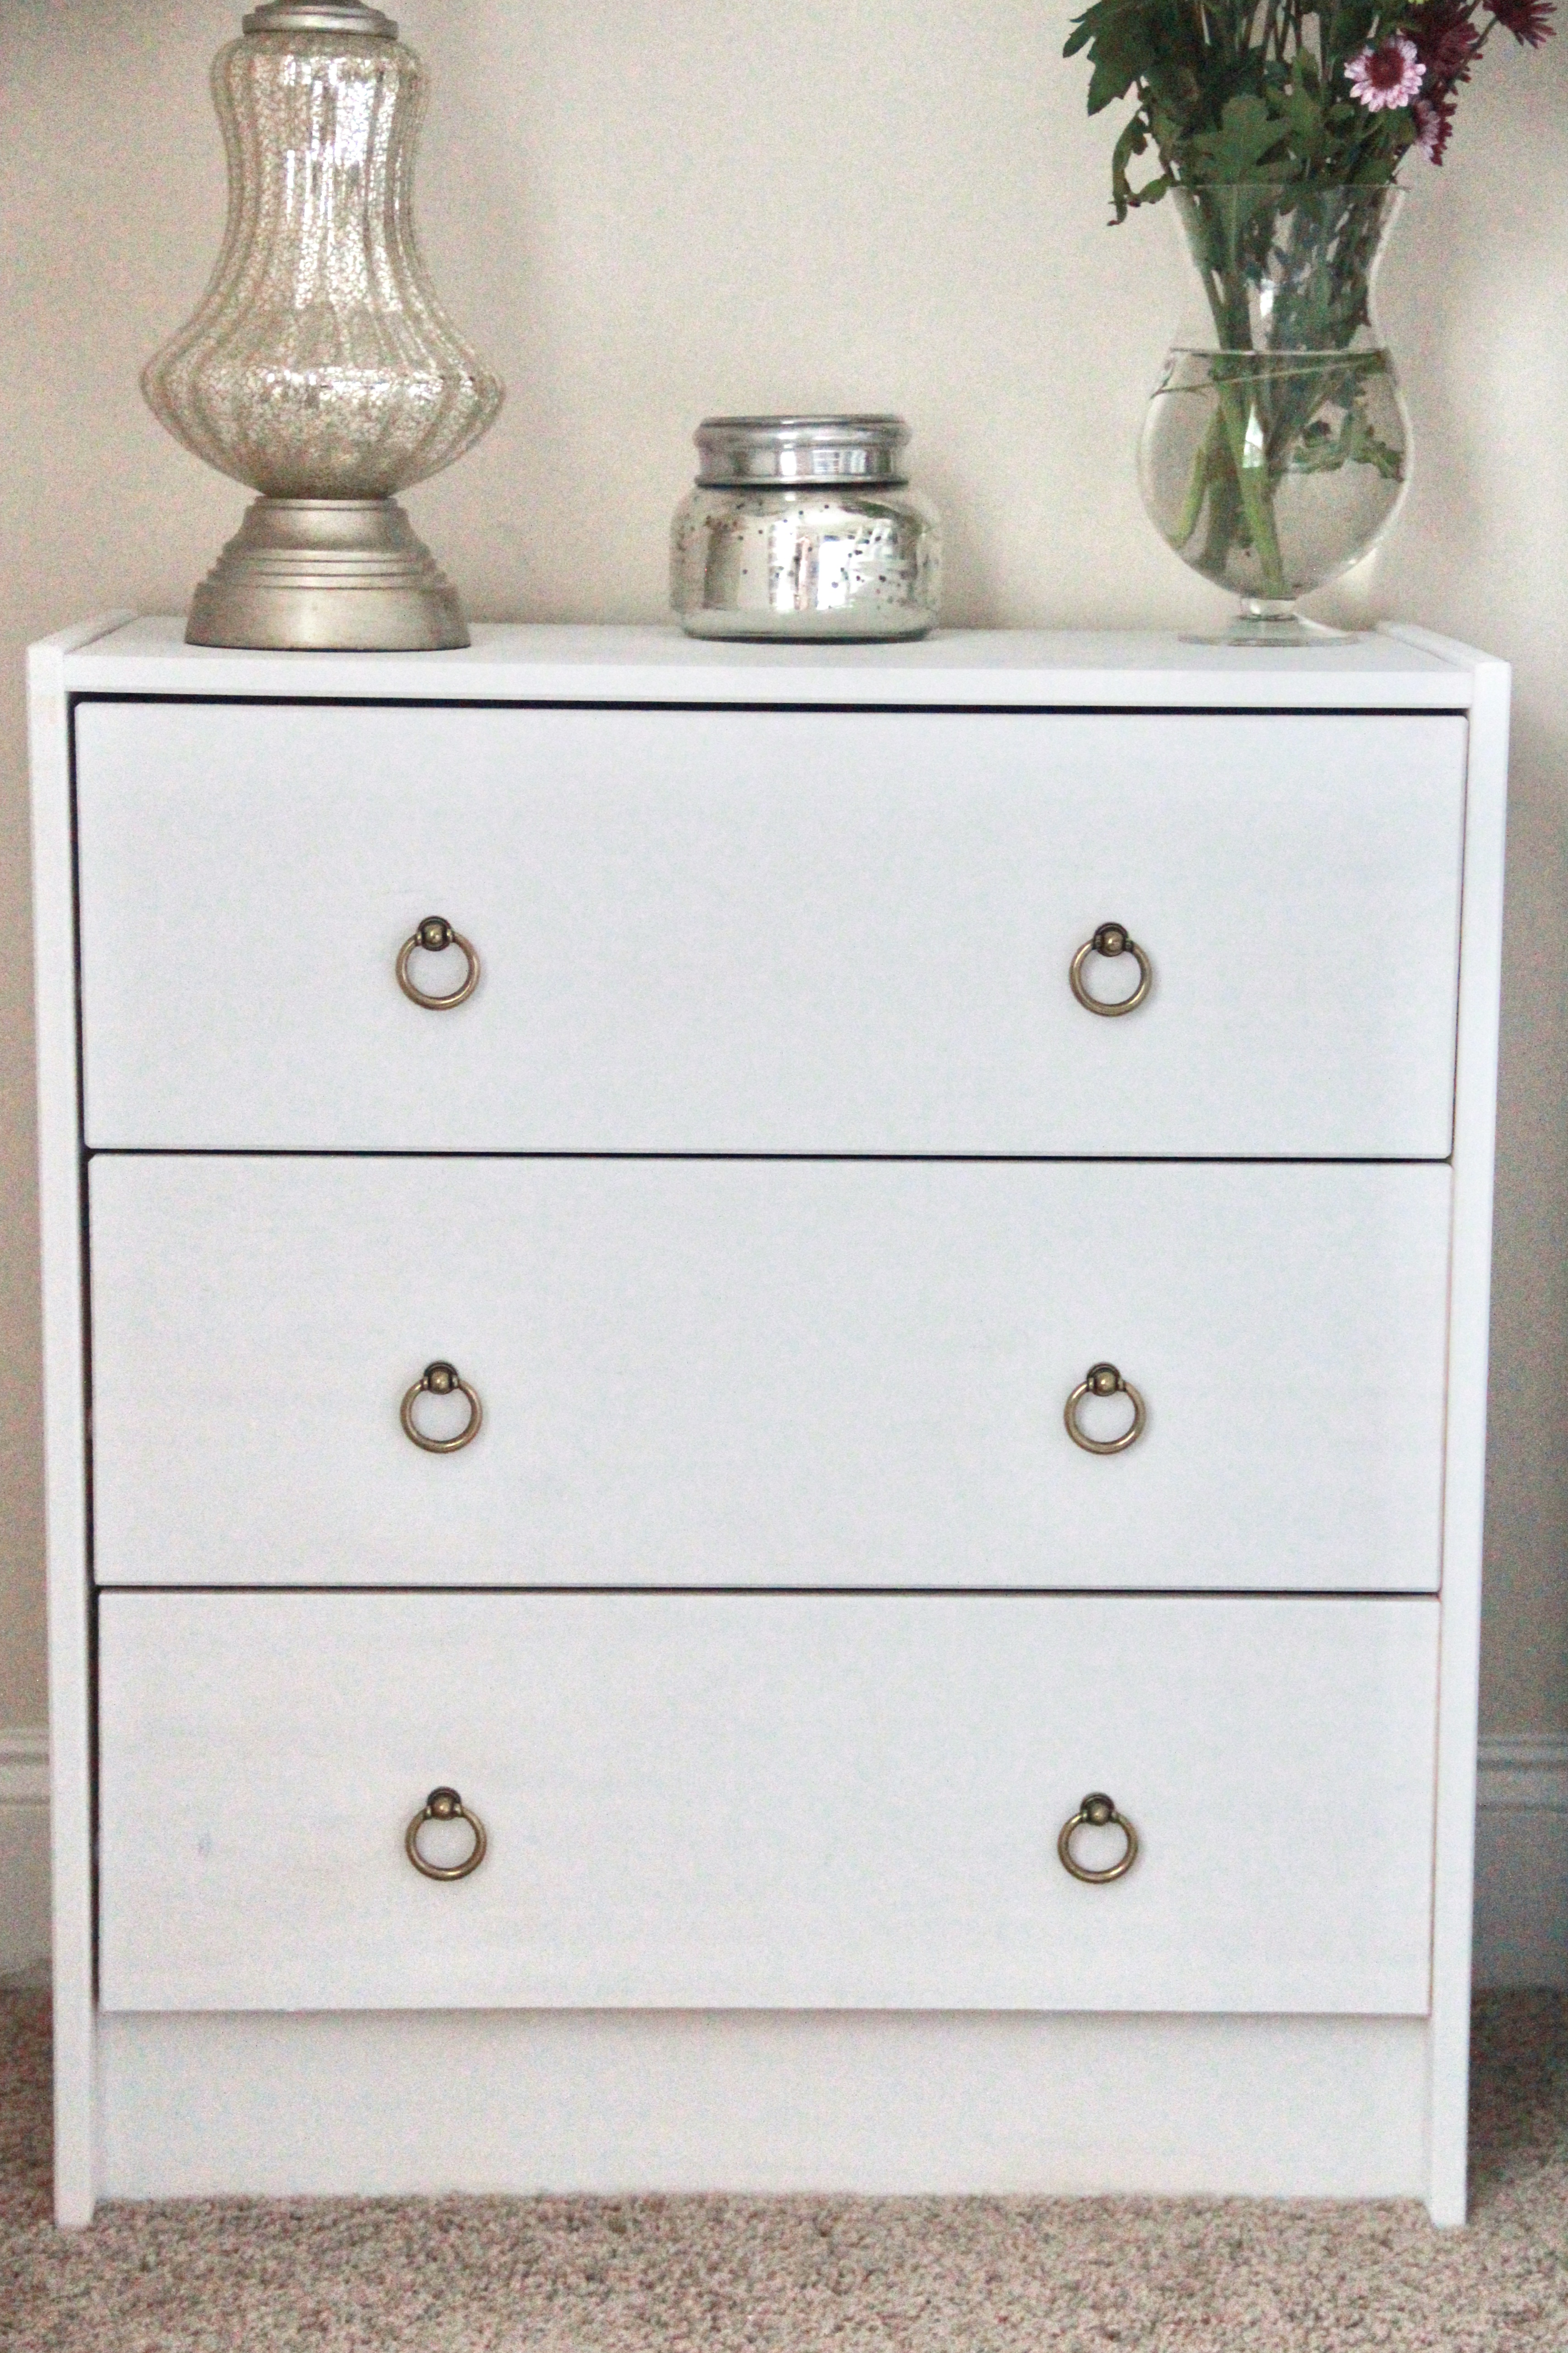
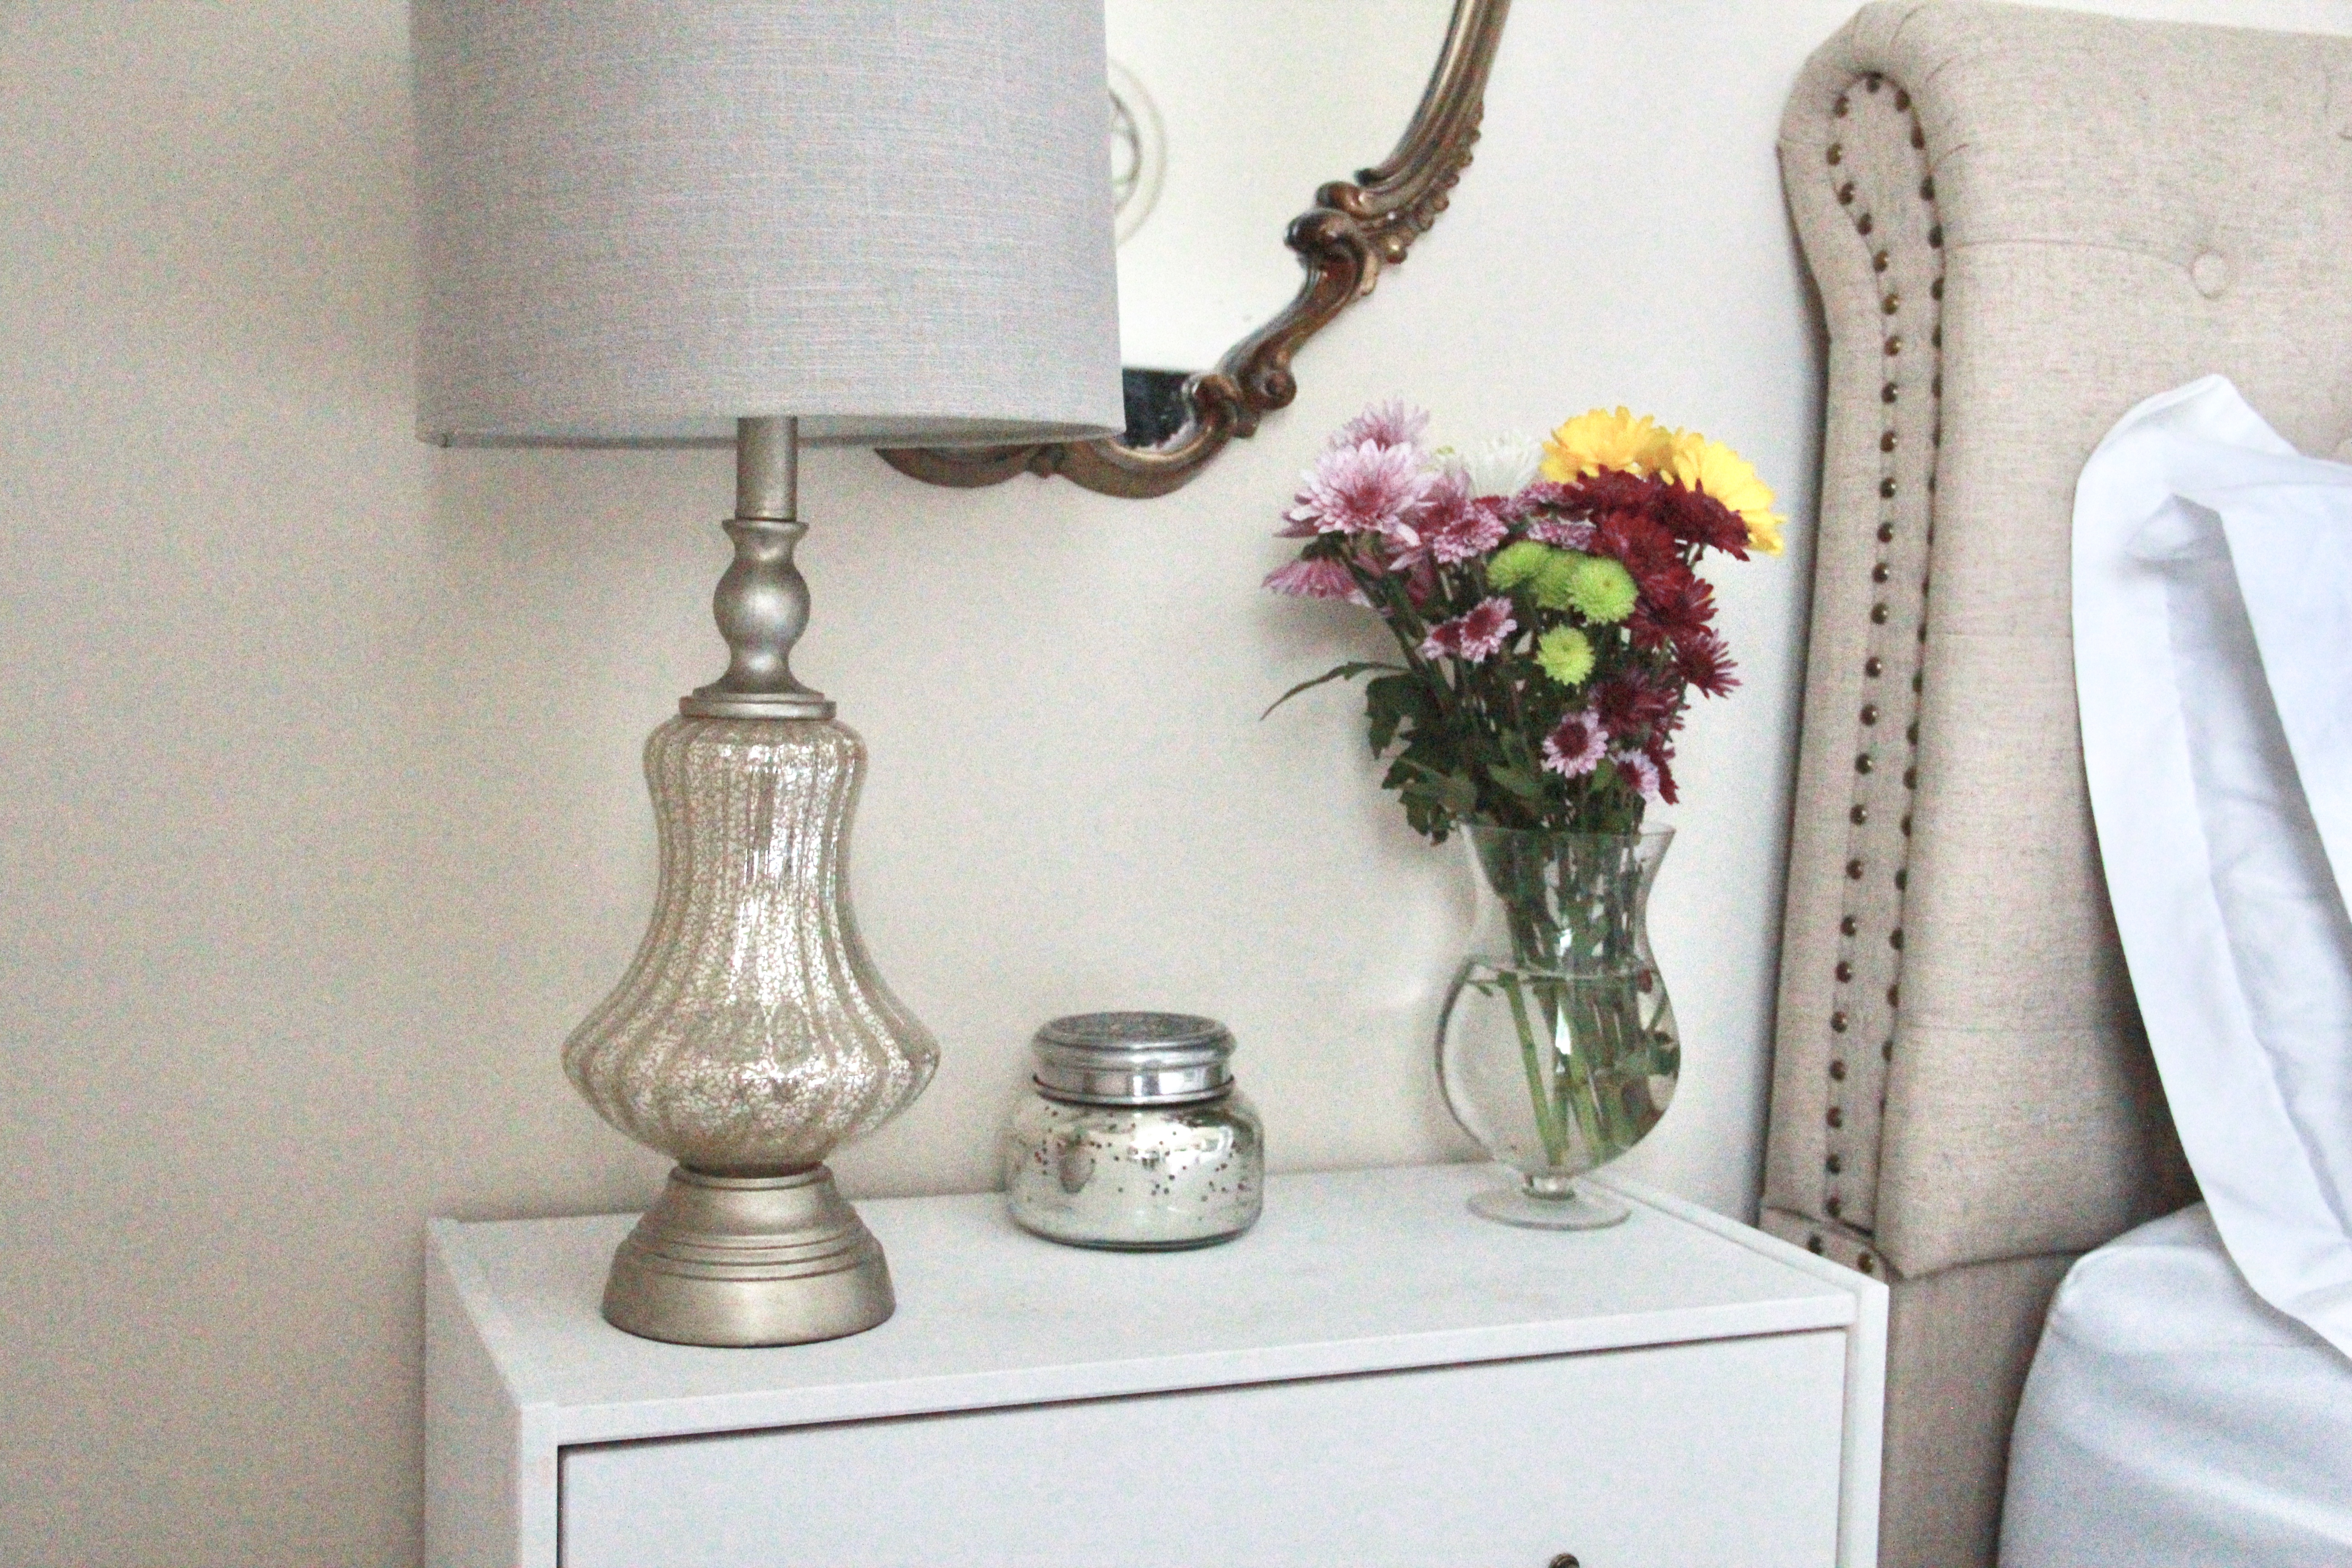
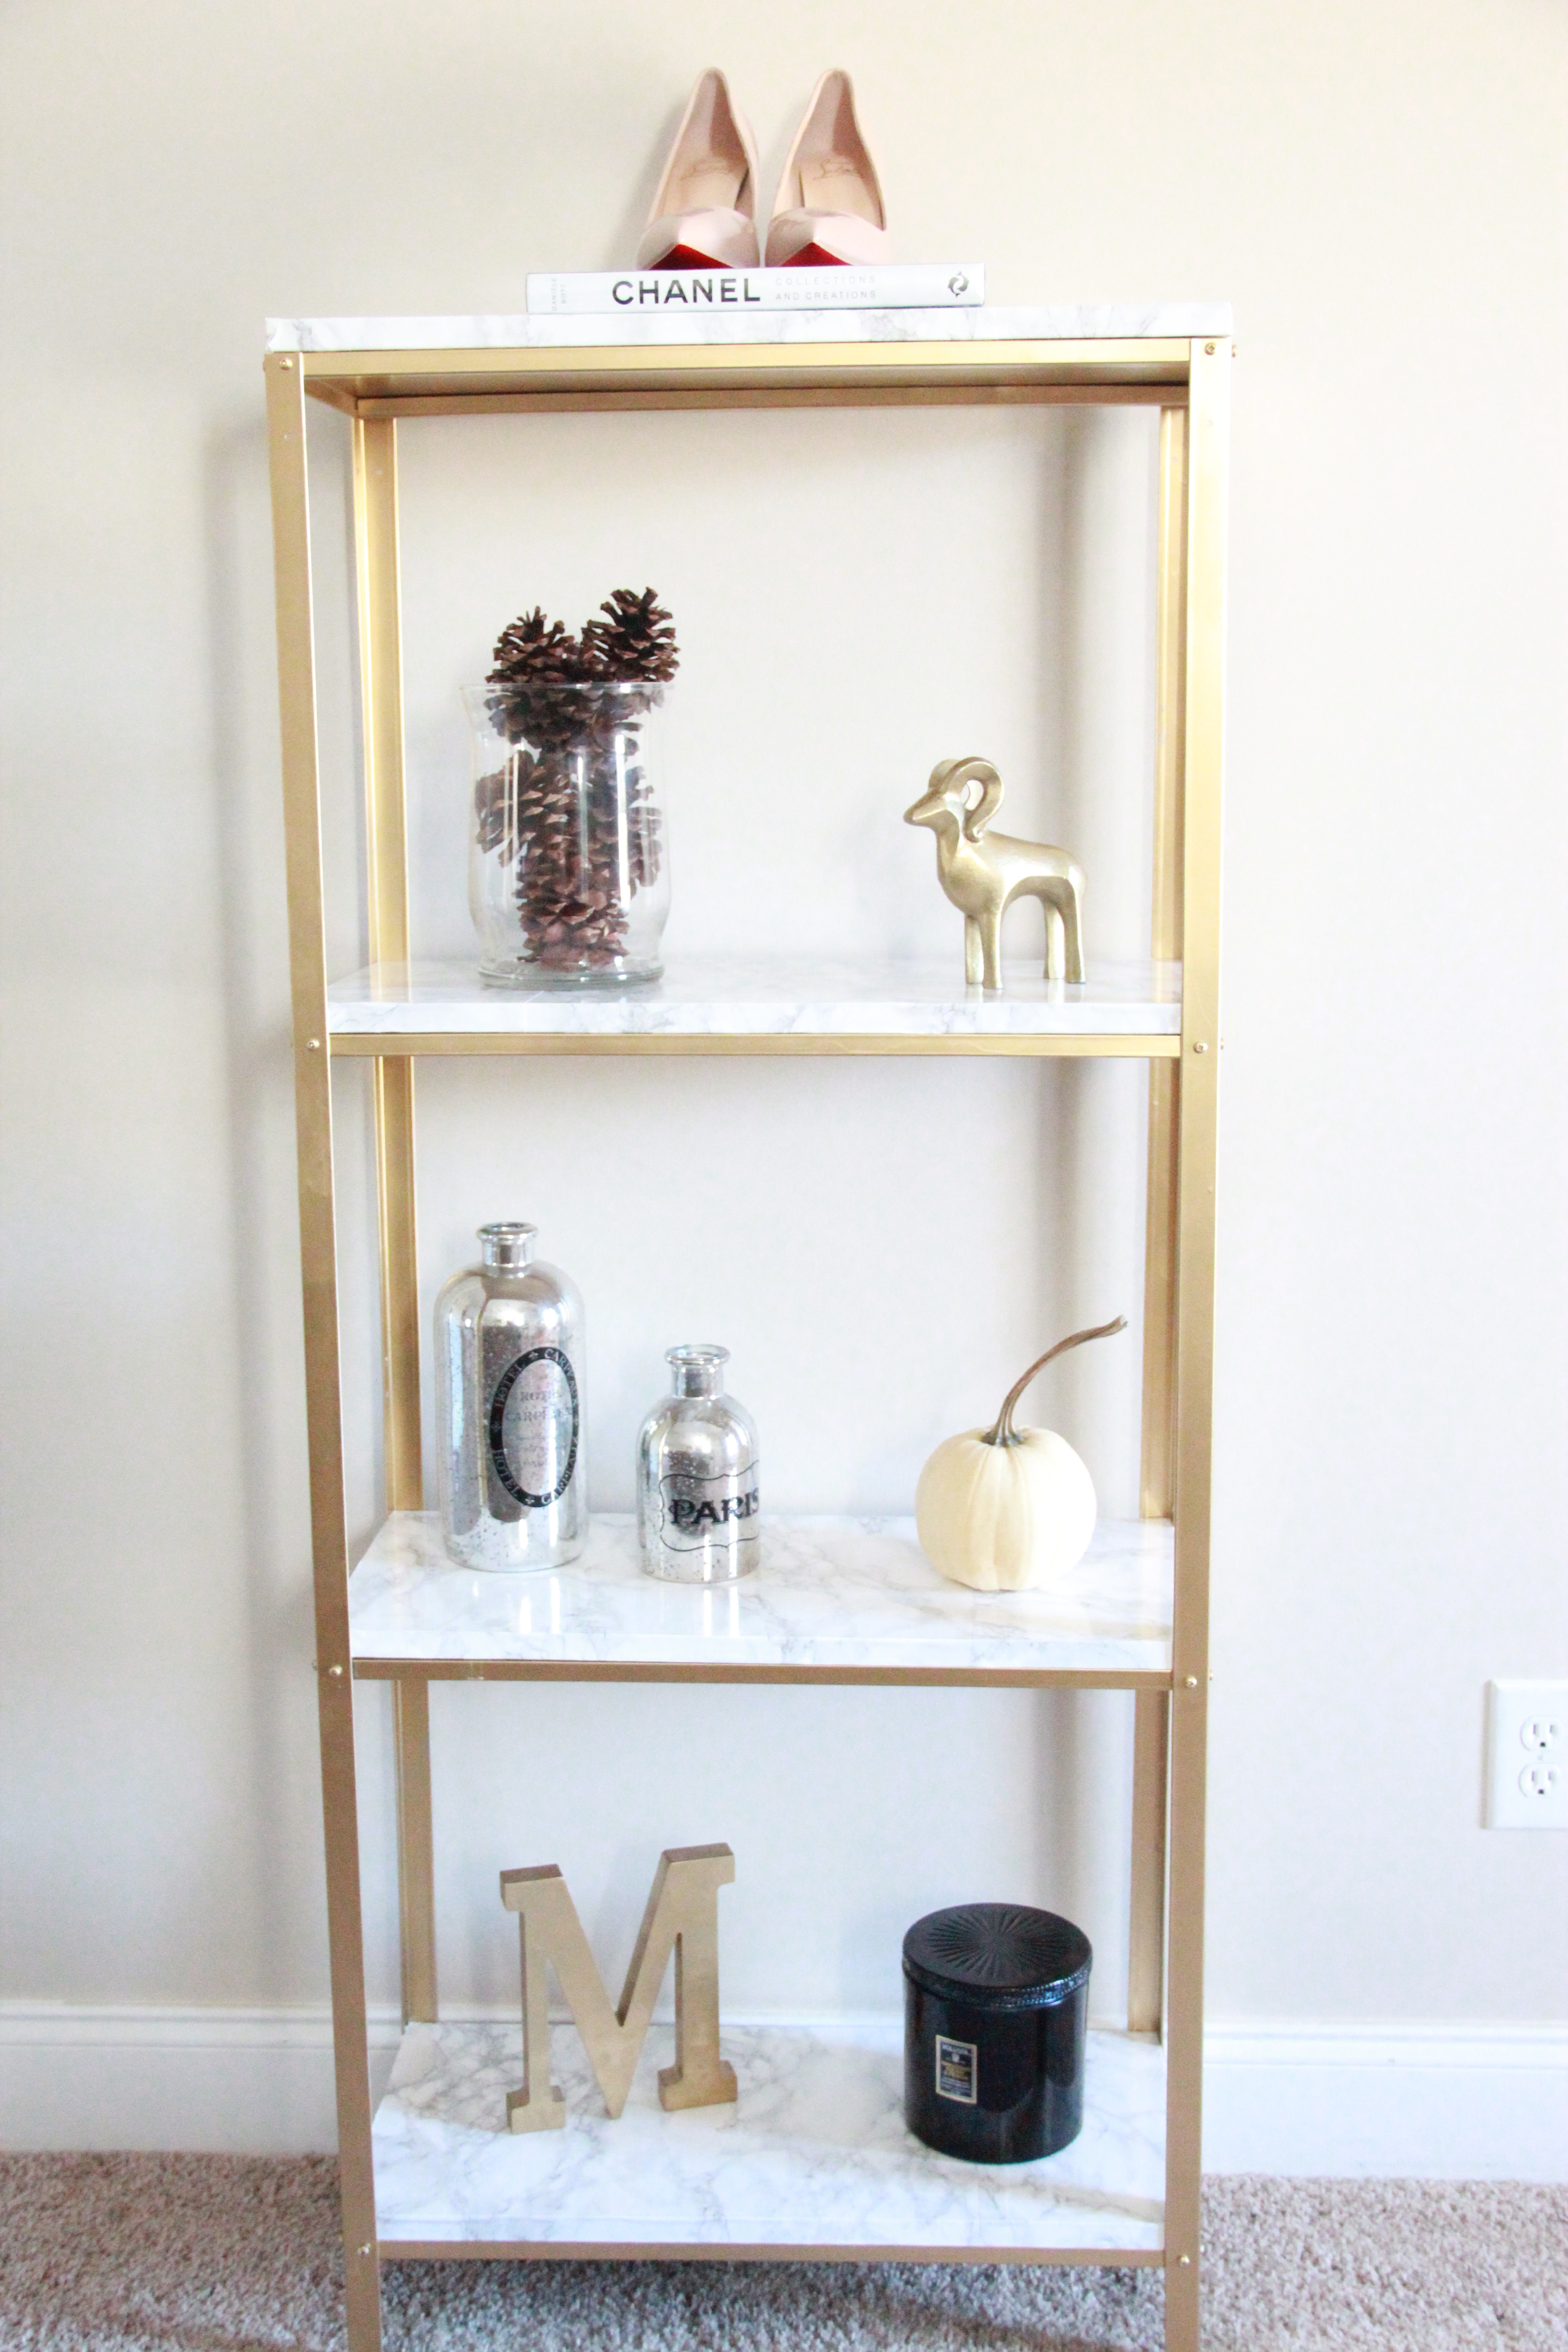
These drawers are the perfect size for nightstands, while also providing extremely convenient storage for books, chargers, glasses (J’s choice), or PJ’s, socks, and leggings (my choice).  Side note: These are the PJ’s I’m currently obsessed with, and I love having an organized and convenient spot for them now.

For this DIY project, I completed two units and used these supplies:

Ikea Rast Drawer Unit x 2

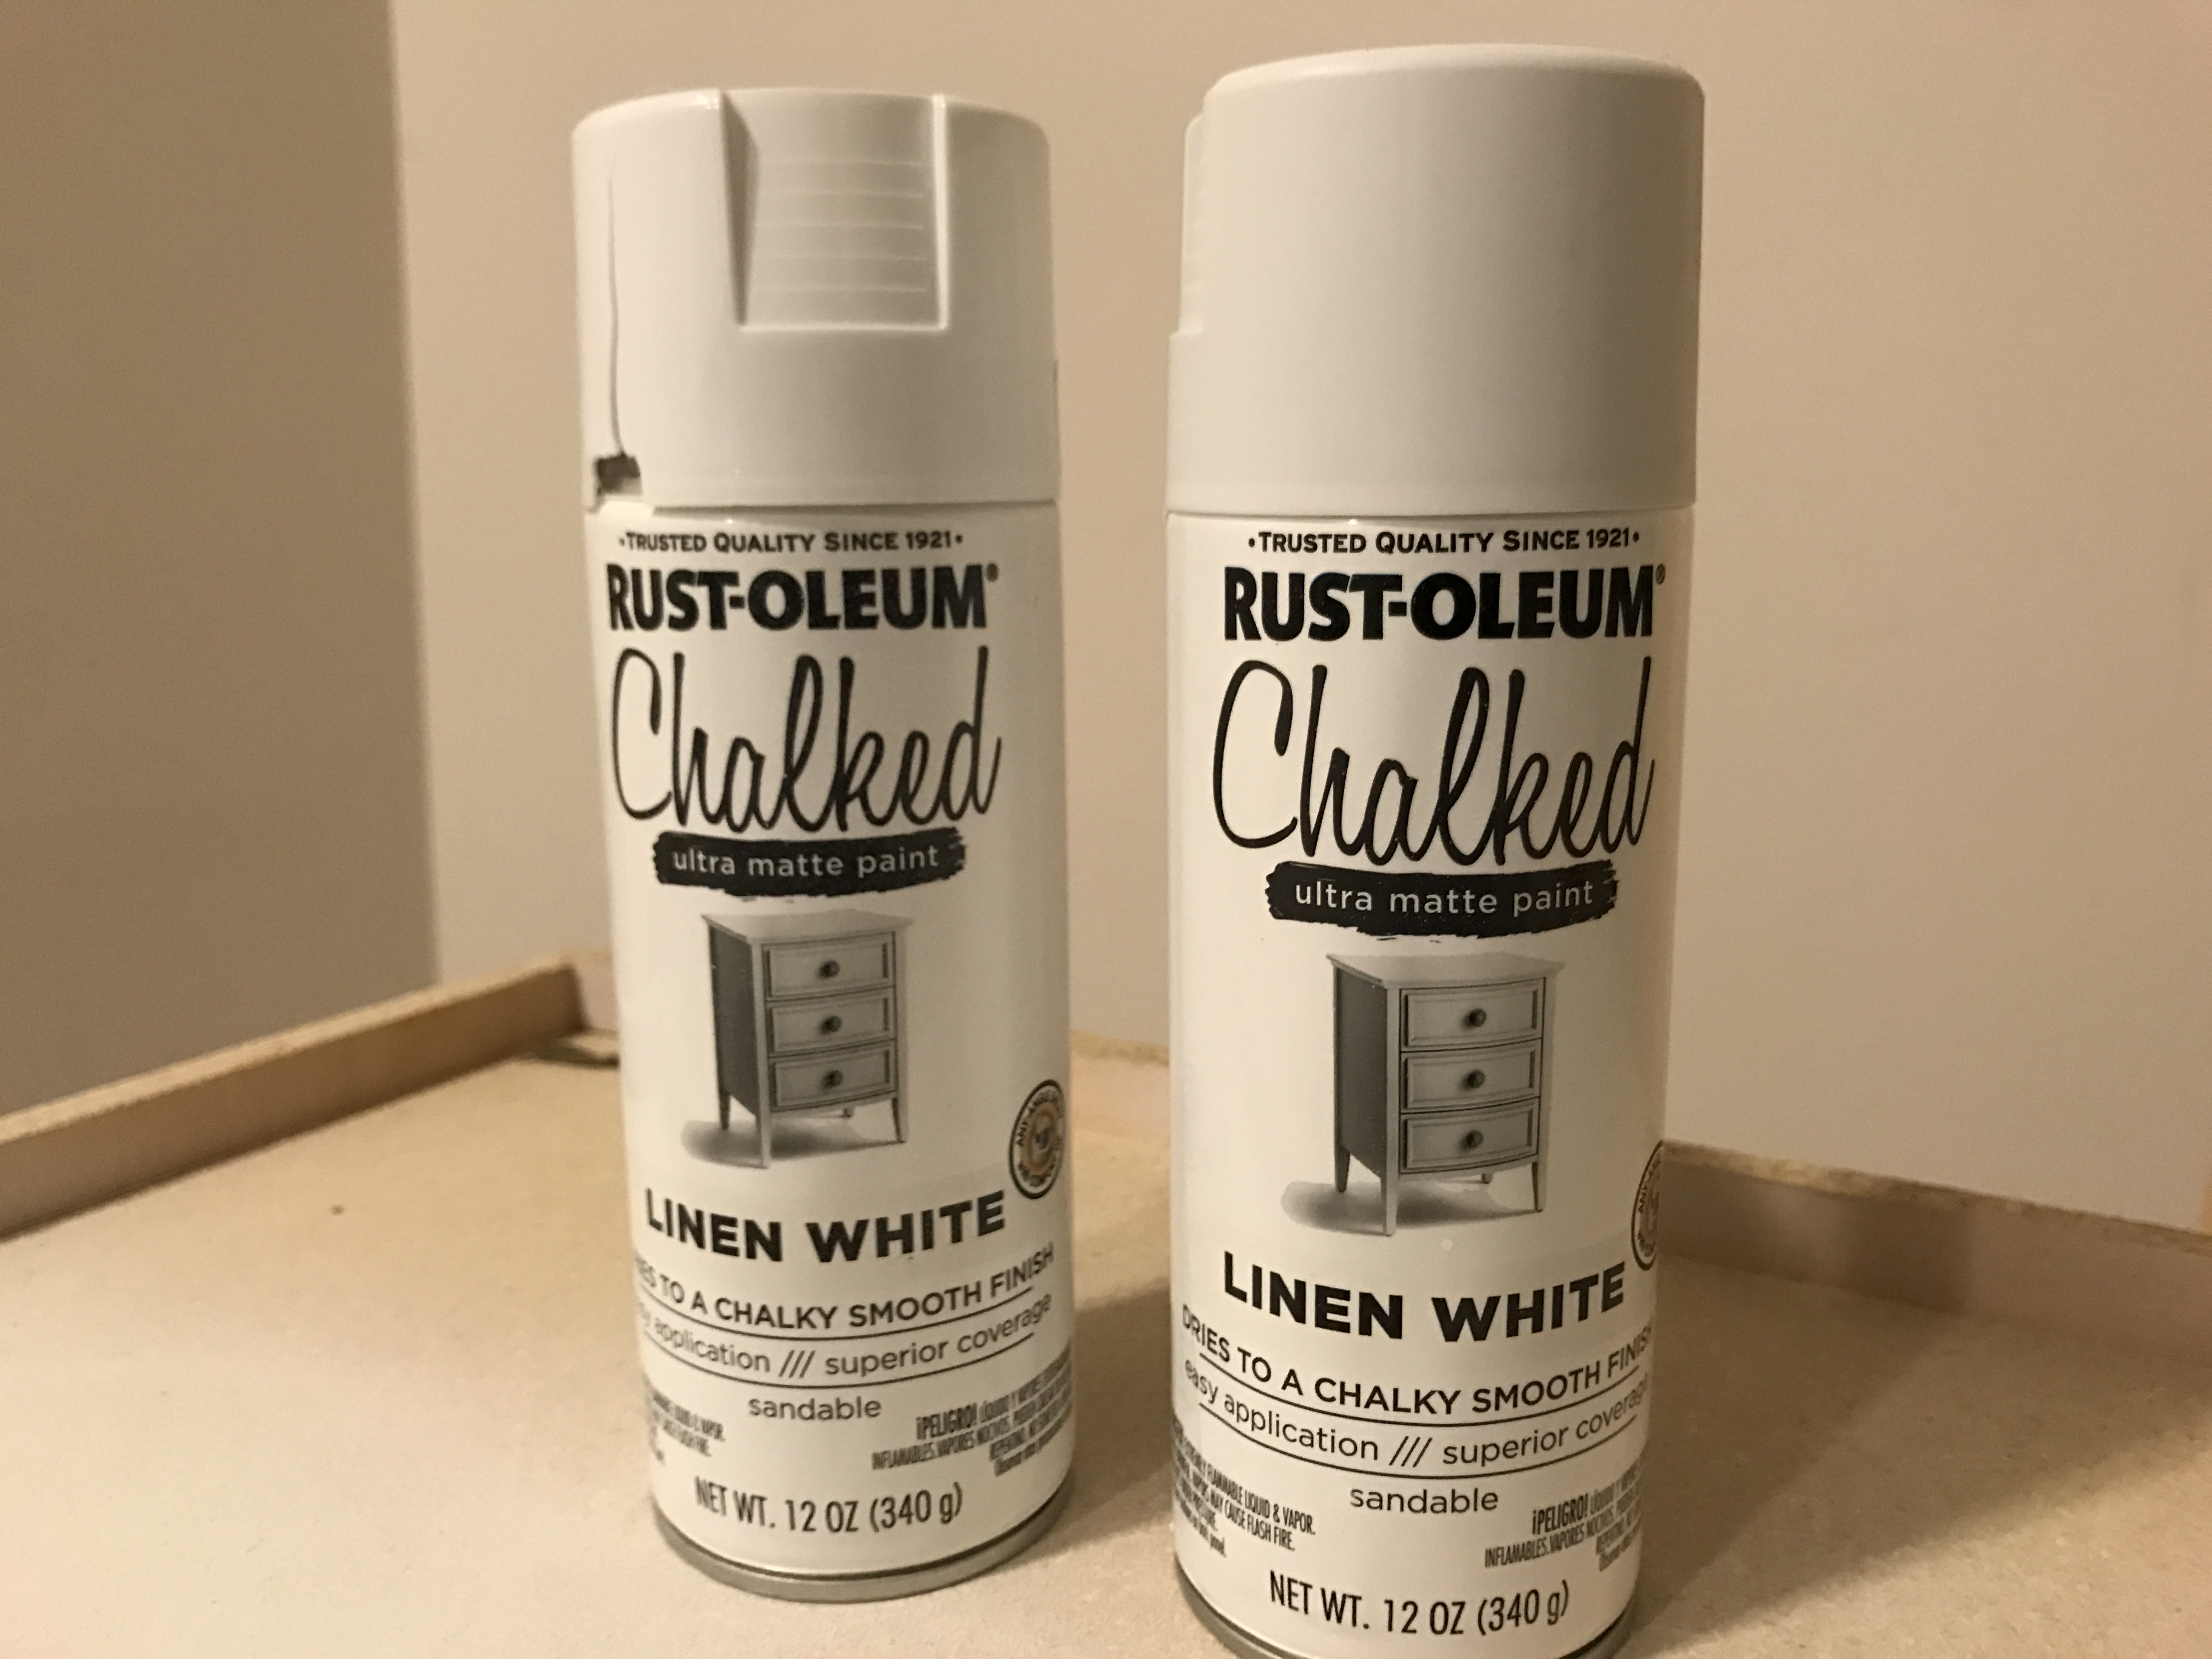
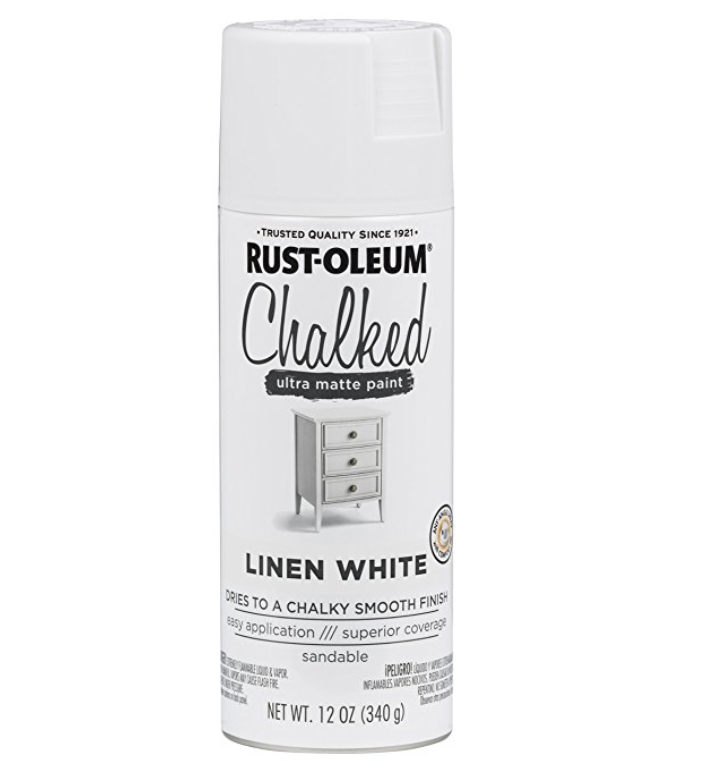
Rust-O-Leum Chalk Spray Paint in Linen White x 4 (If only doing one unit get 2)

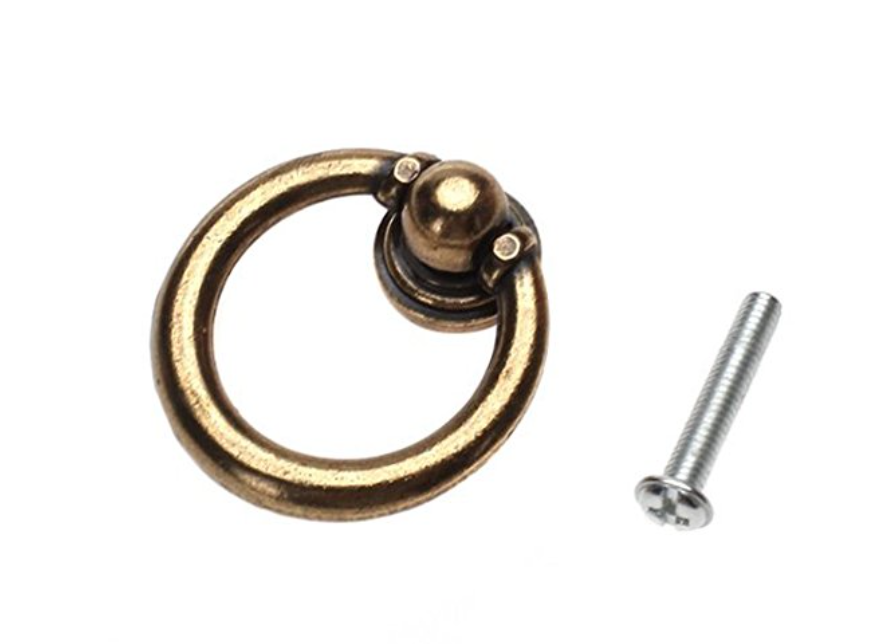
Drawer Pulls Hardware Pack x 2 (If only doing one unit, get 1 pack – you will have extra with 2 for two units)

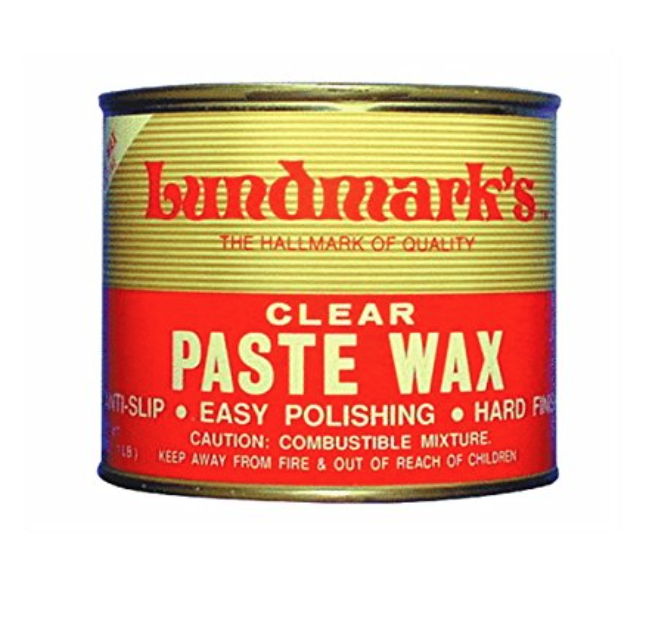
Wax Finish (optional)

Sprayer Grip (optional)

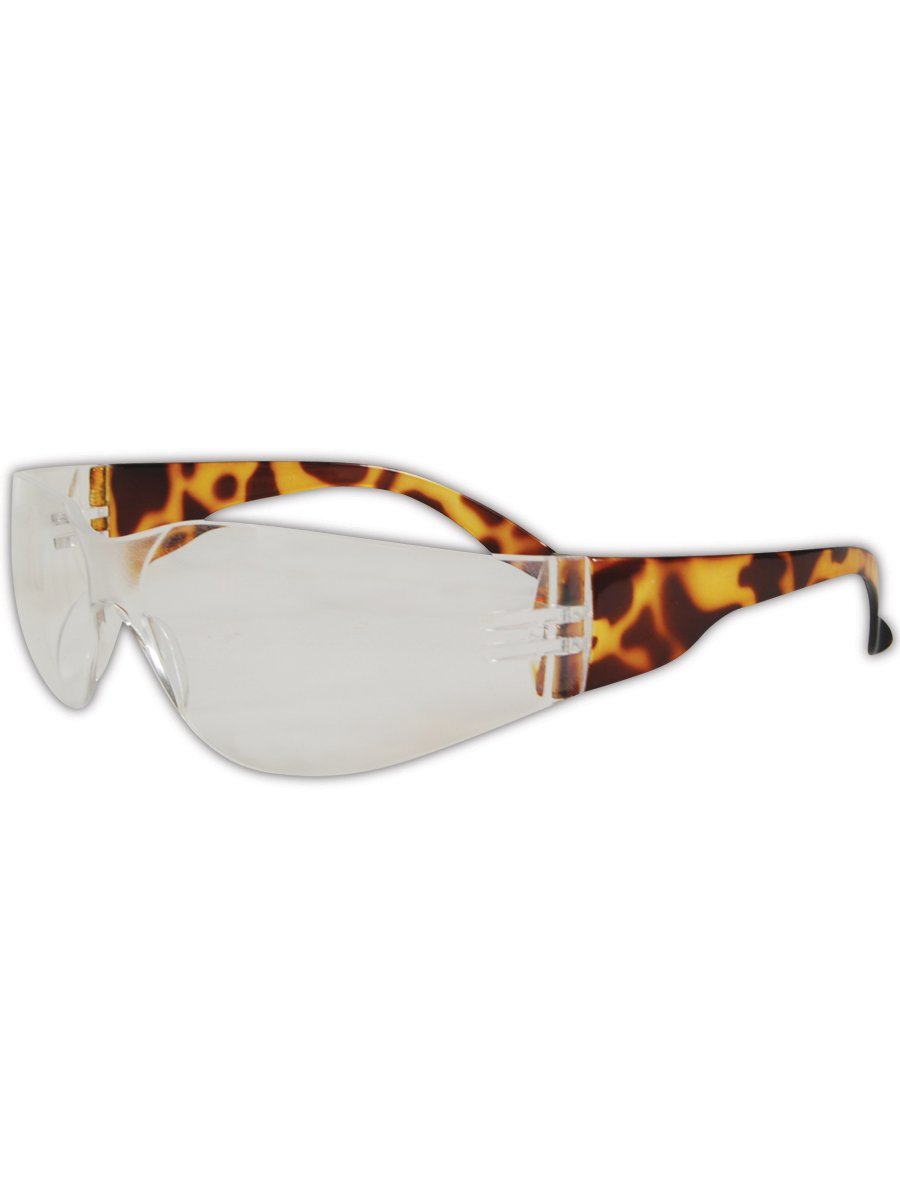
Safety Eyewear (optional but strongly recommended)

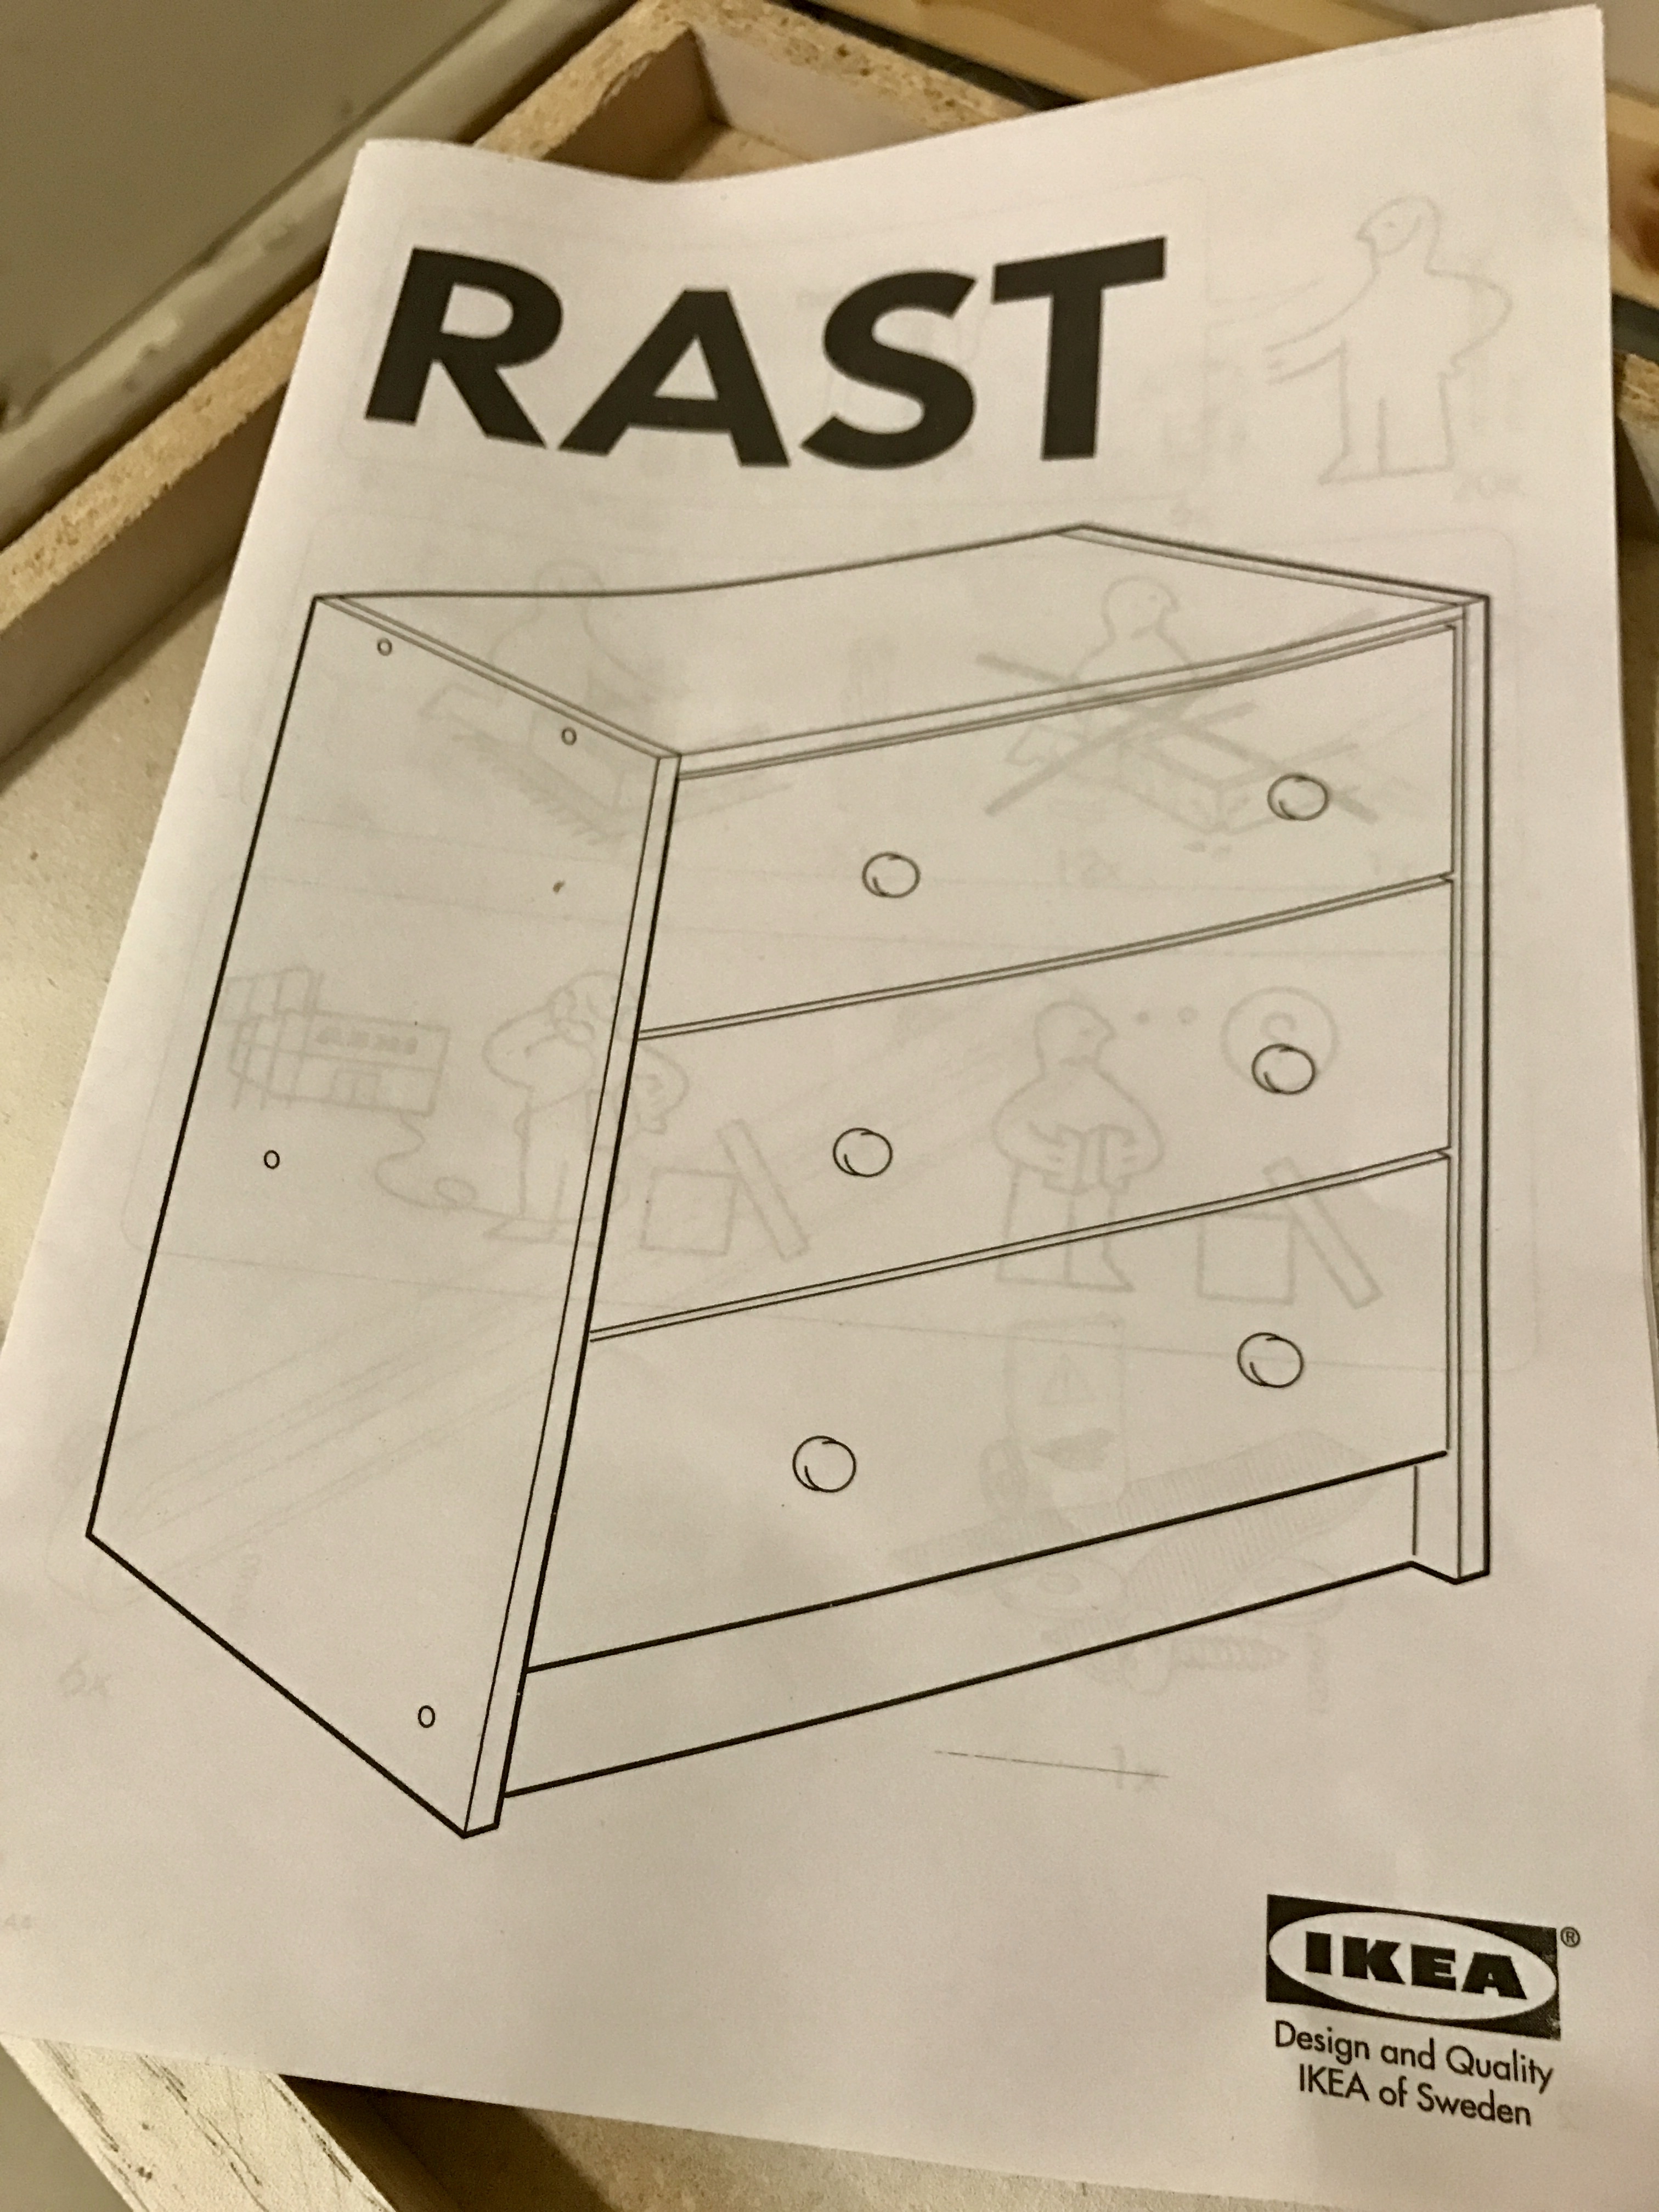
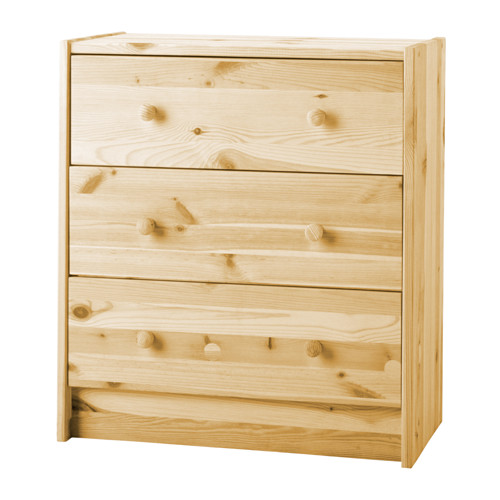
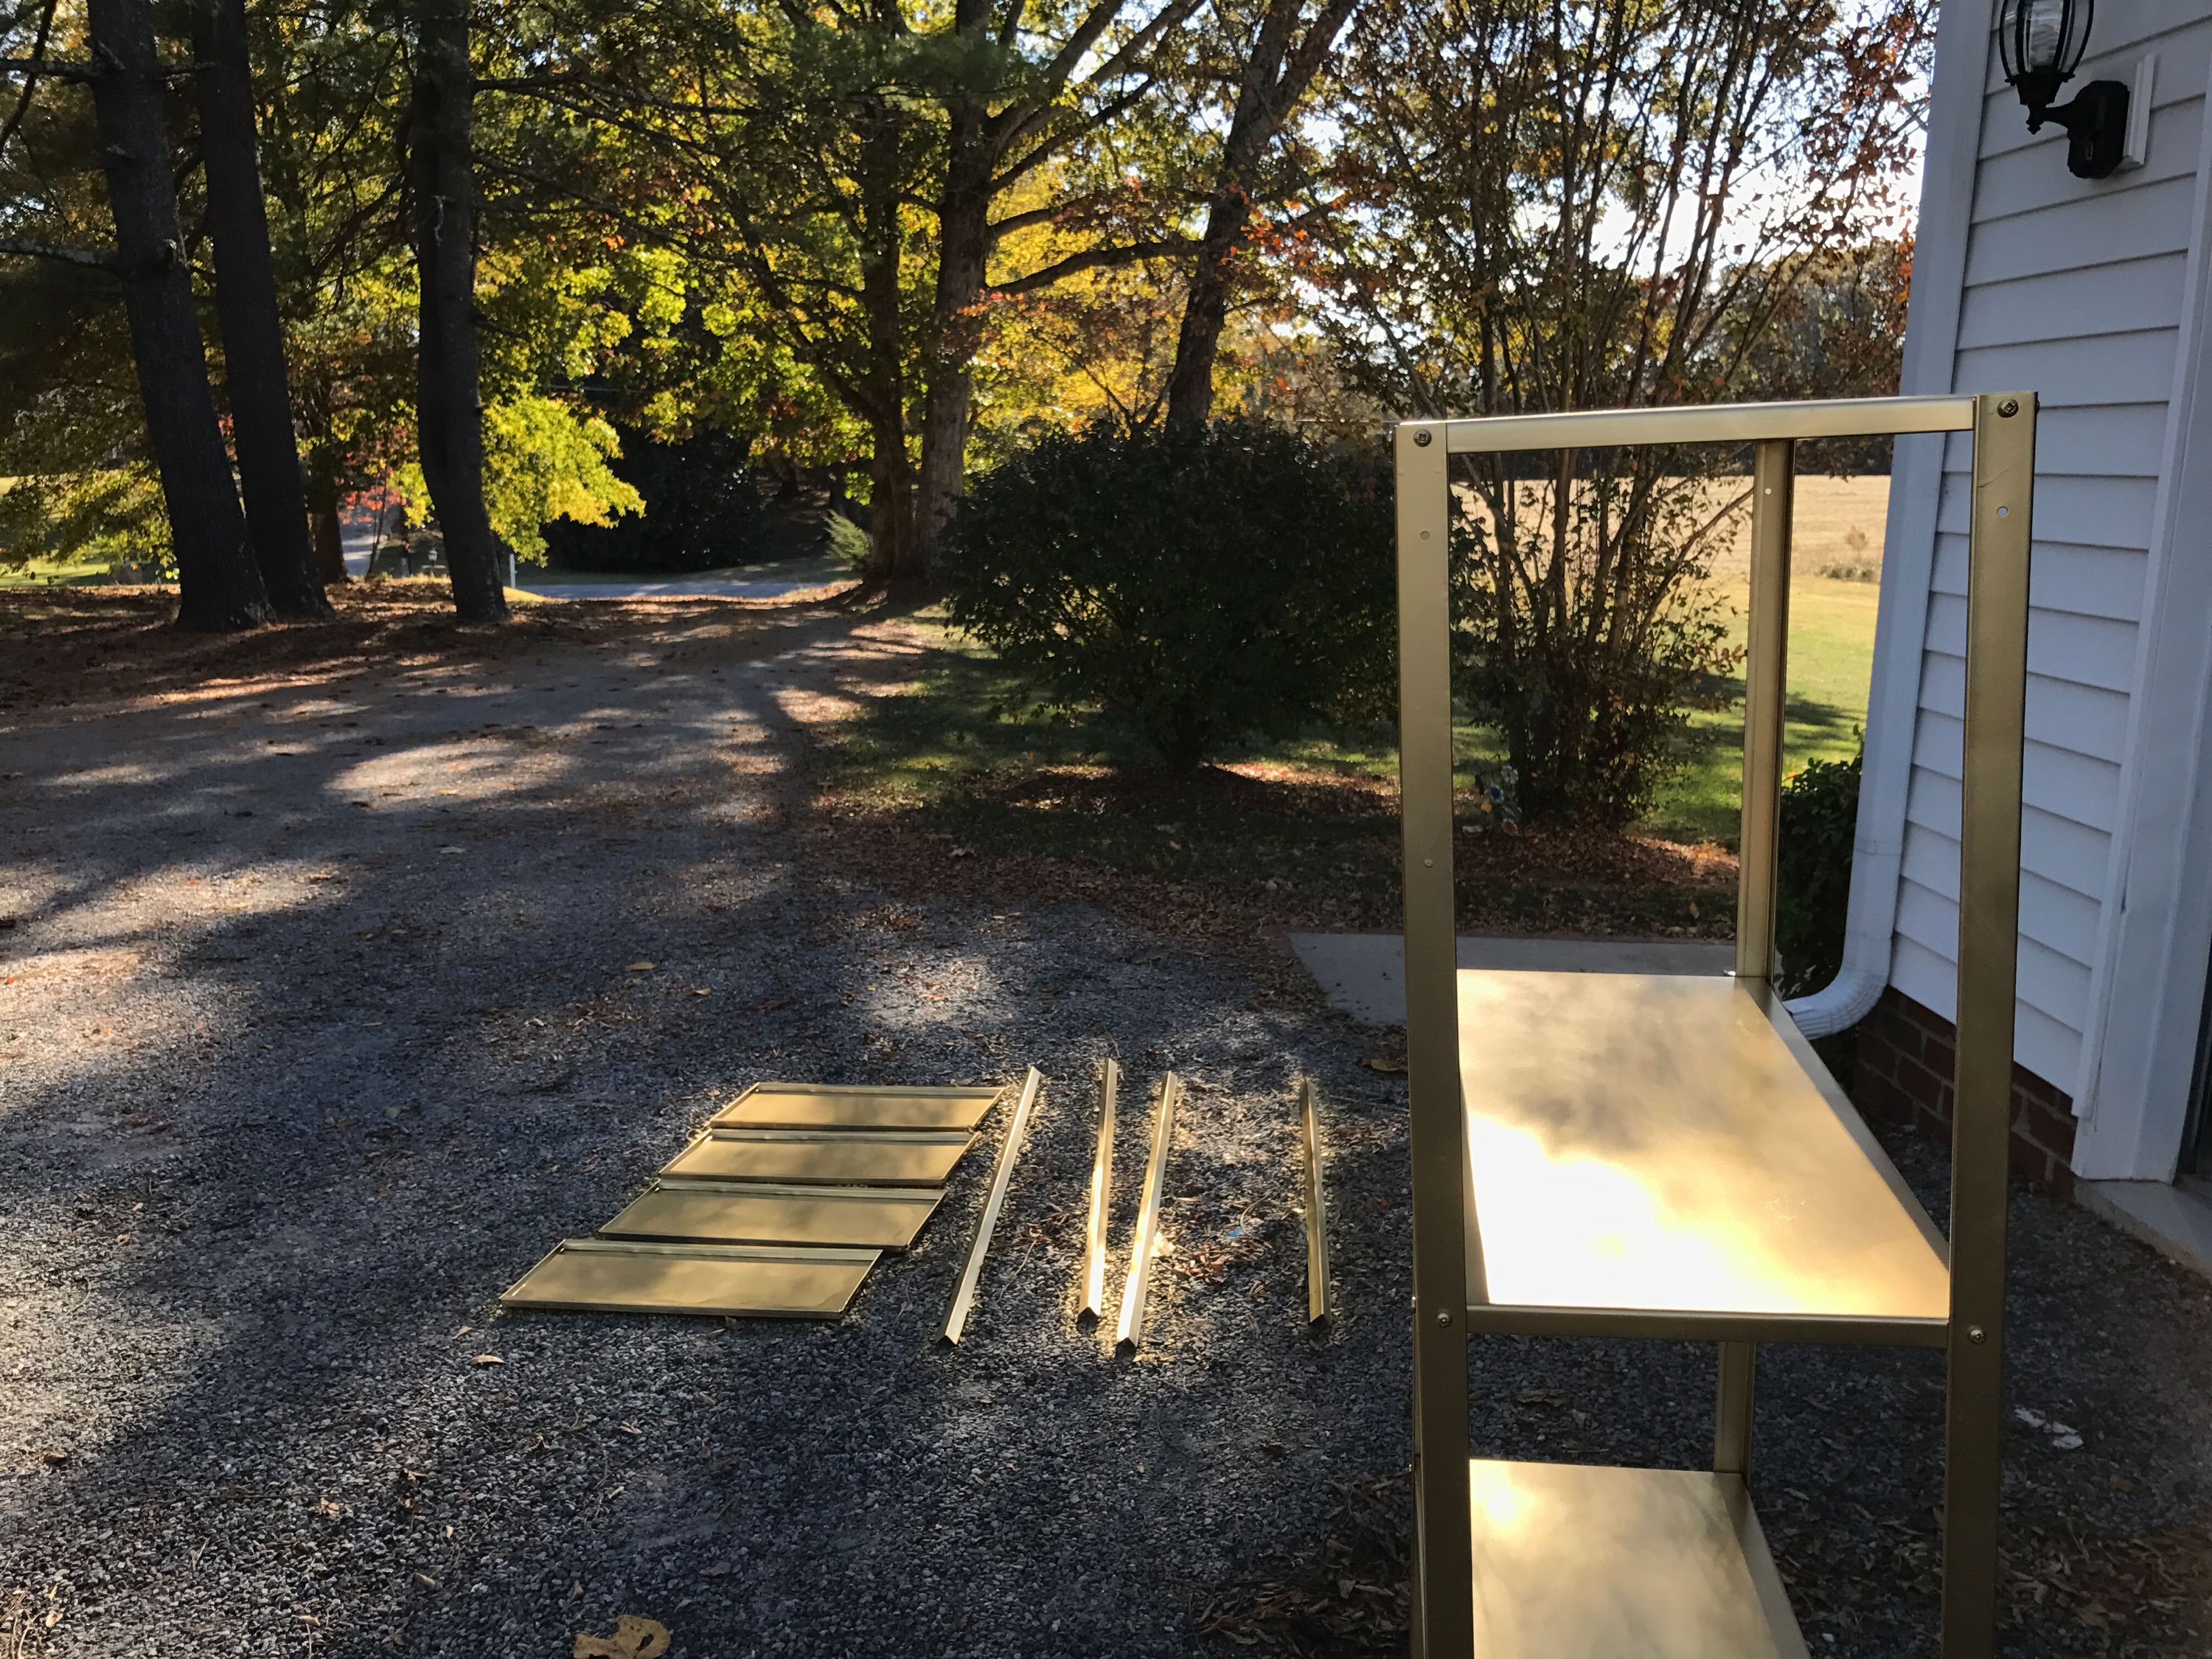
Step 1: Following the included instructions, assemble your Ikea Rast Unit. *Do not attach to the wall until after you have completed spray-painting the drawers, unless you are able to do so without damaging other items inside of the room you intend to complete the project. (As always, be safe and only spray paint in well-ventilated areas)


Step 2: In a well-ventilated area (preferably outside) begin spraying your unit with even & smooth strokes. Following the instructions on the can, allow time to dry after your first layer. (If you prefer an even smoother finish, lightly sand and wipe down the unit before you begin spraying. I did not sand ours, but it’s totally personal preference!)


Step 3: After the first layer has dried, repeat step 2 until desired coverage is reached.

Optional Step: Once your unit is painted and dried, seal the chalk paint with this wax. Since we are using ours as nightstands, I didn’t feel they needed as much protection from use as another piece of furniture covered in chalk paint, like a desk or coffee table, might, but this is totally a personal preference choice as well.

Step 4: Attach hardware!

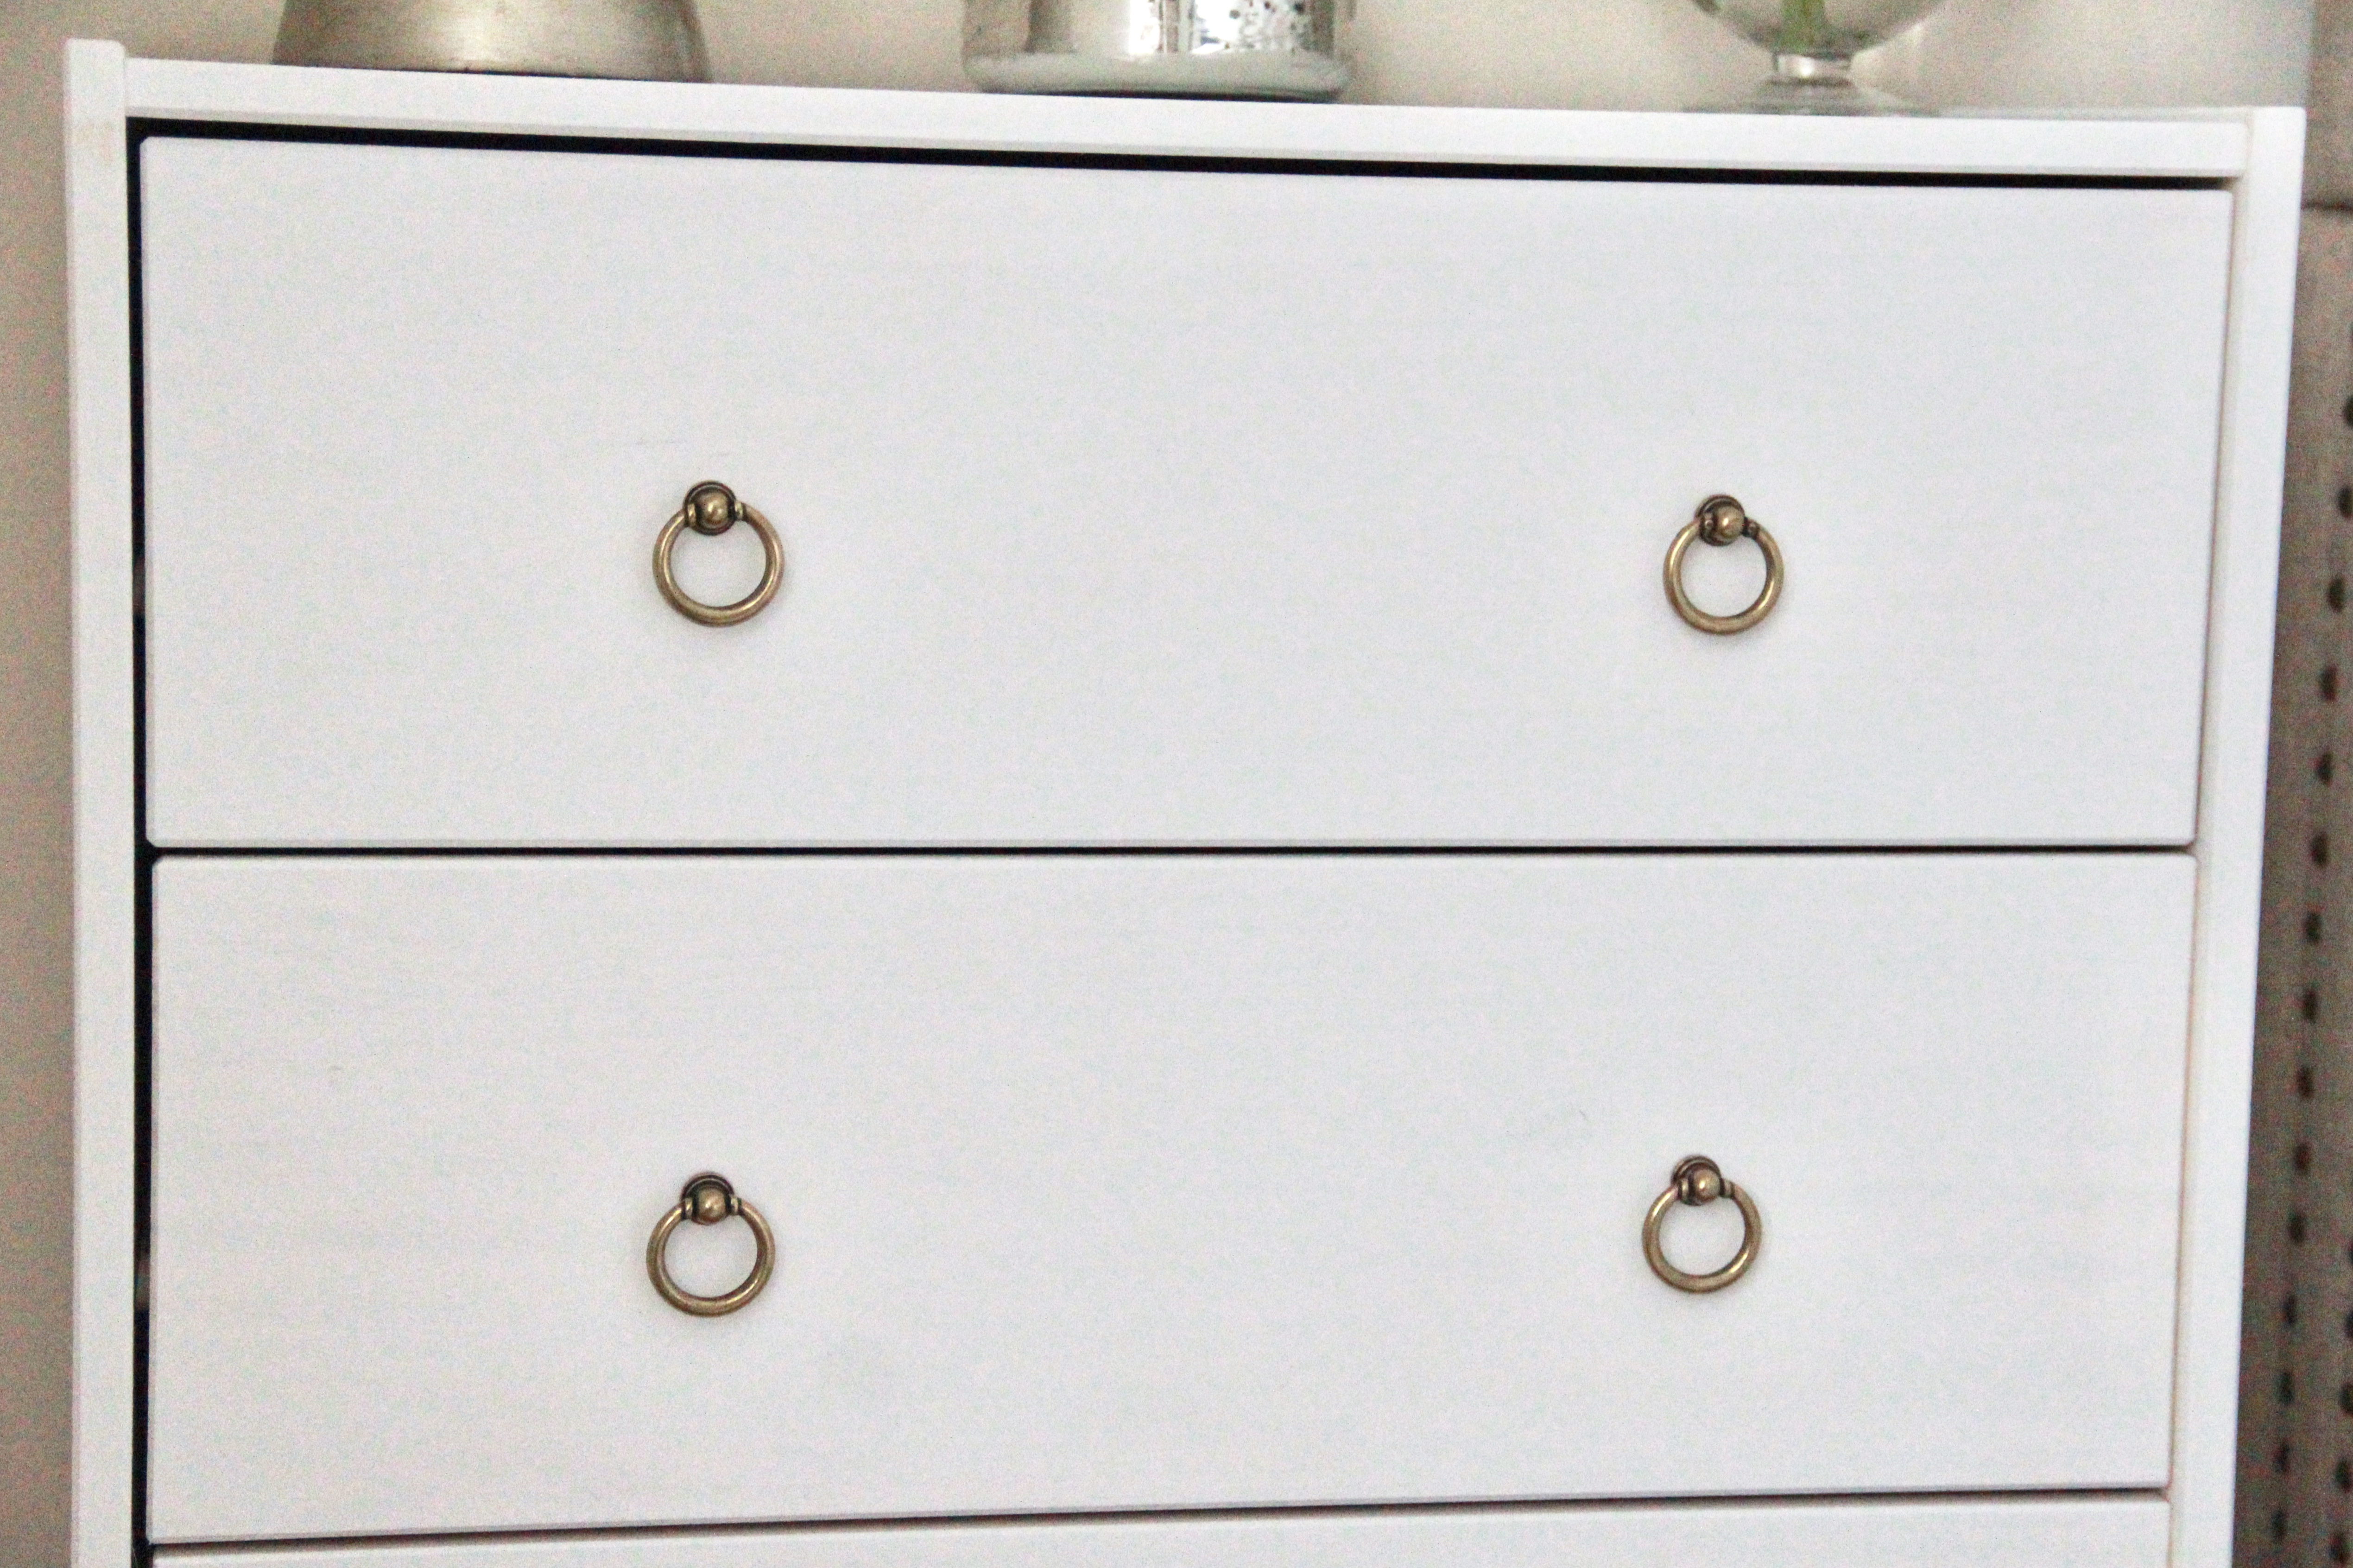
For me, picking out and attaching the hardware was the most fun step of the whole project. I love what we chose but definitely debated quite a bit on what style of hardware I wanted to use. These were some of my other favorites:


*Once all hardware is attached and your drawers are finished, follow the included instructions with your unit to attach them to the wall (optional but recommended by Ikea)*

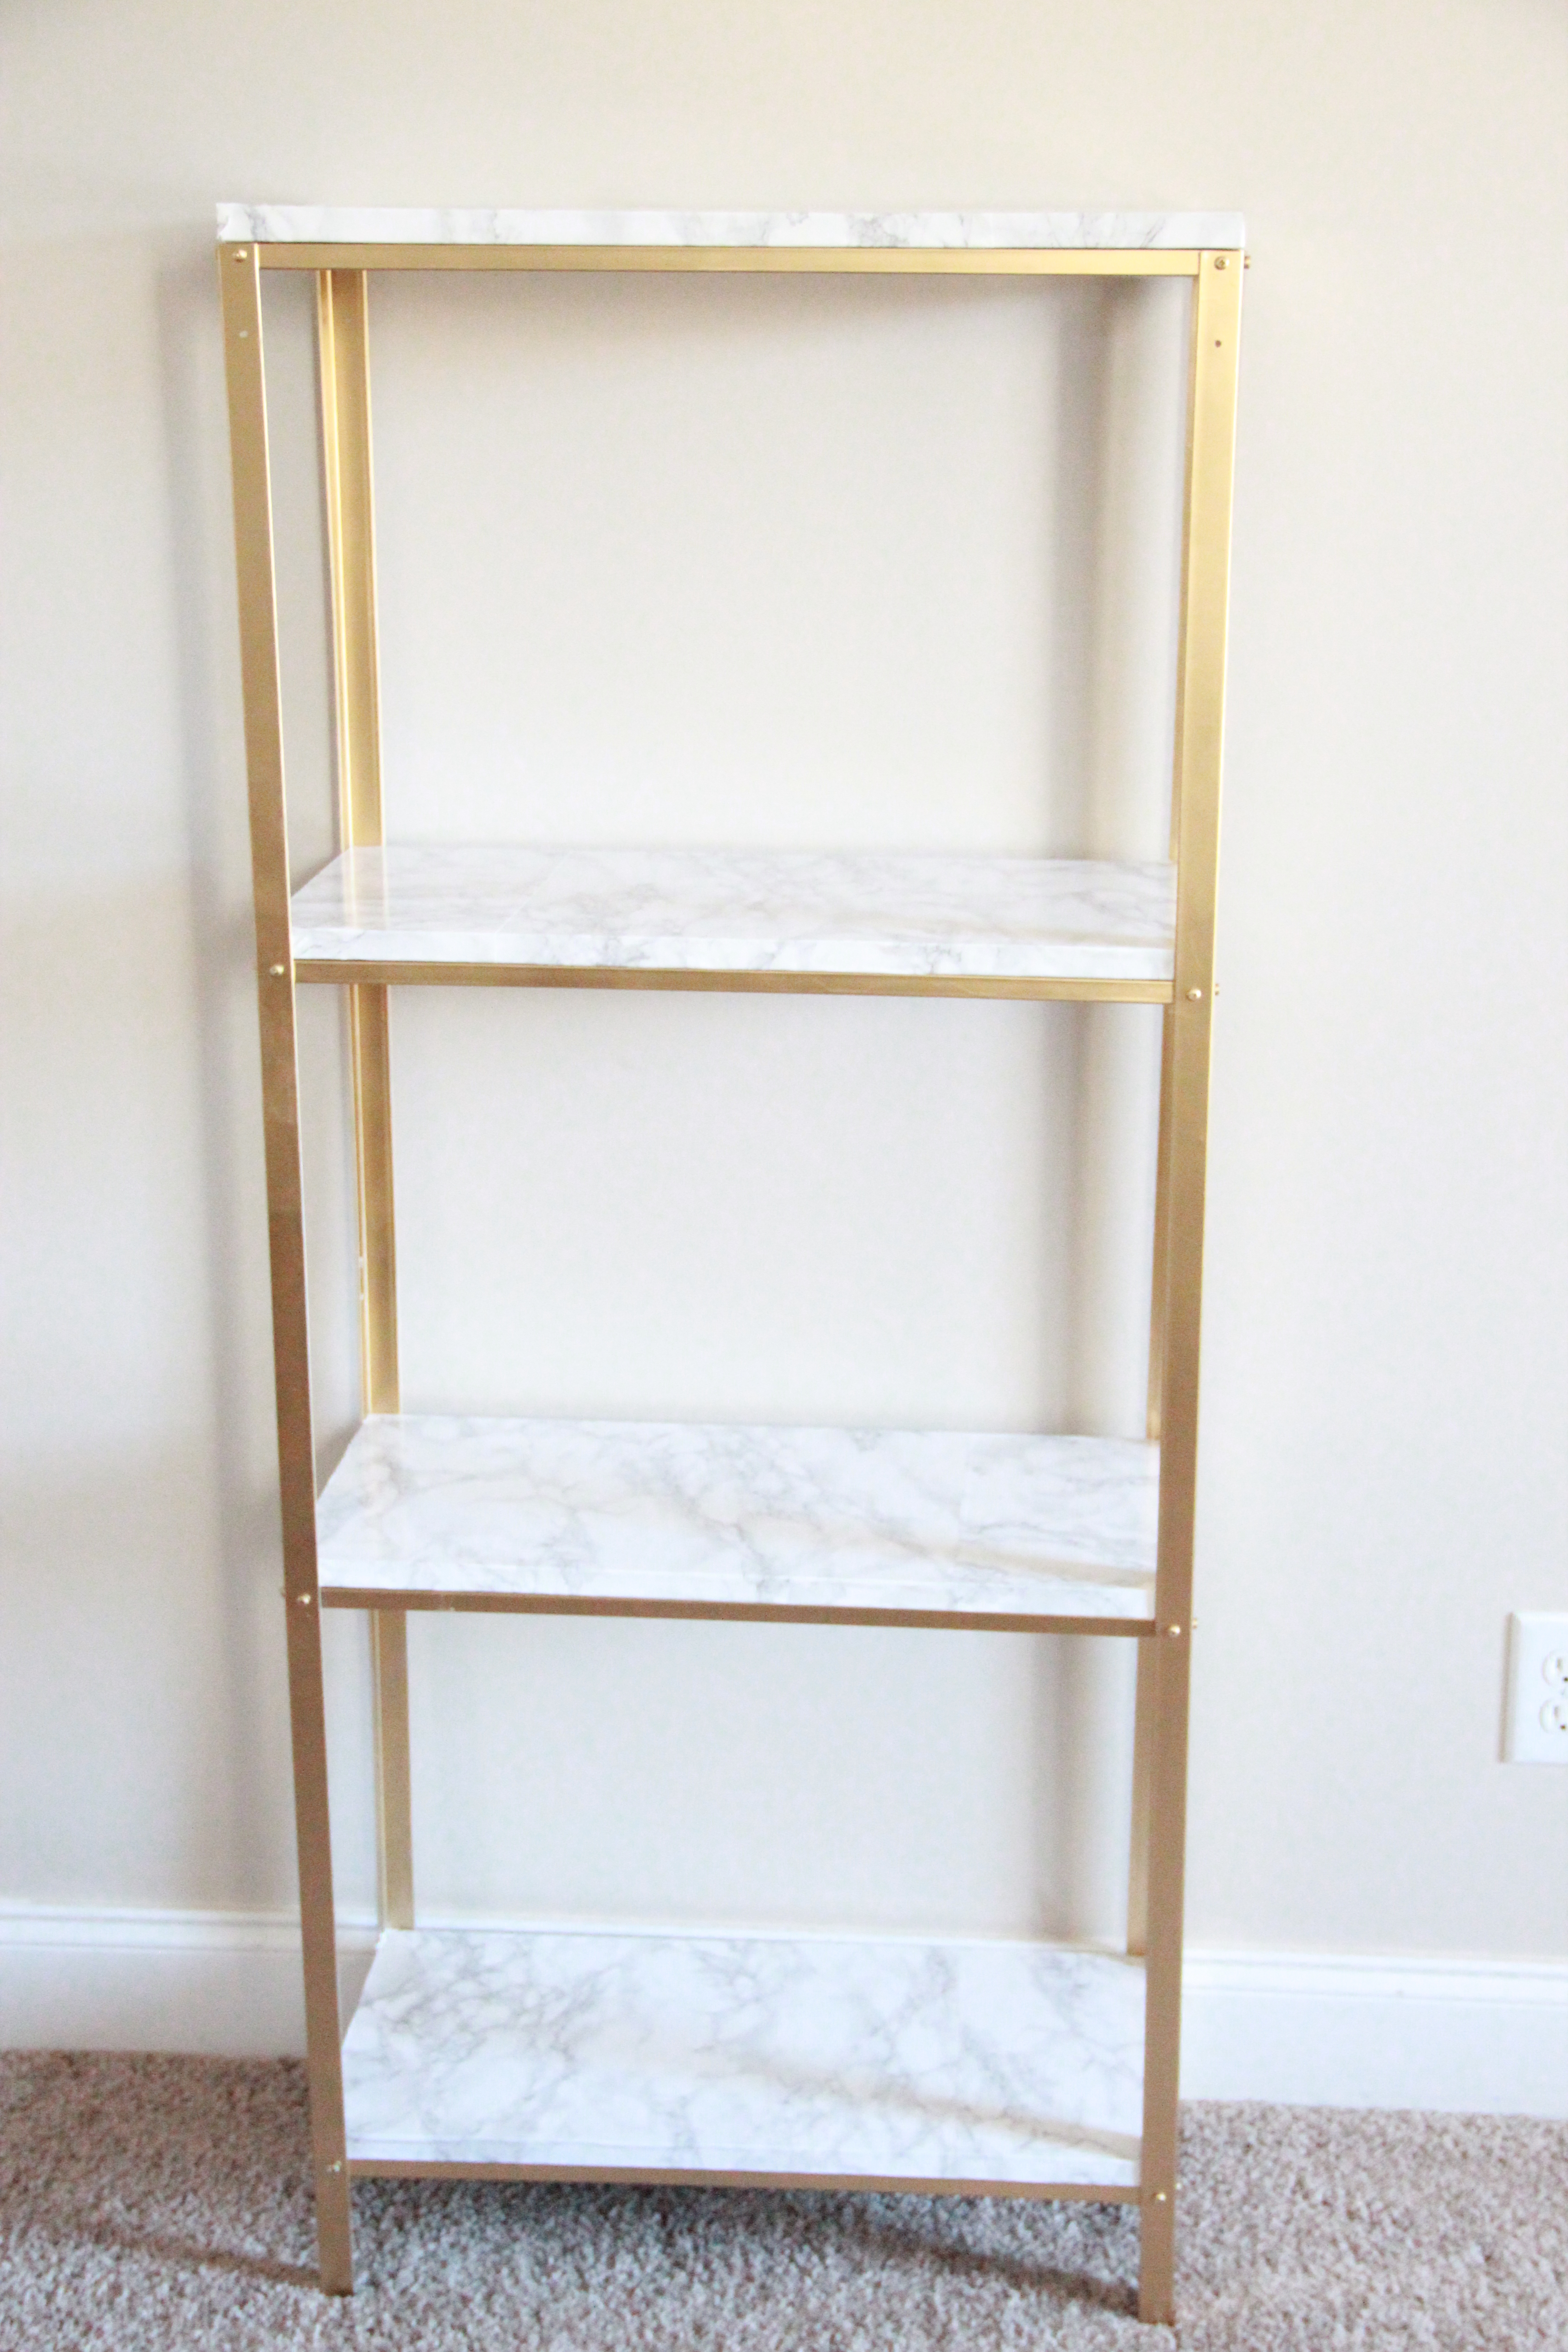
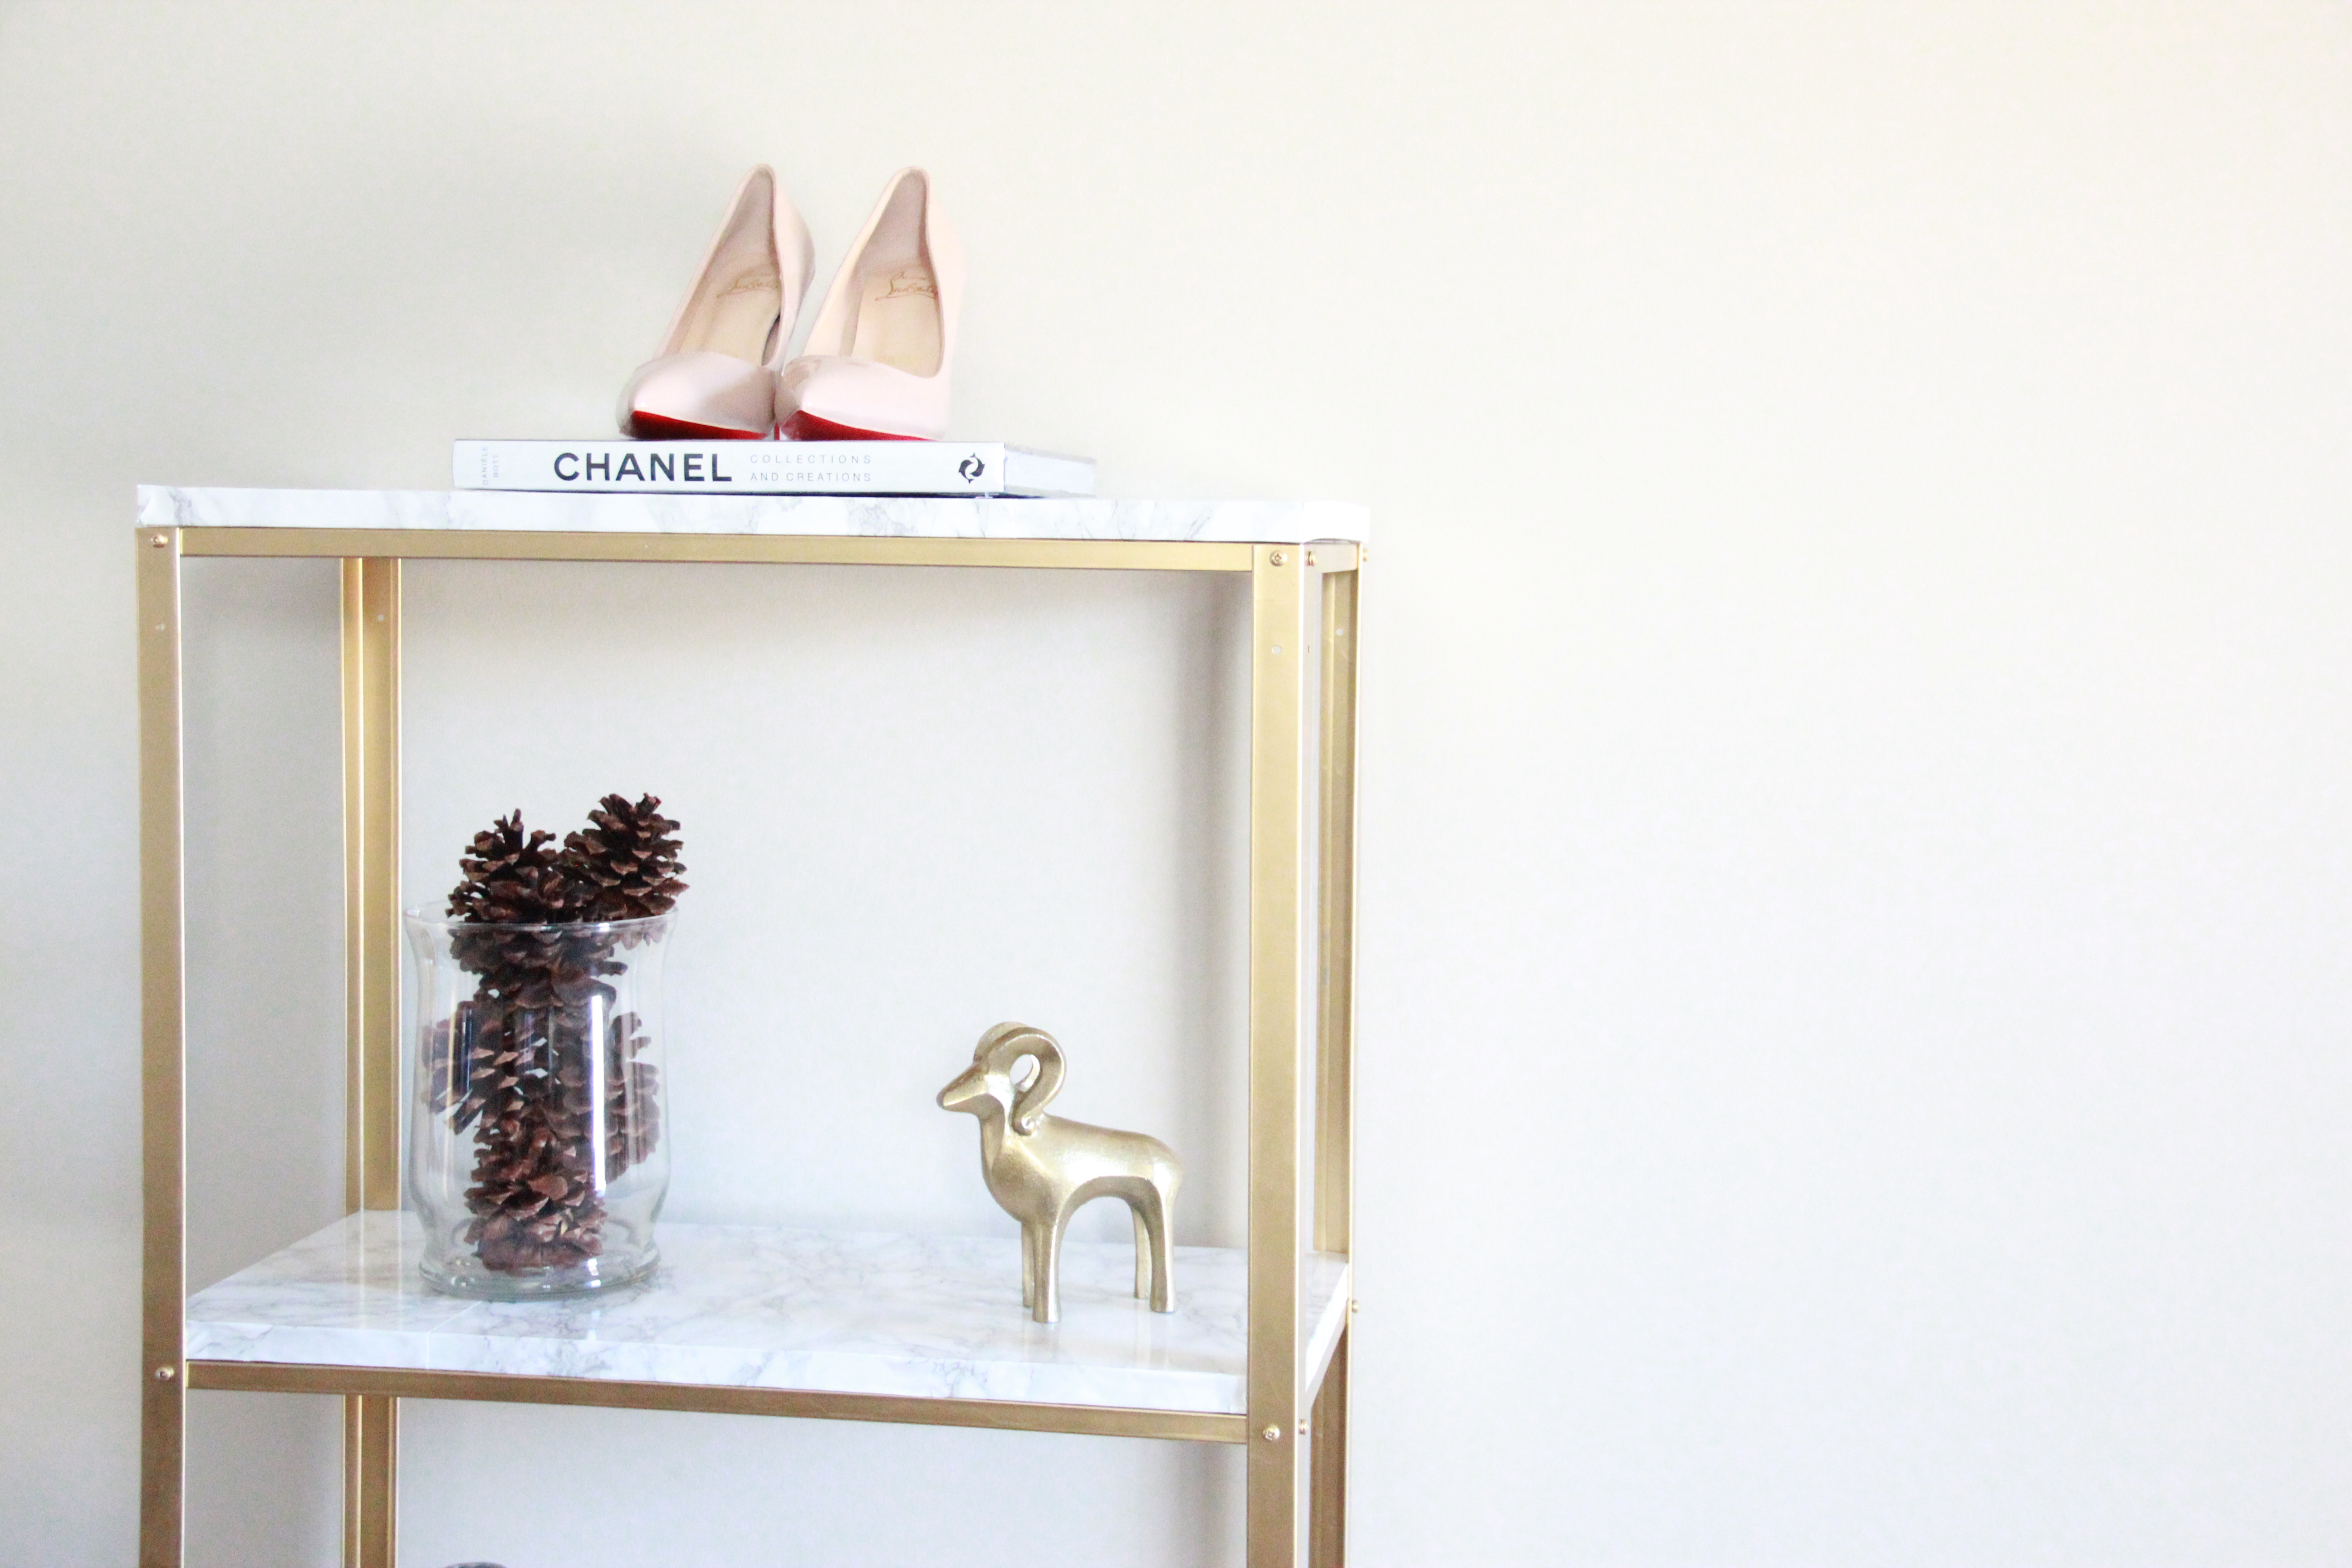
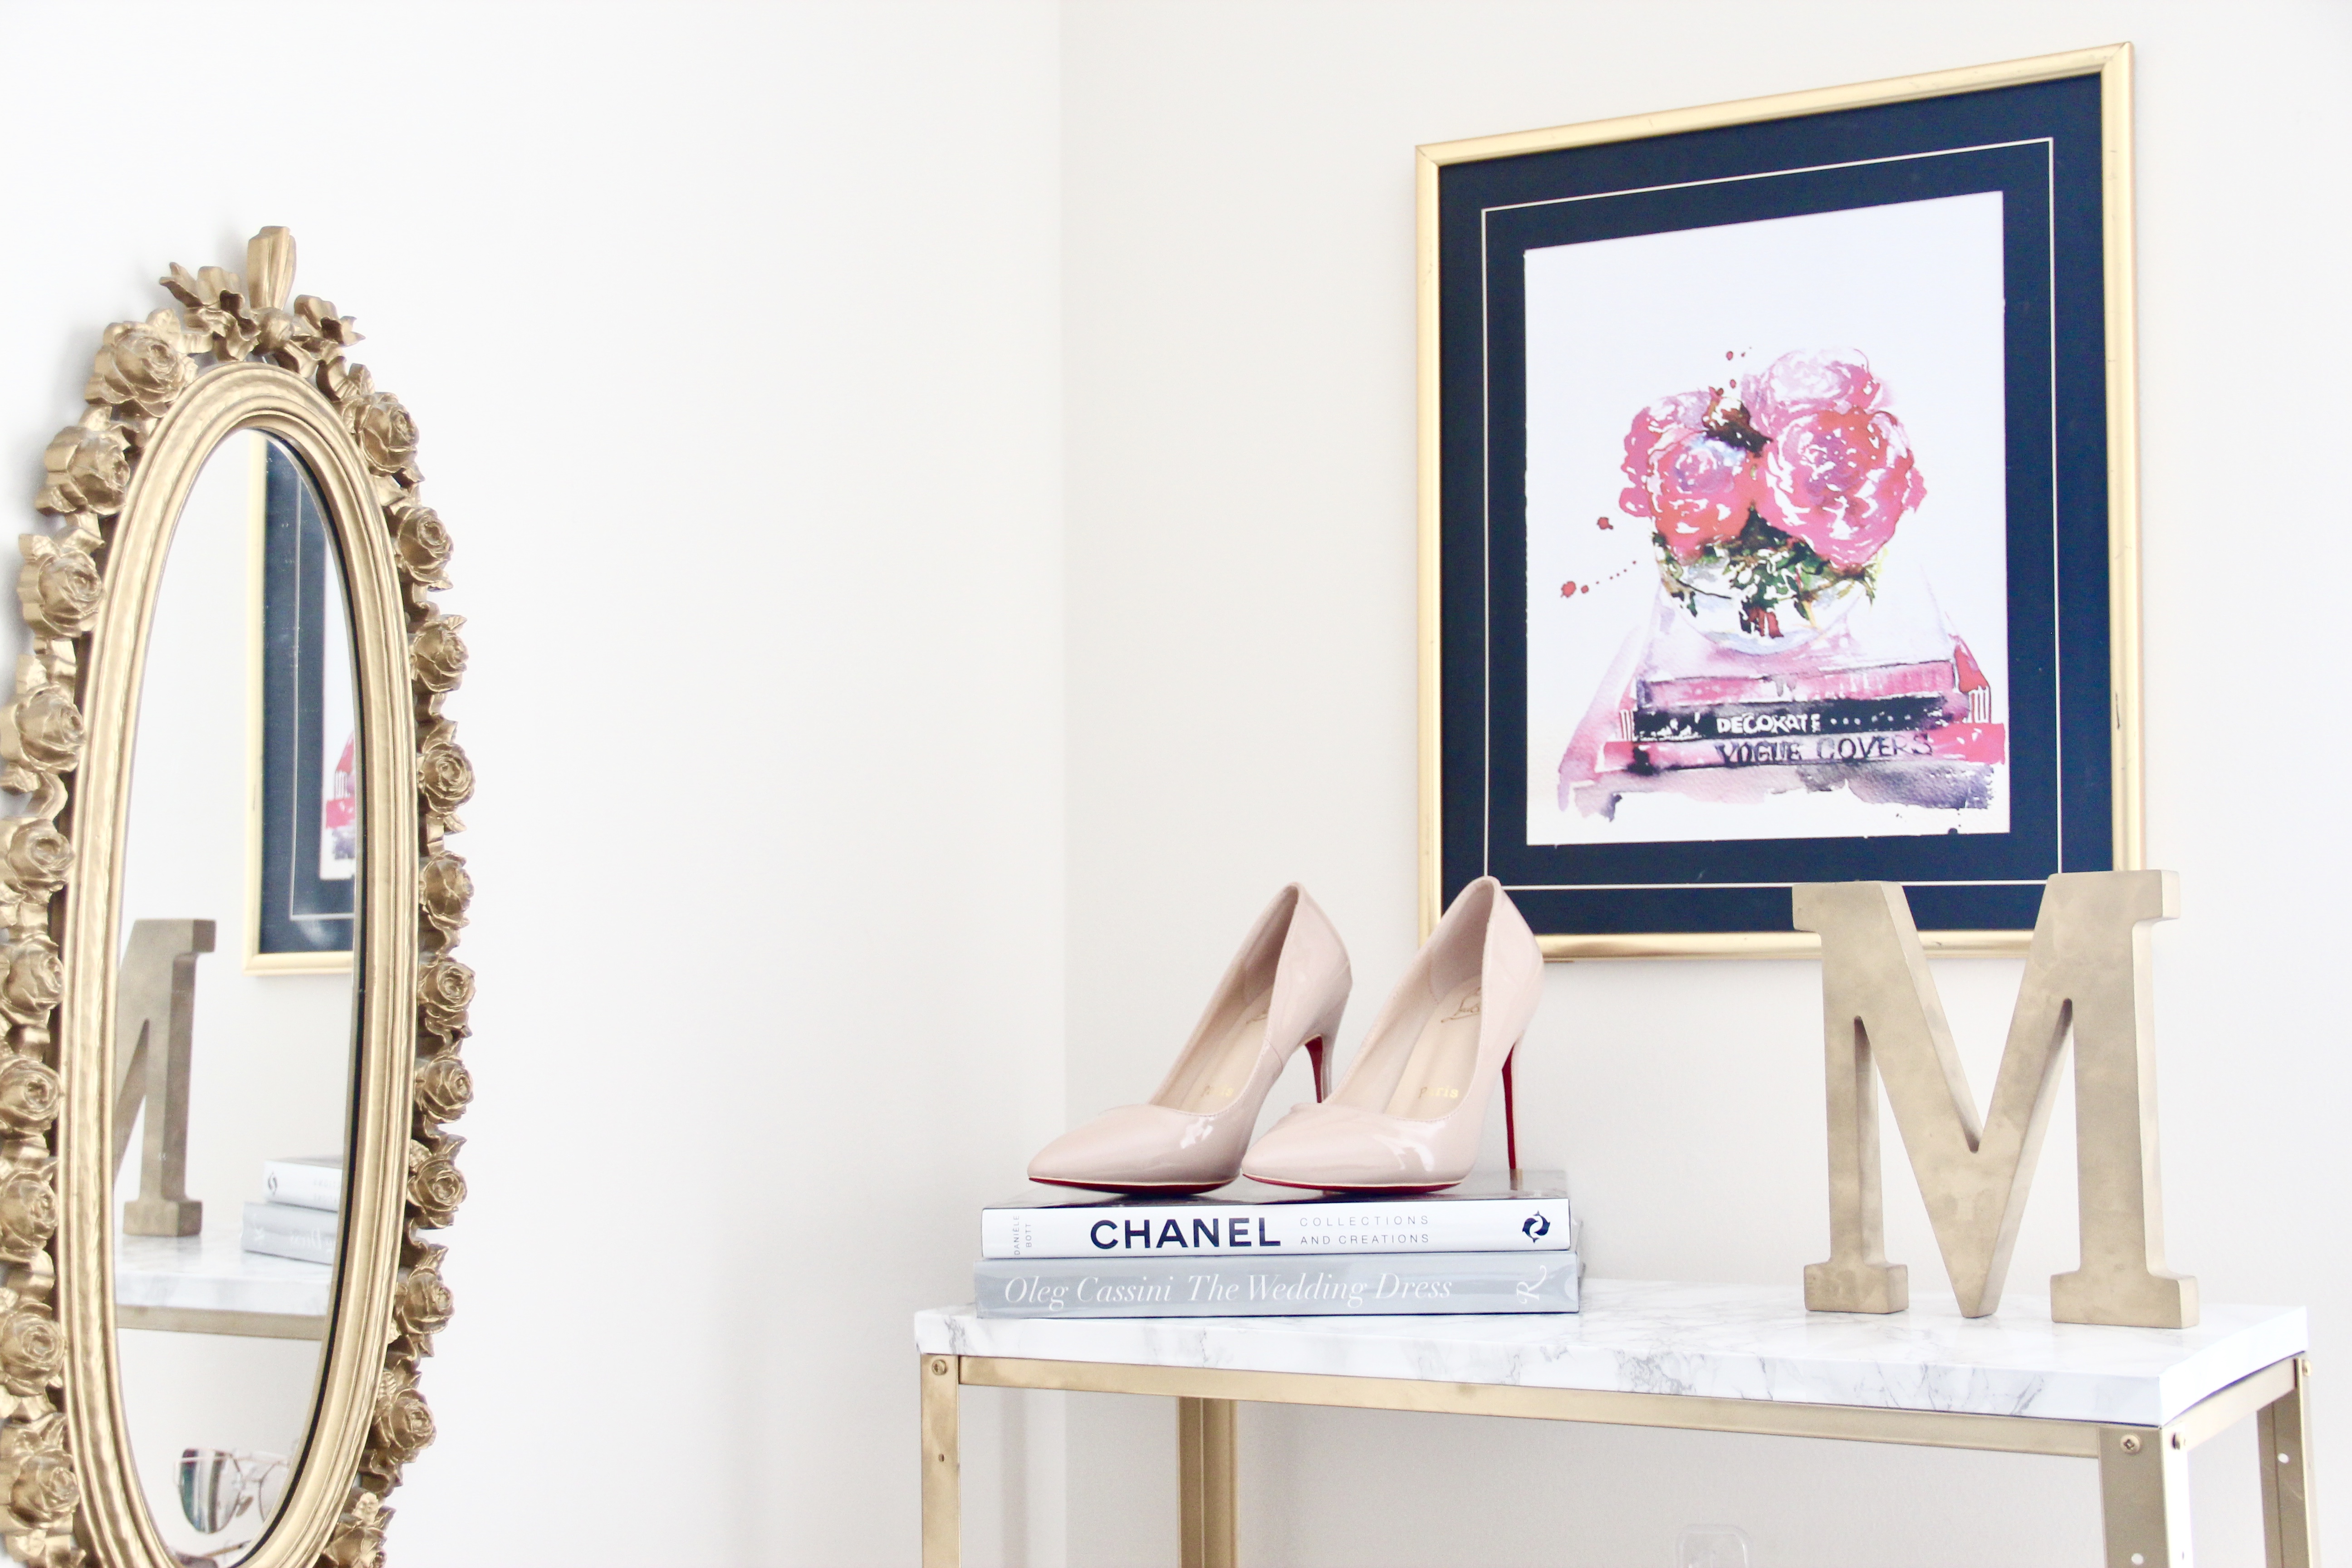
Now you can fill them up with your things and stage them!

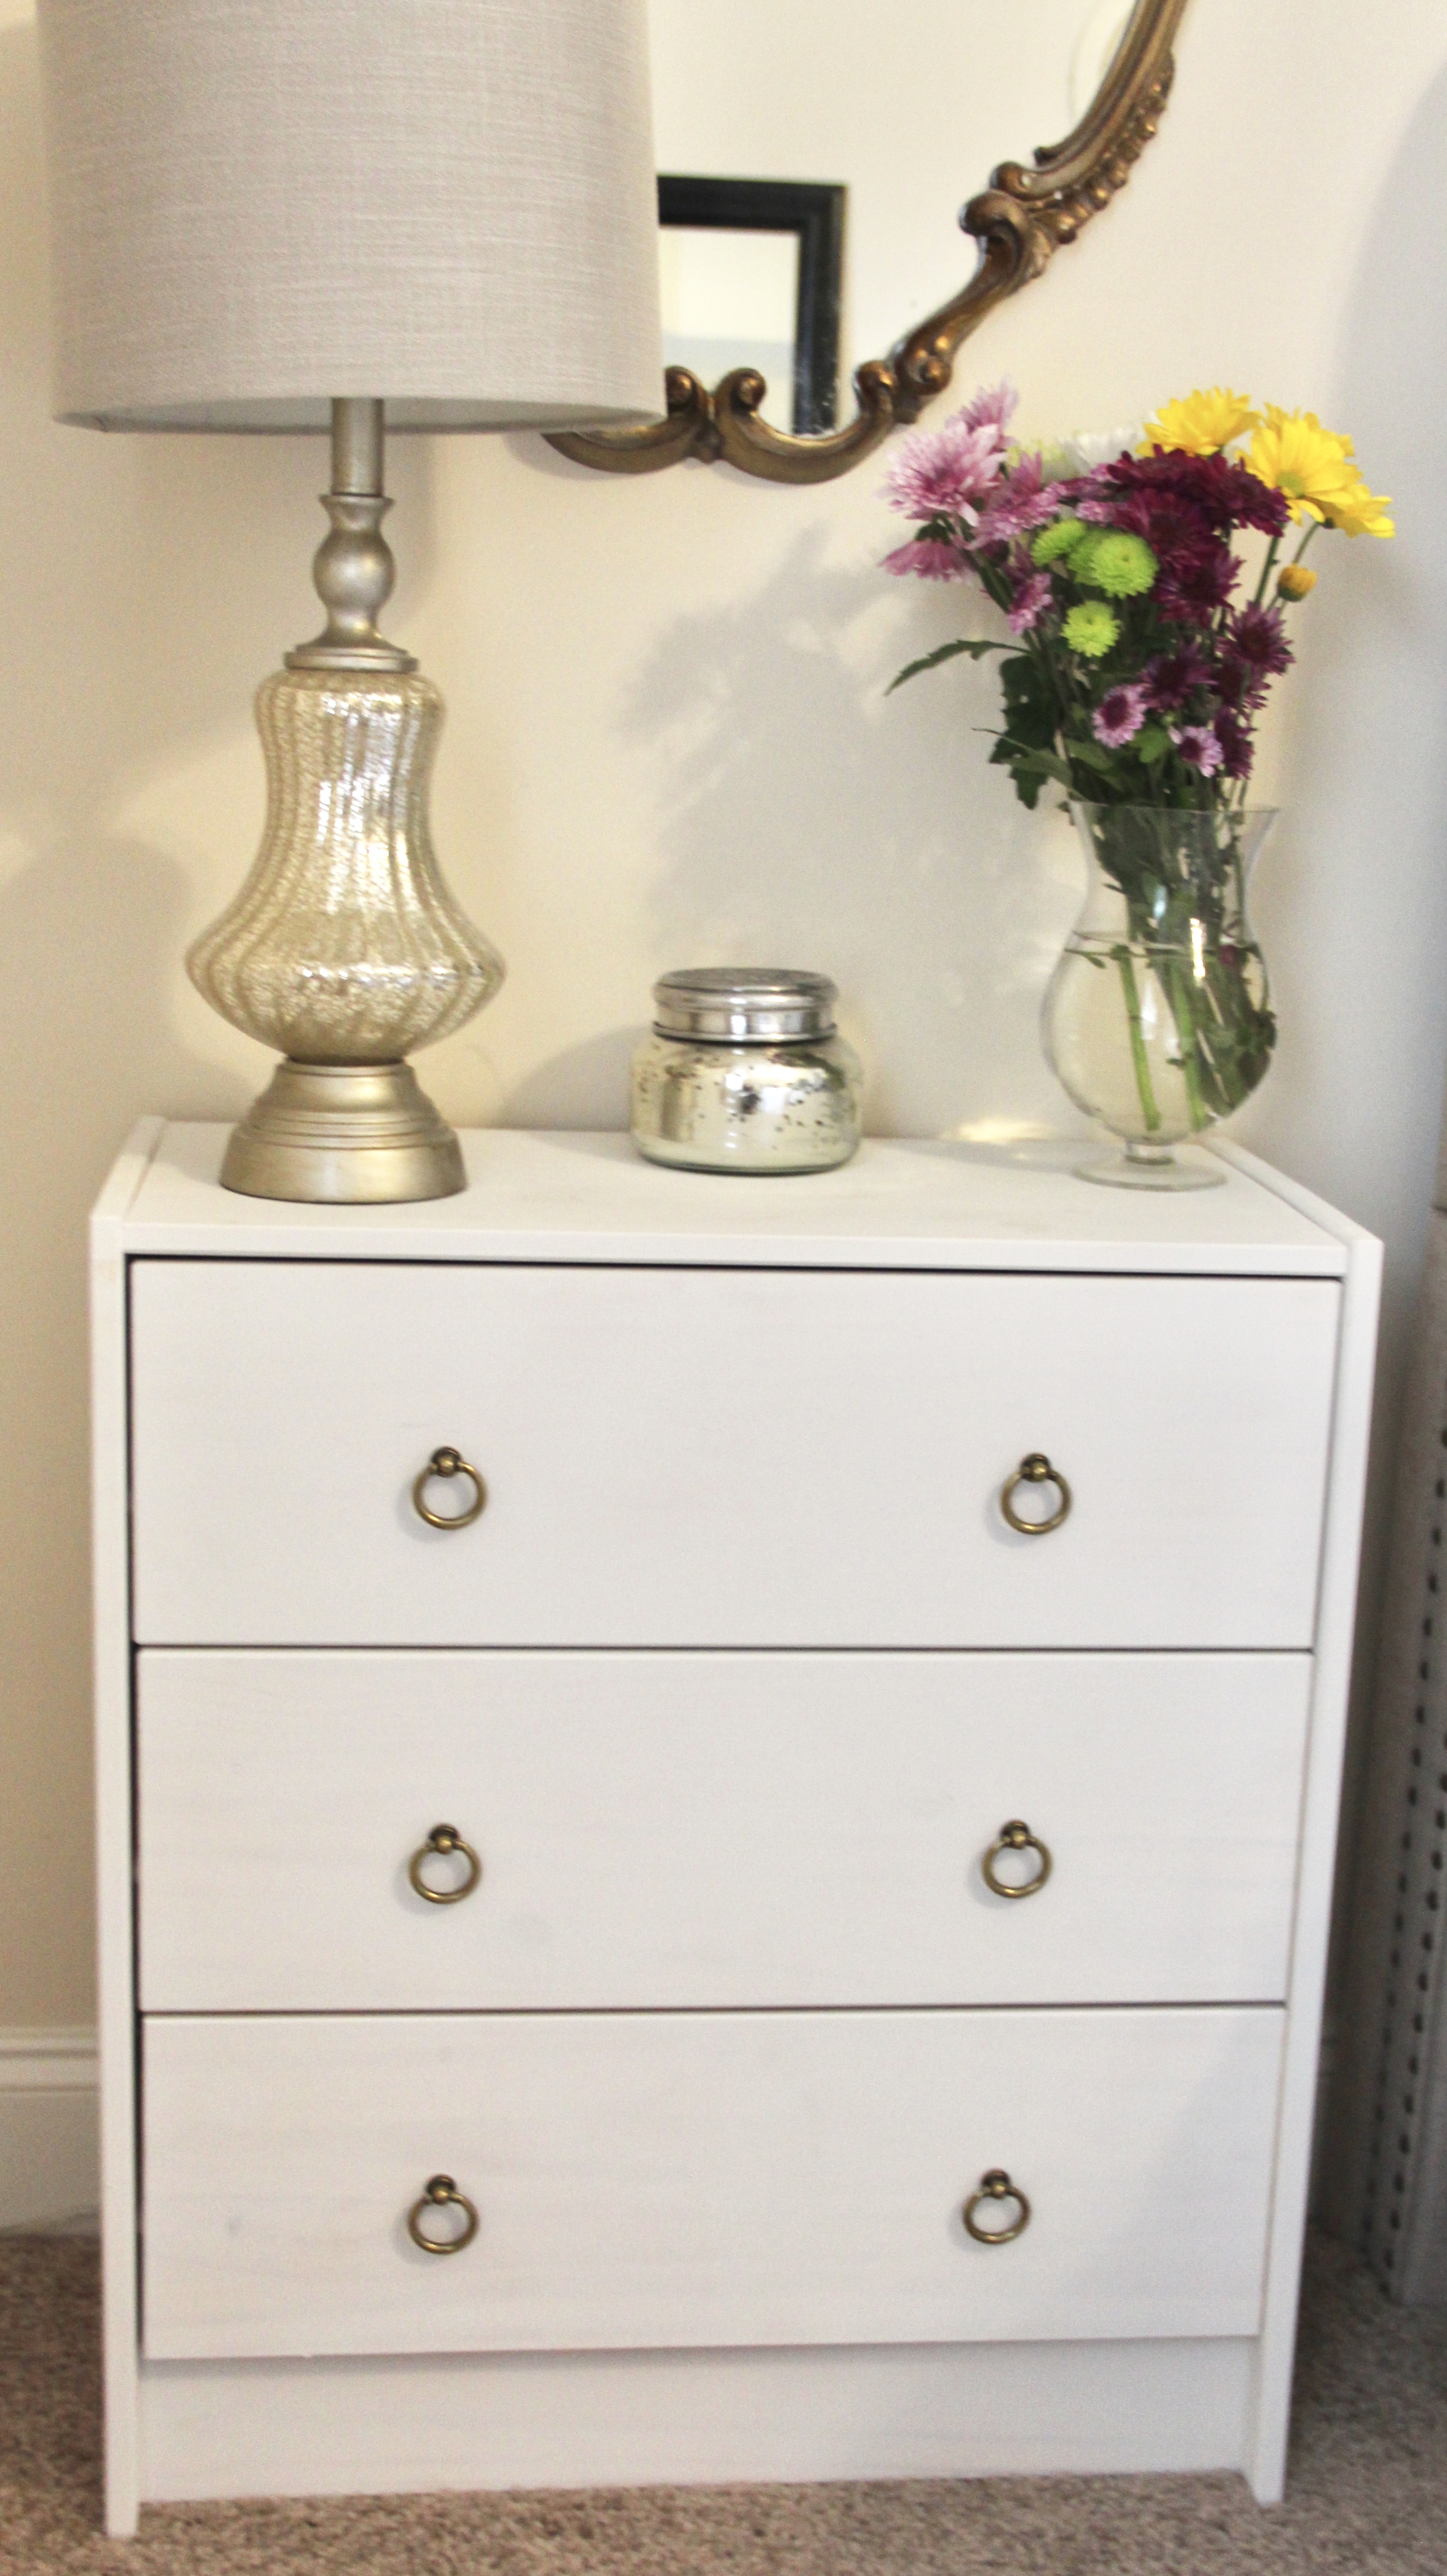
Completing this project? Tag me, I would love to see your results!

Click any image below to be taken to the respective supply for this project:

Post, Pin, Share:
Blog, DIY Projects, Home Decor, The Home

Gold and Marble Ikea Hyllis Hack

Ikea Hyllis Hack

Hey everyone and welcome back! I am over the moon about how this hack turned out, and I can’t wait to share with y’all how easy (AND CHEAP)  it is to do!

ikea hyllis hack marble goldikea hyllis hack marble gold
I was inspired by the Hyllis hack originally shared here, and had it saved forever on Pinterest waiting to be used. However, for my office, I wanted something a little more glam. I love love love marble and gold combinations, so I don’t know why it took me so long to think of this but a lightbulb finally switched on in my head. I made two of these shelves so if you are just making one, cut these supplies in half.

Here are the supplies you will need for two shelves (click on the item name for its direct link):

Ikea Hyllis Shelf

Gold Spray Paint x 4

Marble Adhesive Sticker x3

Putty Knife

Pine Wood (from a 12x12x1 board) cut into 6 shelves measuring: 23 9/16″ x  10 5/8″ (If you don’t have a saw, no worries, you can have these cut at Lowes)

Pine Wood  (from a 12x8x1 board) cut into 2 shelves measuring: 23 10/16″ x 10 13/16″ [These are for each unit’s top shelf]

Screwdriver

Clamps

Drill

Let’s get started!

Step 1: Assemble the Hyllis Unit, and in a well-ventilated area – preferably outside – begin spray painting. (I tested out both options, of spray painting before assembly, and after, but due to painting the screws, it’s just easier to already have it assembled and ready to go).
Keep the strokes as smooth and even as possible to prevent dripping. Allow the first layer to set before continuing. This spray paint’s coverage is awesome, so you really won’t have to wait hours upon hours before finishing this part. Make sure to paint the ENTIRE unit, even underneath the shelves, otherwise you’ll see the galvanized metal show through.

Step 2: While the unit is drying, we can move on to creating the “marble” shelves that will be added to it. Once your wood shelves are cut to the measurements included in the supplies list, Lowes is awesome y’all forreal, it’s time to get your marble adhesive sticker and putty knife out. This is also surprisingly easy to work with and adjust. I was super nervous that it would be all over the place sticking to itself and that this whole project would be a bust, but this sticker is stellar. Use your putty knife to smooth out any bumps or air bubbles. You need to cover one side and all the edges.

[quads id=1]

Step 3: Once the unit is dry, after you have covered all of your wooden shelves, it’s time to put it all together! Taking your screwdriver, loosen the screws on each end of the bottom three shelves, then take the marble covered wood pieces and set them on the shelves. When they are laying flat against the metal shelves, tighten those screws back. This will secure these to your unit. For the top shelf, take the wood piece and clamp it at each end on the top. Now, drill in three holes evenly spaced across the middle of the shelf  (not all the way through, just enough for screws to fit in and secure it). Using your screw driver, secure those.

ikea hyllis hack marble gold

ikea hyllis hack marble gold

ikea hyllis hack marble gold

That’s it! Now here’s the fun part: Staging the unit!

ikea hyllis hack marble gold

ikea hyllis hack marble gold

ikea hyllis hack marble gold

marble gold ikea hyllis hack

the best and easiest diy ikea hack

Making one of your own? Tag me so I can see your completed Marble & Gold Hyllis Hack!

Still can’t get enough marble and gold DIY projects? Check out this marble and gold vanity tray DIY:

marble and gold vanity tray

Supplies for this DIY:


SaveSave

SaveSave

SaveSave

SaveSave

SaveSave

Post, Pin, Share: