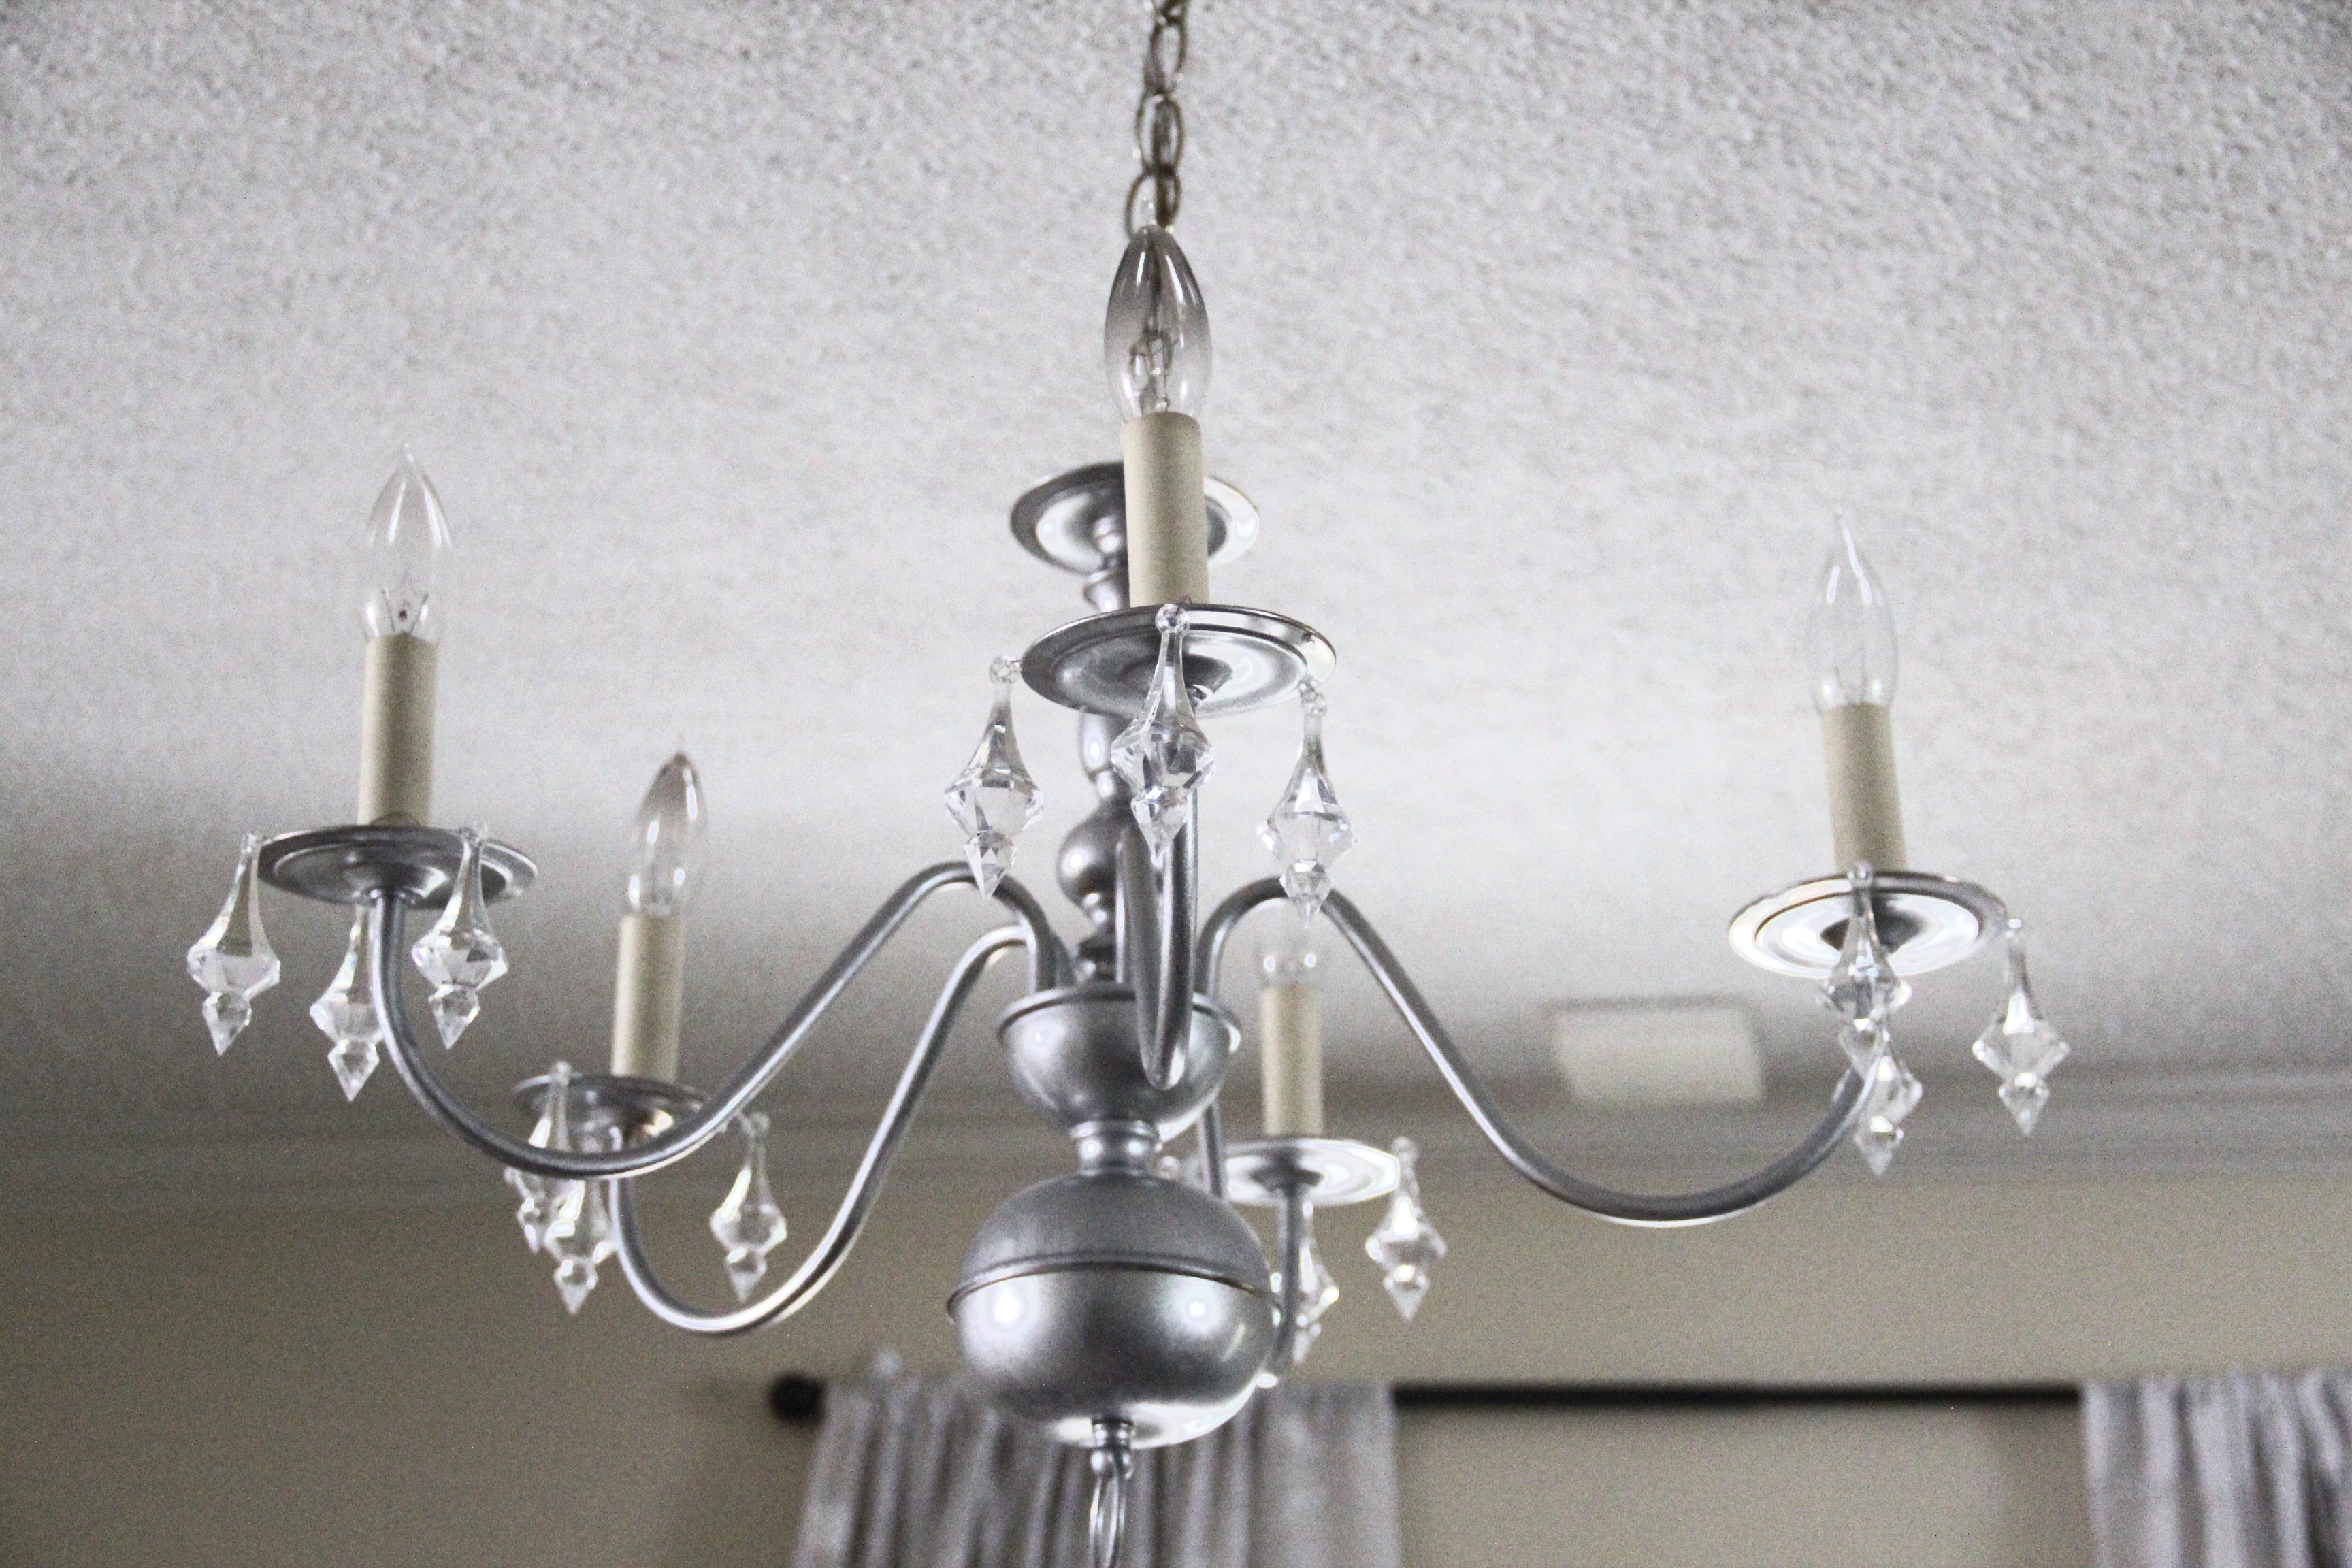
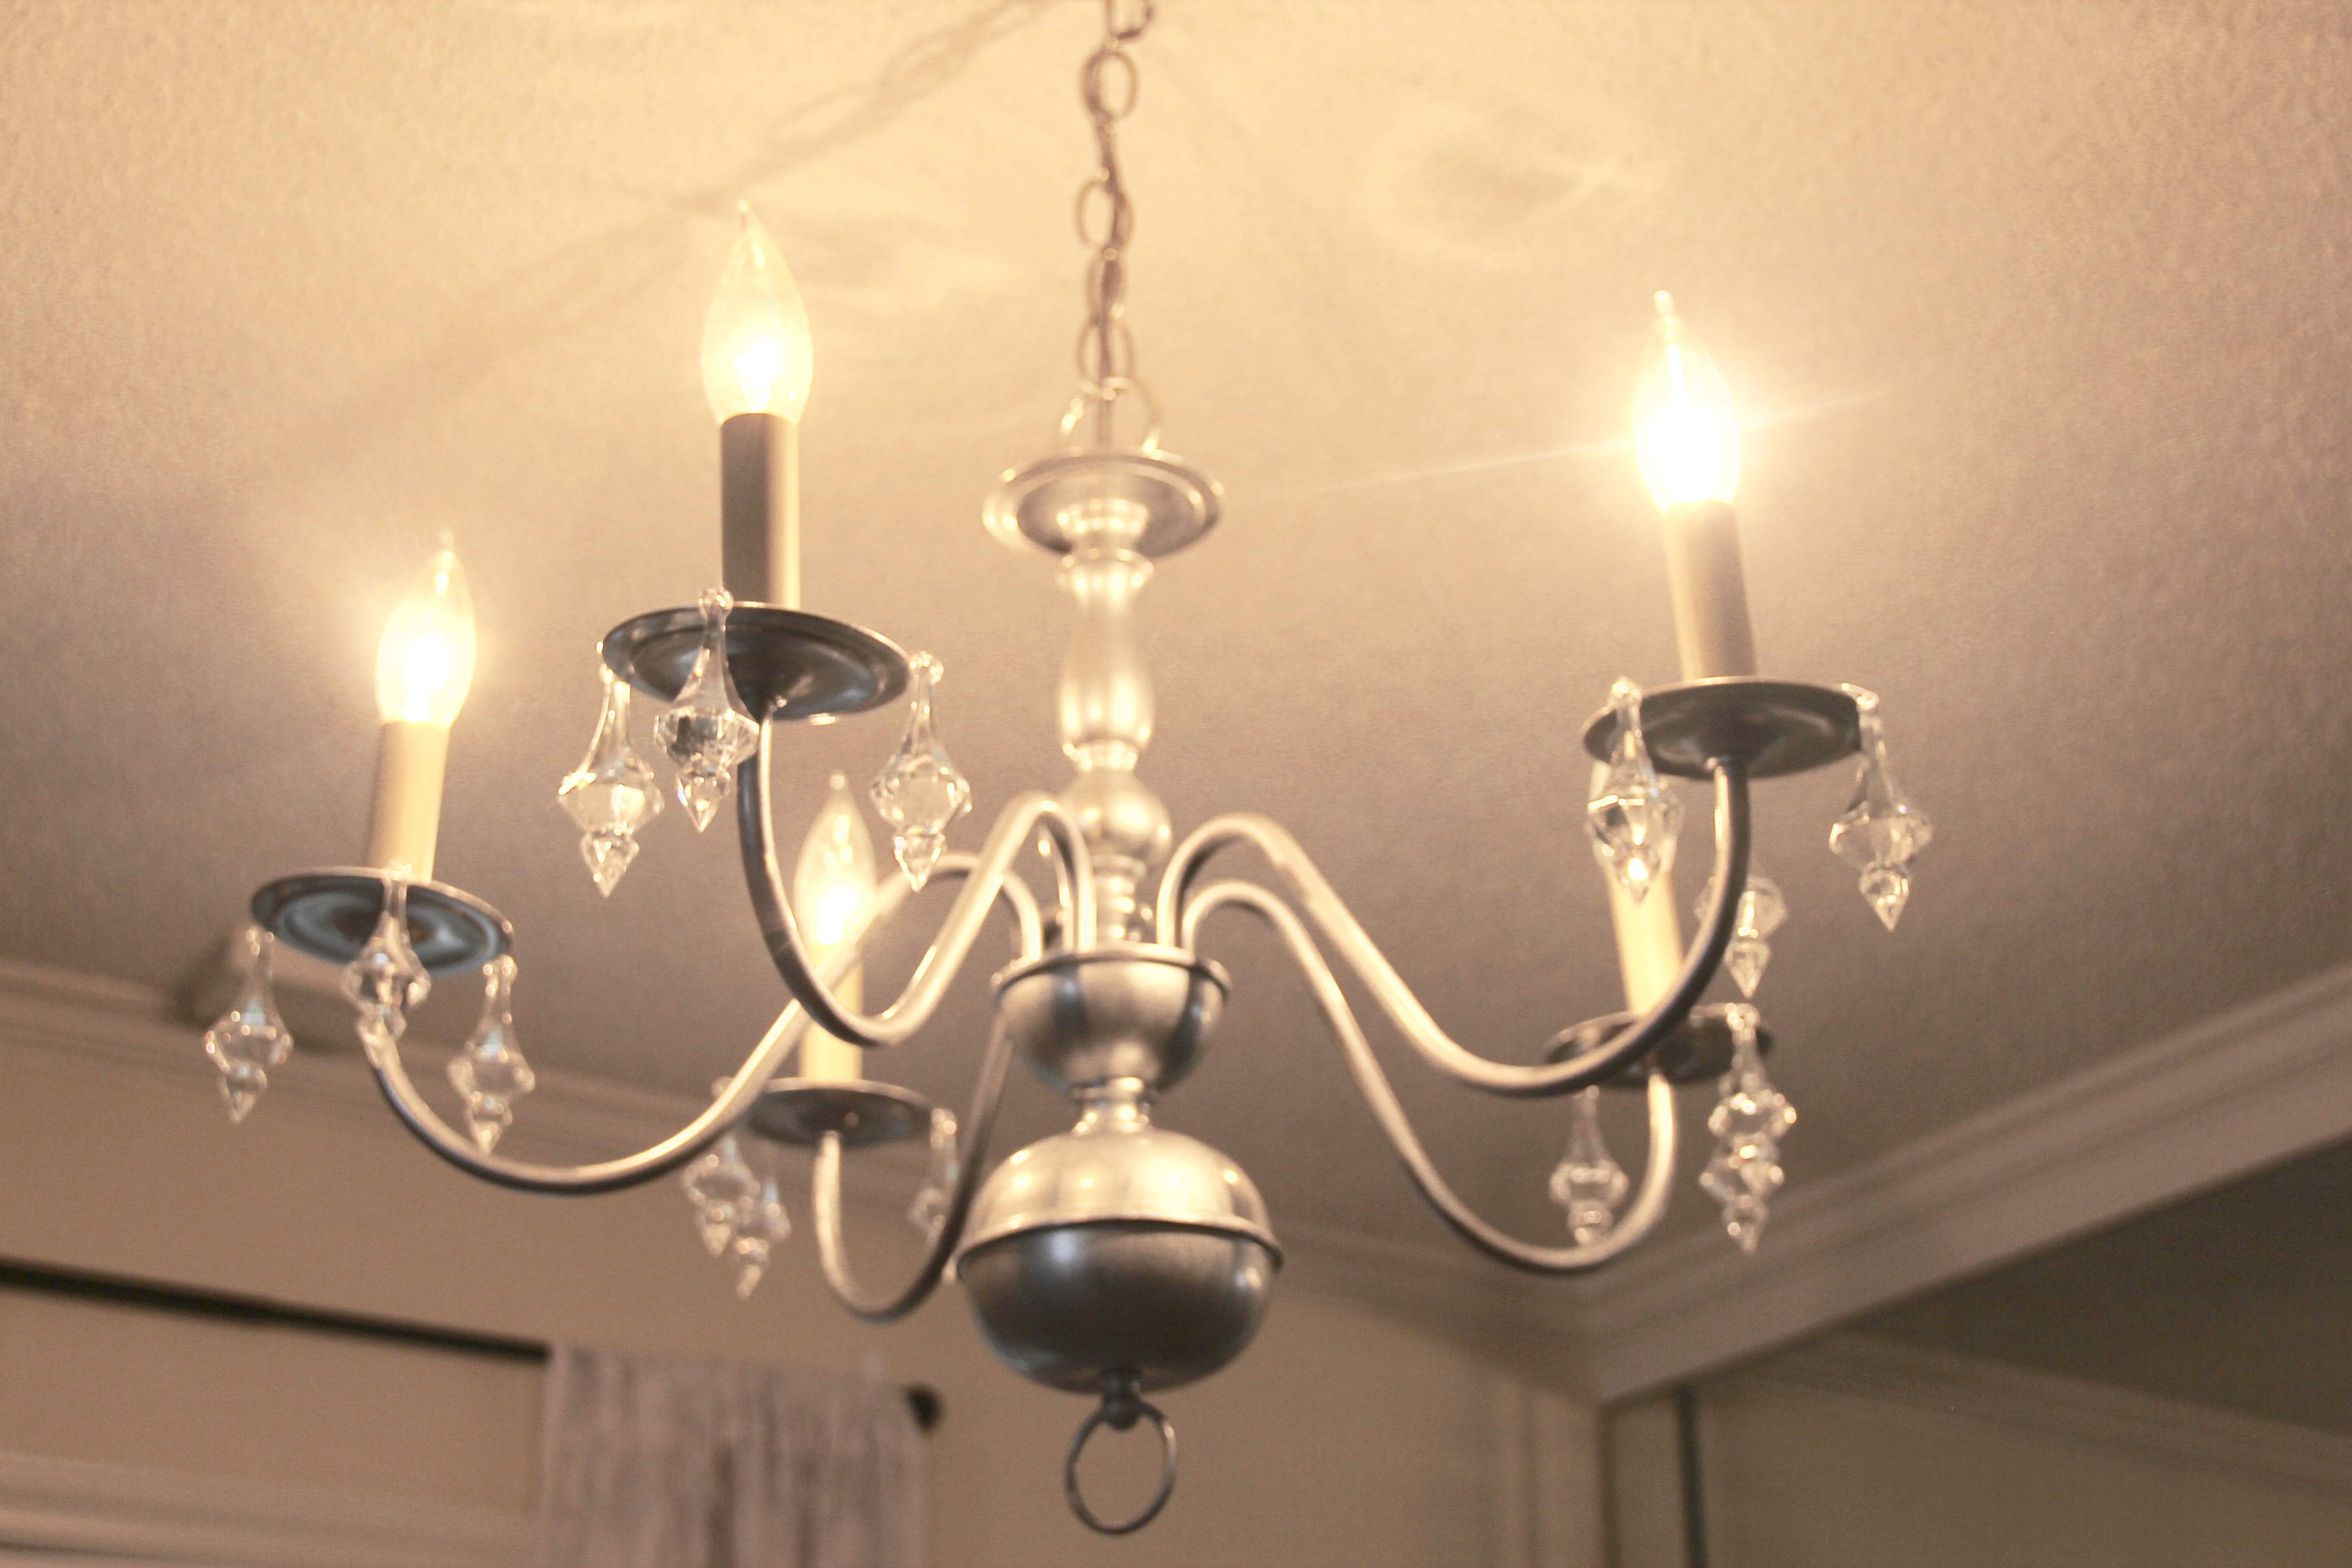
So this is quite possibly one of my favorite DIY projects so far, simply because I love chandeliers but really don’t love their price tags ($350 is average? Not good when you’re on a moving budget!) In total, this project cost me about $10. I already had a lot of the supplies thanks to their versatility and reusability on a wide range of projects. BUT even if you are starting from scratch, this DIY project is still very kind to the wallet and easy on the eyes 🙂
Supplies:
Blue Painter’s Tape
Silver Metallic Spray Paint
Mess Towels or Tarp to cover the floor (Dollar General)
Cardboard
Mod Podge in Gloss
Aluminum Foil or Saran Wrap
Acrylic or Actual Crystal Pieces (I used acrylic ones here for much less than crystal!)
Small Paint Brush
Silver Metallic Acrylic Paint
Thin wire (Christmas Ornament Hooks work perfectly)
Special Note: Before you begin, if you are comfortable removing the chandelier from the ceiling, do that and take this project outside. However, if you are like me, and prefer not to mess with the wiring/electrical mess, get a sturdy step ladder or chair and make sure it is secure before you start. Stay safe y’all!
Step 1: Clean the chandelier. Wipe that ugly thing down, and make sure to get into all the nooks and crannies that hold dust. It’s important not to skip this step, because you want the spray paint A. Not to clump, and B. To actually adhere to the fixture.
Step 2: Using the saran wrap or aluminum foil, seal off the light bulbs and their respective bases, and secure with the blue painter’s tape. You definitely do not want spray paint getting into any electrical portion of your chandelier, or onto the white bases!
Step 3: Cover the floor/tables/furniture/remove ANYTHING you do not want paint to get on. Since we are doing this inside, this is very important, as spray paint tends to travel more than you would think.
Step 4: Hold the cardboard behind the chandelier, and begin spraying! Move the cardboard as you move with the spray paint as a shield from the spray traveling beyond the chandelier. Even strokes are best, and be sure to let each layer dry before layering on the next stroke, as it will drip excessively if not. Some dripping is normal and is totally okay!
Step 5: Allow the paint to dry ~ 30 minutes or so
Step 6: Seal using Mod Podge in Gloss, by taking a small to medium paint brush and coating it on. Allow to dry ~ 30-40 minutes.
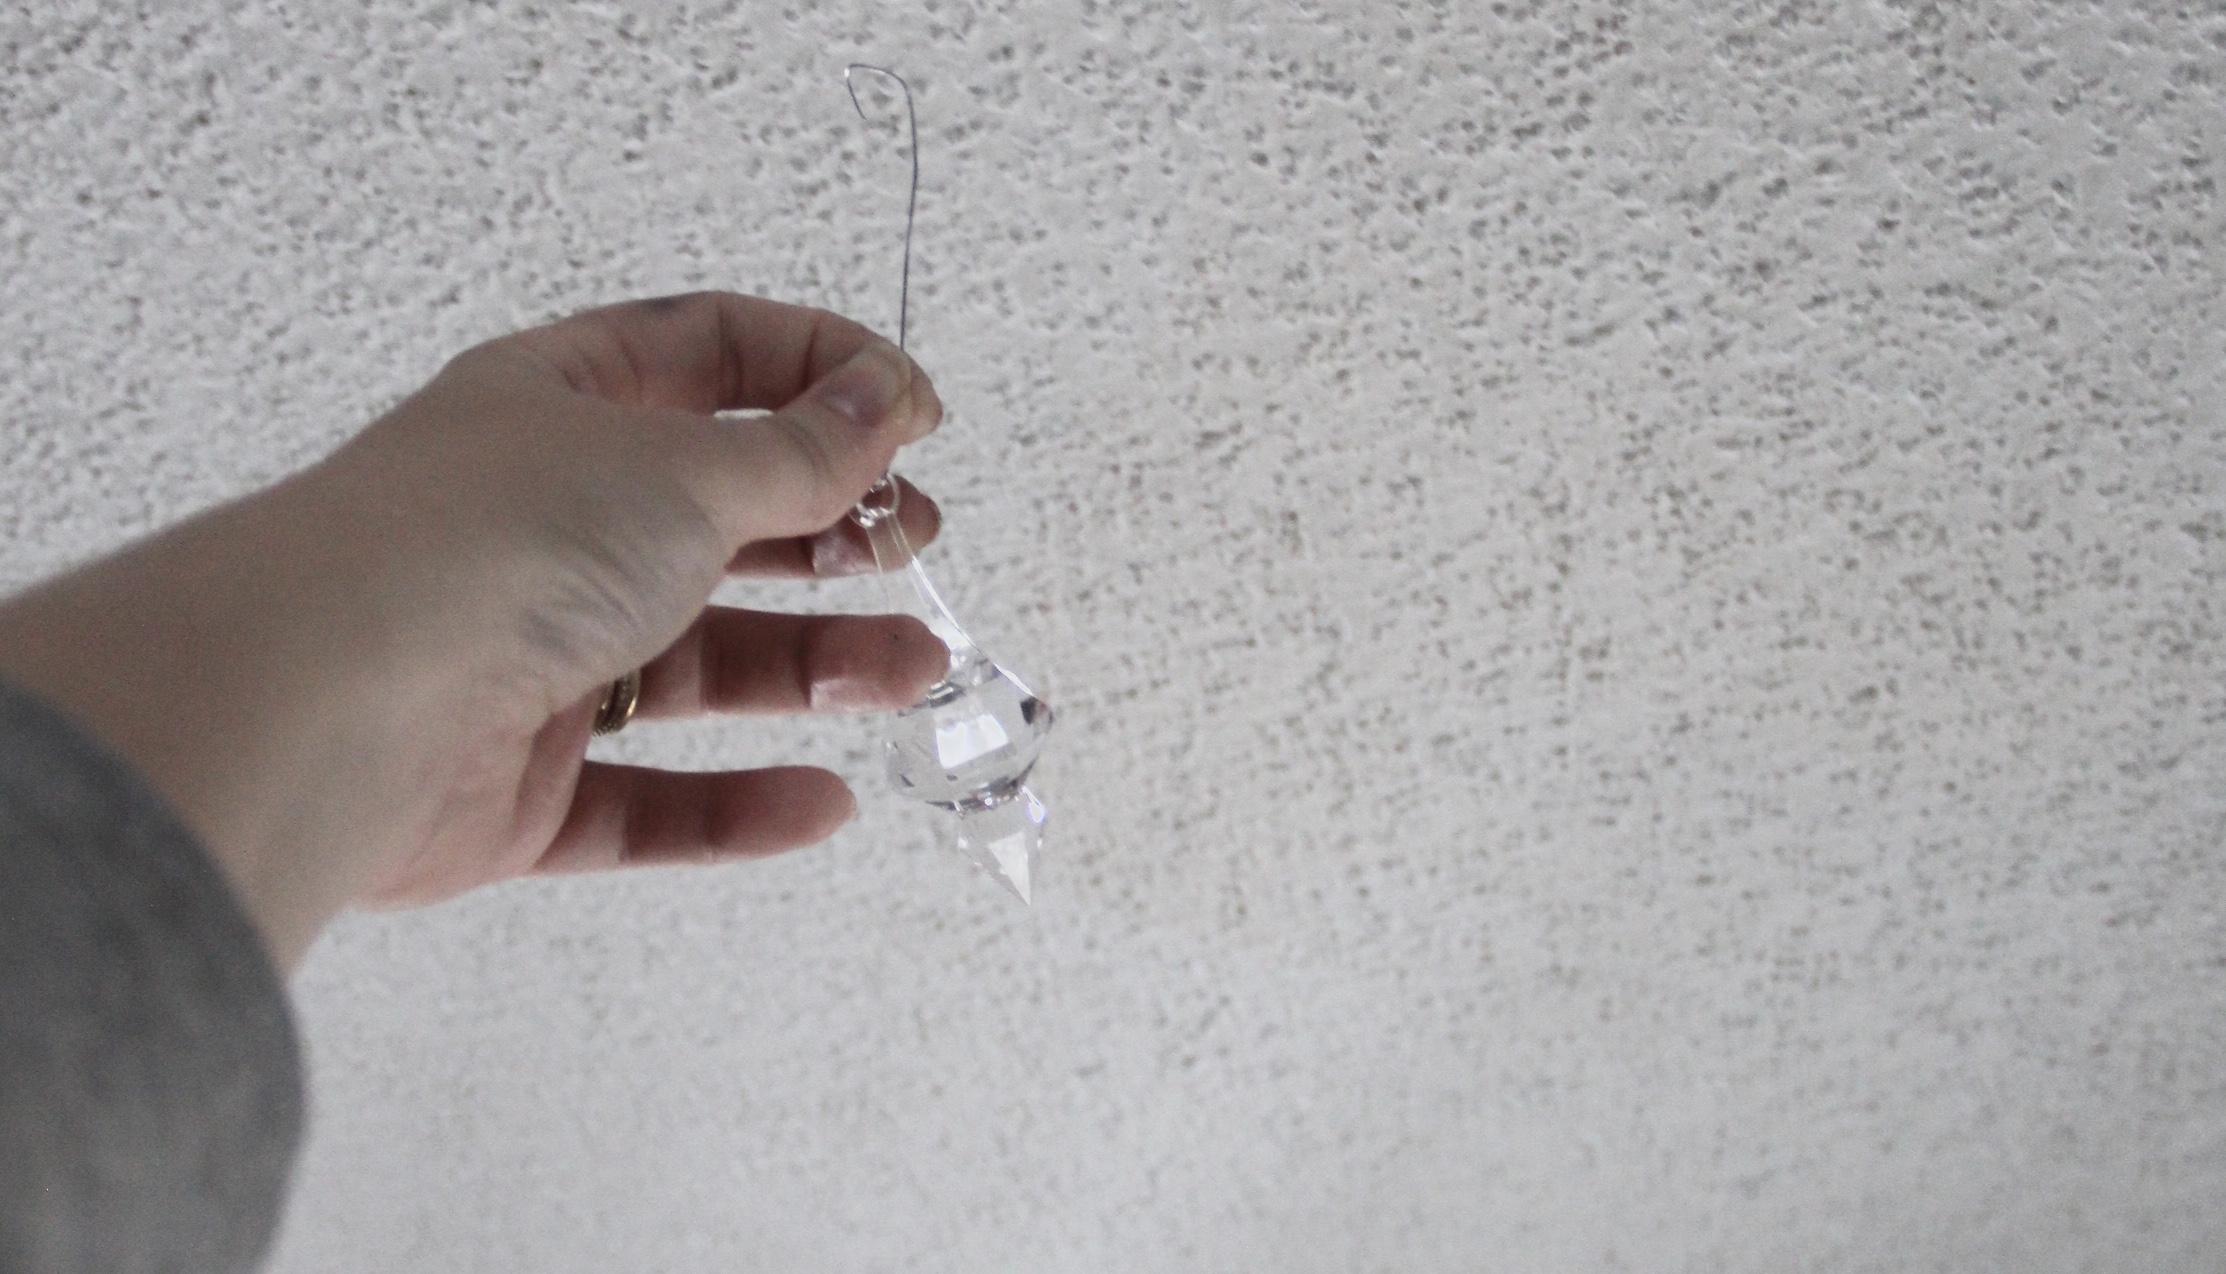
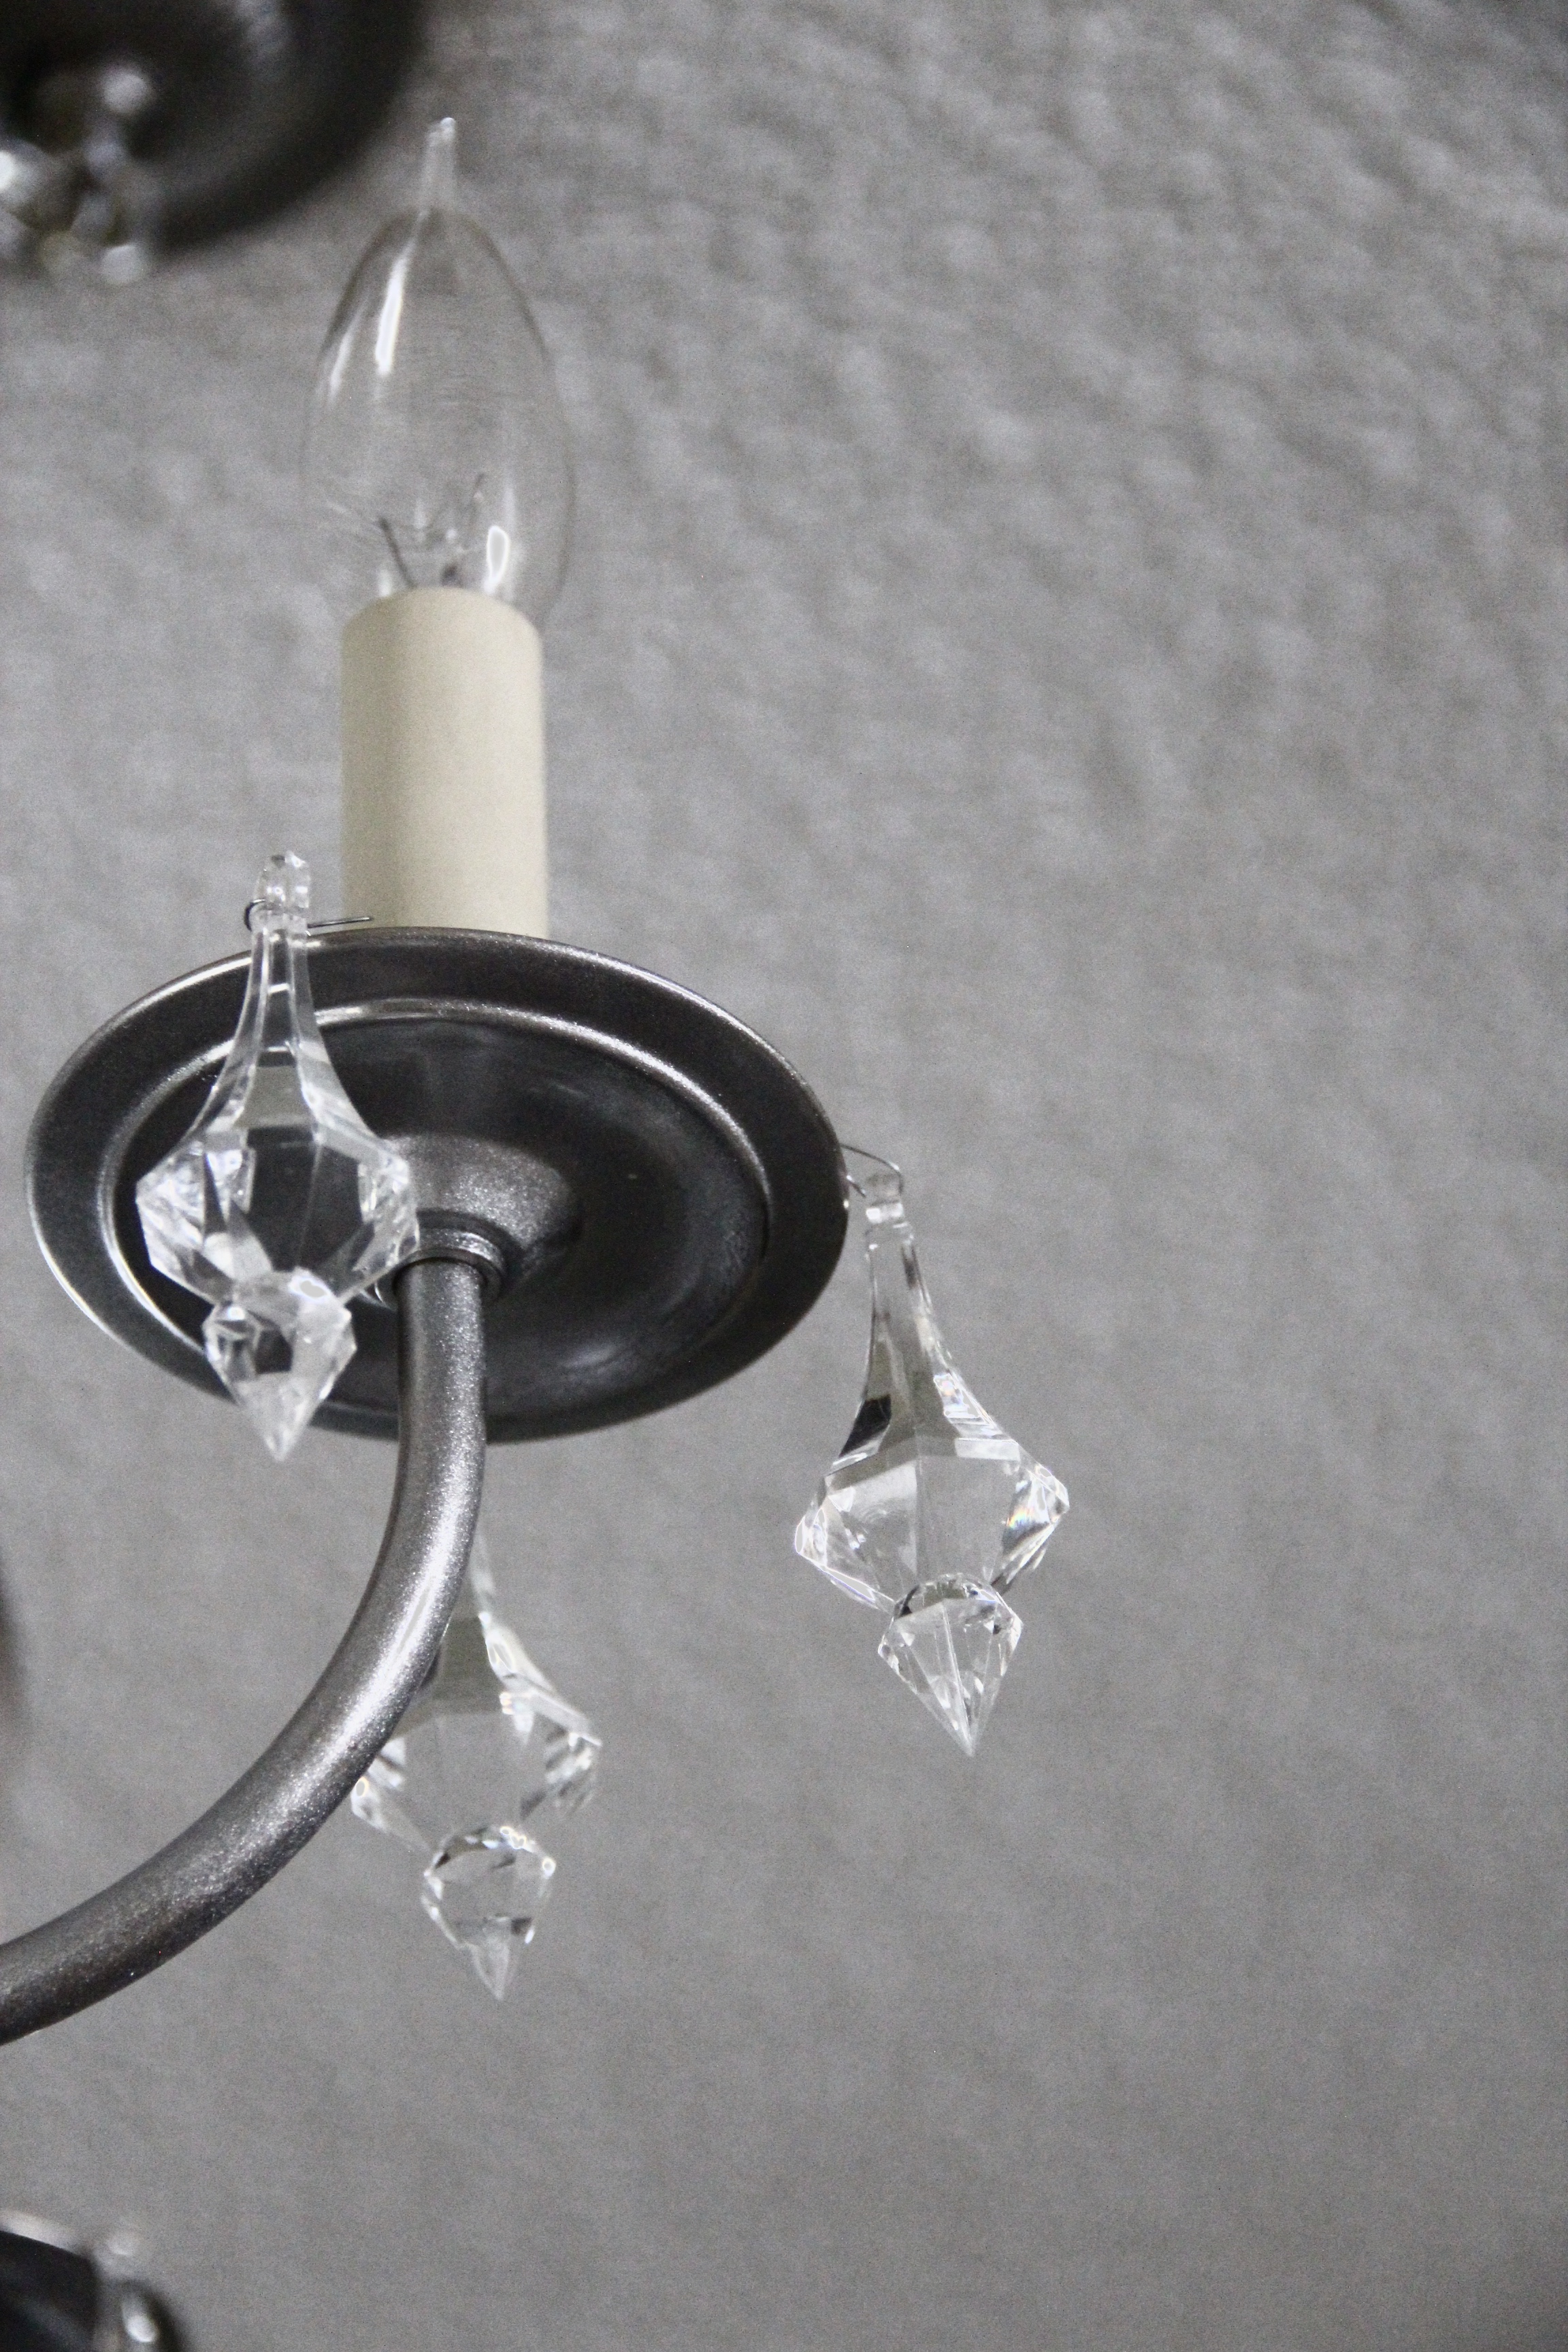
Step 7: Using your acrylic or crystal pieces, take the hooks and literally hook them around the lights’ bases. The wire will not show if this is done properly. Do three around each base (or more if you prefer).
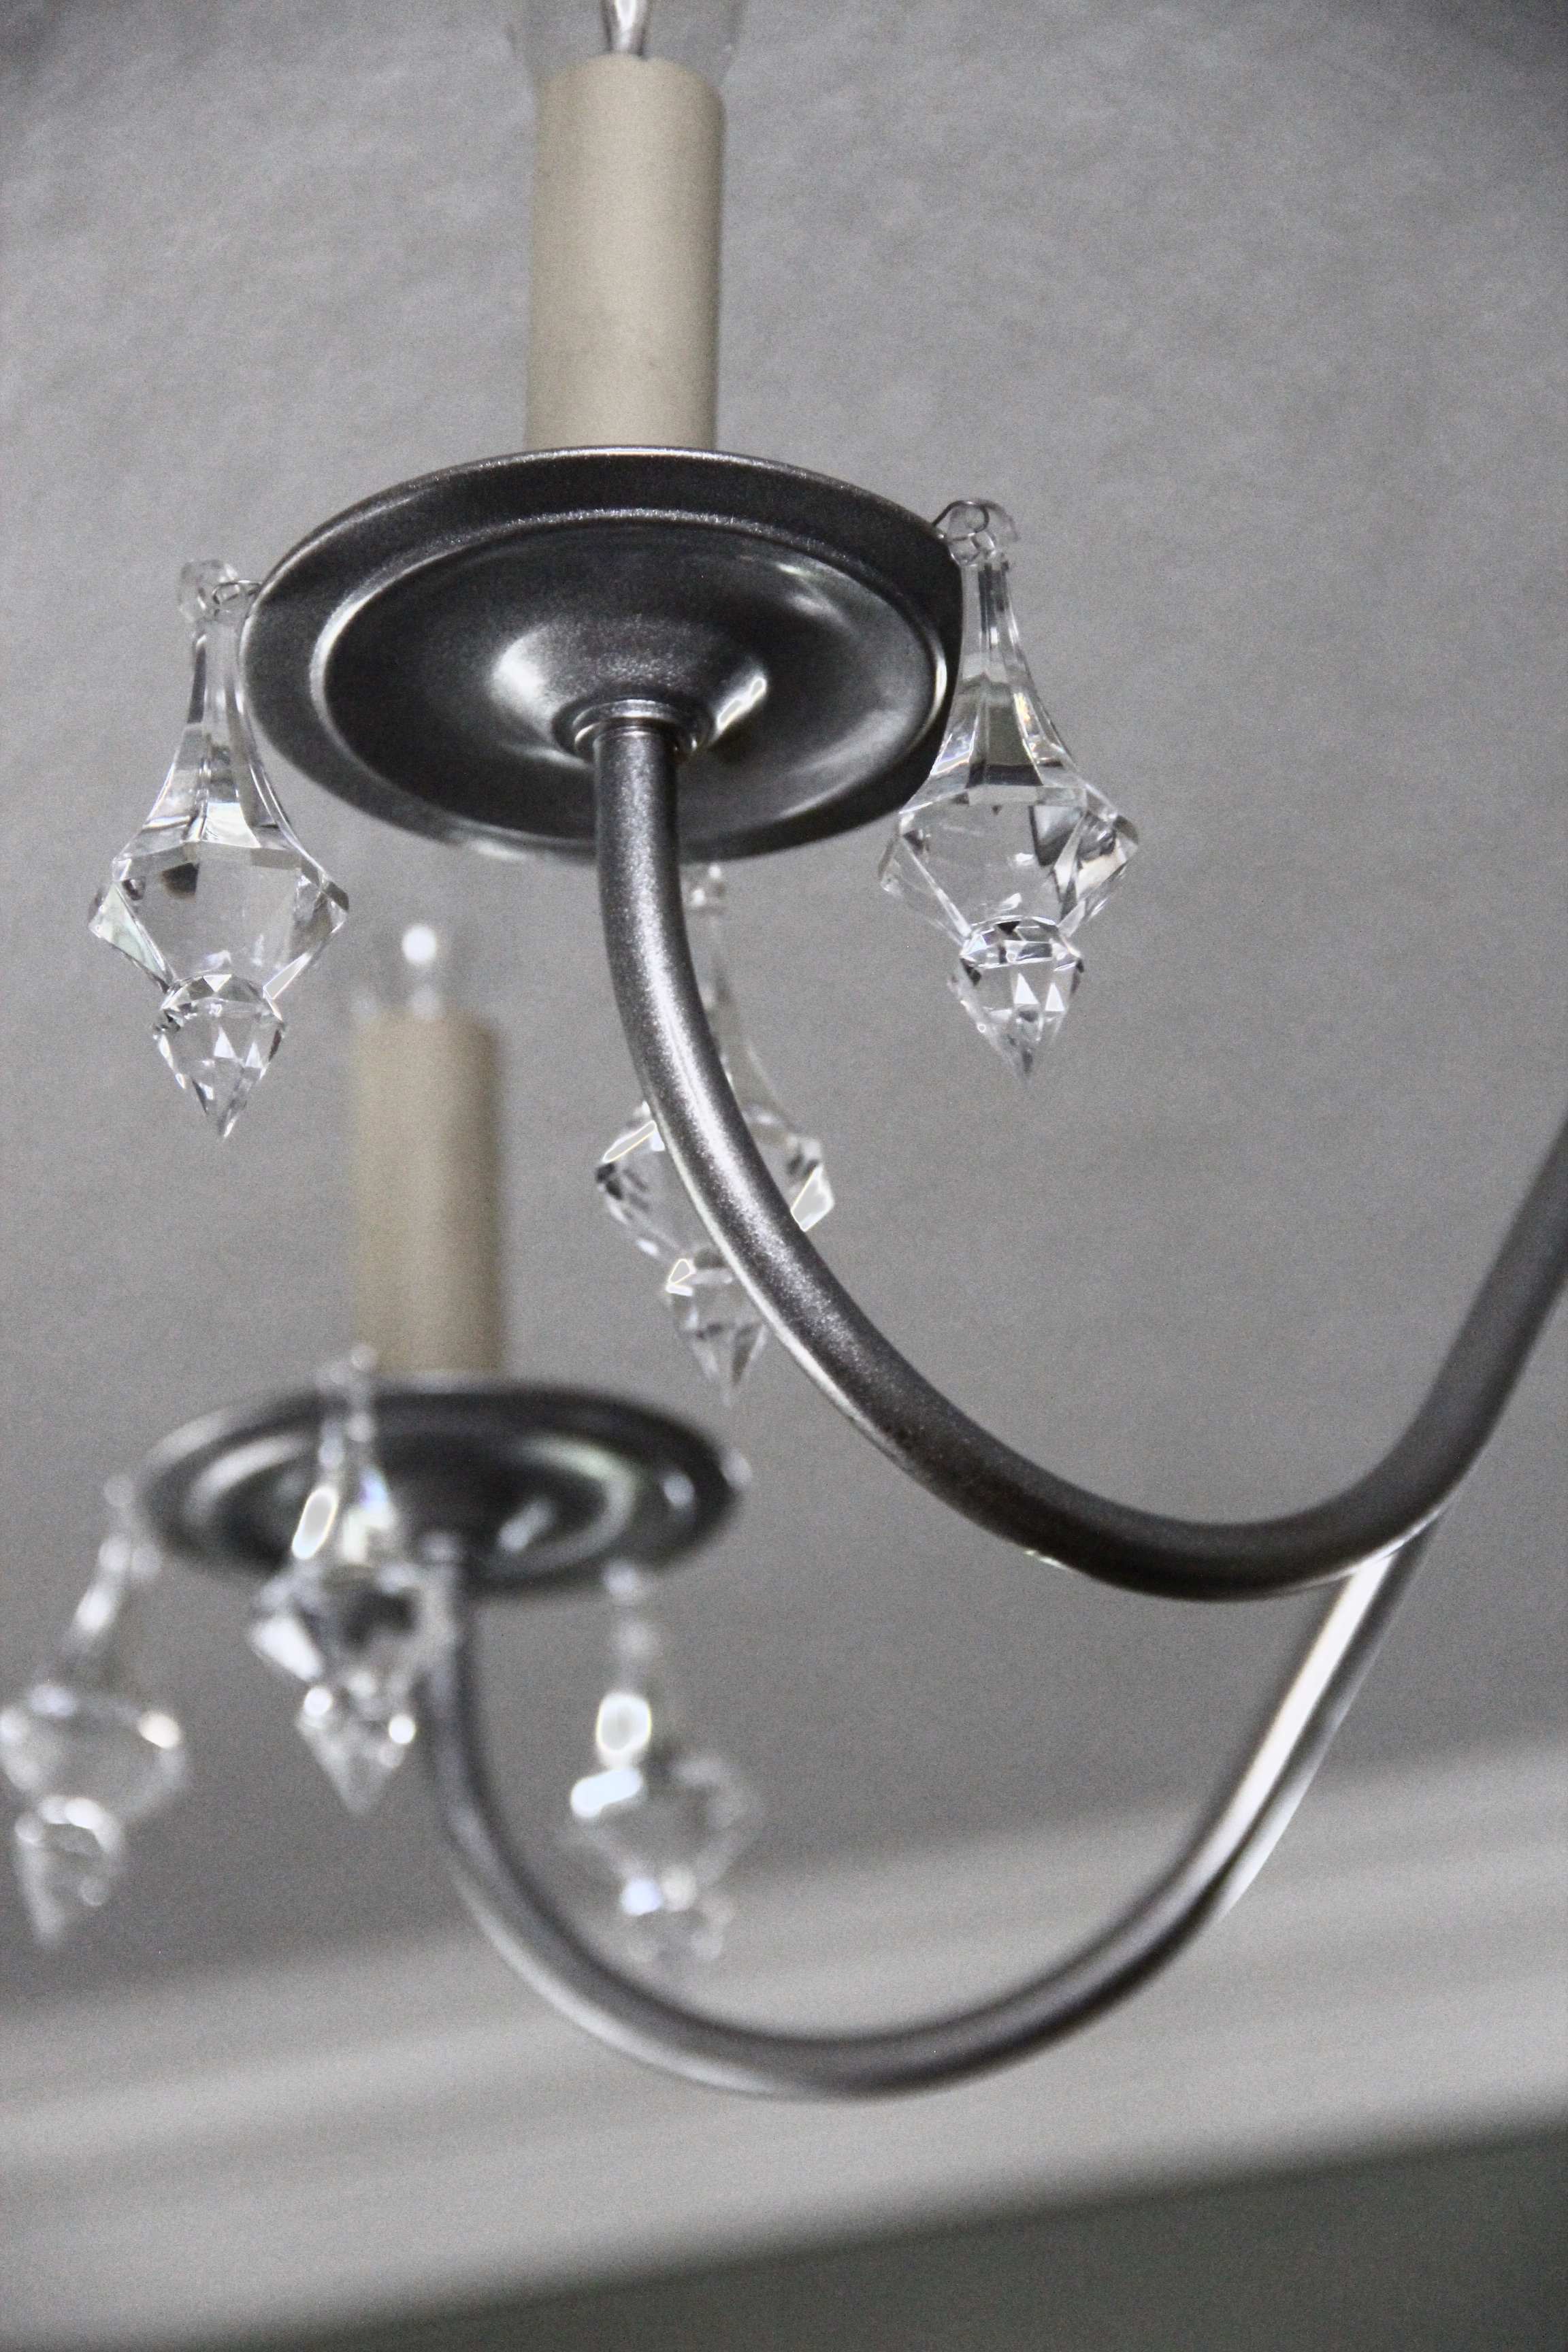
That’s it! 7 easy steps to a totally upgraded, yet cost effective chandelier!
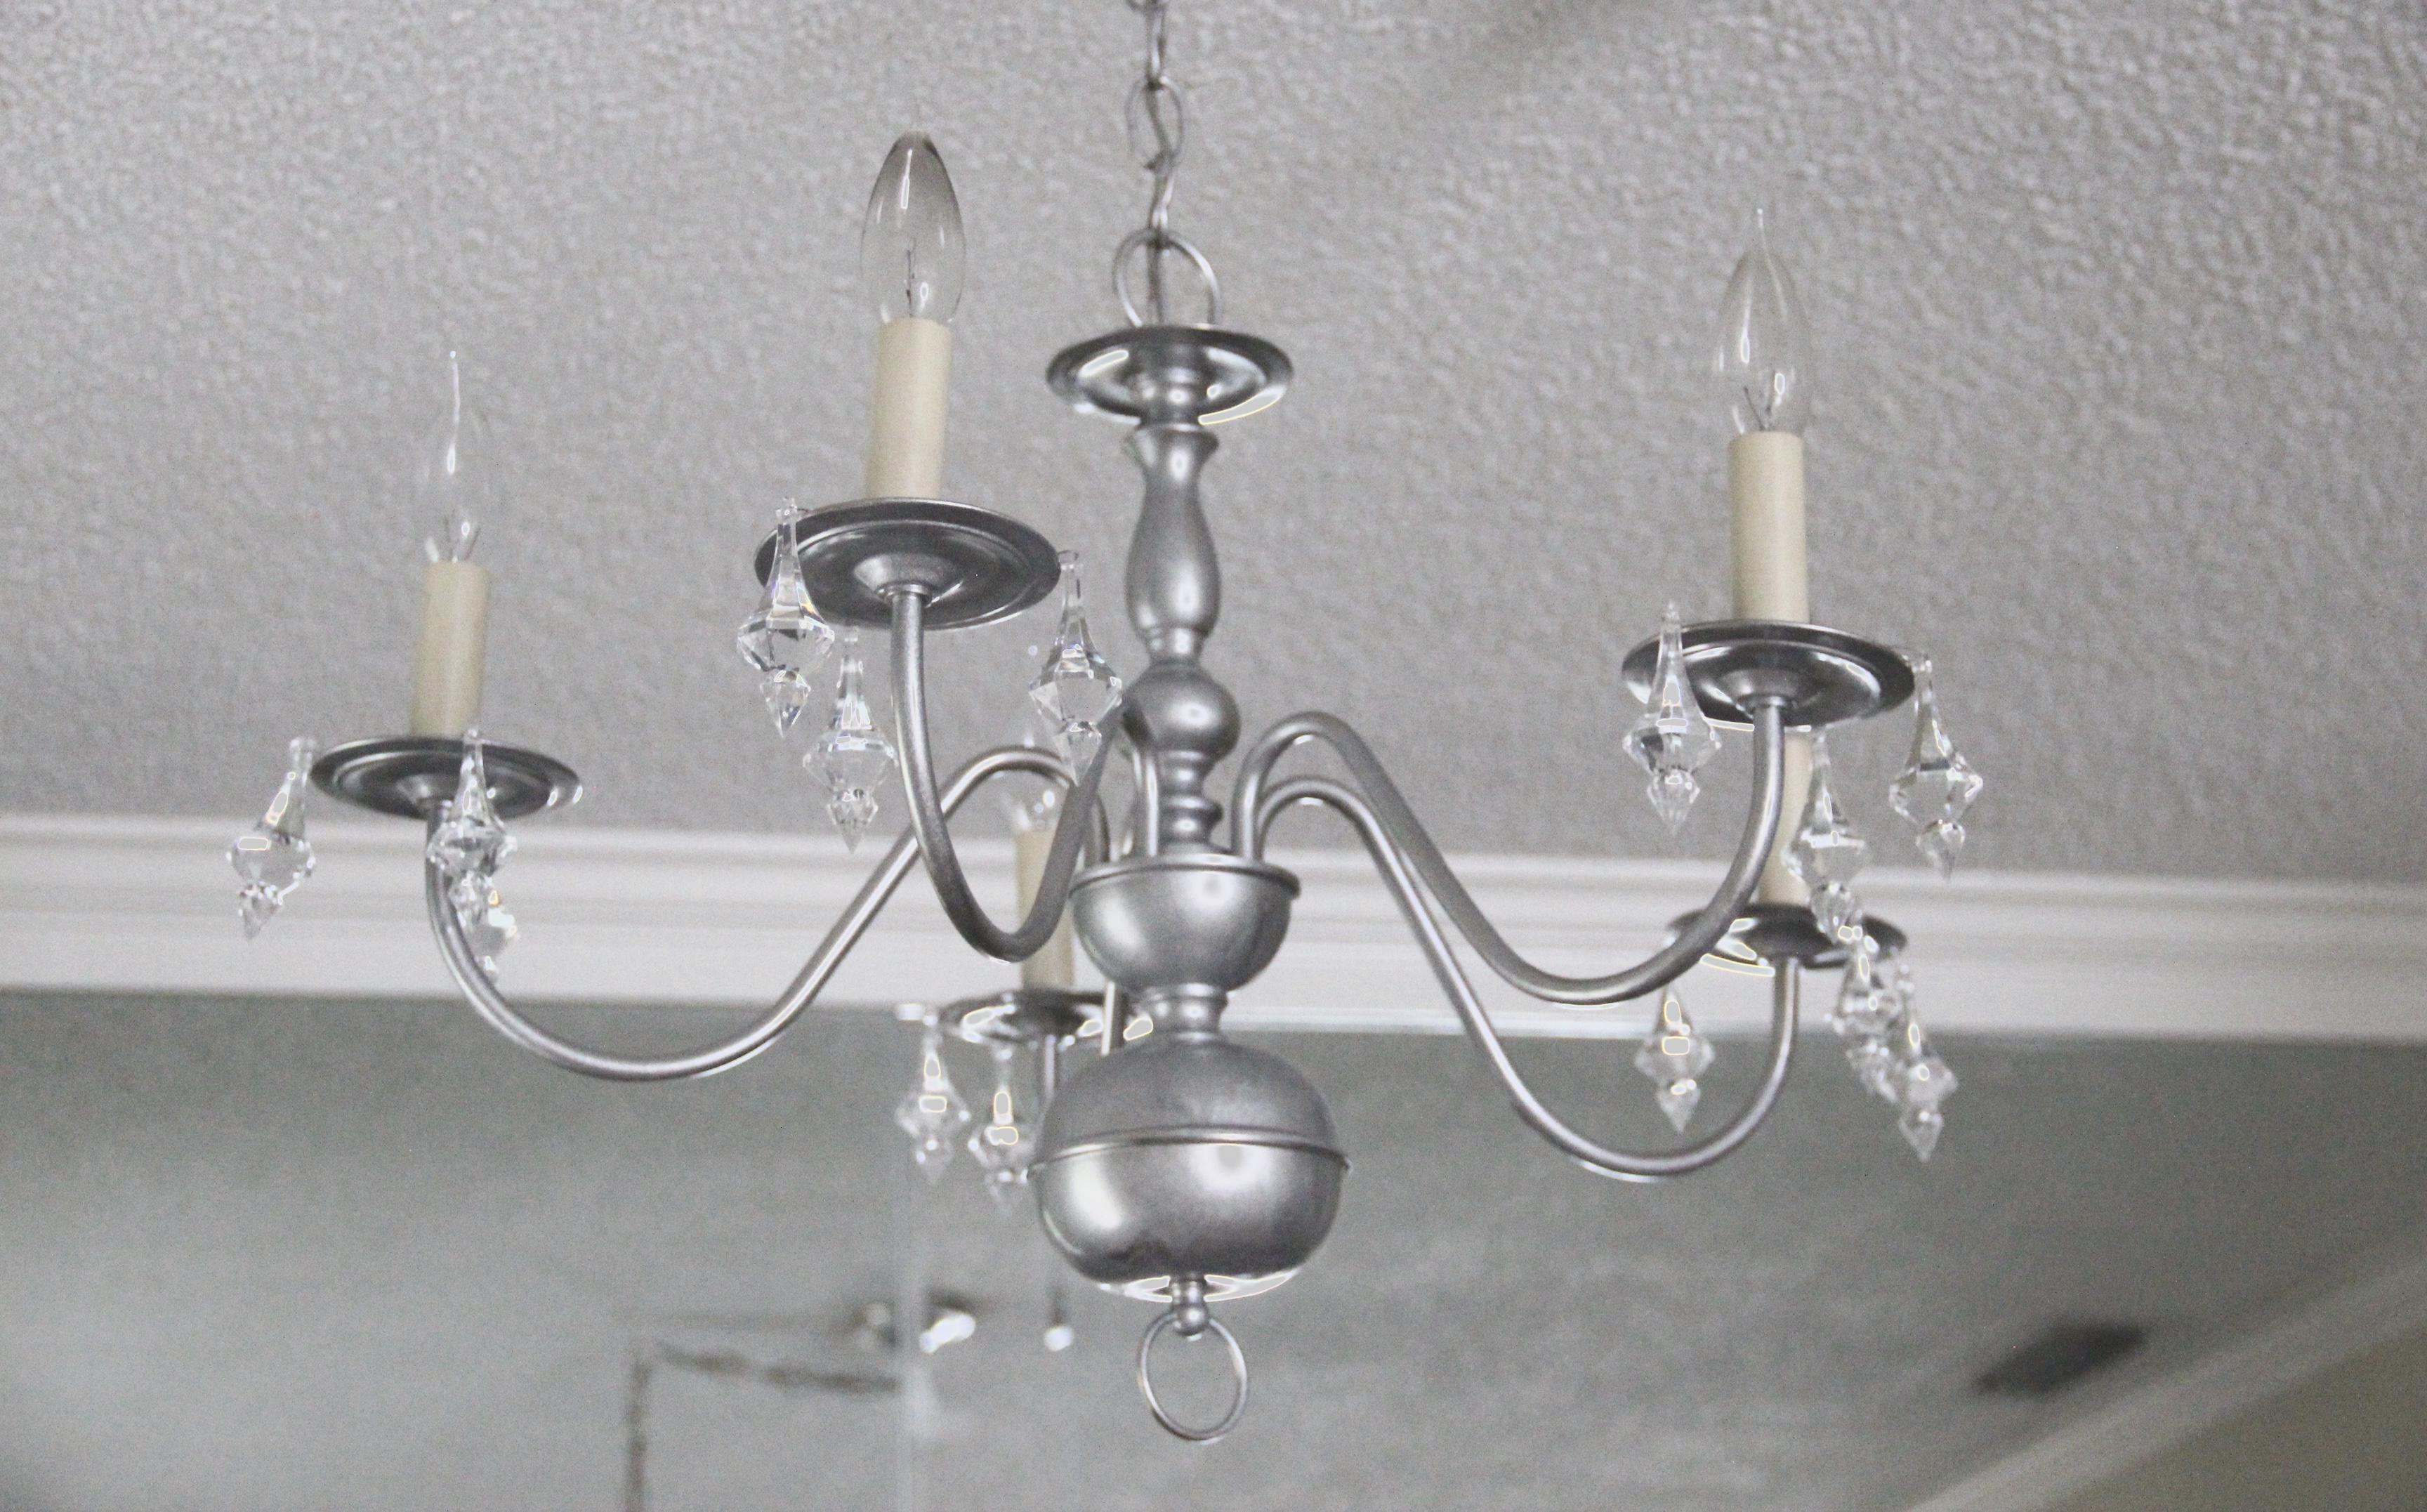
Additional Tip: If you see any spots you missed with the spray, take metallic acrylic paint and simply go over them with a brush!
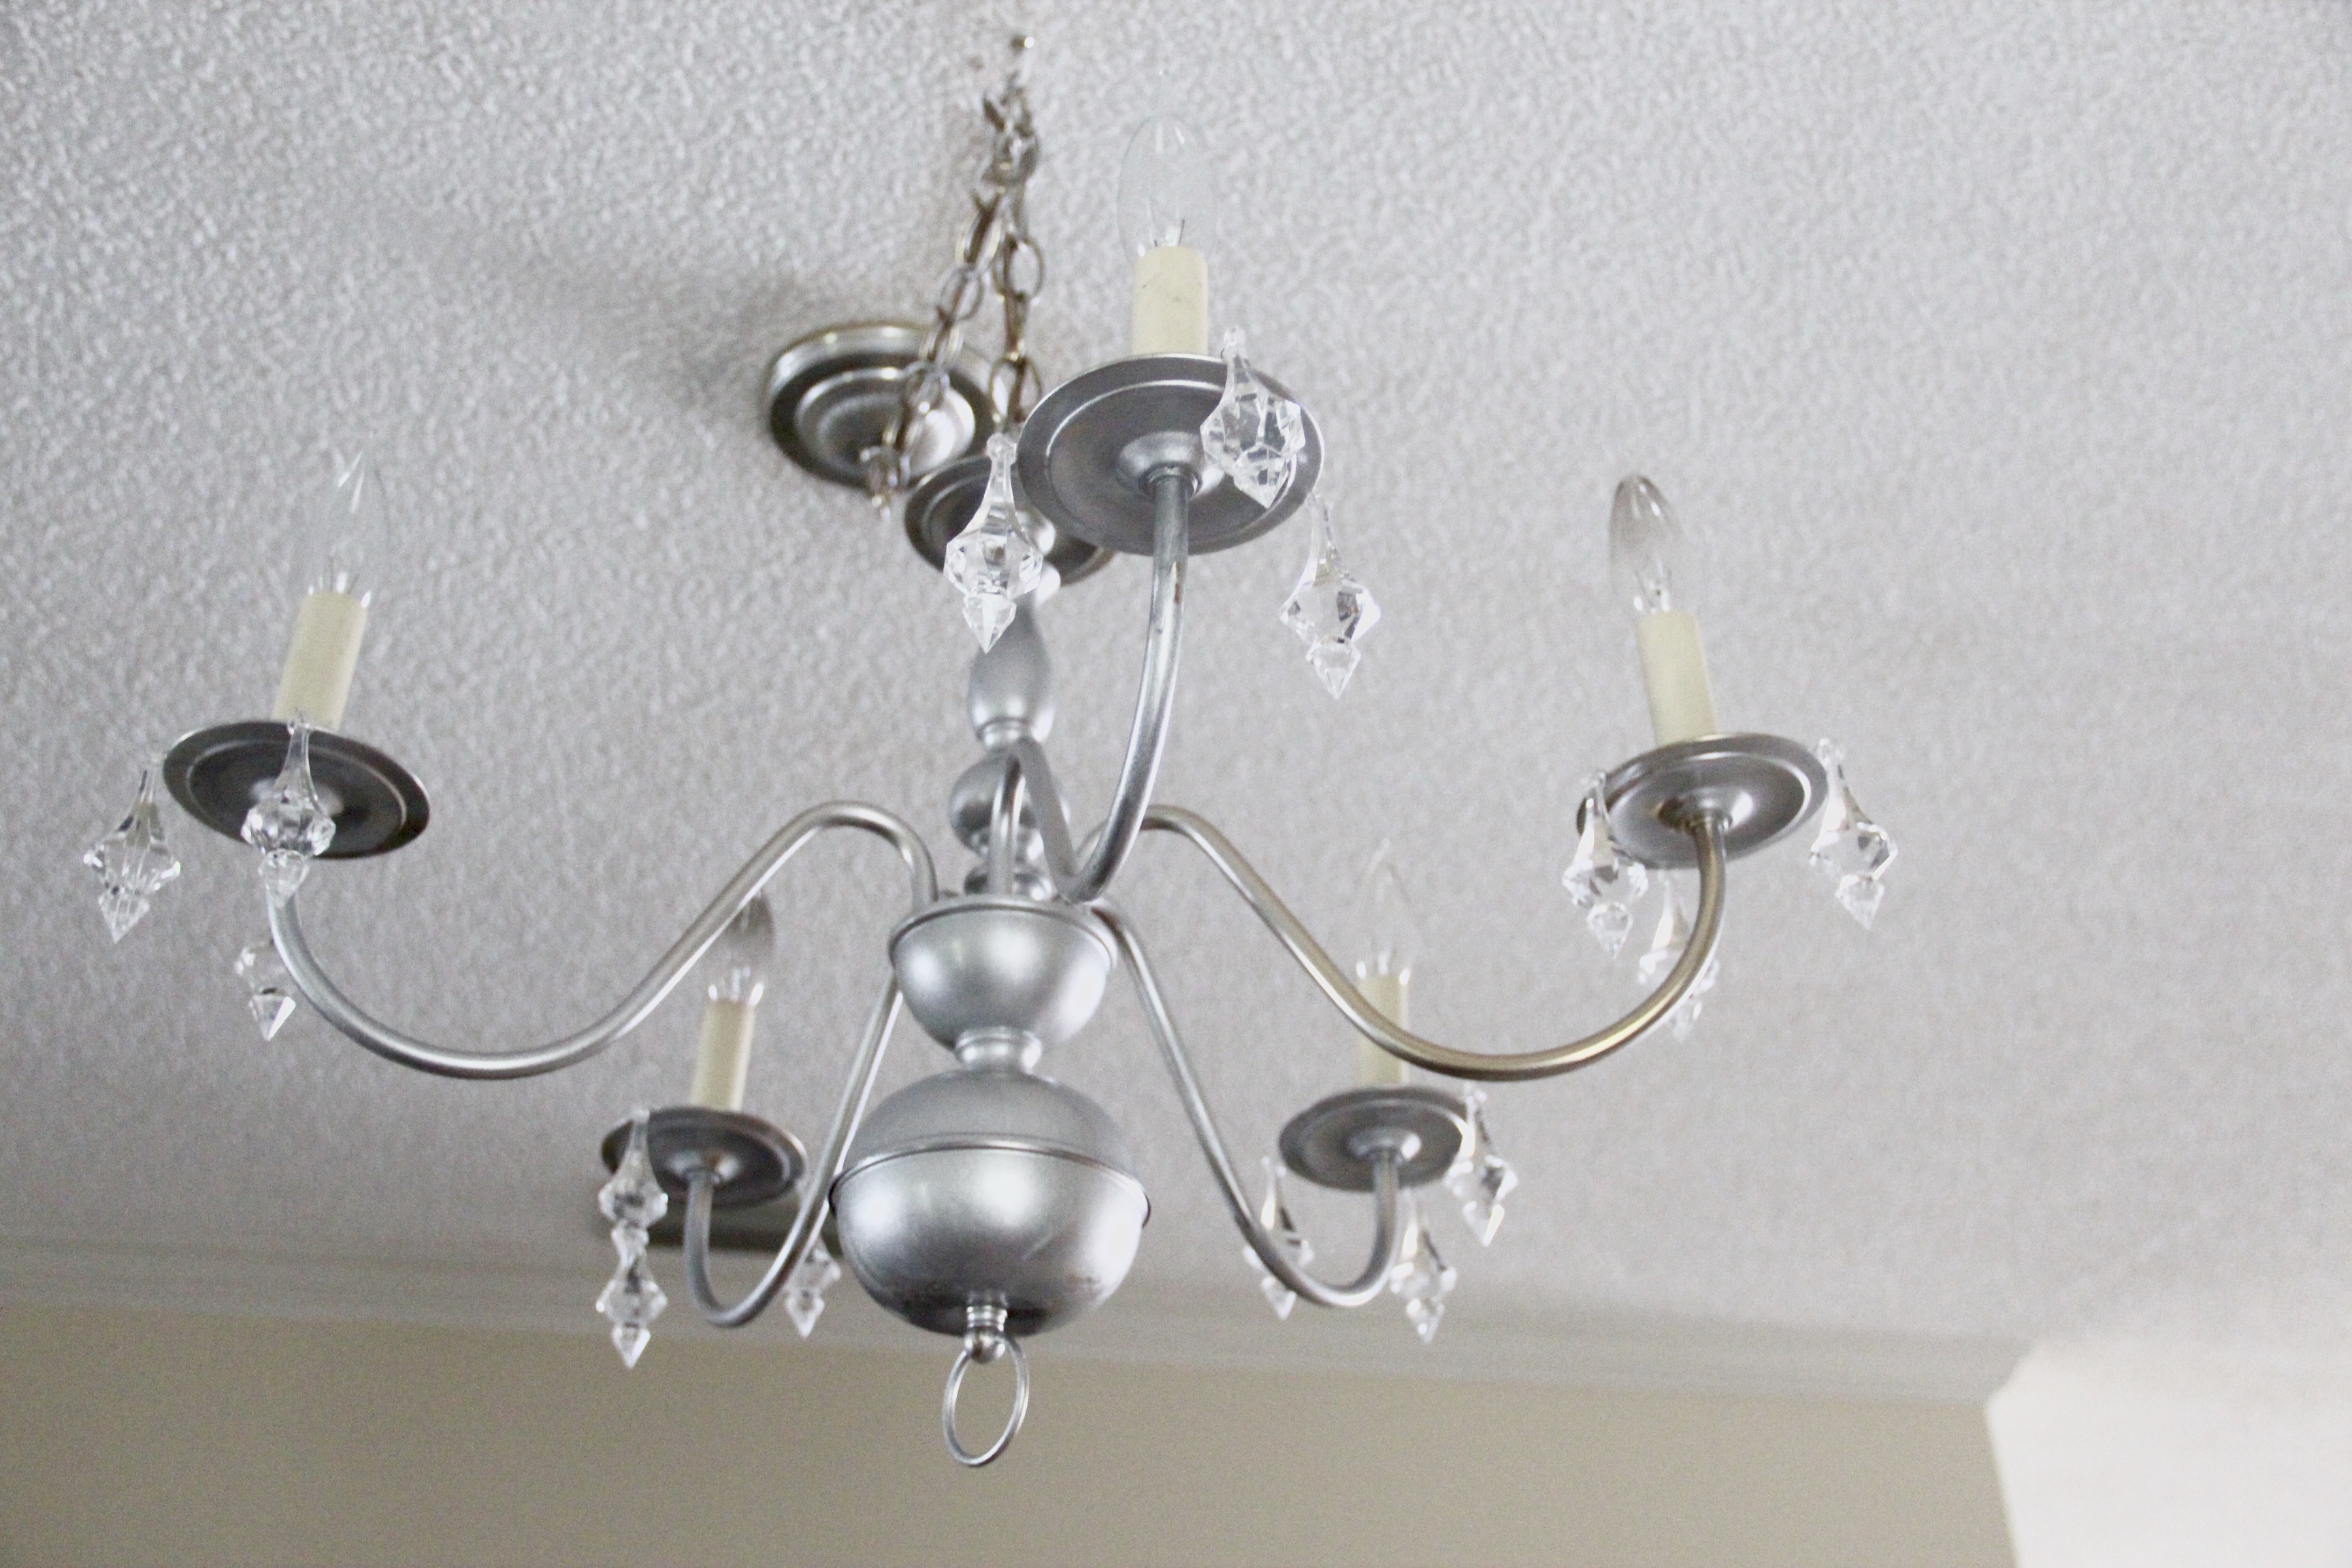
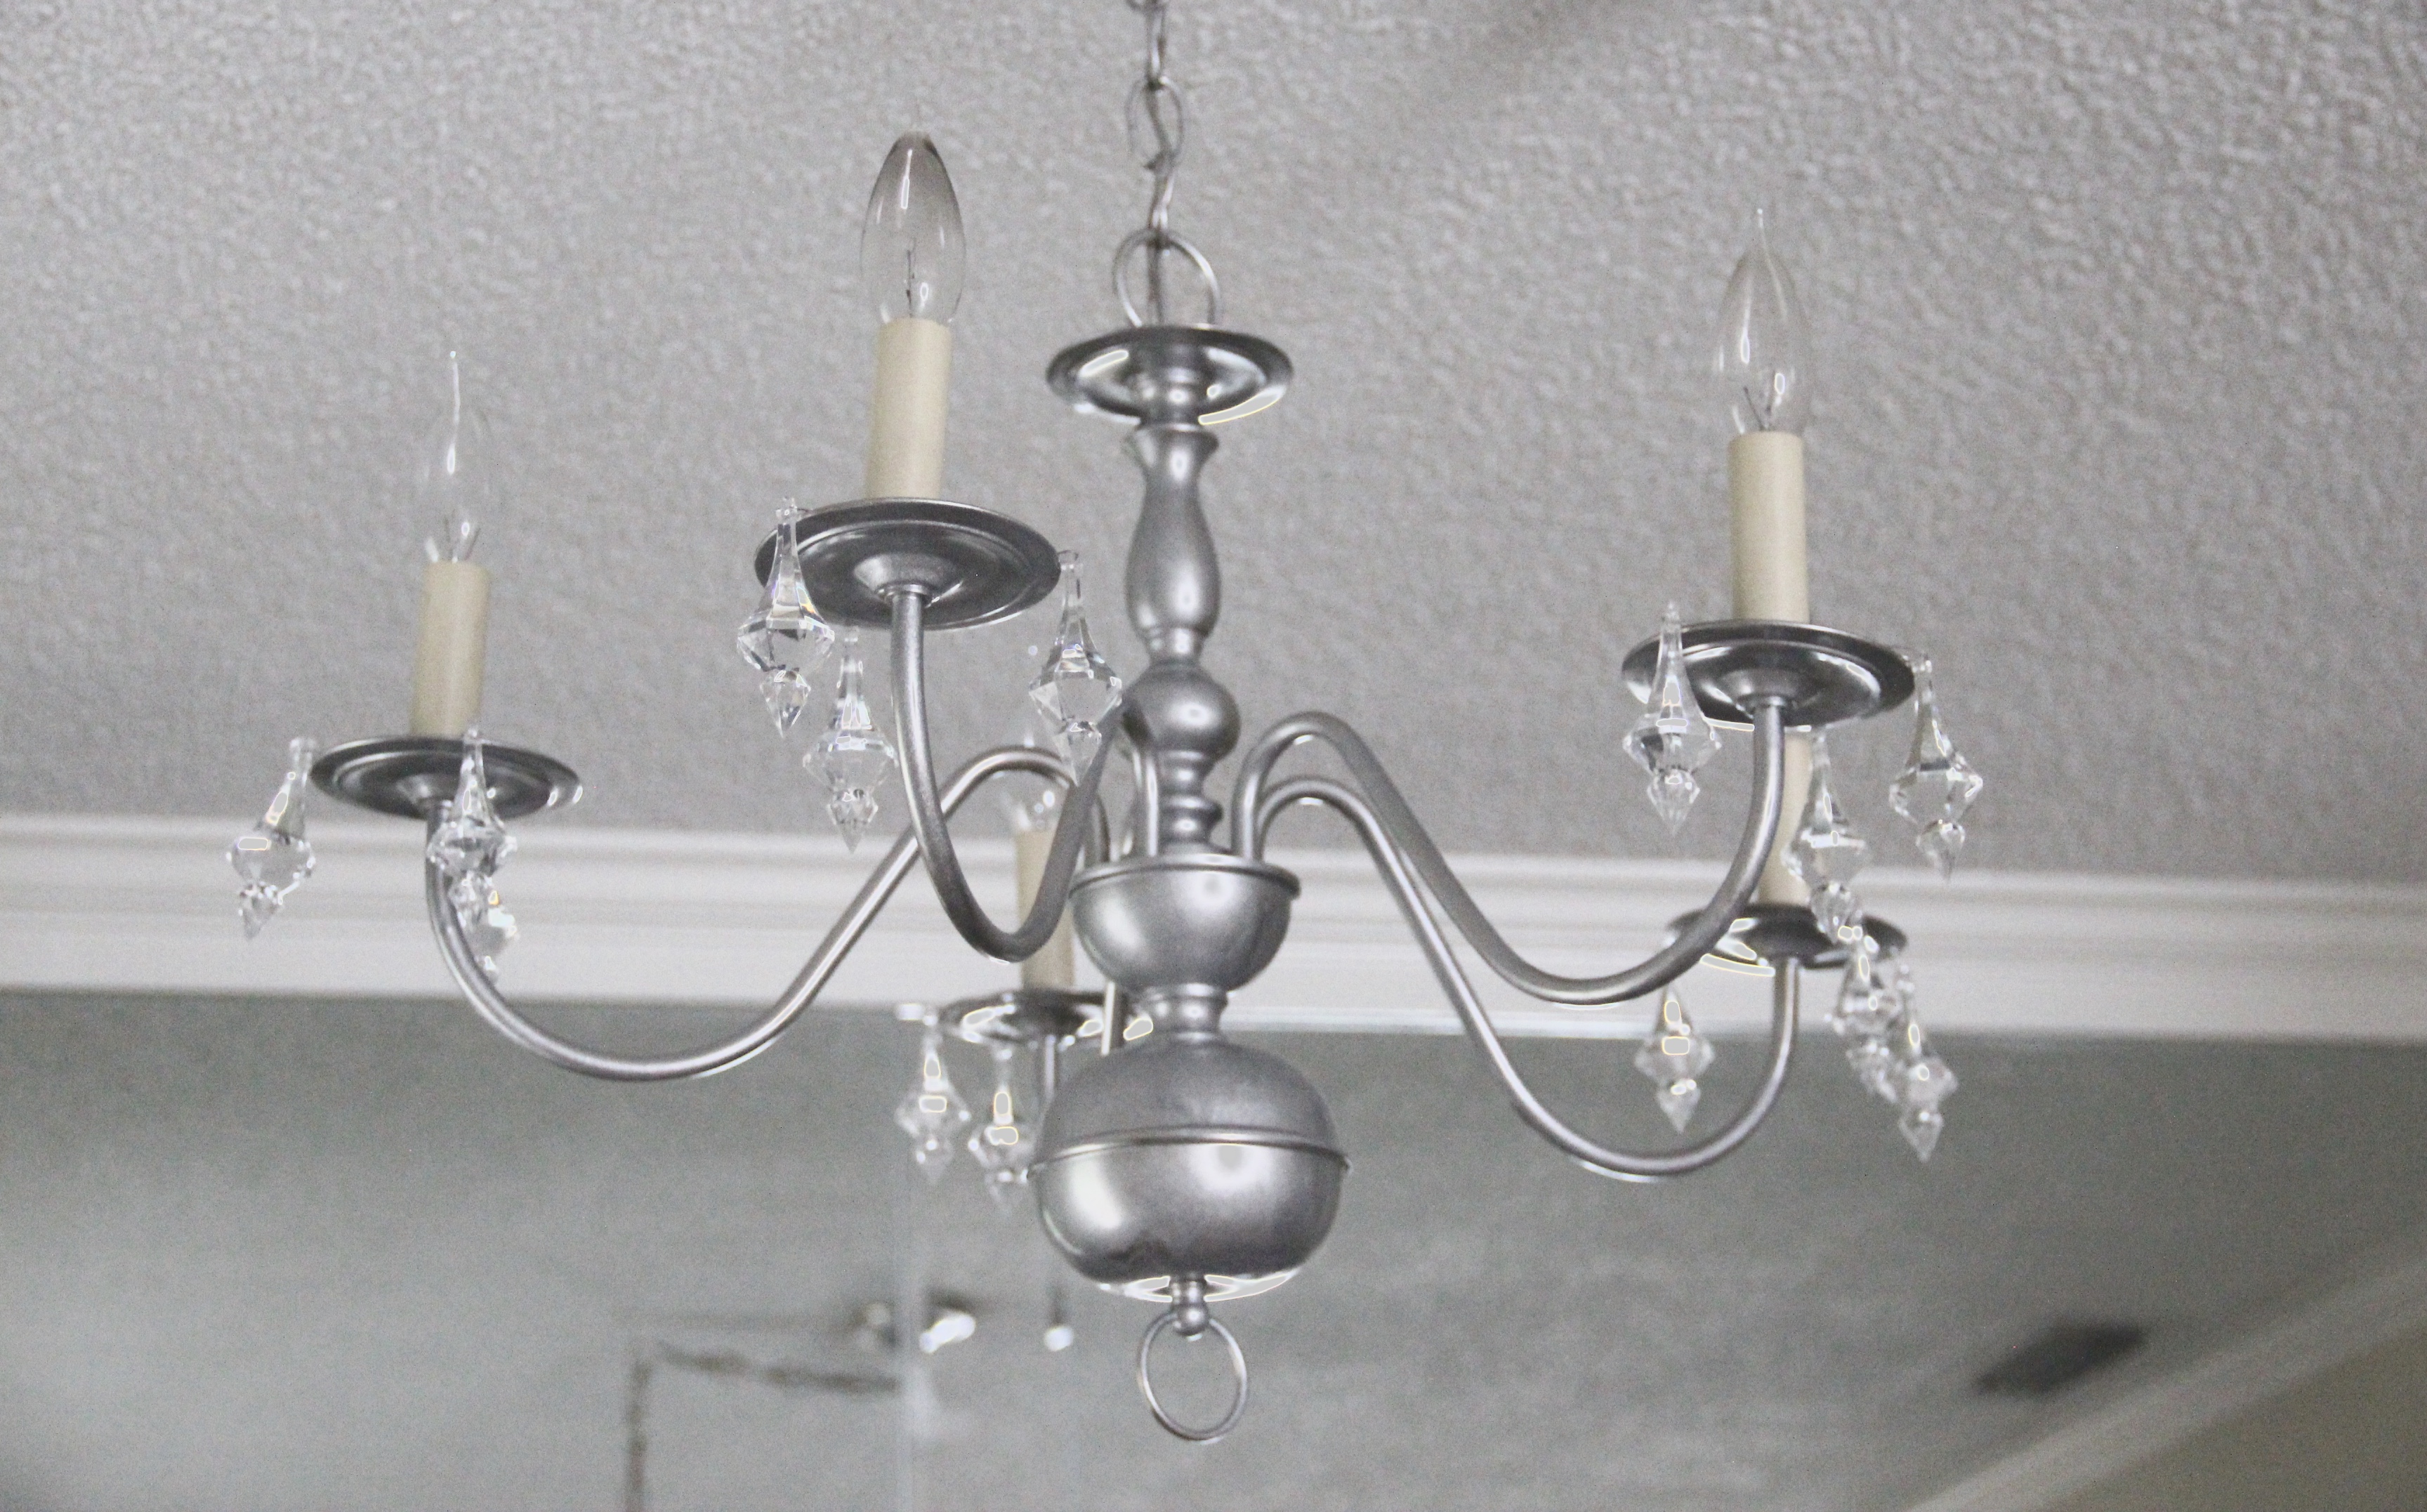
Featured Supplies:


