Browse Tag by diy
Blog, Instagram Roundup, The Home

Home Decor Instagram Roundup

dreamy christmas dining room

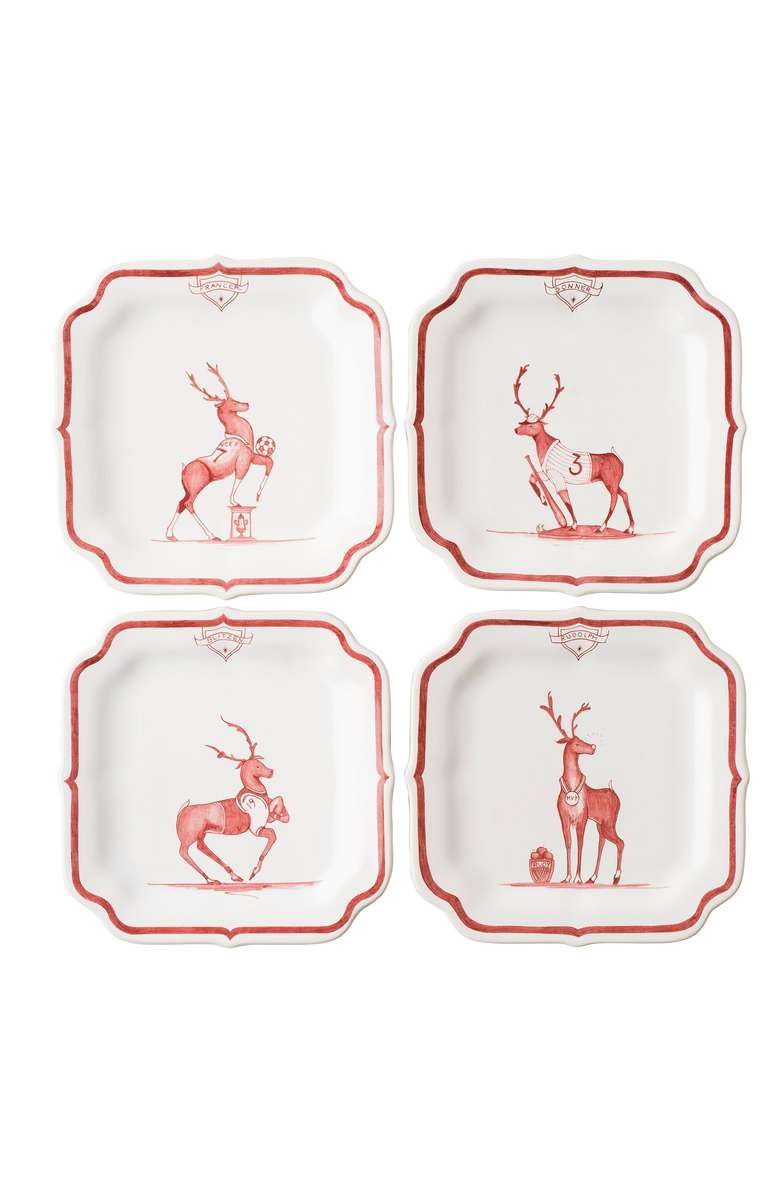
Sheer Drapes || Blue & White Porcelain Plates – (Perfect Christmas Alternative Here)

tufted headboard neutral bedroom

Tufted Headboard 

marble and gold shelf diy

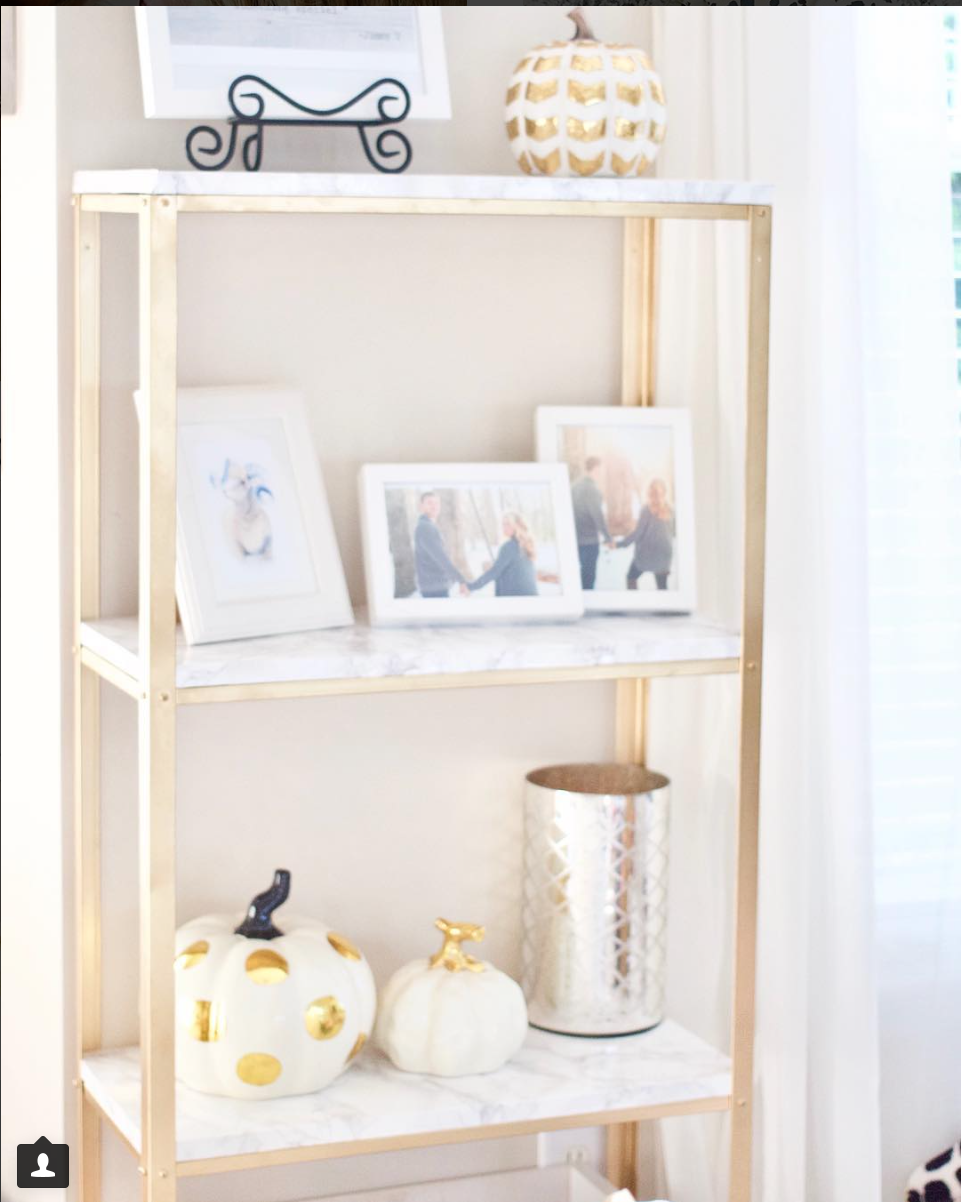
Marble & Gold Shelves ||  Long Sheer Drapes 

bright home office wall decor

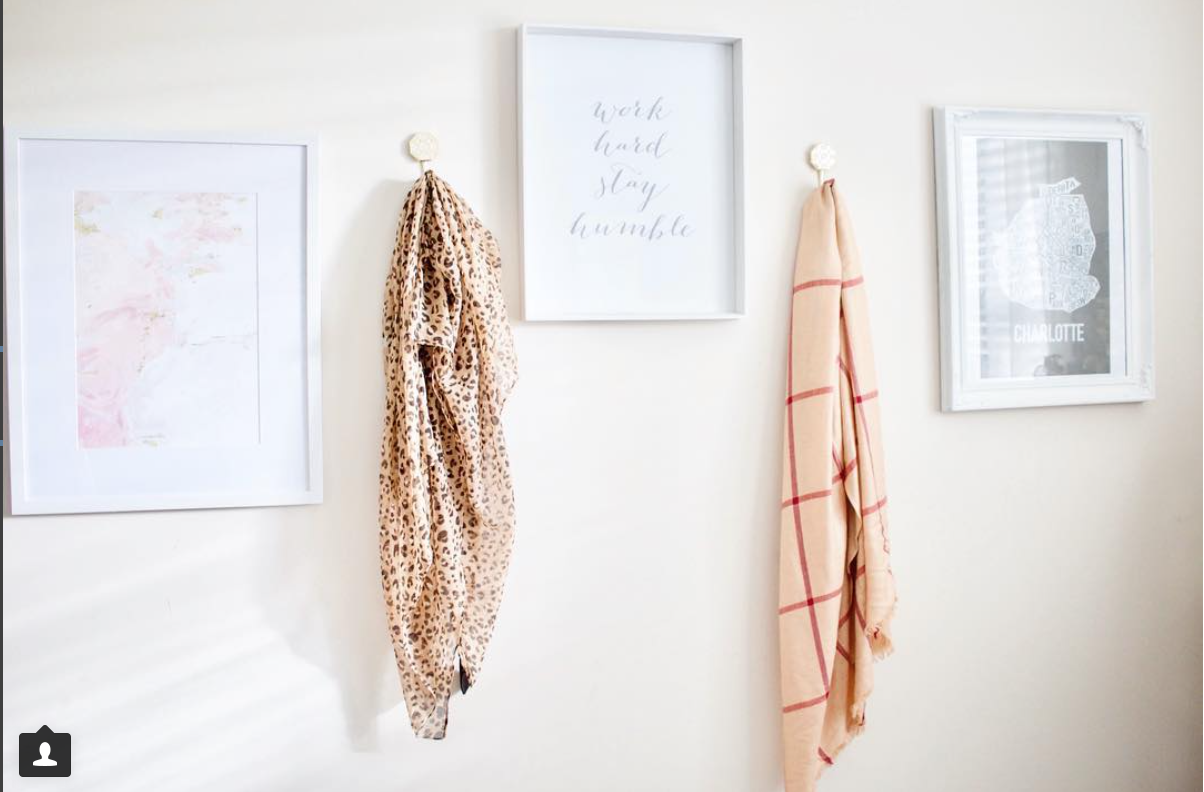
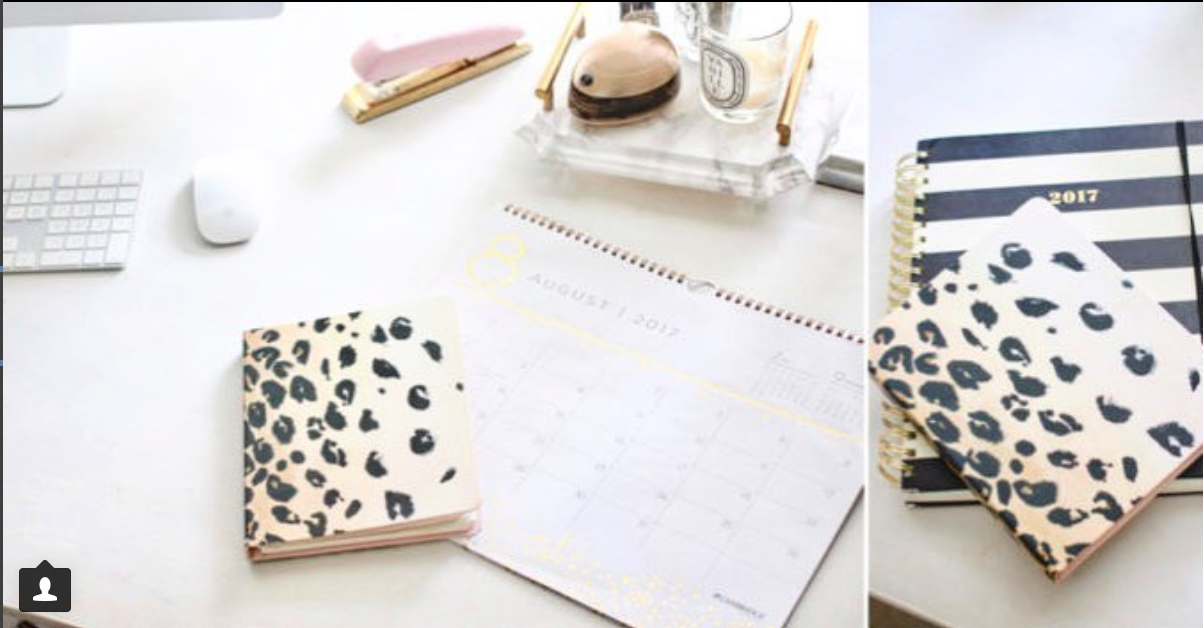
 Leopard Scarf || Blanket Scarf

bright home office organization


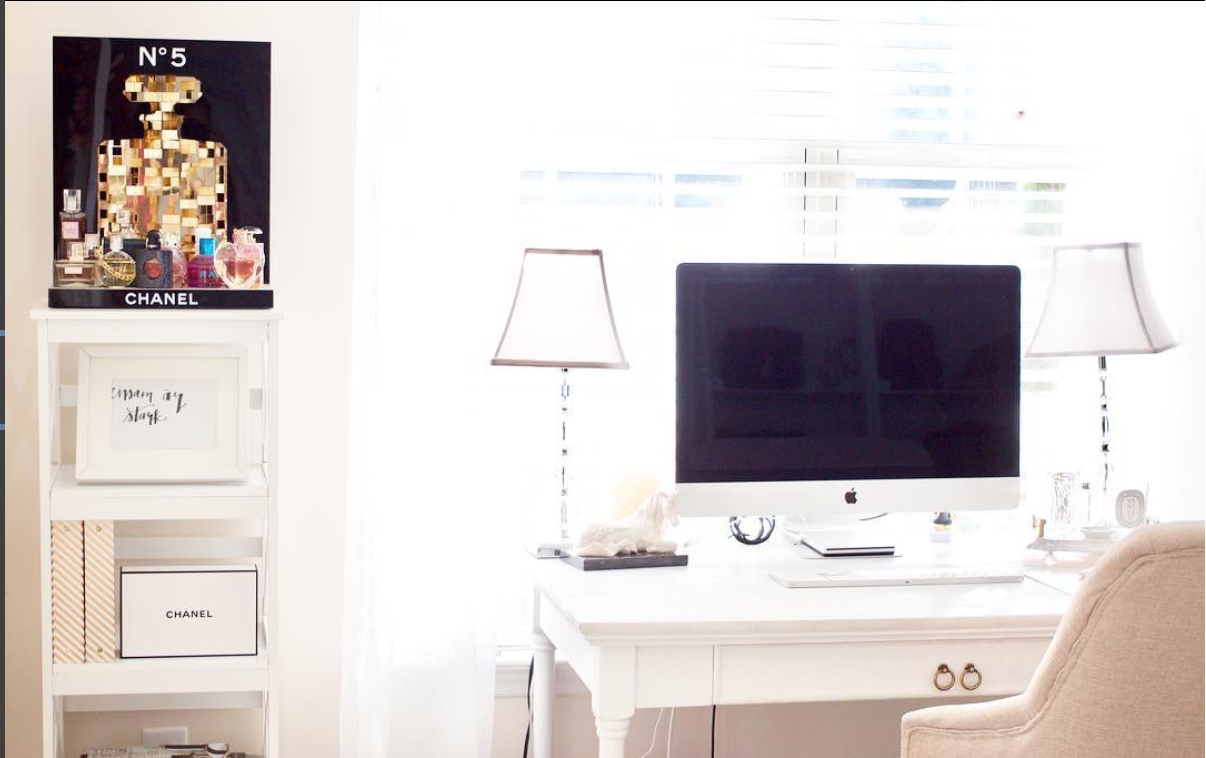
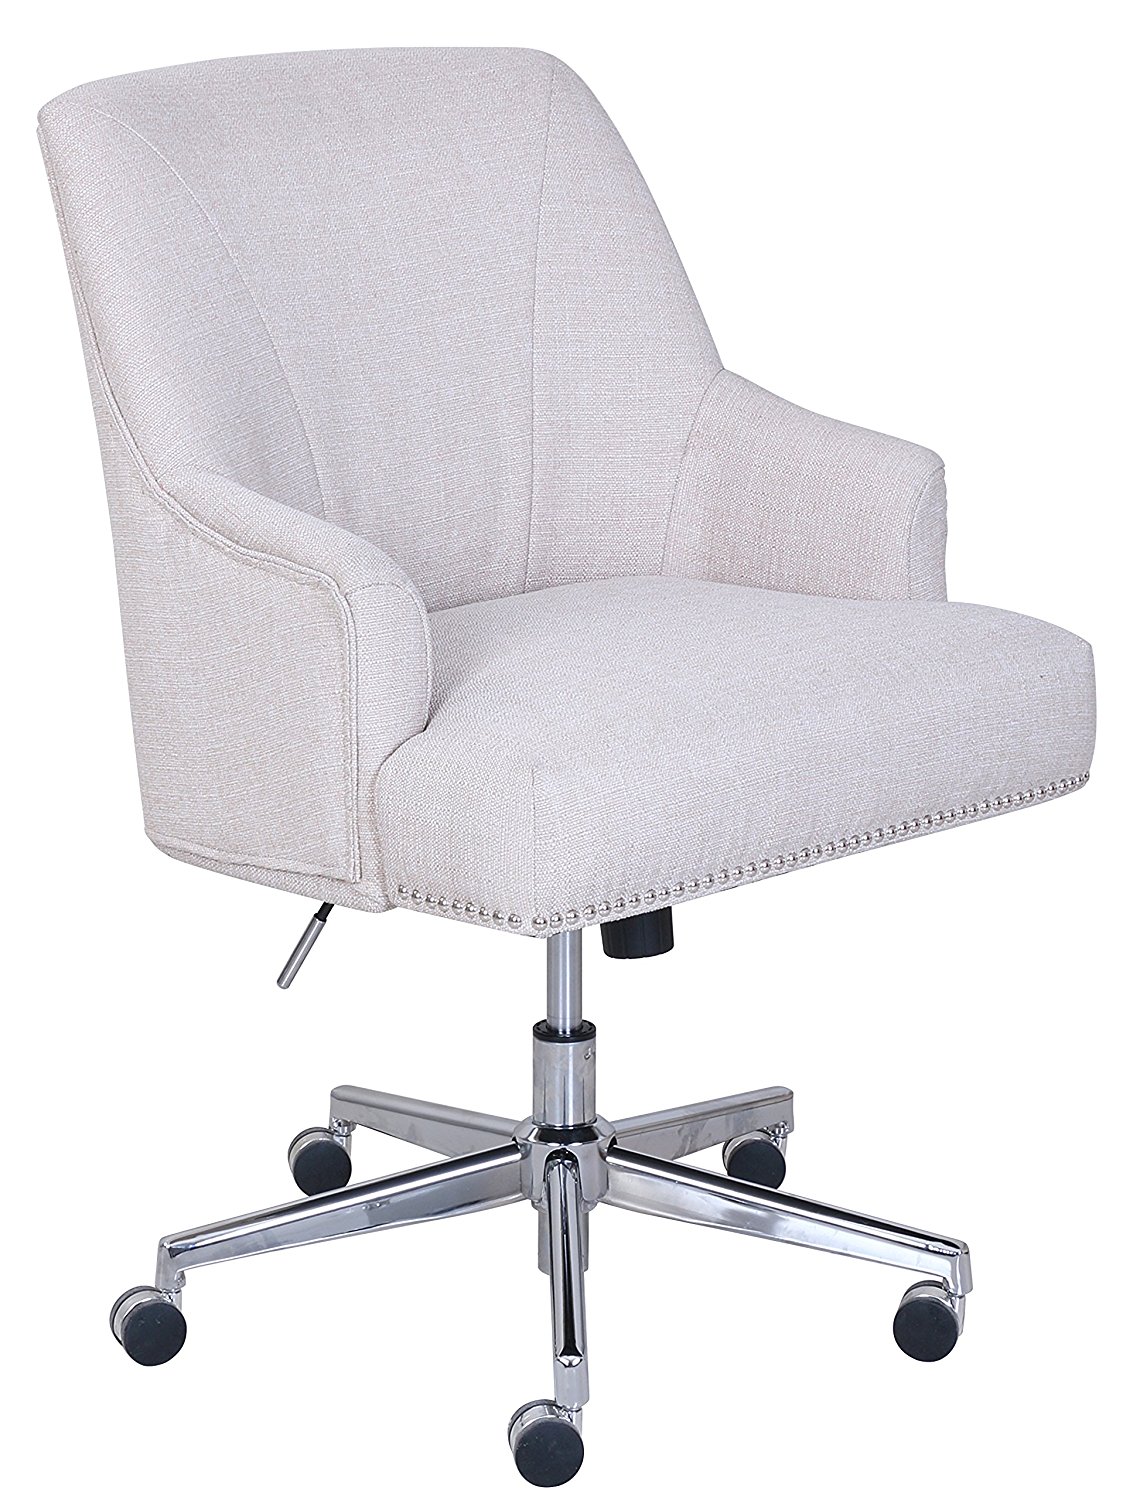
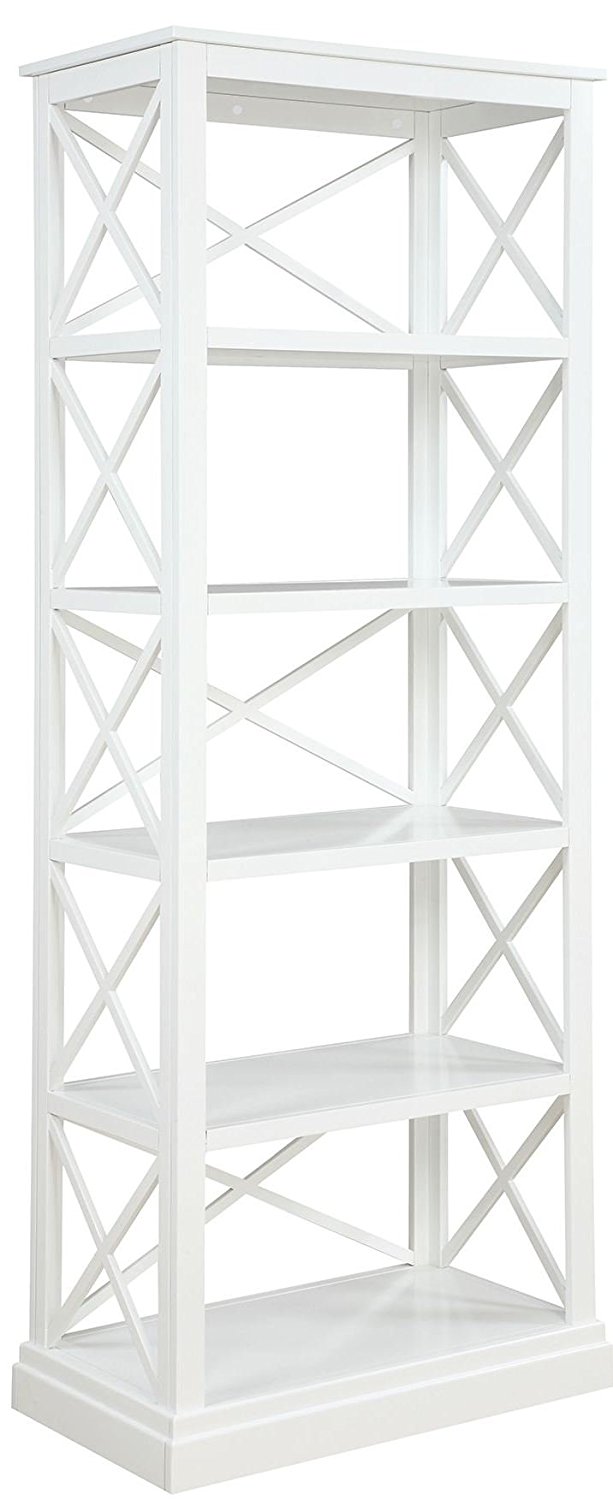
Desk Chair || Lamps || White Shelves || Marble & Gold Tray

white home office shelves

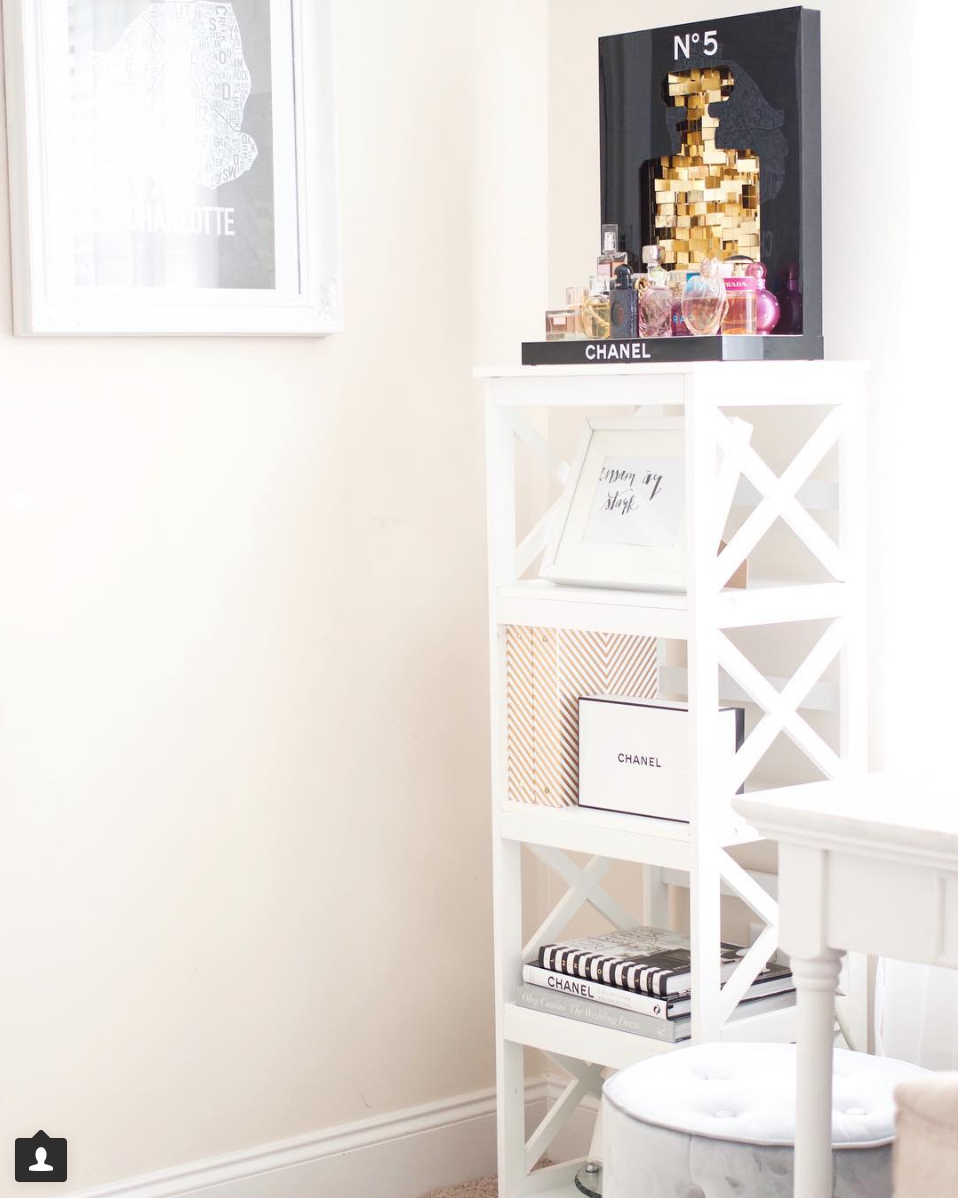
White Shelves || Velvet Pouf || Chanel Coffee Table Book 

marble and gold vanity tray diy

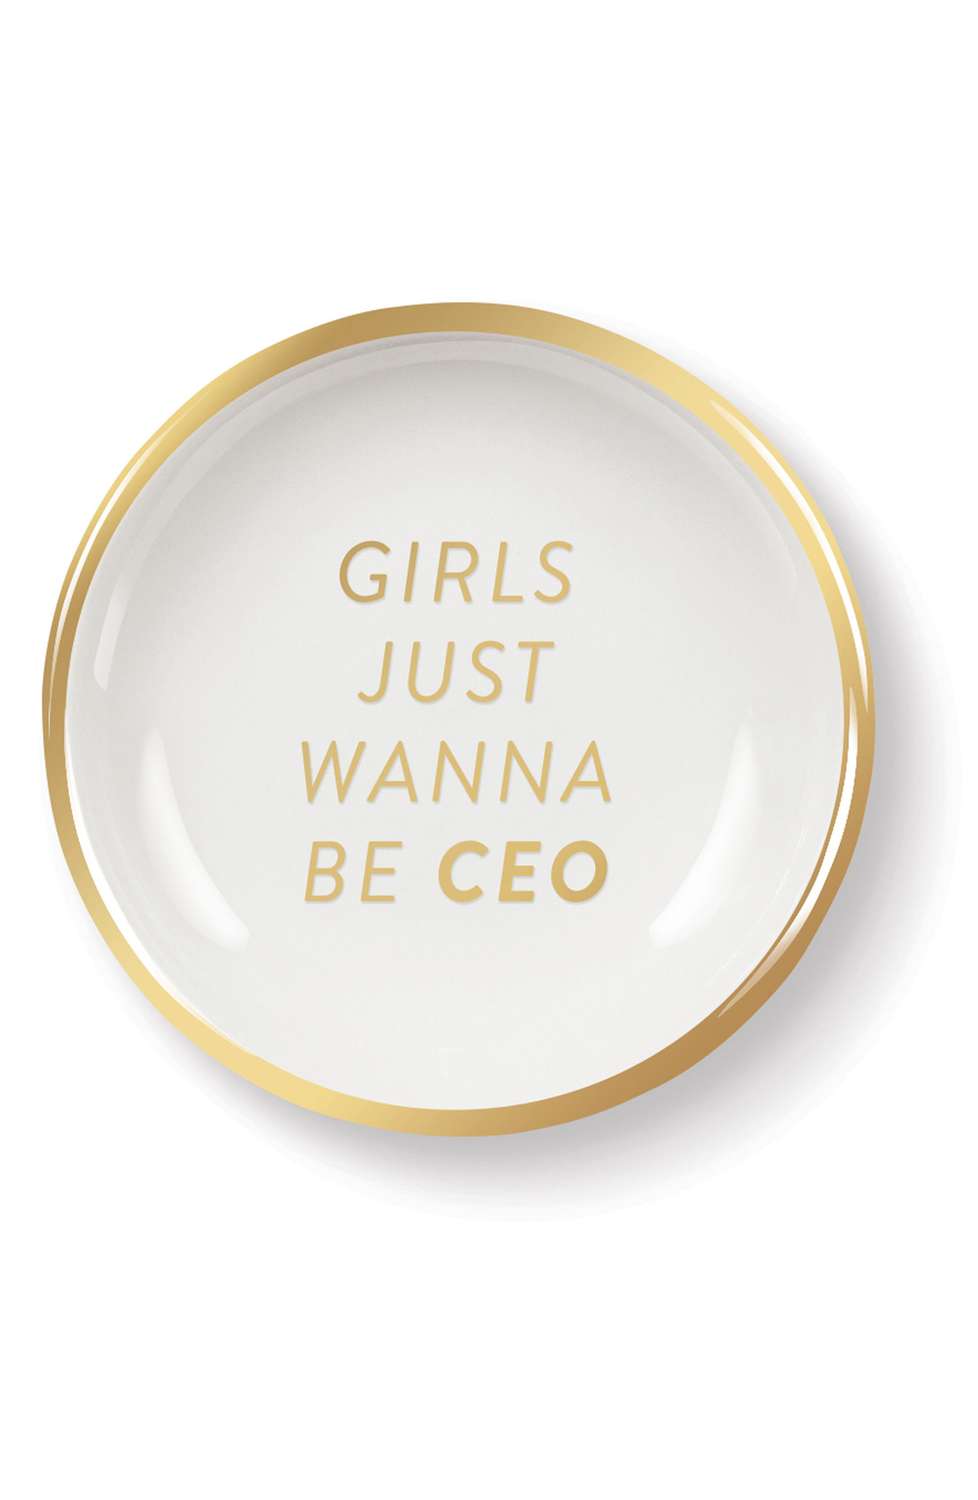
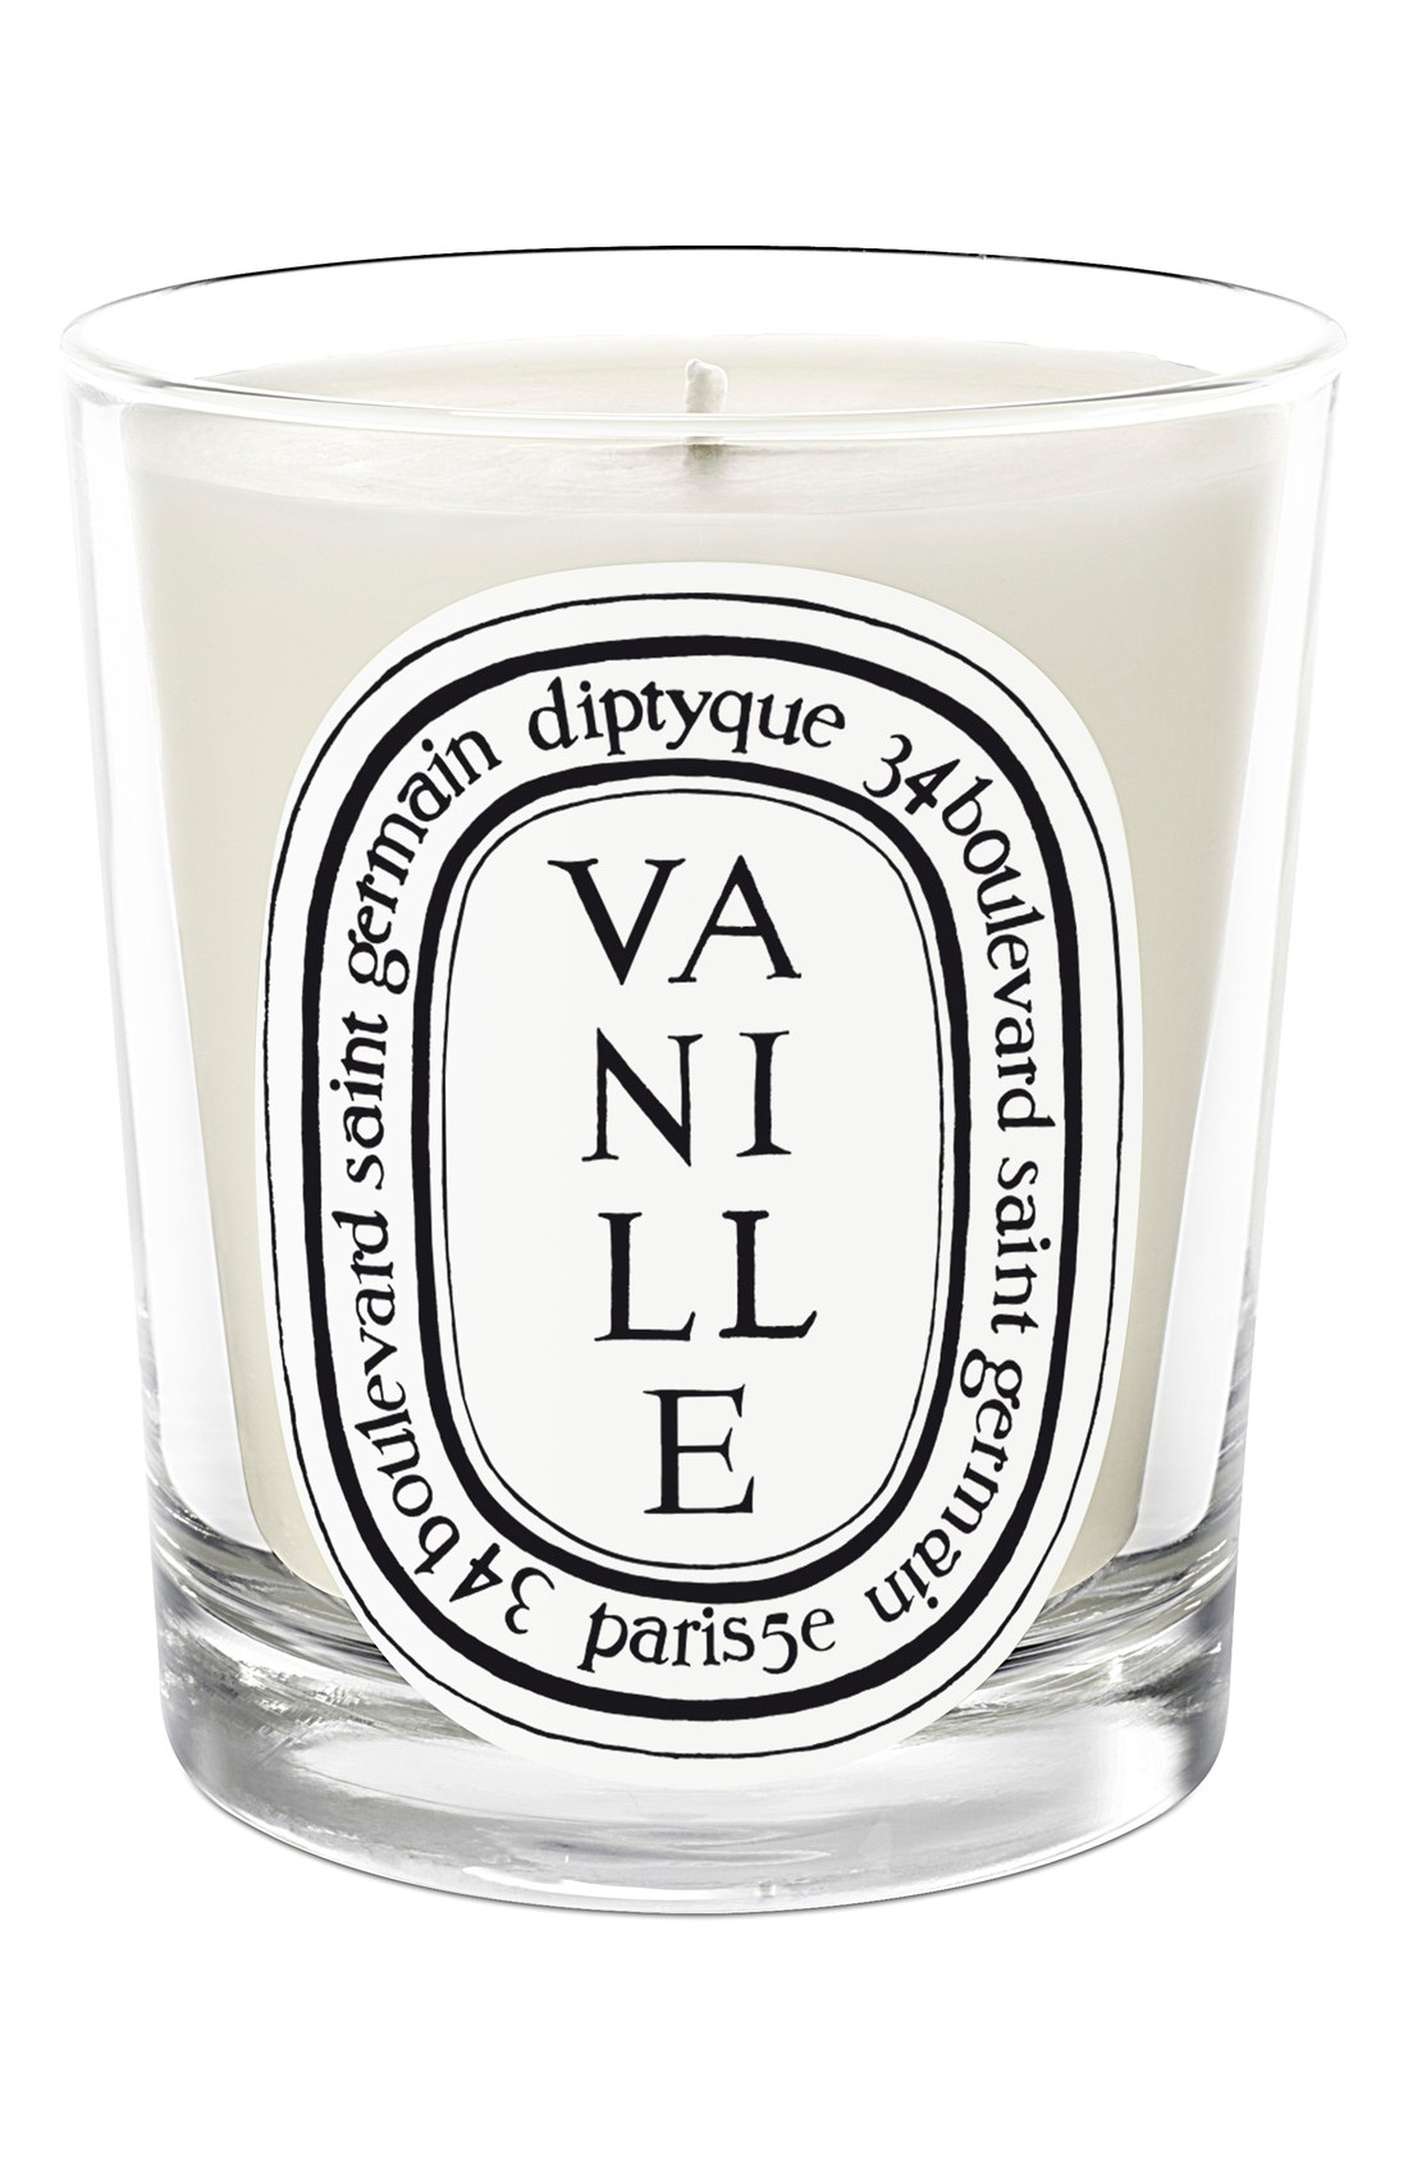
Marble & Gold Tray || Girls Just Wanna Be CEO Trinket Dish || Vanille Candle || Diamond Pens

beautiful bright home office

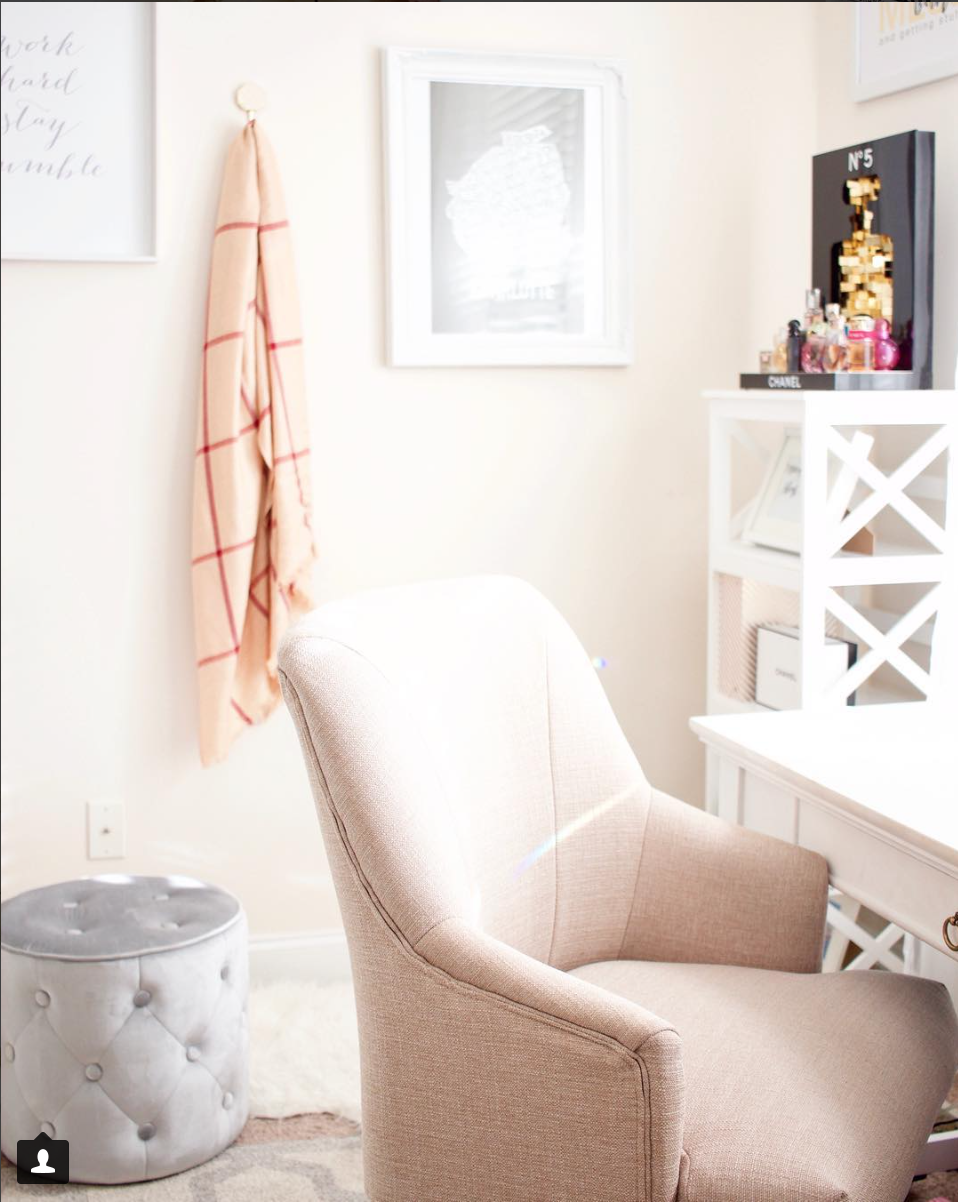
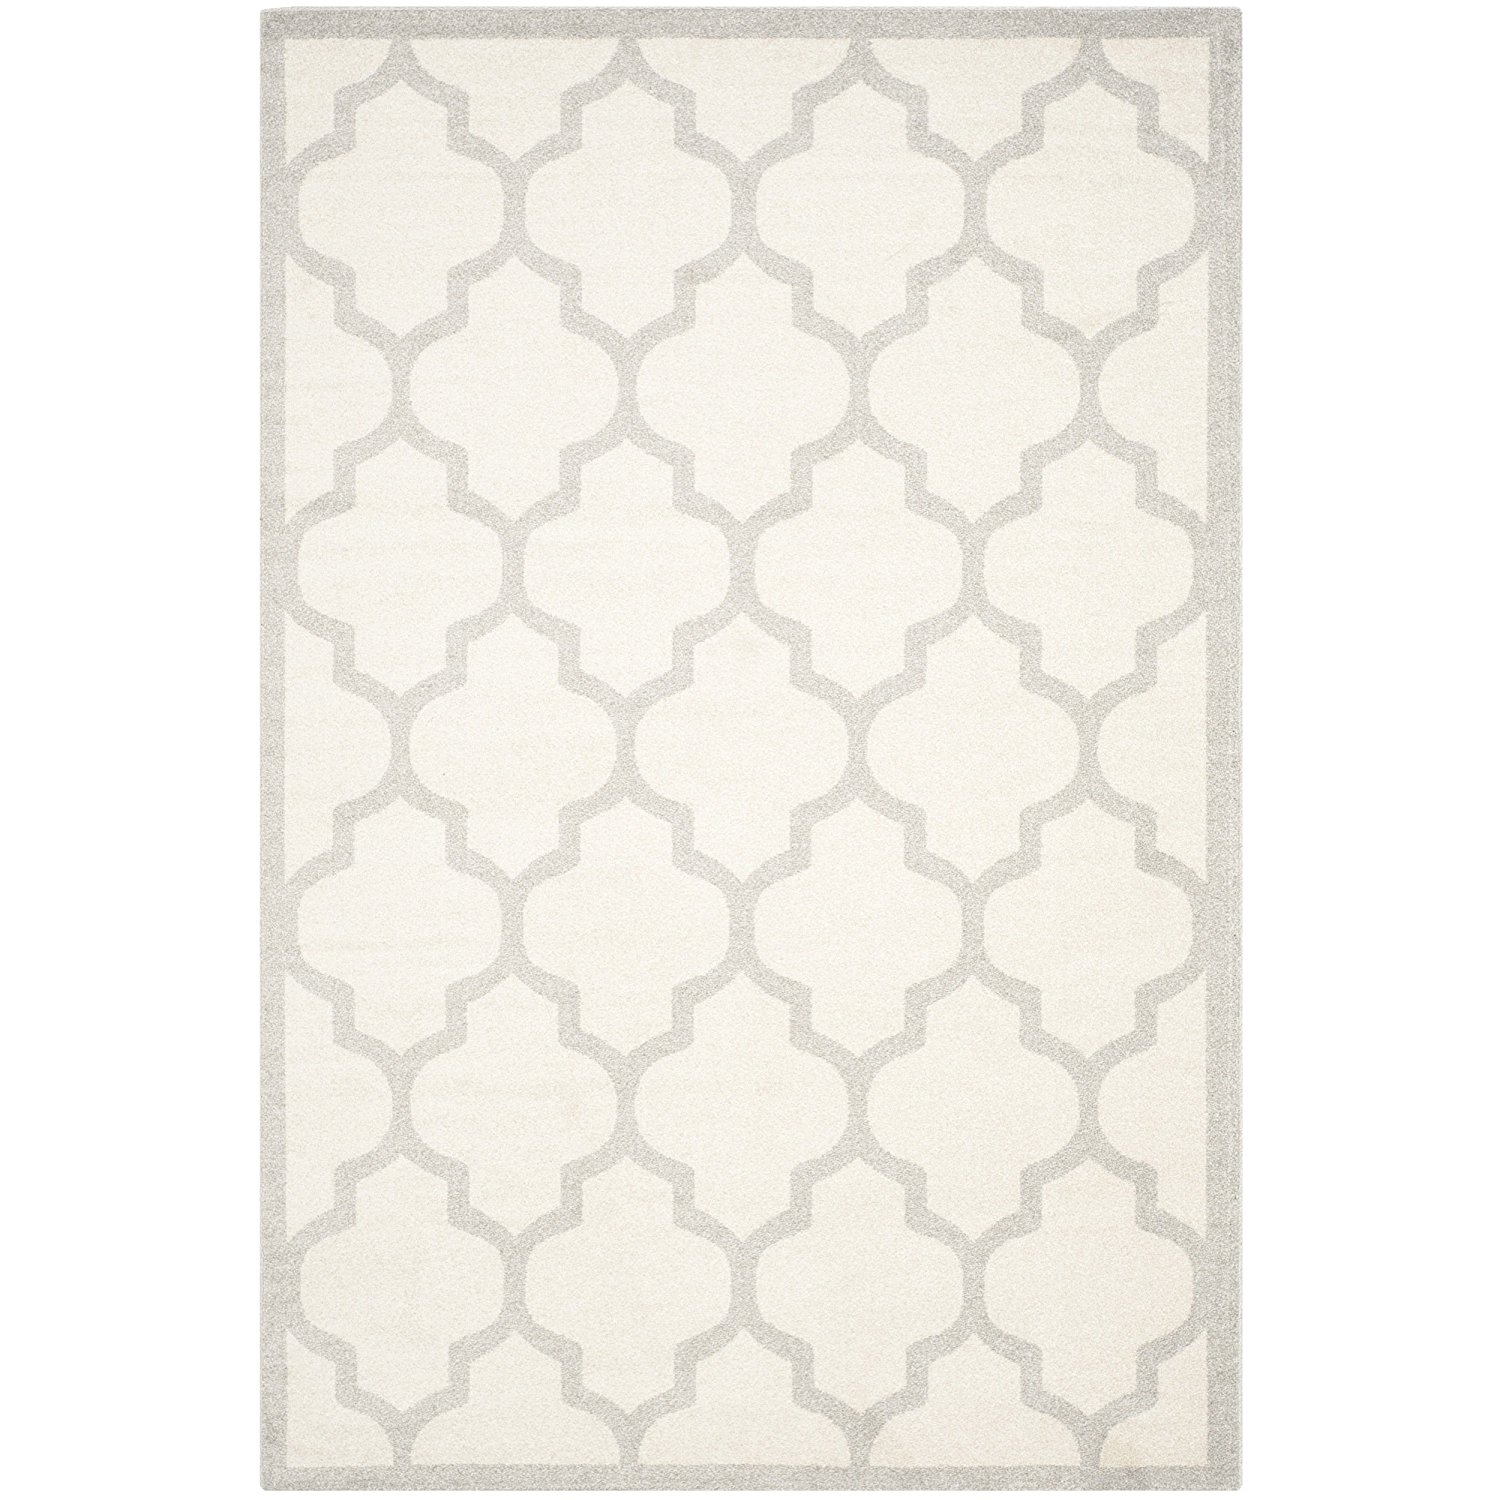
Velvet Pouf || Tufted Desk Chair || Sheepskin Rug || Gray & Beige Rug

glam halloween decor

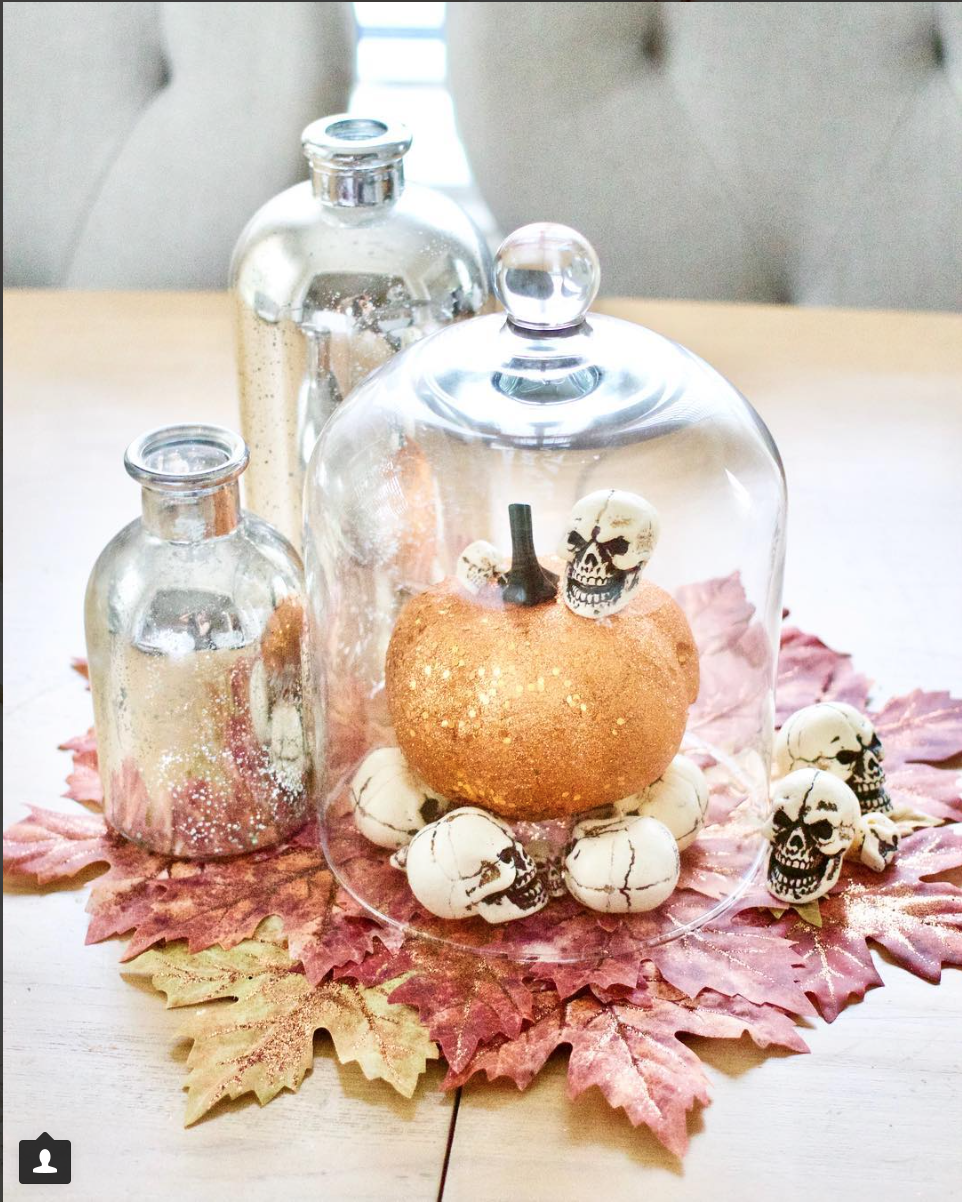
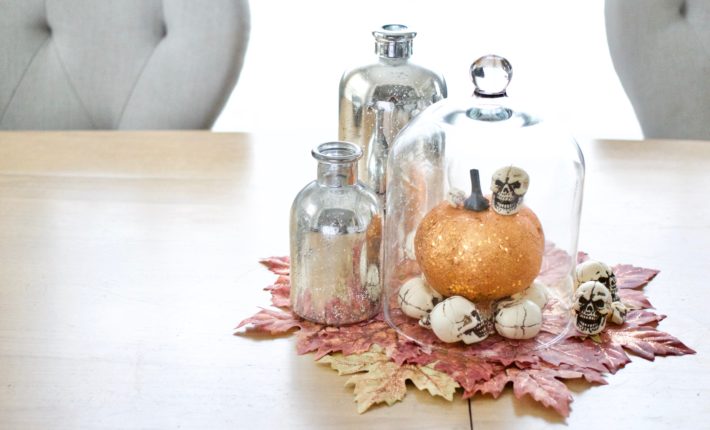
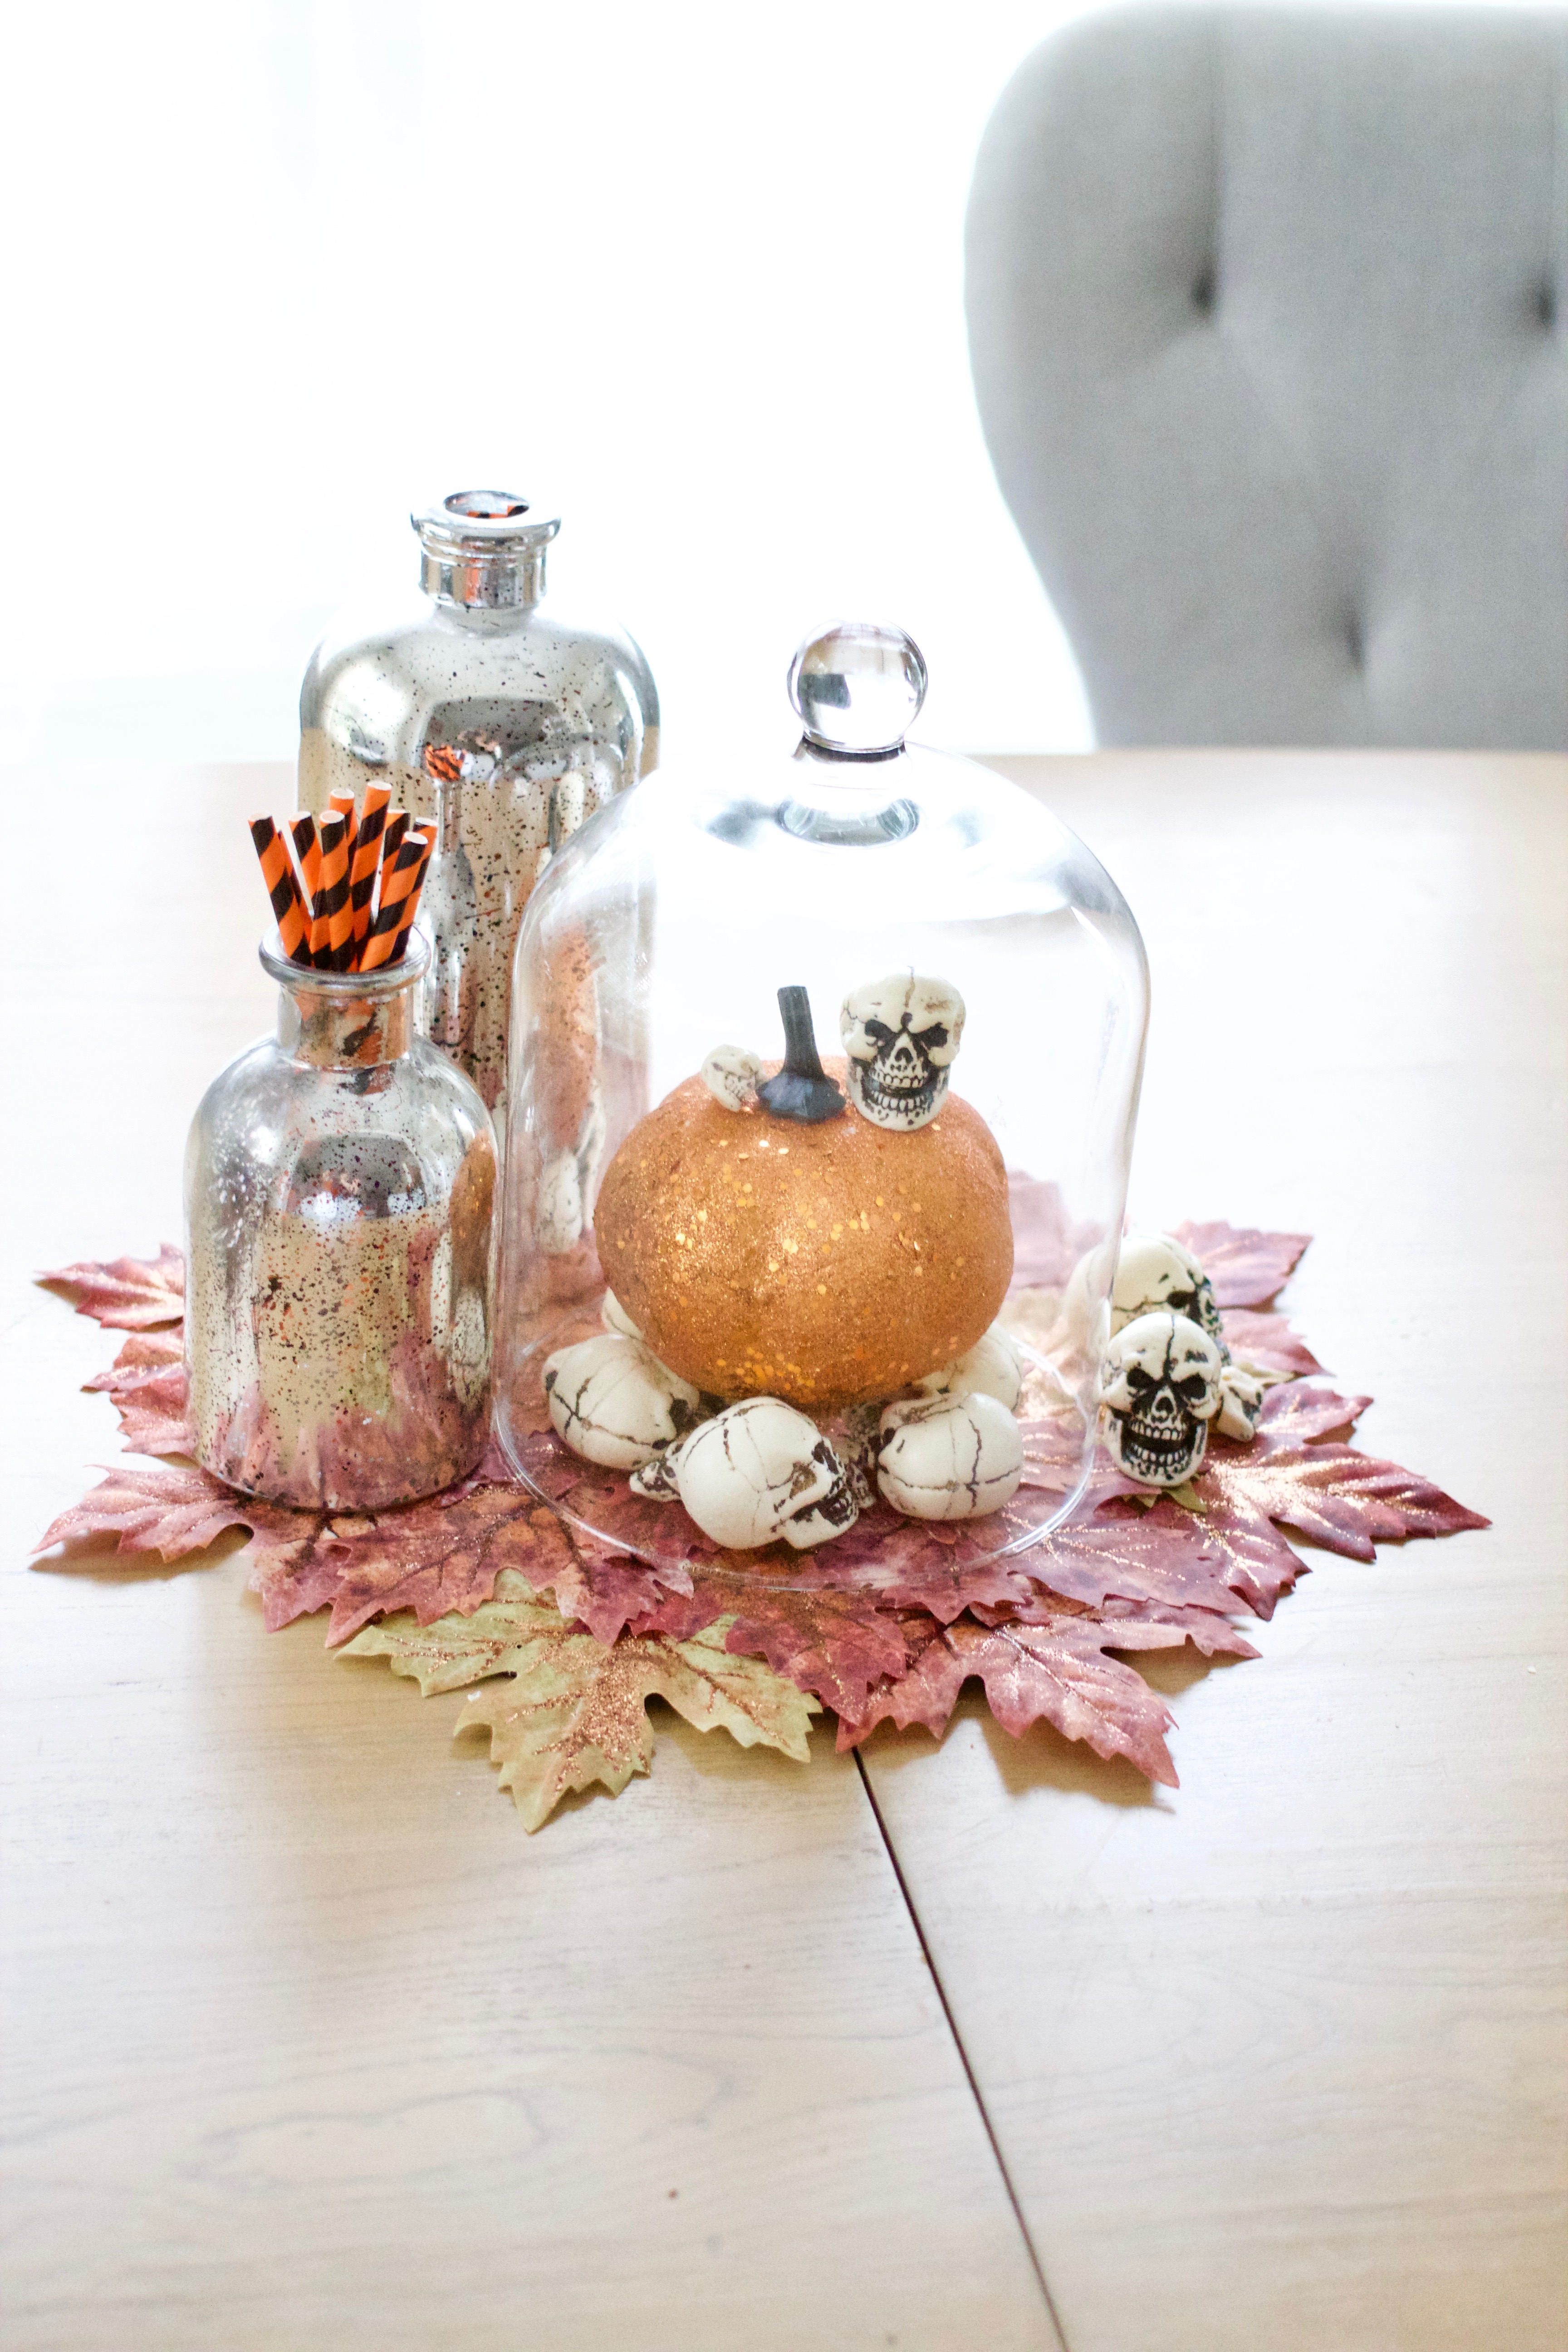
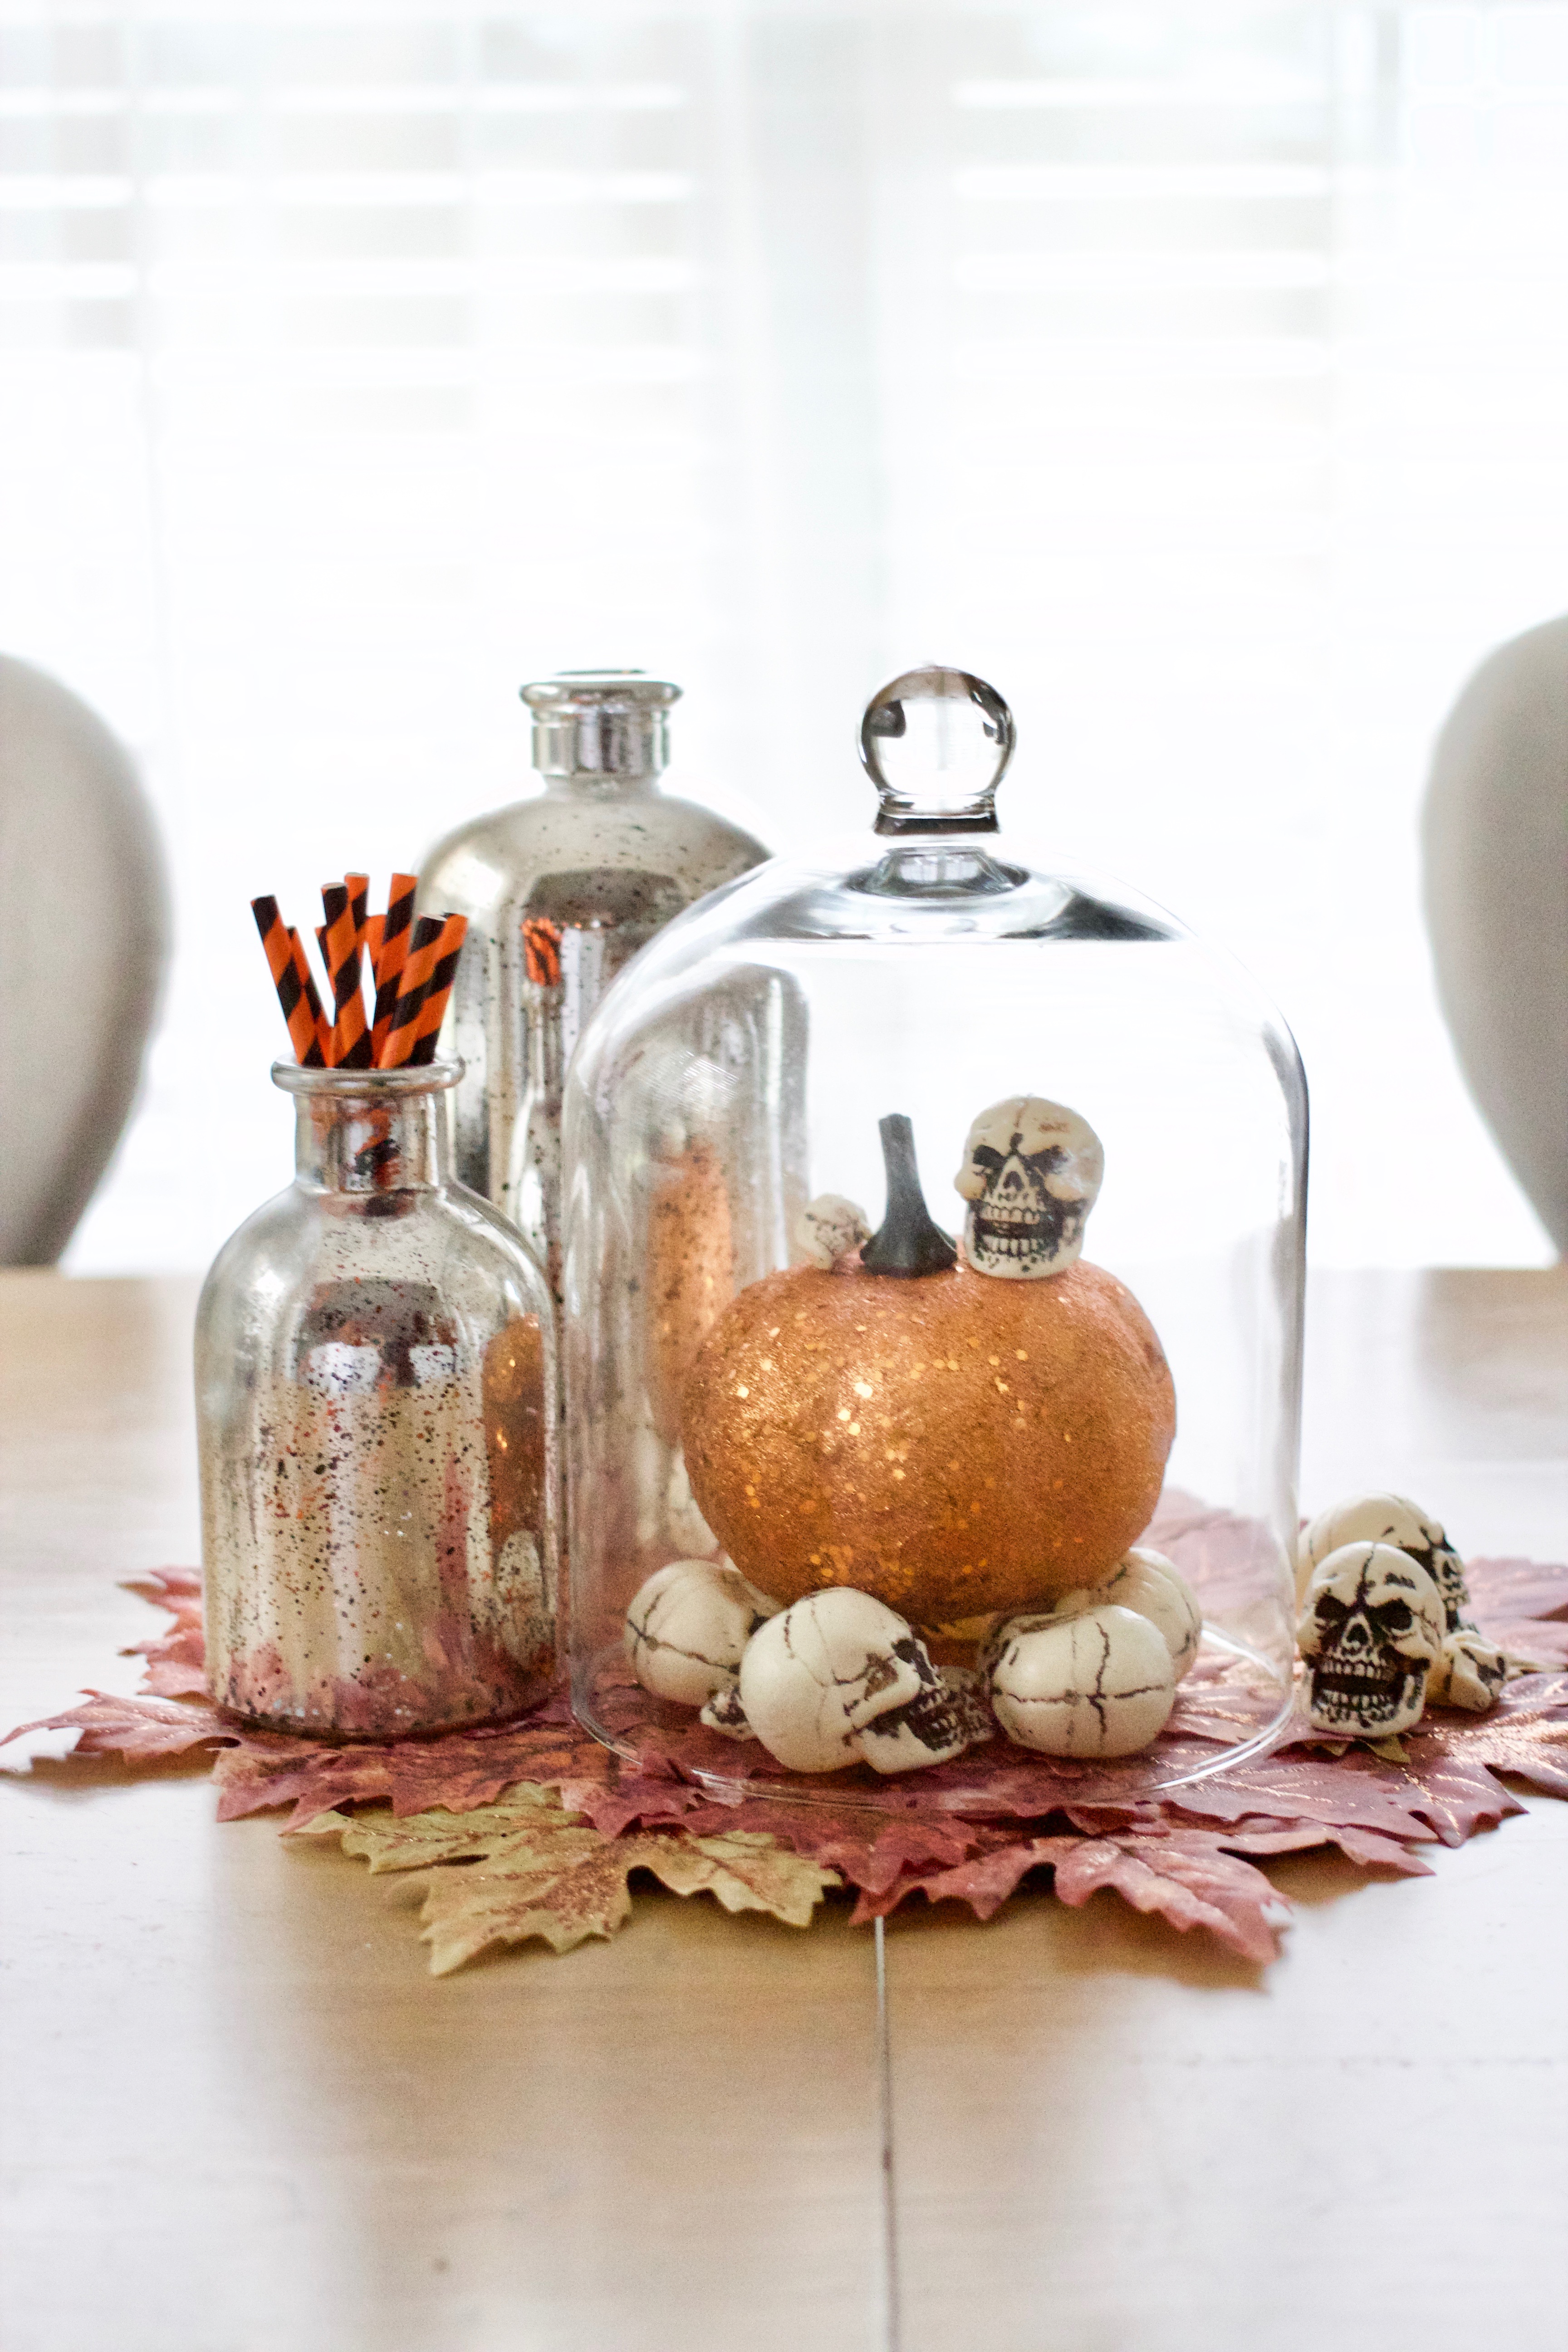
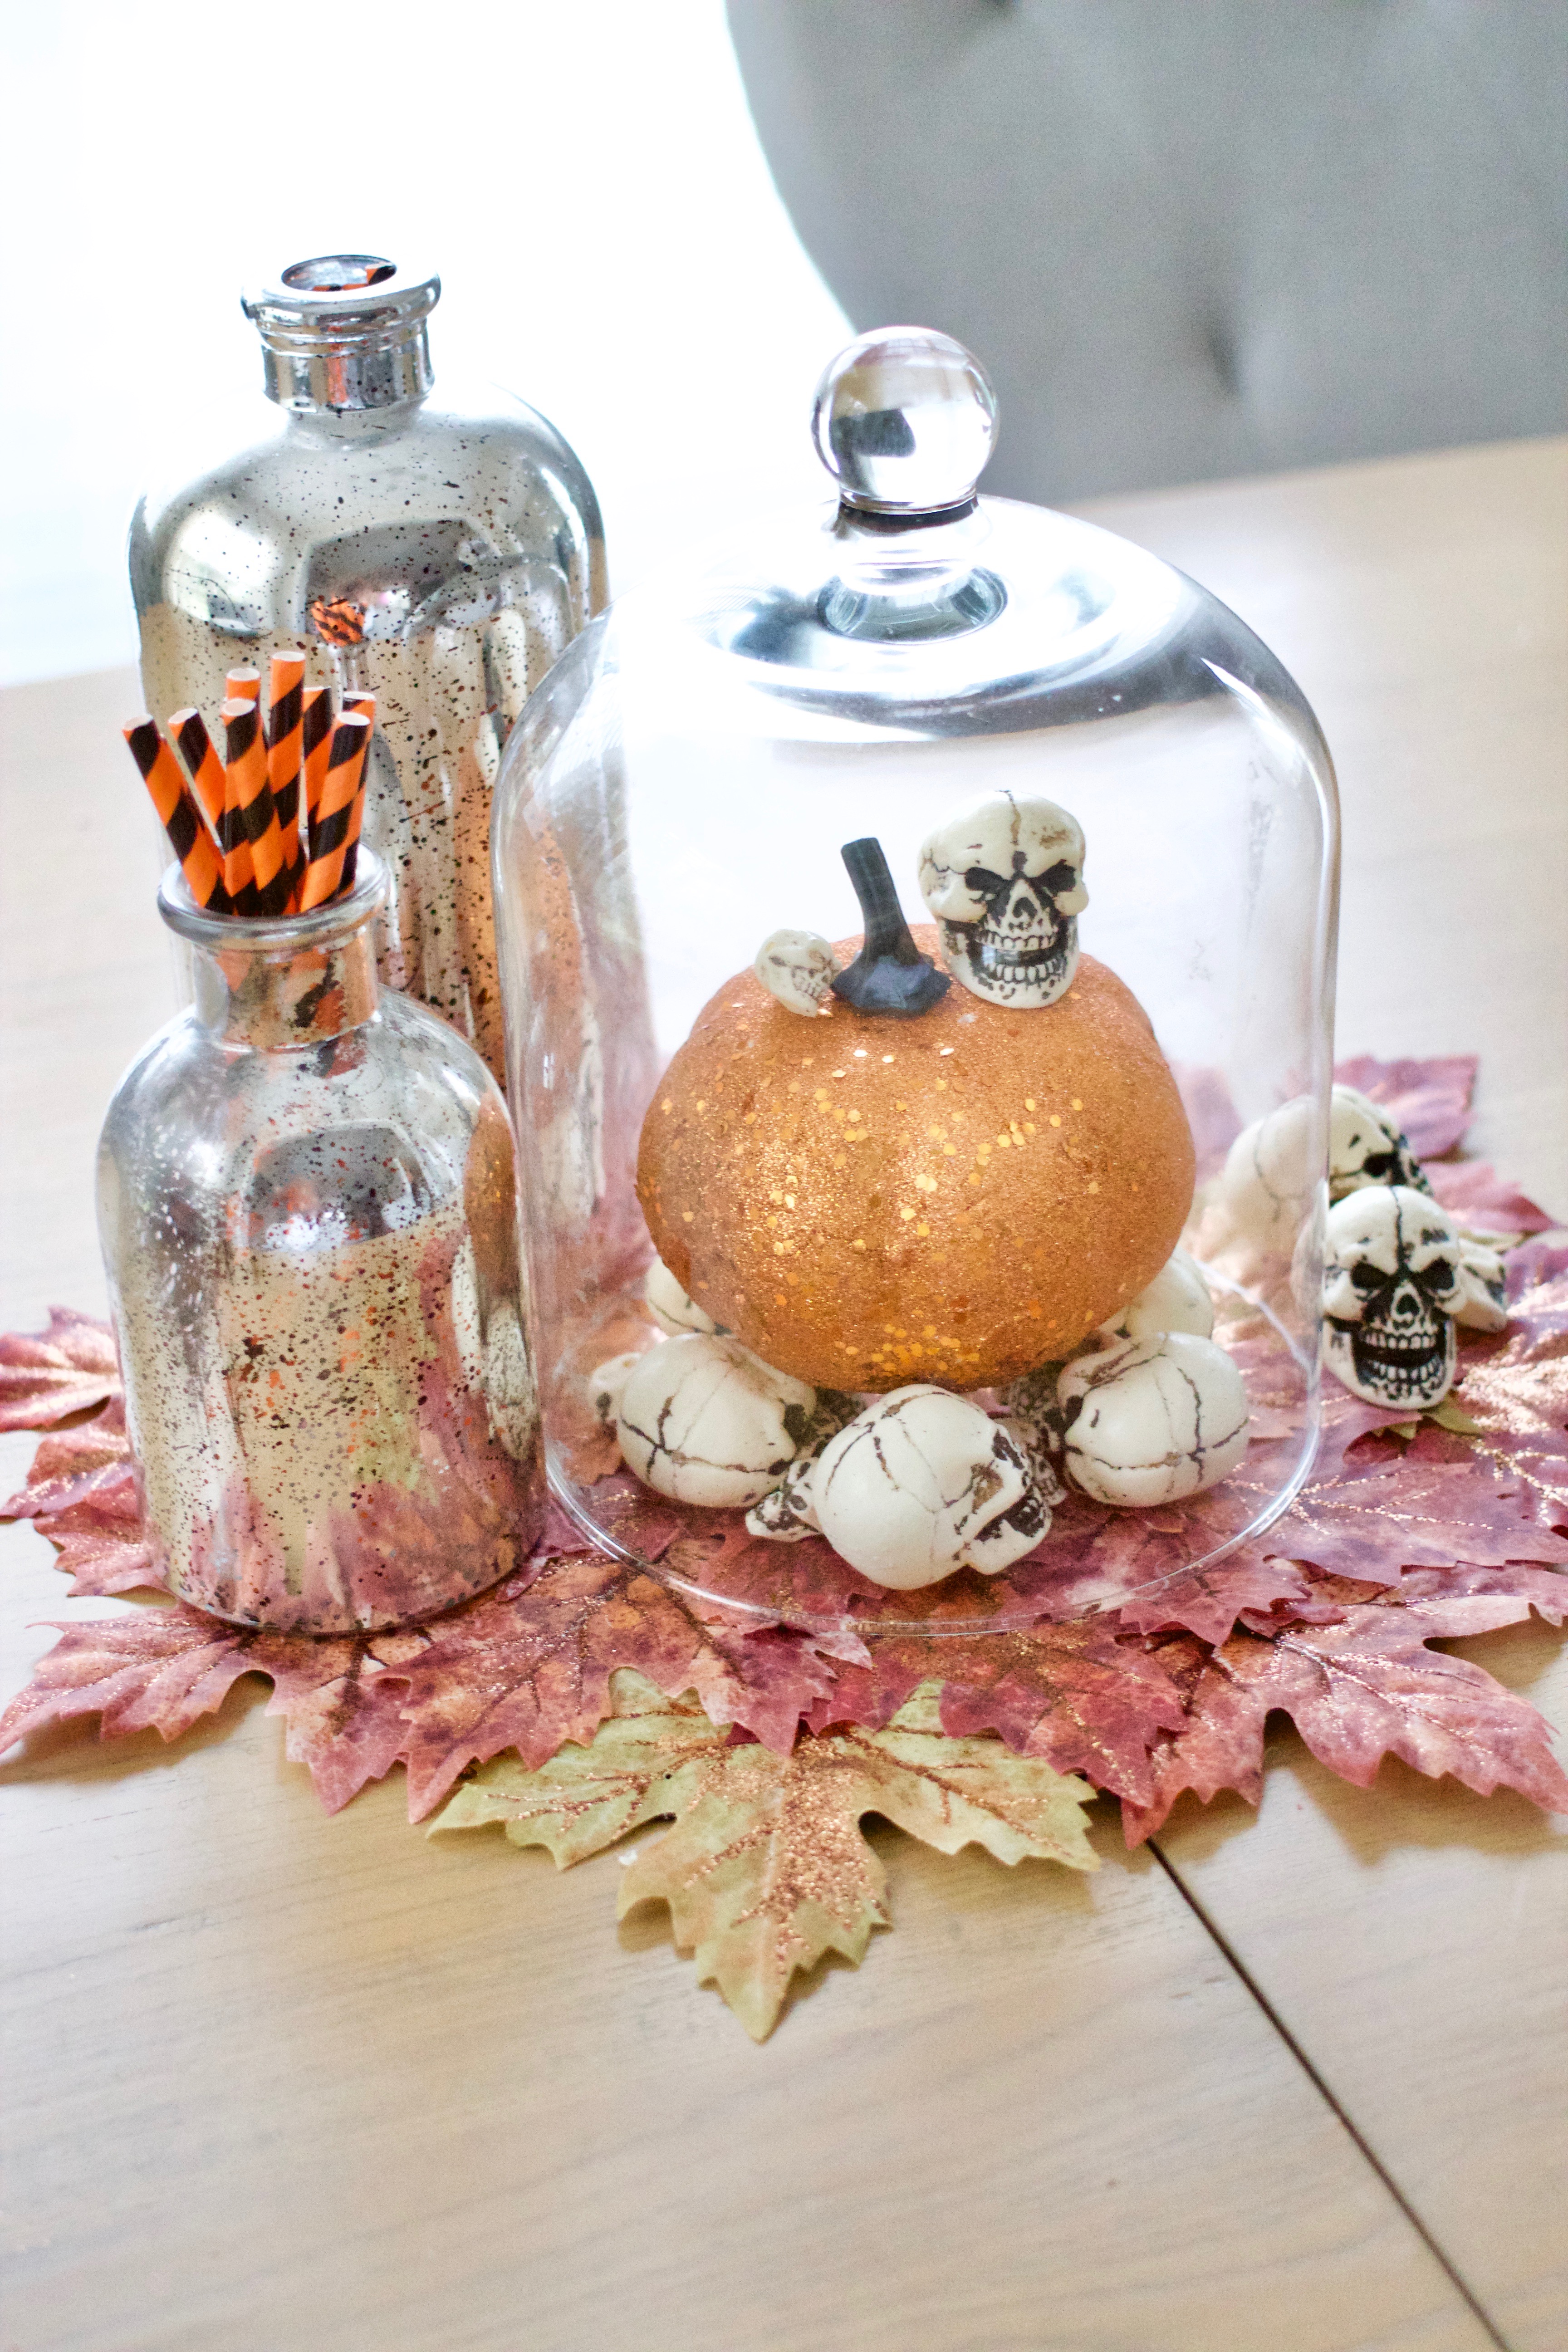
Glam Halloween Decor Post with Details Included

simple front door diy

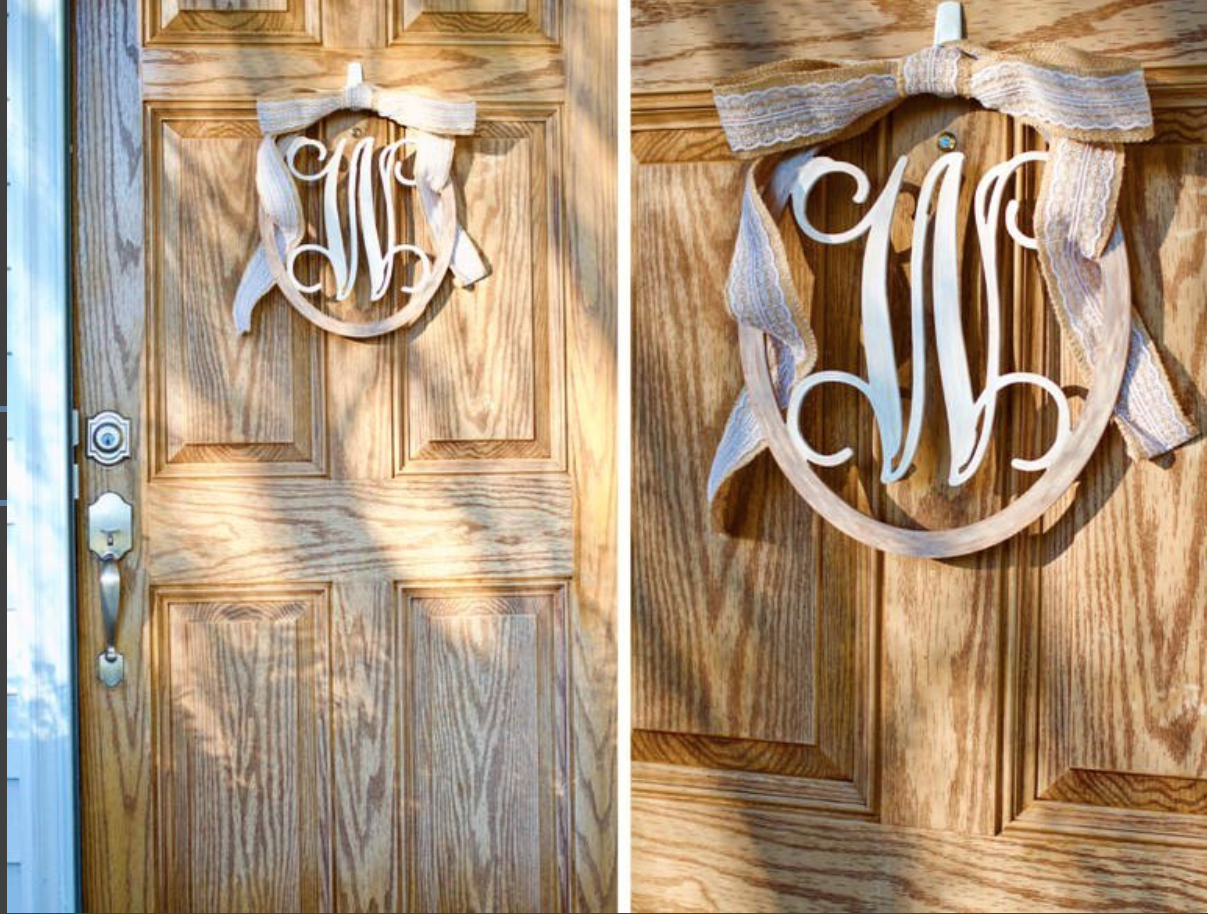
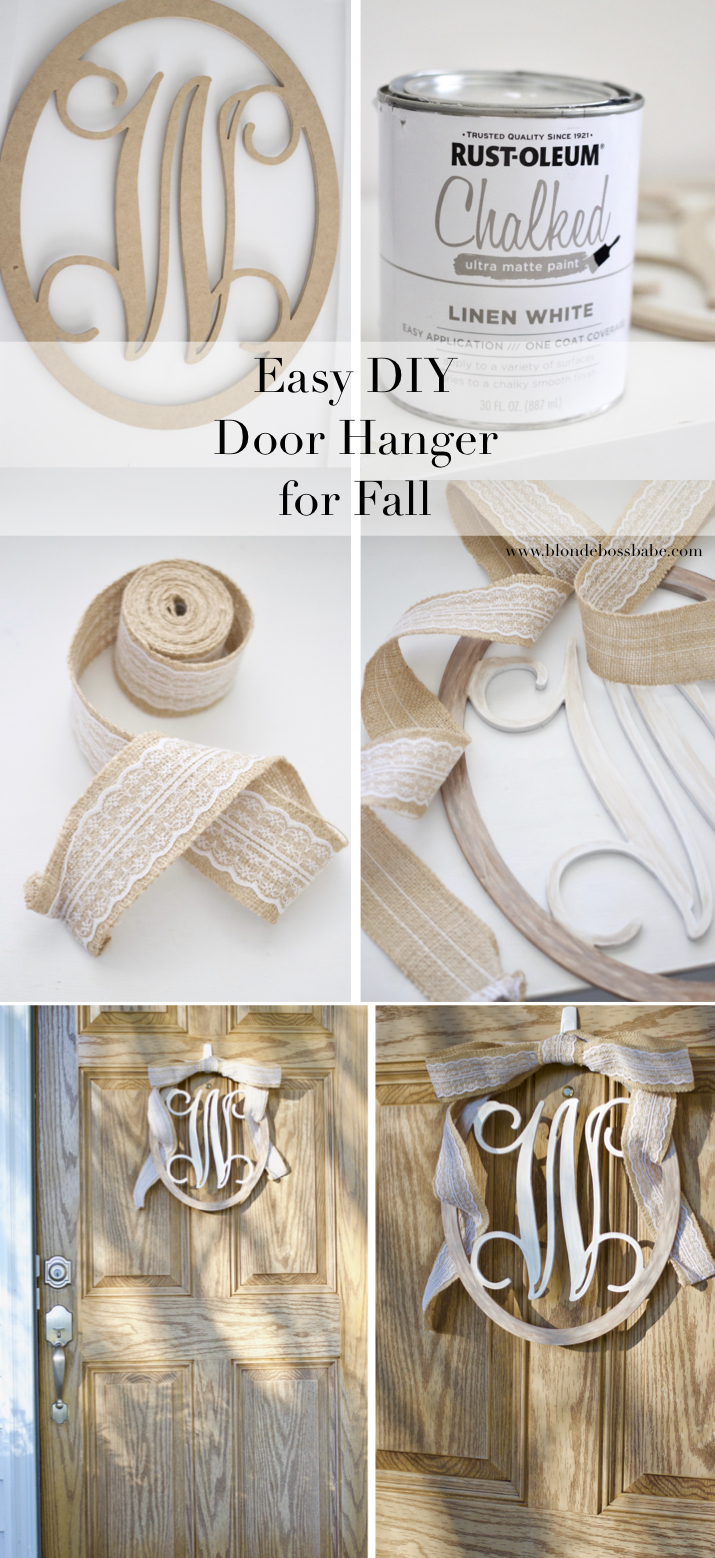
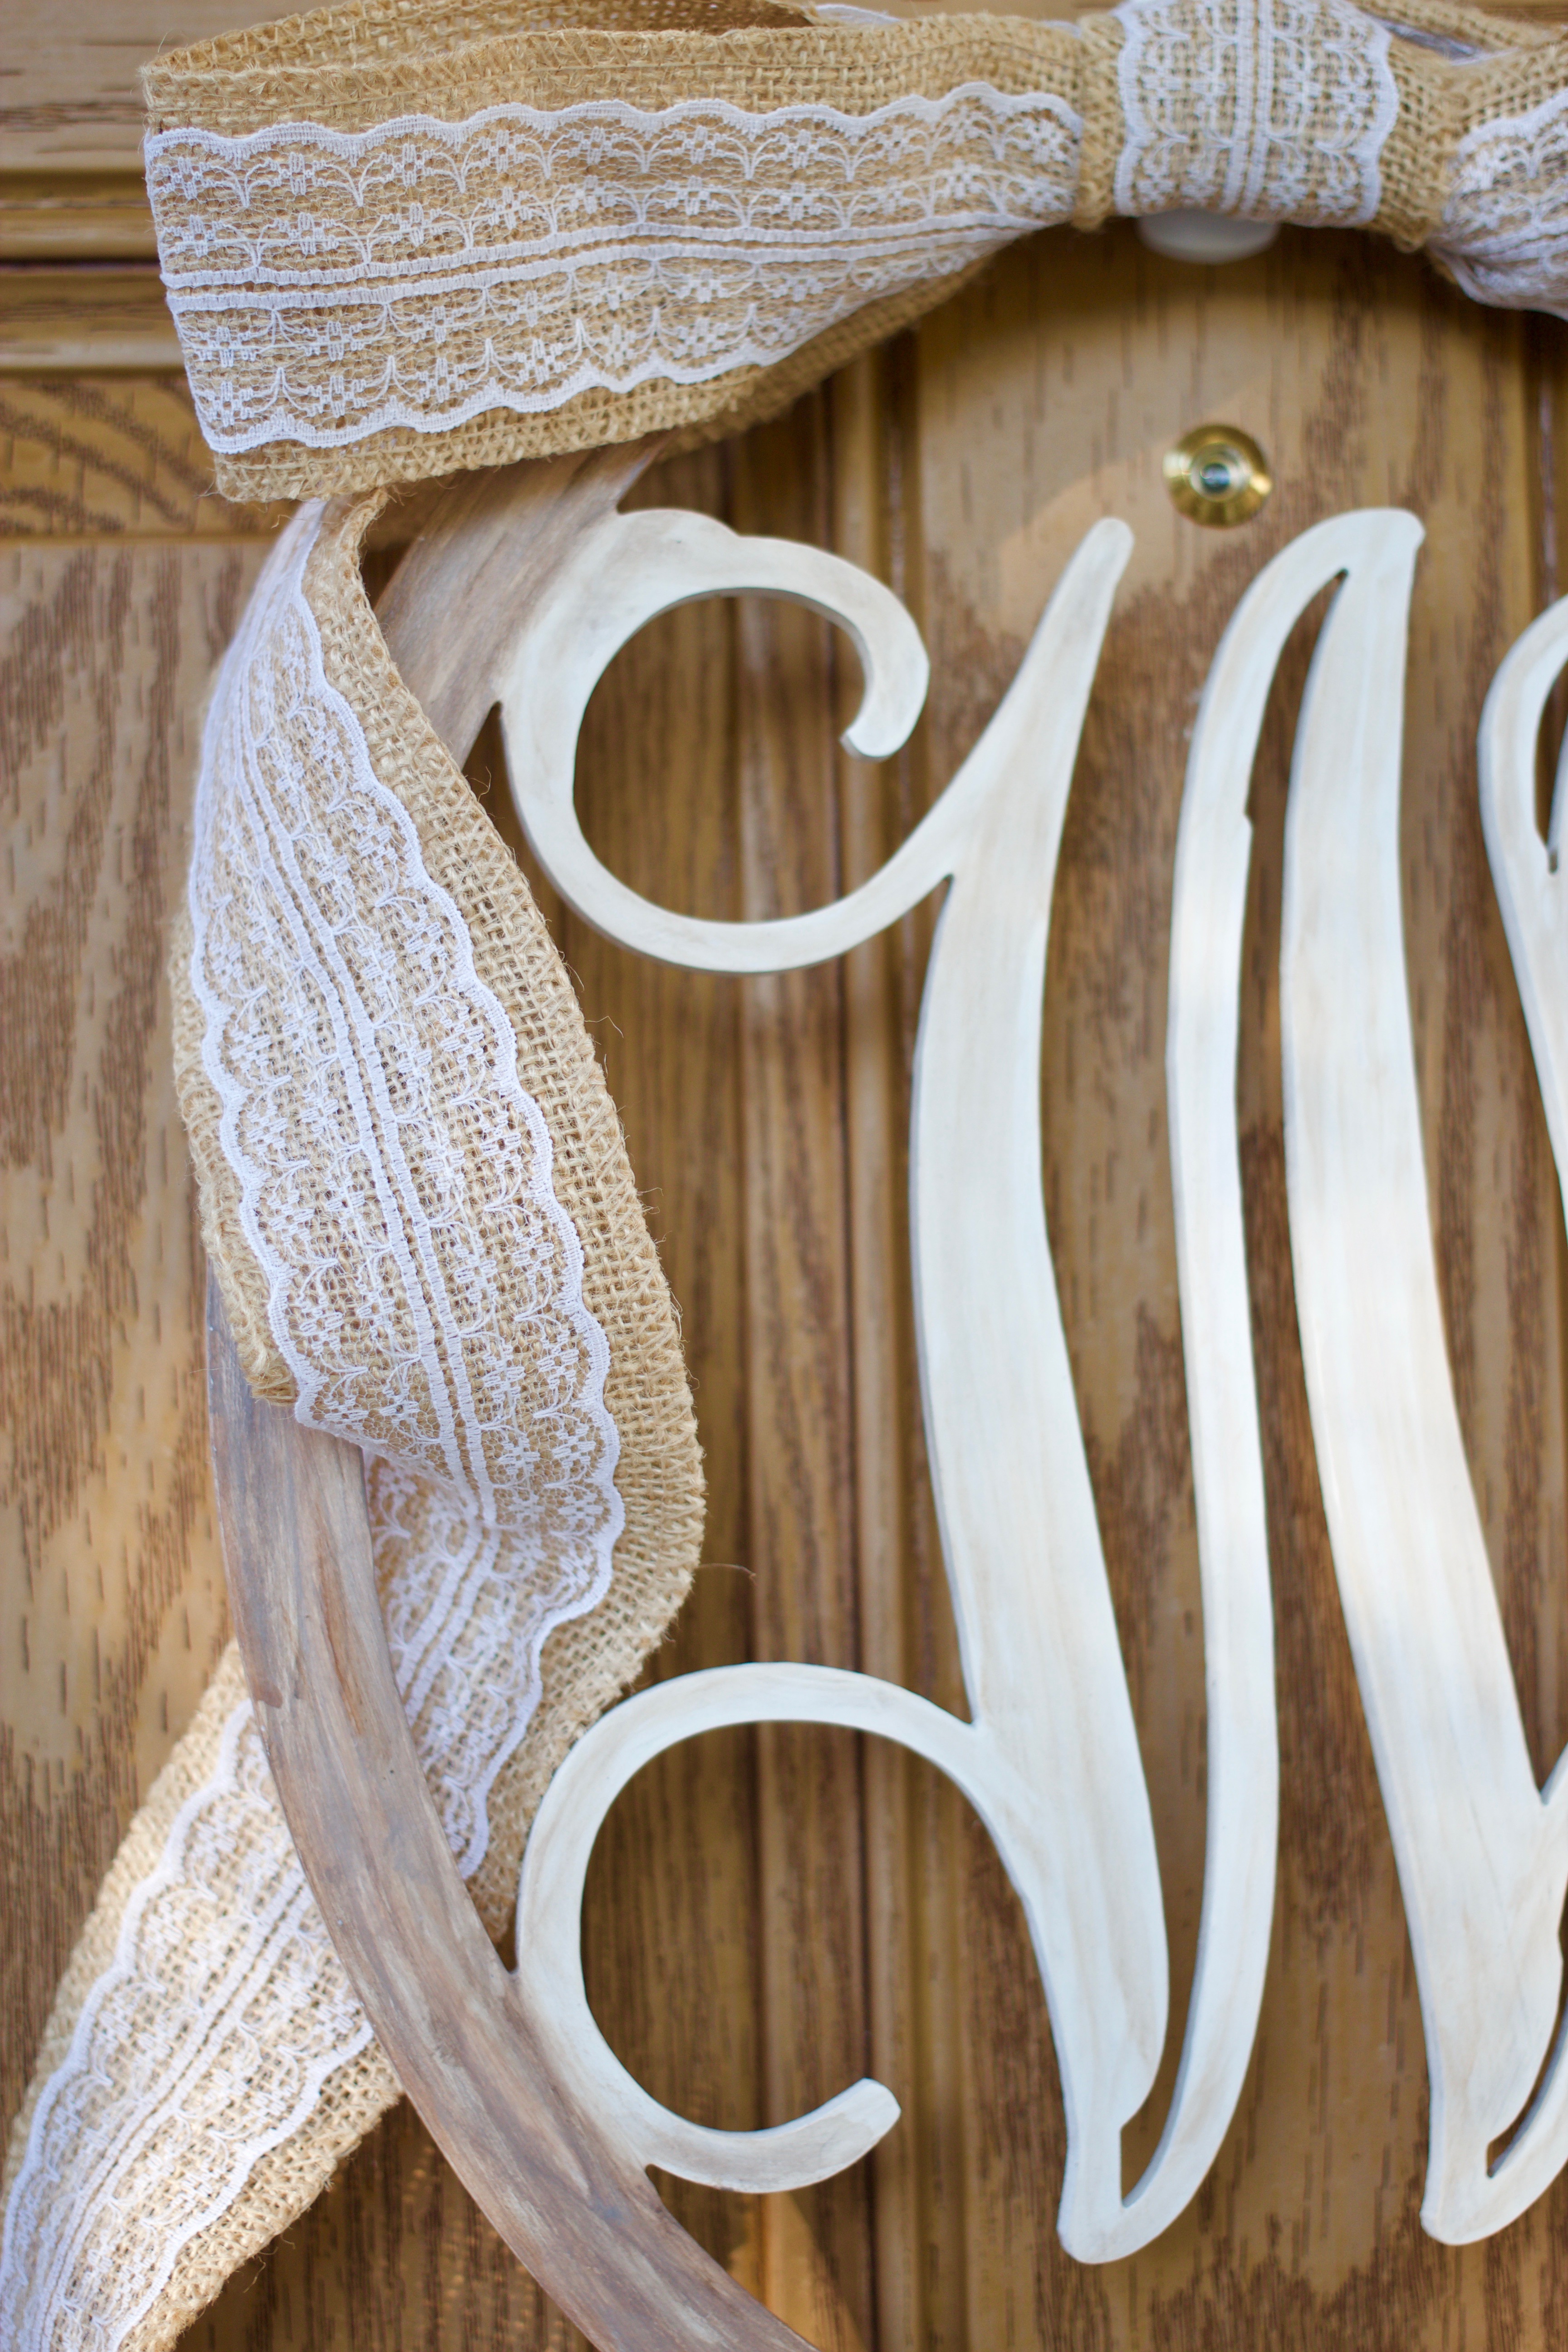
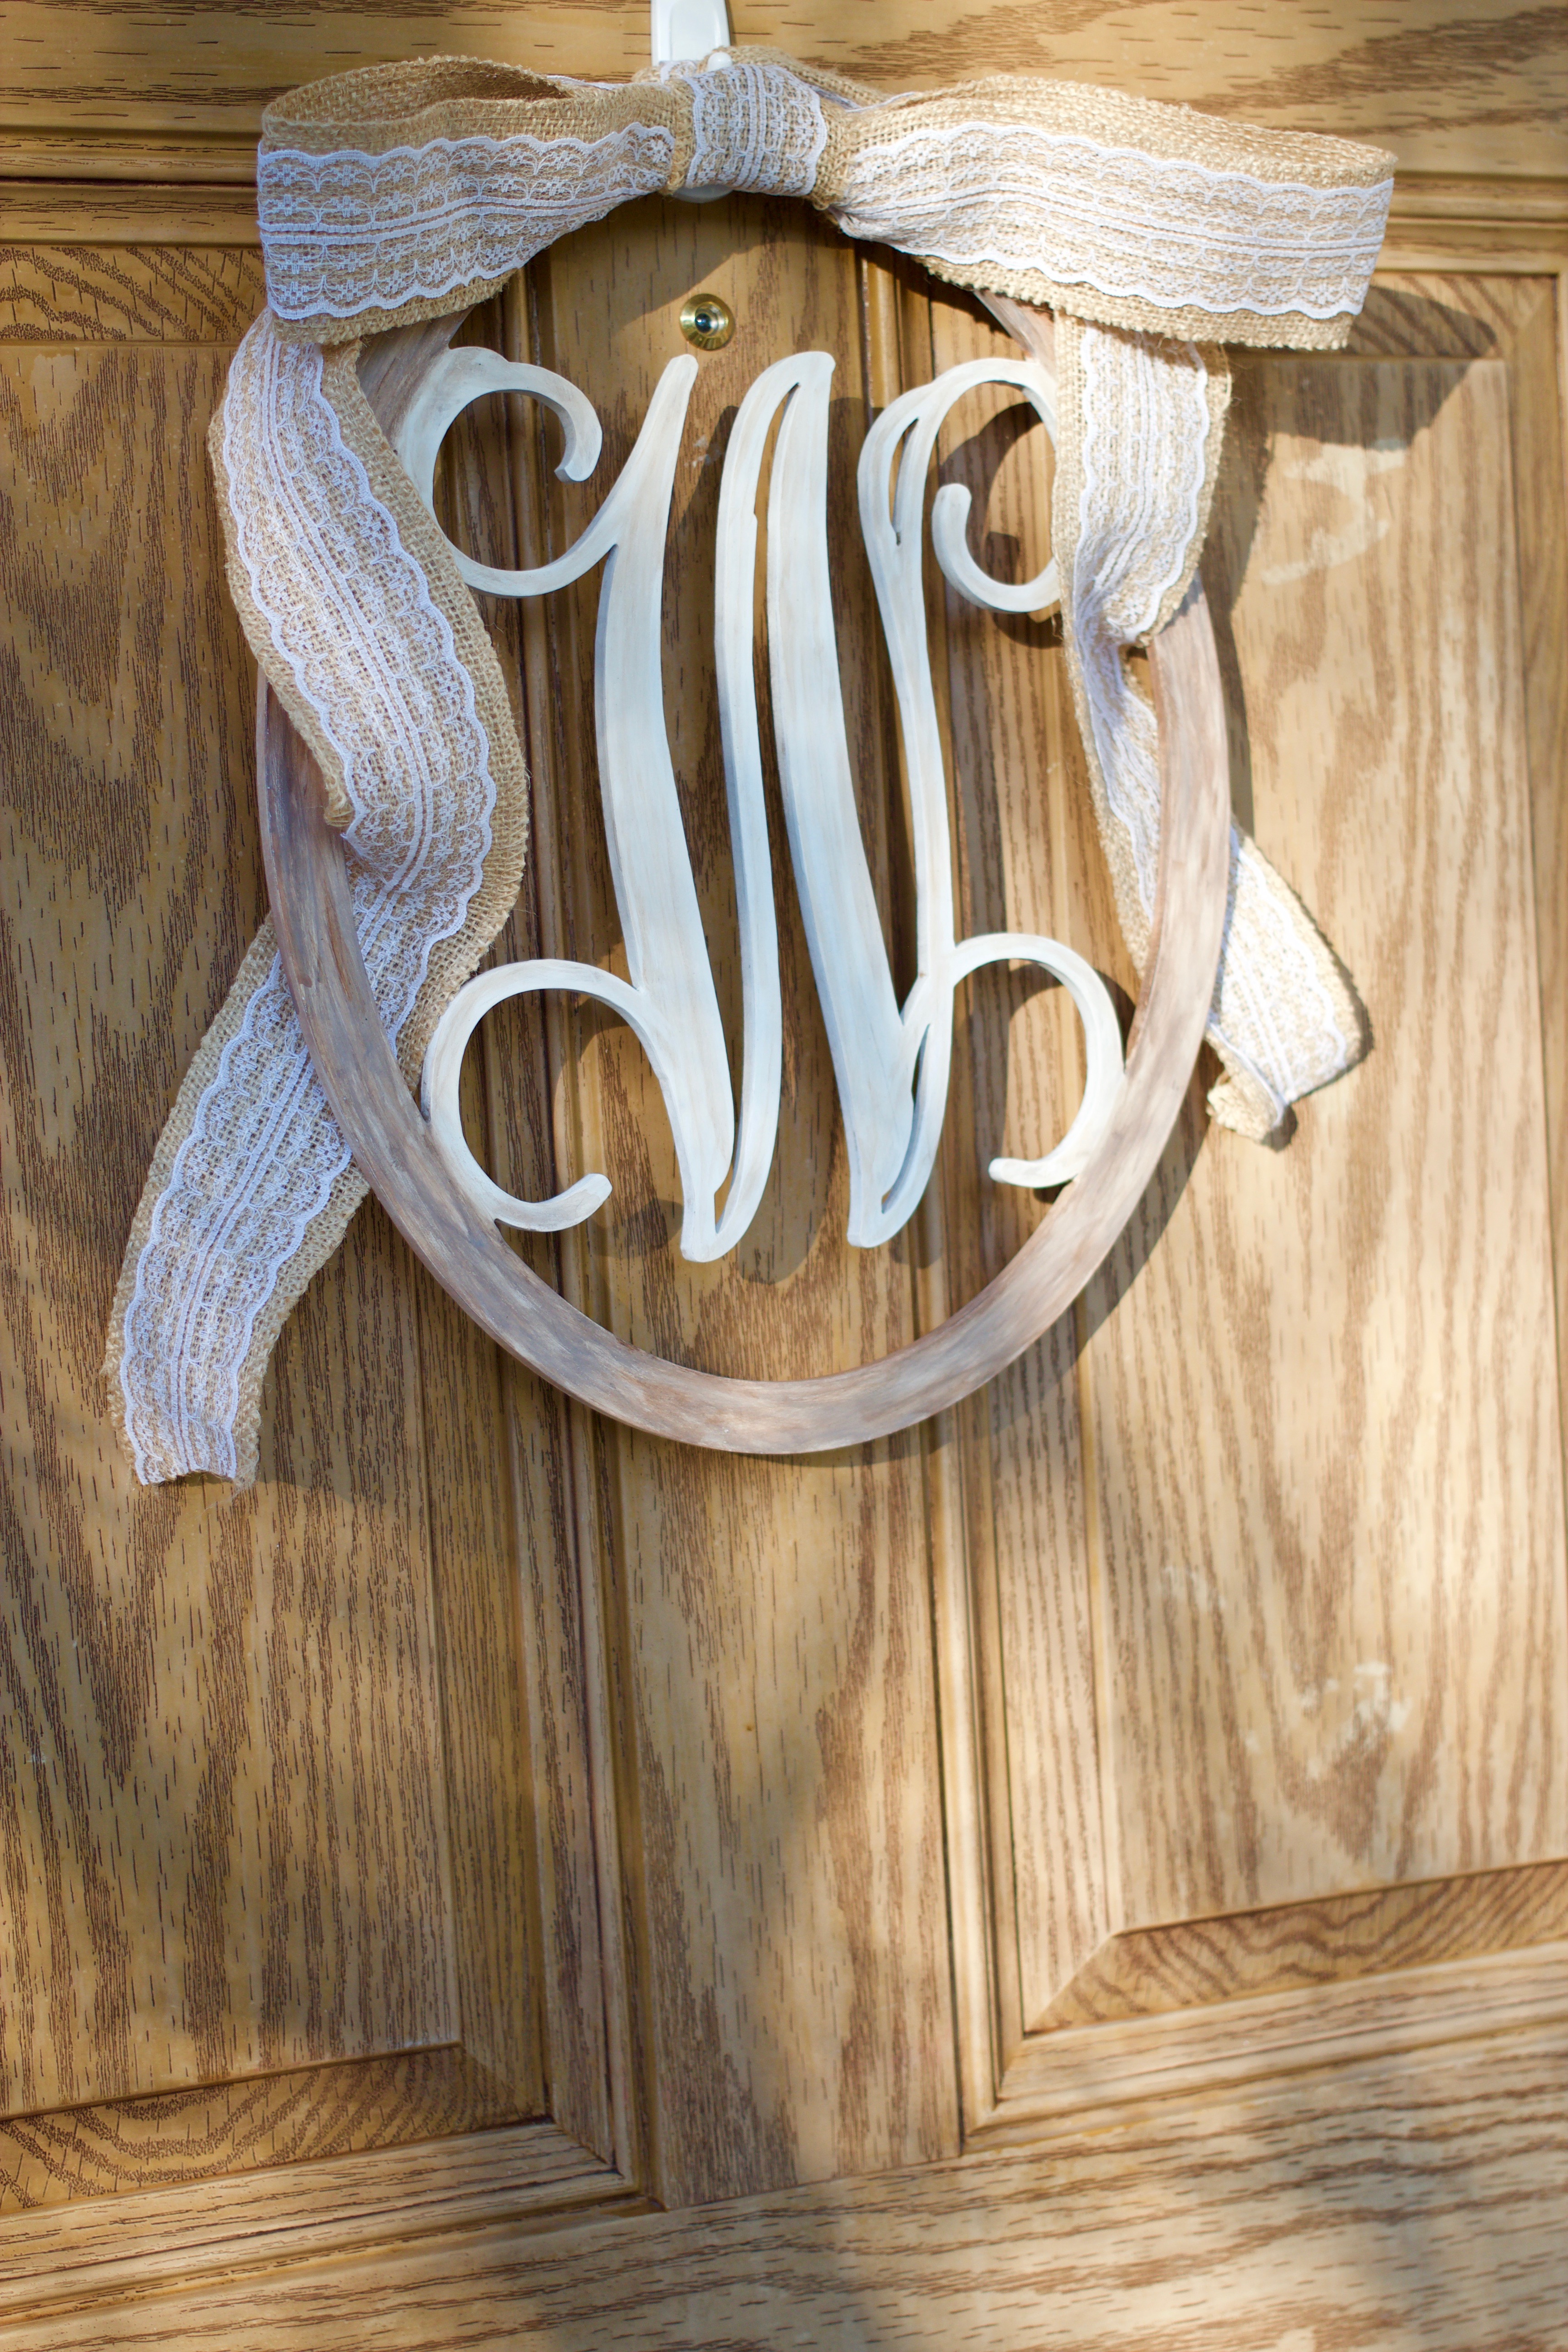
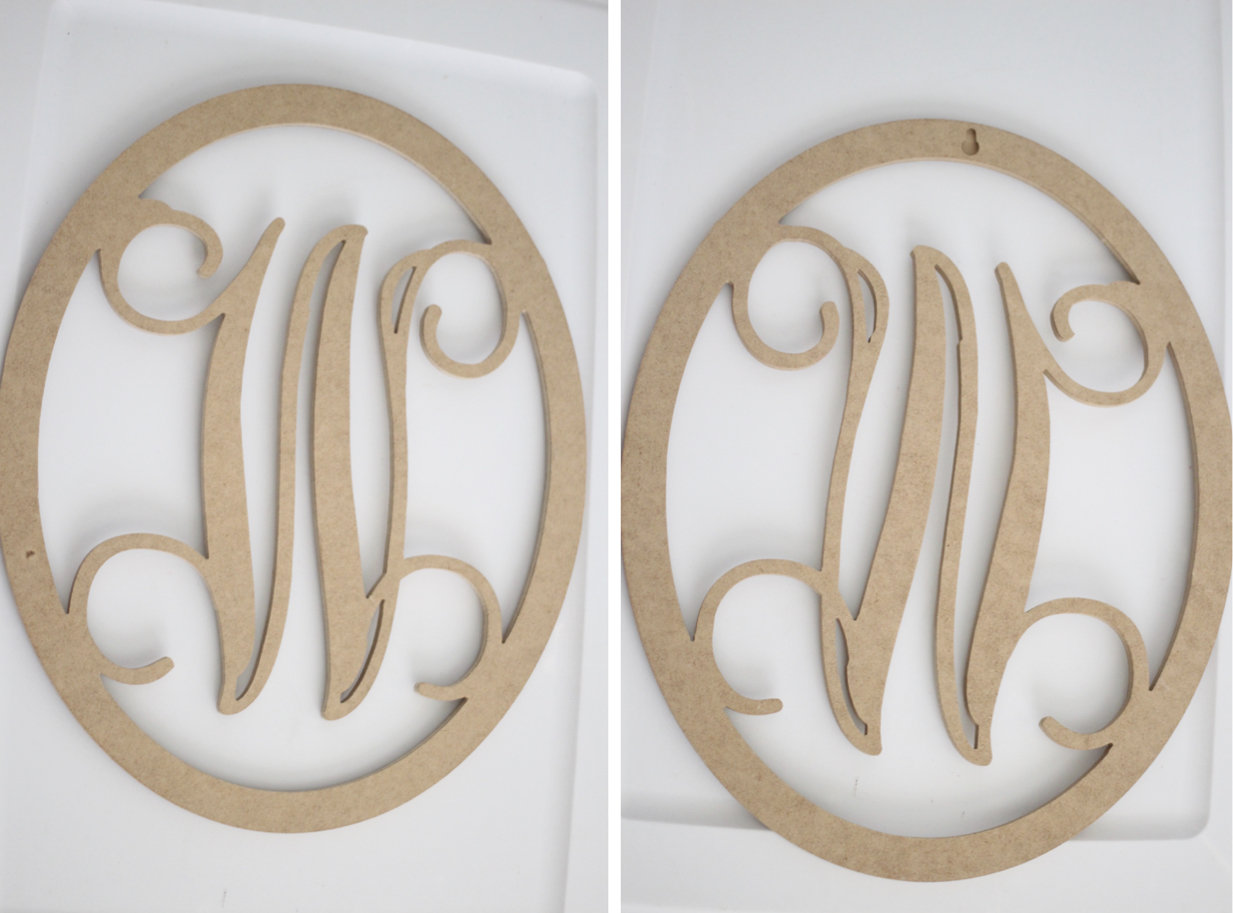
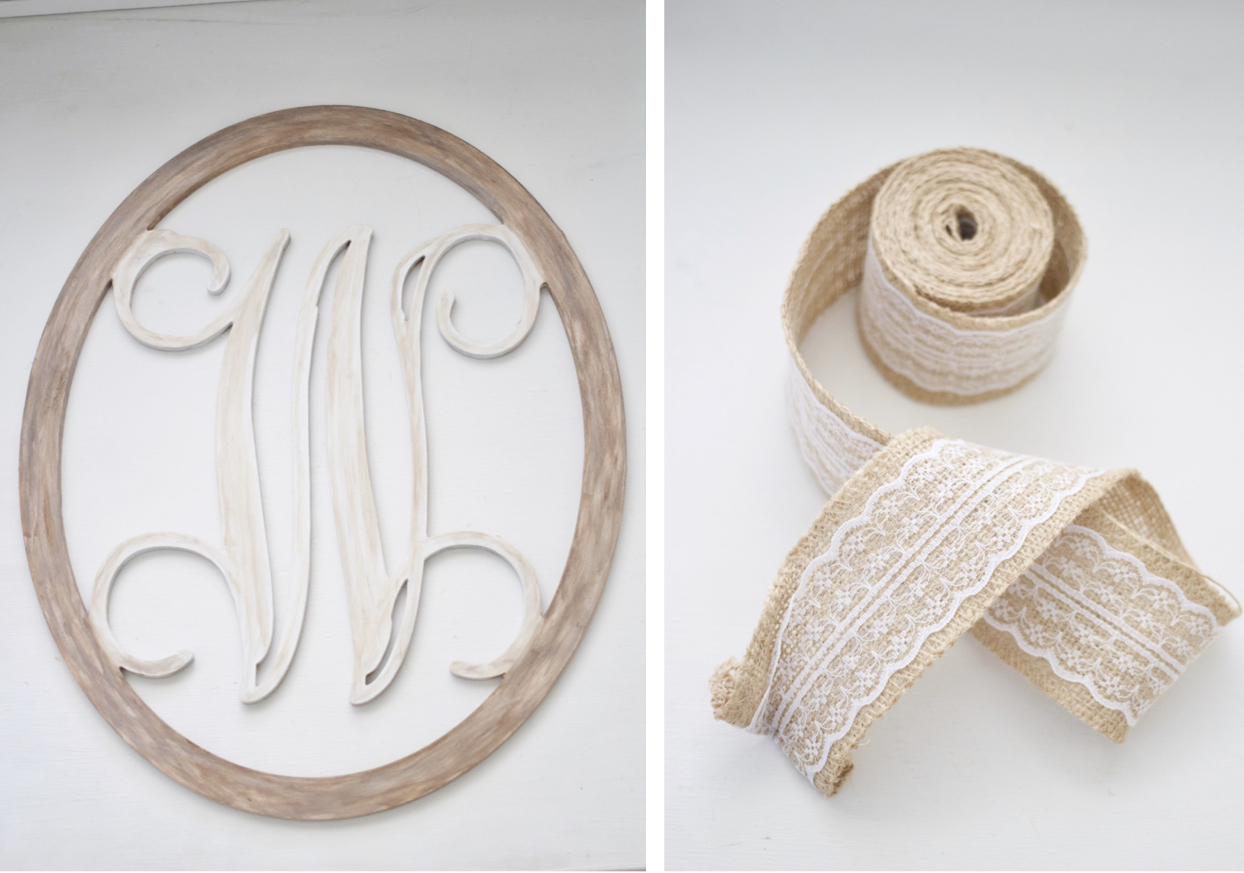
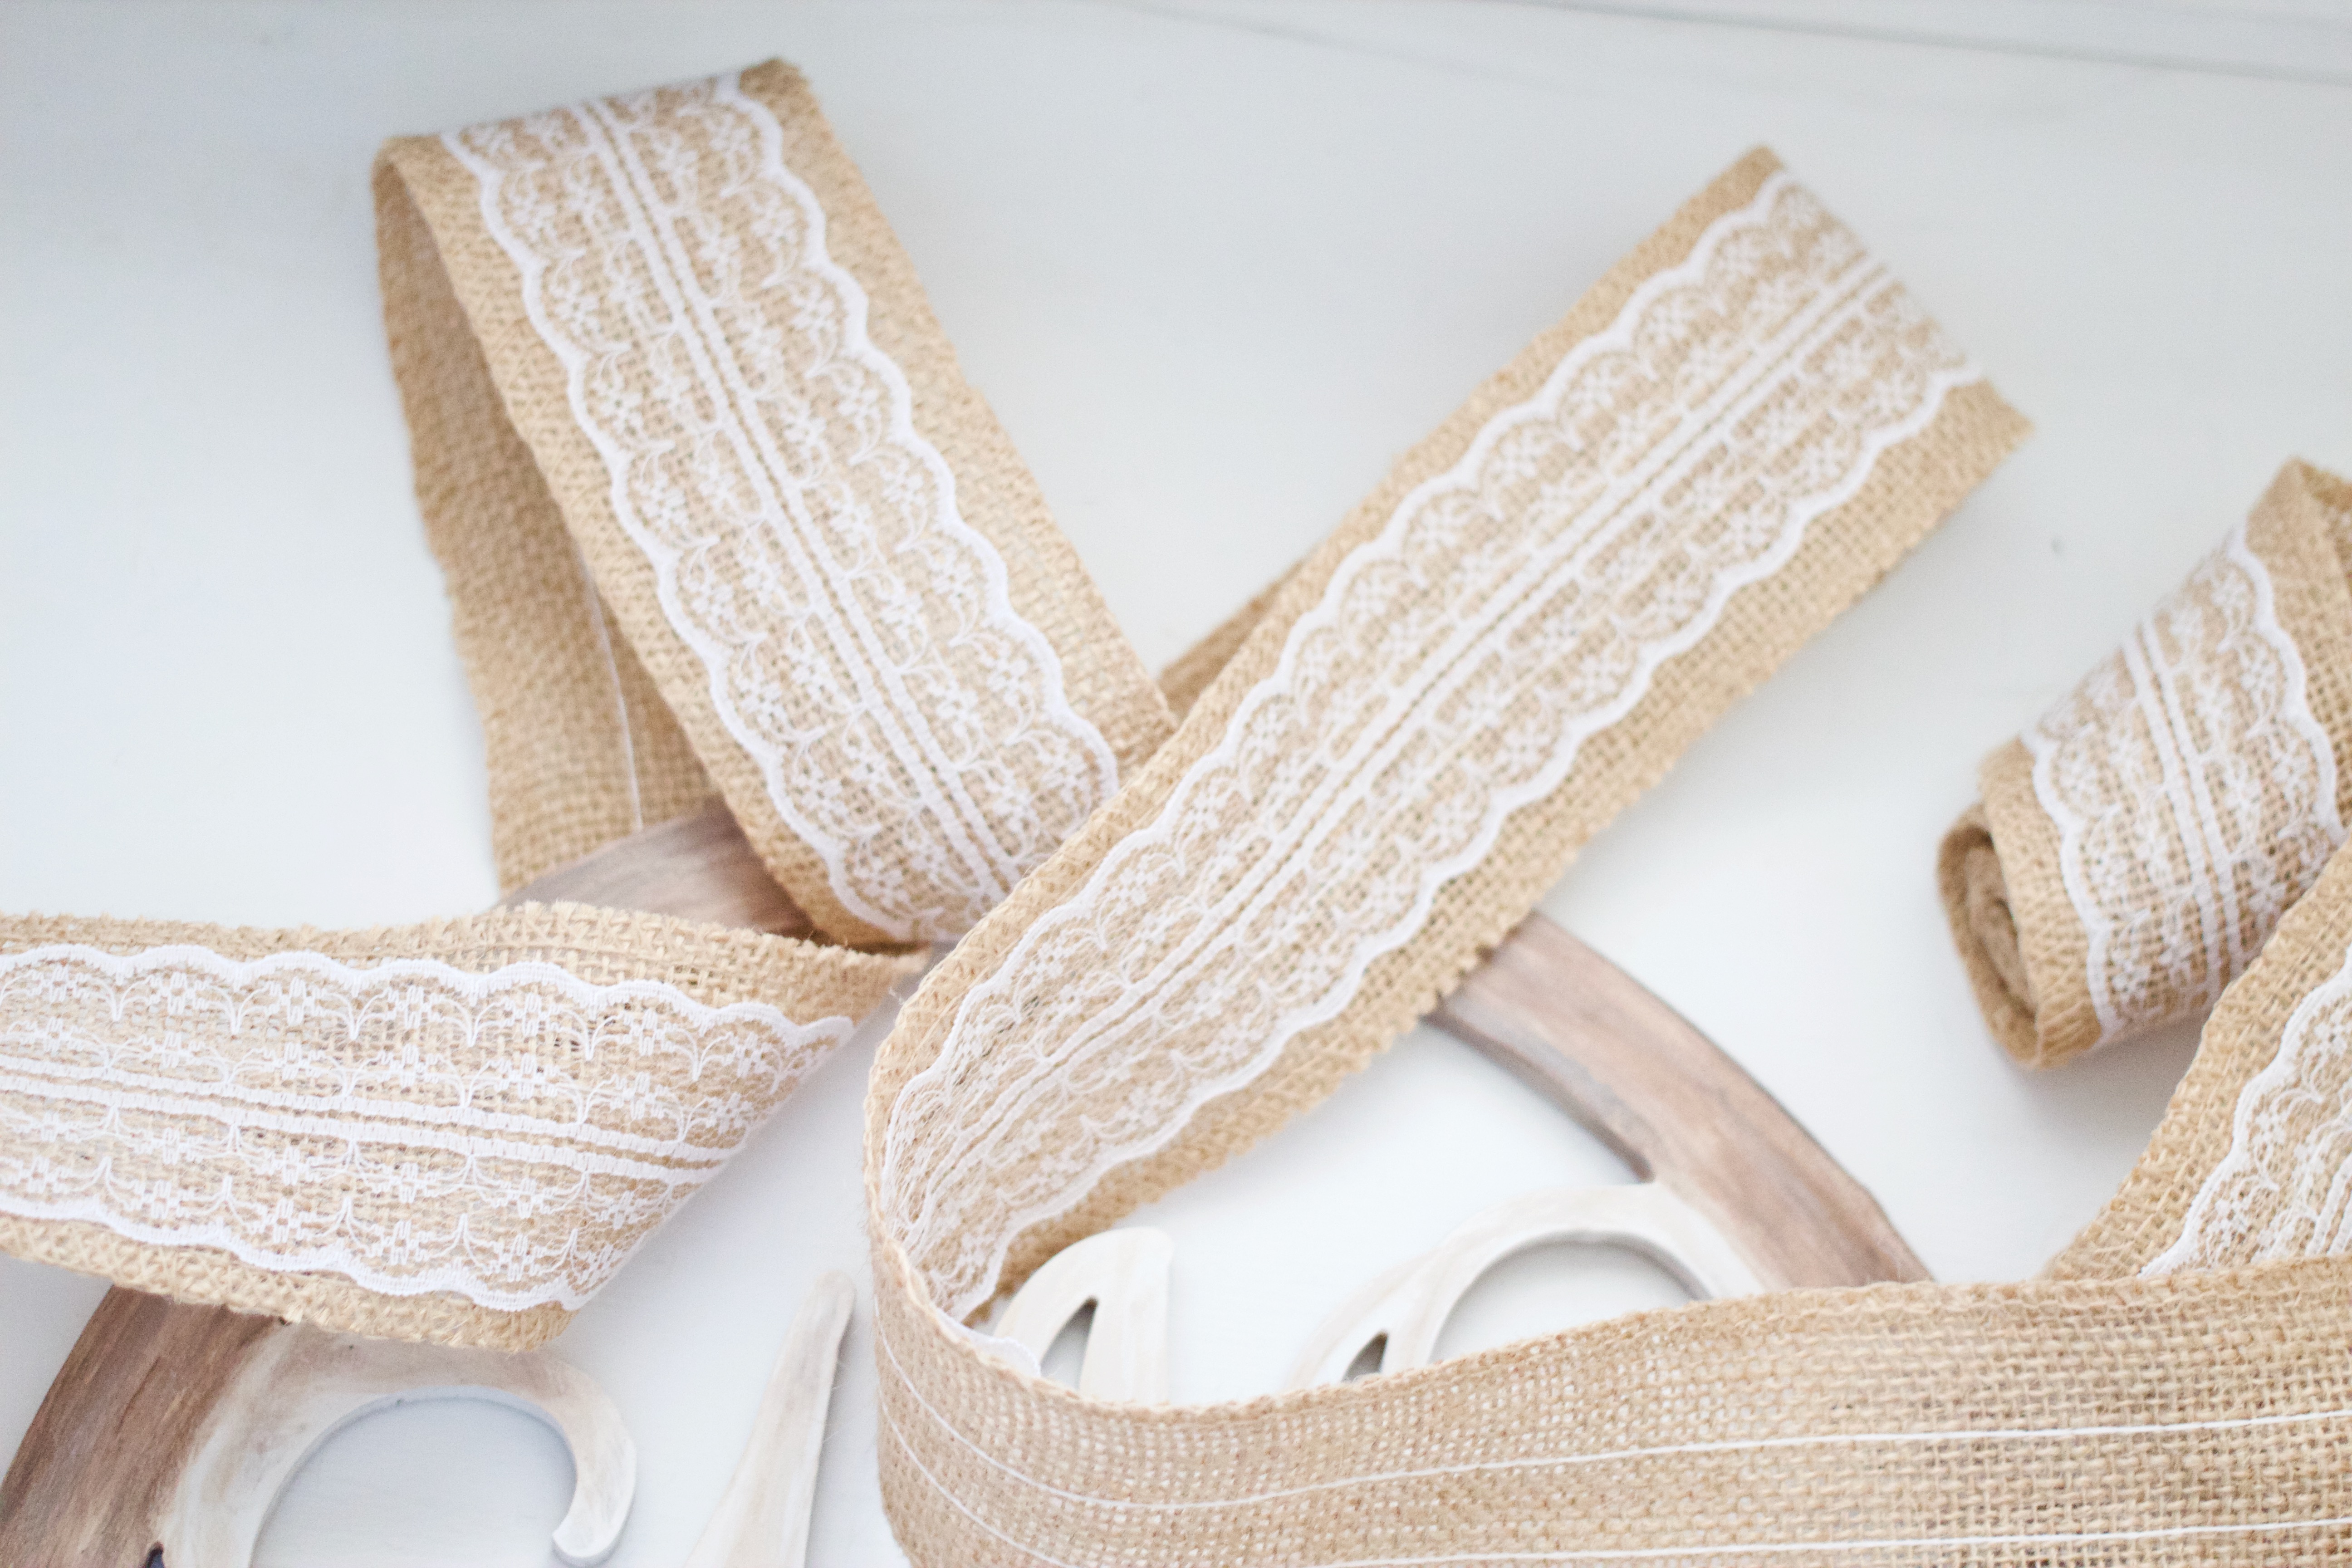
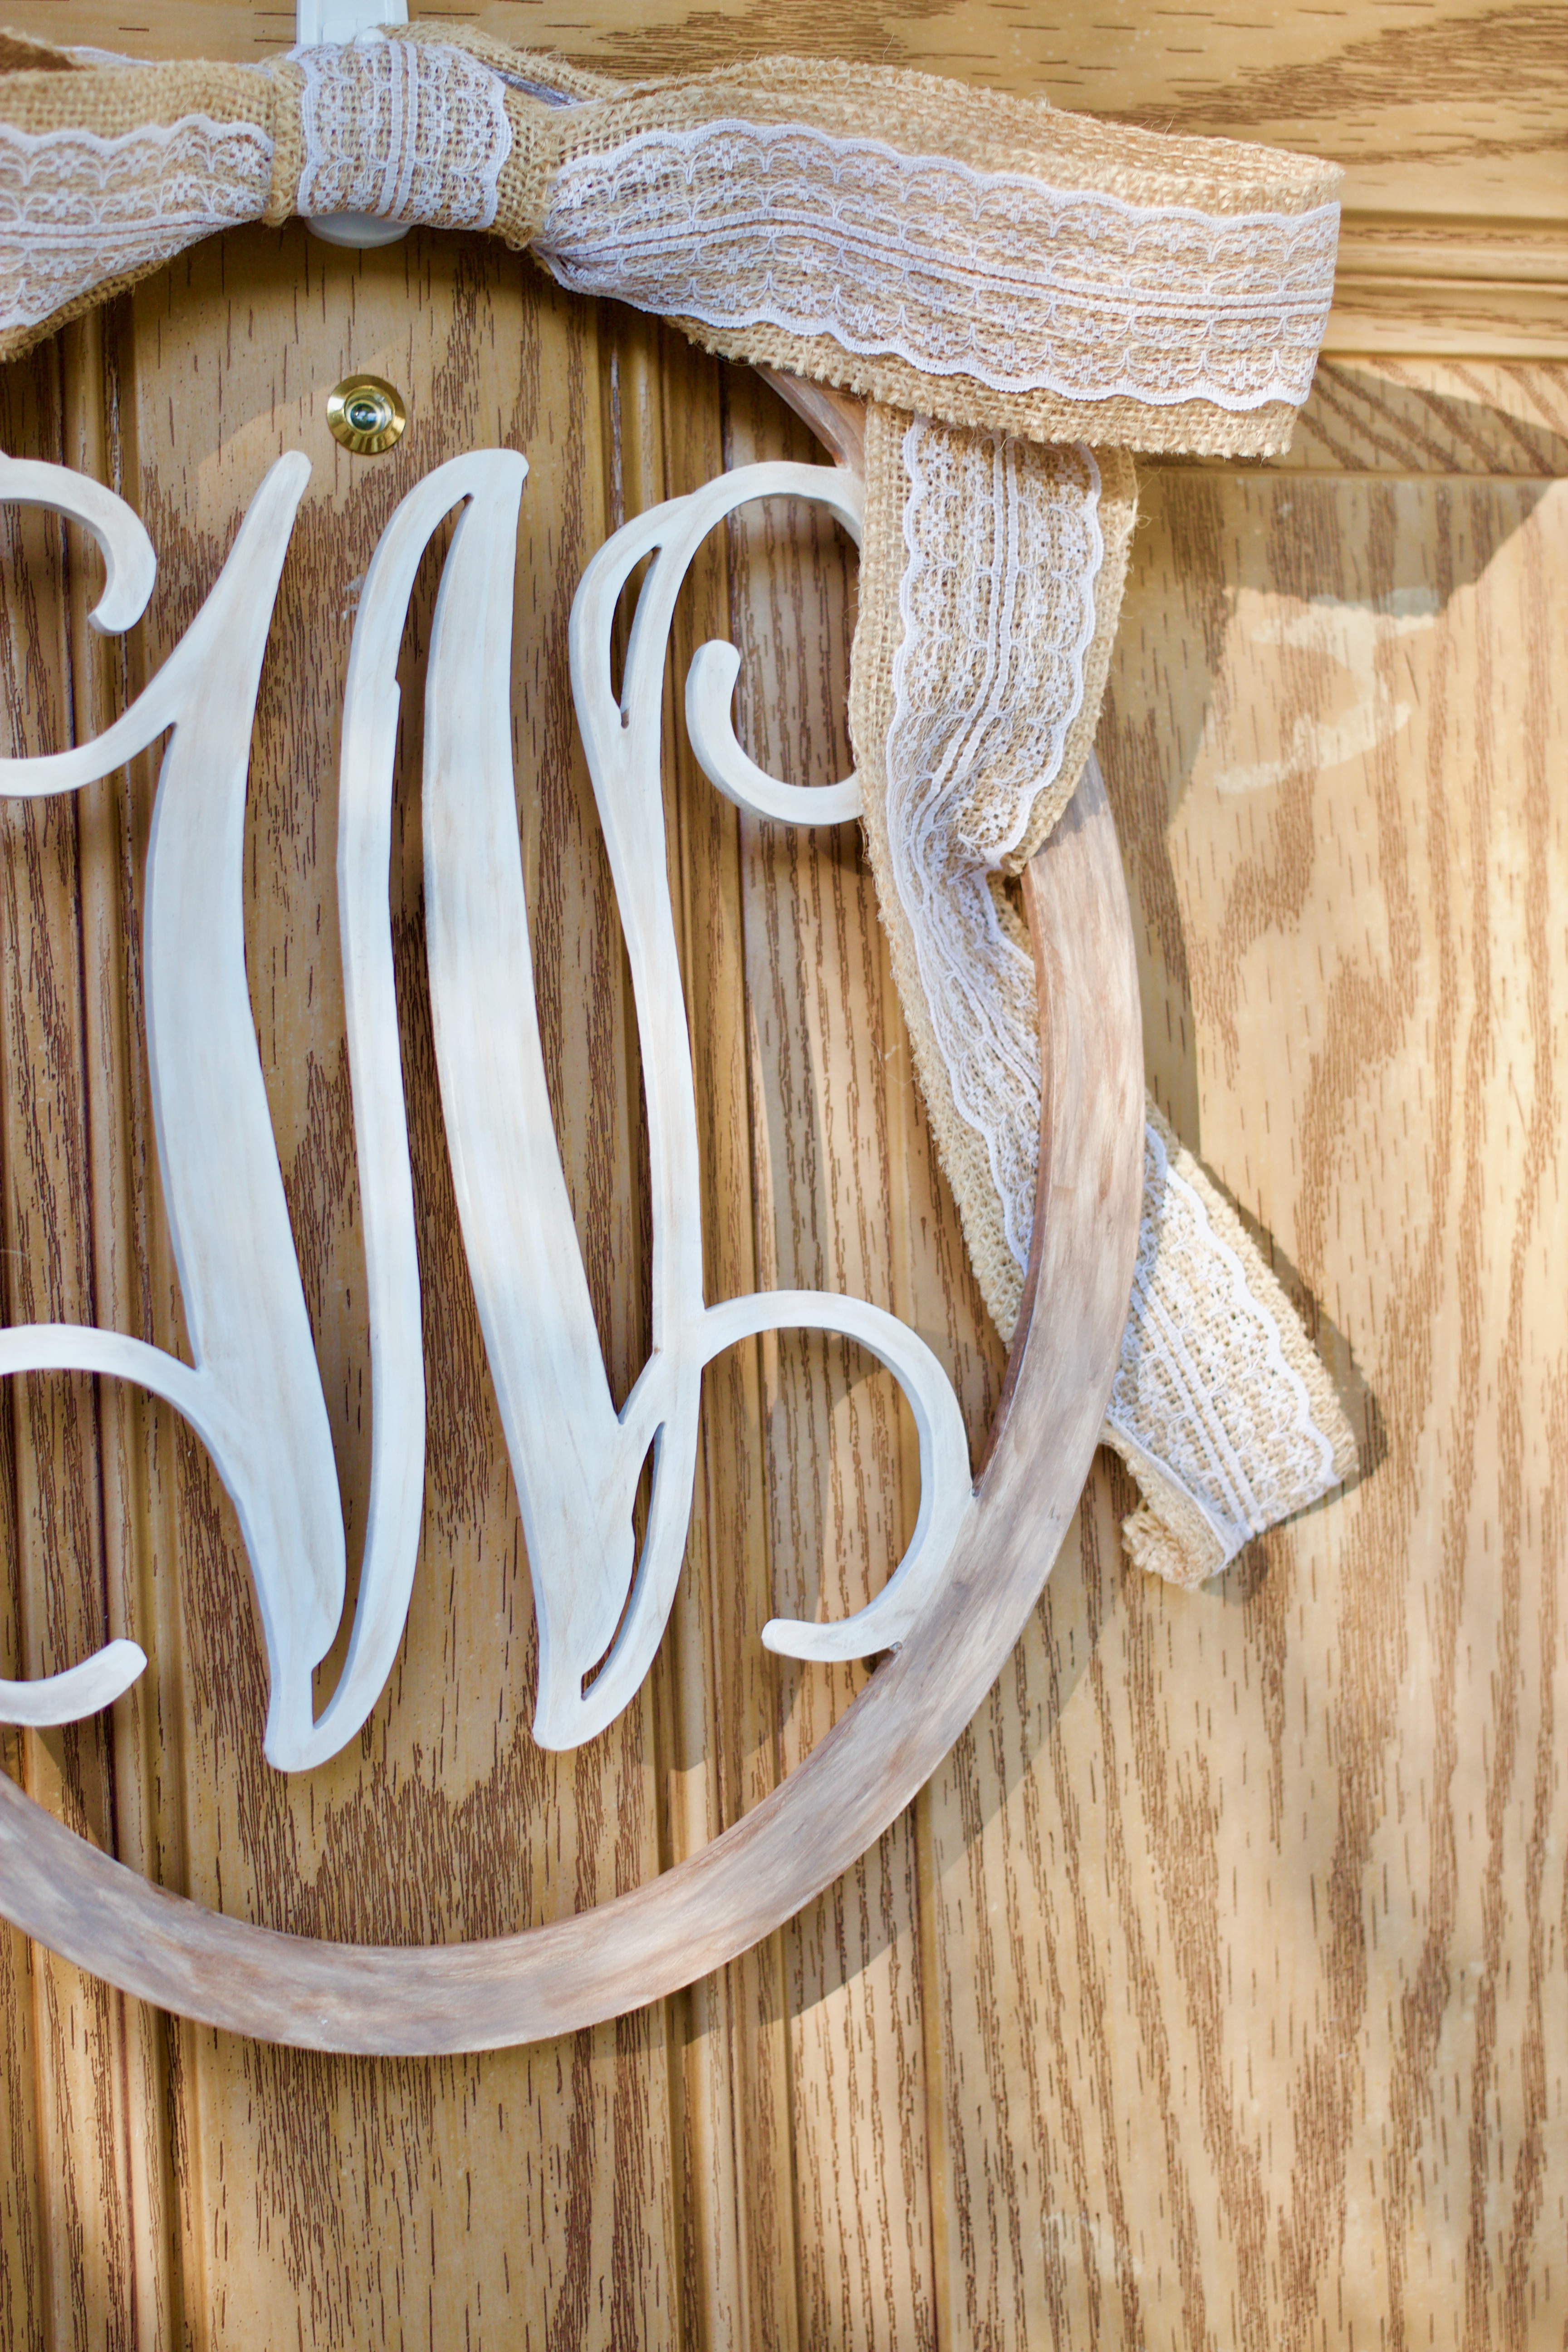
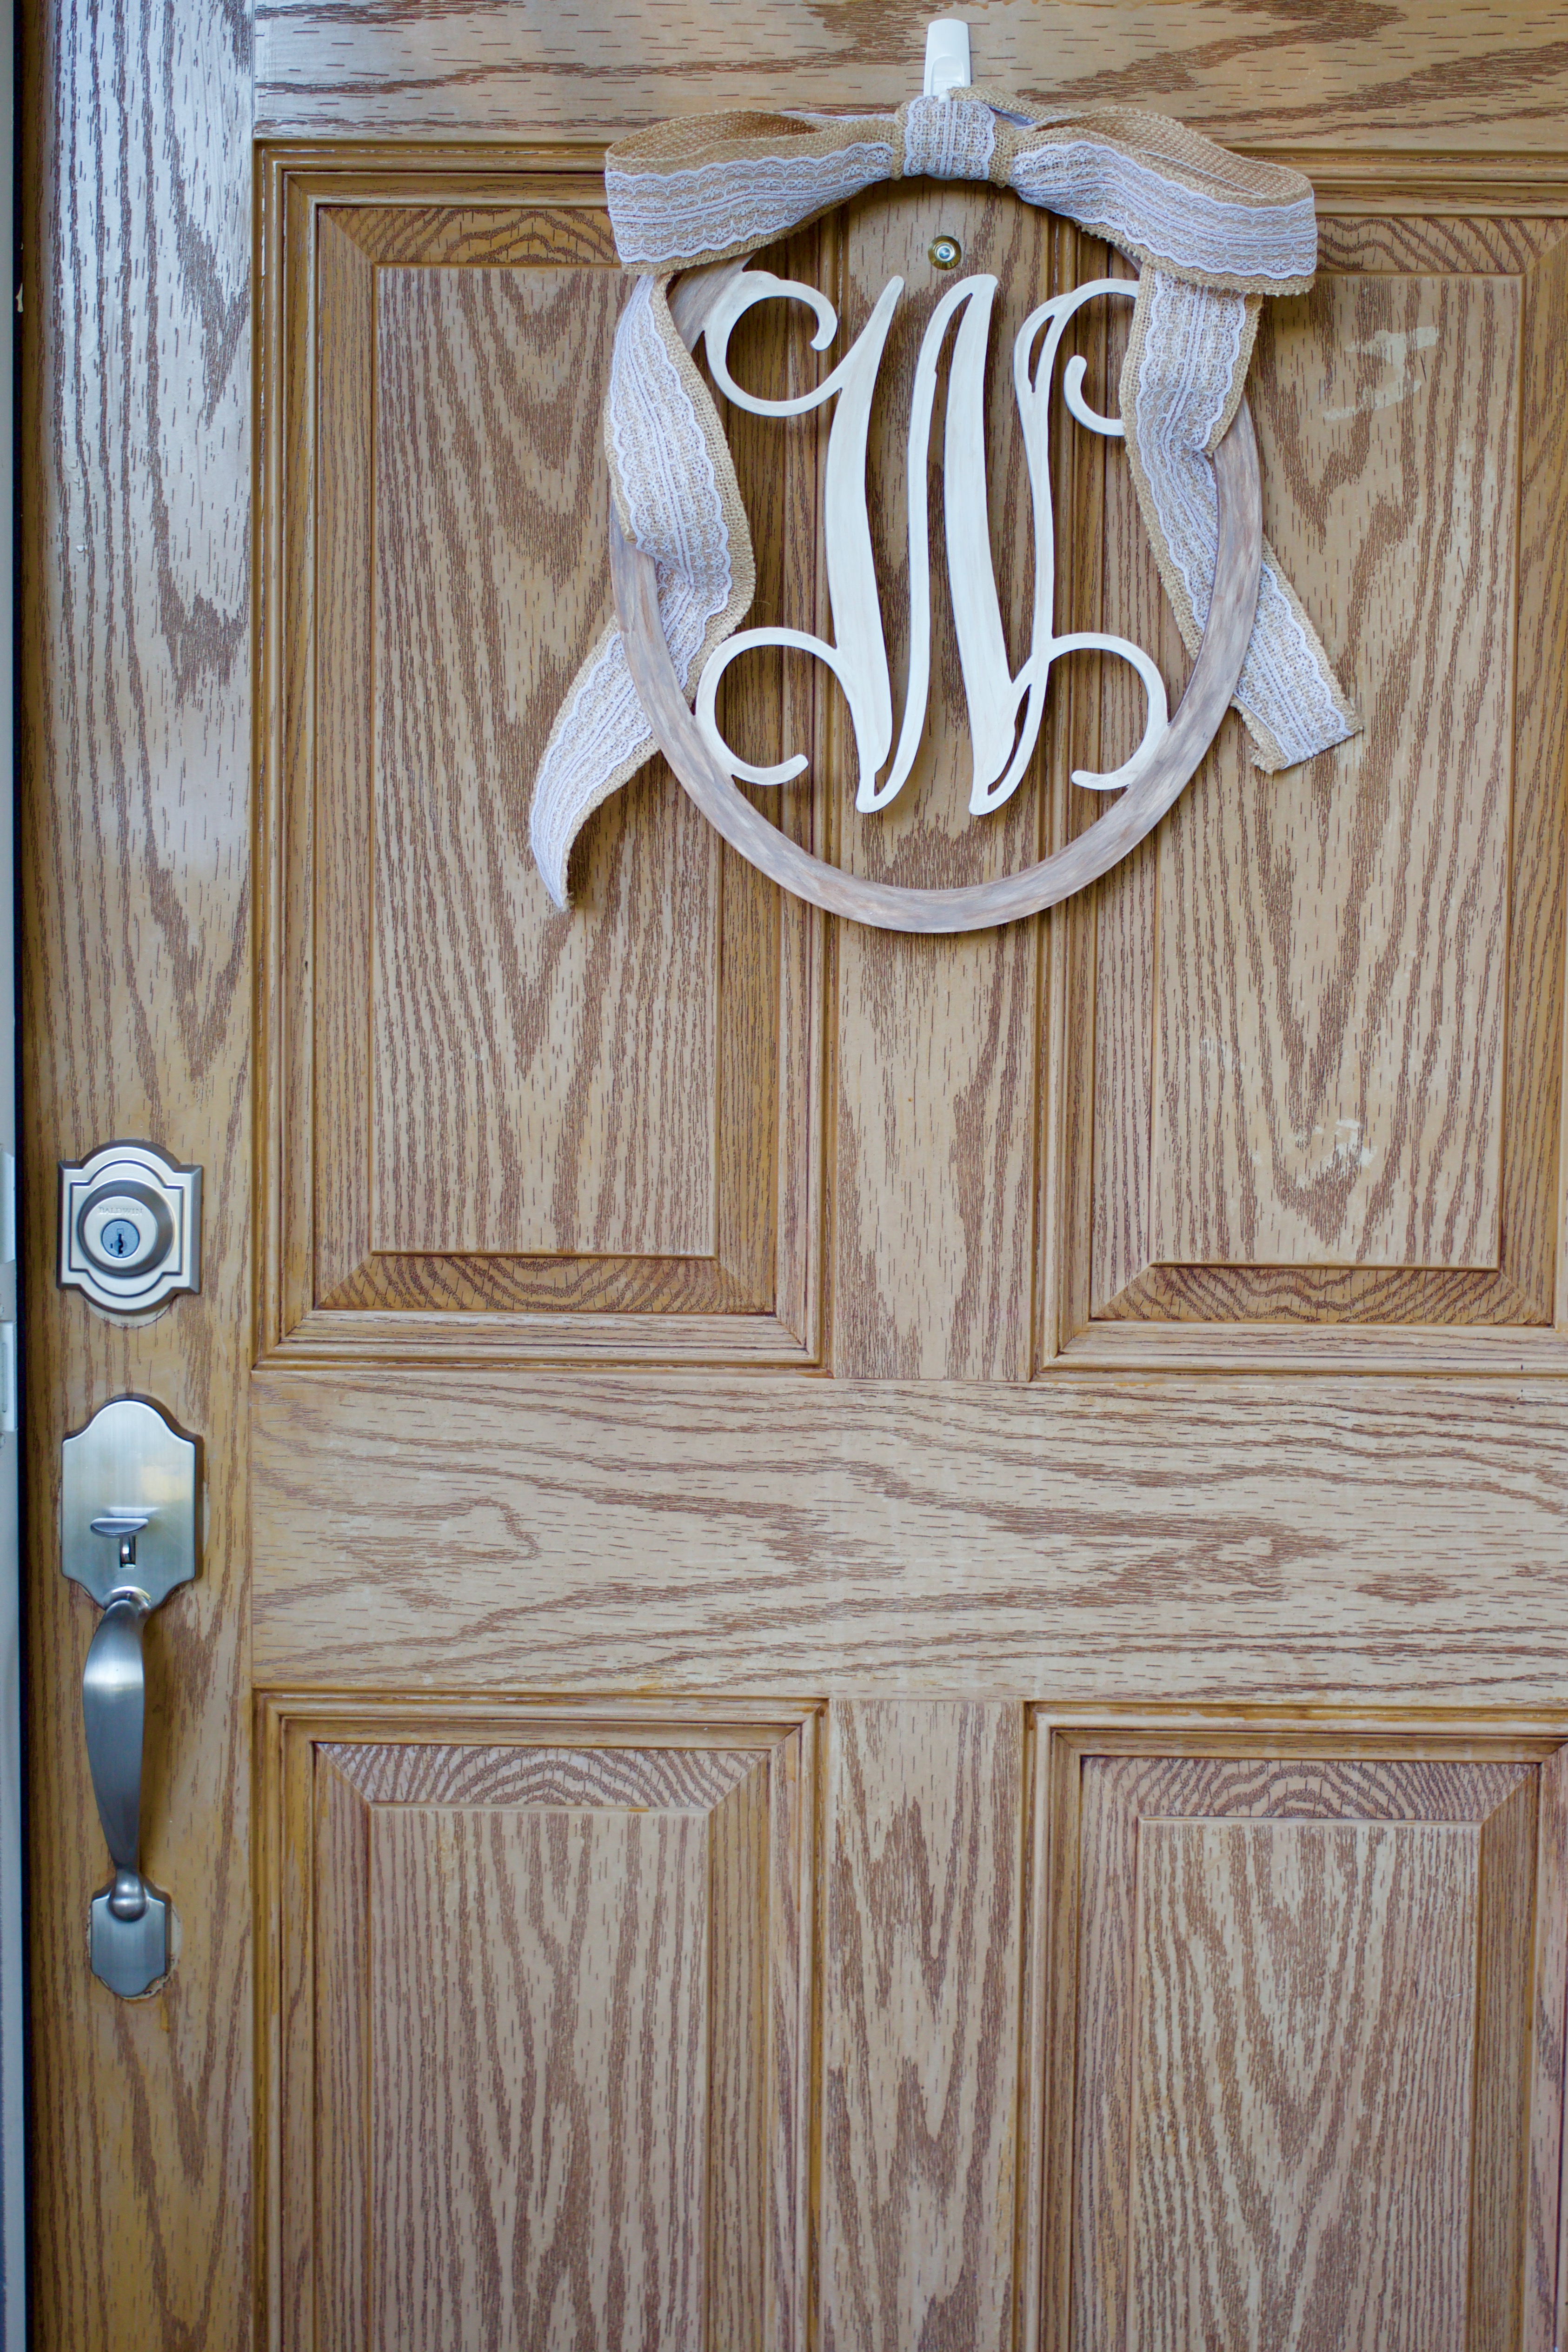
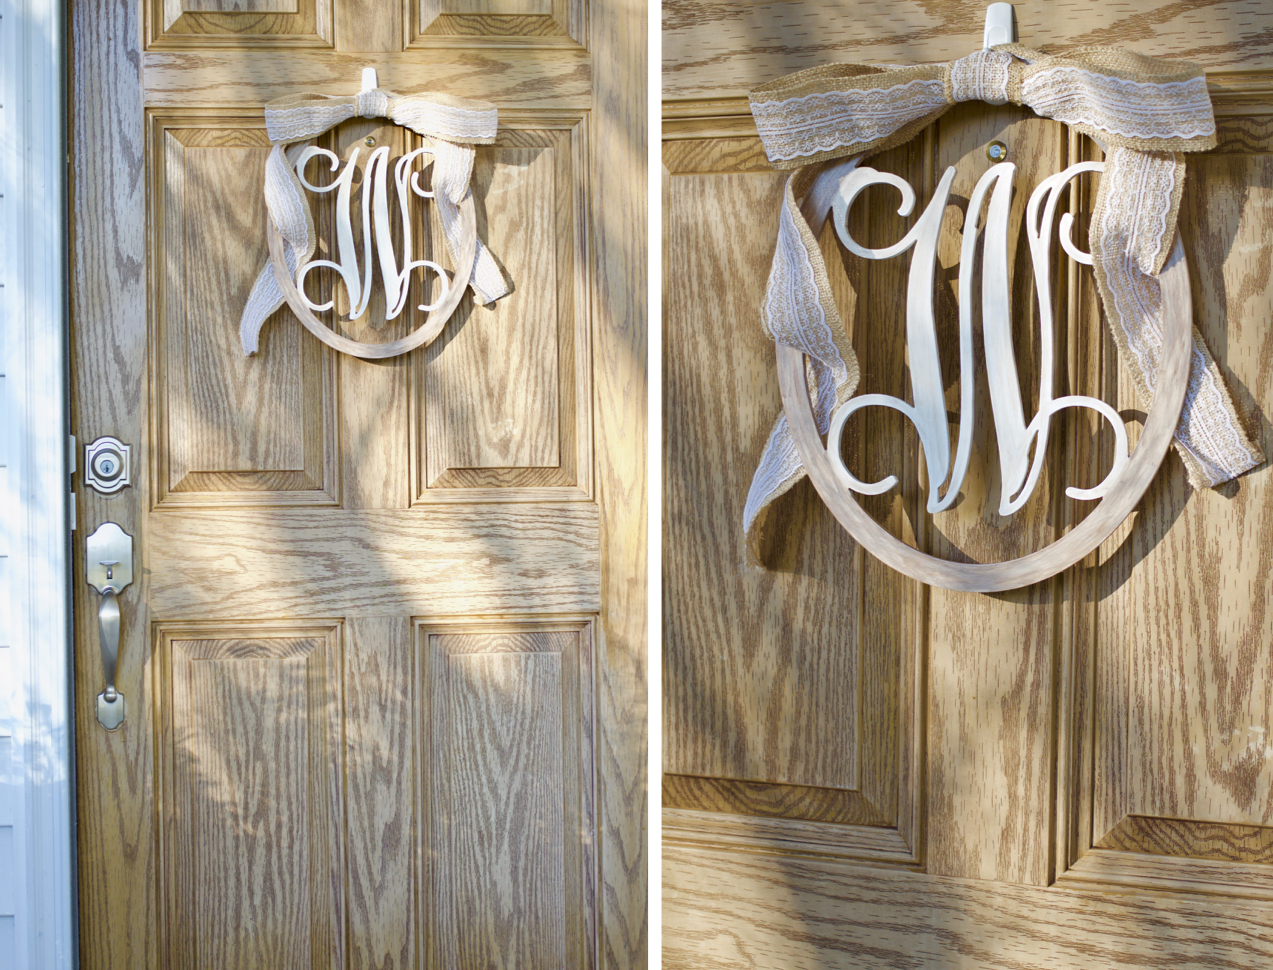
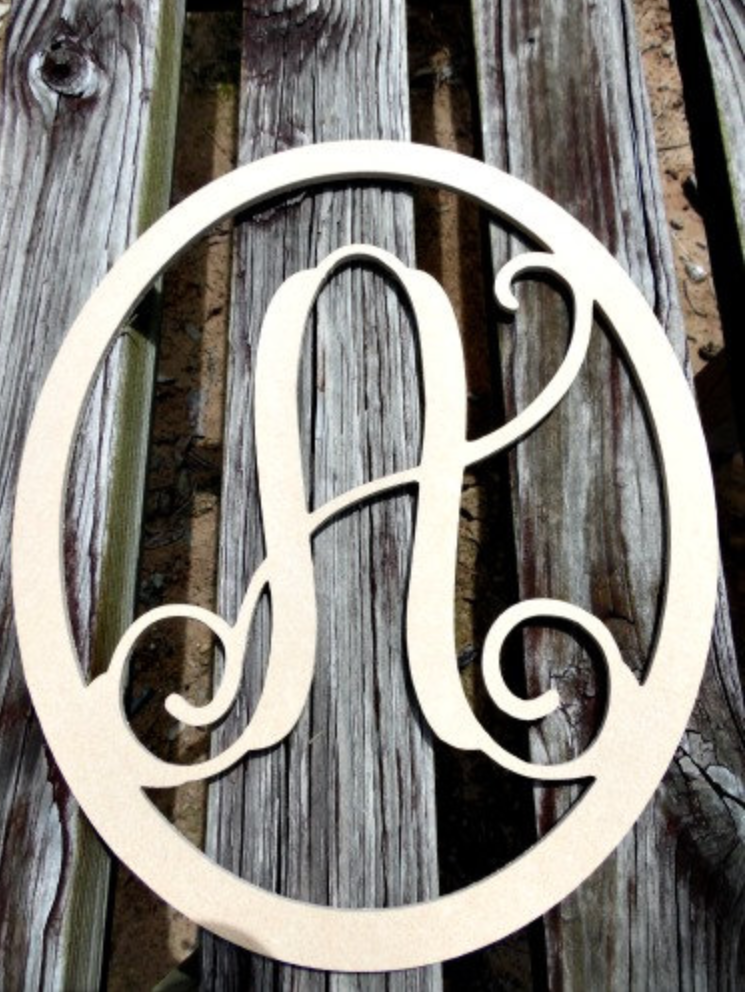
Easy DIY Wreath Post with Details Included

dreamy coastal decor

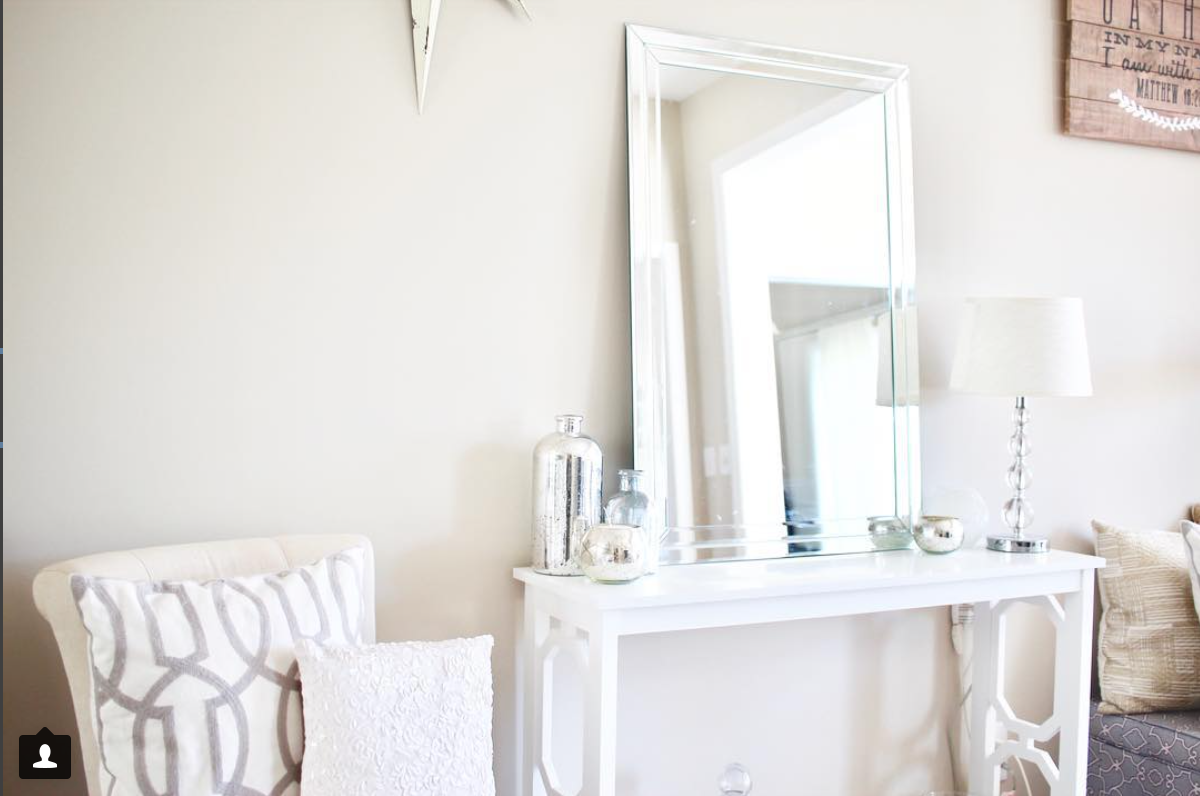
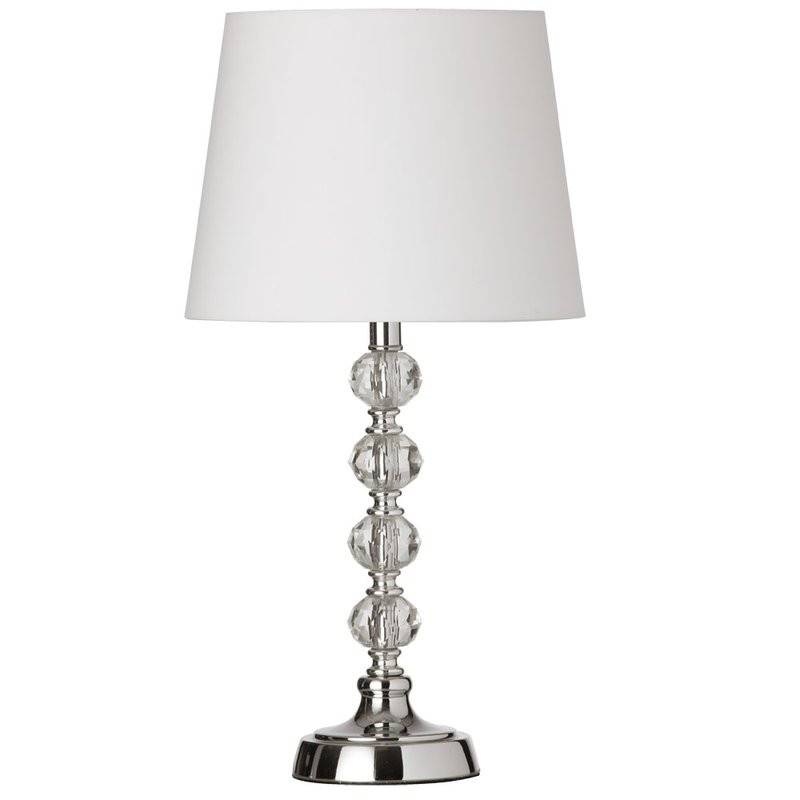
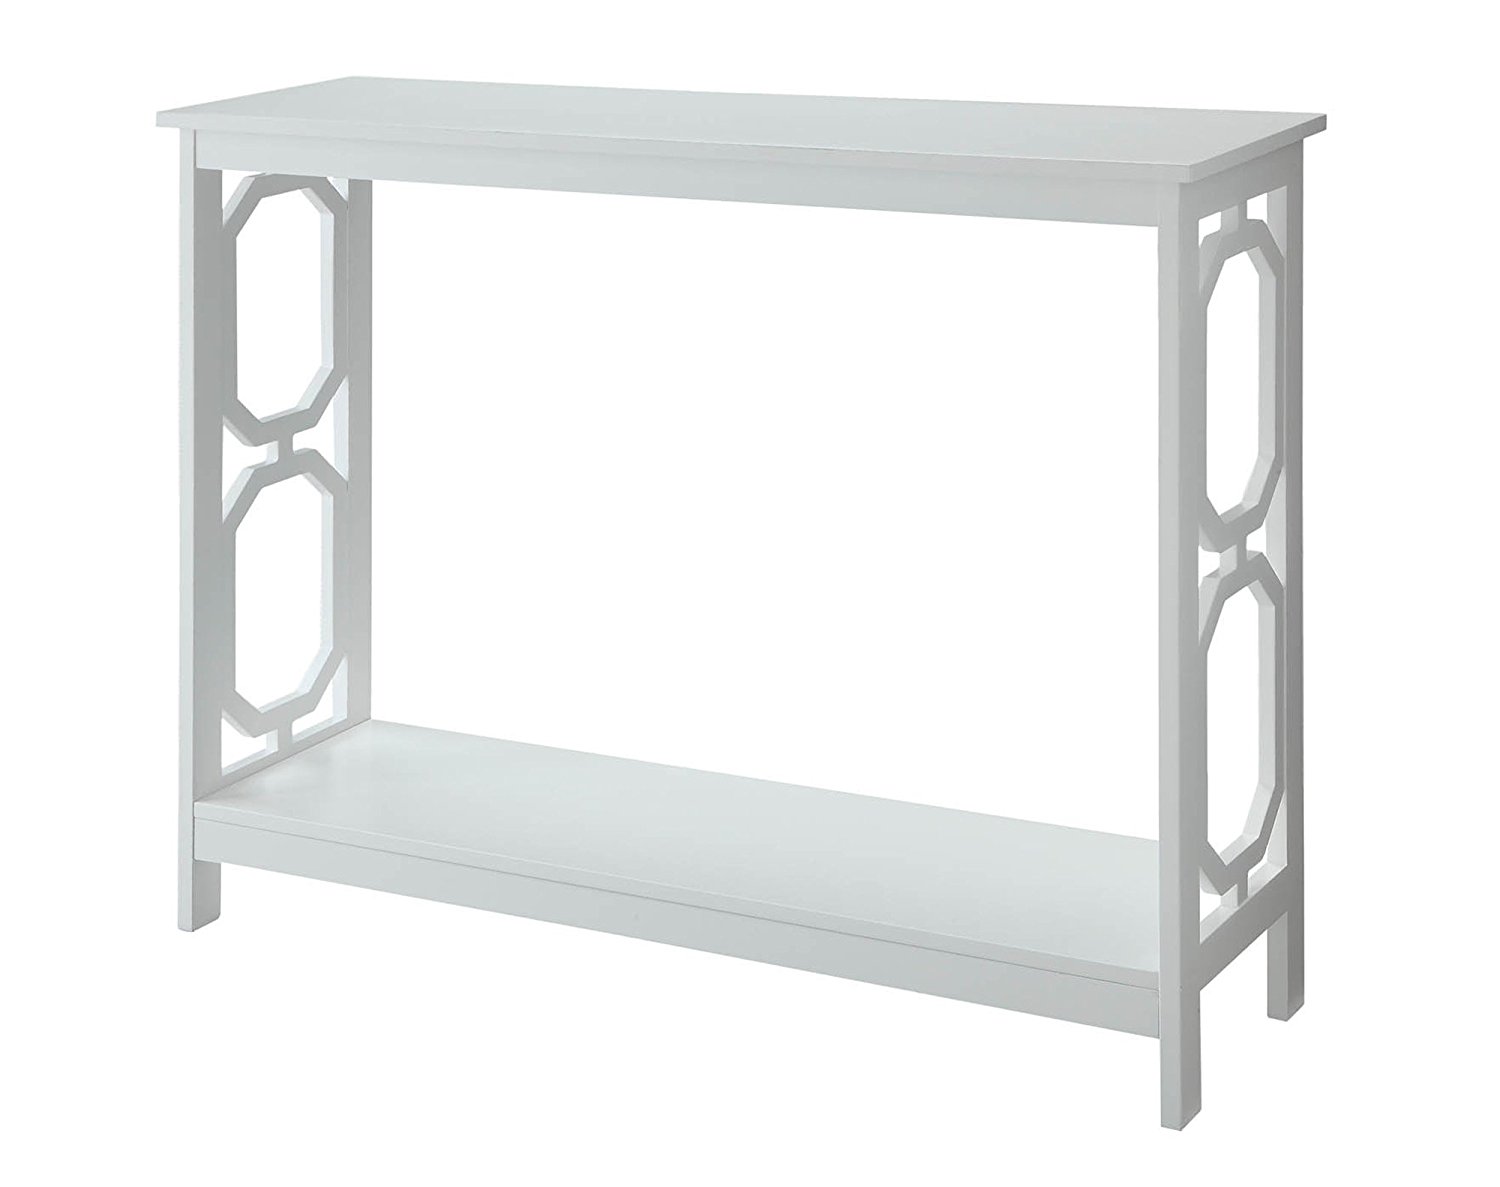
Linen Chair || Omega Console Table || Leaning Mirror || Mercury Candle Holder || Crystal Lamp

tufted dining chairs living room

Chrome Globe Chandelier || Sheer Drapes

neutral simple winter mantel

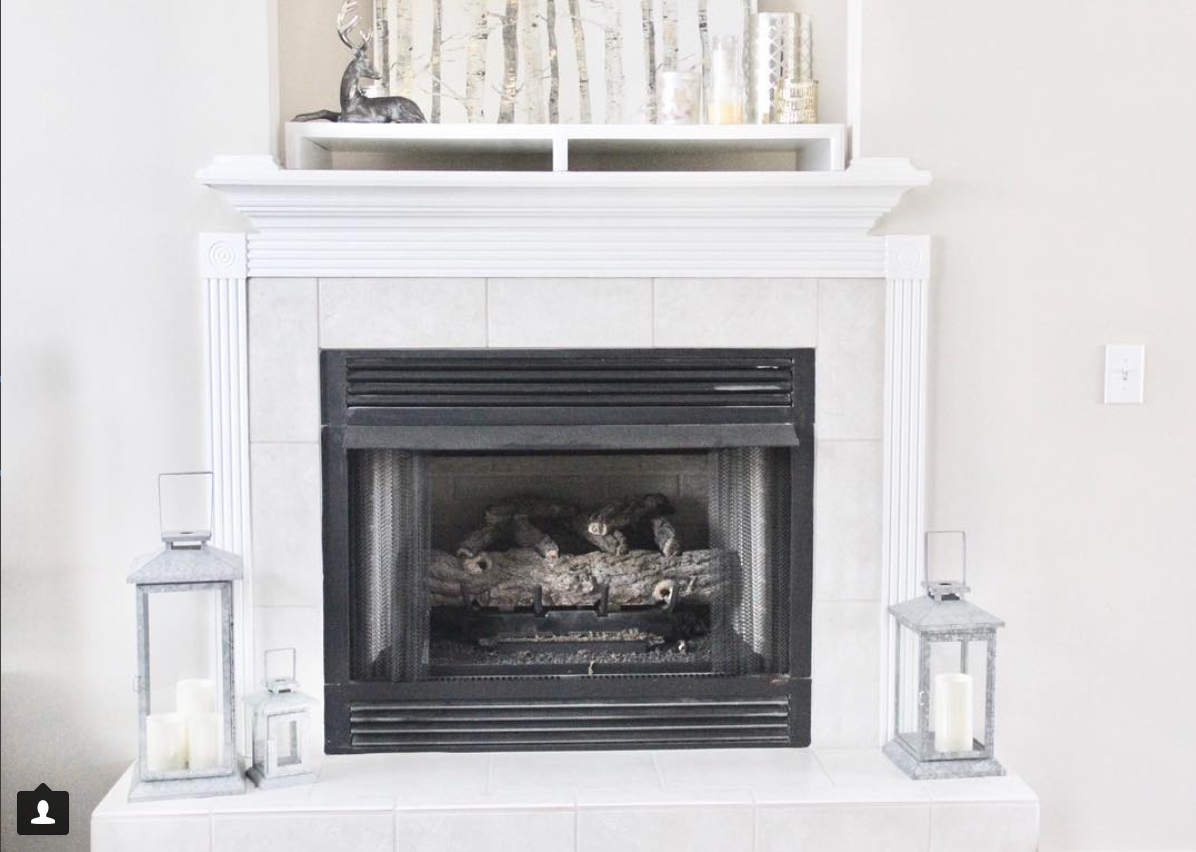
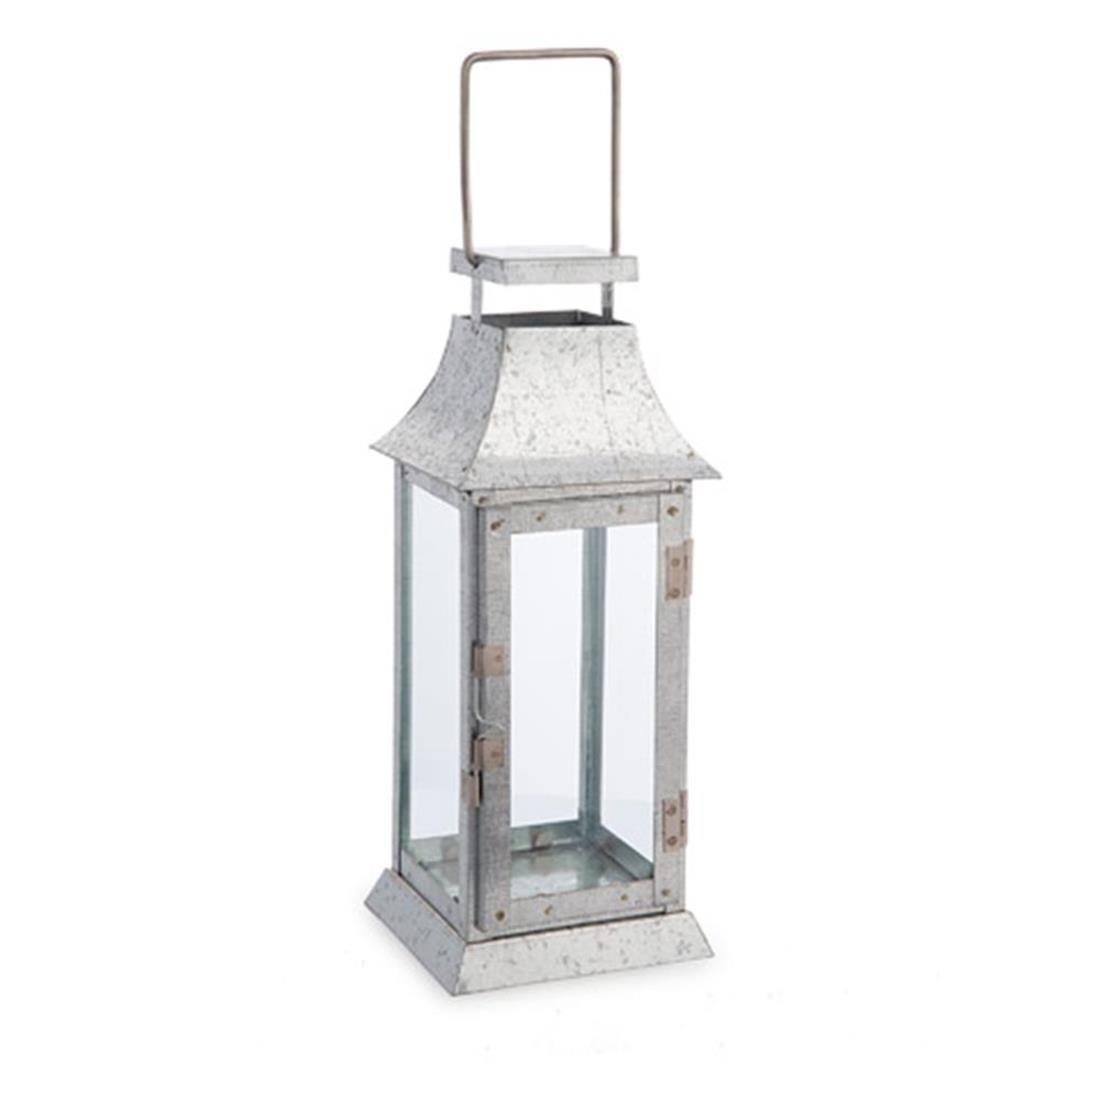
Galvanized Lanterns || Flameless LED Candles 

white and gold winter decor

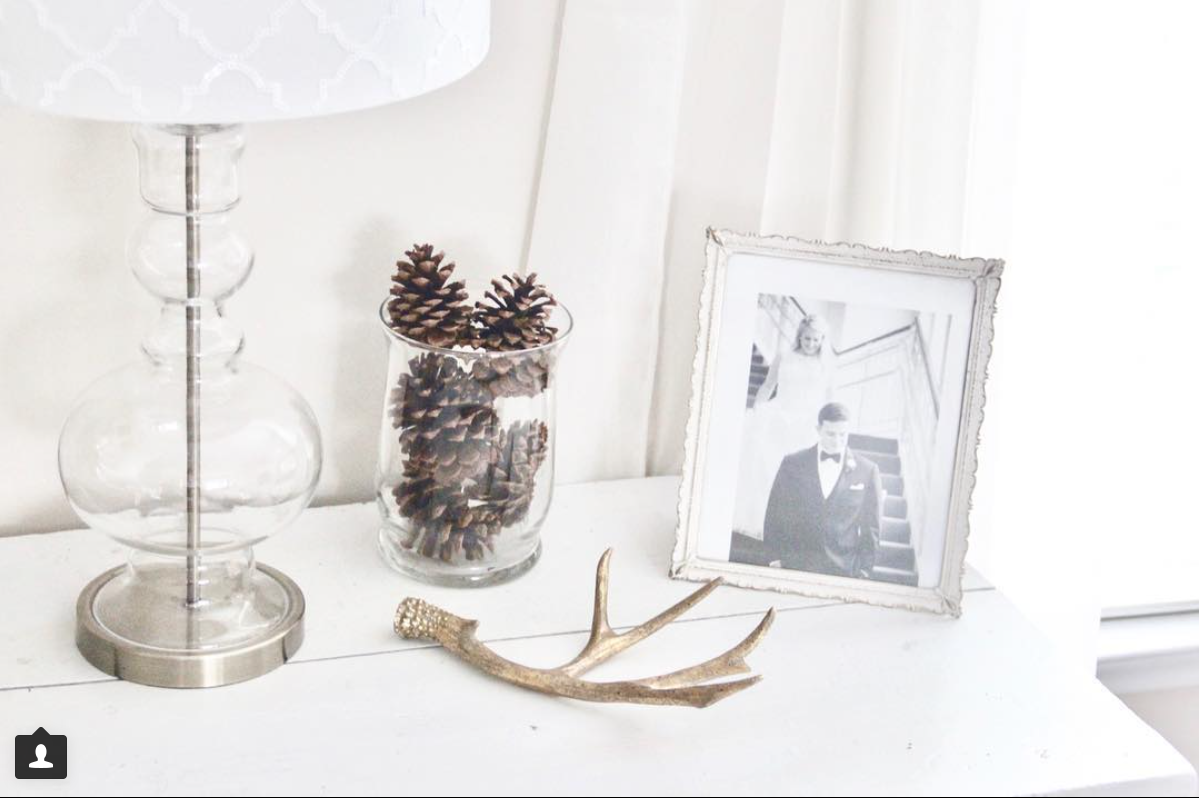
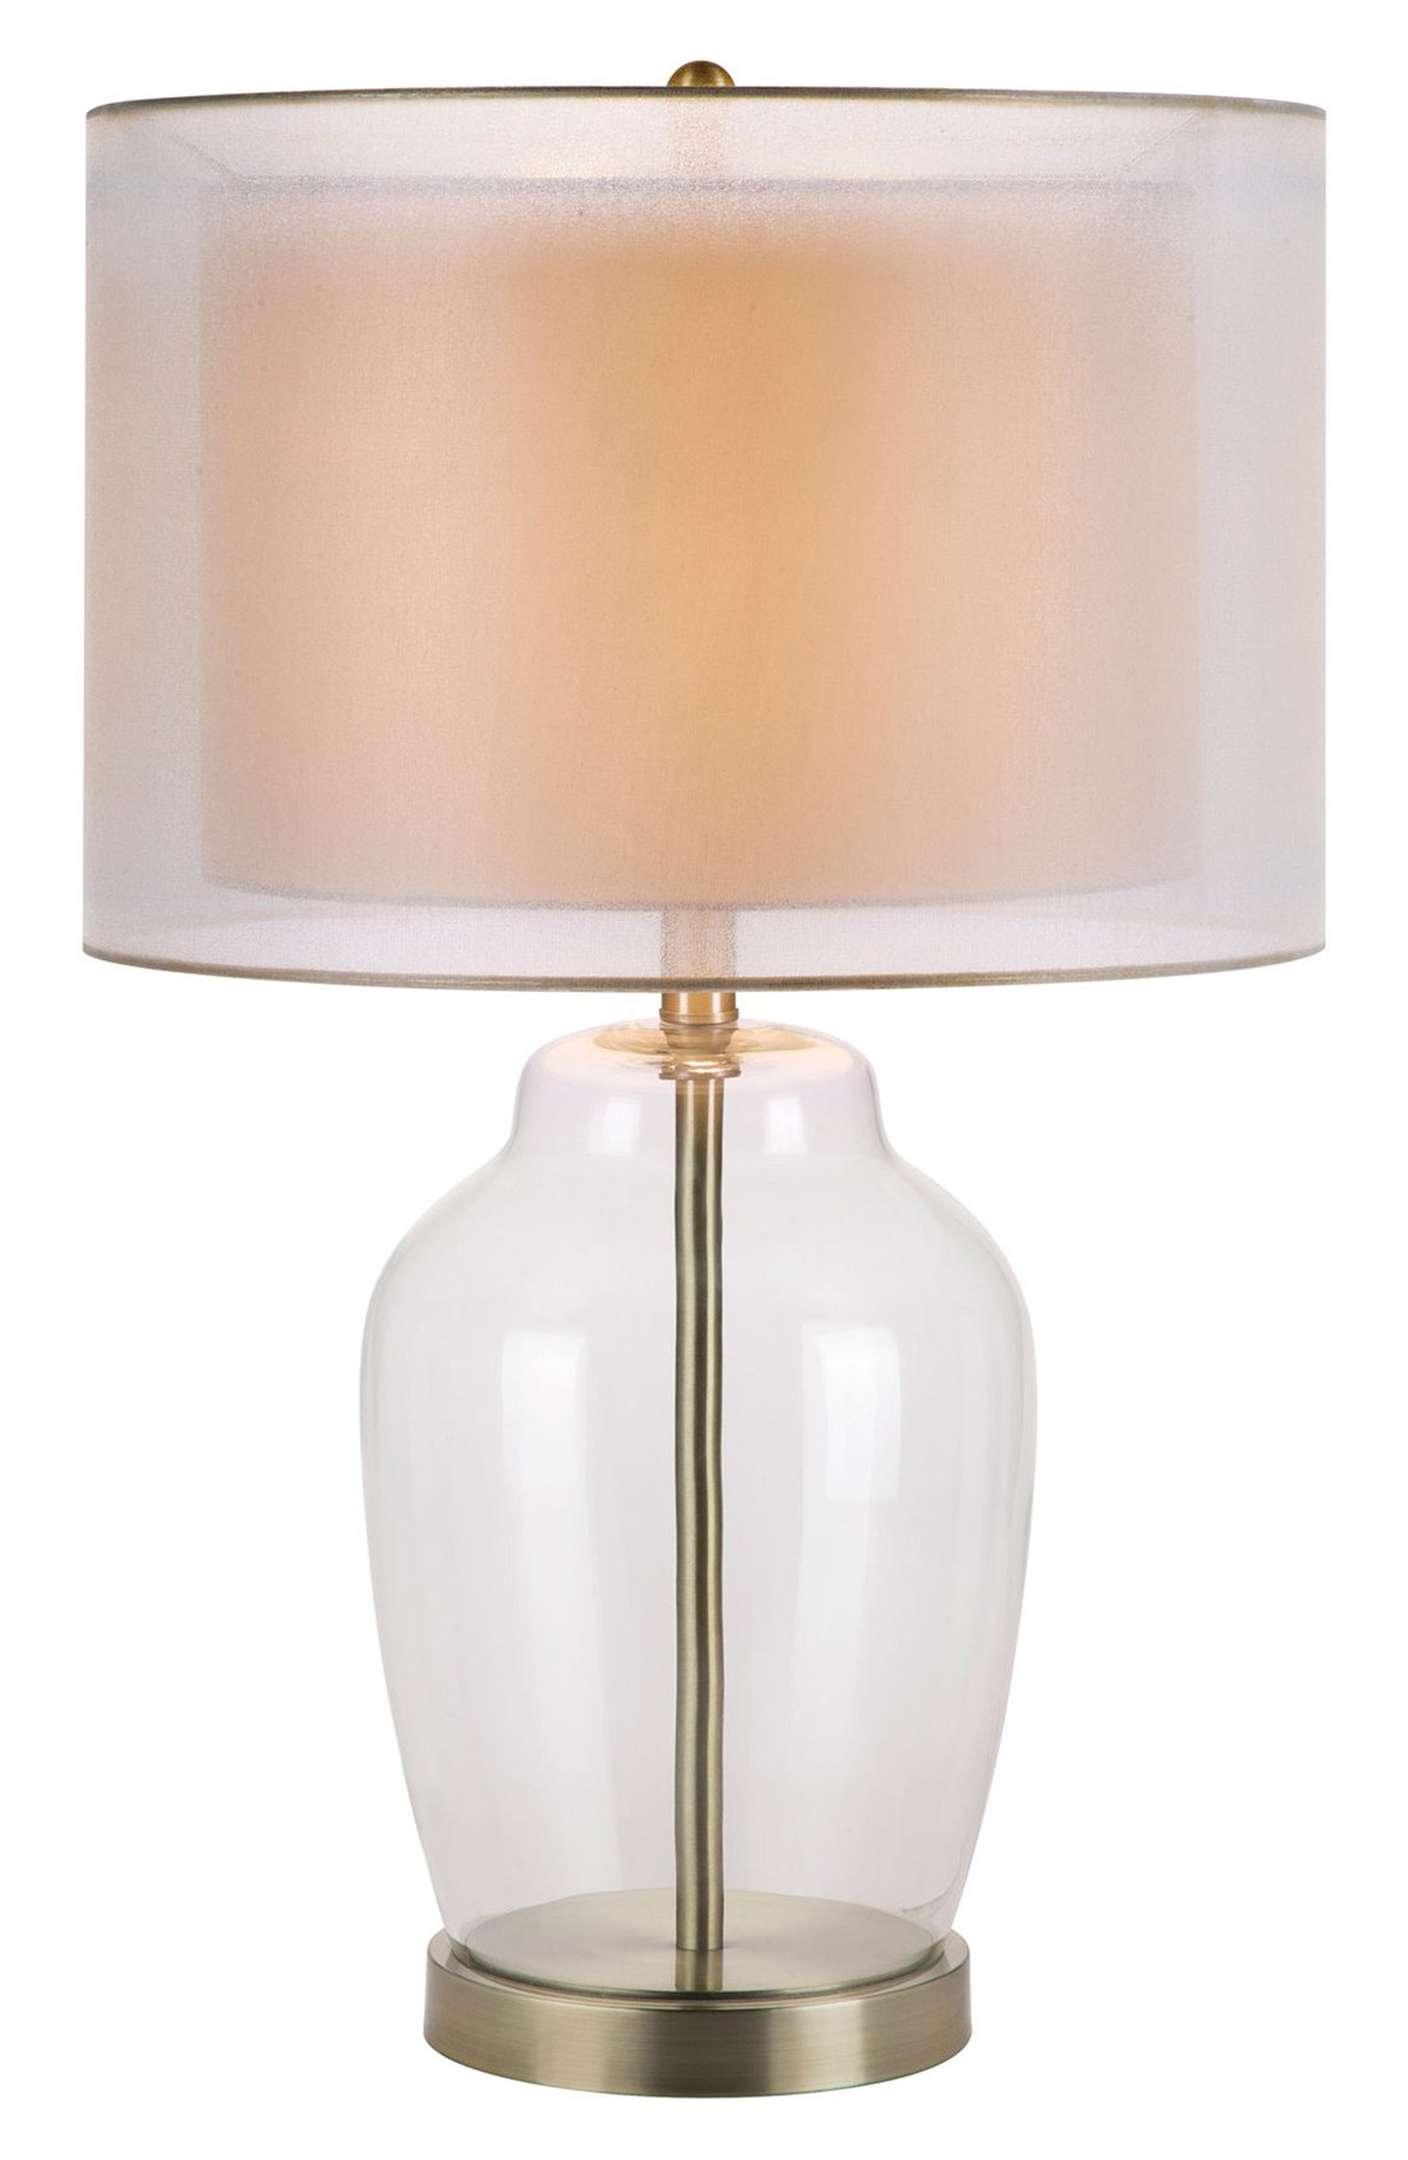
Glass & Gold Lamp || Antler Accent Piece

chic organized home office

Marble & Gold Tray || Vanille Candle || Gold Essential Oil Diffuser

neutral transitional home decor

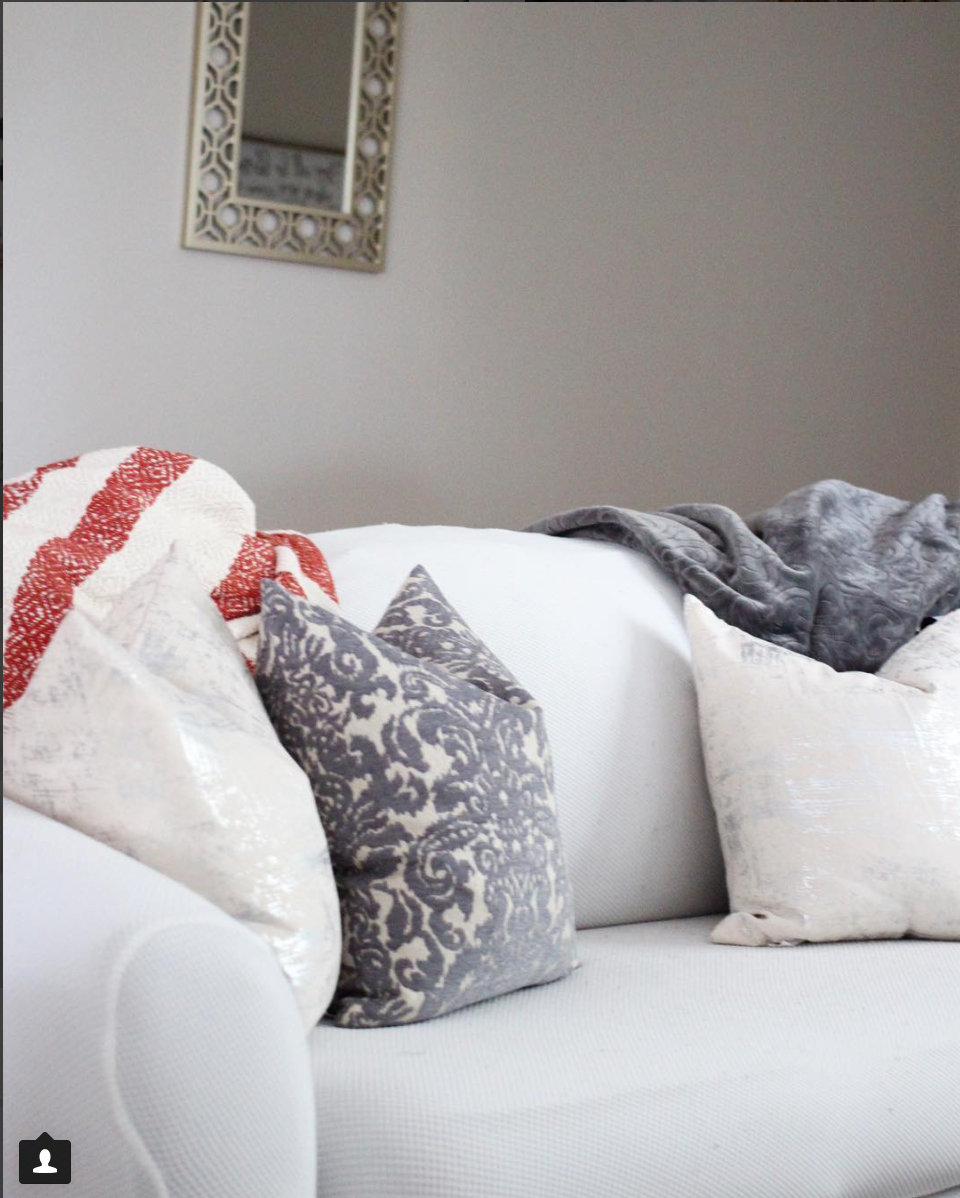
White Couch Cover || Wall Mirror || Gray Throw Pillow
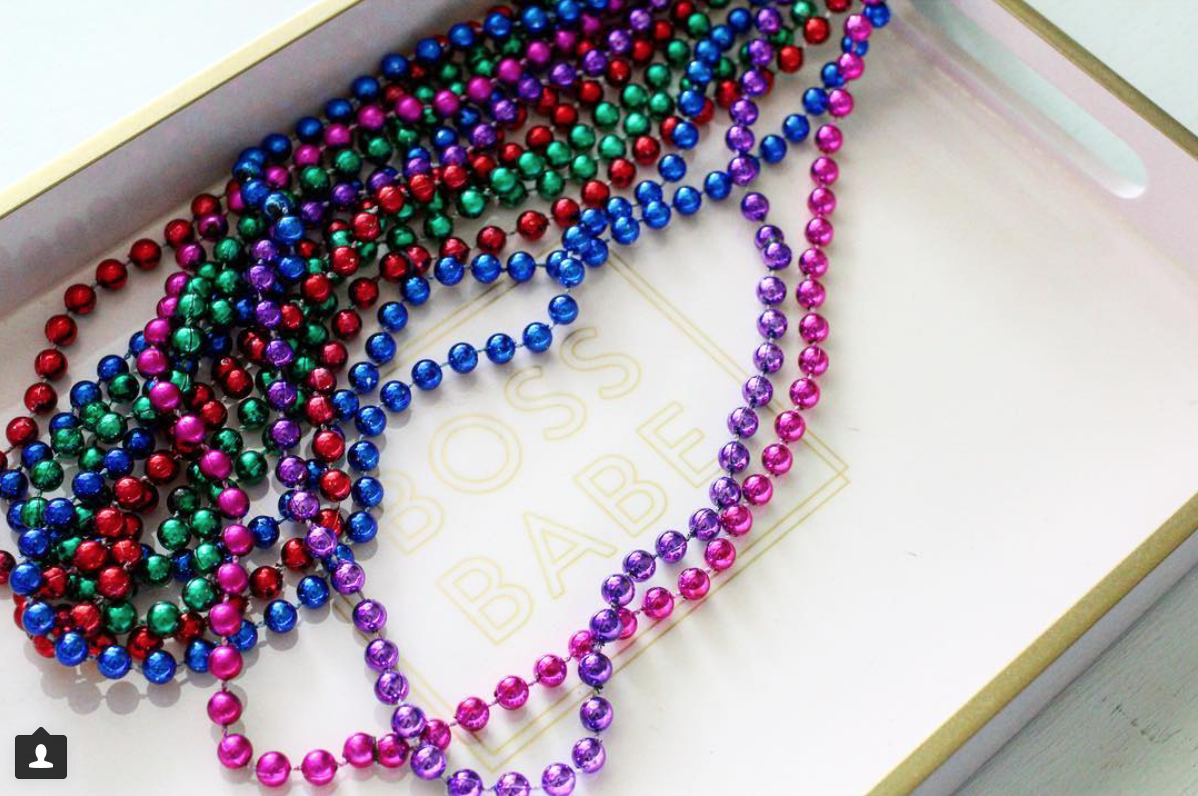
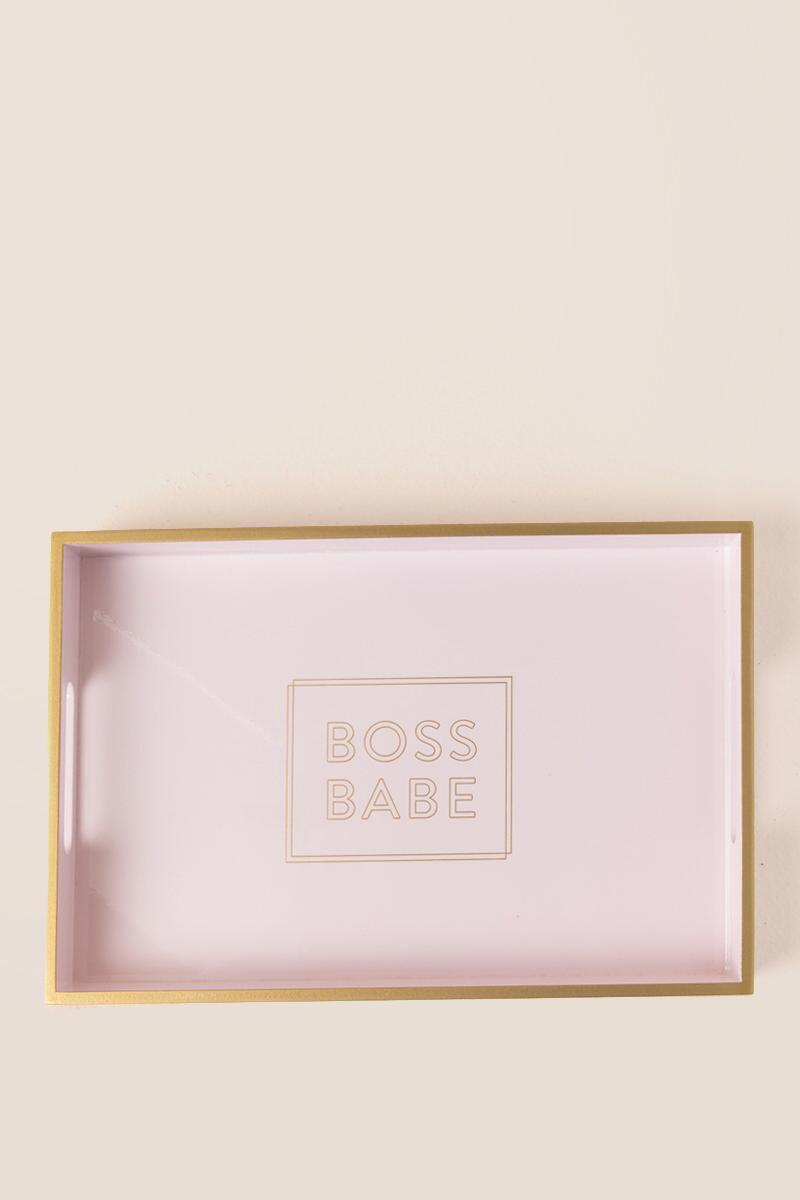
boss babe tray

 ||Boss Babe Tray ||

It’s been an extra hot minute since I last shared an Instagram roundup post! In attempting to get things a bit more organized on the site, I am going to try, from now on, to theme these as much as possible – hence today’s “home” roundup. I focused primarily on the insta’s that were most asked about and didn’t include every home decor image I’ve shared in the last few months, so if you have any questions about something I missed – feel free to comment below or shoot me an email! Also – for any item that did not have an original link available, I searched for and included the closest alternative/duplicate I could find 🙂

The top three most asked about items are the: (1) Boss Babe Tray; (2) Tufted Desk Chair; and (3) Diamond Pen Set. I found the Boss Babe tray randomly and just love it for the obvious reasons (hehe it pairs really well with the “Girls Just Wanna Be CEO” trinket dish!) but also for its usefulness! It is such a nice in-between size, so it’s perfect for a number of different purposes. The second most asked about, my desk chair, is ideal for anyone who has to spend a lot of time on a computer. Y’all, I searched high and low for this little number, and after almost a year of many long & continuous hours of use, I am still so so pleased with it. Lastly and most hilariously, the Diamond Pen Set is the third most asked about item from my Instagram. These pens are super fun and surprisingly heavy, so they feel a lot more substantial than I expected – plus they do actually write very well. I will definitely be ordering a few more to include in gifts for some of my fellow grad students//office gal pals! Whatever it takes to get through the work week with a smile, ya know?! 🙂

Shop the featured items:

beautiful tufted headboard boss babe trinket ceo girls dishglass and gold lamp boss babe tray holiday winter decor tufted nail desk chair best ever vanilla candle diptyque Crystal acrylic lucite desk lampomega console table white beige and gray office ruggalvanized lantern


SaveSave

SaveSaveSaveSave

SaveSave

SaveSave

SaveSave

SaveSave

SaveSave

SaveSave

SaveSave

SaveSave

SaveSave

SaveSaveSaveSave

SaveSave

SaveSave

SaveSave

SaveSave

SaveSave

Post, Pin, Share:
Blog, Halloween, Party Decor, Seasonal Decor, The Home

Easy Glam Halloween Centerpiece

glam halloween centerpiece

glam halloween centerpiece

easy glam halloween decor


simple chic halloween decorations

luxe halloween decor

Less than 1 week till Halloween! As fun as this holiday can be, it can also sometimes be a bit of a pain to decorate for – especially if you generally prefer neutral-everything. This year, I wanted to do something festive in our dining room that wouldn’t detract from the rest of the space in our home. Ideally, I was also aiming to incorporate pieces we already have out in our home all year so that excess storage would be minimized. Y’all… I am a home decor-hoarder. It is SO hard for me to get rid of home decor items, so the less “seasonal” pieces I purchase each year, the better!

The only “new” item in this centerpiece is the leaf place setting from Michael’s. They’re very inexpensive, and by purchasing only one for use as a centerpiece you’re going to be extra budget-friendly – PLUS it can be reused for Thanksgiving themed centerpieces too. If the skulls look familiar, it’s because they’re from the same set I used for last year’s Halloween Bar Cart post. I LOVE them. They’re super lightweight and very versatile. I am seriously considering snagging a few more sets to use as filler in the glass apothecary jars we have on our console table. Speaking of glass, this glass dome is perfect for everyday decor, whether over a candle or on top of coffee table books. The mercury jars are also out year round in home. I grabbed these two from HomeGoods, but found similar ones with removable tops and have linked them here and here.

Looking for more quick and easy Halloween ideas? Check this simple mantel decor post for more fun inspo!

Shop the Post: 


SaveSave

SaveSave

SaveSave

SaveSaveSaveSave

Post, Pin, Share:
Blog, Recipes

Oreo Pumpkin Spice Balls Recipe

oreo pumpkin spice balls

oreo pumpkin spice balls

As many of y’all know, I am not the most confident when it comes to my *sKiLls* in the kitchen. A lot of this has to do with my current status as a very time-limited law student, but honestly a lot more of it has to do with the fact that I would rather not  face the inevitable post-meal cleanup if I can avoid it (honesty is the best policy, right?). In light of this, it may be surprising that I actually follow quite a few food blogs. After one of these blogs posted a video using a food processor to crunch up Oreo’s, I ordered this one thinking to myself that I would instantly begin using it and become a fabulous cook with tons of killer recipes. Welp if you follow my Instagram & keep up with the stories I post, you already know that this food processor sat in its box for the last 6 months – so long in fact that I actually forgot where it was and spent half the afternoon trying to locate it before testing out this recipe. Whoops.

Now that I have finally used it and have seen how quick & efficient it is, I am seriously obsessed and can’t believe I waited this long. If you have any favorite recipes involving a food processor – general, dessert, breakfast, whatever – that you love, please feel free to share in the comments below this post, I would love to try them!

Back to the Oreo pumpkin spice balls; I created this recipe on a whim and so pumped with how it turned out especially since it only uses 5 ingredients – 2 of which are completely optional based on your preference! I’ve included the ingredients/tools and step-by-step instructions in this post. Happy baking!

The ingredients for this recipe are:

Libby’s Canned Pumpkin (x1)

Box of Yellow Cake Mix (x1)

Super-stuffed Oreos (~15-20, processed with icing)

Pumpkin Spice Blend (optional – adds extra flavor)

White Chocolate Morsels (Don’t make the mistake I made by using these, instead use white chocolate bark – much easier to heat up!)

The kitchen tools I use for this recipe are:

KitchenAid Mixer

Mini Food Processor

Double-boiler

Mini-Cupcake Maker (also featured in this quiche recipe)

Glass Mixing Bowl

Hand Mixer

Baking Paper Sheets

oreo pumpkin spice balls

Instructions:

Step 1: In your mixer, combine the cake mix, canned pumpkin, and a generous amount of pumpkin spice. Mix until fully blended using the lowest speed setting. **ONLY use the powder from the cake mix, do not add any other ingredients from the yellow cake recipe on the box.

Step 2: Pour 1/4 cup increments of batter into the mini-cupcake maker, and bake for ten minutes.

Step 3: While the batter is baking, place Oreo’s (with their creme fillings attached) into the food processor and blend. Dump contents into glass mixing bowl.

Step 4: Remove baked cupcakes/muffins/batter from cupcake maker, and place in food processor. Process, then add to the ground up oreos in the glass mixing bowl. Blend together.

Step 5: Begin rolling the mix into half-dollar-sized balls, place on wax baking sheet.

Step 6: Melt white chocolate bark on stove using double-boiler. Using a tablespoon, pour the melted chocolate over each of the balls on the wax baking sheet. Allow to cool. (For faster cooling, place baking sheet in fridge for ~6-10 minutes.

VOILA! Easy and delicious Oreo Pumpkin Spice Balls for Fall! BONUS STEP: Grab cute straws like these – cut one end at angle, insert into oreo spice ball then cover with melted white chocolate and you have an oreo pumpkin spice cake pop!

oreo pumpkin spice balls

oreo pumpkin spice cake pop

oreo pumpkin spice balls

Kitchen Supplies Featured in This Recipe: 


SaveSave

SaveSave

SaveSave

SaveSave

SaveSave

SaveSave

SaveSave

SaveSave

SaveSave

SaveSave

SaveSave

Post, Pin, Share:
Blog, DIY Projects, Home Decor

Simple Fall Door Hanger DIY

easy diy fall decor

simple burlap wreath

fall monogram wreath

Now that it’s October, I am so excited to finally feel like we are in the real fall season! Although I am all about the pumpkin spice and hayride life this time of the year, I have never been a huge fan of orange – so when it comes to decor, I try my best to steer clear of that color as much as possible. Even so, I seriously considered making this wreath specific to Halloween, but as you can see, instead, opted to go a more neutral route for a couple reasons: 1. Limit the orange (oops. I tried to love it, y’all), and 2. keep this season’s decor a little more low-maintenance. The less stuff we need to take down/repack at the end of October – the better! Can I get an Amen?! As always, I’ve included my supplies below, followed by the 5 simple steps to complete this DIY. Keep in mind that this project is super customizable – so feel free to switch up your colors & choice of ribbon to your heart’s content!

Supplies: 

Unfinished Initial (I used the 15″ size in this project)

Chalk Paint in Linen (y’all, I have used this same can since APRIL!)

Foam and Acrylic Brush Set

Burlap & Lace Ribbon

Acrylic Paint in White, Light Brown & Dark Brown (I used paint I had leftover from other projects but if you are starting from scratch, I recommend this set to save some $$ and get all your basic colors at once)

Finishing Protective Spray in Satin

Step 1: Get out your unfinished initial/monogram (this company has so many options on Etsy that are super inexpensive). As you can see, the back of the initial has a small opening for hanging – if you are planning on securing your finished project using that opening, I recommend that you do not paint that part. Begin painting the initial using your chalk paint and foam brush. Allow the first layer to dry & repeat until desired coverage is reached – I did about 3 layers in total.

monogram diy


chalk paint for diy fall wreath

step 1 of diy fall door hanger

Step 2: After the chalk paint has dried, grab your acrylic paints in brown, dark brown, and white, along with a couple paper towels, small cup of water, and paper plate for mixing. Dip your brush in water before applying the paint as this will help in creating a faux wood grain appearance. Using the lighter shade of brown first, begin streaking it around the circular portion of the initial – always going in the same direction. Follow by adding in dashes of the deeper brown, blending it in with your brush. If you want more of the worn look, take one of the paper towels and firmly rub it across different portions of the freshly painted oval. Then, using the light shade of brown, dip your brush back into the water and very gently streak it in different areas of the letter itself to complete the rustic look.

diy fall monogram door hanger

DIY fall monogram

diy fall monogram

diy fall monogram

Step 3: Once the acrylic paint has dried, grab your finishing spray – this step is key for protecting your work, especially if you plan on putting your finished fall piece out where it will be exposed to the elements. In a well-ventilated place (preferably outside) spray one layer, wait 30 minutes, then spray another. This sealant will dry to the touch in 10 minutes, but I recommend giving it another 30 or so to set before handling.

easy diy fall decor

easy diy fall decor

Step 4: If your sealant has dried, it’s ribbon time! Burlap and lace are perfect for all seasons, but especially for fall and winter. Before cutting your ribbon, test out the size you think you will want your bow to be by wrapping the ribbon in from the back and looping it the same way for the other side of the bow. Fold each end of the bow to make its ears. When satisfied with placement/proportion, cut the ribbon to size; securing the bow to the initial by tying a double-knot in the back. On either side of the bow, adjust the parallel ribbon pieces to fit your preference.

easy diy fall decor

easy diy fall decor

Step 5: All that’s left is to hang your completed fall monogram door hanger & you’re all done! (Side note: Our front door has a screen door in front of it, which is why I did not treat the ribbon. If yours does not, a quick layer of Scotchgard should do the trick!)

easy diy fall decor

easy diy fall decor

easy diy fall decor

Hope y’all enjoyed this DIY! More fall posts will be headed your way soon & even though I definitely made it sound like I do, I pinky-promise I don’t always completely limit the orange in our house for Halloween/October, check out last year’s Halloween Bar Cart & Mantel posts for proof 🙂

Supplies for this project: 


Not ready to get started? Pin this project to complete it later:easy diy fall decor


SaveSave

SaveSave

SaveSave

SaveSave

SaveSave

SaveSave

SaveSave

SaveSave

SaveSave

SaveSave

SaveSaveSaveSave

SaveSave

SaveSave

Post, Pin, Share: