Browse Category by The Home
Blog, DIY Projects, Home Decor, The Home

Remove Wax from Diptyque Candles in 5 Minutes

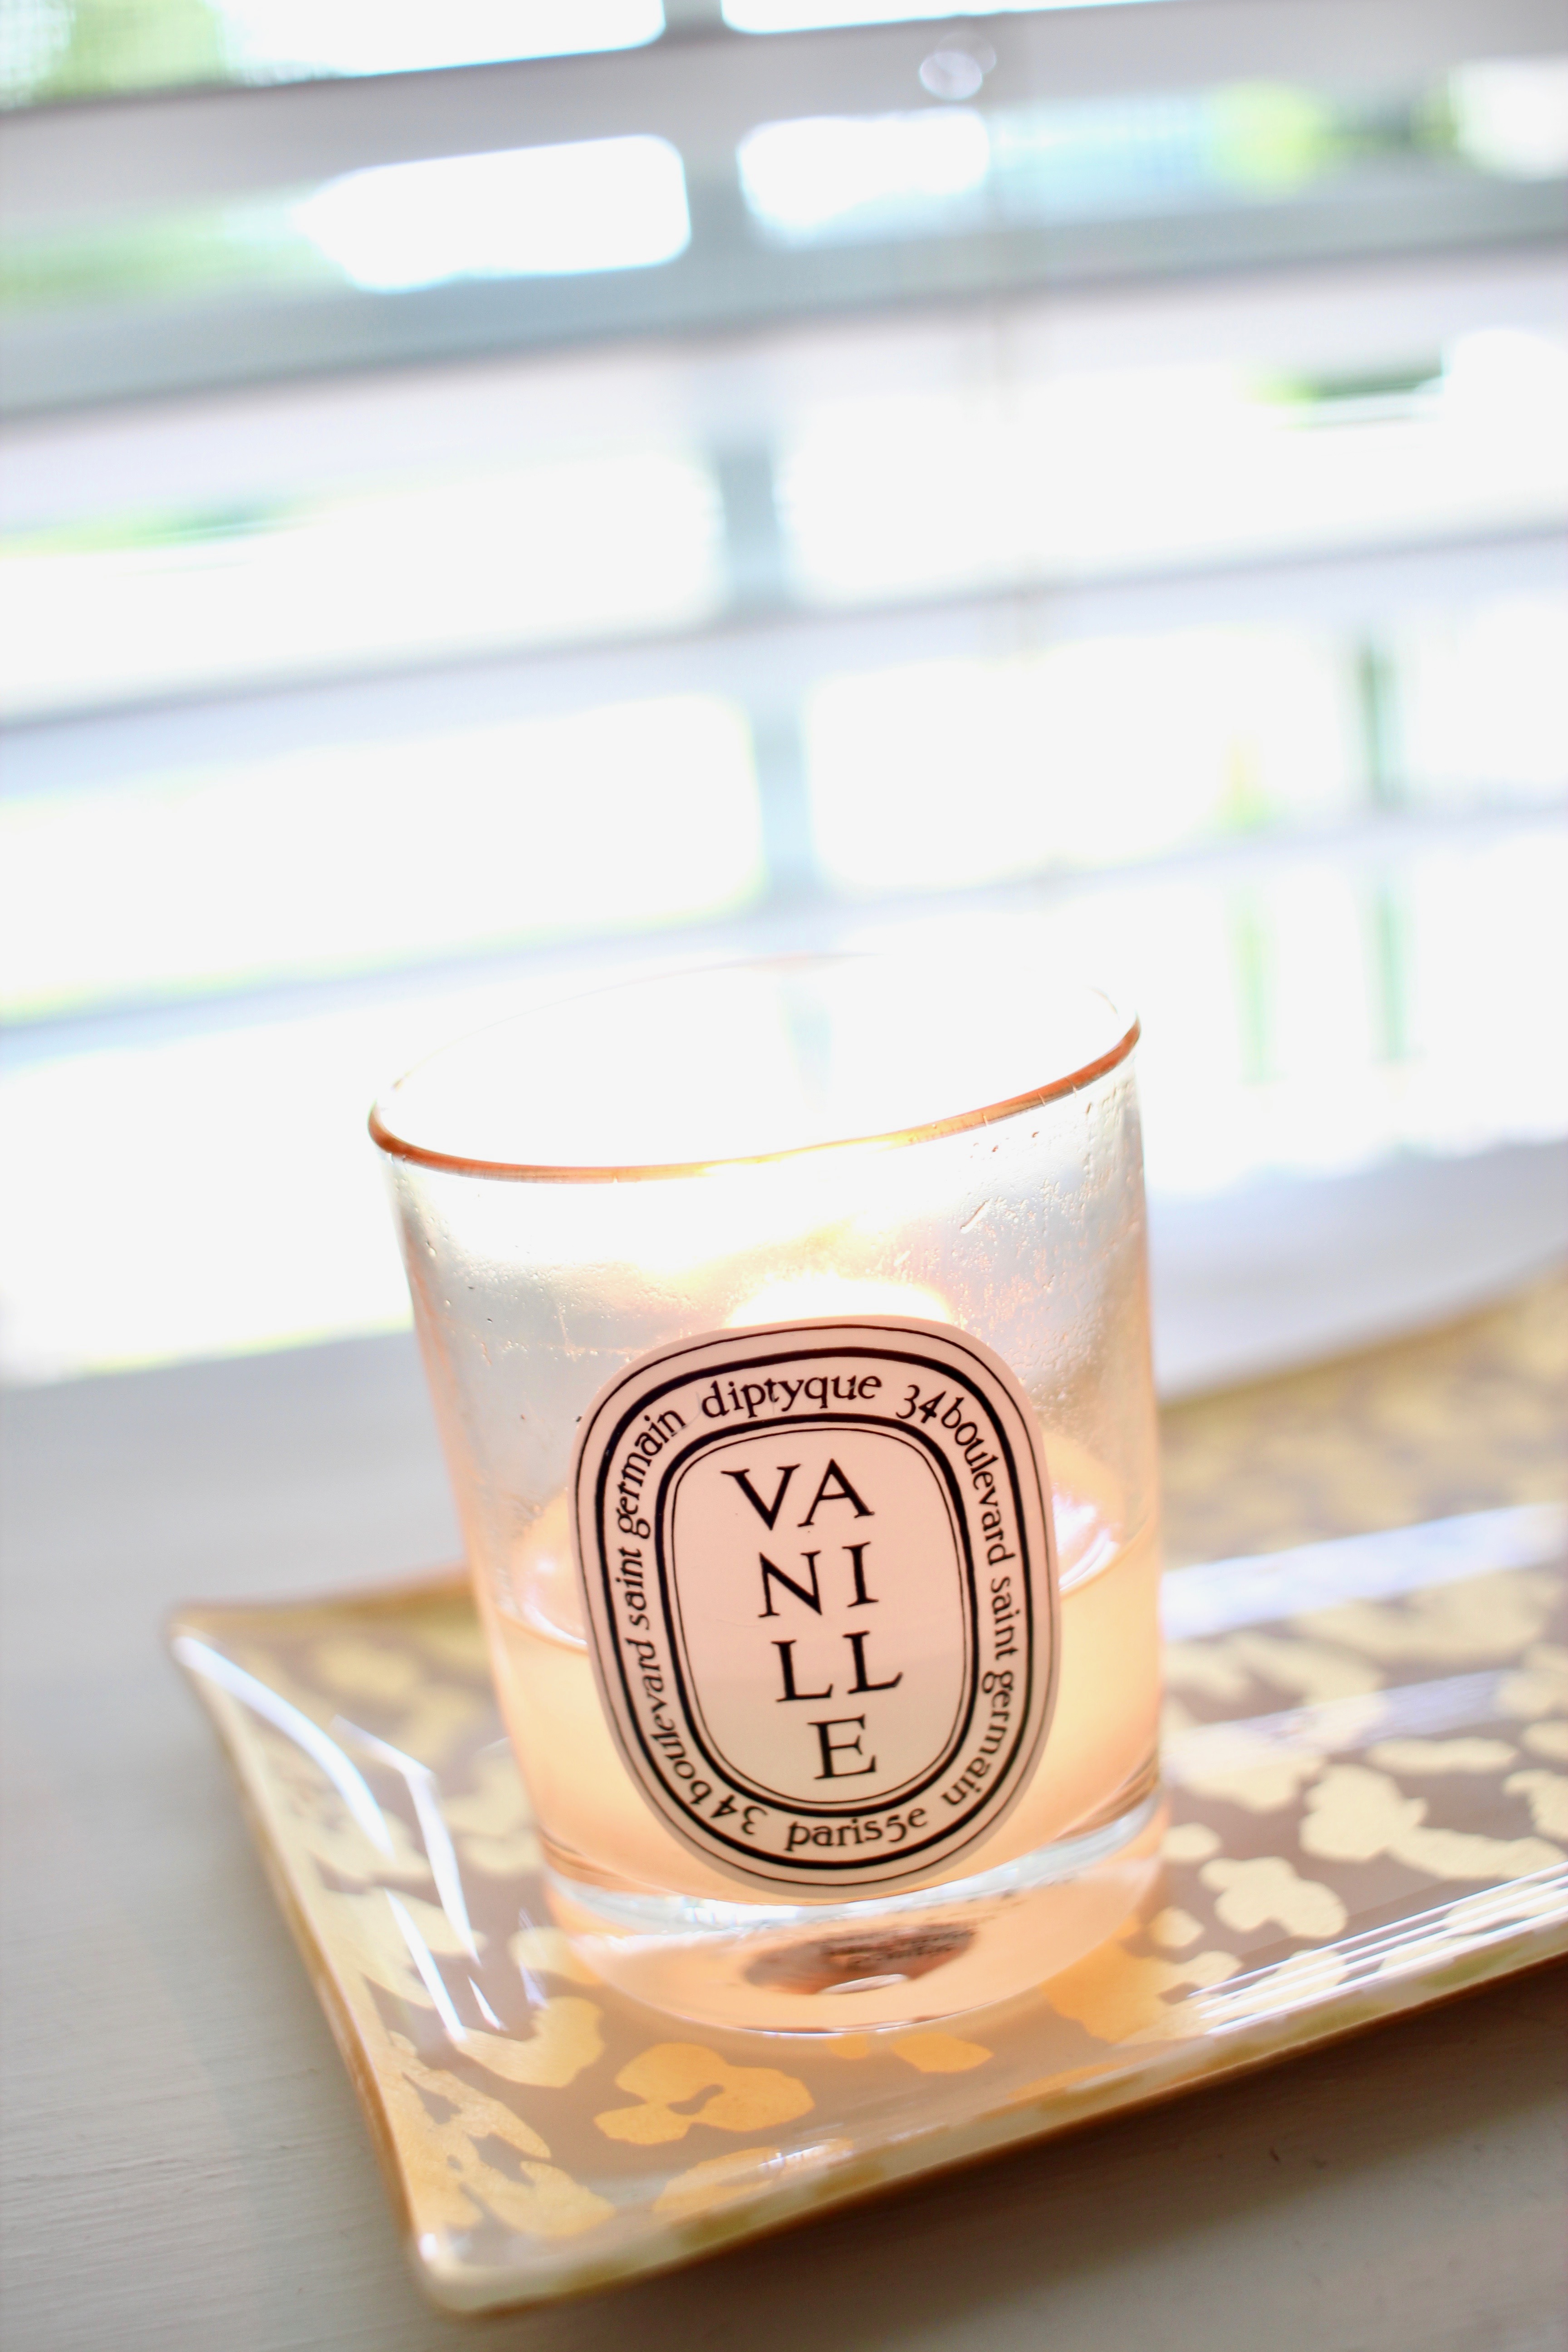
Here at our house, we love all things vanilla, and that goes for anything from cake to candles. Currently, the Vanille Diptyque candle is my absolute favorite. All of the home scents by Diptyque are so good and not at all overwhelming or sickly sweet (winning).

Likewise, the candle jars they come in are simple and elegant. This is what makes these jars the perfect glass containers for storing almost anything – including cotton swabs, makeup brushes, even paperclips and/or pens.


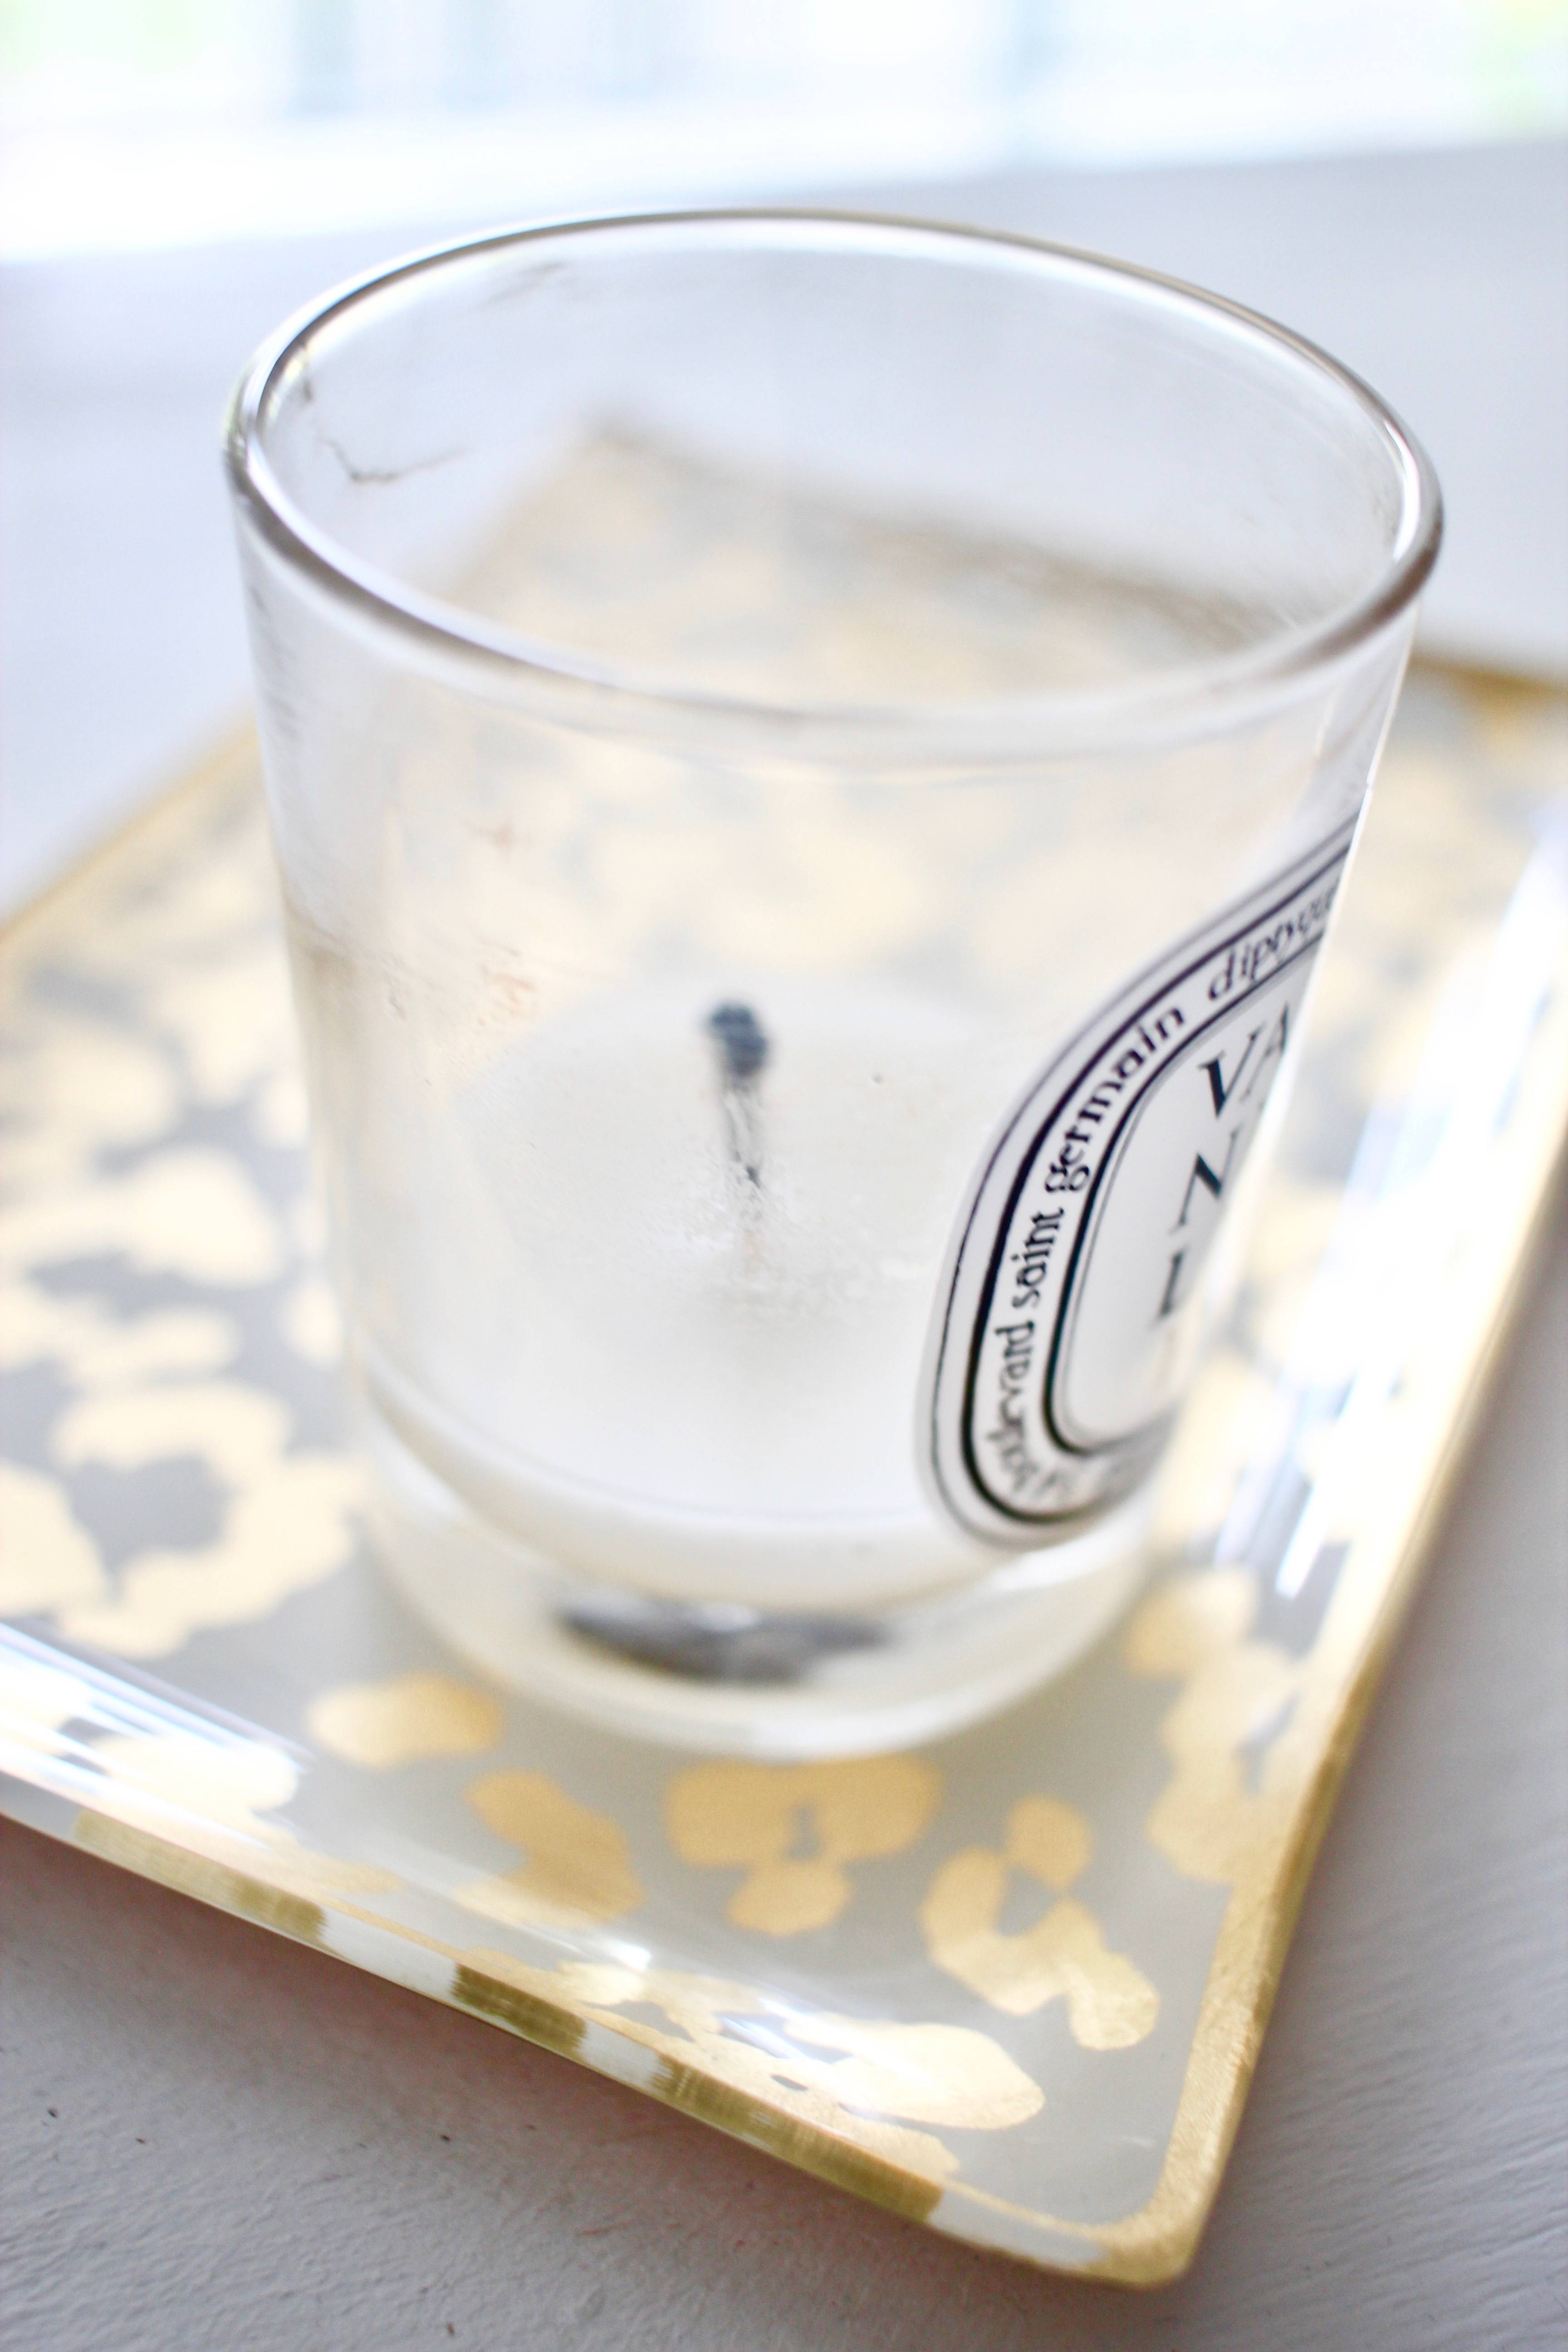
So, when they’re done burning, how do we clean them? Searching online will yield a number of different options, however not all of those work for the diptyque candles -specifically due to the nature of the glass.

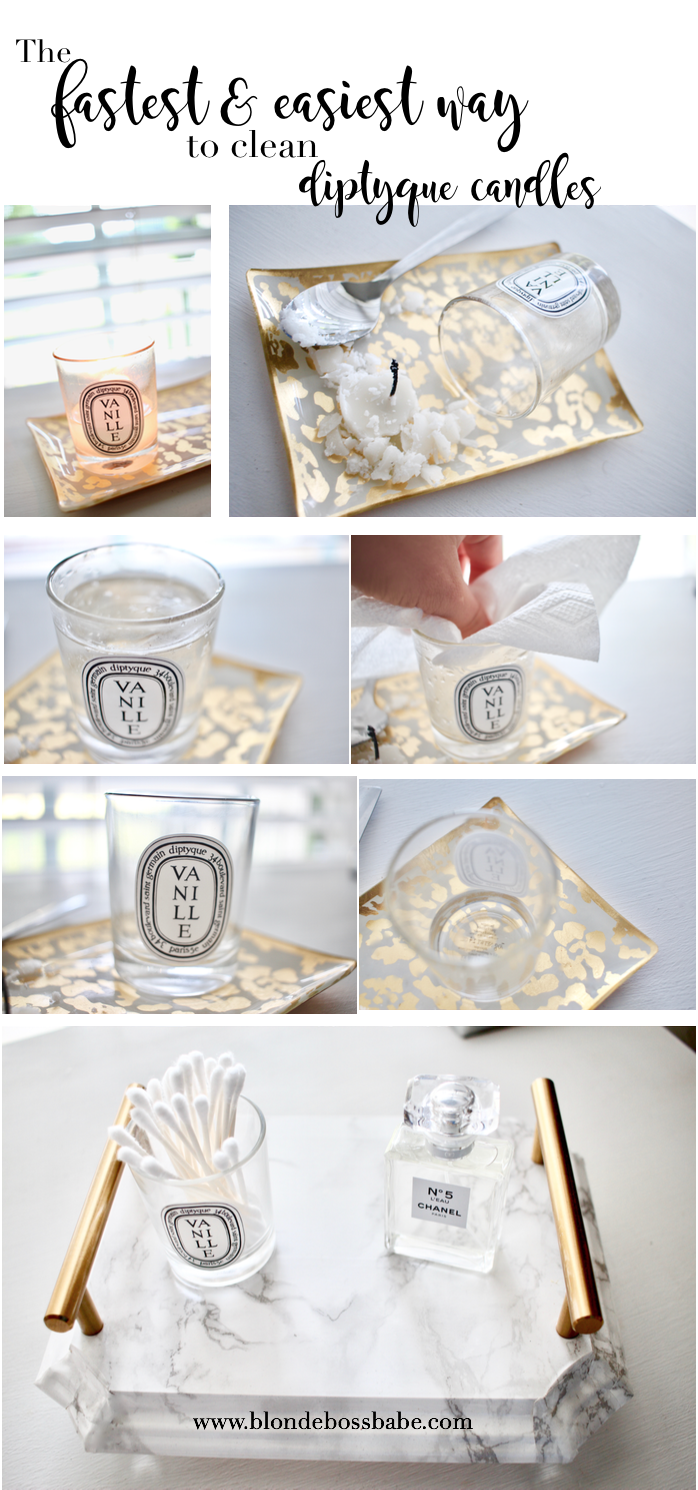
Here’s how to clean them quickly and easily, without harming the glass or the sticker in 3 simple steps:

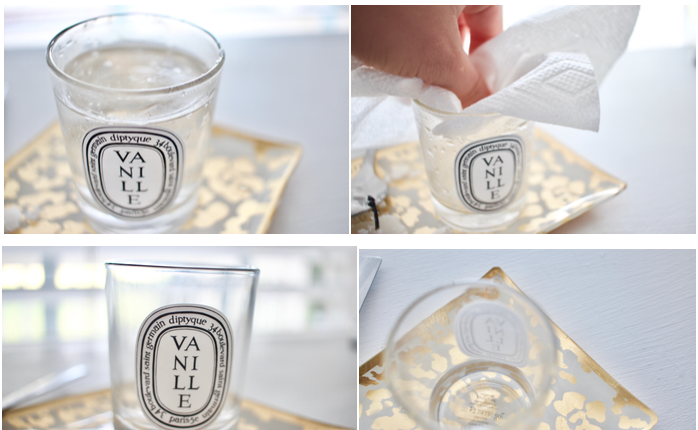
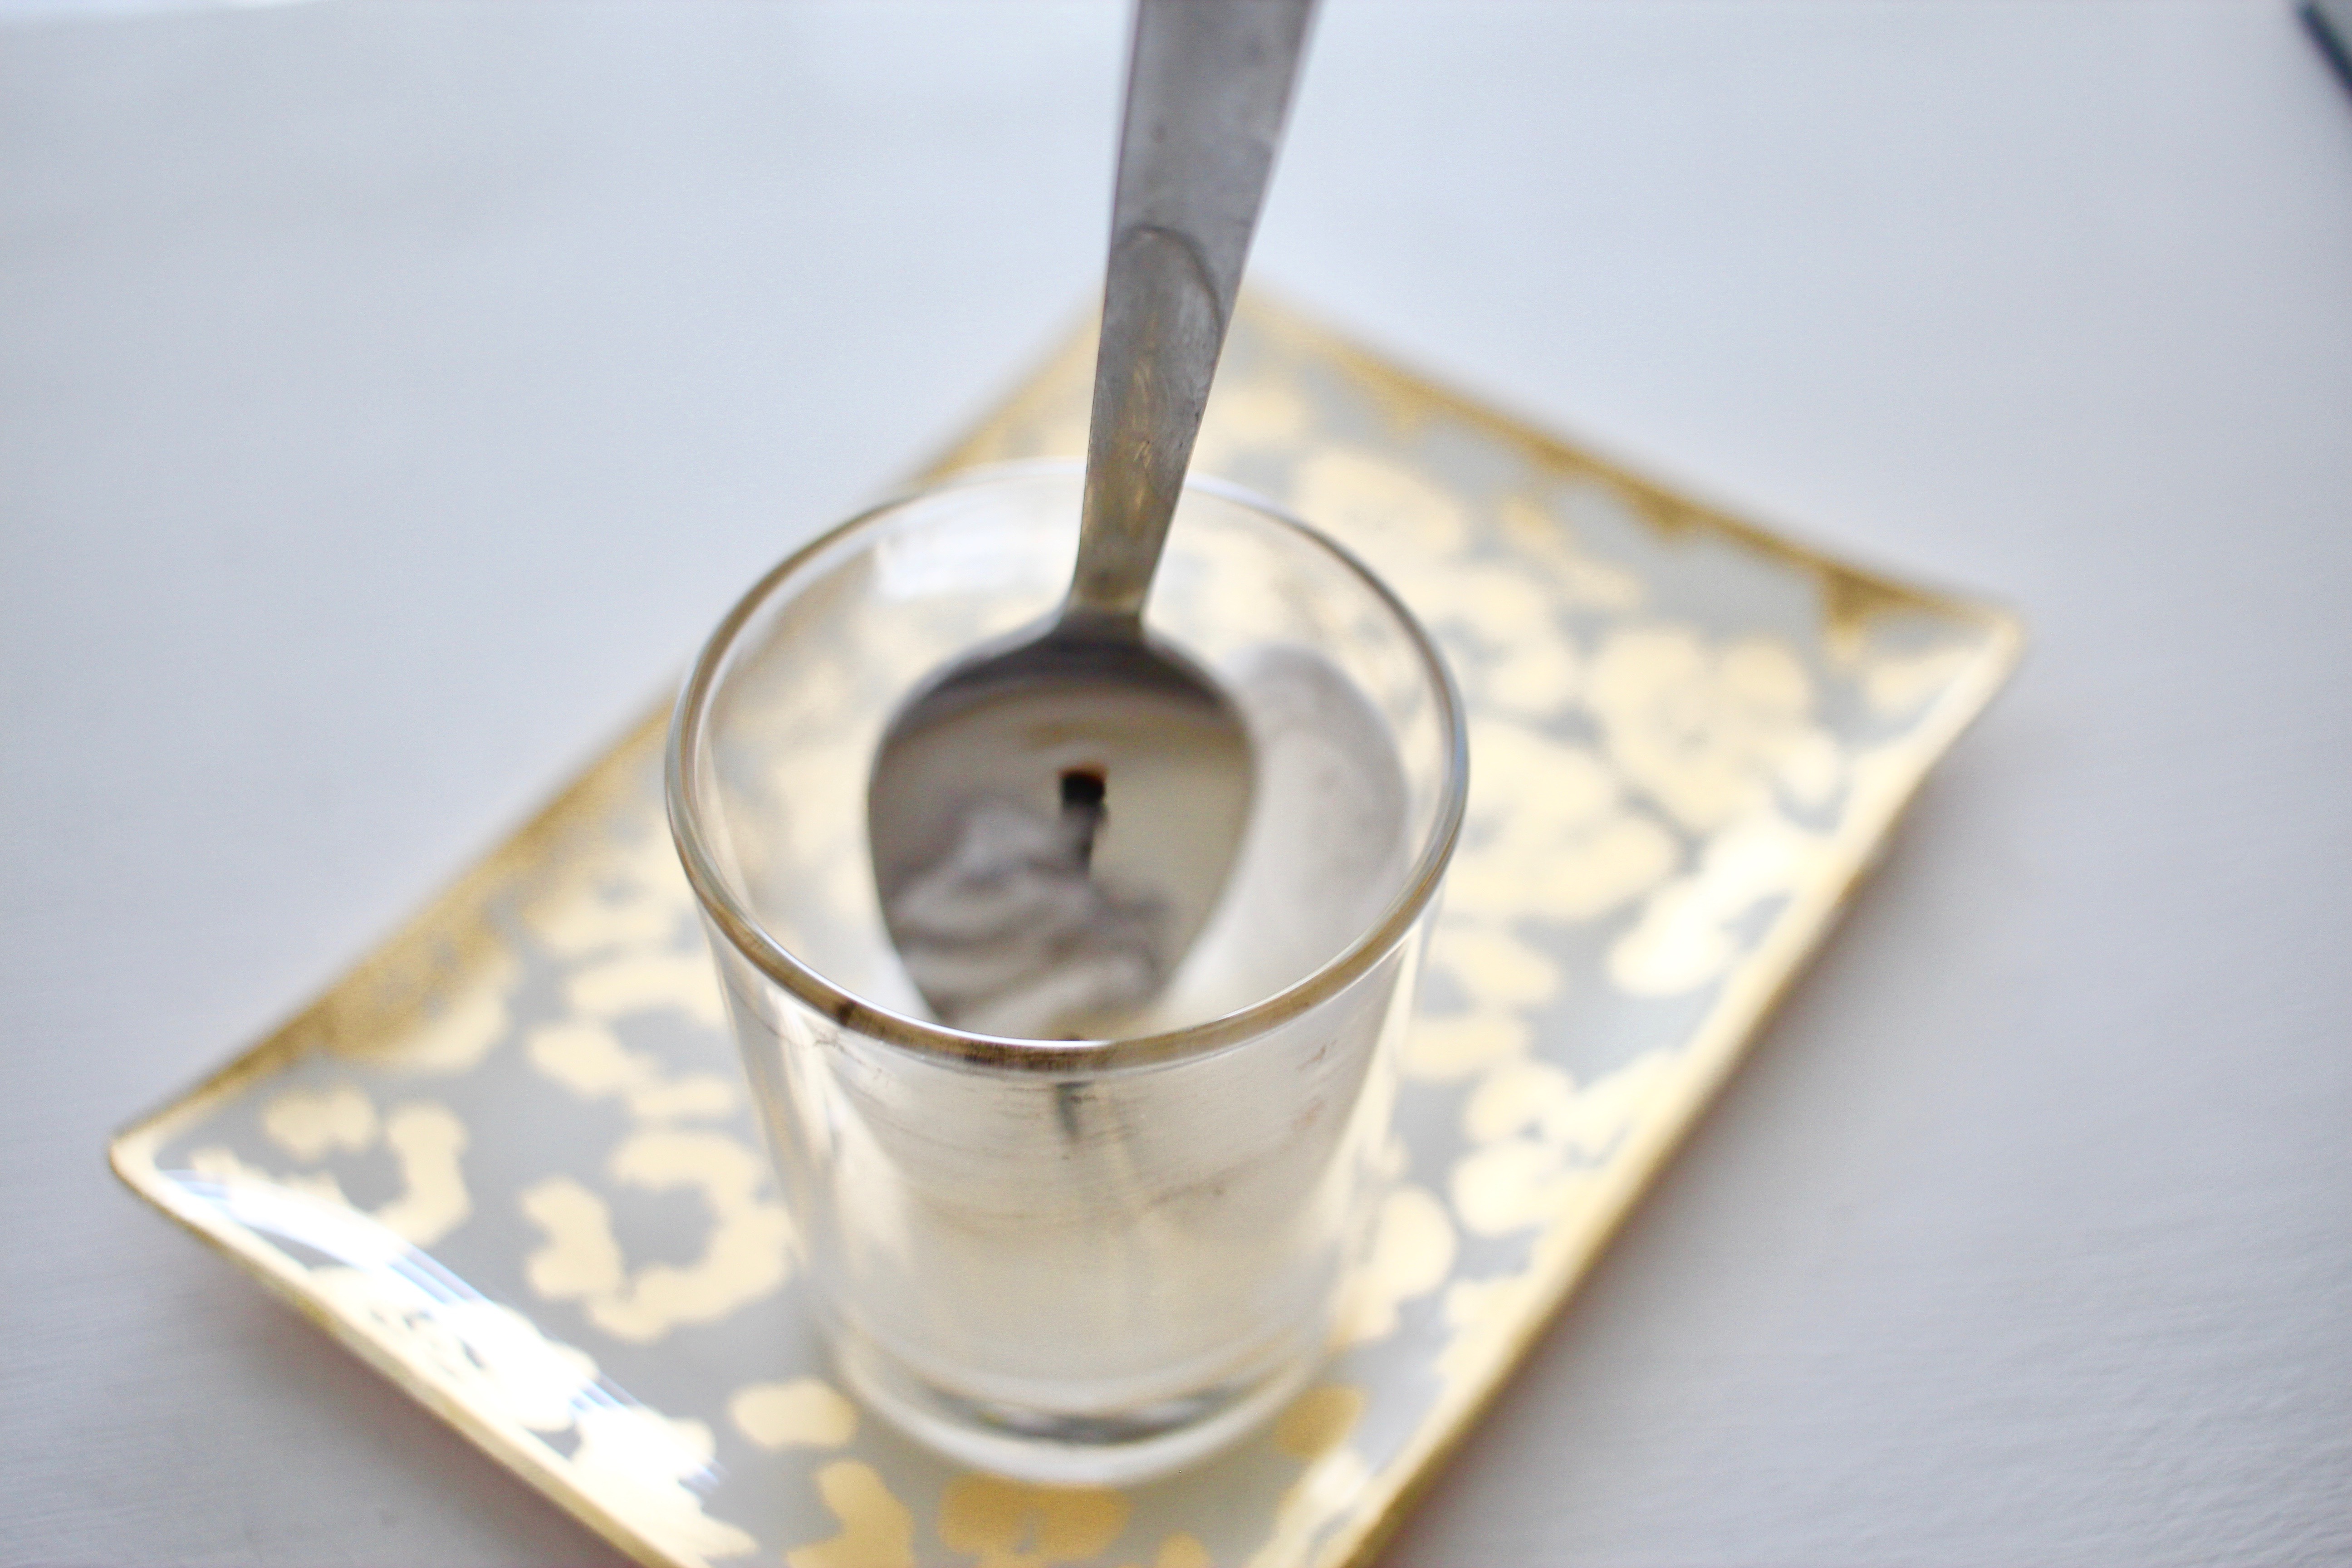
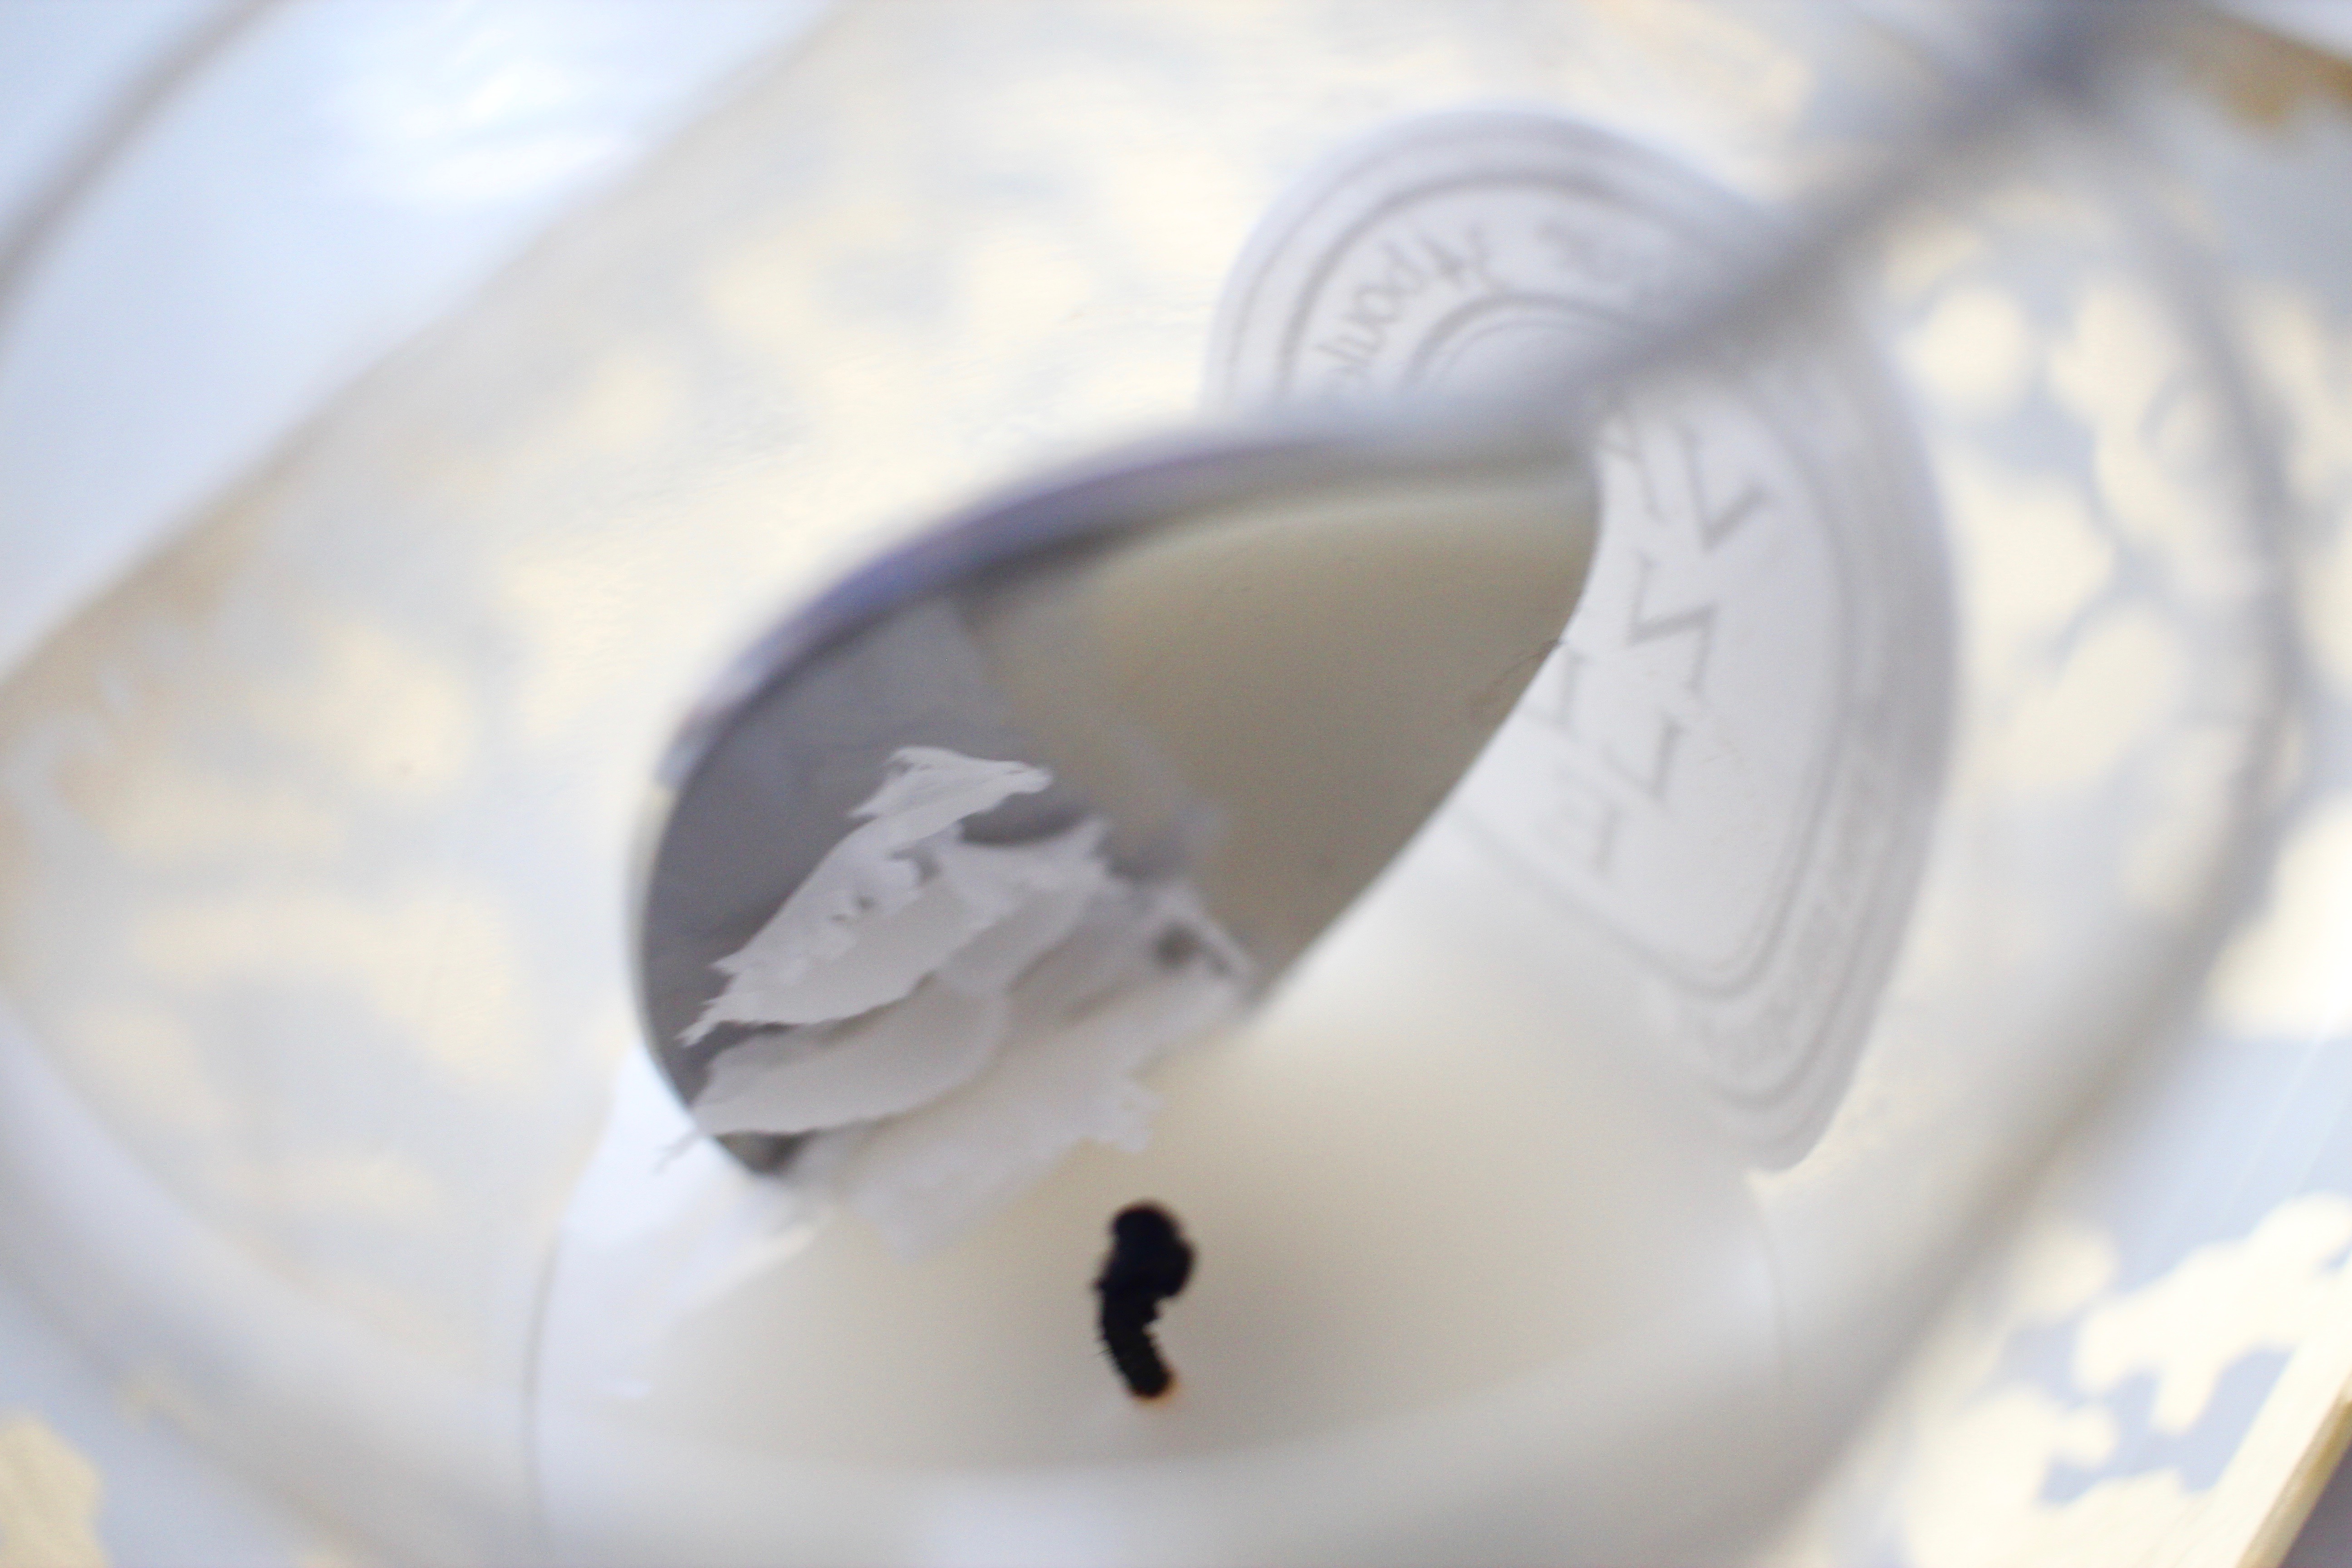
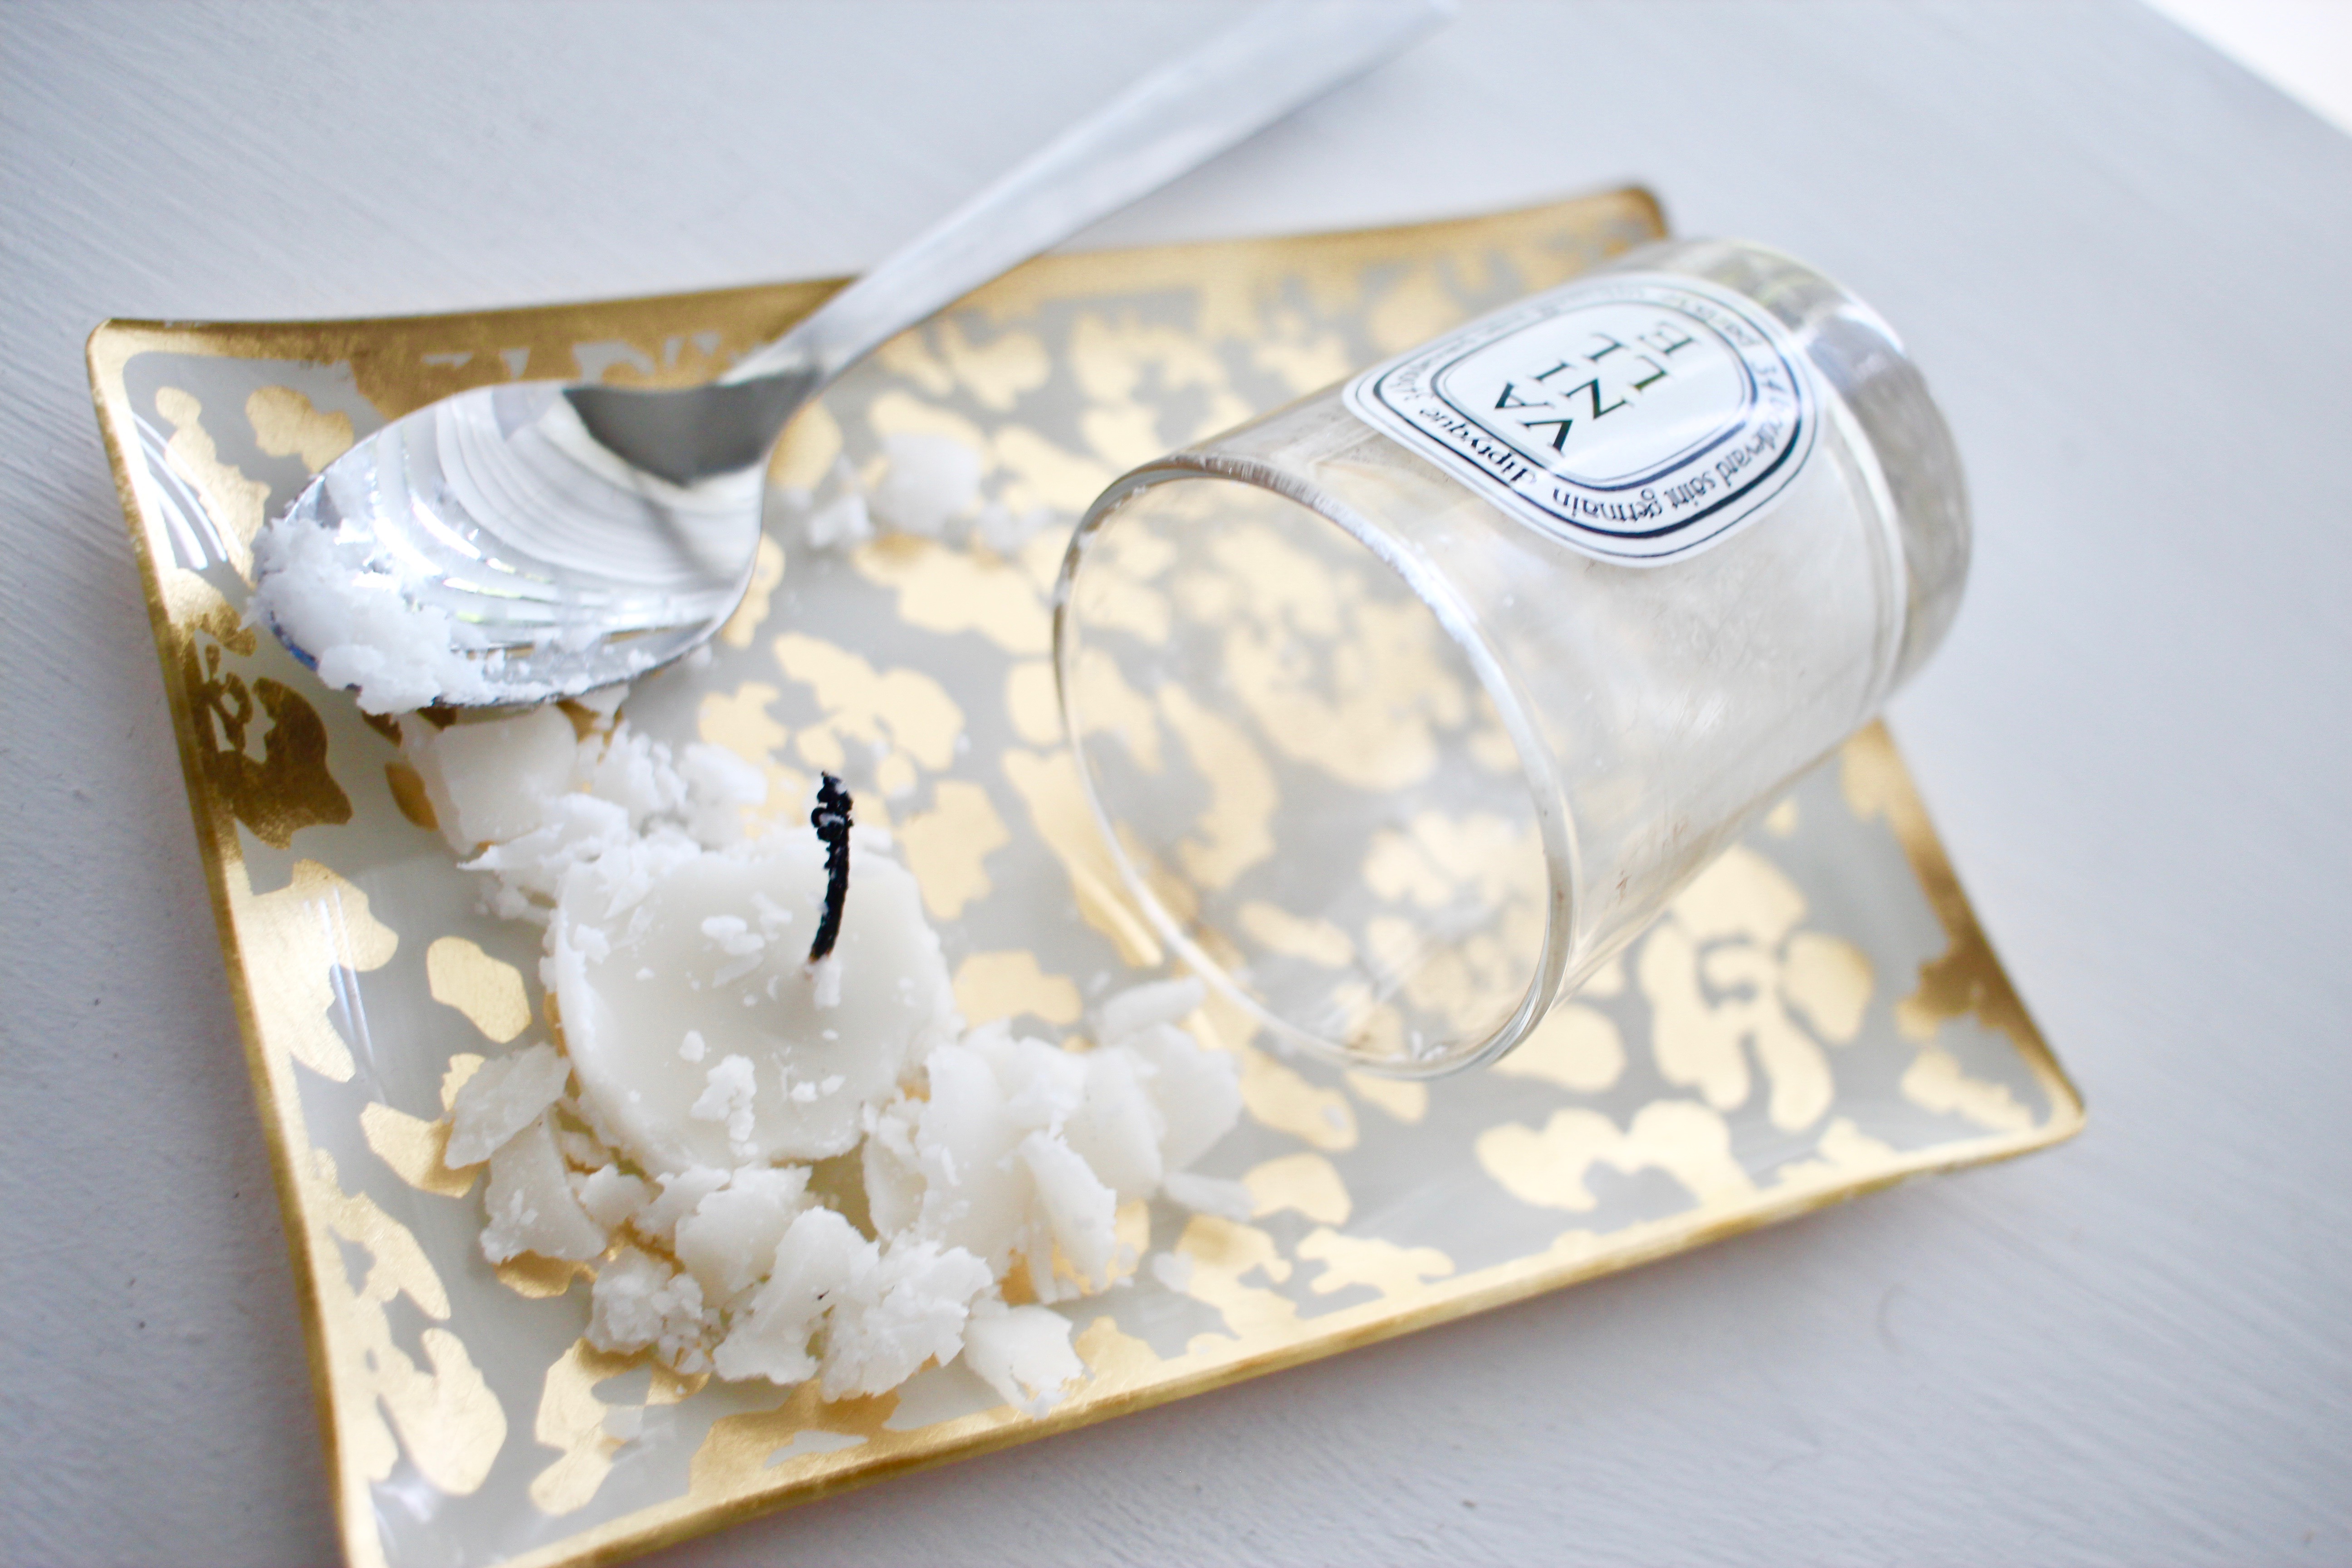
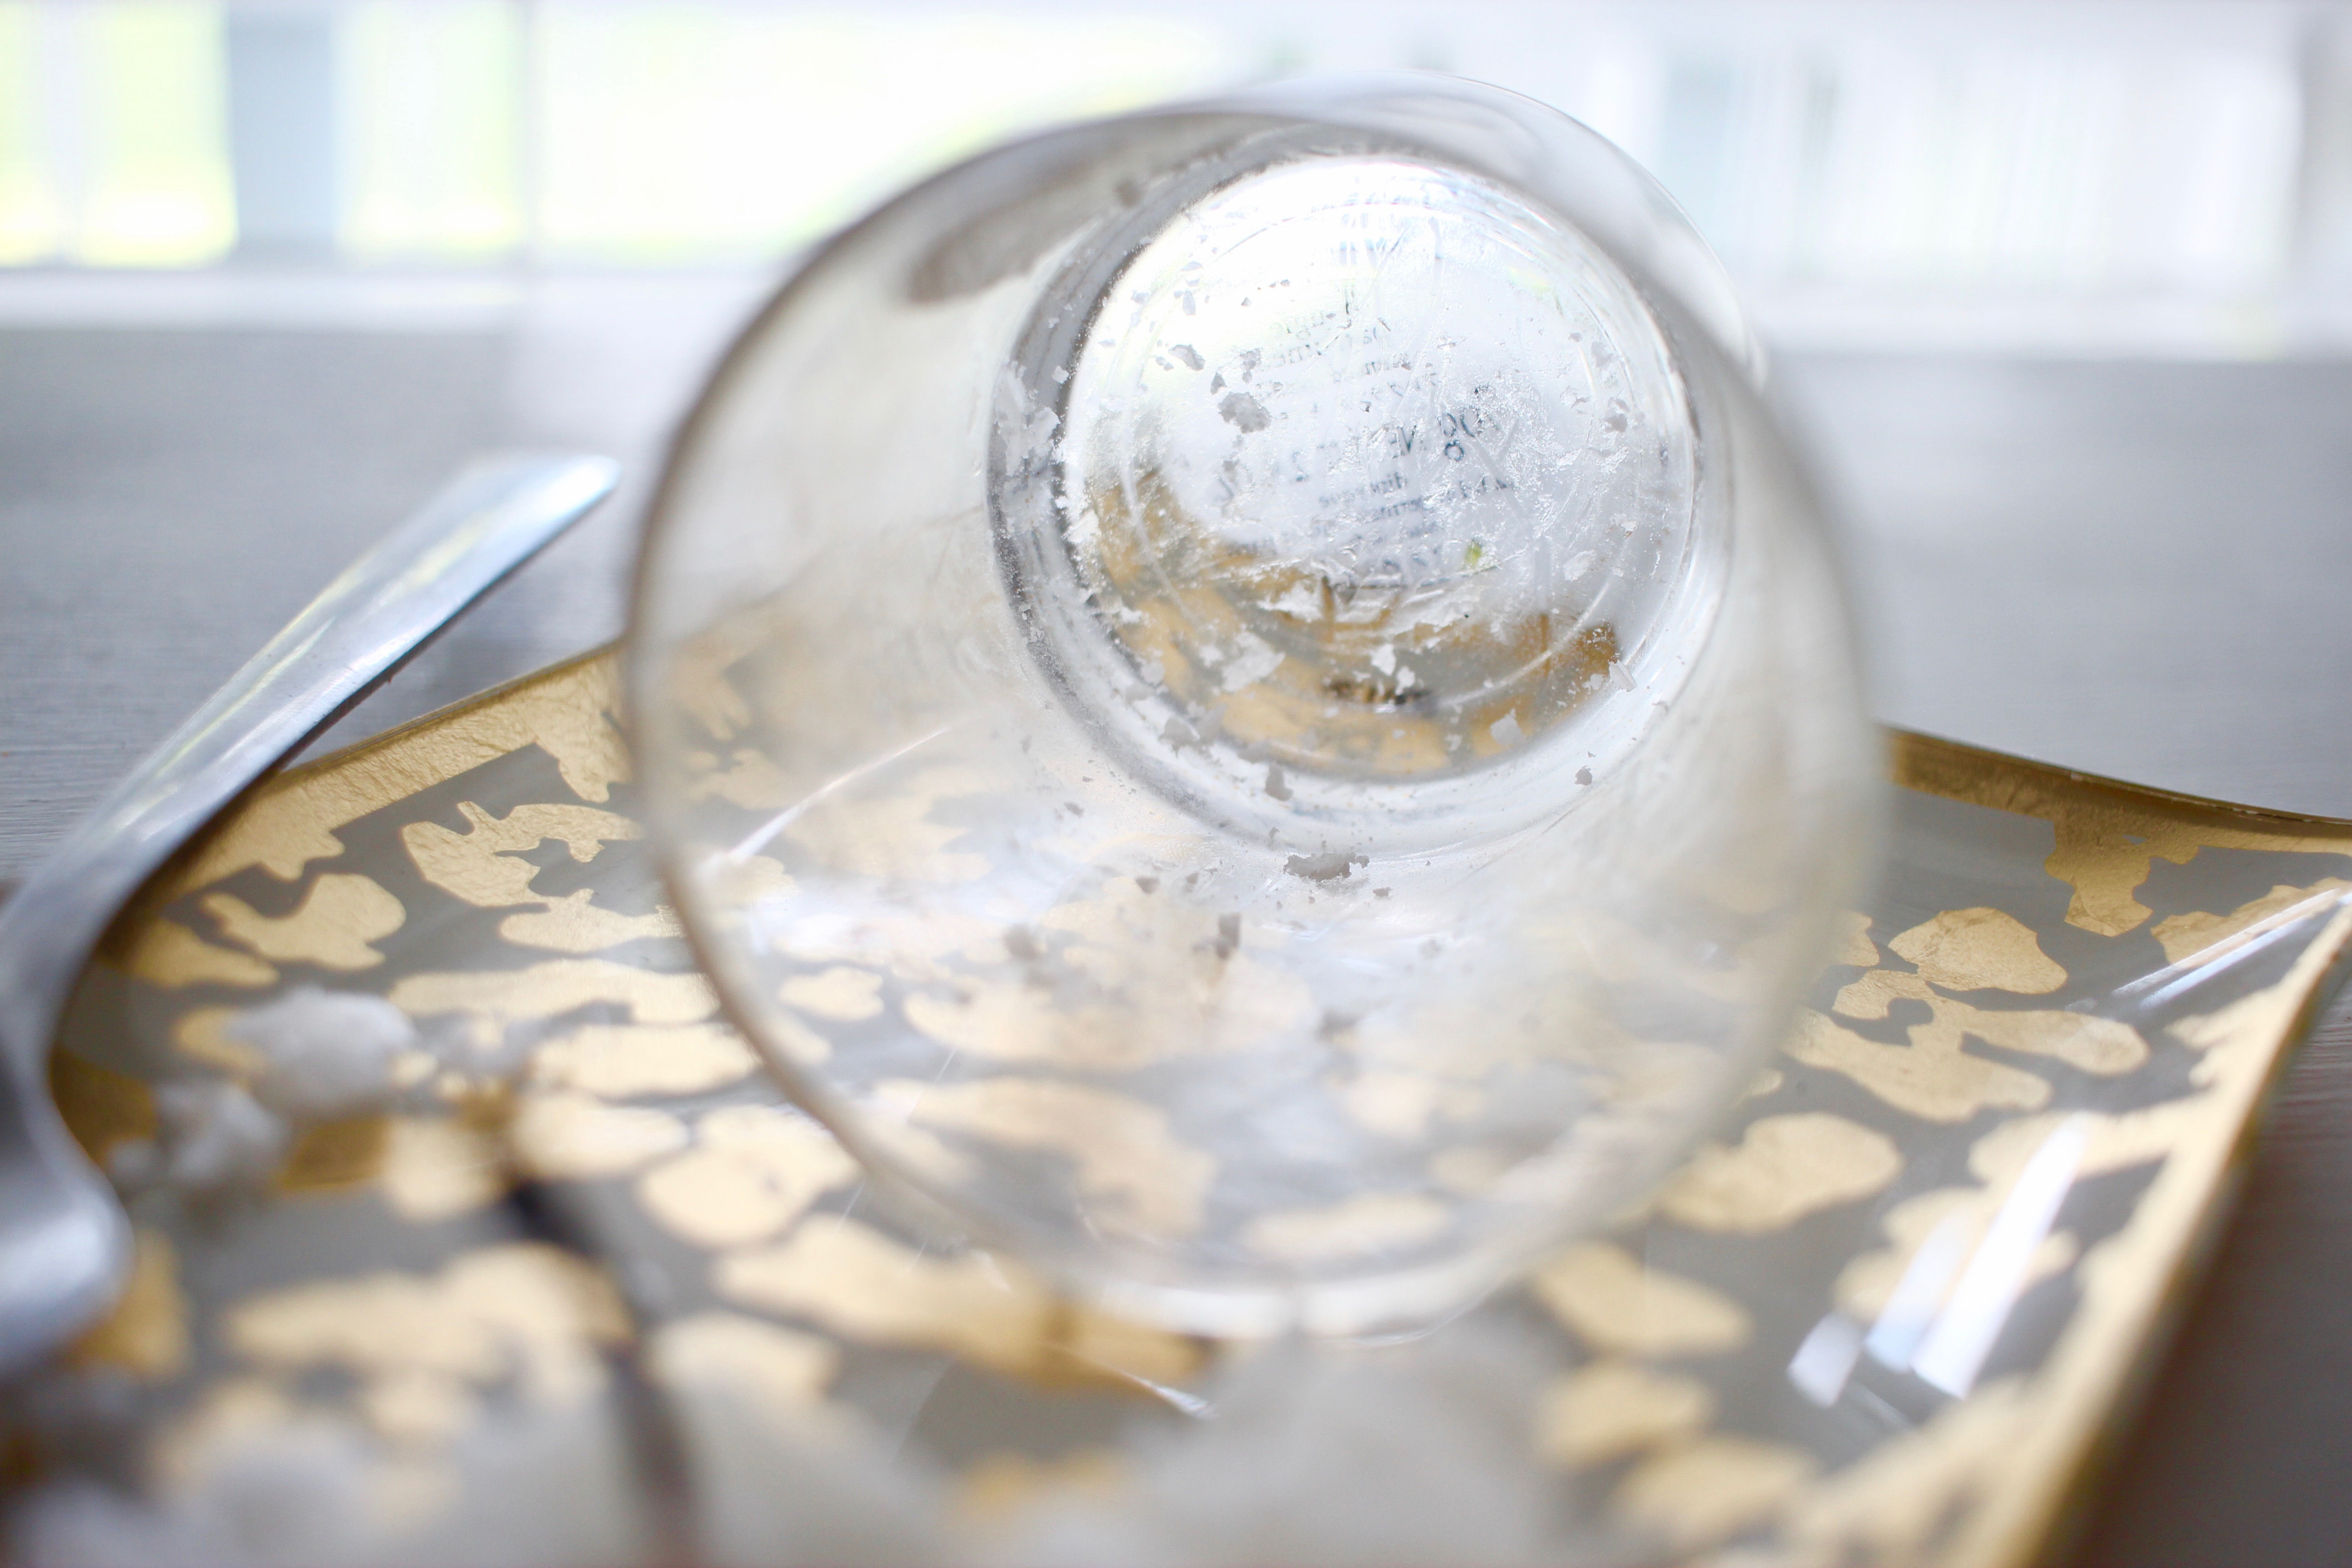
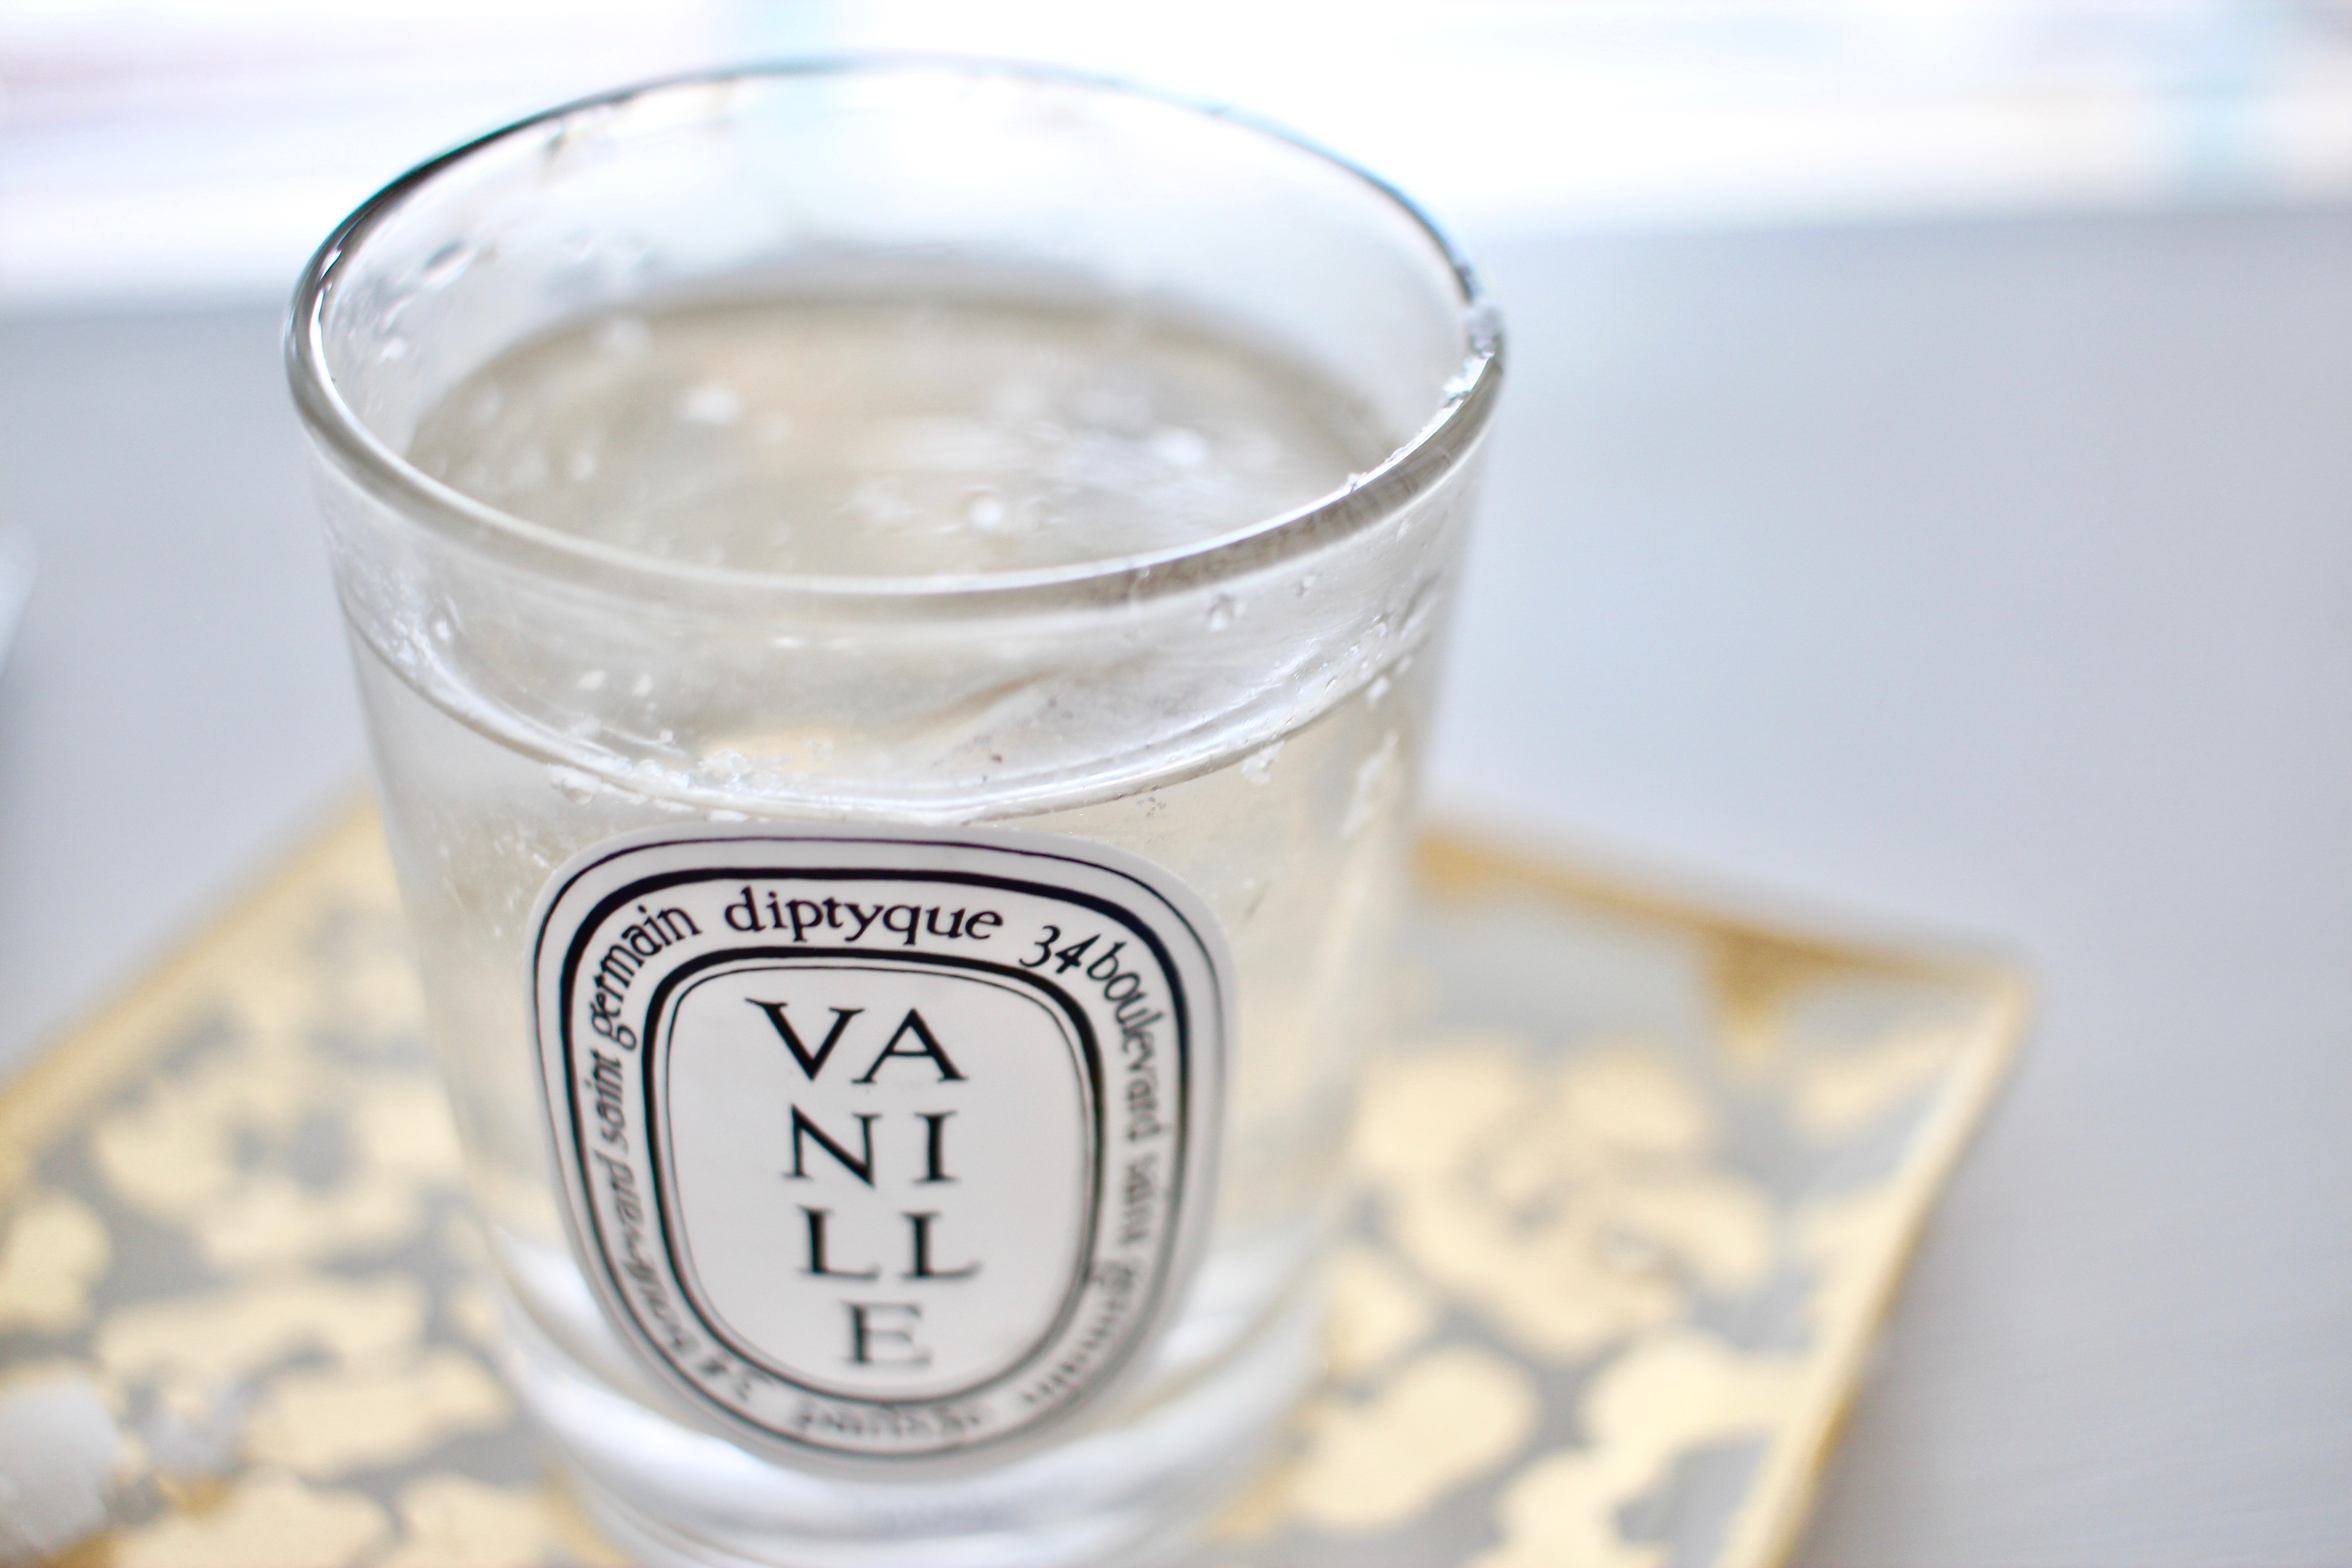
Step 1: First, take a spoon and dip it into the candle between the wax and the side of the glass. Gently press and pull pieces of the wax out. Continue until you have removed the majority of the wax. (Note: Do not do this immediately after burning the candle as the glass will be hot and not safe to touch)

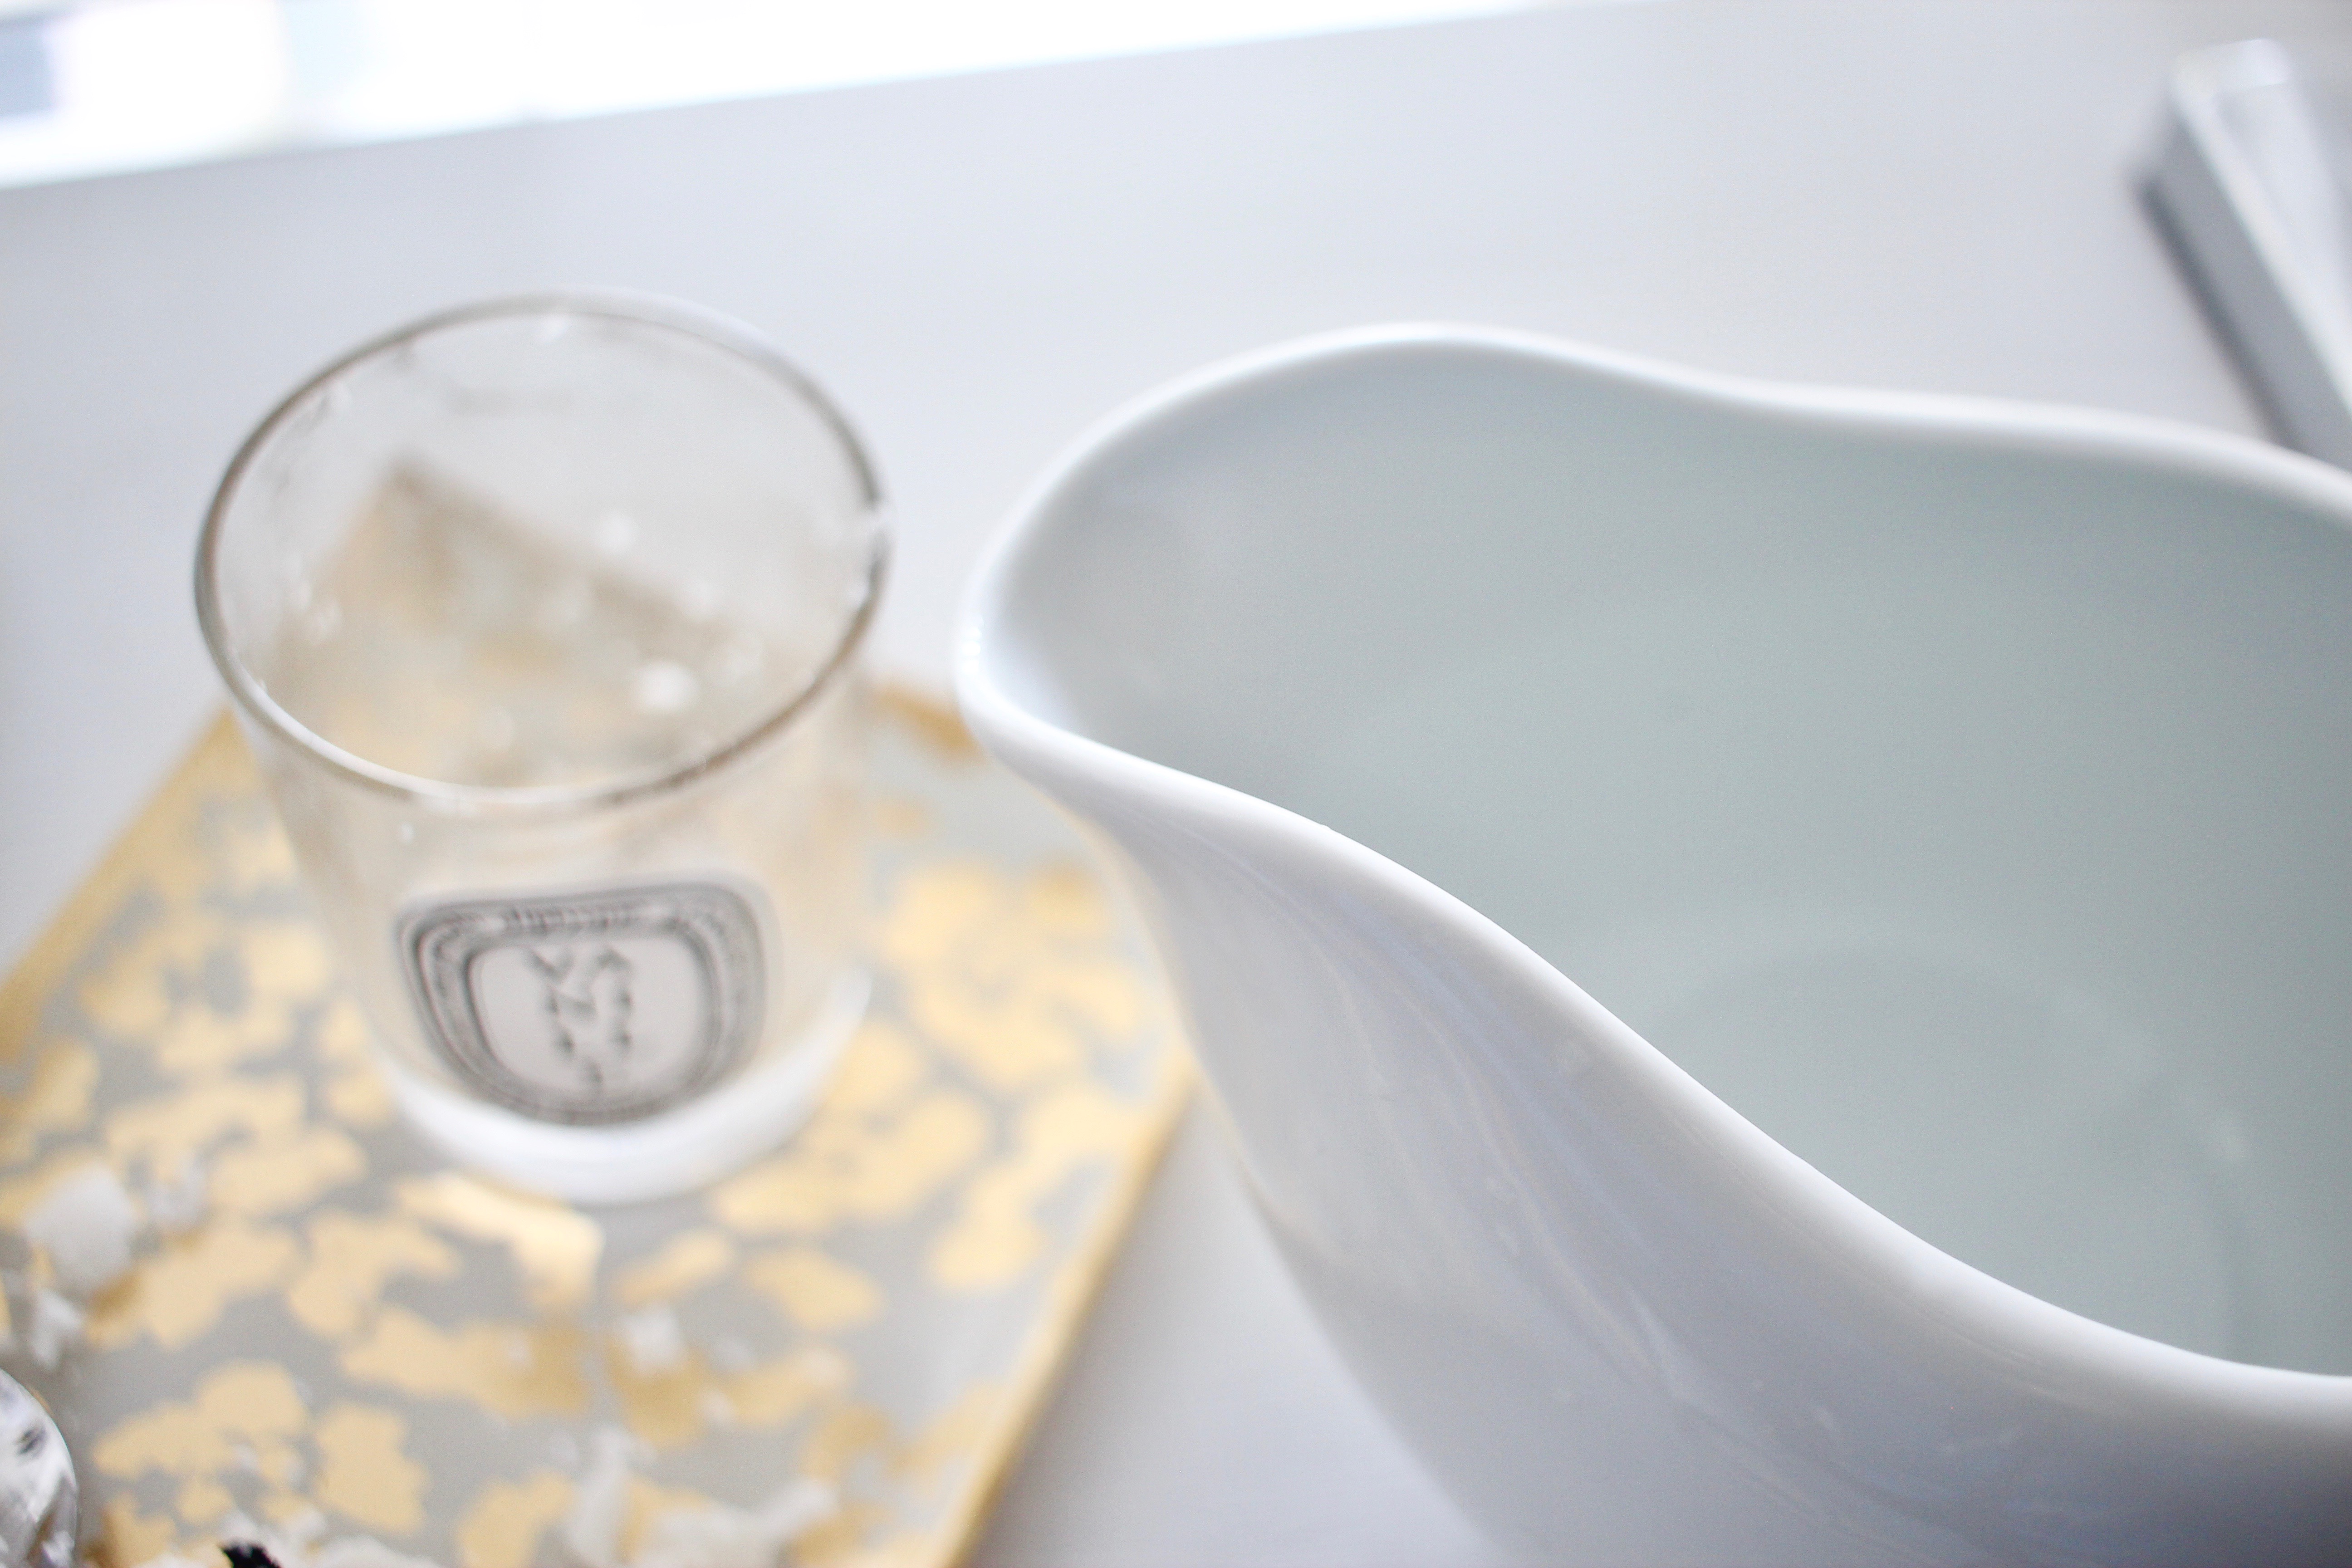
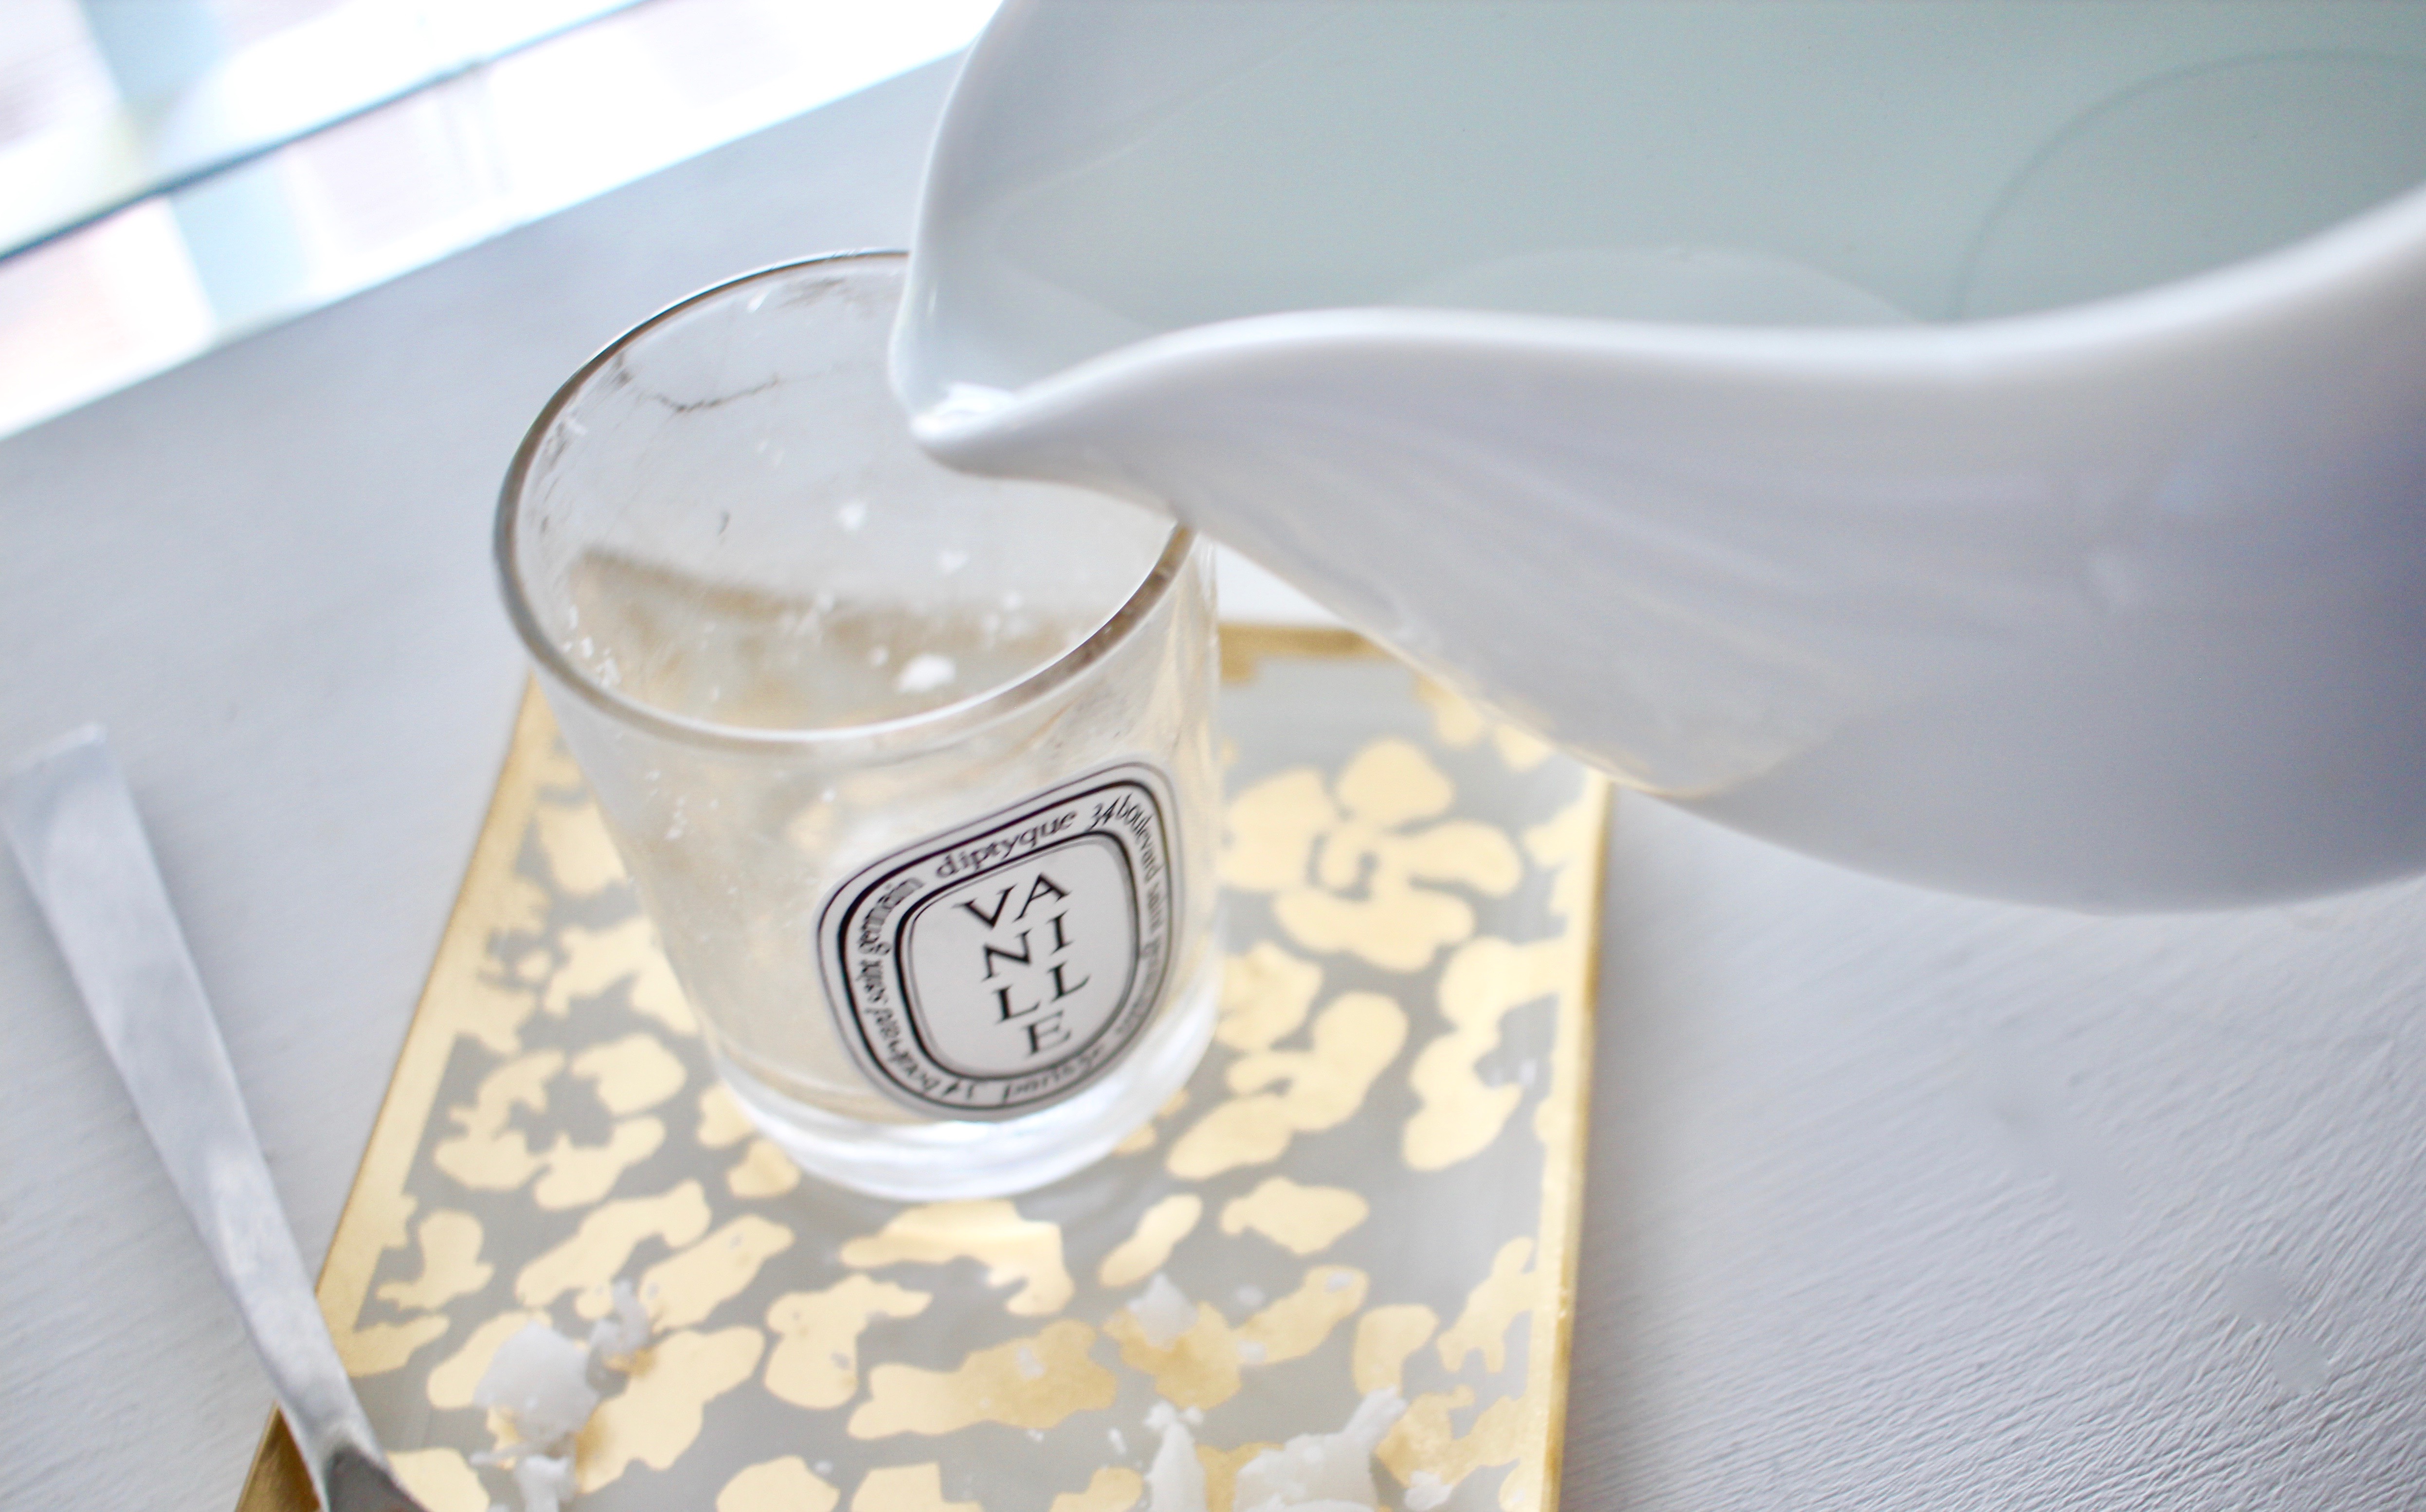
Step 2: Now that the majority of the wax has been removed, there may still be smaller pieces left stuck to the glass. Using hot water taken from the sink, fill the jar. Let it soak the glass for a couple minutes. (Note: DO NOT use boiling water. While this may work for other candles, it is too hot for the type of glass used for Diptyque candles and can result in the glass cracking.)

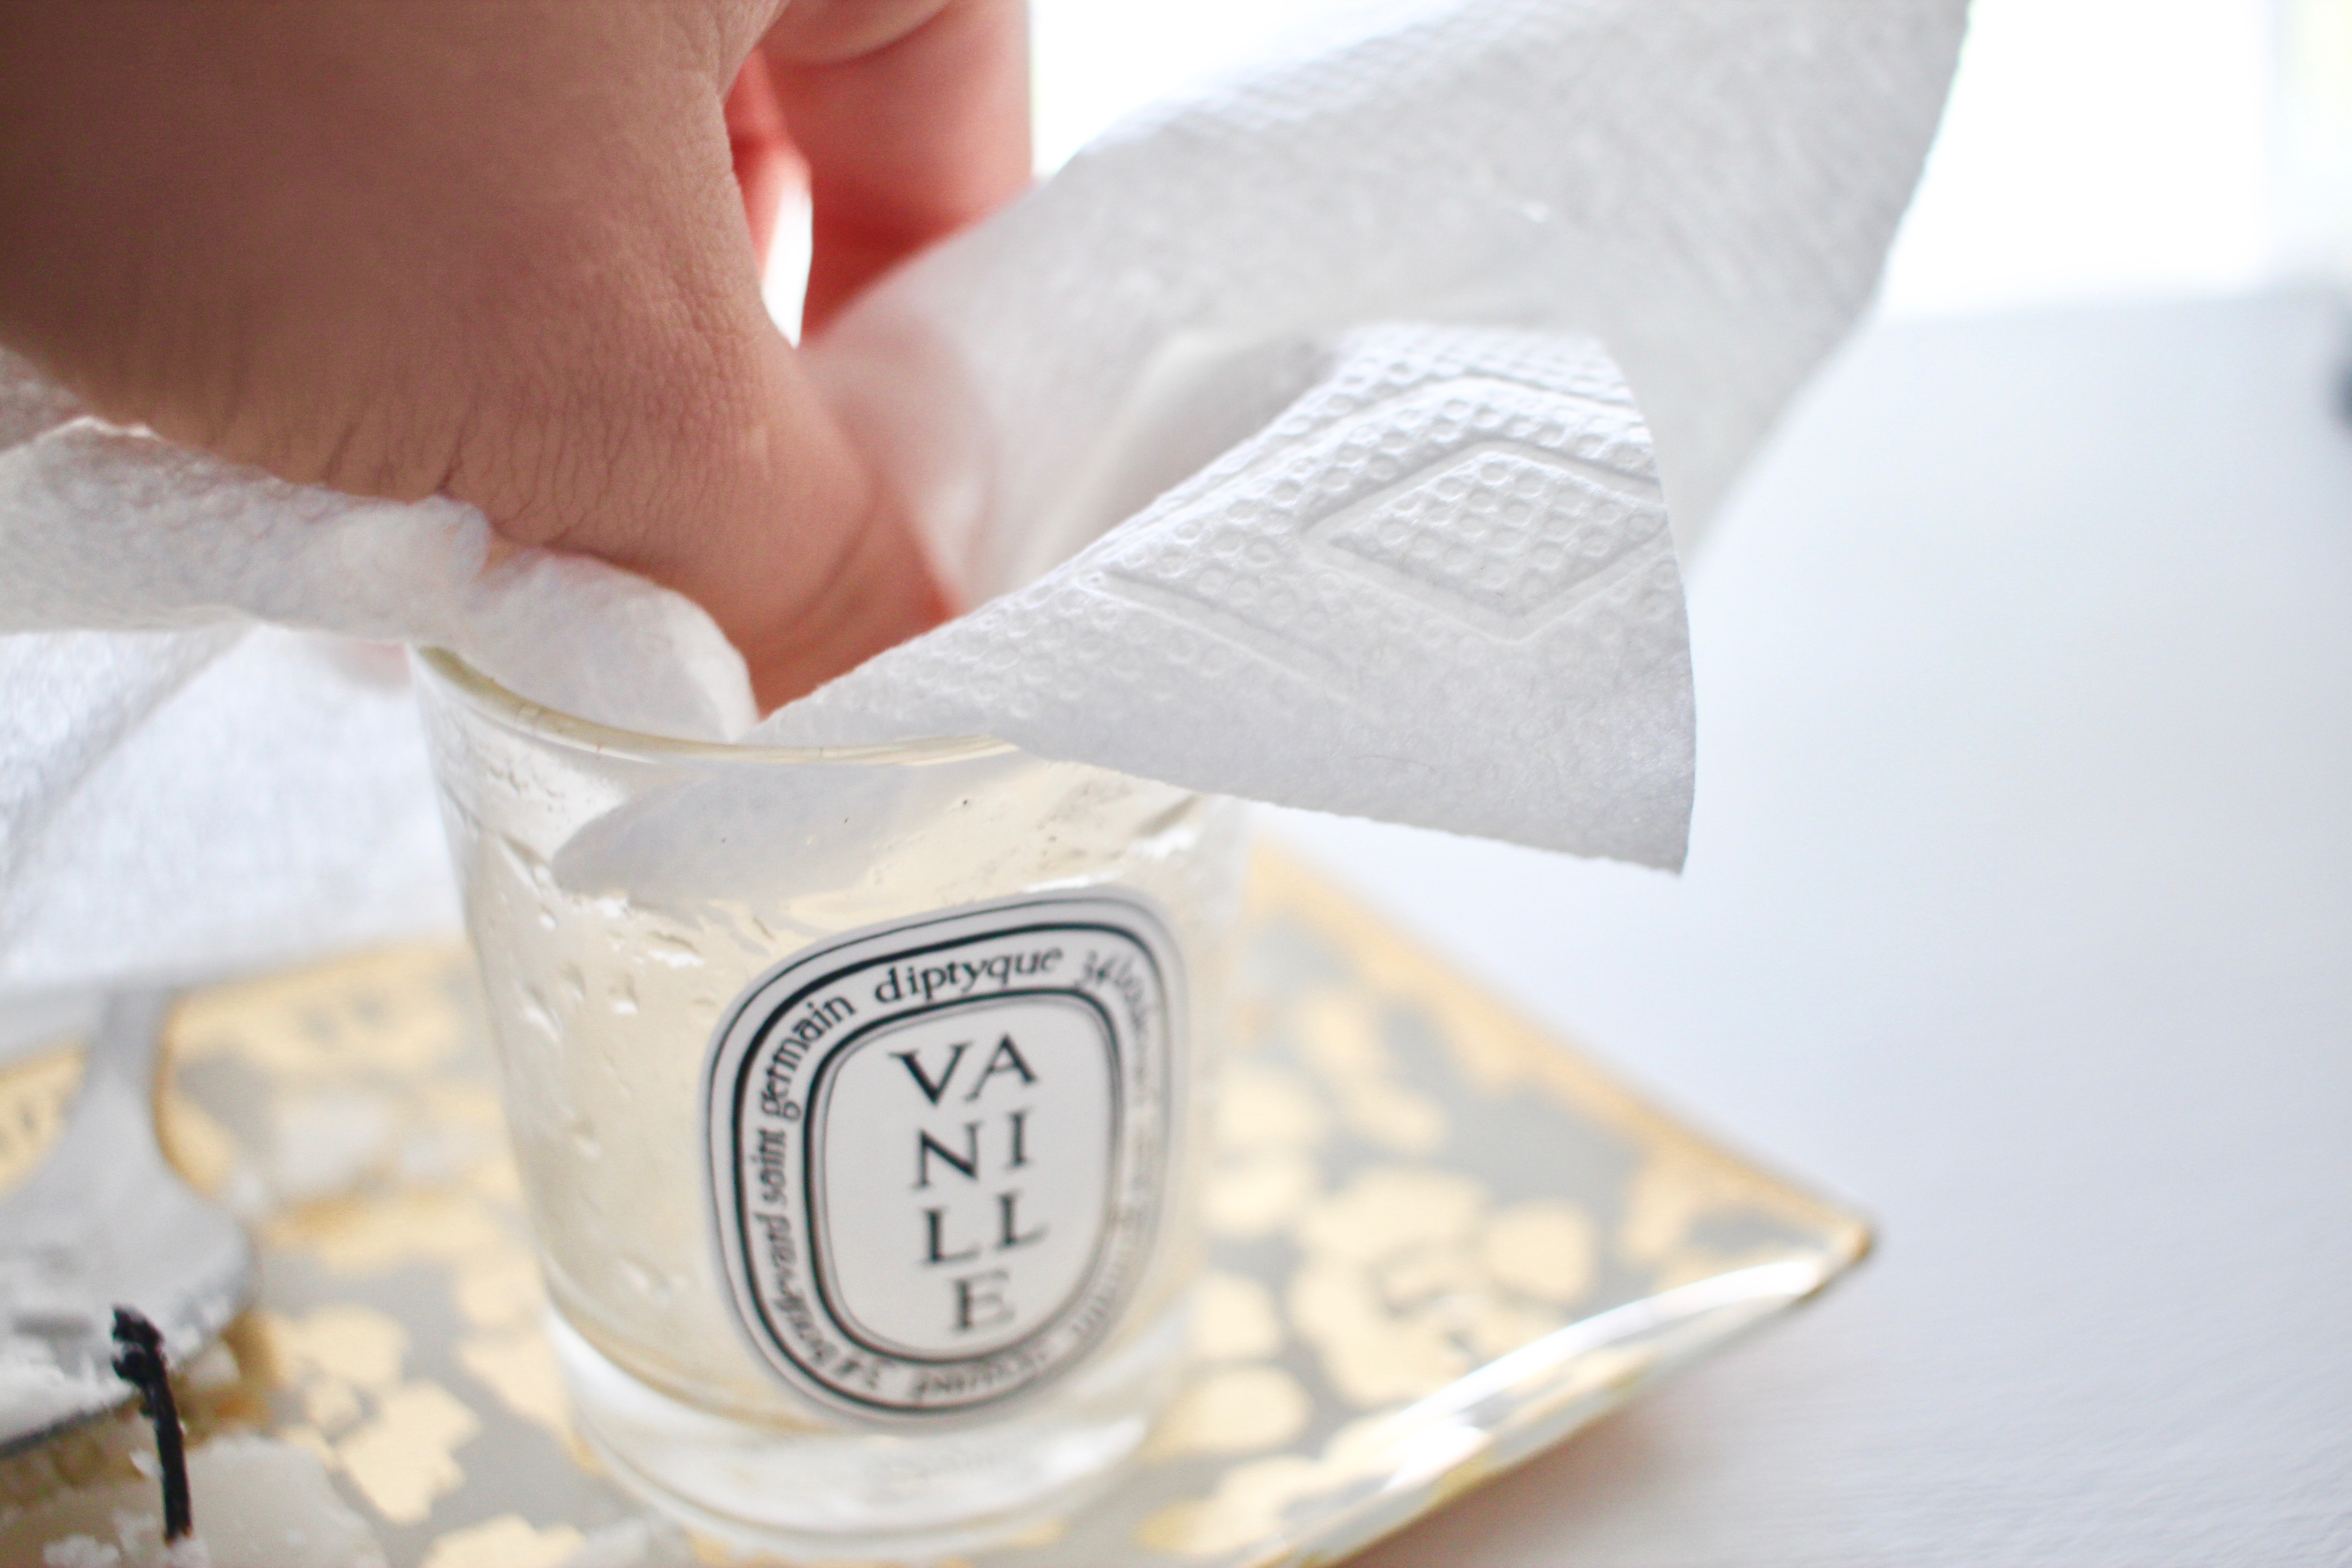
Step 3: Dump out the water and using a clean paper towel, wipe out the remaining softened wax.


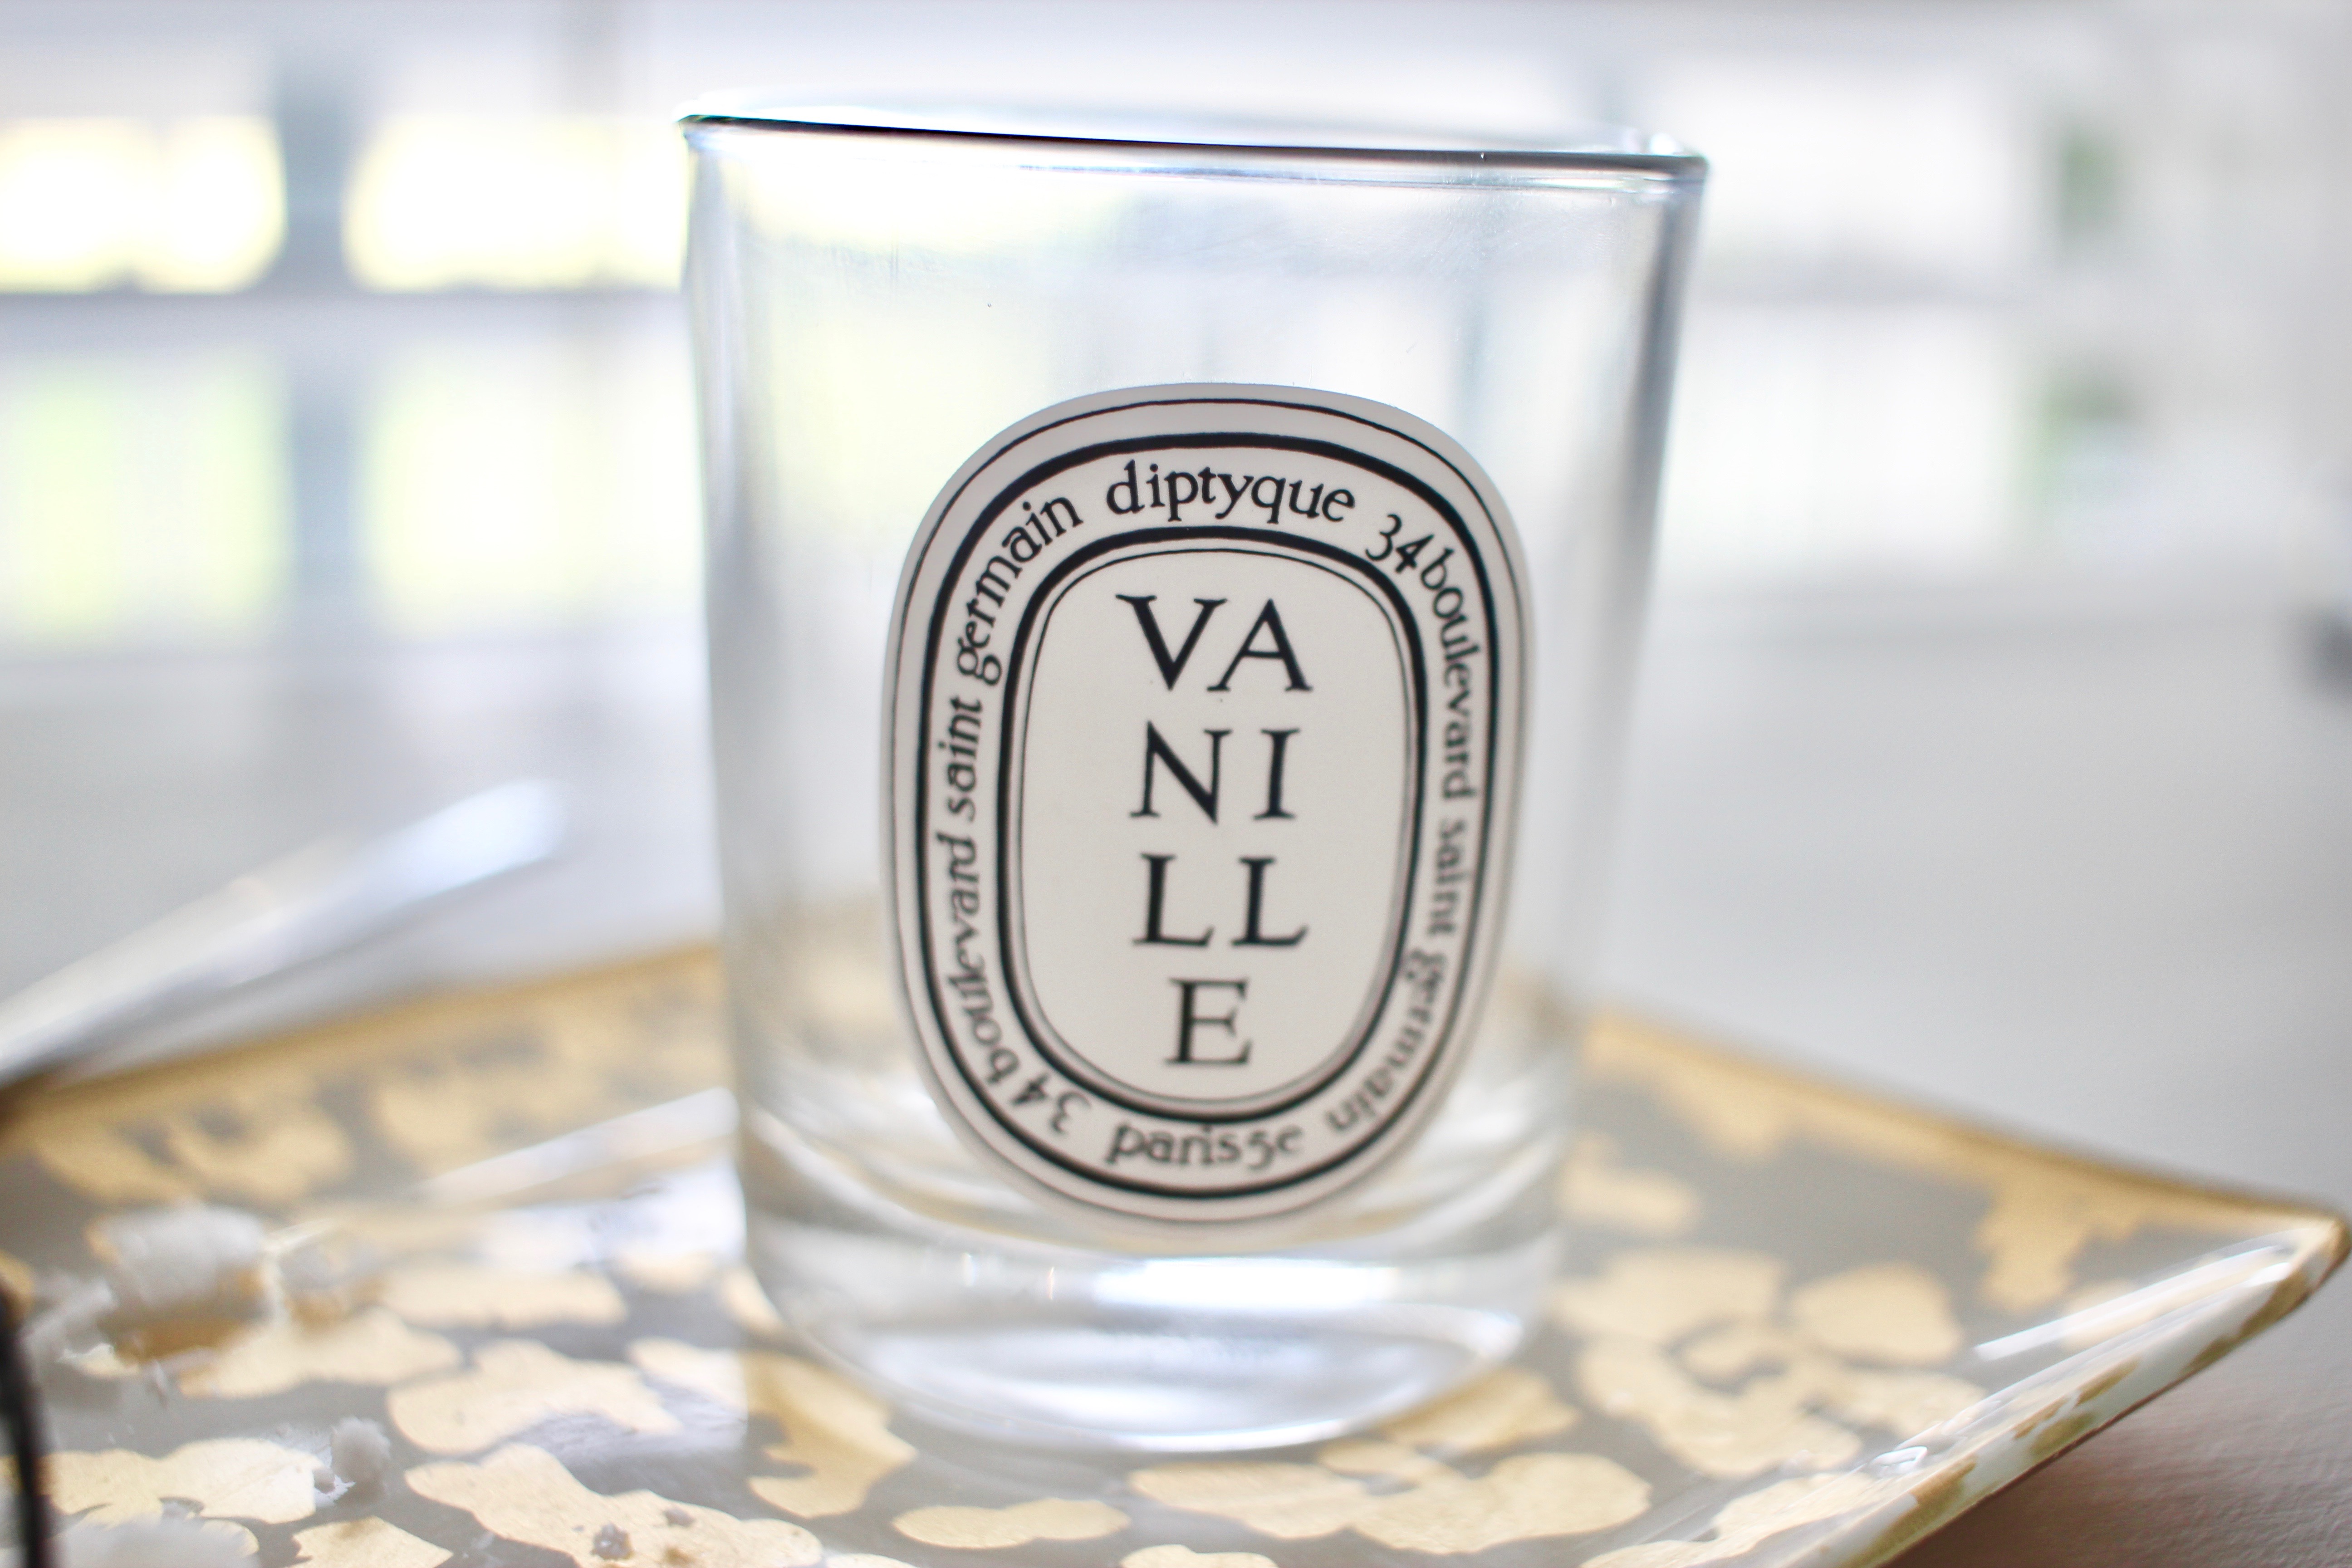
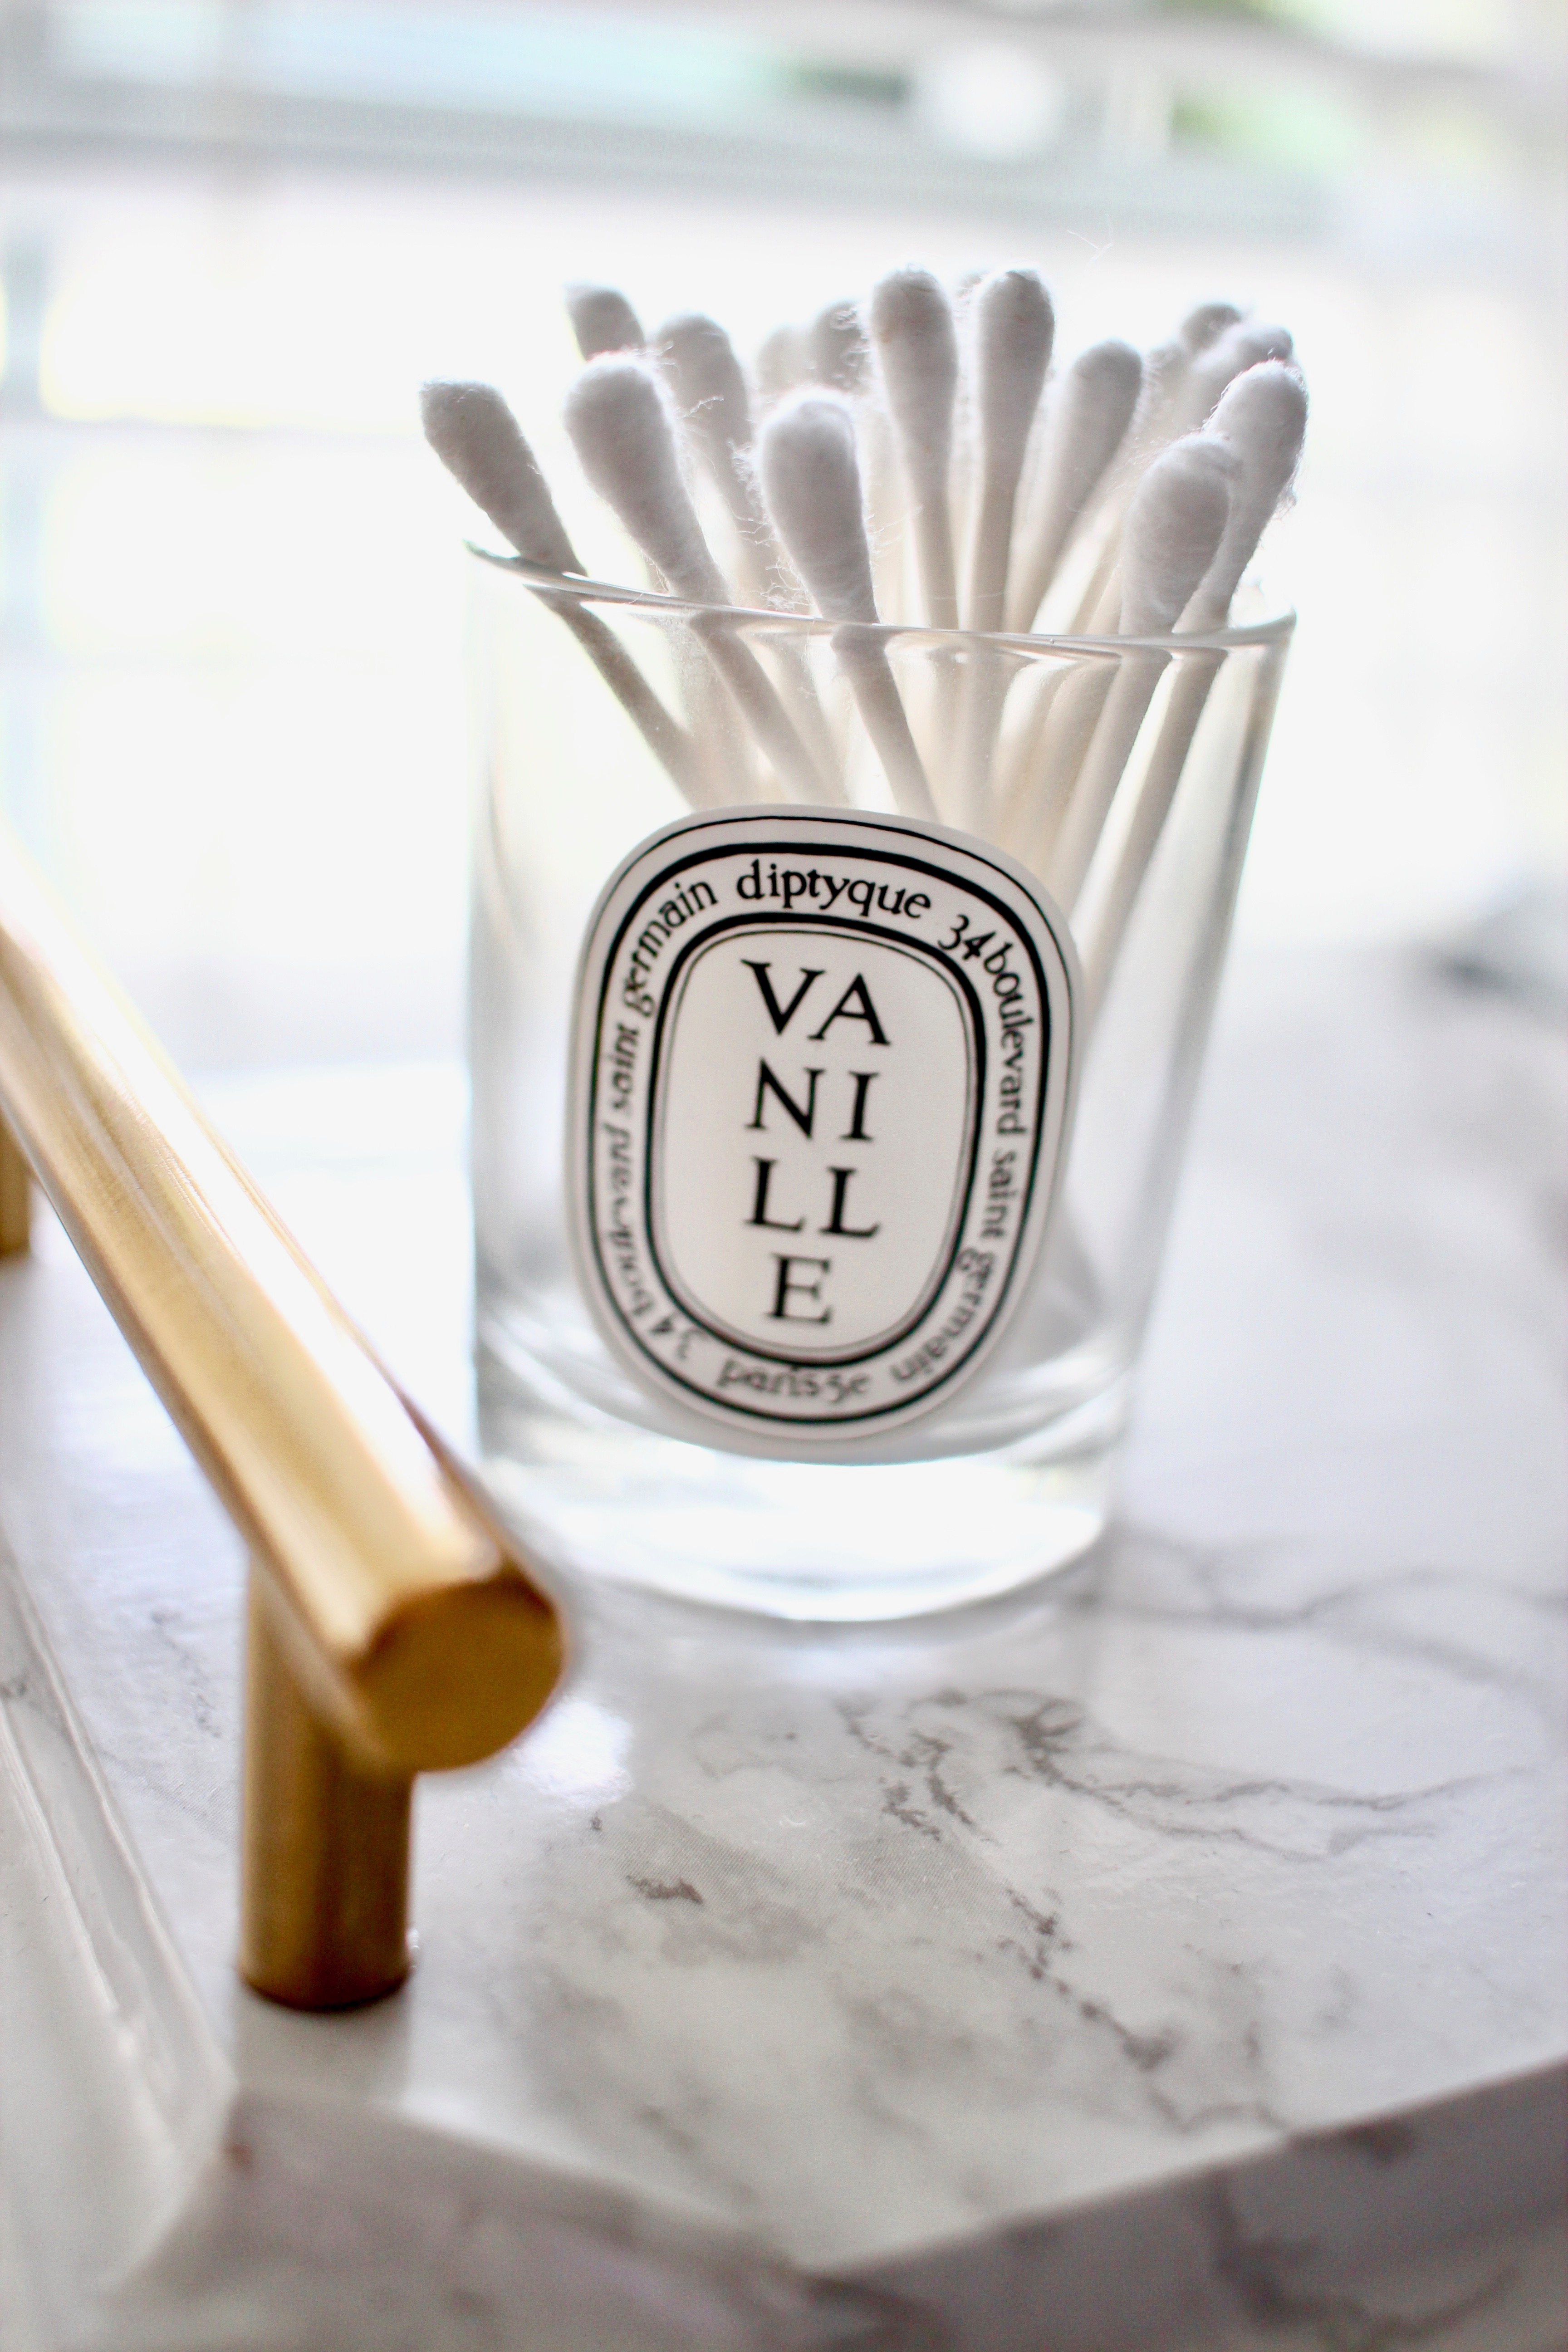
Bonus: Decide what you will put in your freshly cleaned Diptyque jar!


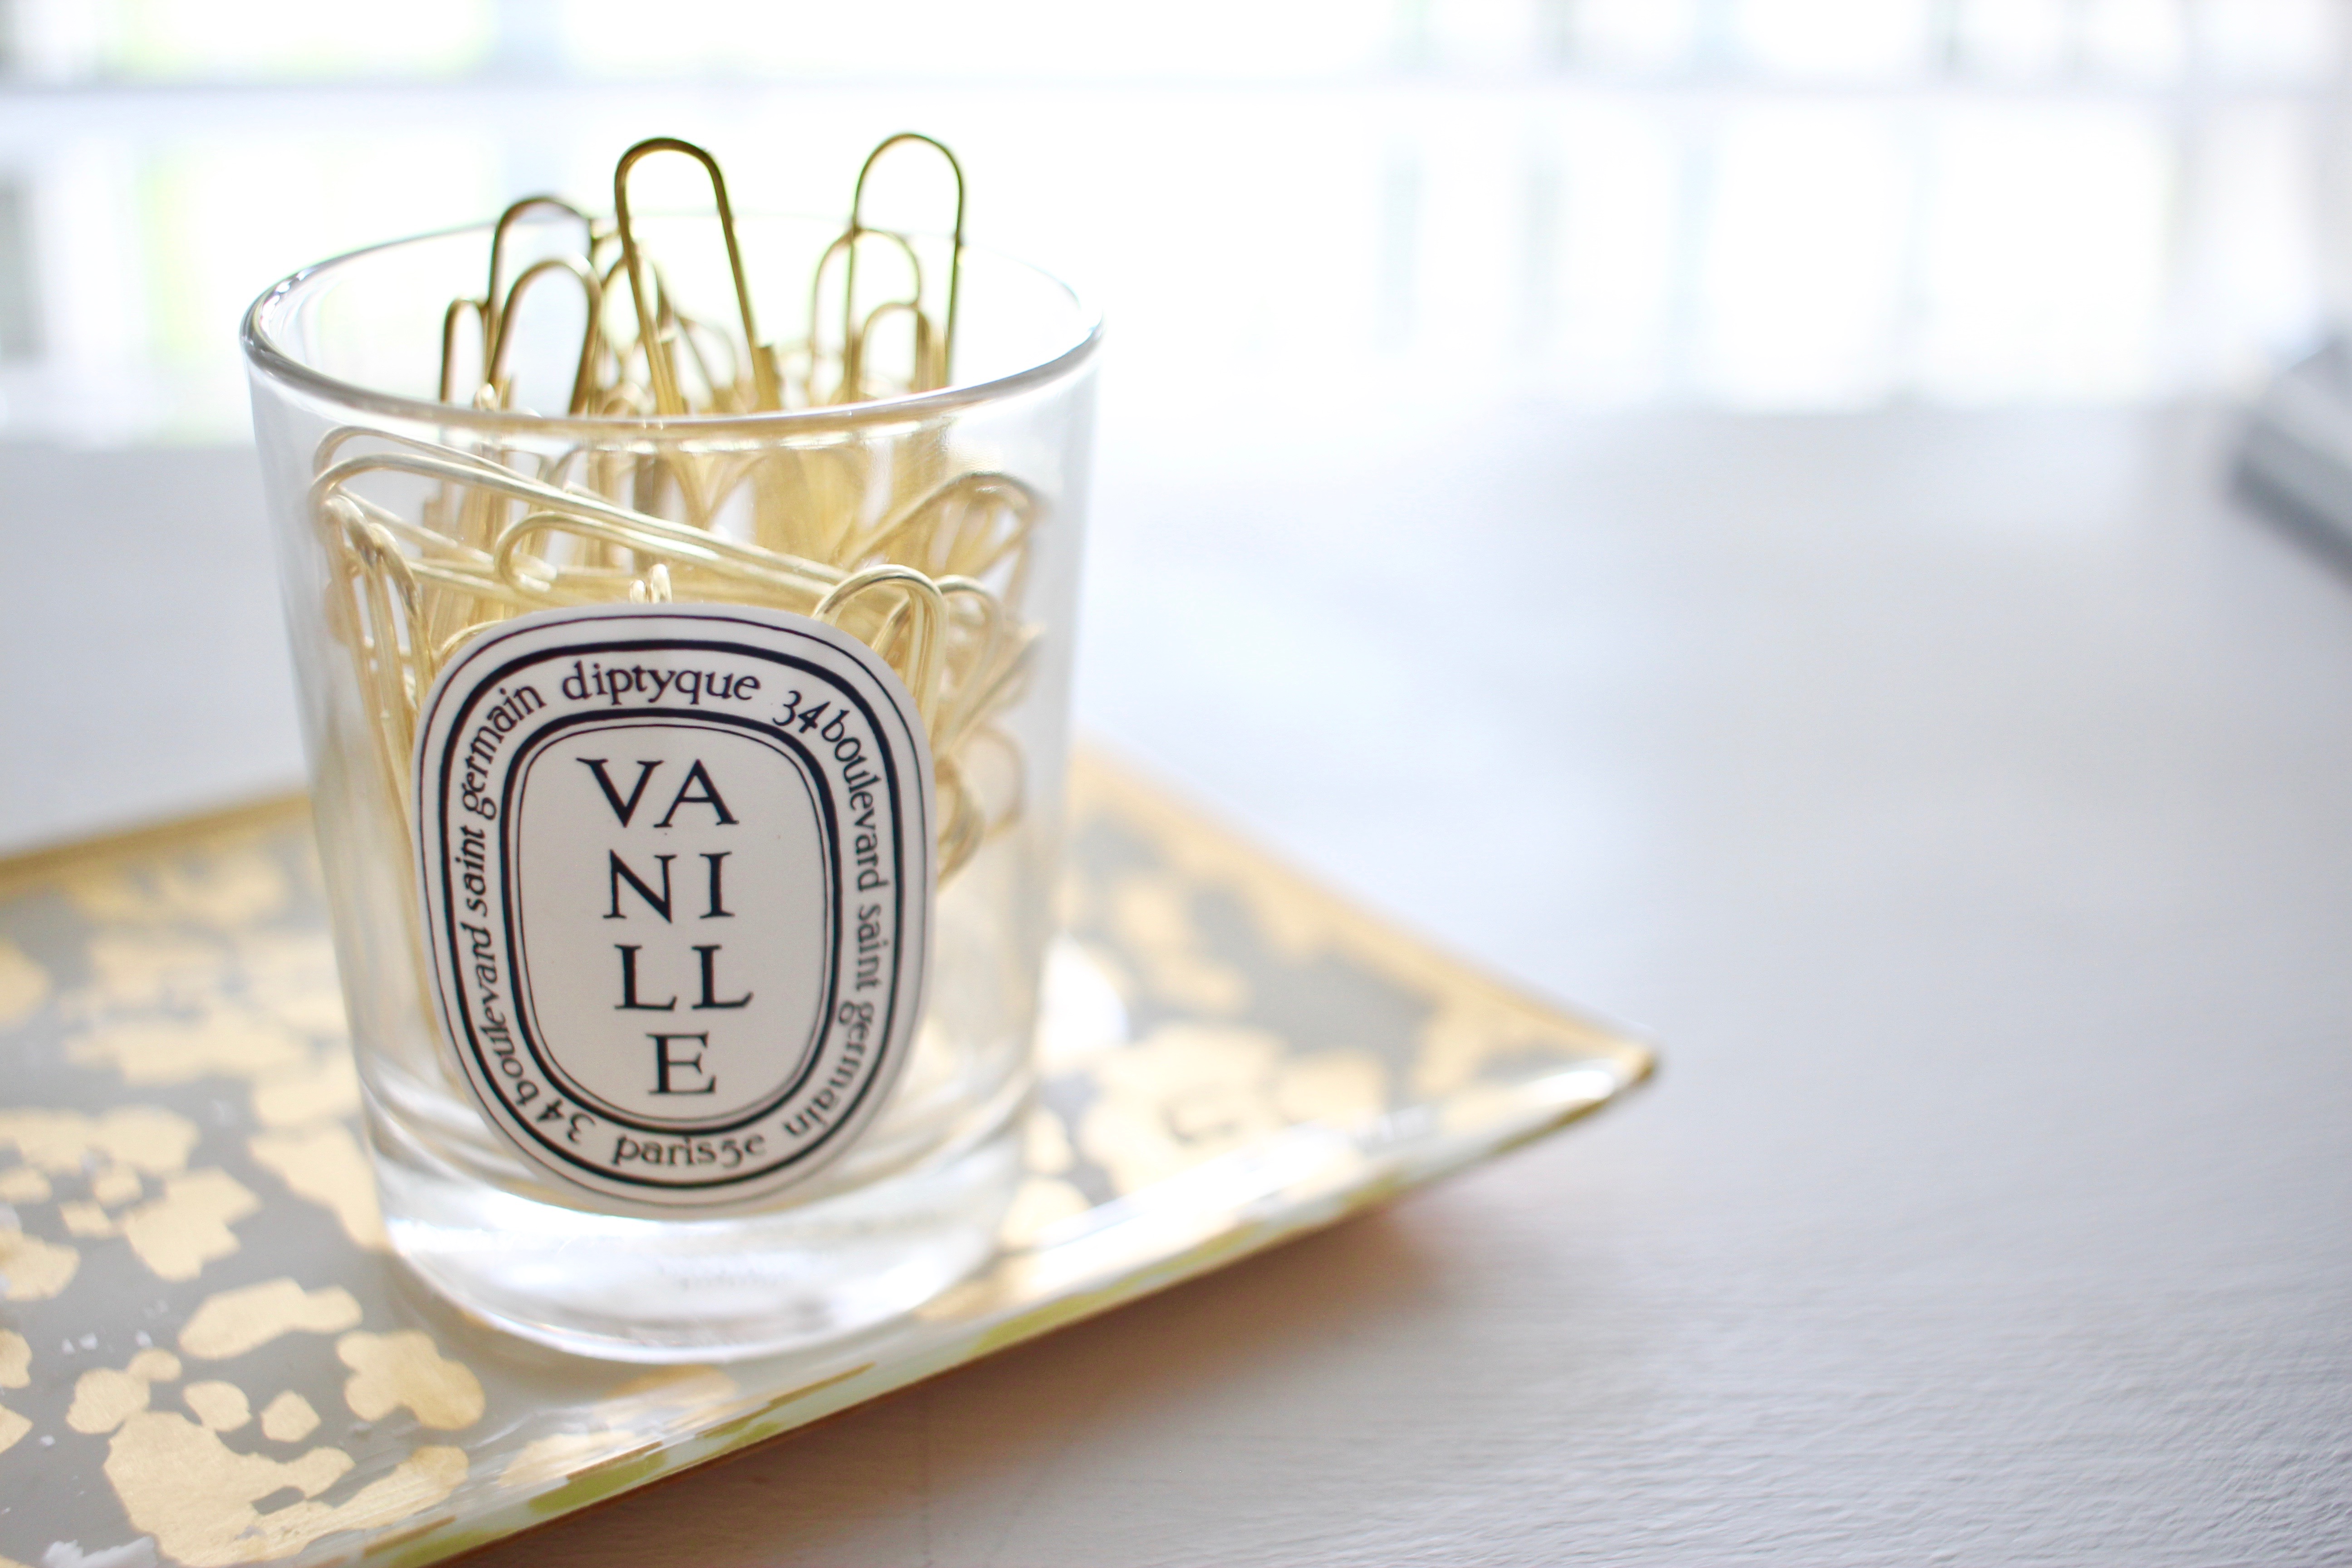
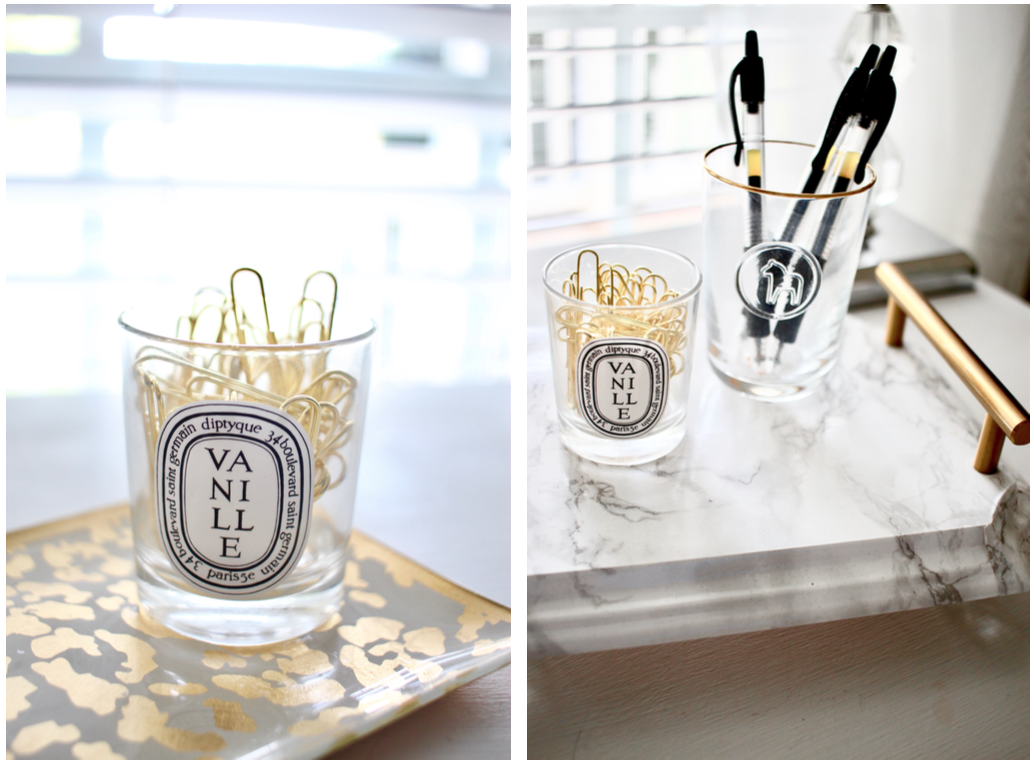
At first, I thought I would use this one for paper clips. Then after playing around with it, I decided to use it in our master bath for a much prettier way to store our cotton swabs.

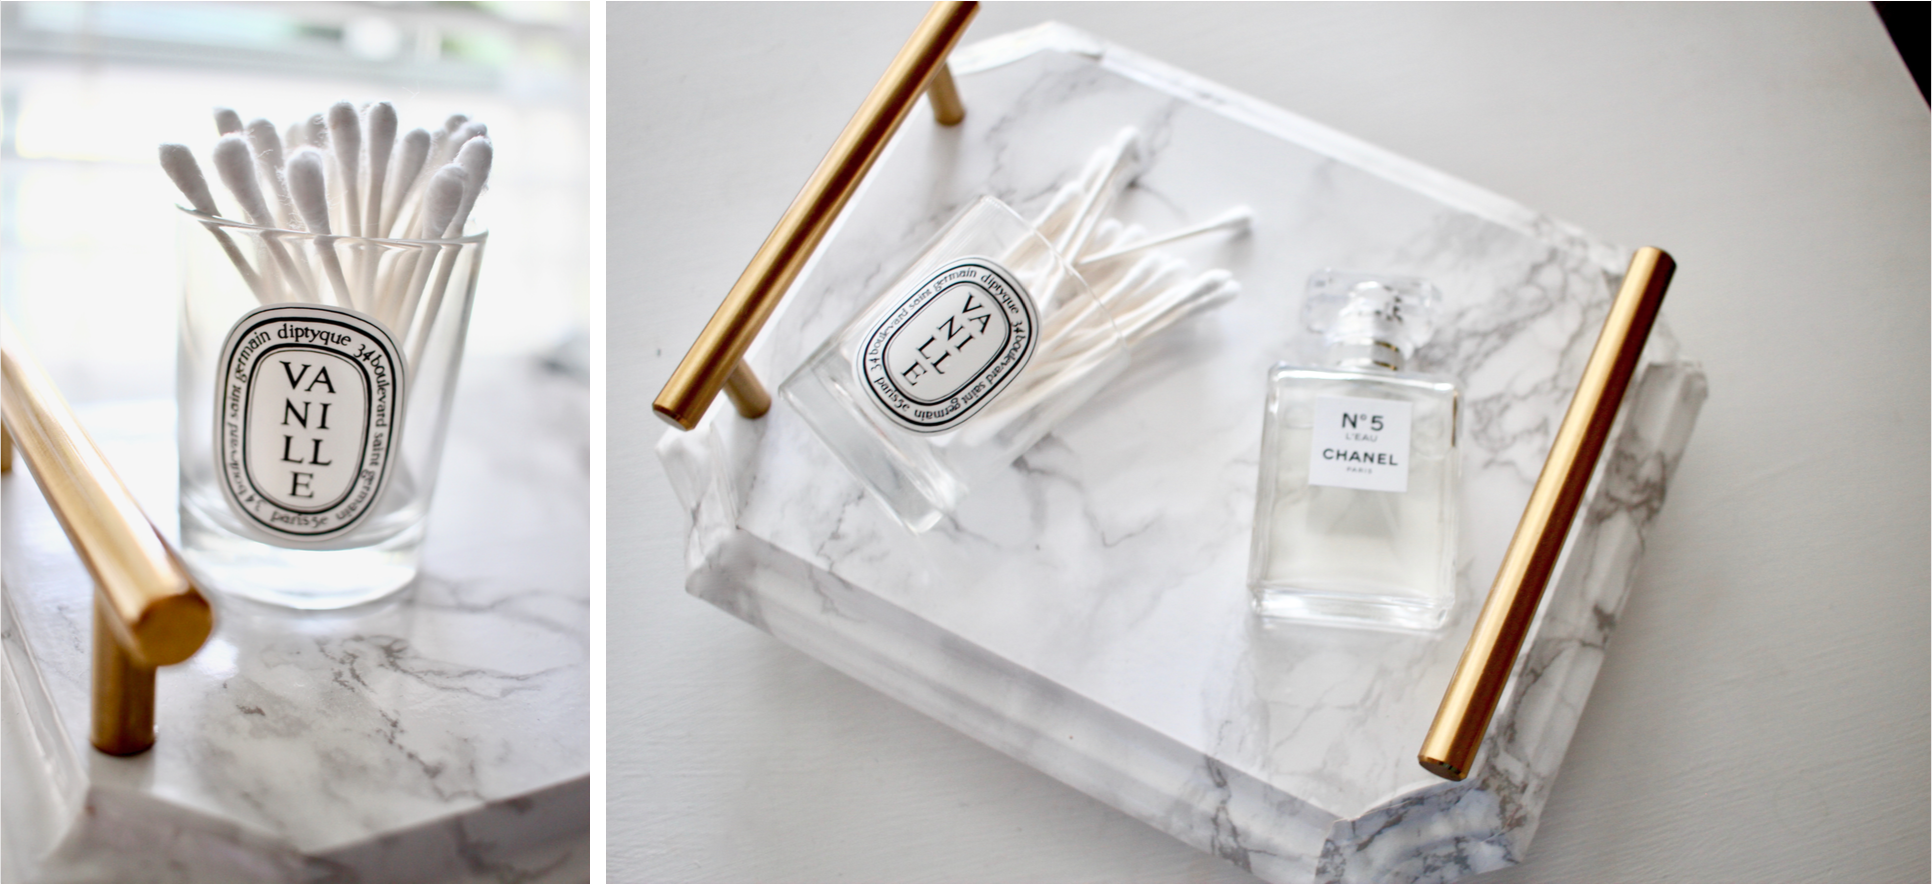
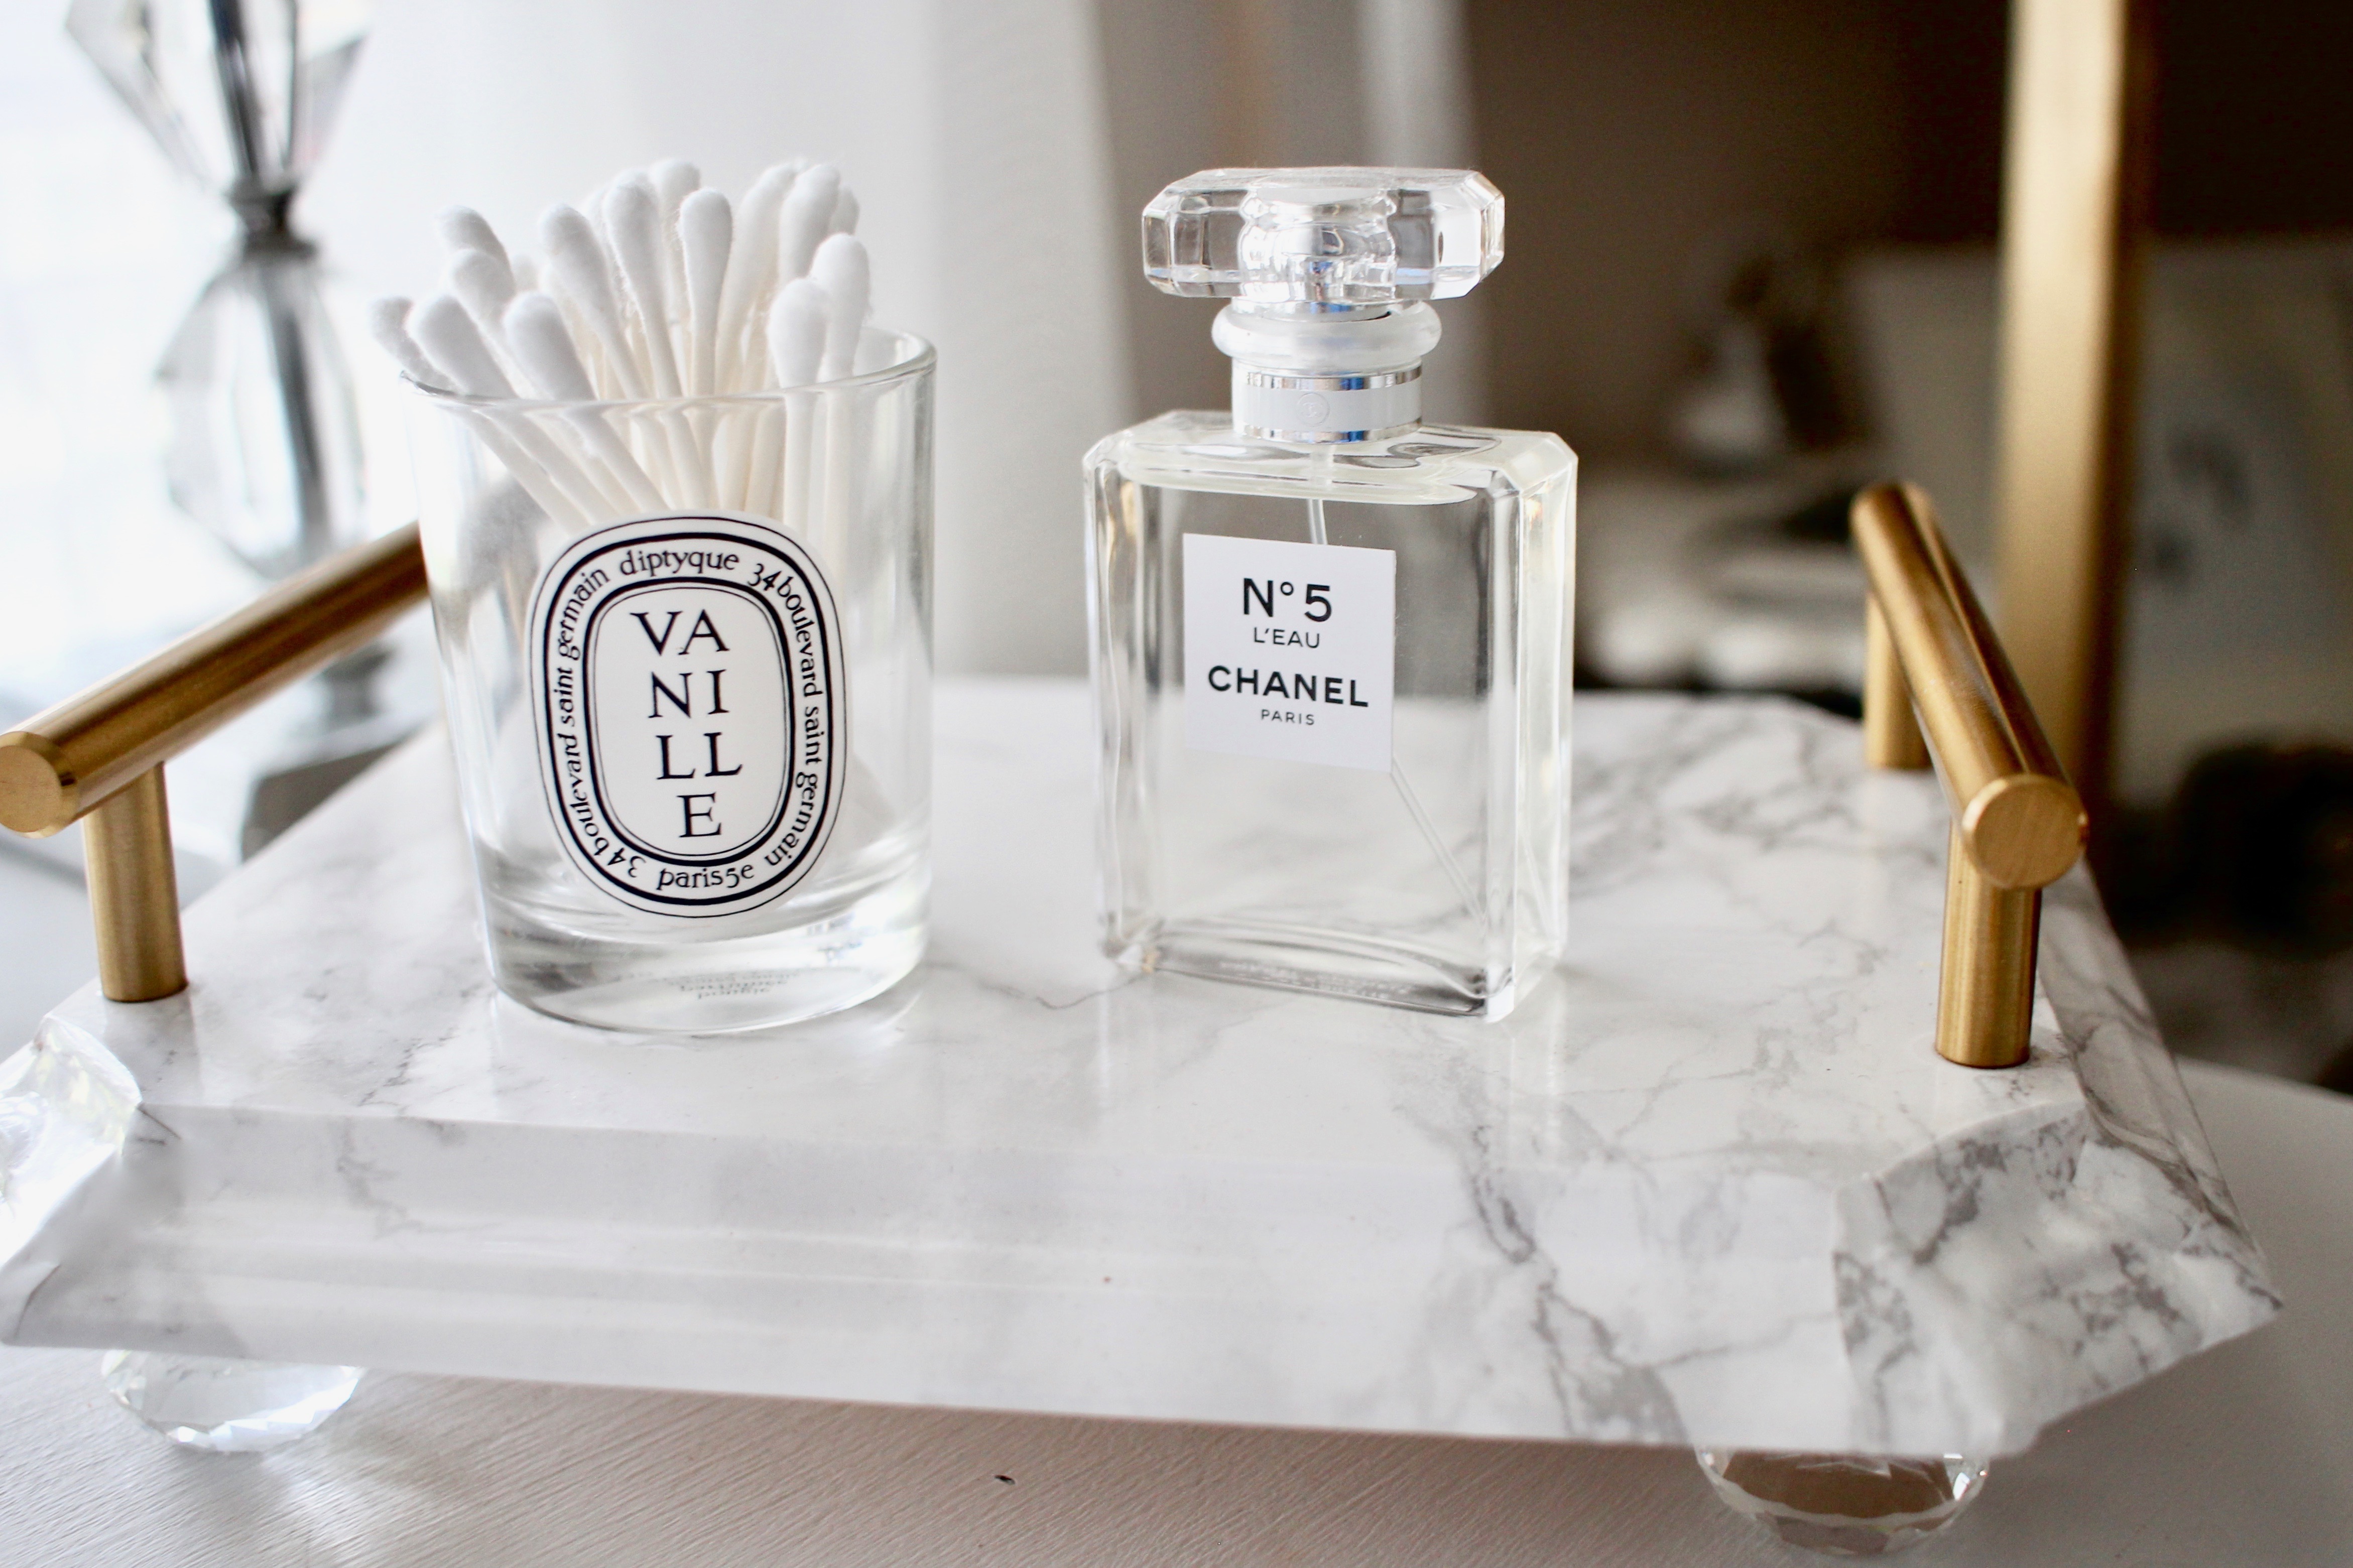
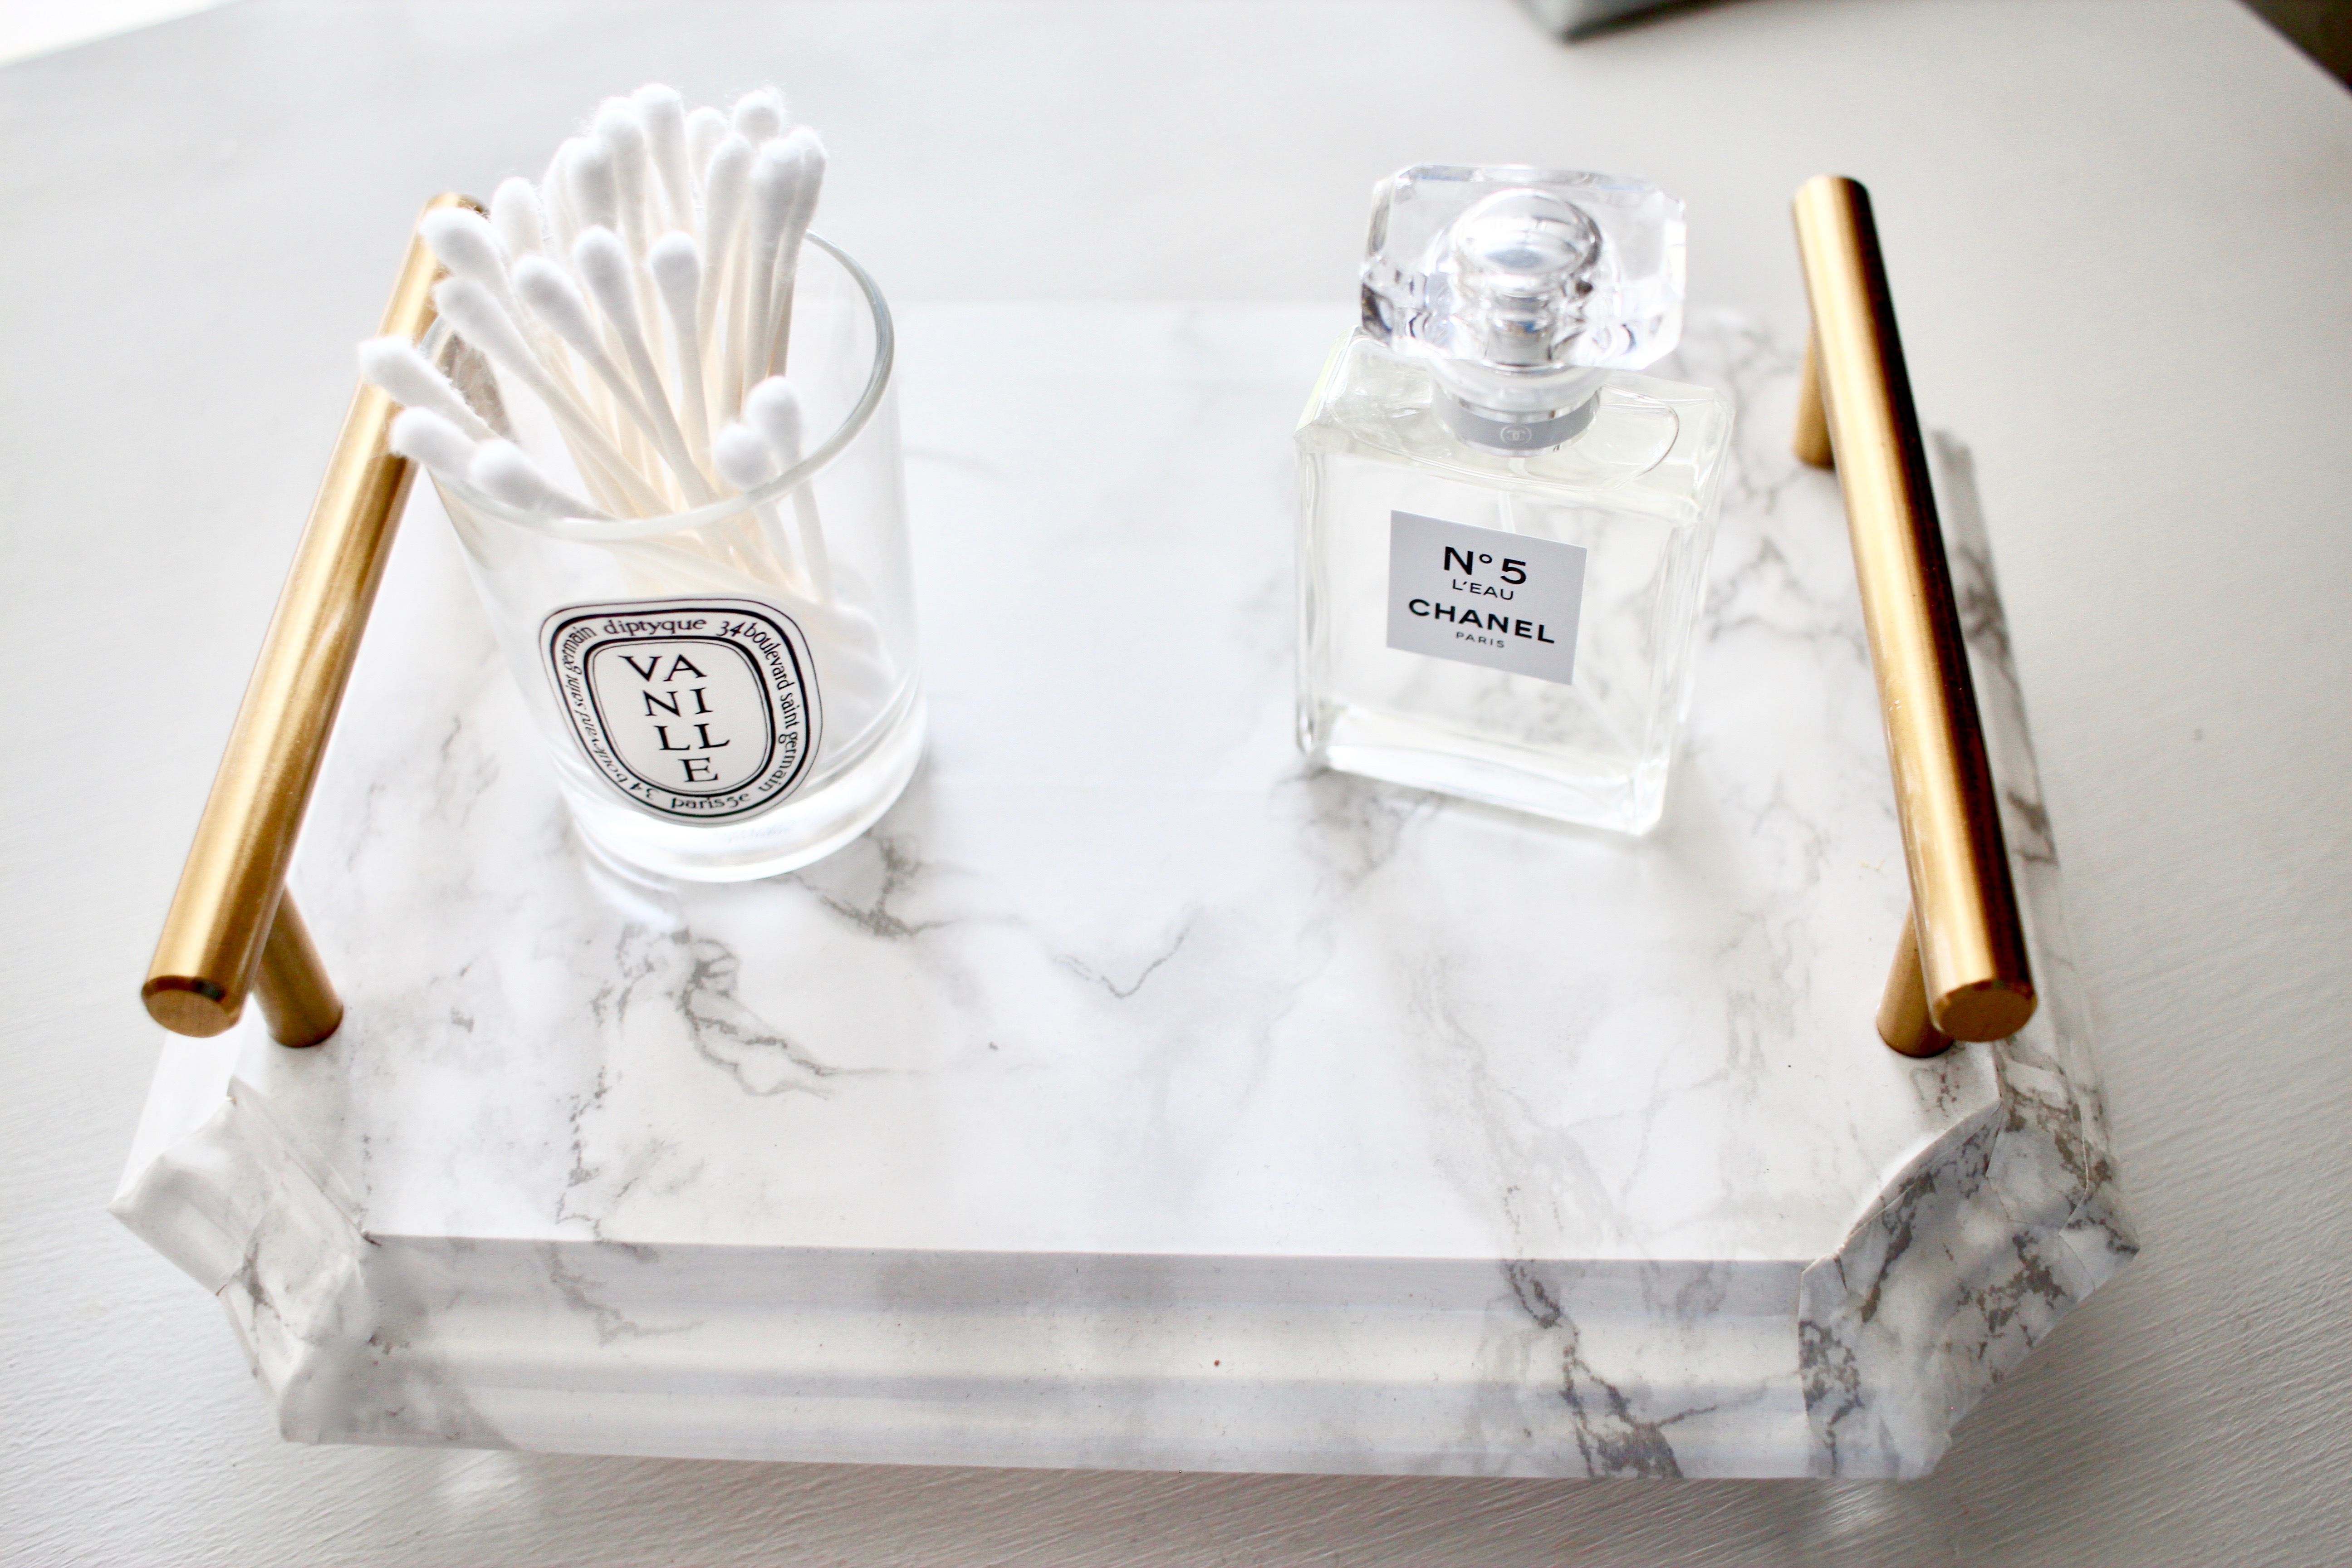
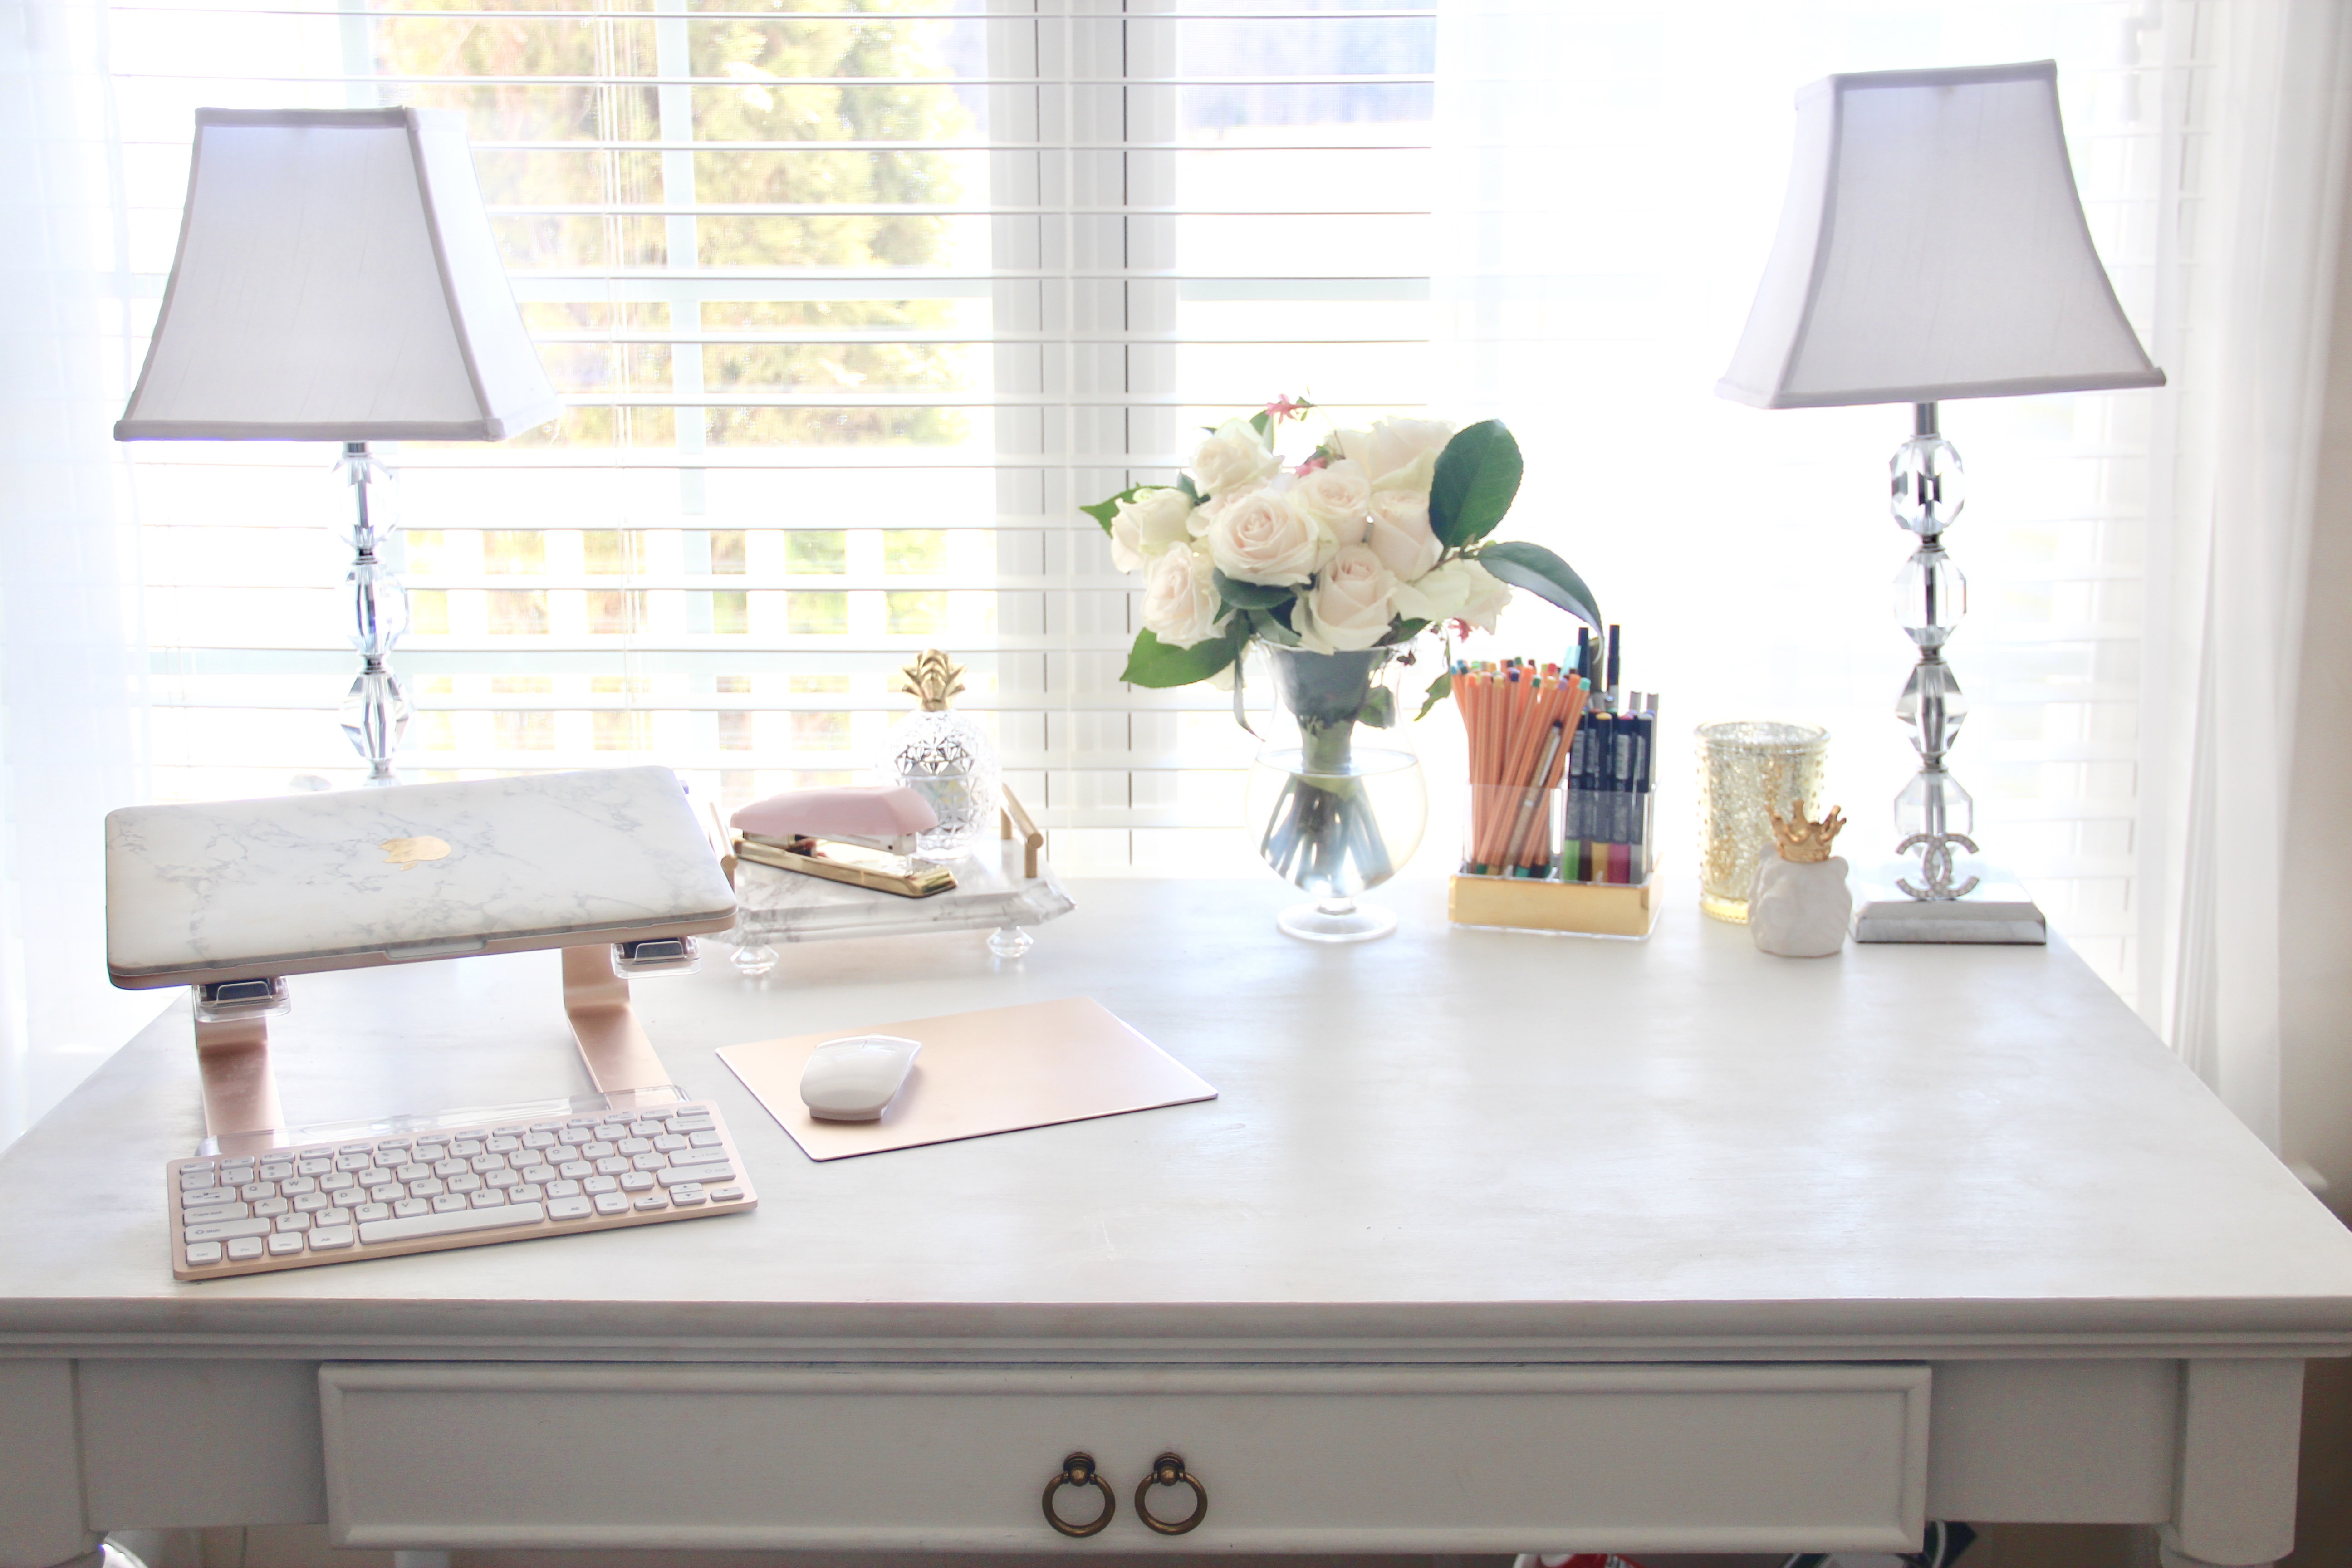
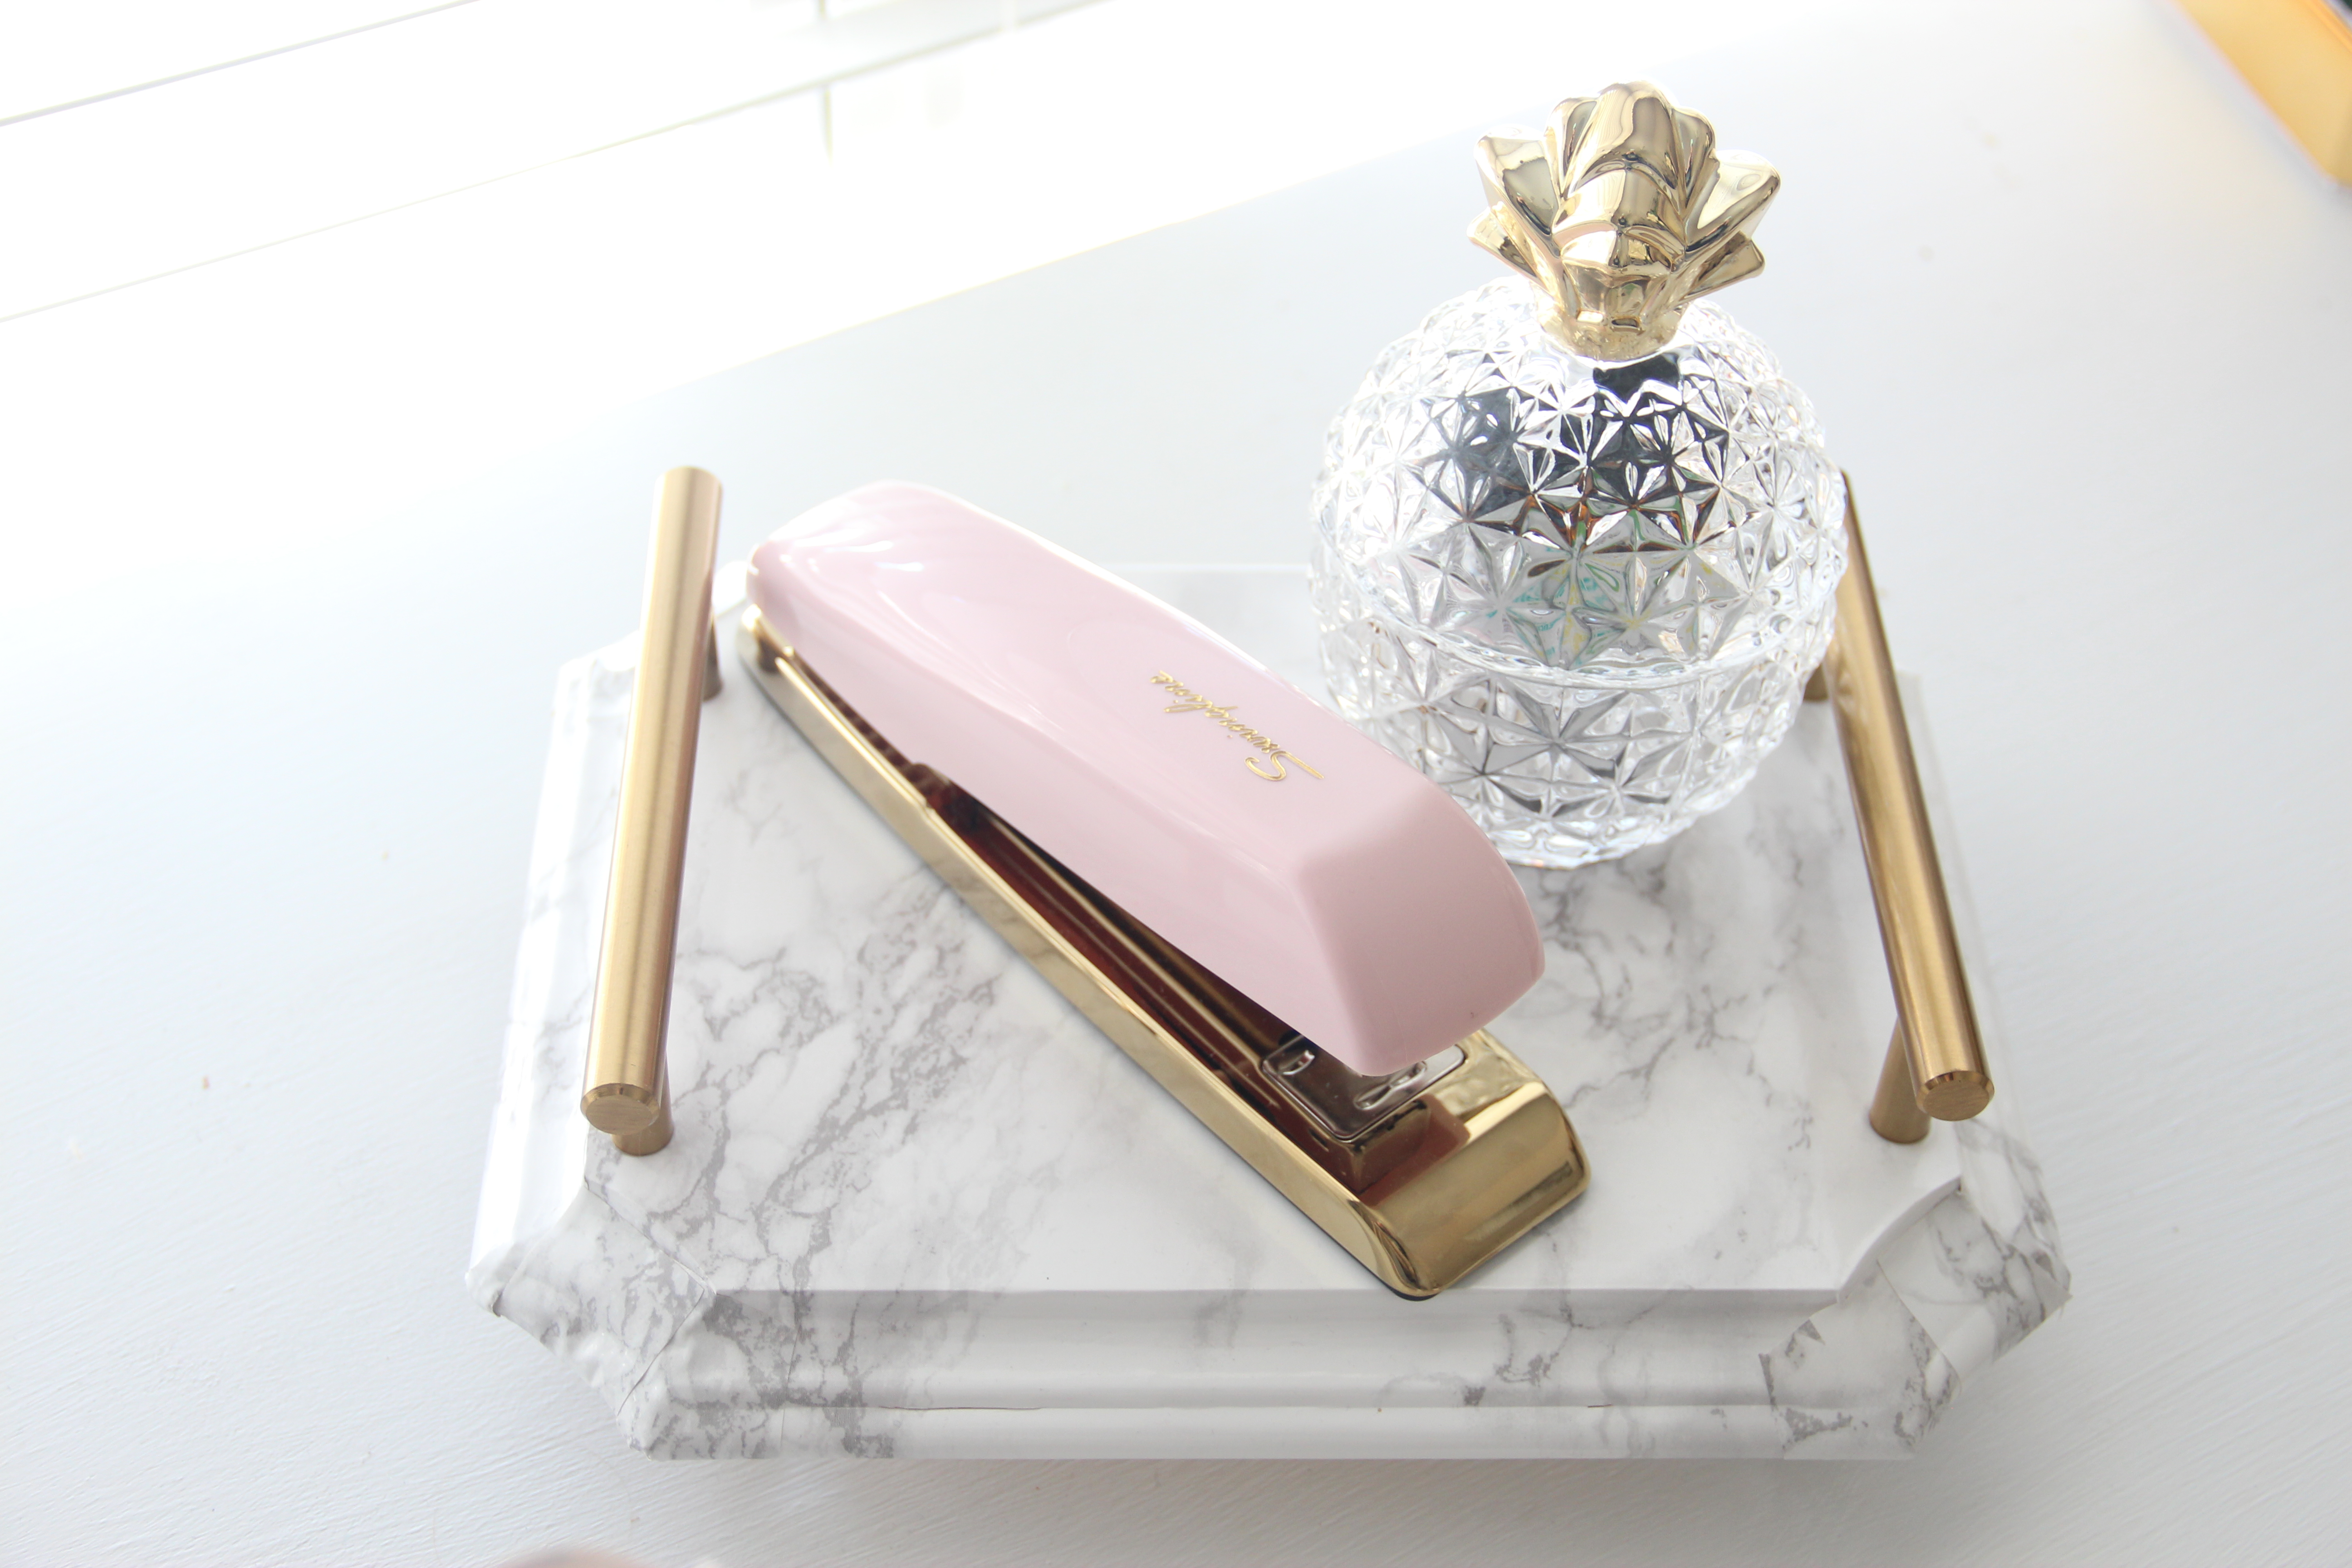
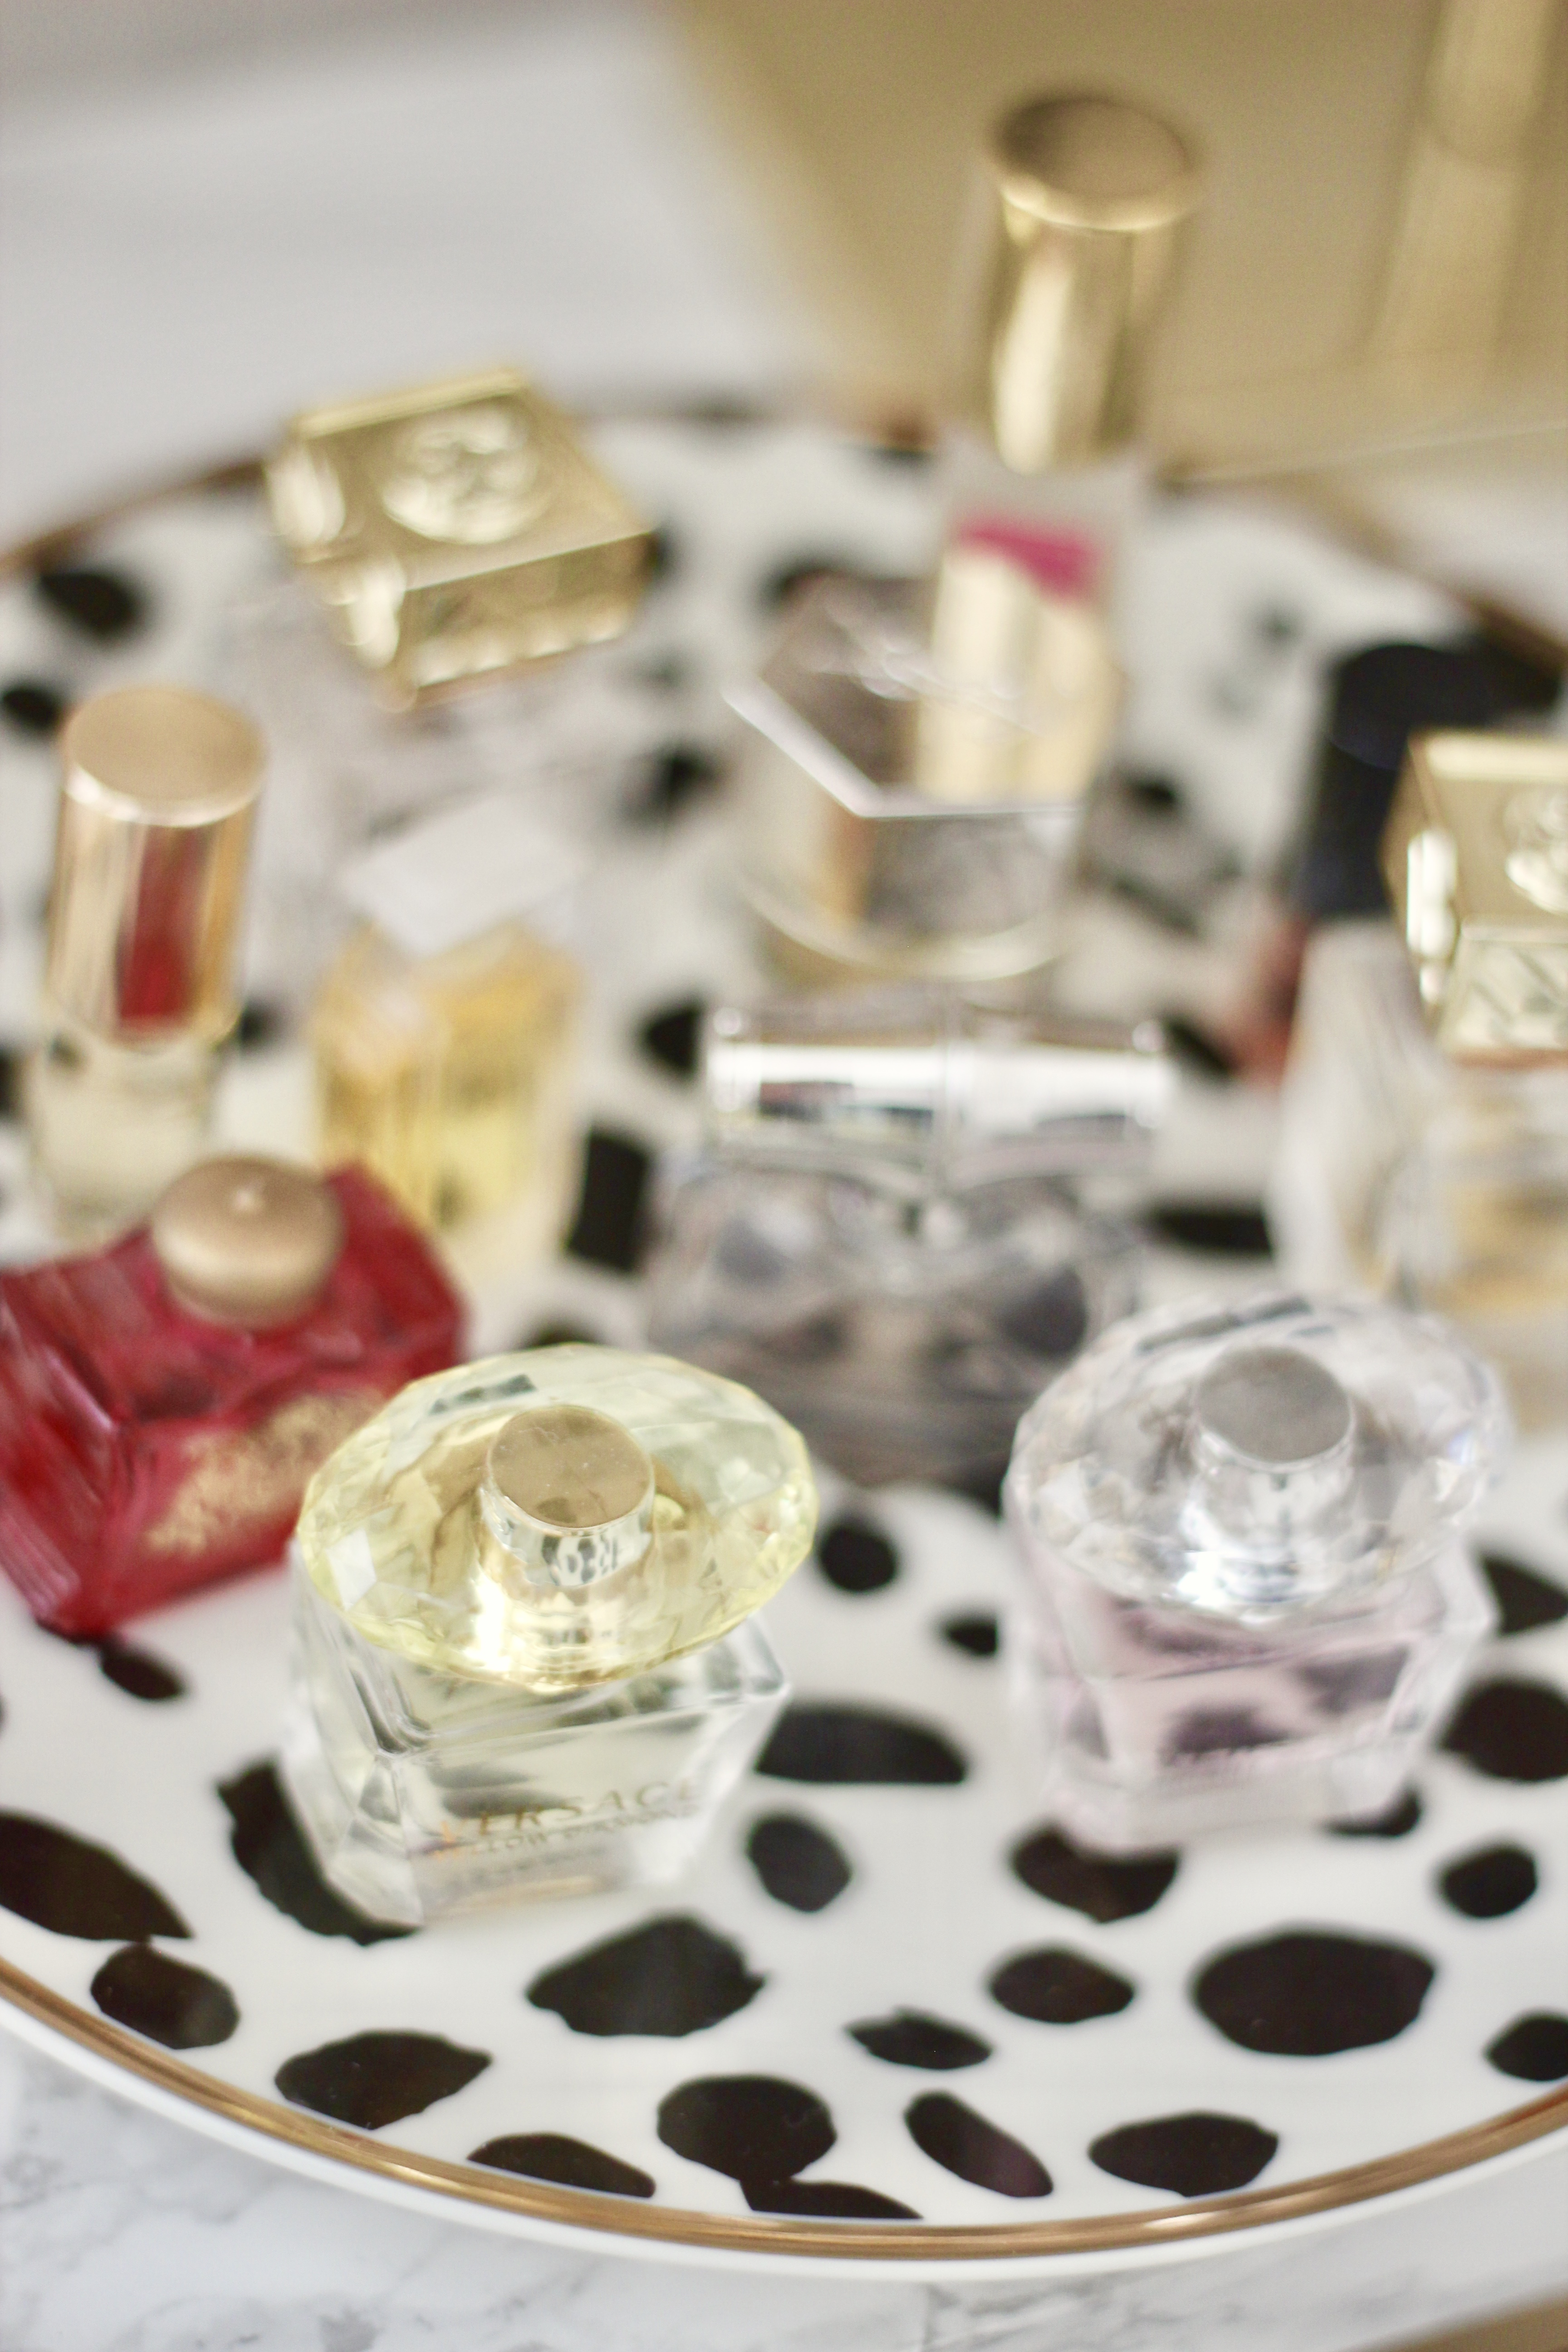
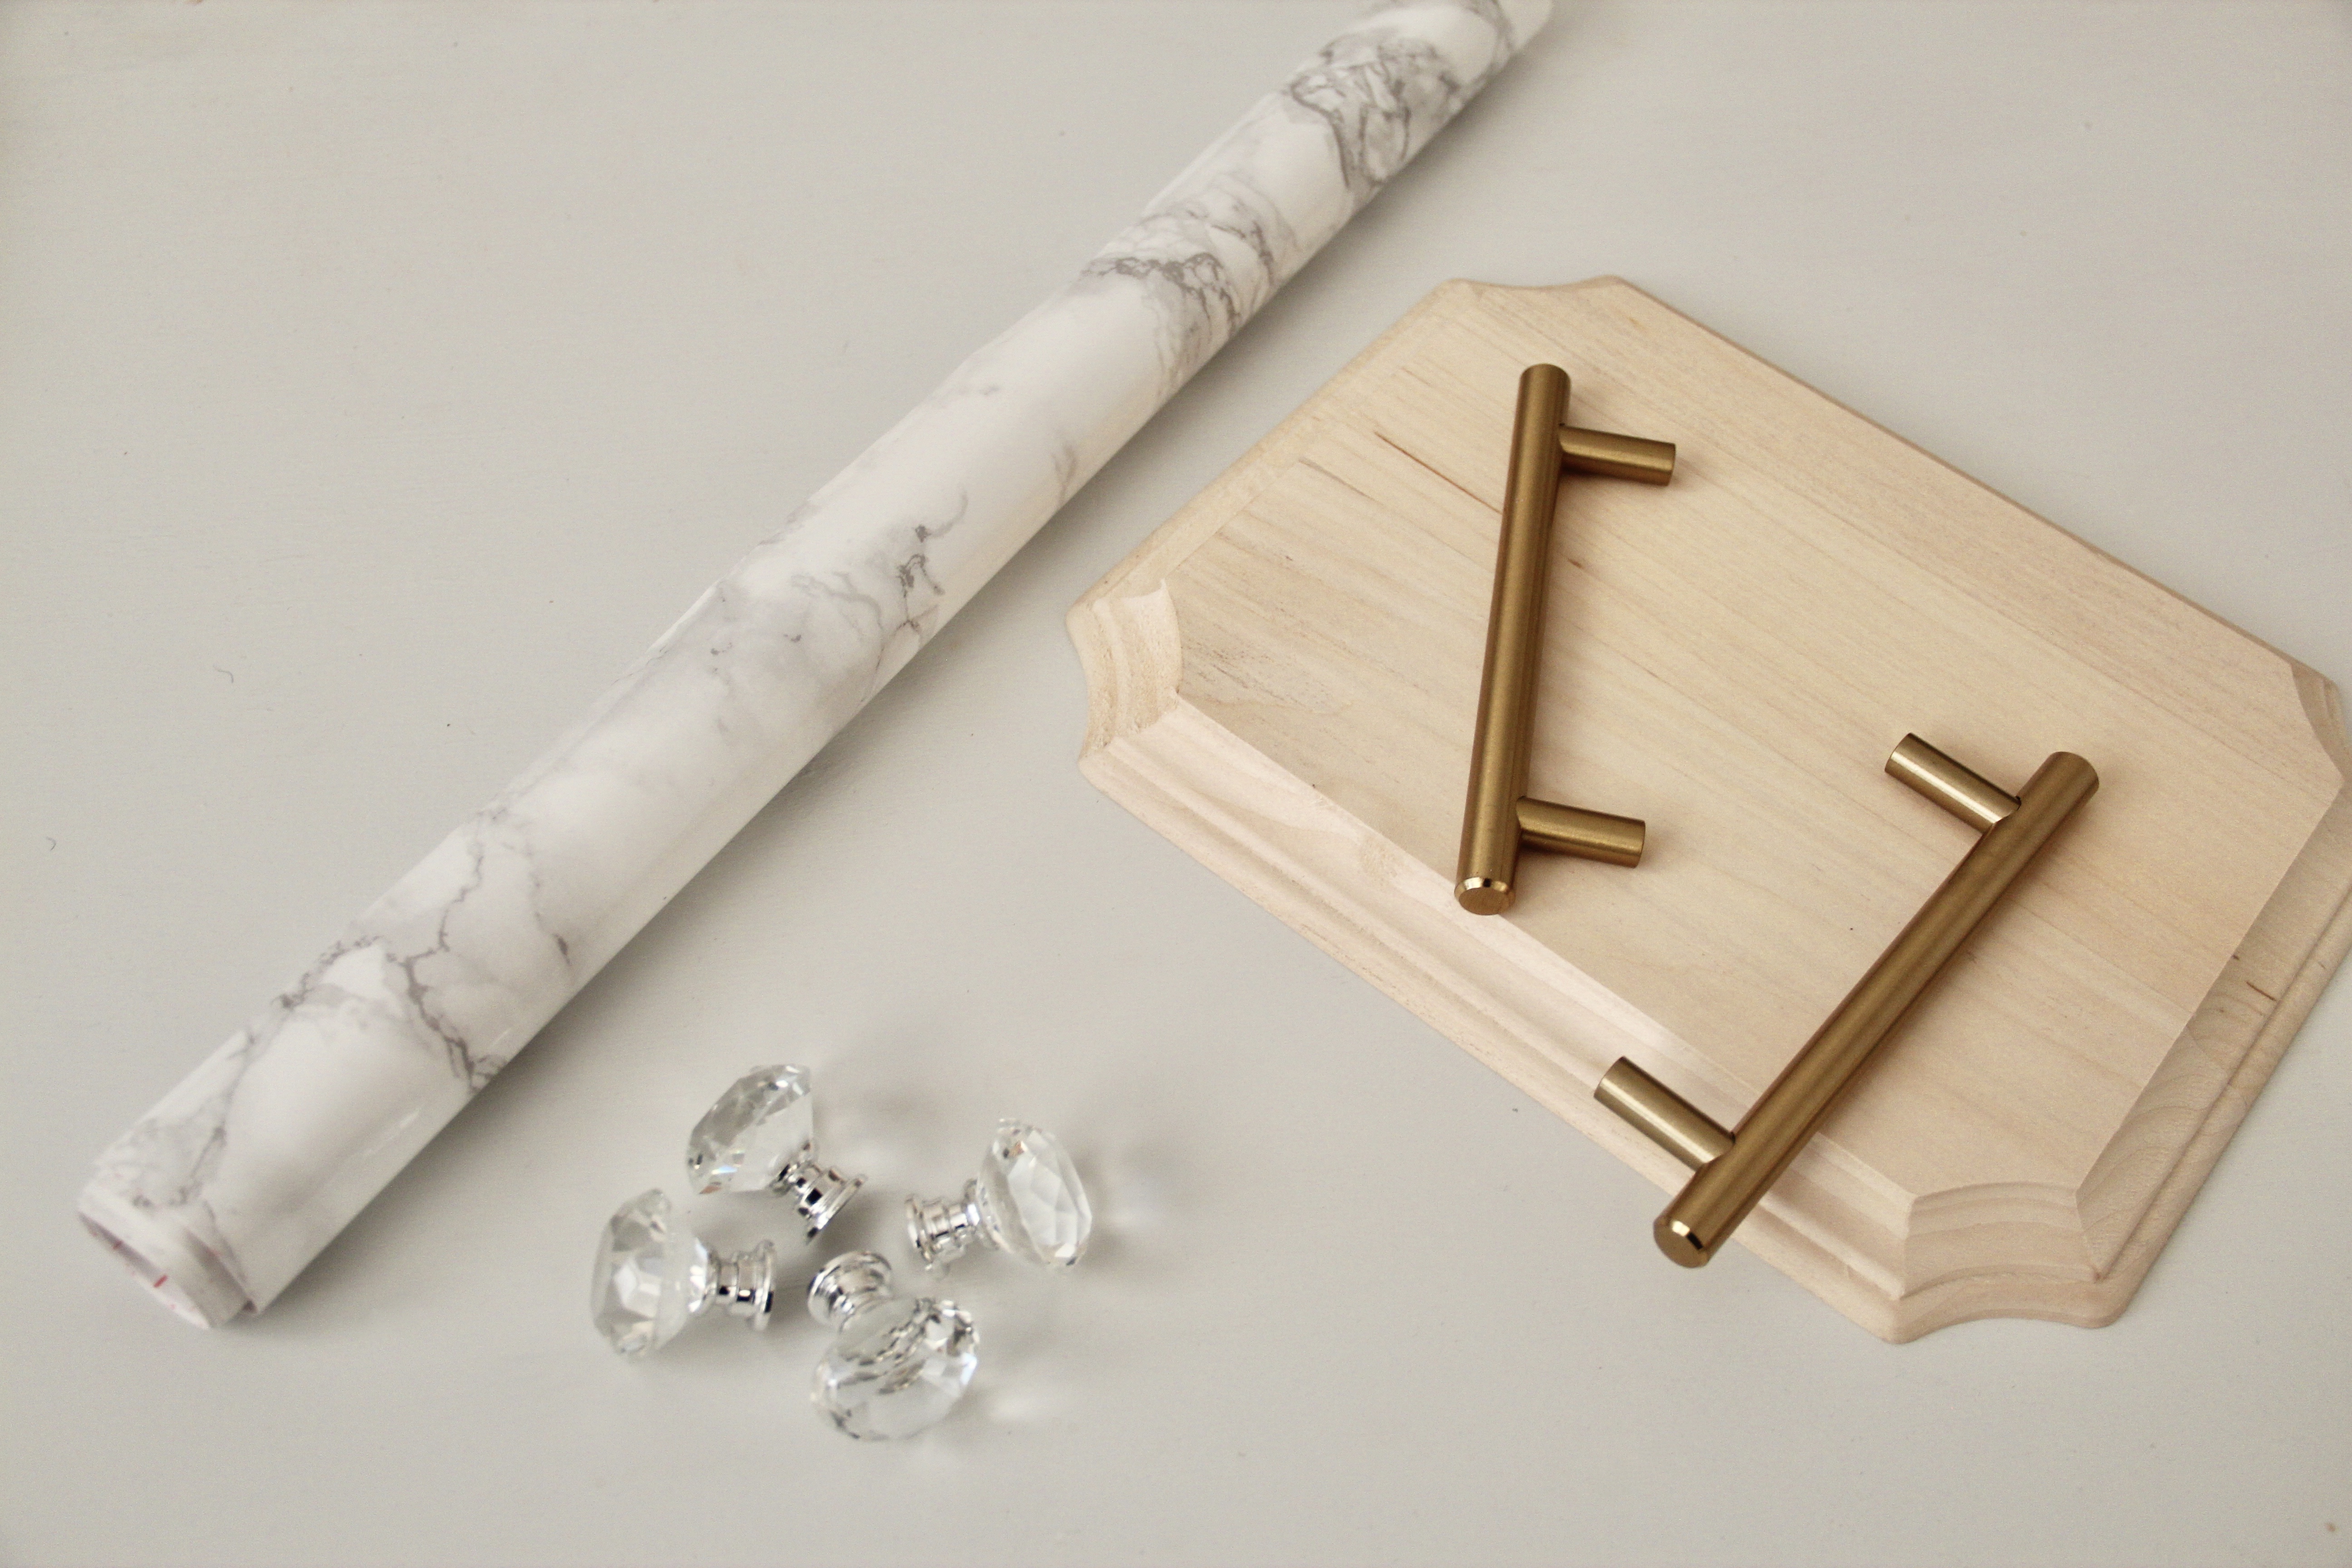
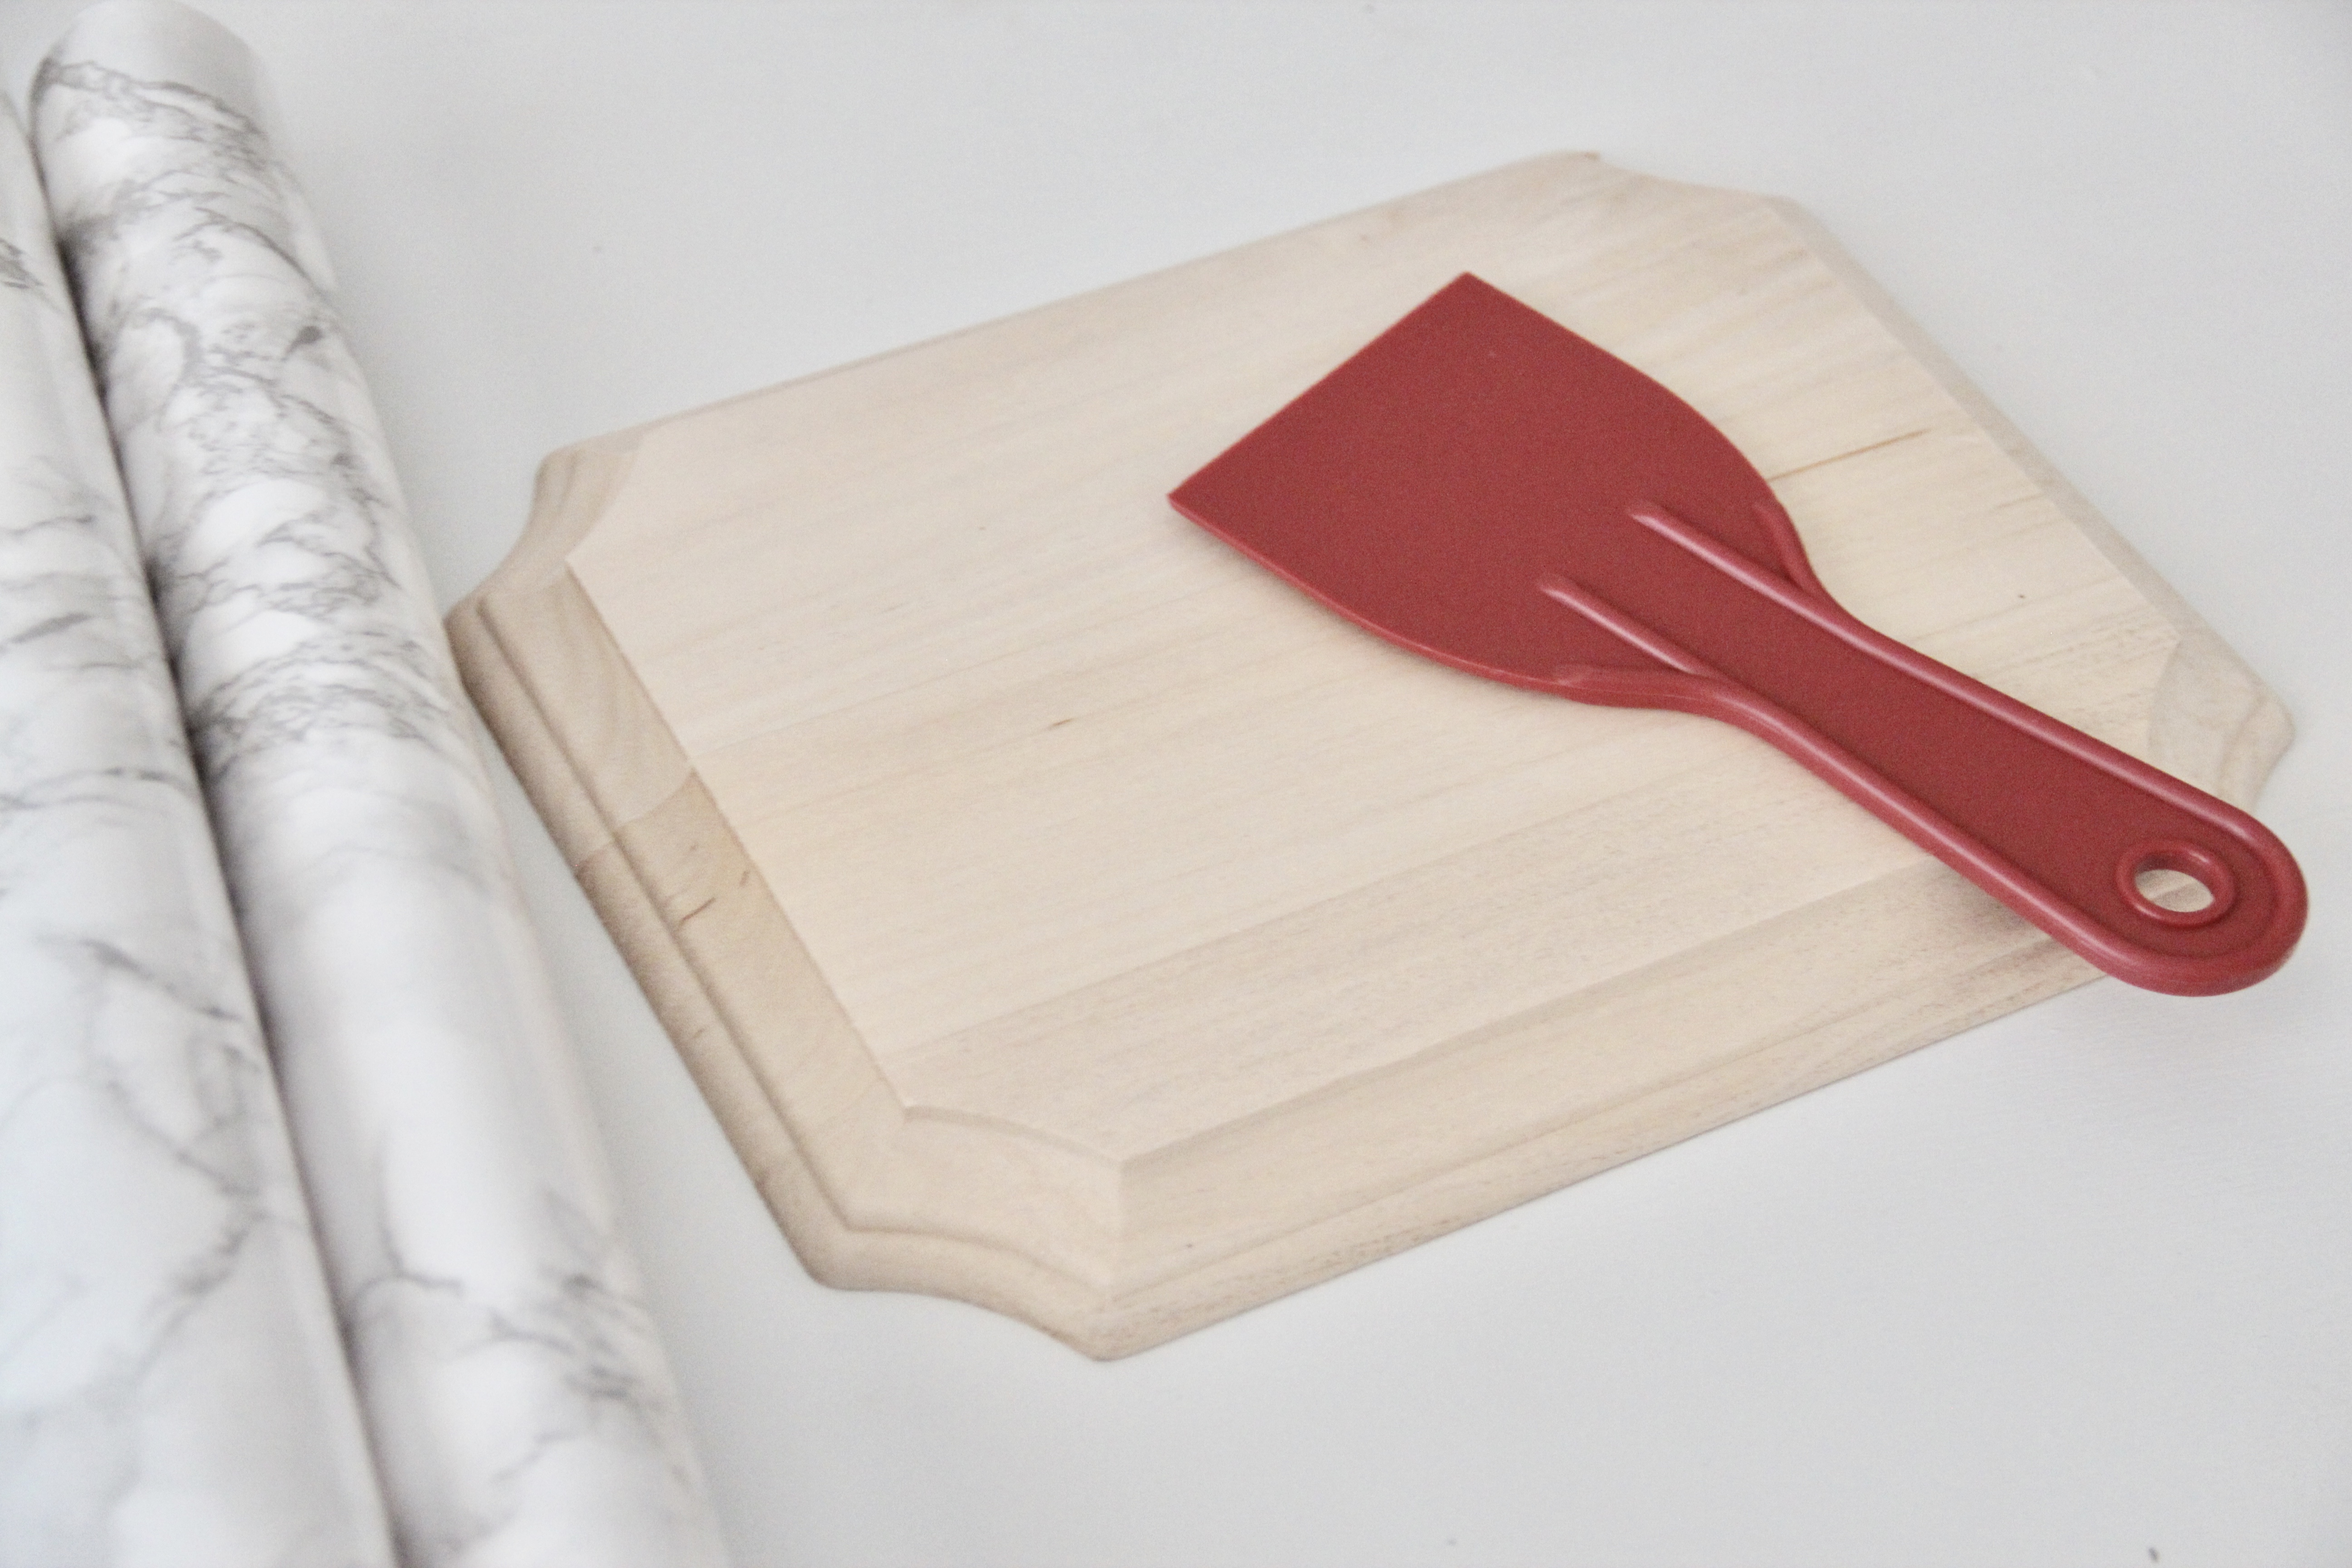
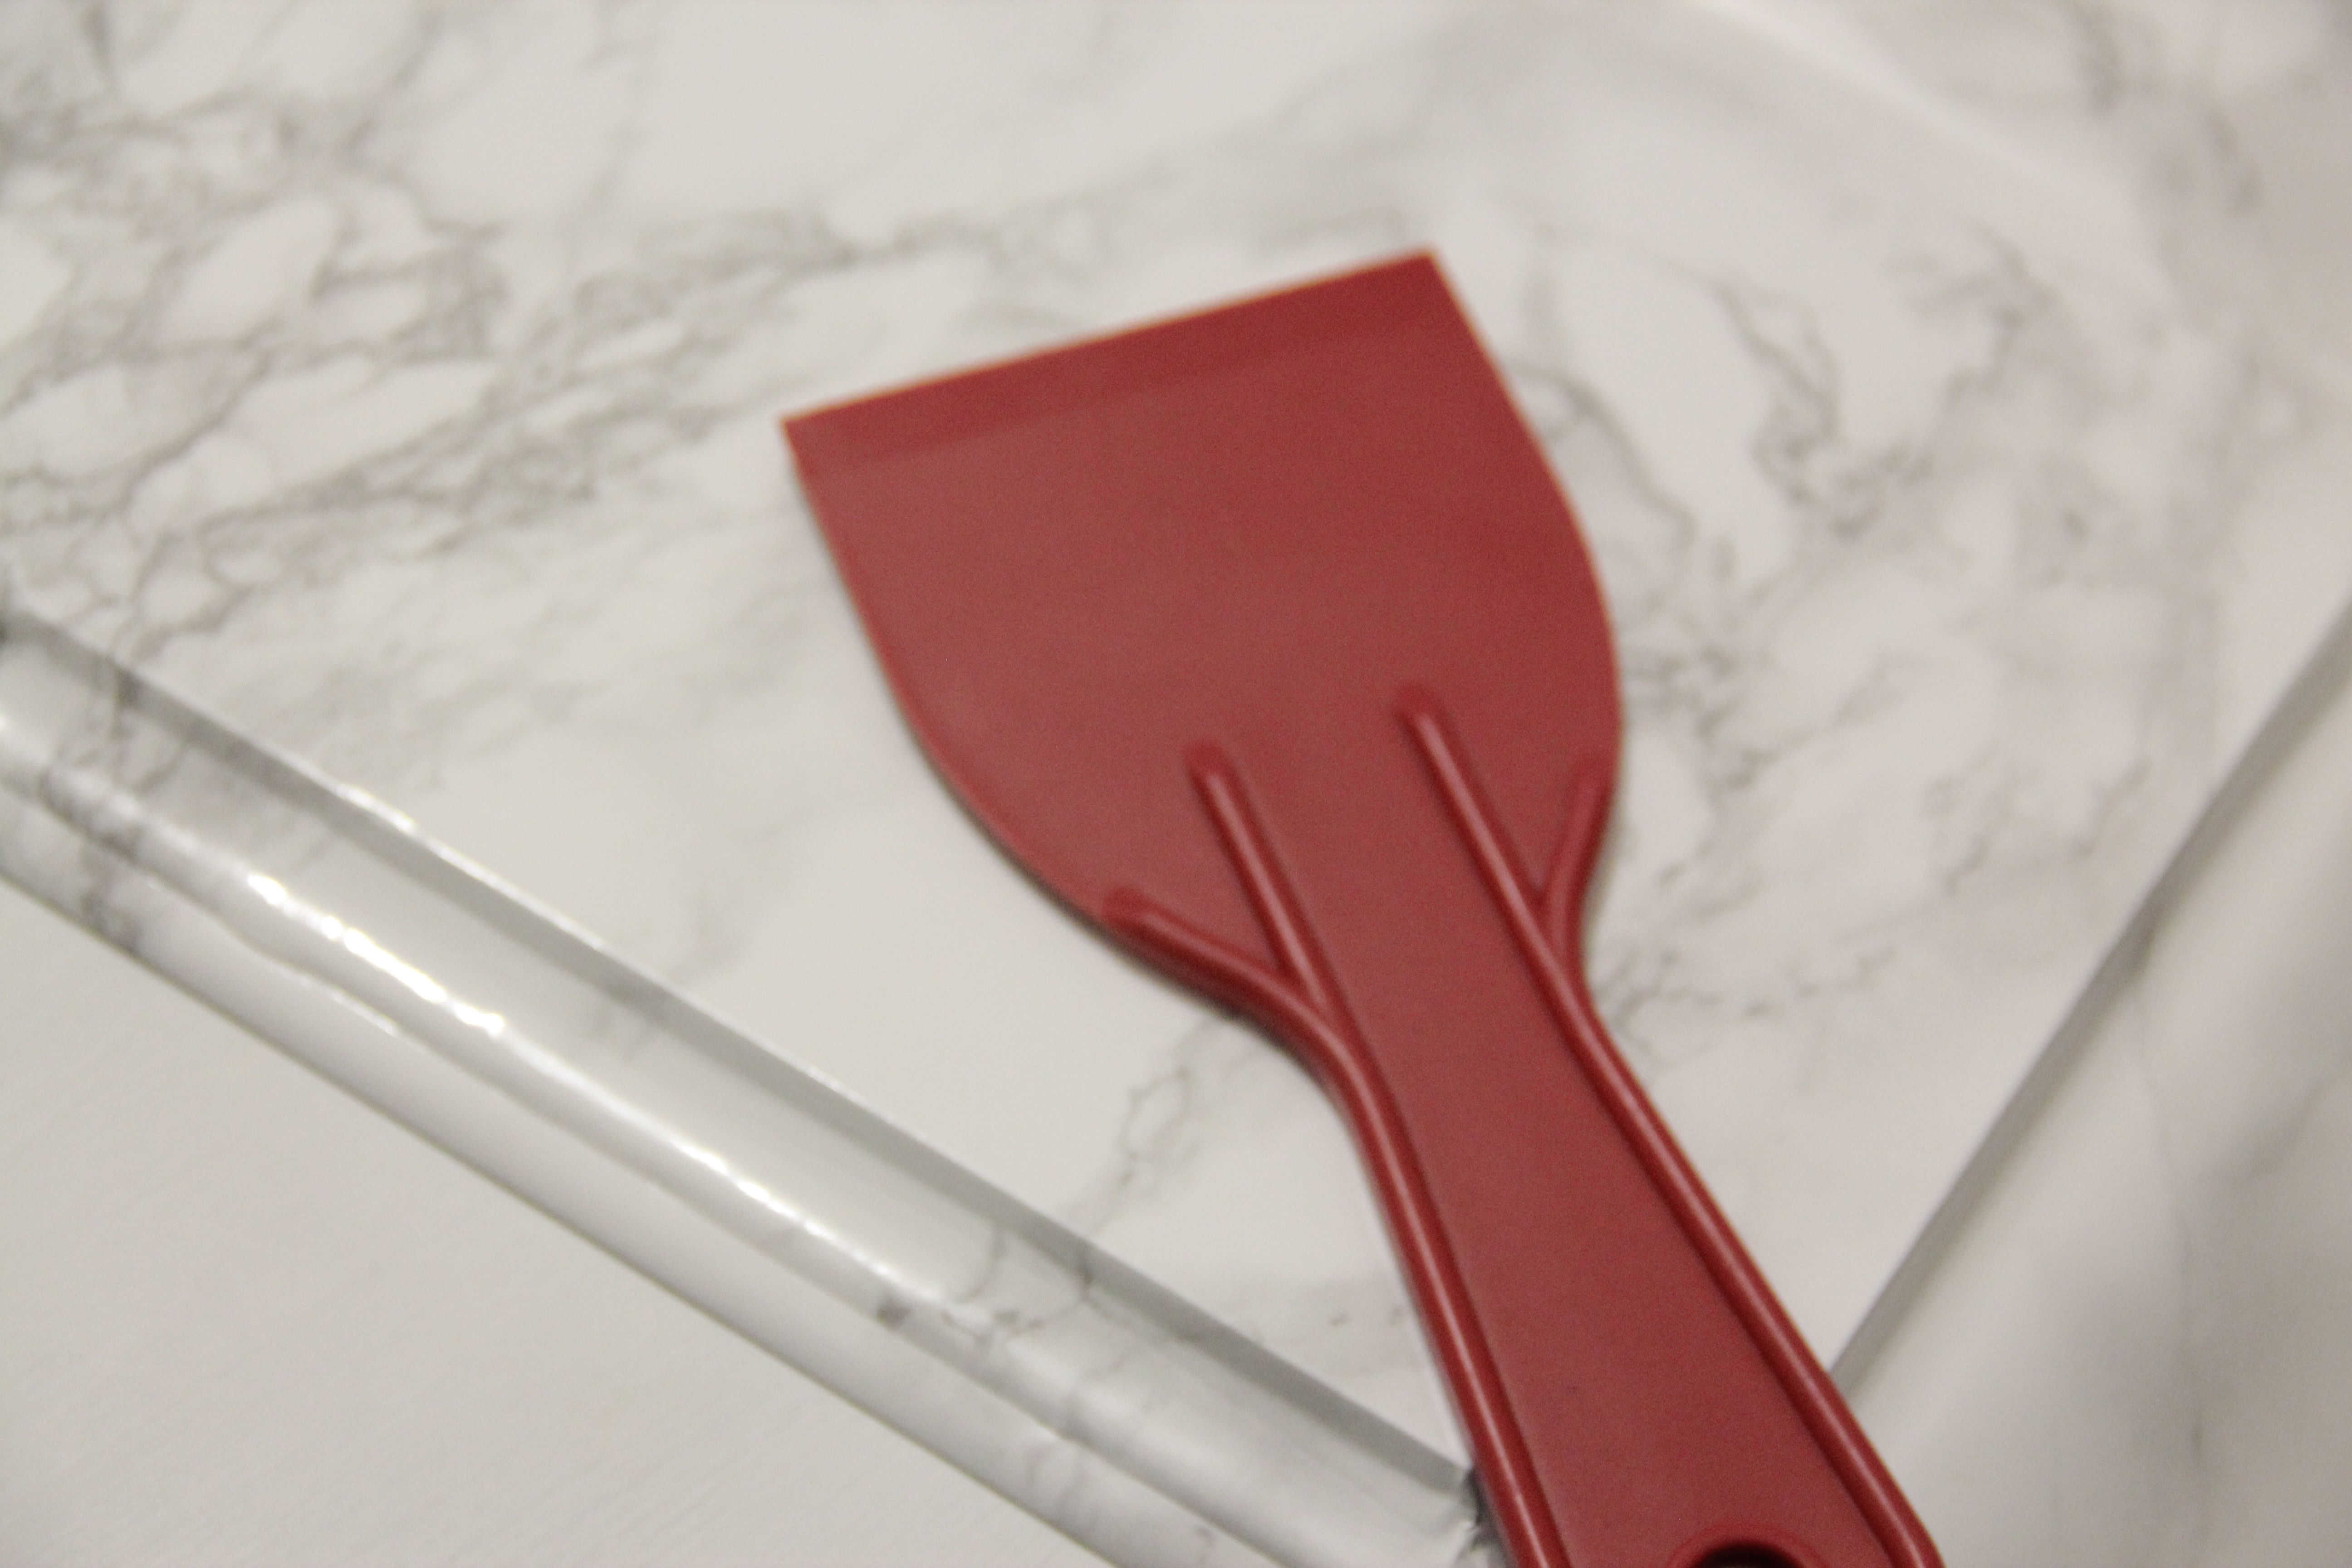
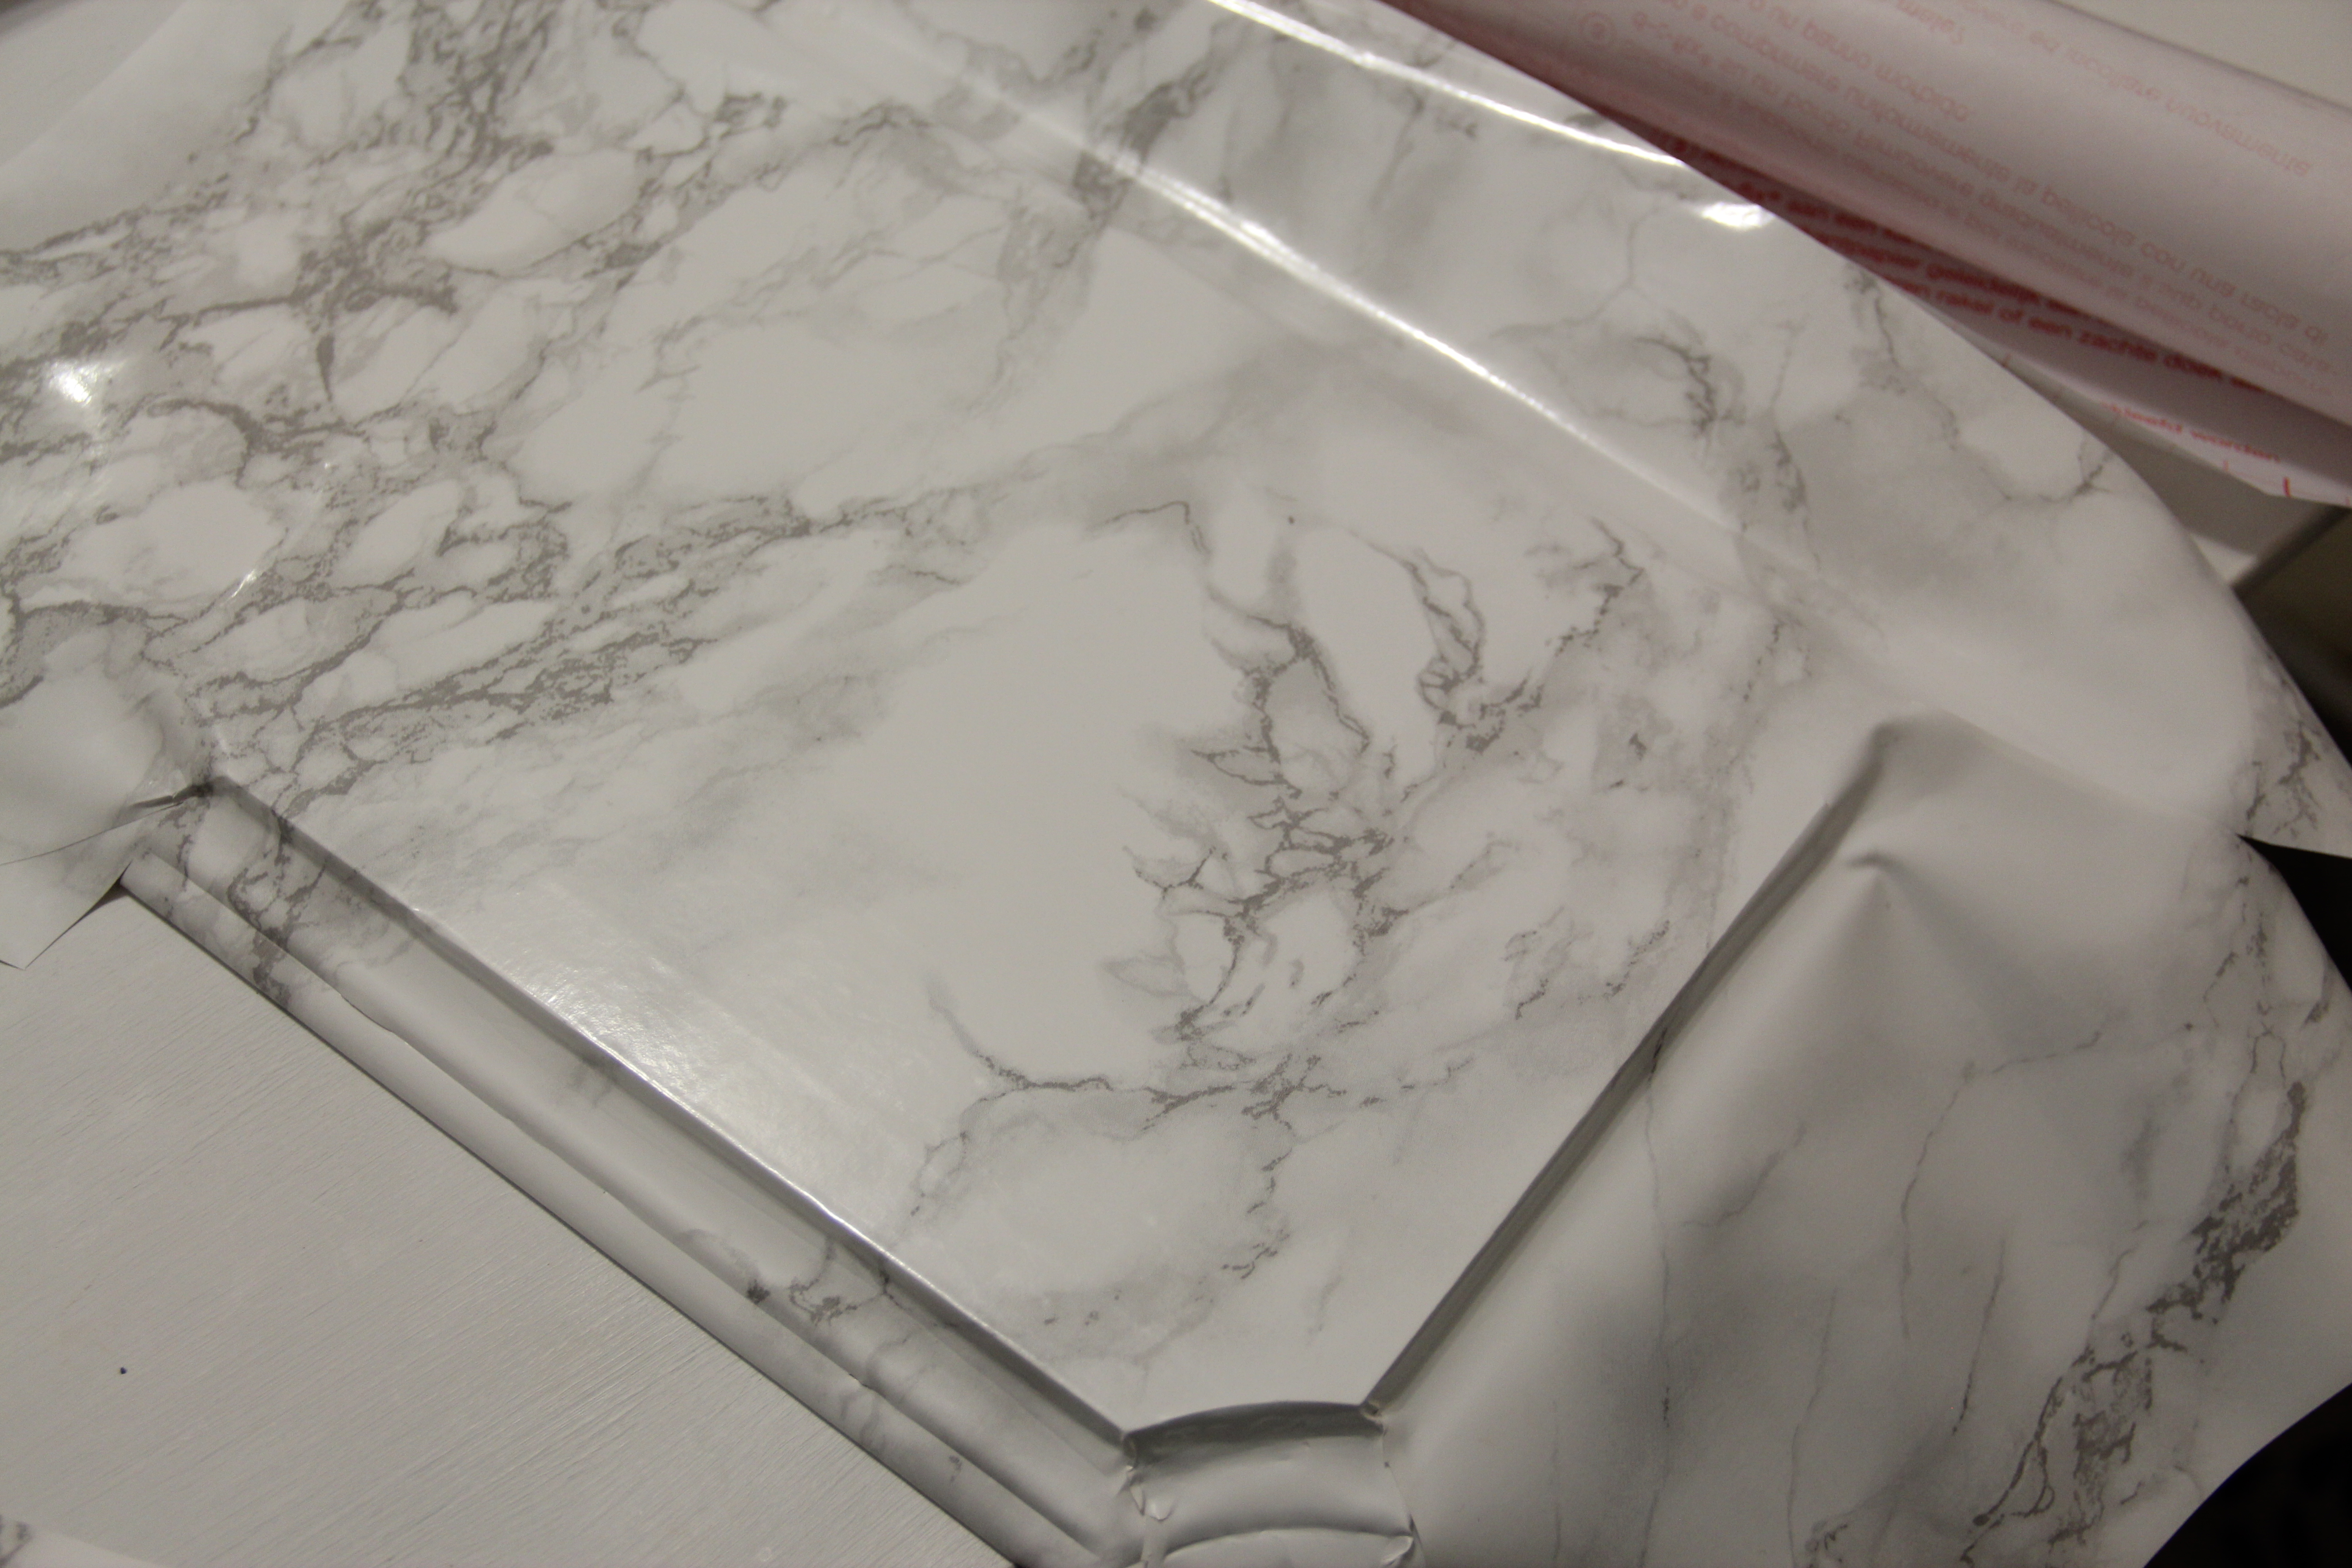
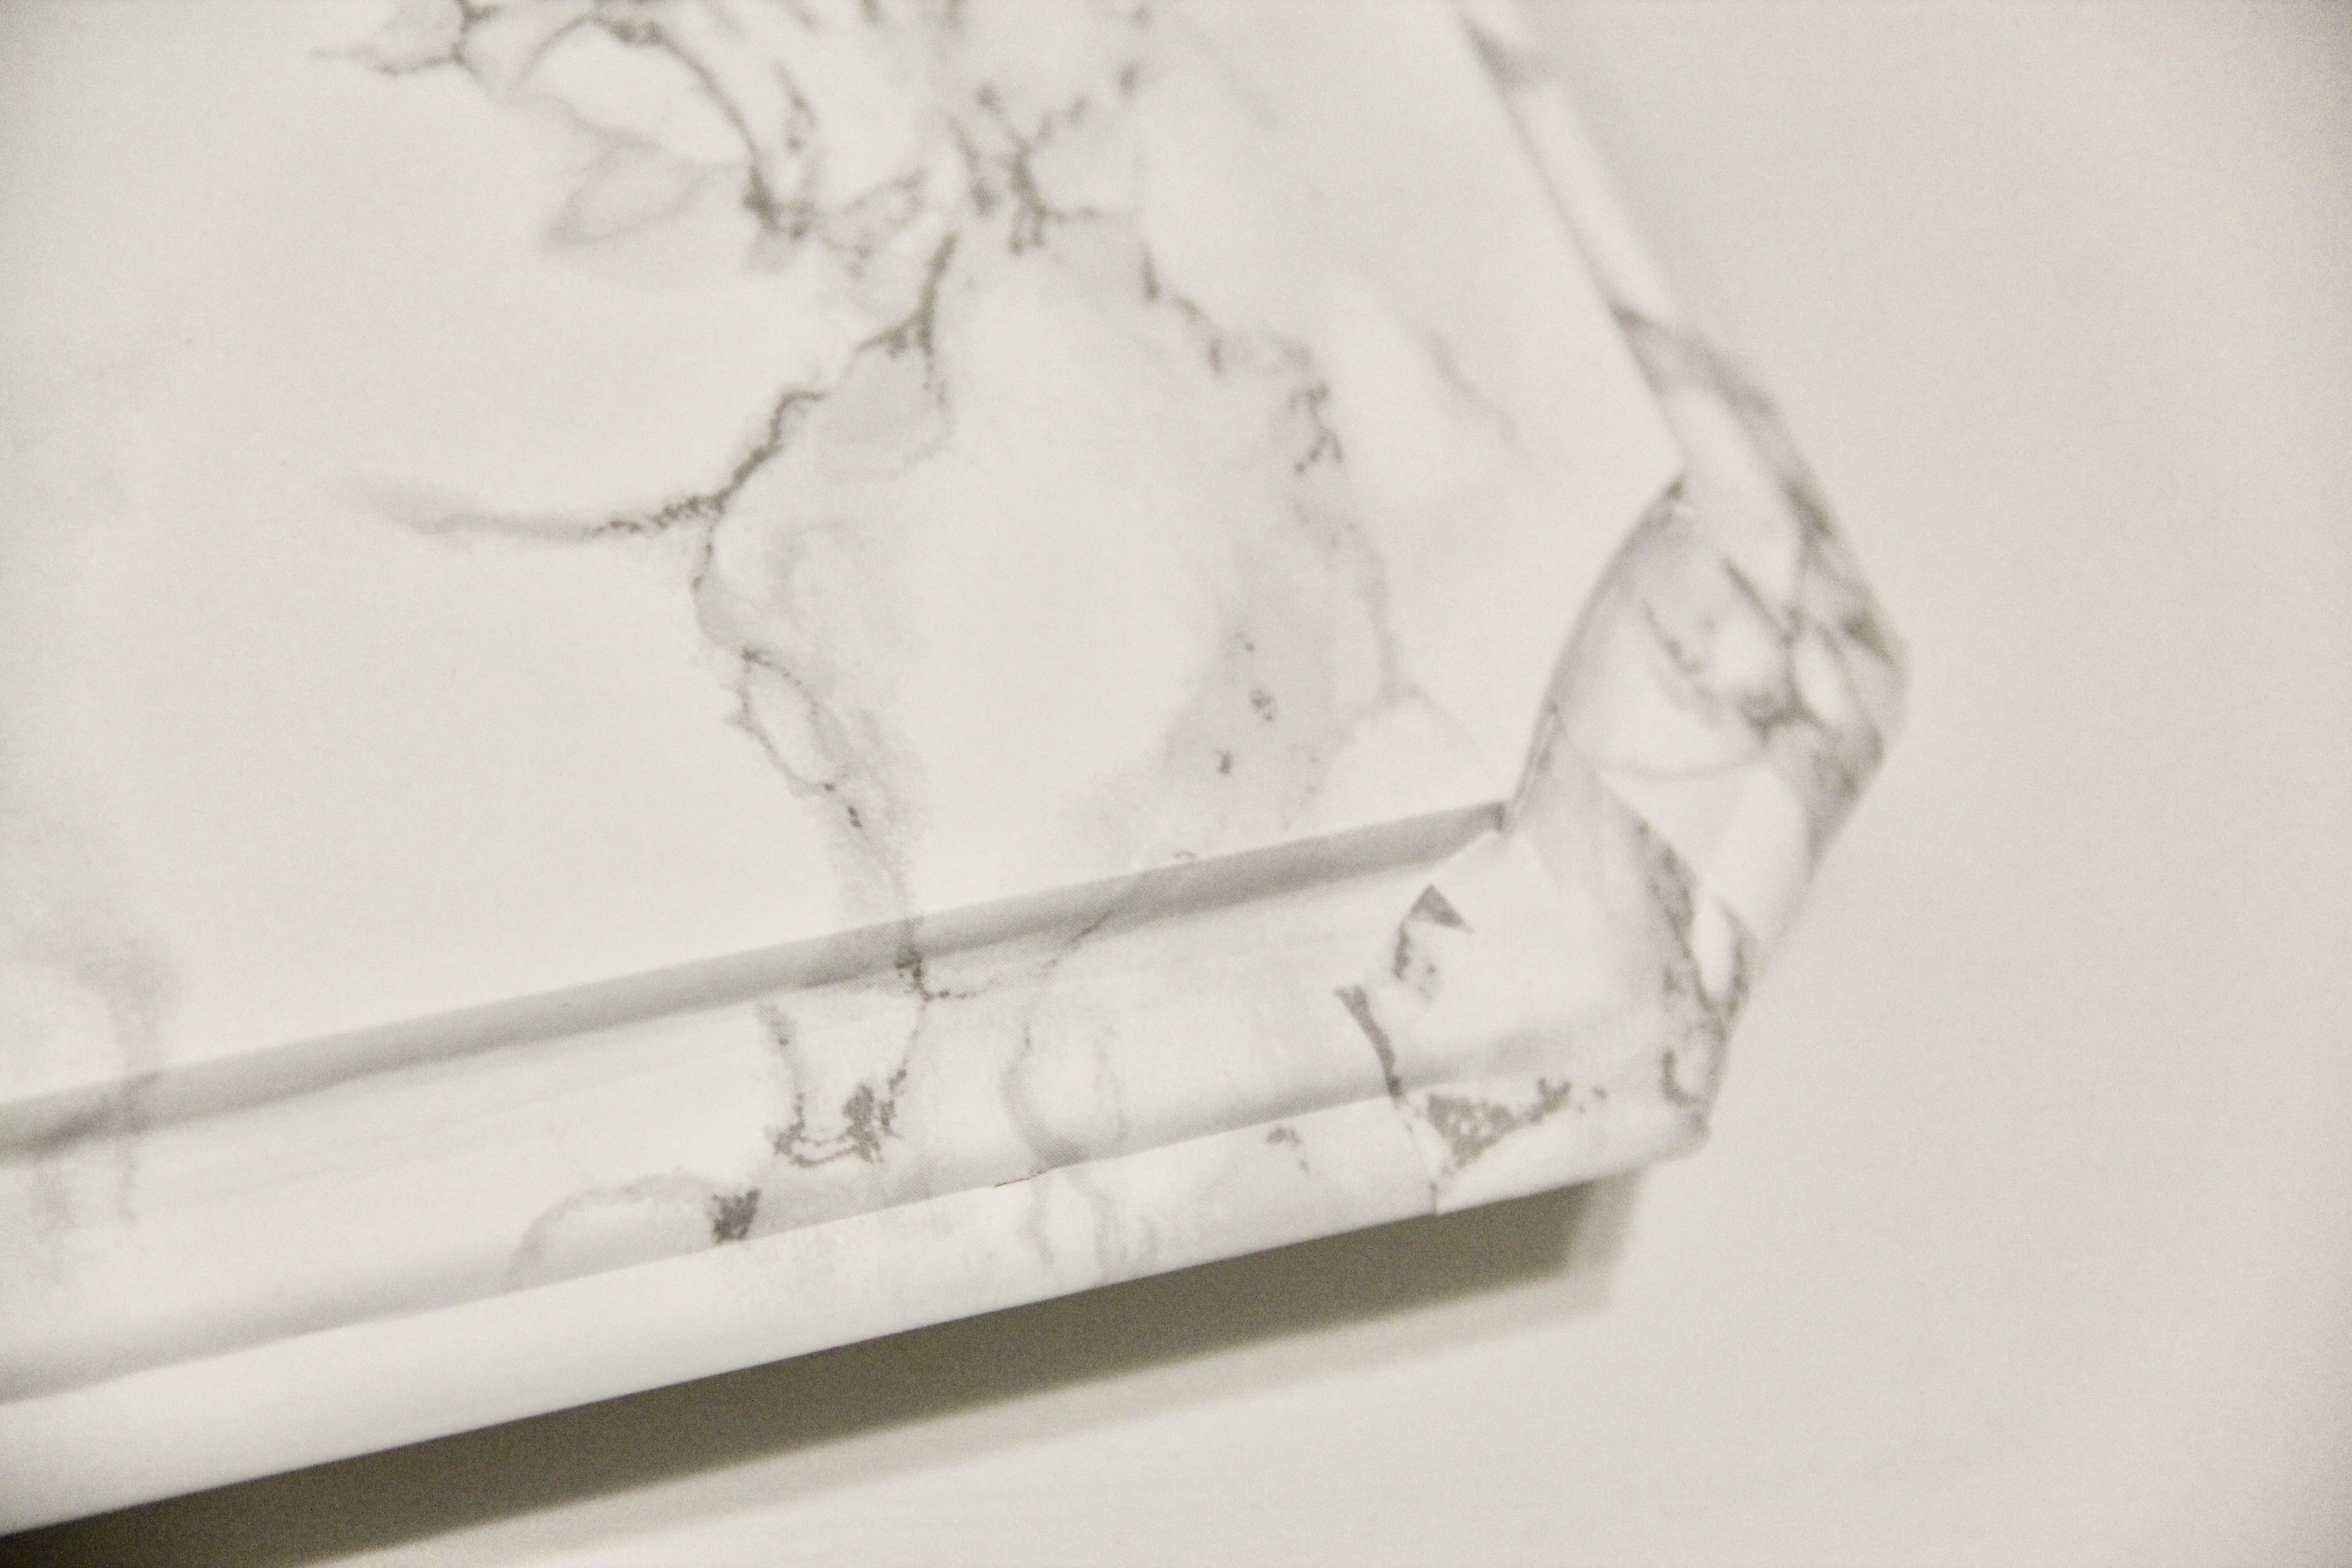
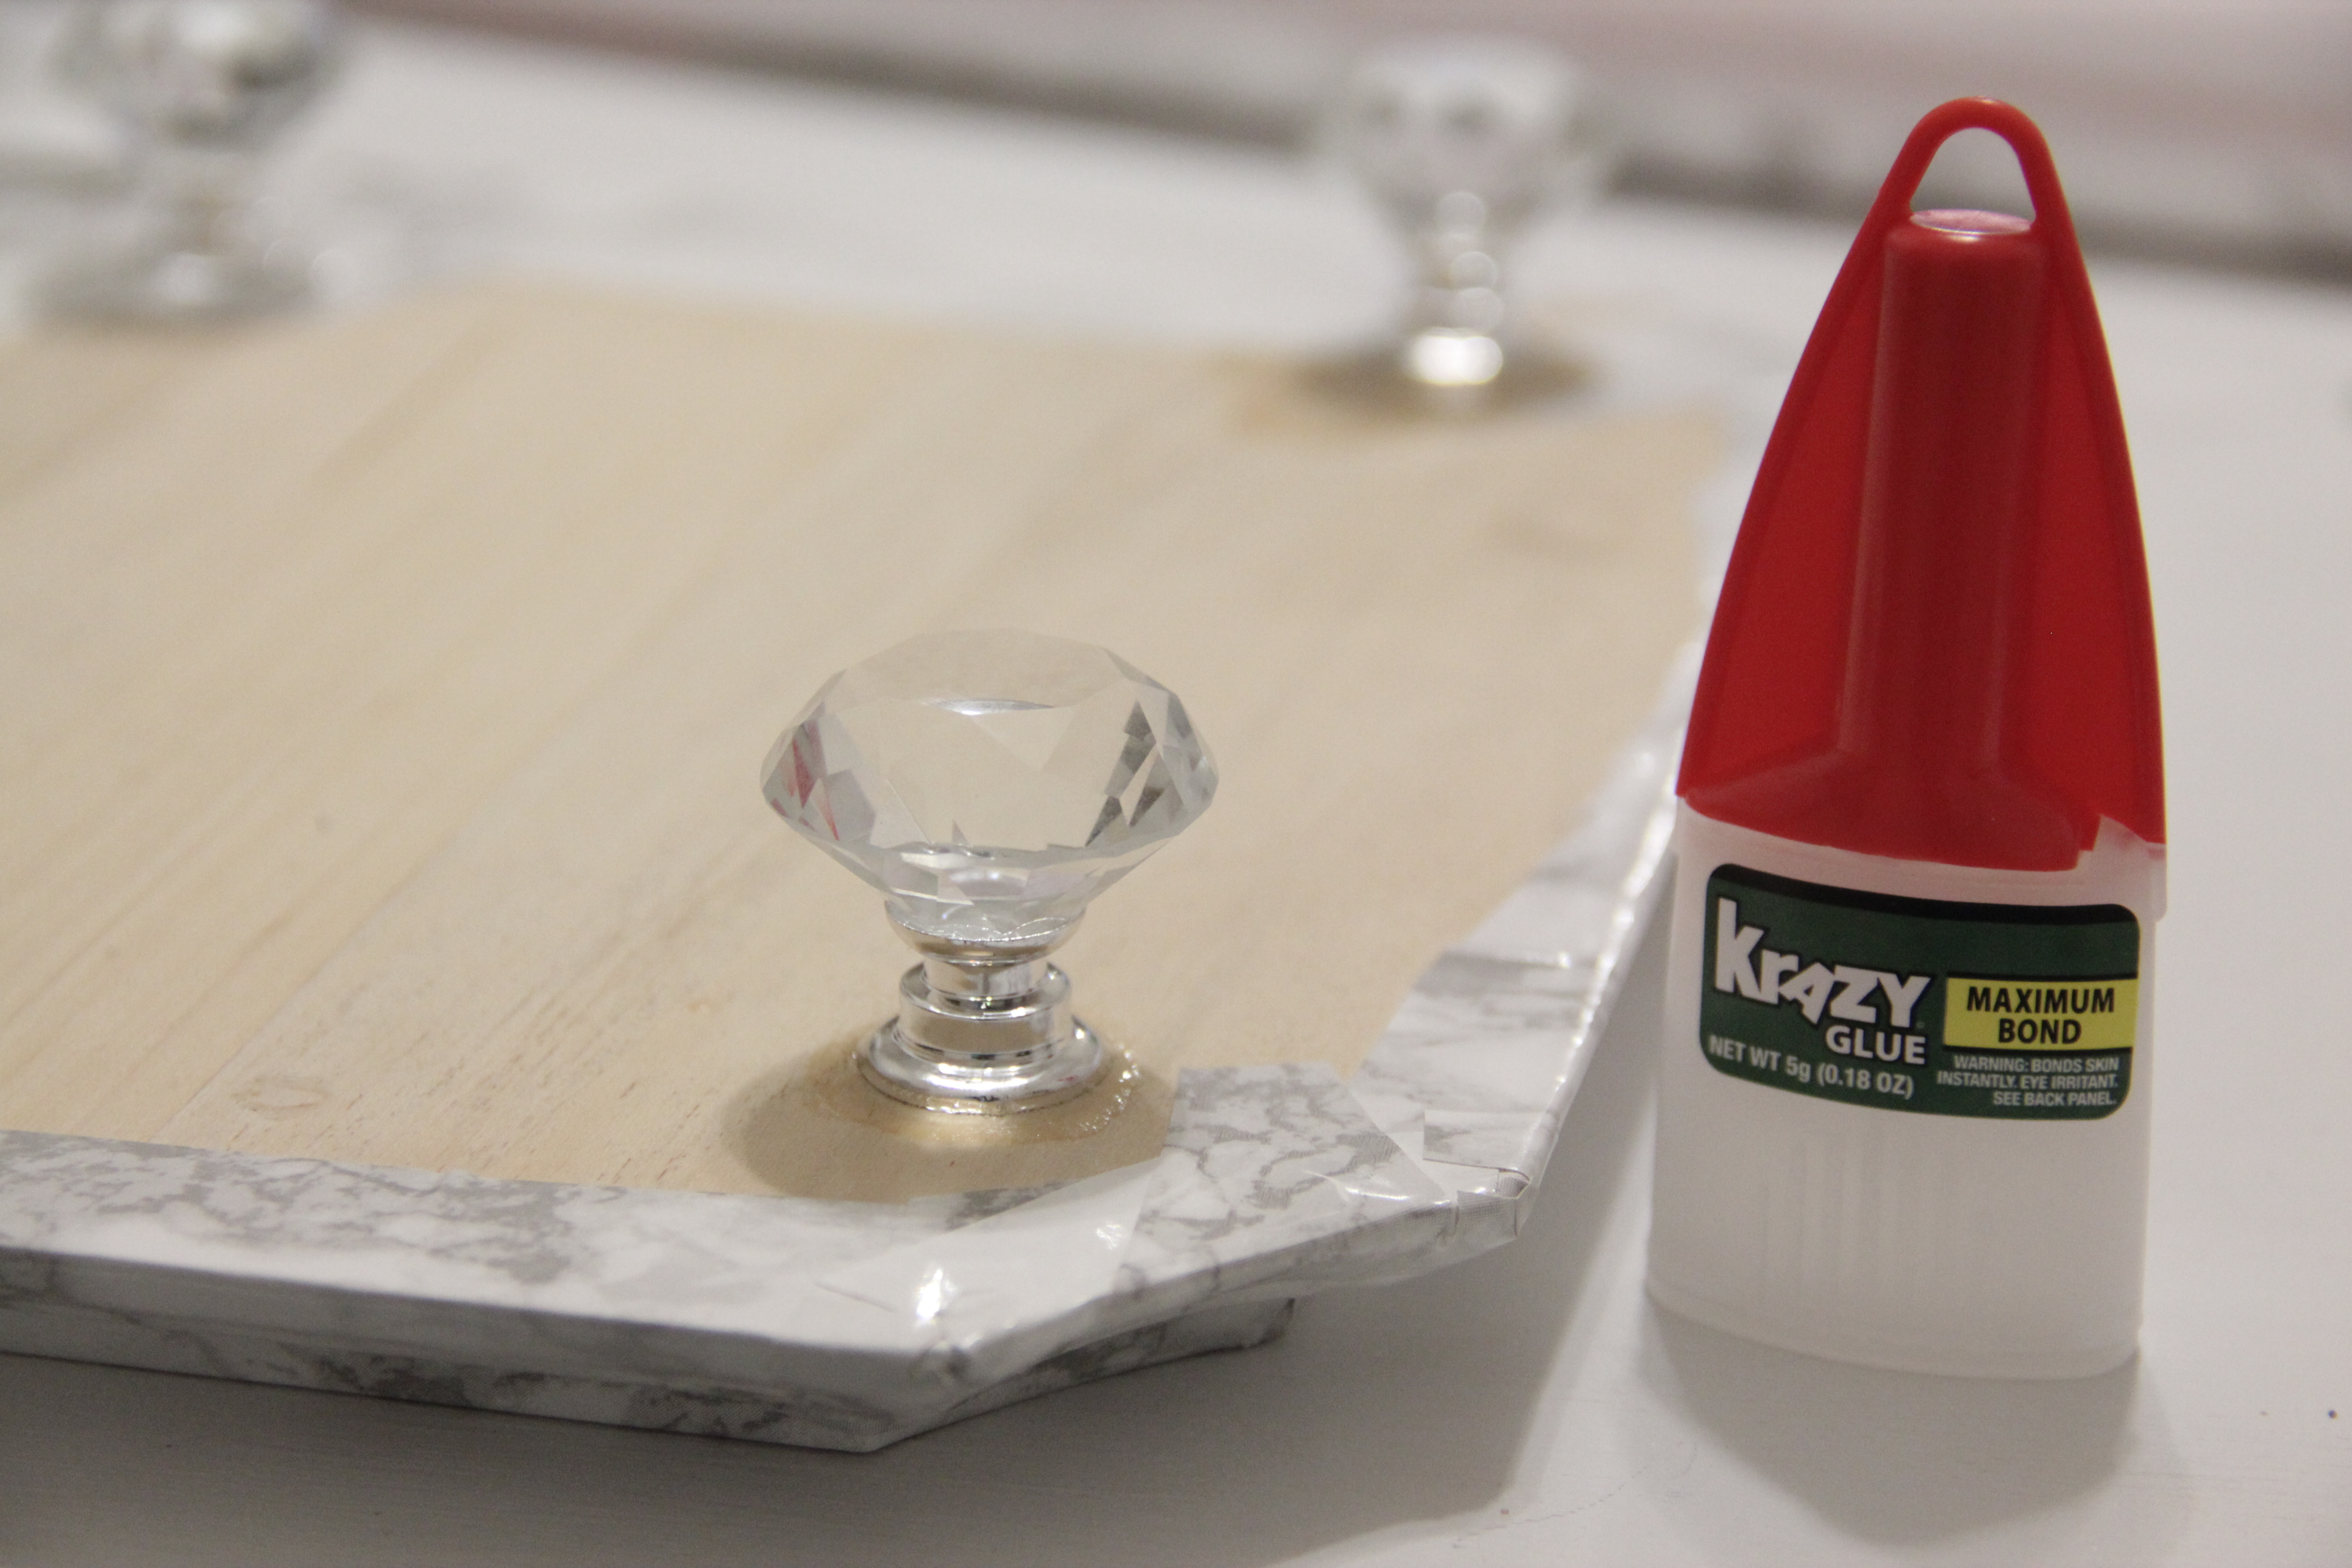
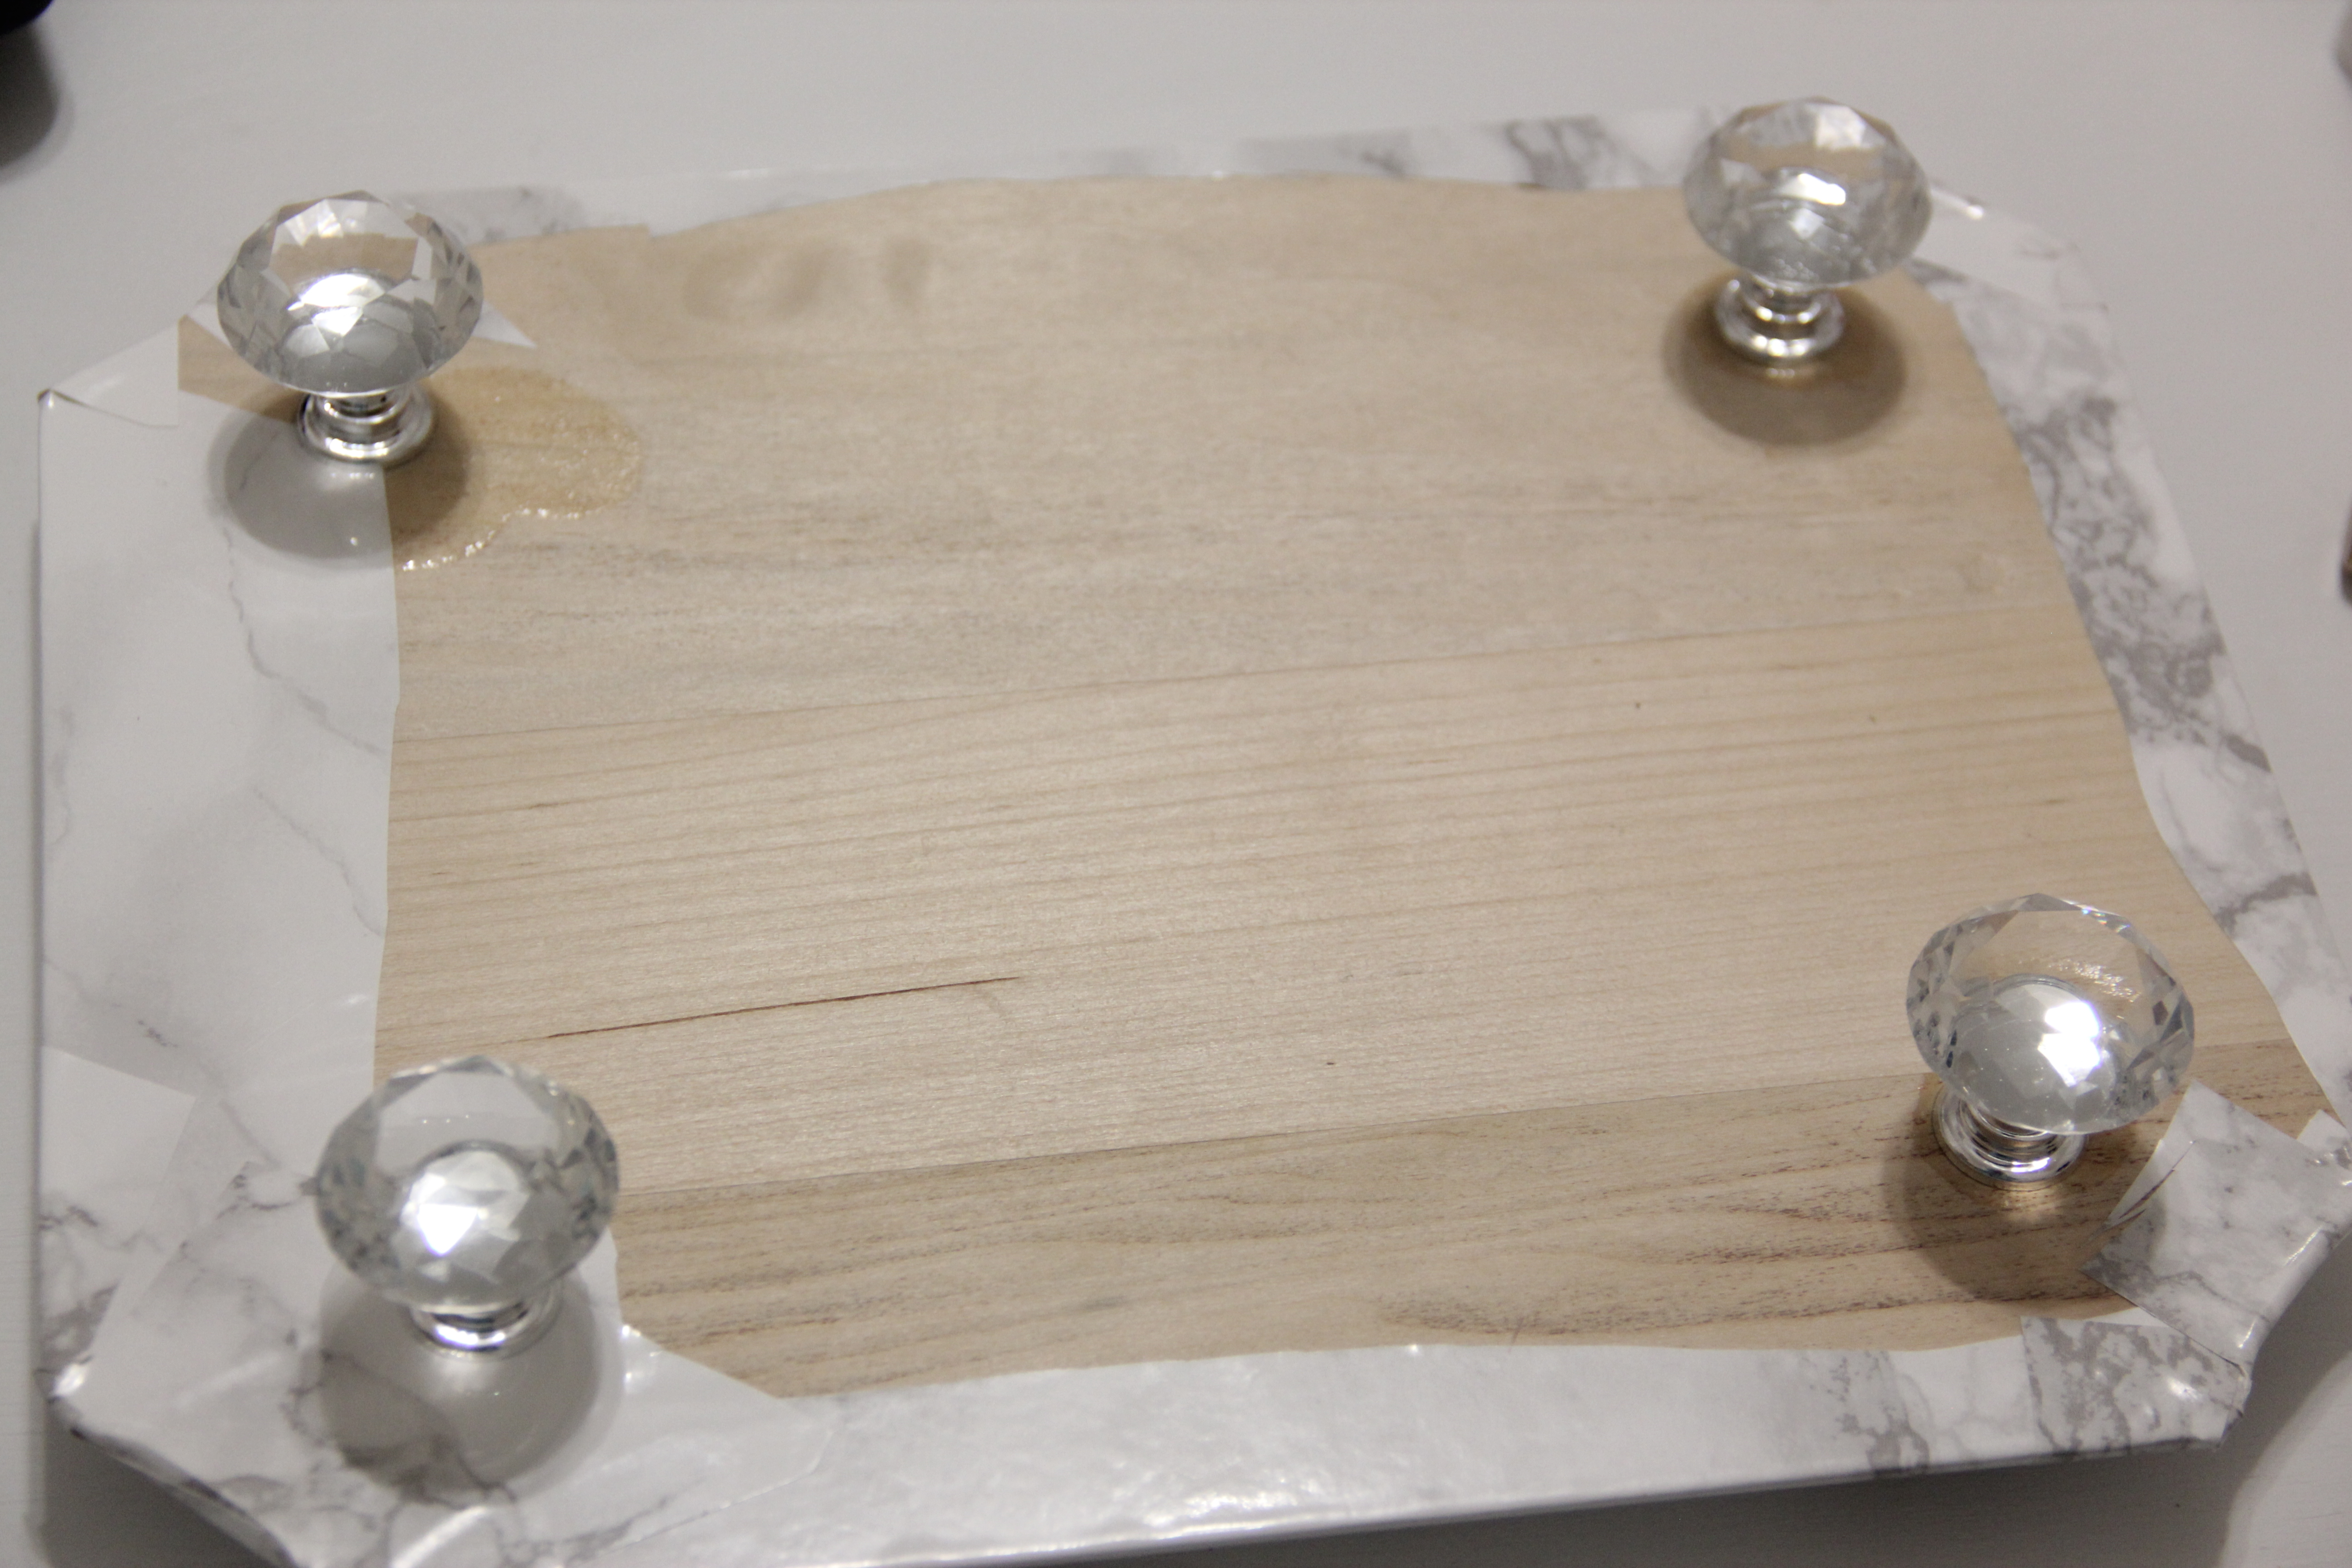
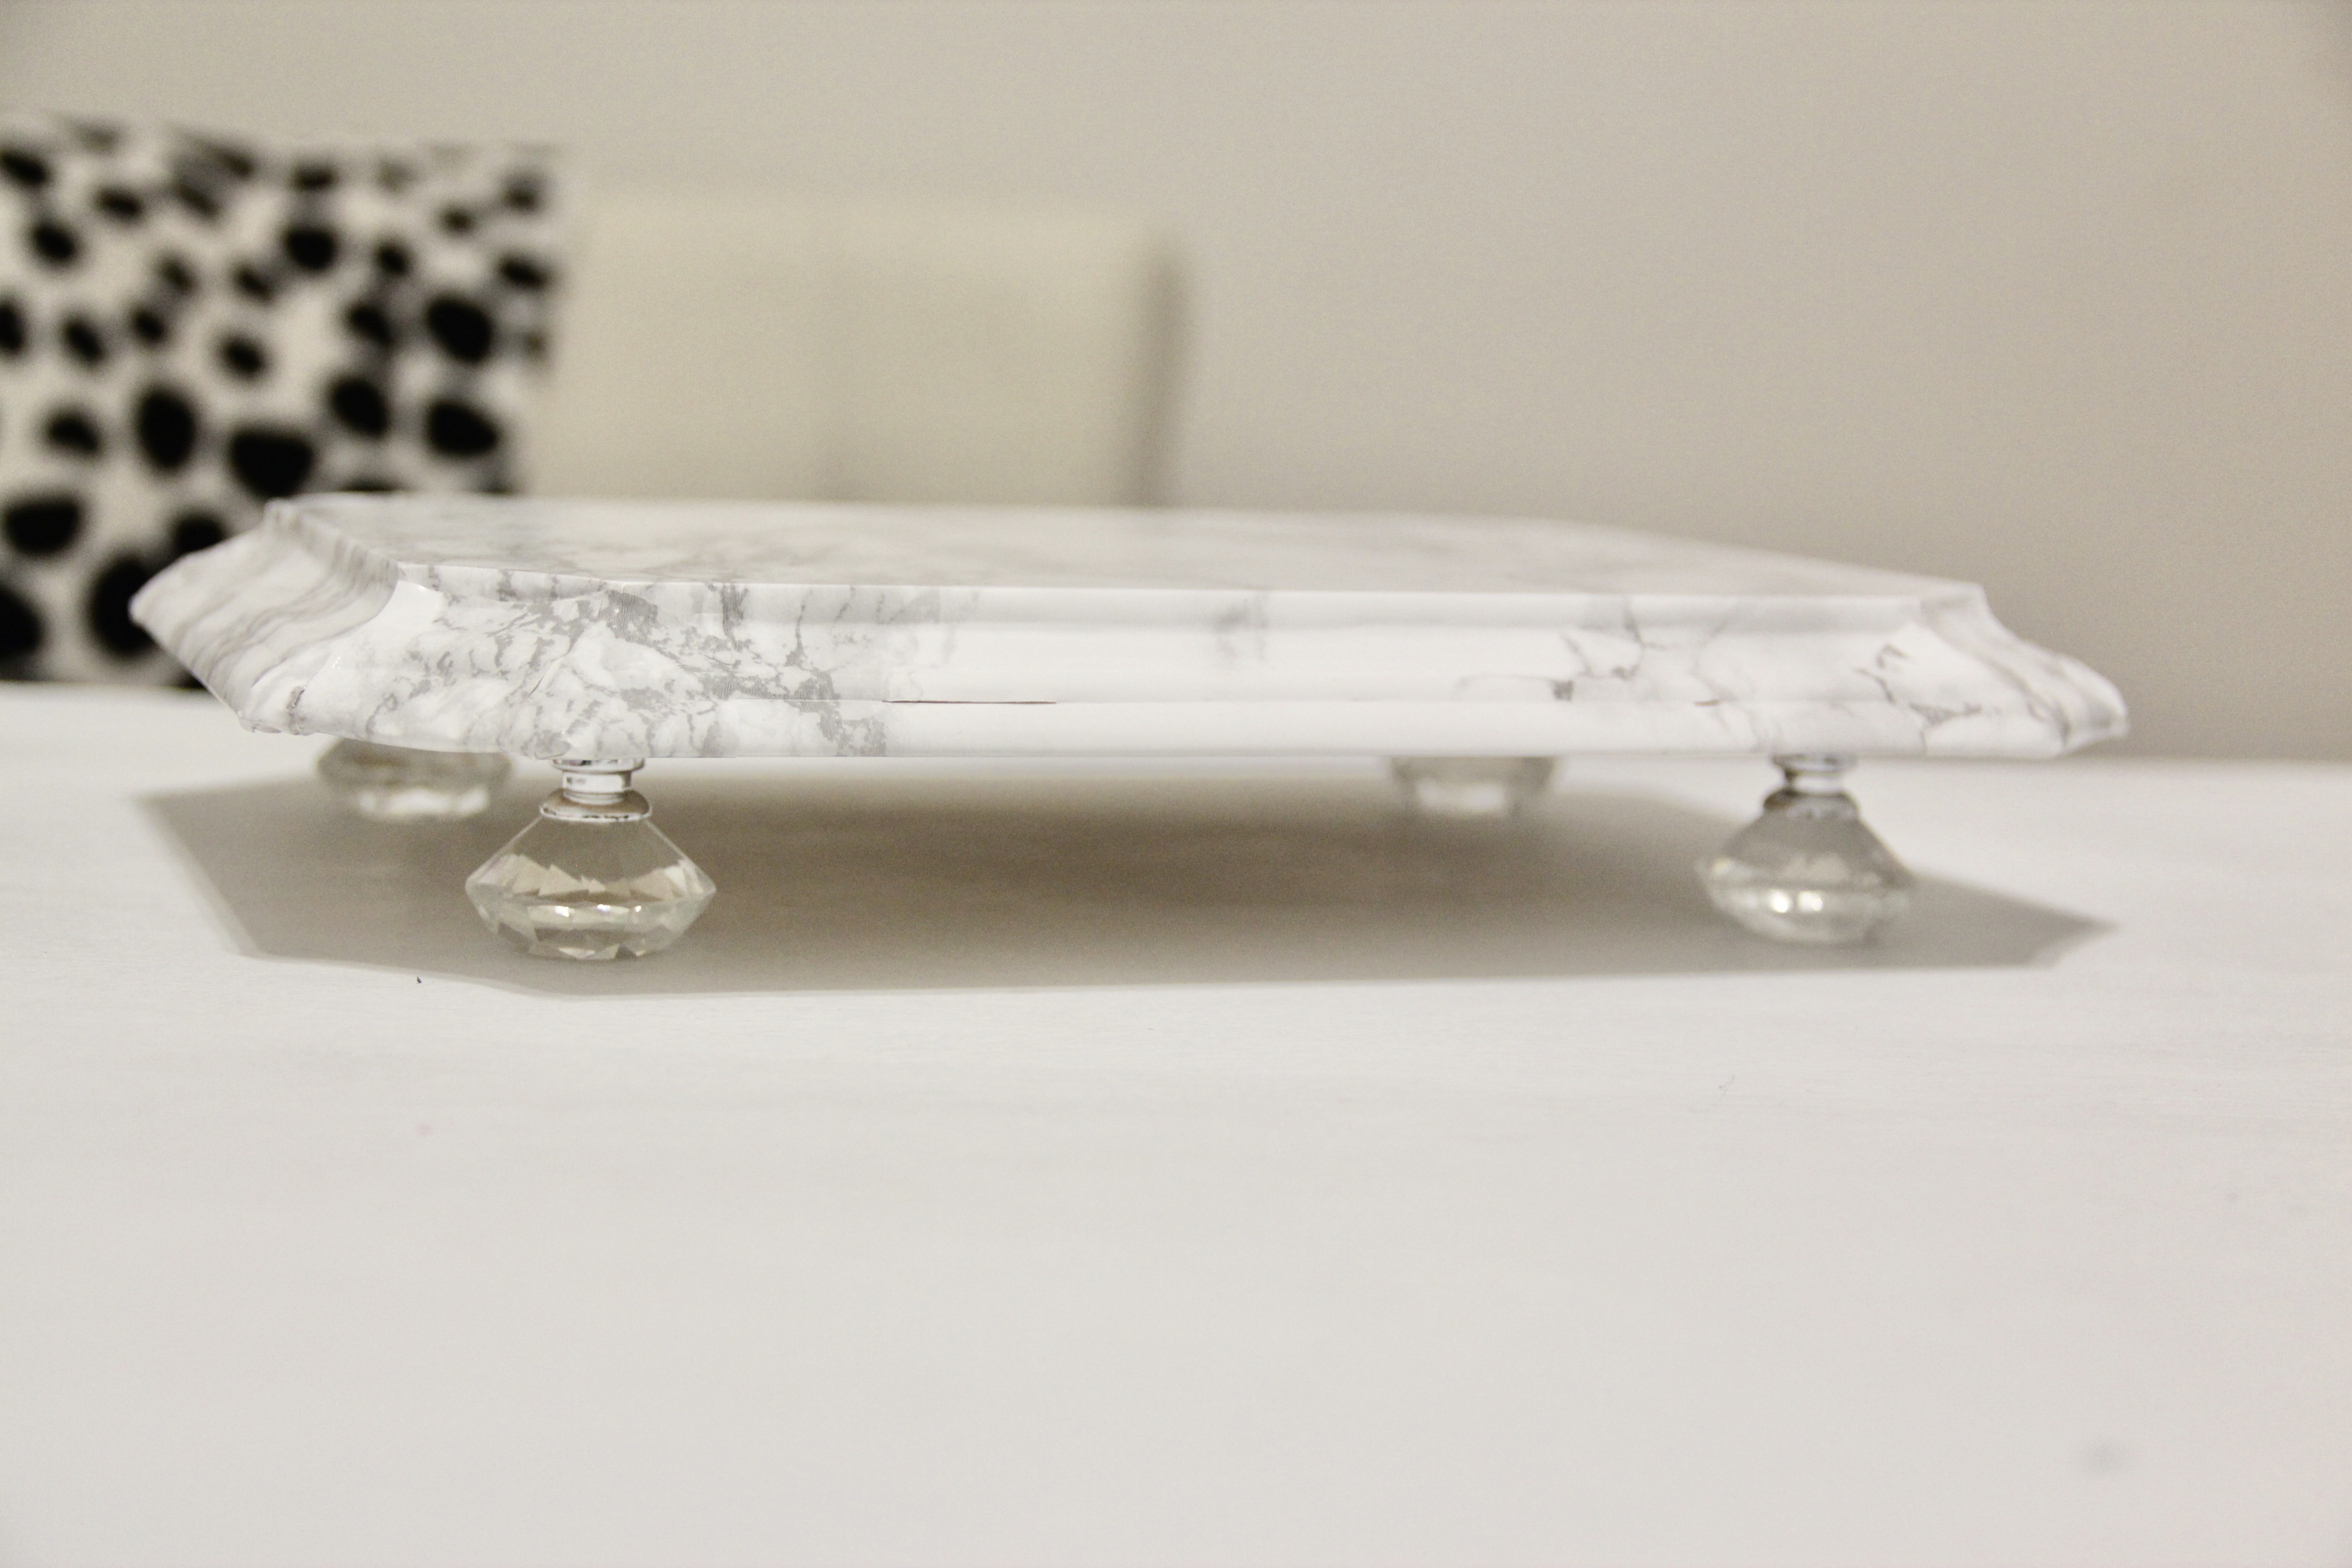
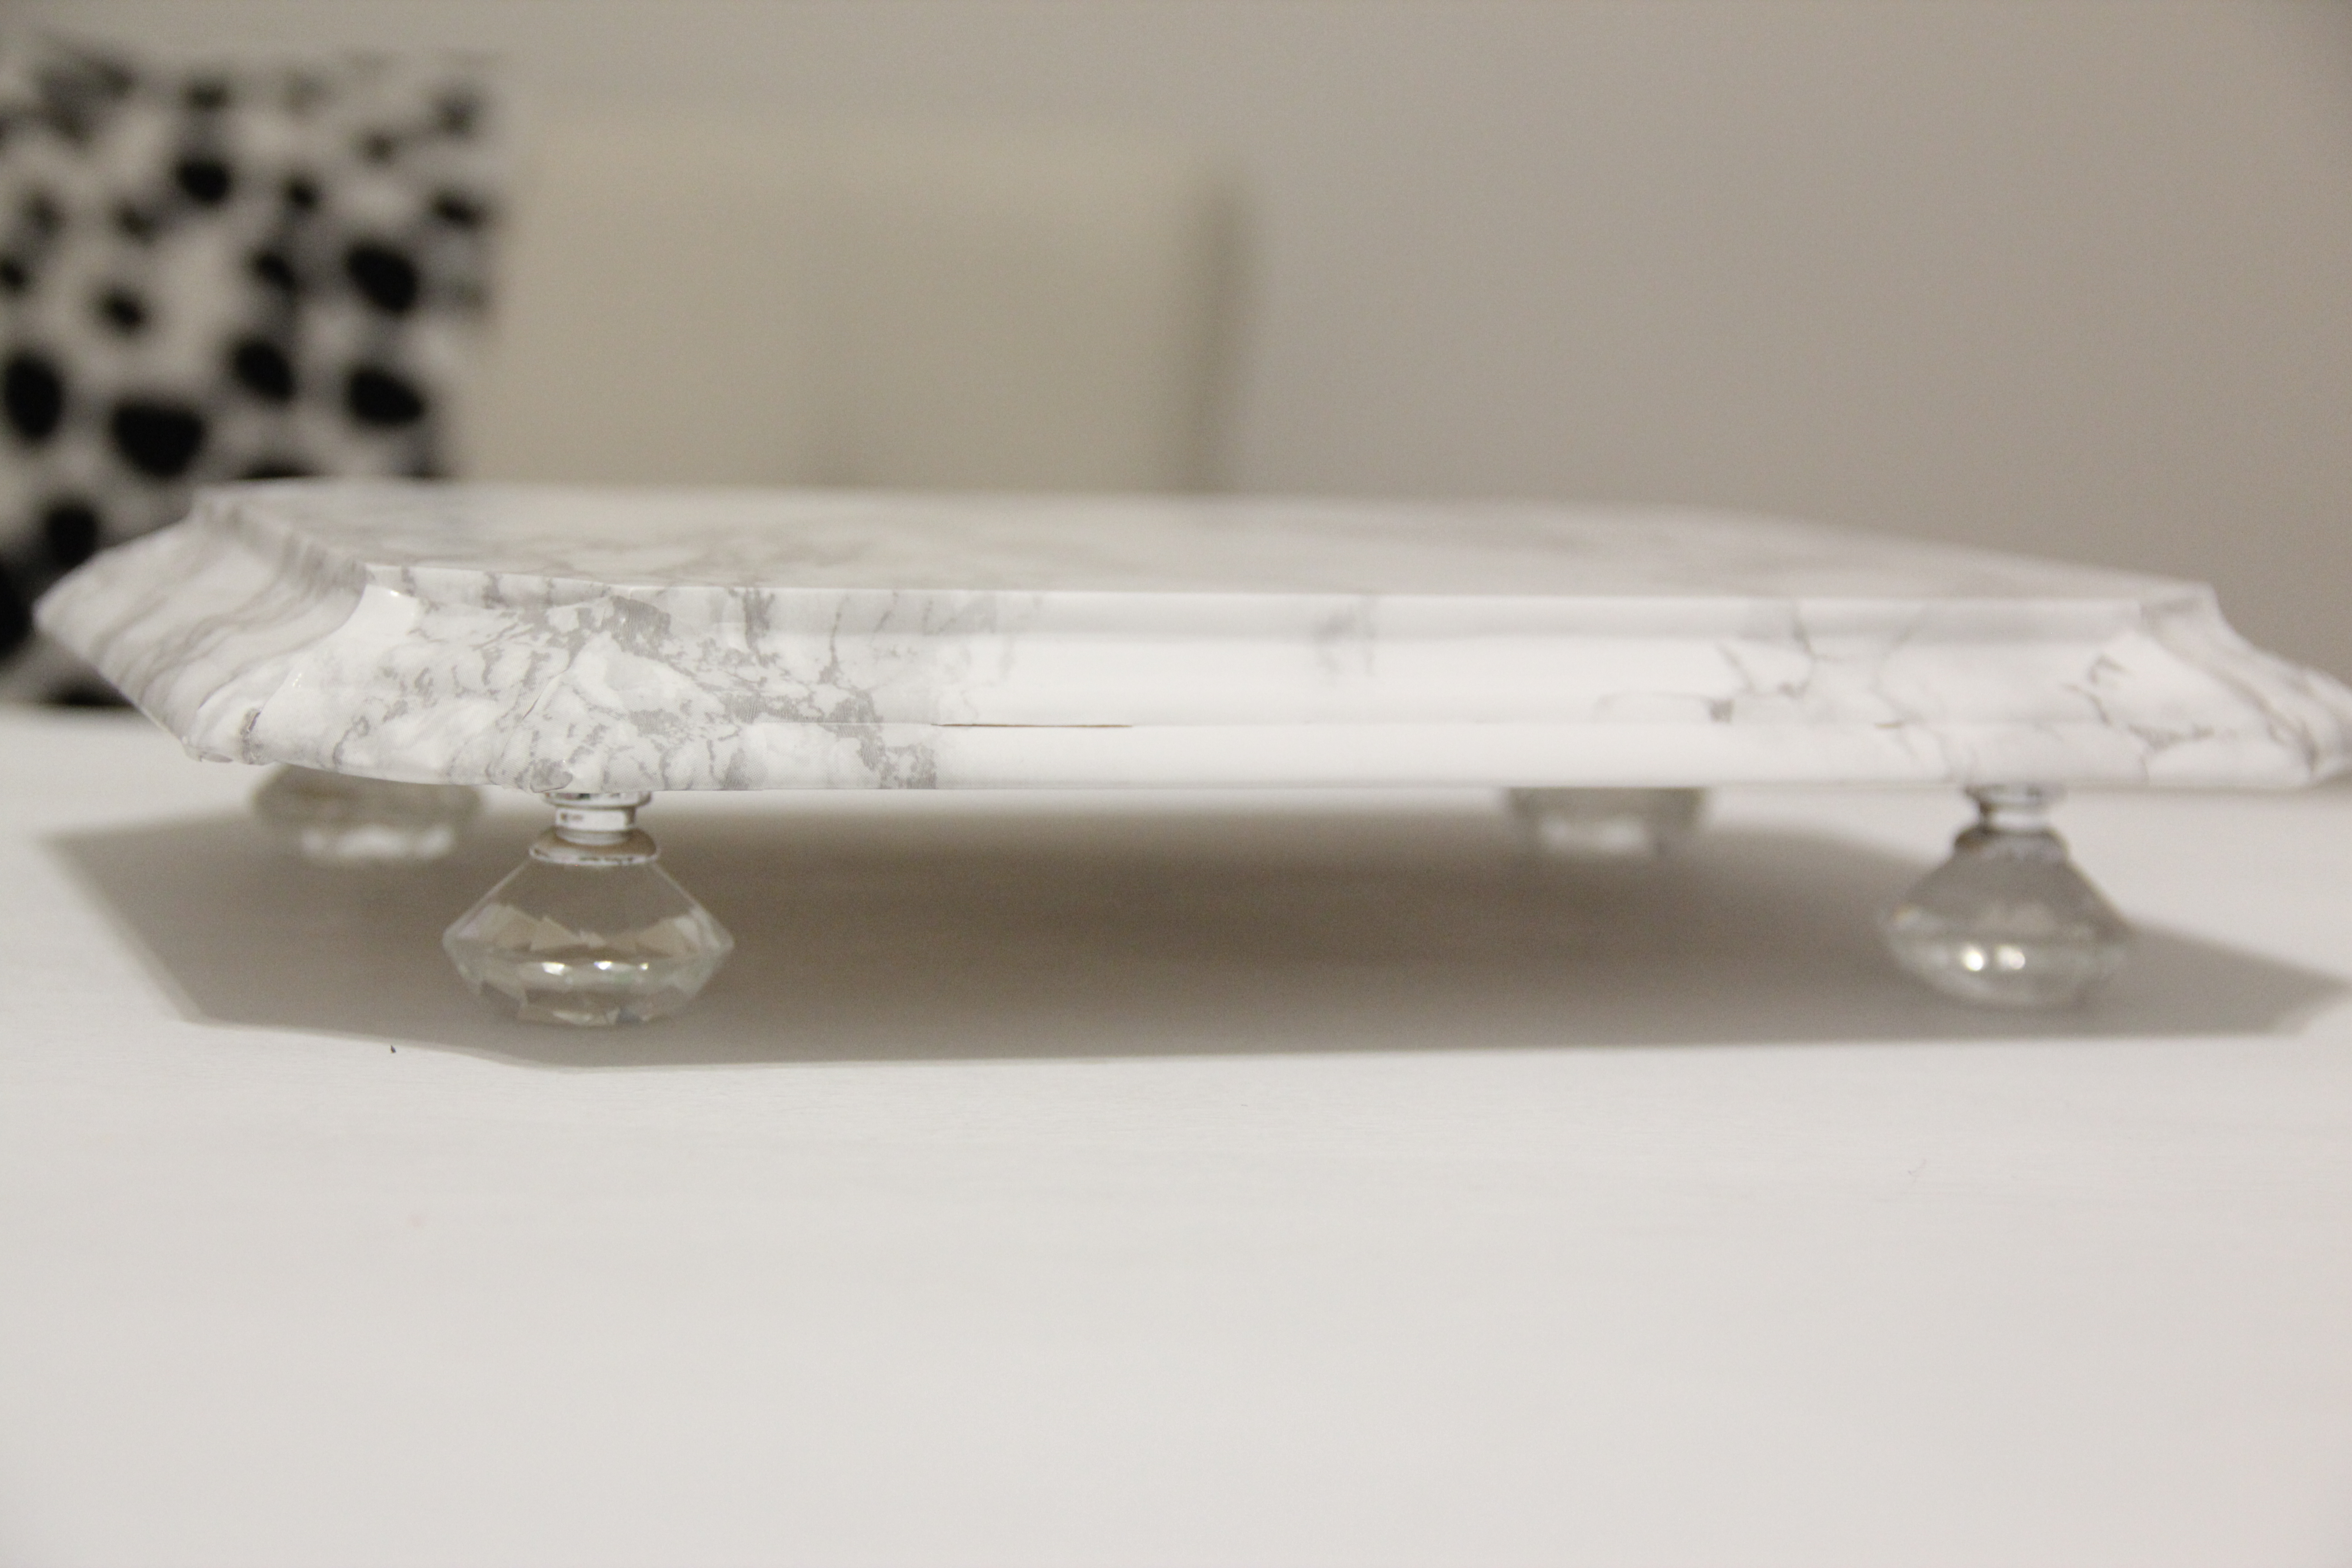
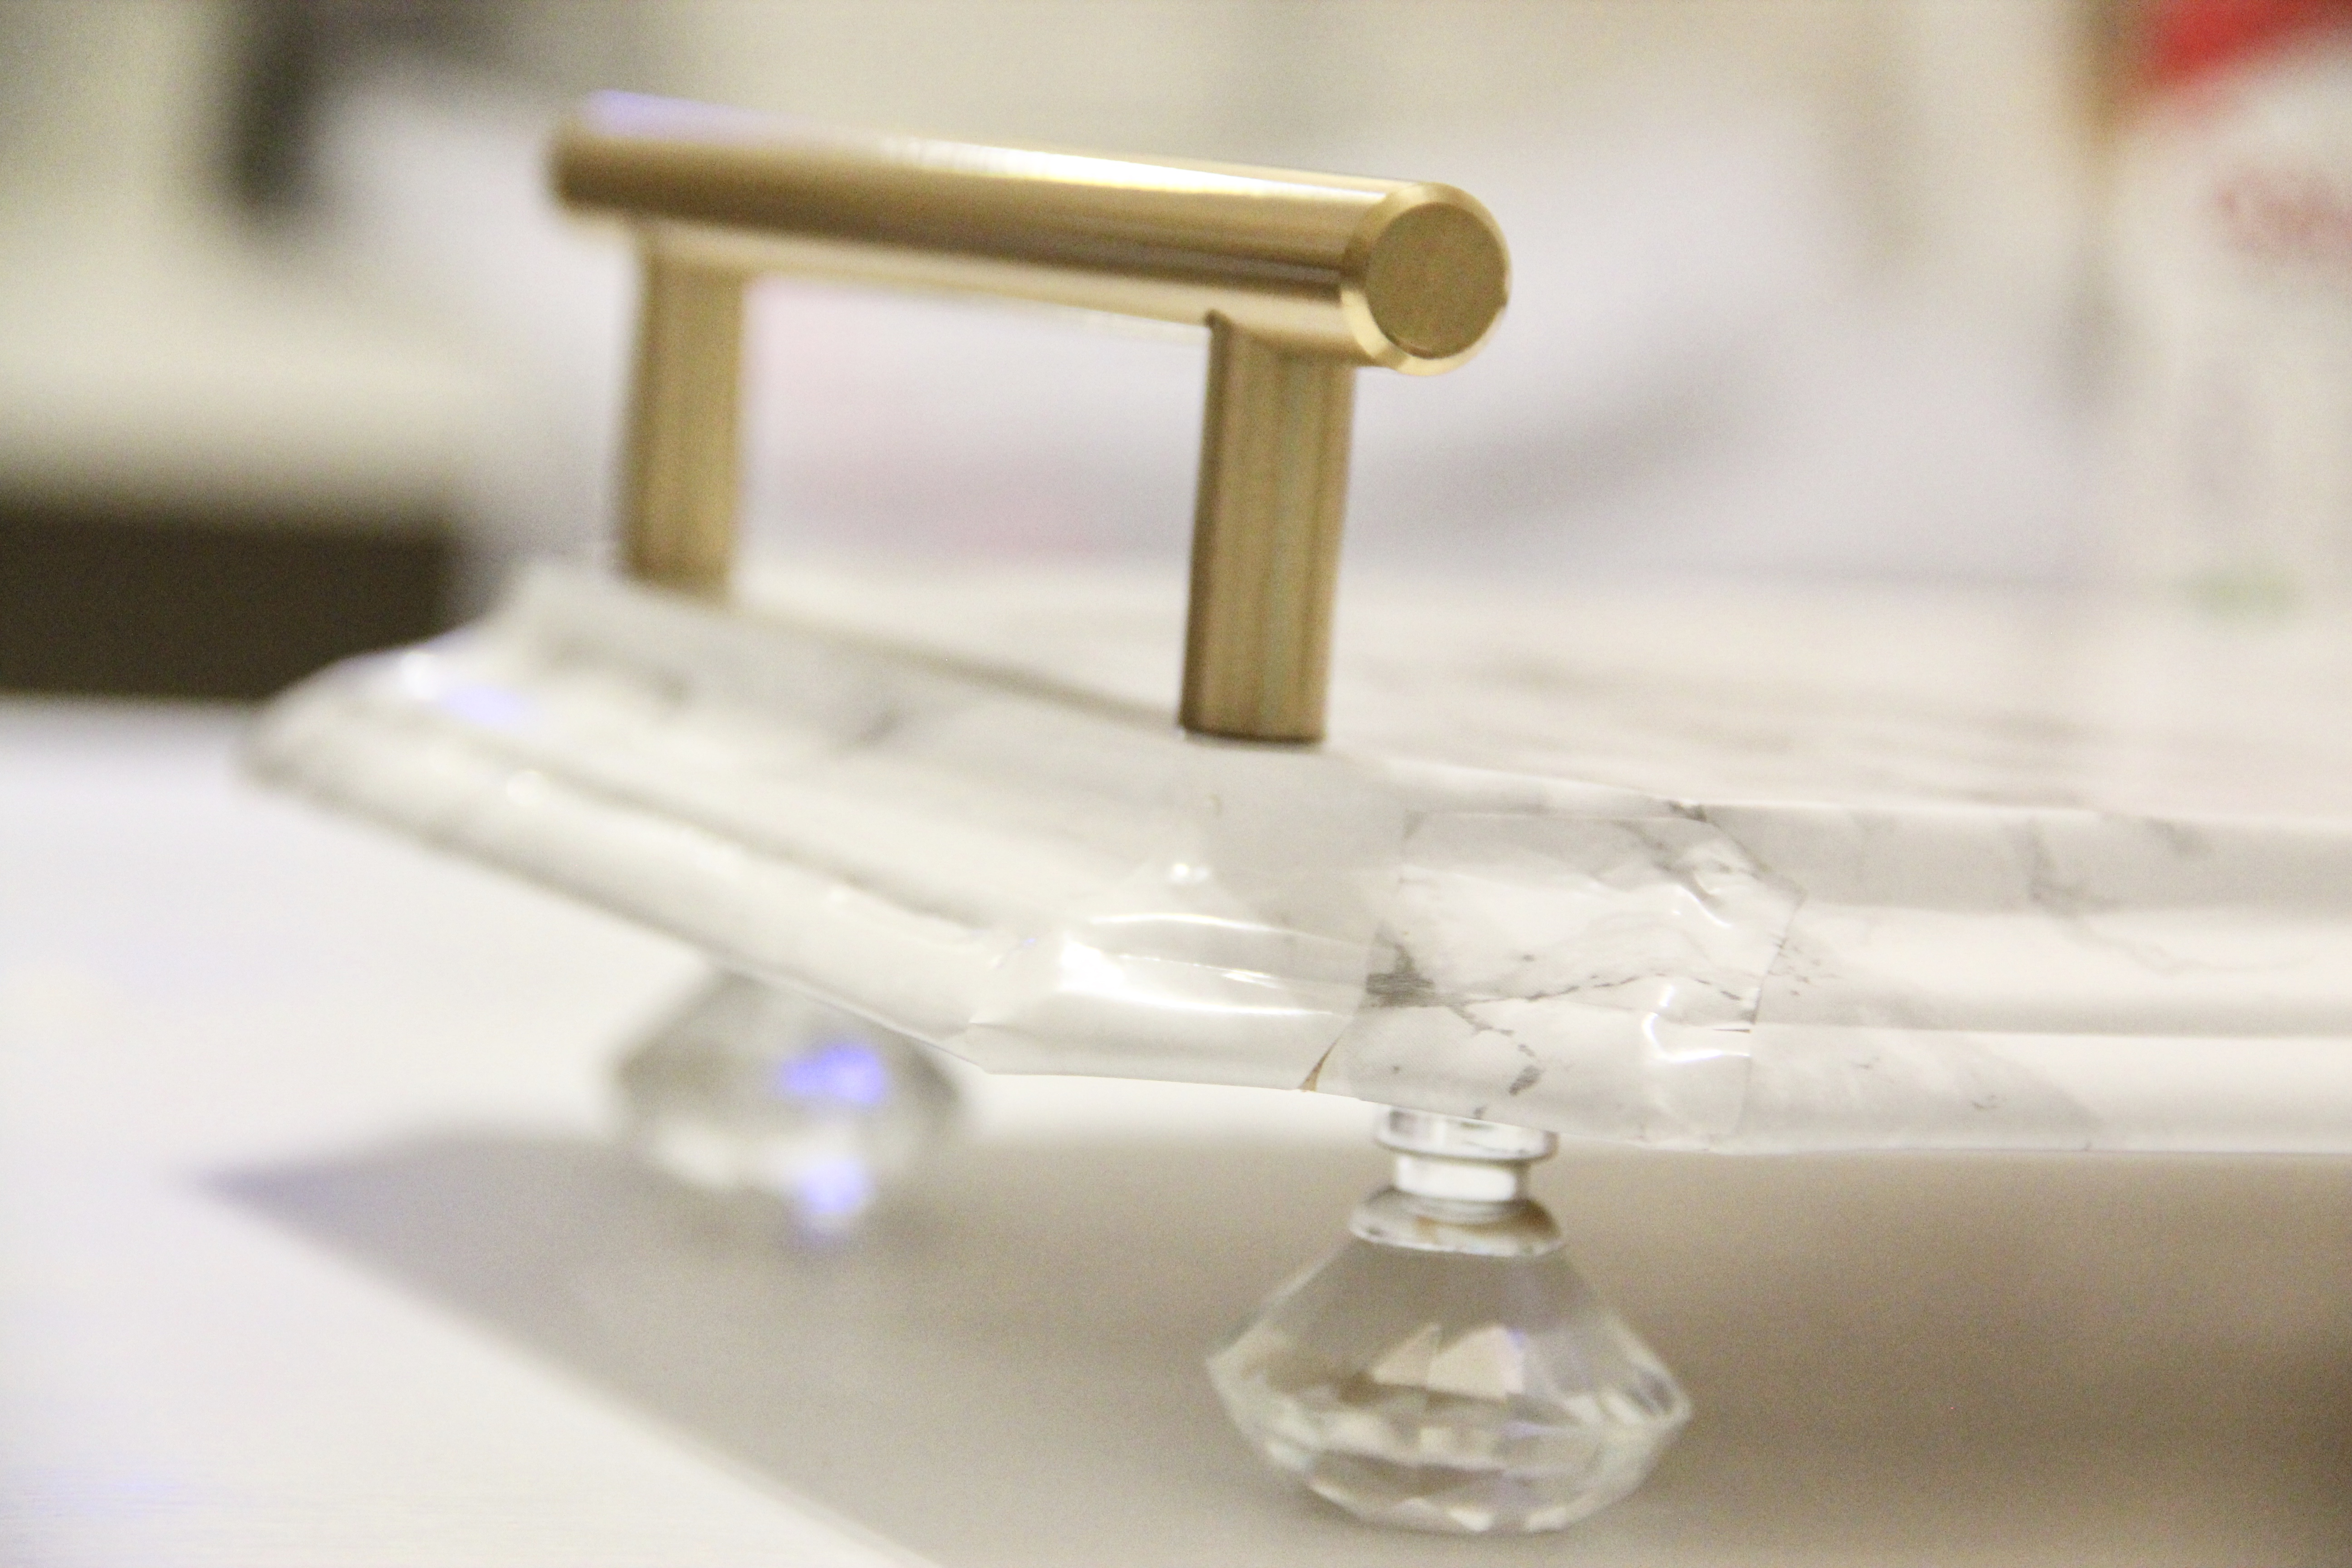
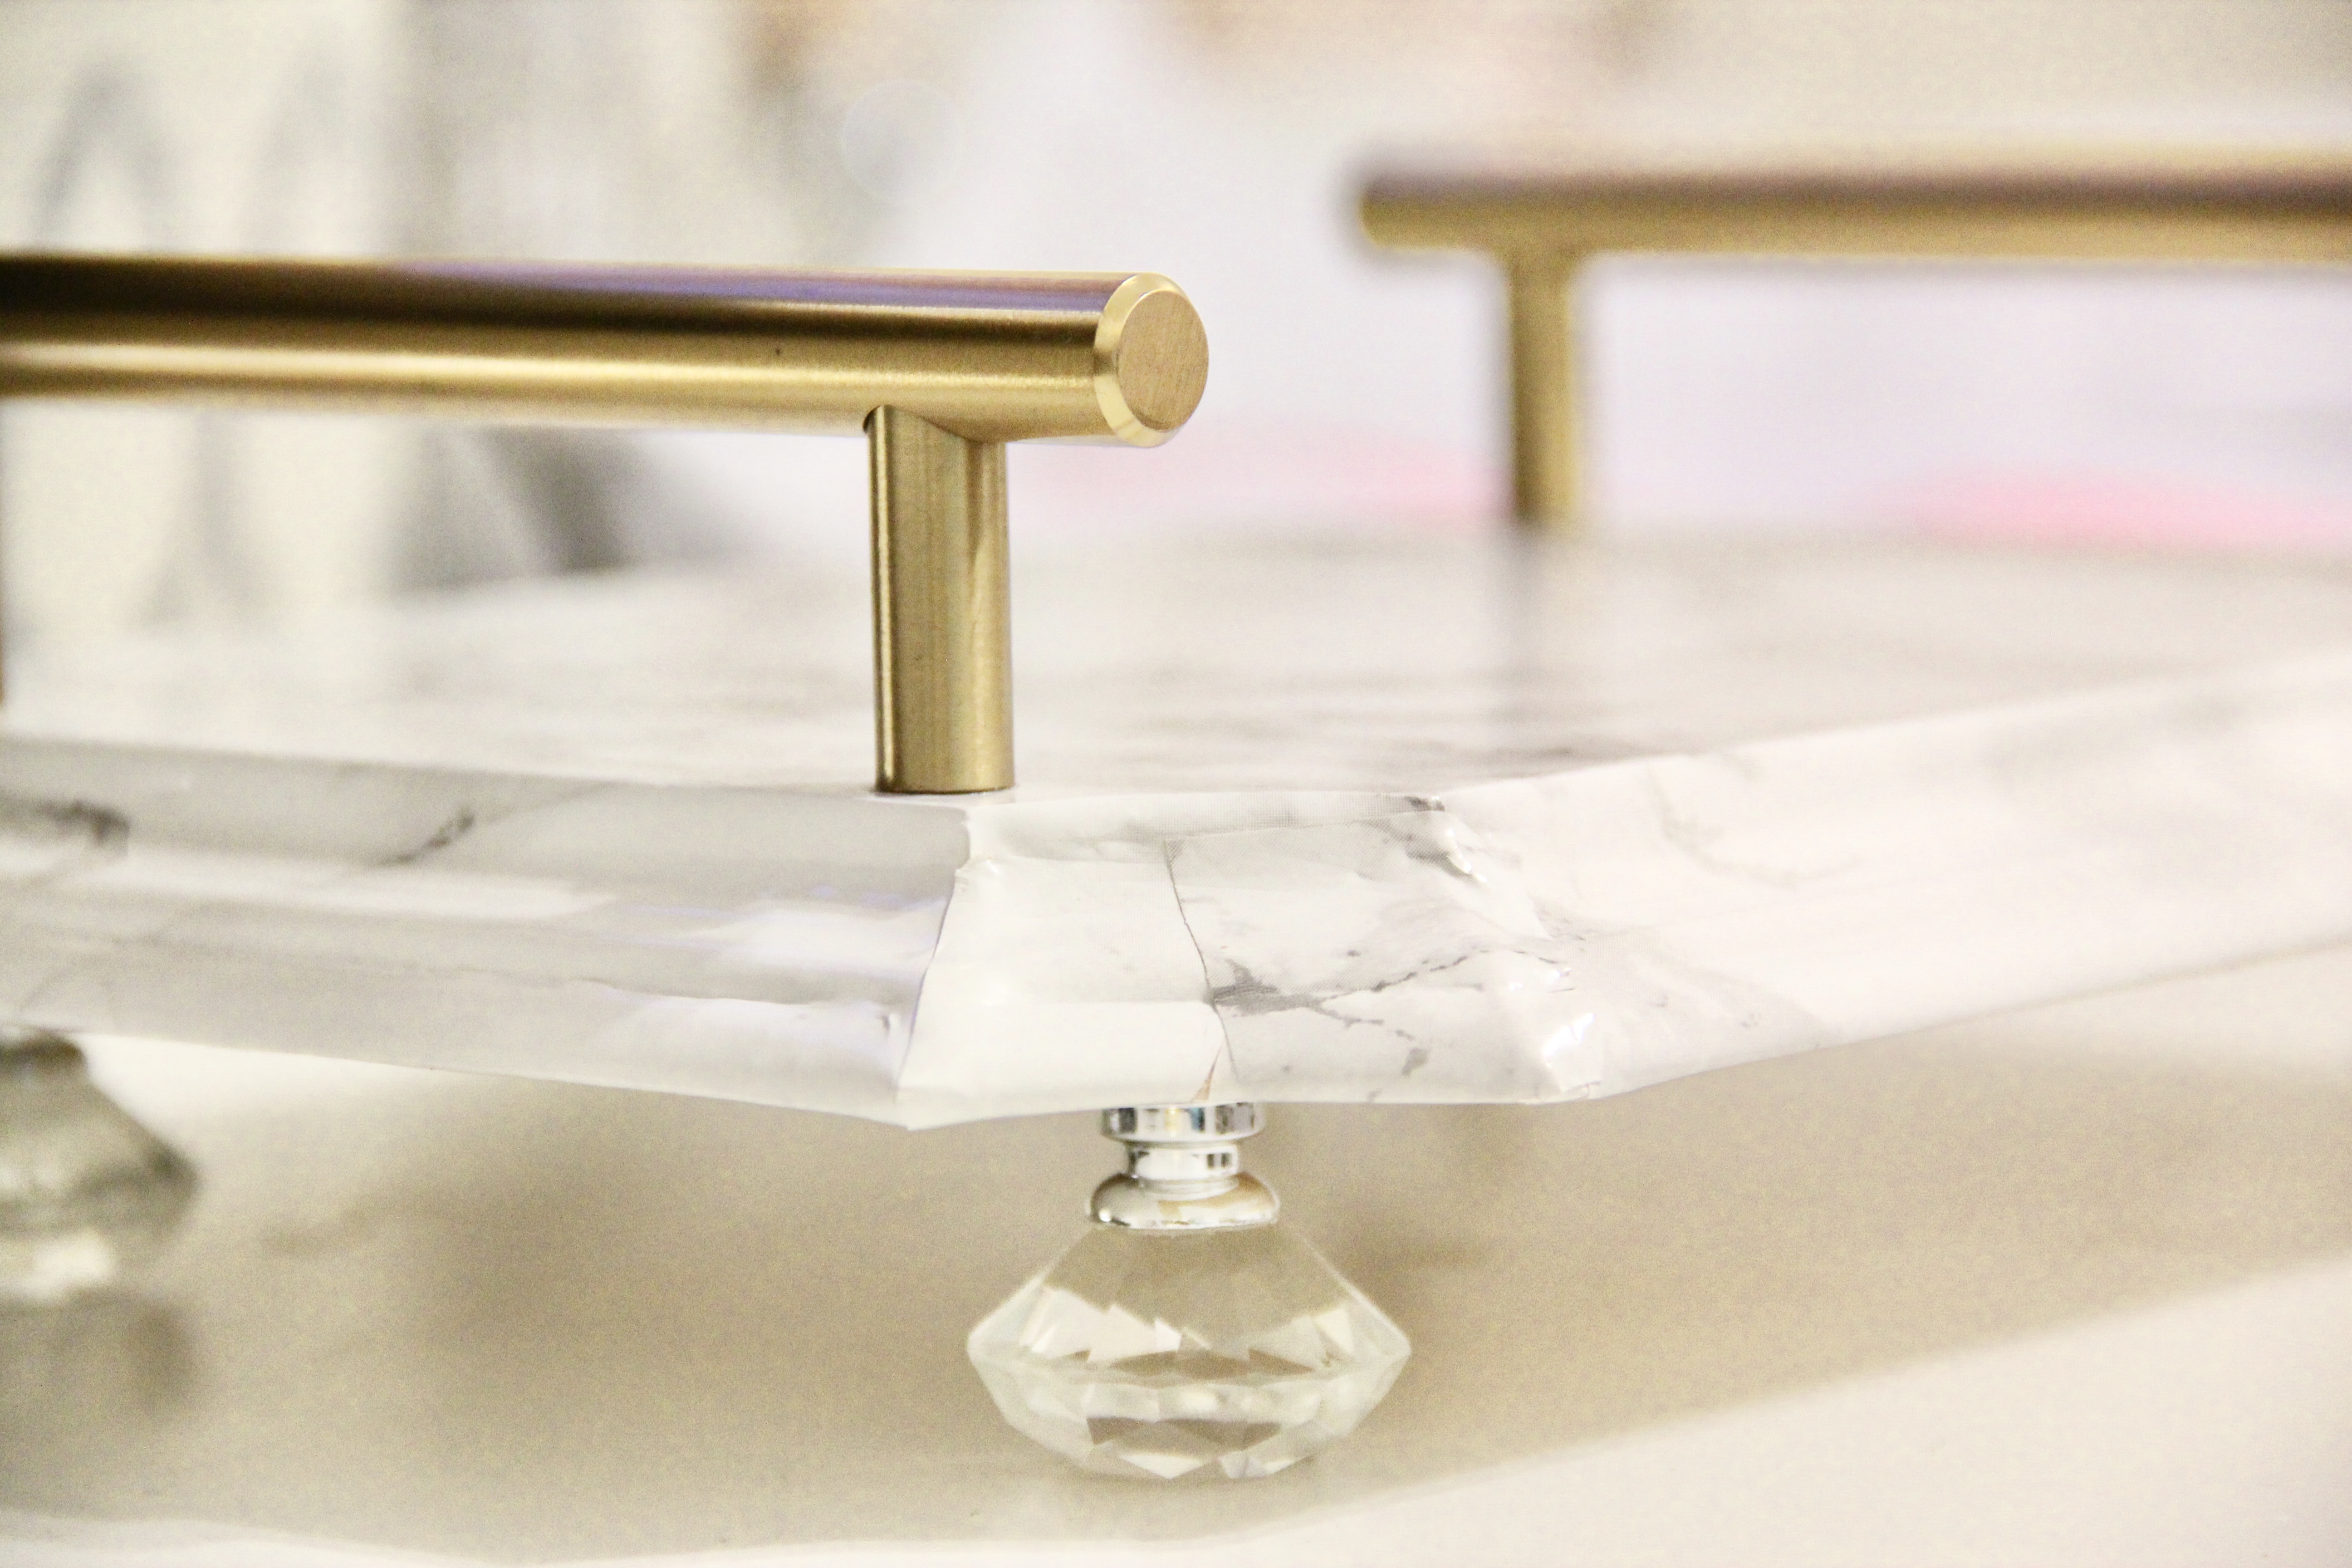
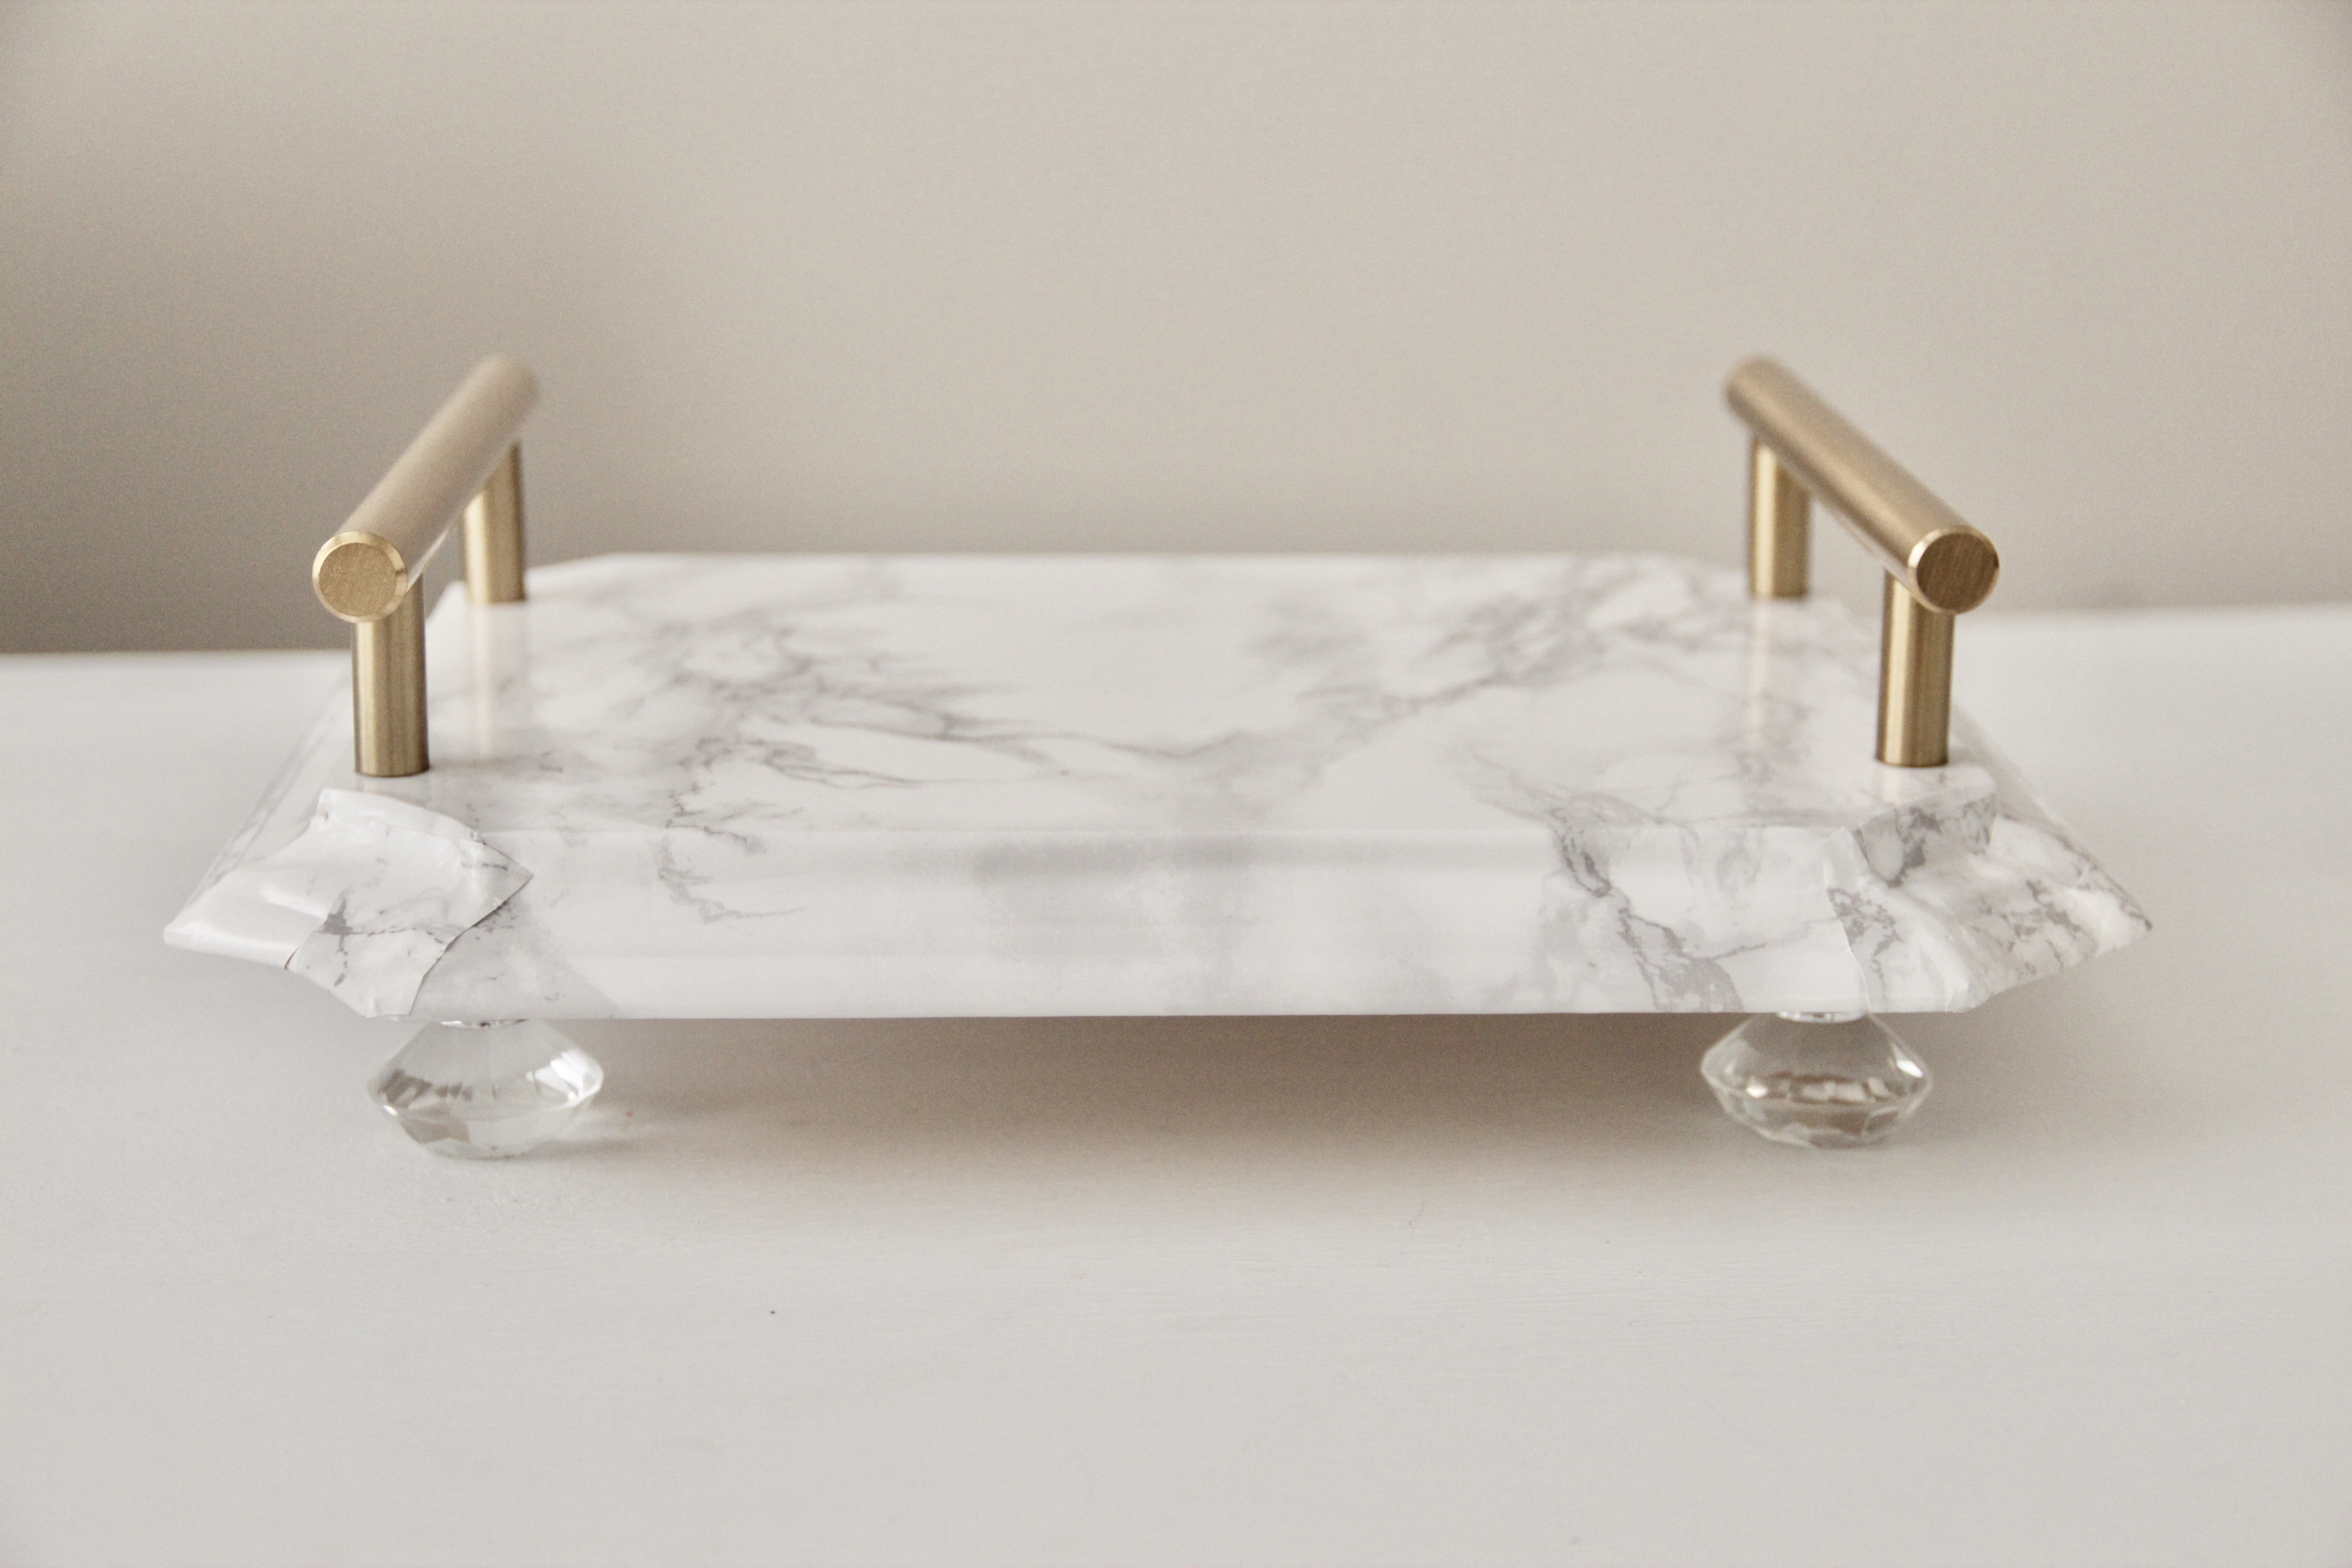
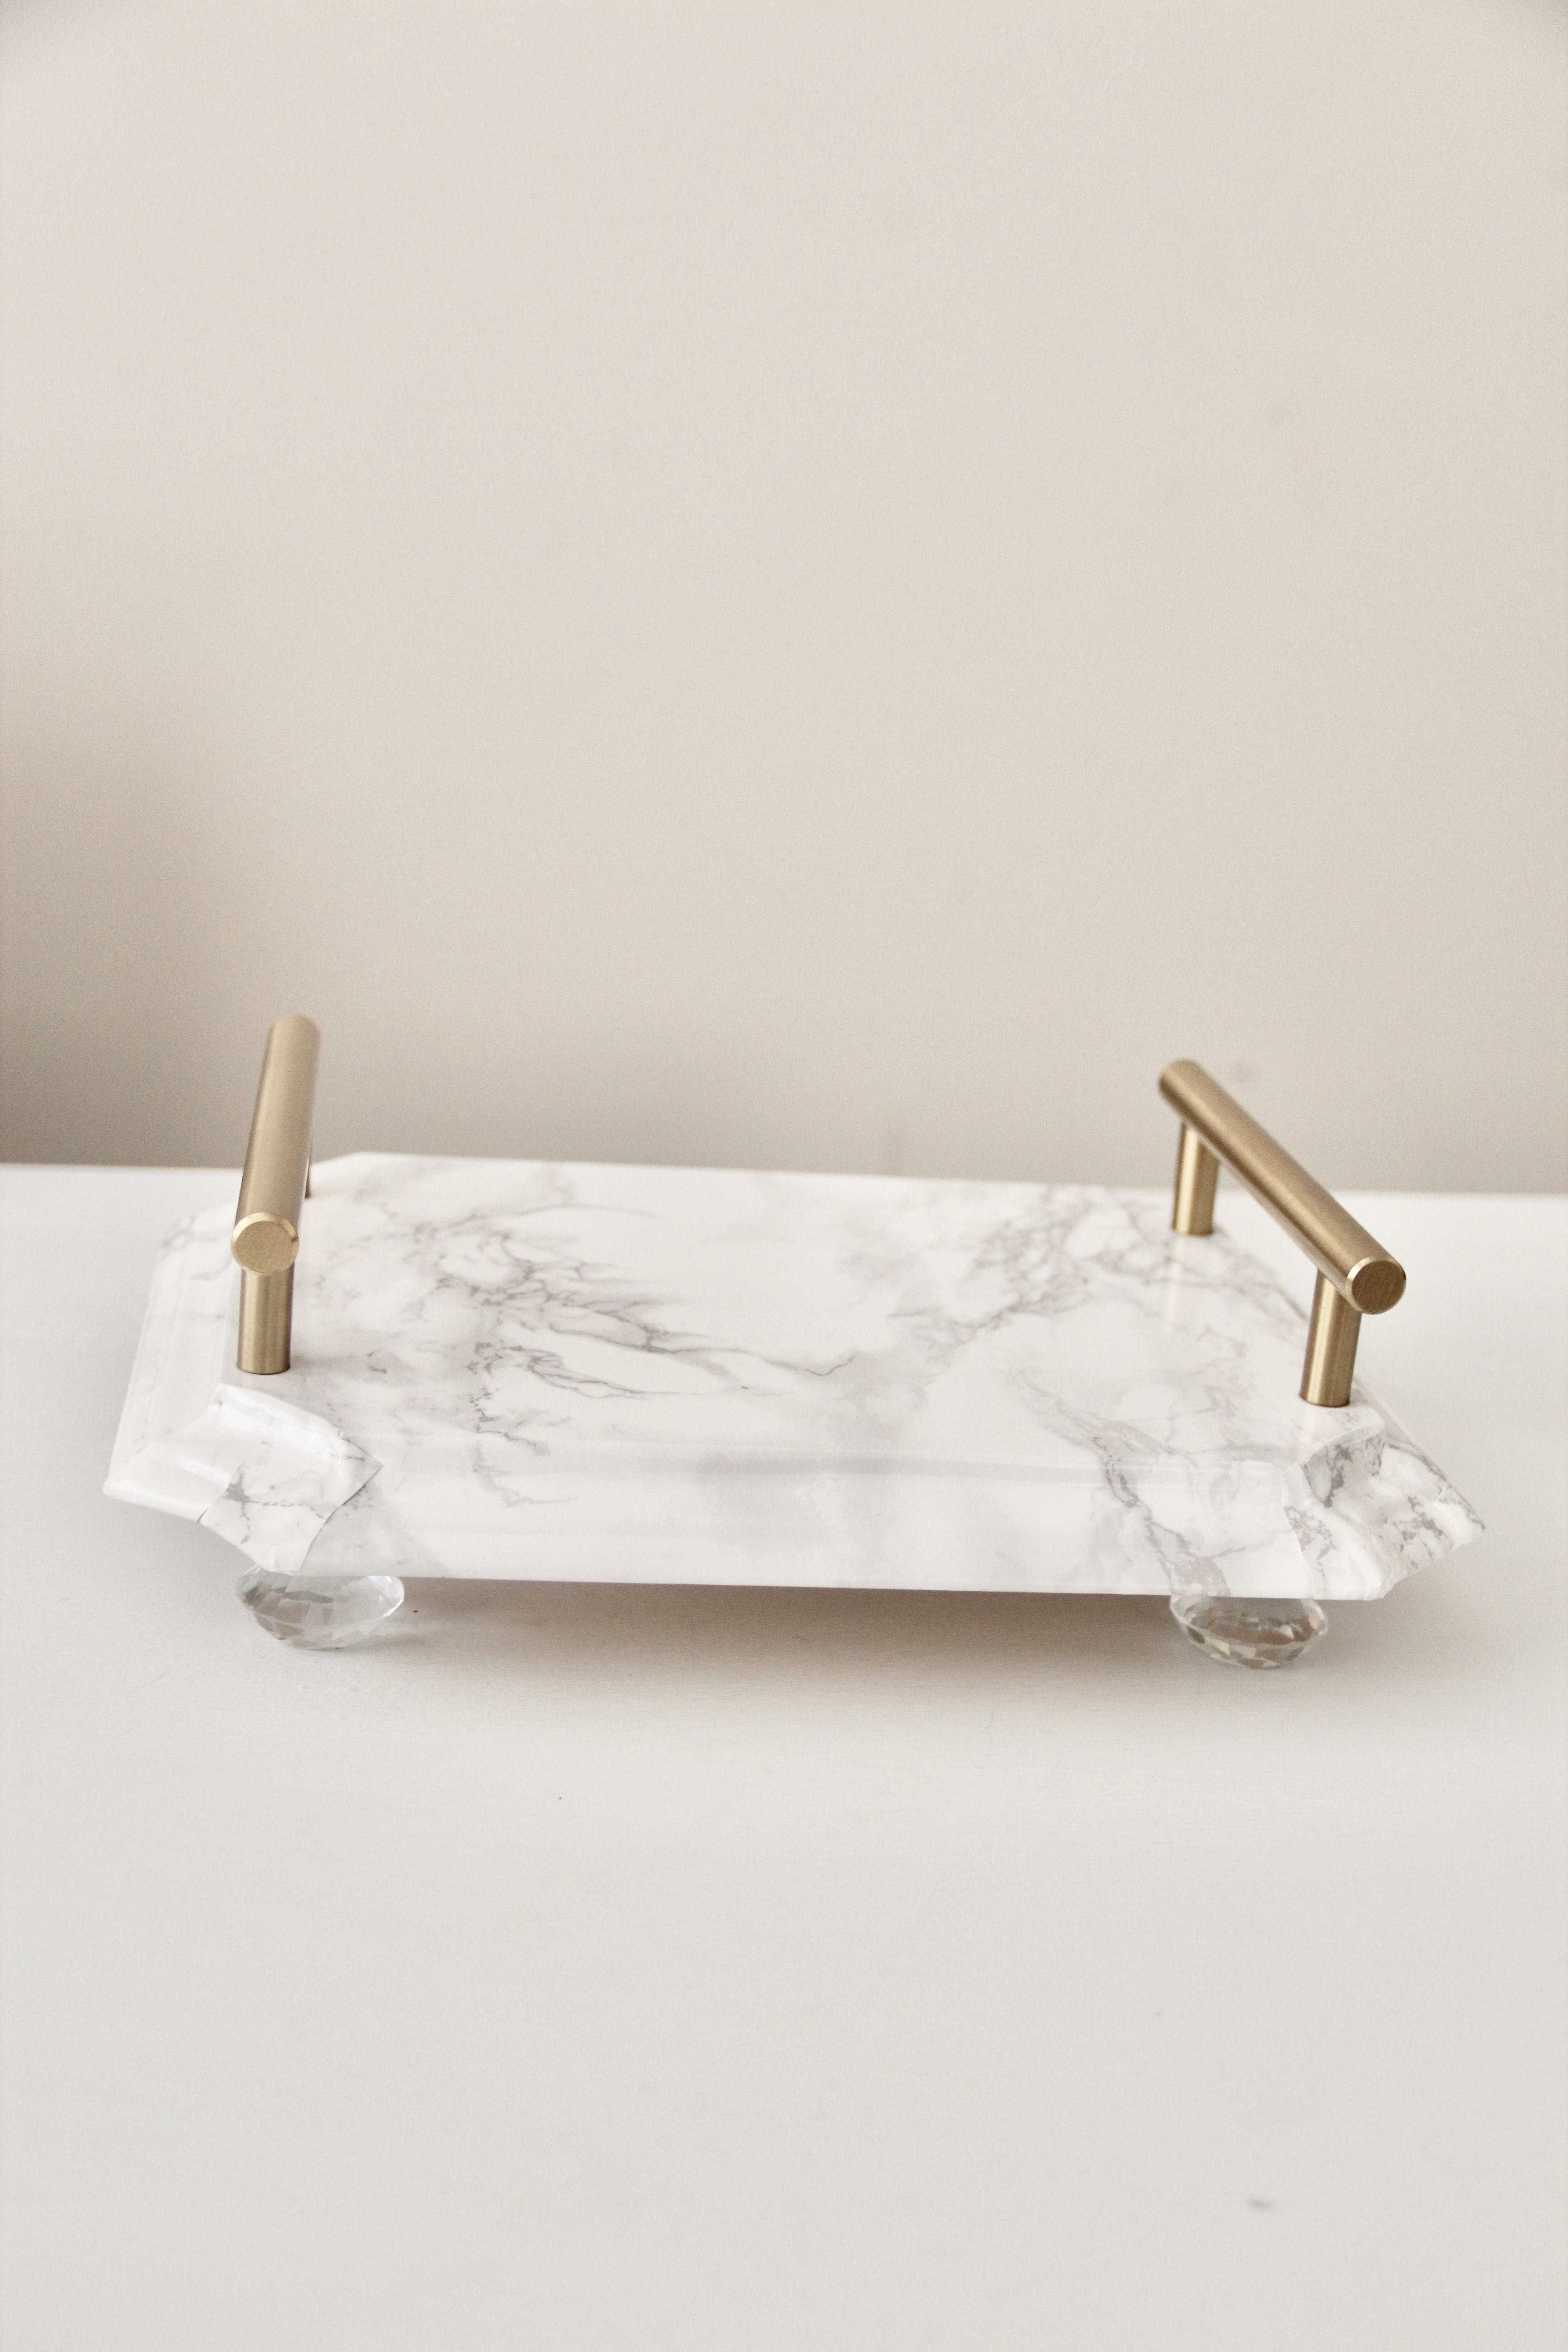
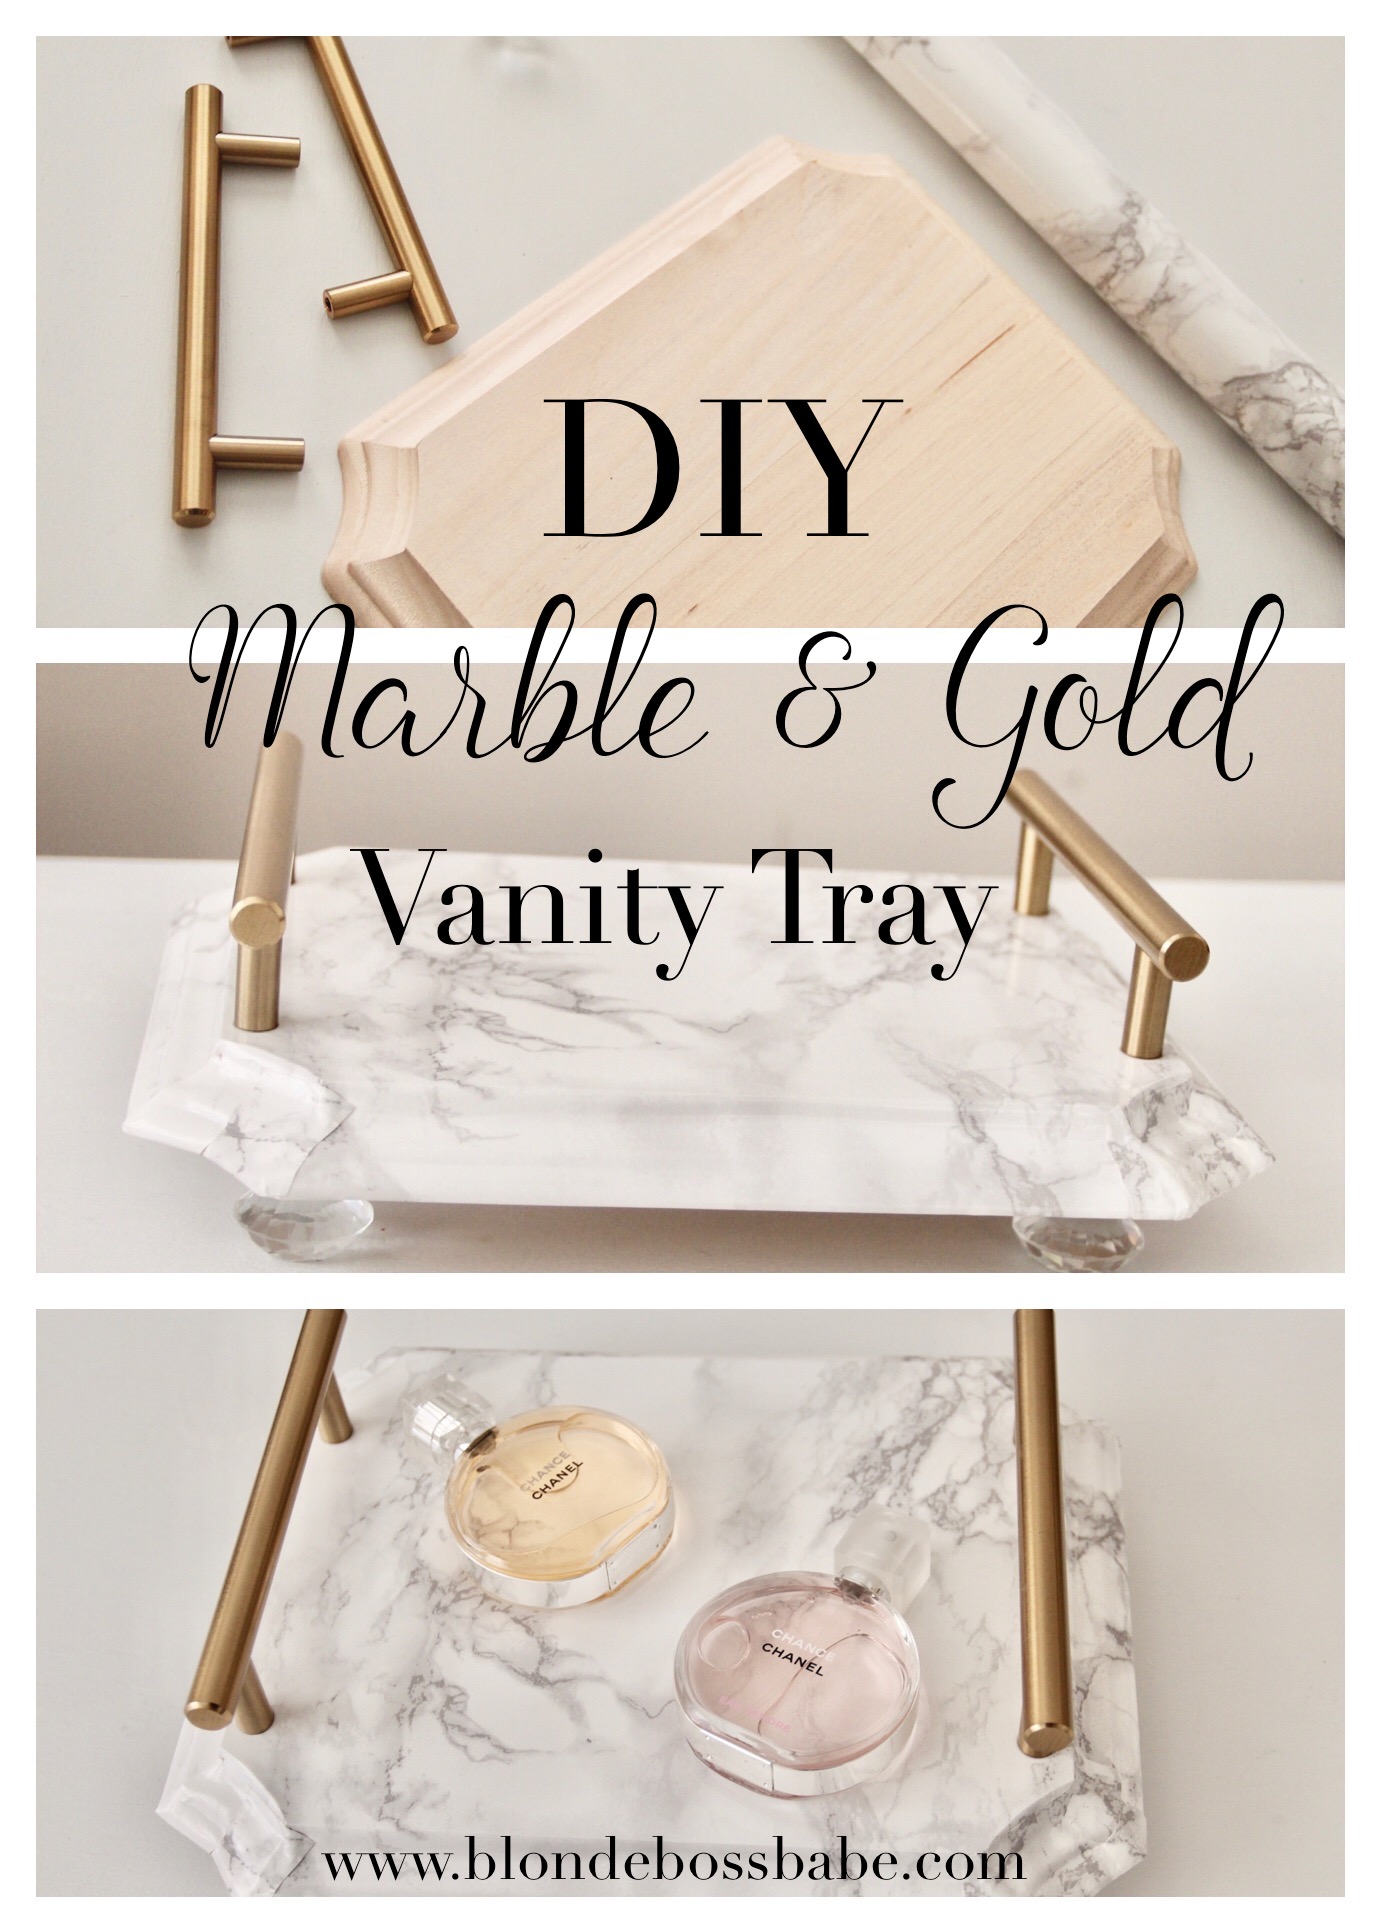
Check out this post if you’re interested in making a super easy marble tray like the one I have featured here.

That’s it! See? So easy and so fast. Are diptyque candles your favorite, too? Let me know what scent I should get next in the comments below & don’t forget to Pin/Share this post if you liked it!


SaveSave

SaveSave

SaveSave

SaveSave

SaveSave

SaveSave

SaveSave

SaveSave

SaveSave

SaveSave

SaveSave

SaveSaveSaveSave

SaveSaveSaveSave

SaveSave

SaveSave

SaveSave

SaveSave

Post, Pin, Share:
Blog, The Home

Spring Update Home Office Tour

| Marble & Gold Tray | Glass Pineapple | Laptop Stand | Laptop Case | Wireless Keyboard, Mouse & Pad | Linen Office Chair |  Lamp Dupes | Chalk-Painted Desk Tutorial |

| Linen Storage Bench |  Gold Leopard Pillows | Slay Girl Pillow |


 | Mirror Dupe | Louboutin PumpsSunnies Organizer |Valentino Flats  |

| Marble & Gold Tray | Glass Pineapple | Laptop Stand | Laptop Case | Wireless Keyboard, Mouse & Pad | Linen Office Chair |  Lamp Dupes | Chalk-Painted Desk Tutorial | Mirror Dupe | Louboutin PumpsSunnies Organizer |Valentino Flats  | Linen Storage Bench |  Gold Leopard Pillows | Slay Girl Pillow | Blue-Gray Tufted Pouf | Sheepskin Rug |

I am constantly updating and restyling the DIY Marble and Gold Ikea Hyllis Shelves  & love how versatile they’ve been in this space. One of my favorite things to do when seasons change is to move furniture and decor around to freshen up the room. Since I spend the majority (only 98%) of my day in my home office, that’s usually the place that gets the spring treatment first 🙂


Do you have any favorite traditions for the start of Spring and Summer seasons? I would love to hear them!


Post, Pin, Share:
Blog, DIY Projects, Home Decor, The Home

Easy DIY Bulletin Board

Lately, I’ve been a bit amazed at how much “extra” we have in the way of home decor pieces. One particular category of which is frames. I didn’t realize until we started the packing process, before our move this past summer (more on that here & here), how many extra frames we had stored. The two featured below are such good (and semi-embarrassing) examples. Both of these were purchased my junior year of undergrad at Michael’s, yet neither were ever hung. I loved the shape and style of them too much though to get rid of them, so they have survived not one, but now three moves (hence the blue tape protecting the glass) without ever being used.

Well, taste and style preferences change, and mine certainly have since my junior year at Carolina. I didn’t want to waste these frames though, so instead I decided to make one into a gold cheetah bulletin board, and the other into a matching frame for my favorite Charlotte print.

For this project you’ll need the following supplies:

1 yard of your choice fabric (I used metallic cheetah in gold)

Spray Paint & Grip

Cork Board Roll & Scissors

Staple Gun

*If you don’t have any extra frames available, you can skip the spray paint portion by snagging one already in the style/color you like. I’ve linked some similar ones herehere.

Step 1: Remove the cardboard backing and glass from the frame. Don’t throw away the backing, we will be using it in a later step. Also, when you lift up the little tabs, try to keep them from touching any part of the frame (other than where they’re connected of course). This will help prevent them from sticking to the frame when its spray painted.

Step 2: In a well-ventilated area, preferably outside, begin spraying your frame with the first coat of paint. Use smooth even strokes, covering the entire outer piece. Allow this first layer to set completely before spraying again. You may need be extra patient if your frame is plastic, as it takes a few extra rounds for the paint to appear as though it’s adhering to the piece. (One of the reasons I chose to use the chalk spray paint was that I hoped it would make these plastic frames look like wood – it totally worked!)

Step 3: Once your desired coverage is reached, set aside the frame to fully dry. It’s time to grab your frame’s cardboard backing and cork board roll! Unroll the cork board, and line it up with the cardboard backing. Be sure to keep it taut and flat. Cut the cork to fit your backing.

Step 4: Using your staple gun, staple down the edges of the cork to the cardboard backing. (As you can see, my backing needed extra strips of cork board, so it looks a little messy, but the fabric will cover this so don’t worry if yours looks similar to mine at this point in the project.)

Step 5: Get out your fabric, and lay the backing cork-side down. Cut the fabric to fit, leaving extra along the edges so that you can fold it down on the back. *Depending on how wrinkly your fabric is, you may want to steam it before securing it to the cork board.

Step 6: Grab your staple gun again and gently staple the edges of the fabric down to the cardboard side of the  frame backing. Take your time with this step so that you don’t end up with a massive crinkle down the middle of your new cork board.

Step 7: Flip it back over, and check to make sure everything is smooth and secure. Now you’re ready to put your new bulletin board into your freshly painted frame!

Step 8: All you have to do now is figure out where you want it displayed 🙂 I put mine in my home office. I’m a huge fan of symmetry in interior design so both frames are to the right and left of the main window in this space.


Supplies for this Project:


Have you just completed this, or any of the other projects featured on Blonde Boss Babe? If so, tag me! I would love to see your version!

Post, Pin, Share:
Beauty, Blog, DIY Projects, Home Decor, The Home

DIY Marble & Gold Vanity Tray

Happy February! So, y’all already know how much I love marble and gold (it’s a lot & pretty obvious), and after completing two shelves in my DIY Ikea Hyllis Hack, I wanted to make something else that would go along with the same look/style with my leftover marble adhesive. Then, I thought why not a vanity tray? In total, the whole thing takes less than an hour, is super easy to customize depending on what shape/knobs you use, and is way way less than what would be spent on the real deal = triple bonus!

To get started, you’ll need:

Wooden Plaque 

Crystal Knobs for the Feet

Gold Pulls

Marble Adhesive

Krazy Glue

Putty Knife Set (optional, but very helpful)

Step 1: Before peeling your sticker off, take your marble adhesive sticker and lay it over your wooden plaque piece to determine about how much you’ll need, and cut. The less excess you have, the easier the sticker is to work with and maneuver.


Step 2: Lay your sticker on the center of the plaque, and taking your putty knife, flatten out all of the air bubbles. Then using your putty knife again, on one side, begin adhering the sticker to the edges.

Step 3: Once you have one edge complete, it’s corner time! Based on the shape of the wooden piece I chose, this was the most “complicated” (I say that loosely) part of the whole project. To make it easier and to minimize air bubbles, use scissors to cut little slits at the center point and two side points of the corner. Then fold these pieces down and smooth them with your putty knife.

Step 4: Repeat those same set of steps on each edge and corner until the top of the piece is completely covered. Use your putty knife to smooth any bubbles that may have appeared.

Step 5: Flip your piece over and use your Krazy glue to apply the crystal knobs which will serve as the feet of the vanity tray. This glue dries super super quickly, so make sure you know exactly where you want your bases to be.  I love these crystals, because of their flat face, so the tray won’t rock back and forth.

Step 6: Once all of your knobs have dried, flip the piece back over! It’s time to add your final touch of gold hardware 🙂


Step 7: Line up your gold hardware and apply the Krazy Glue to the bottom of each pull, (not to the vanity tray directly), and set each piece where you want them on the tray.

TAH-DAH you’re done!

Now, to decide where in the house you want to use it. It’s seriously the perfect size for a little perfume display, or even as a sweet vanity tray in the bath for cotton balls and soap. Here is what I have set up on mine currently:


Supplies For This Project:


Featured Perfumes:

If you complete this project, tag me, I would love to see how you customize your marble tray!

SaveSave

SaveSave

Post, Pin, Share: